Busy, Busy, Busy! I have been painting these little tanks all day lol! Remember how I said in my last build update I normally paint tracks separately etc? This is Why lol.
Somehow I need to get the black rubber on the road wheels painted and then the tracks...
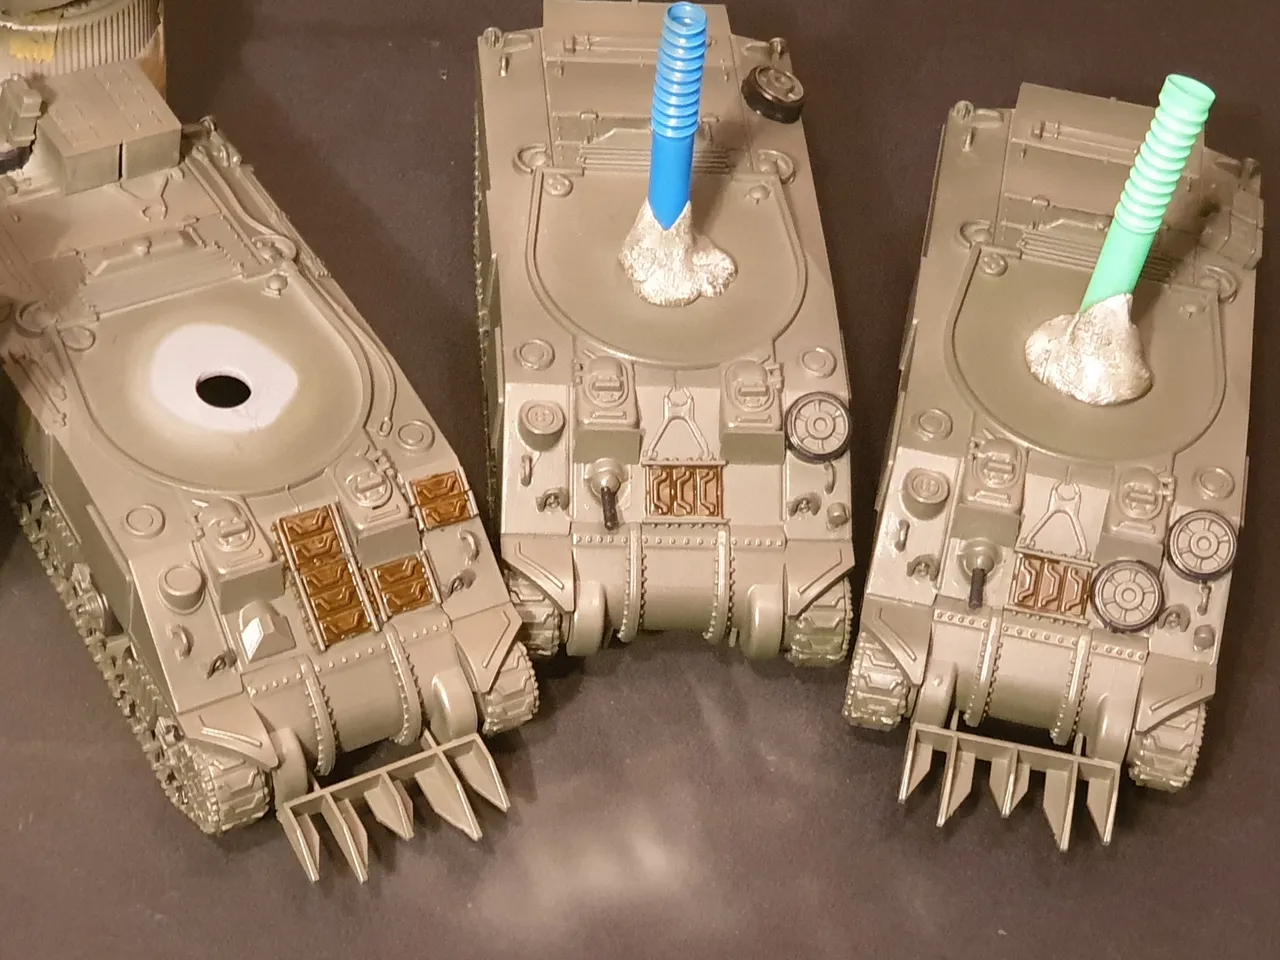
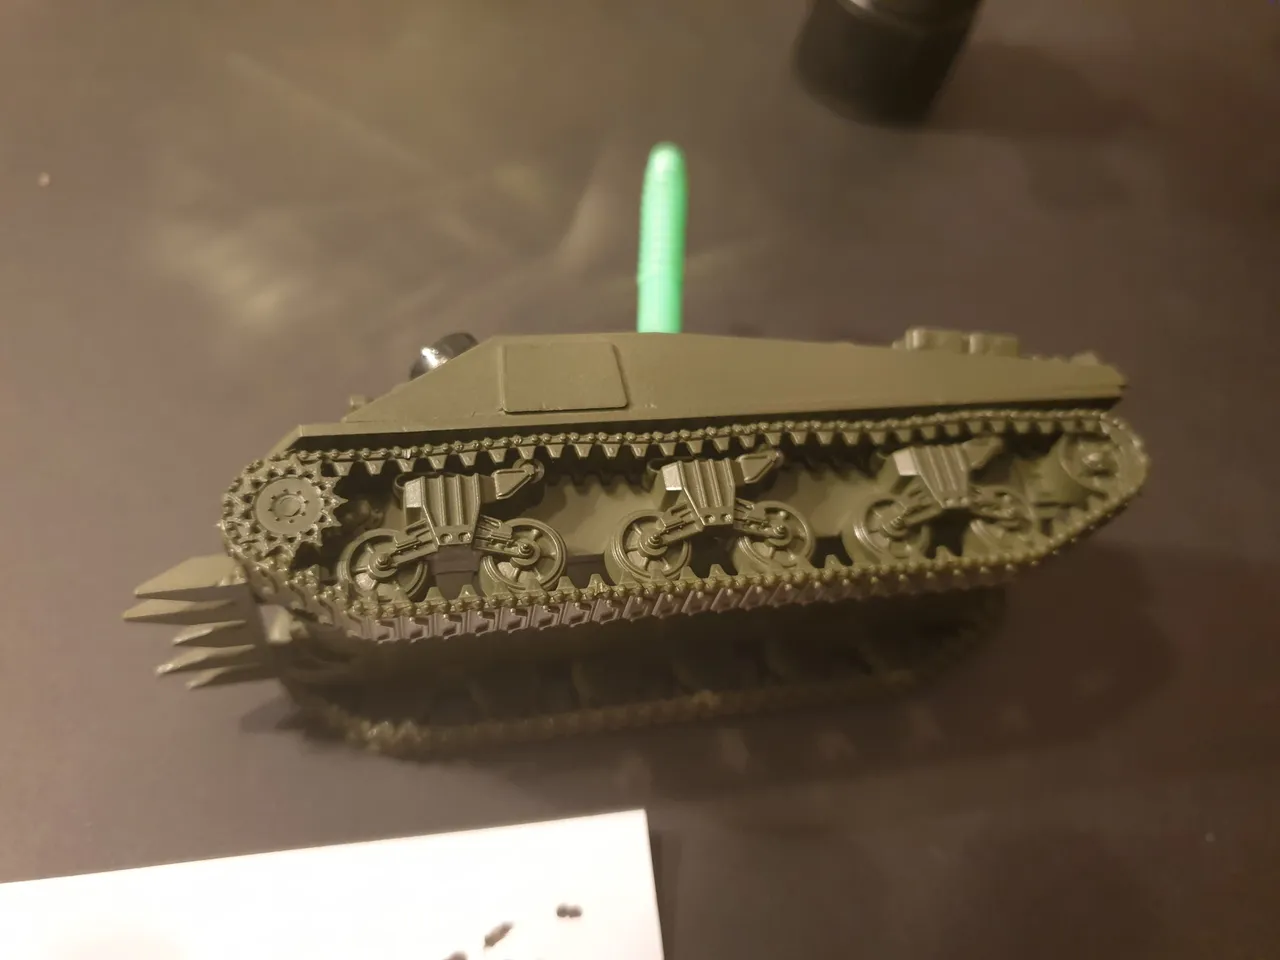
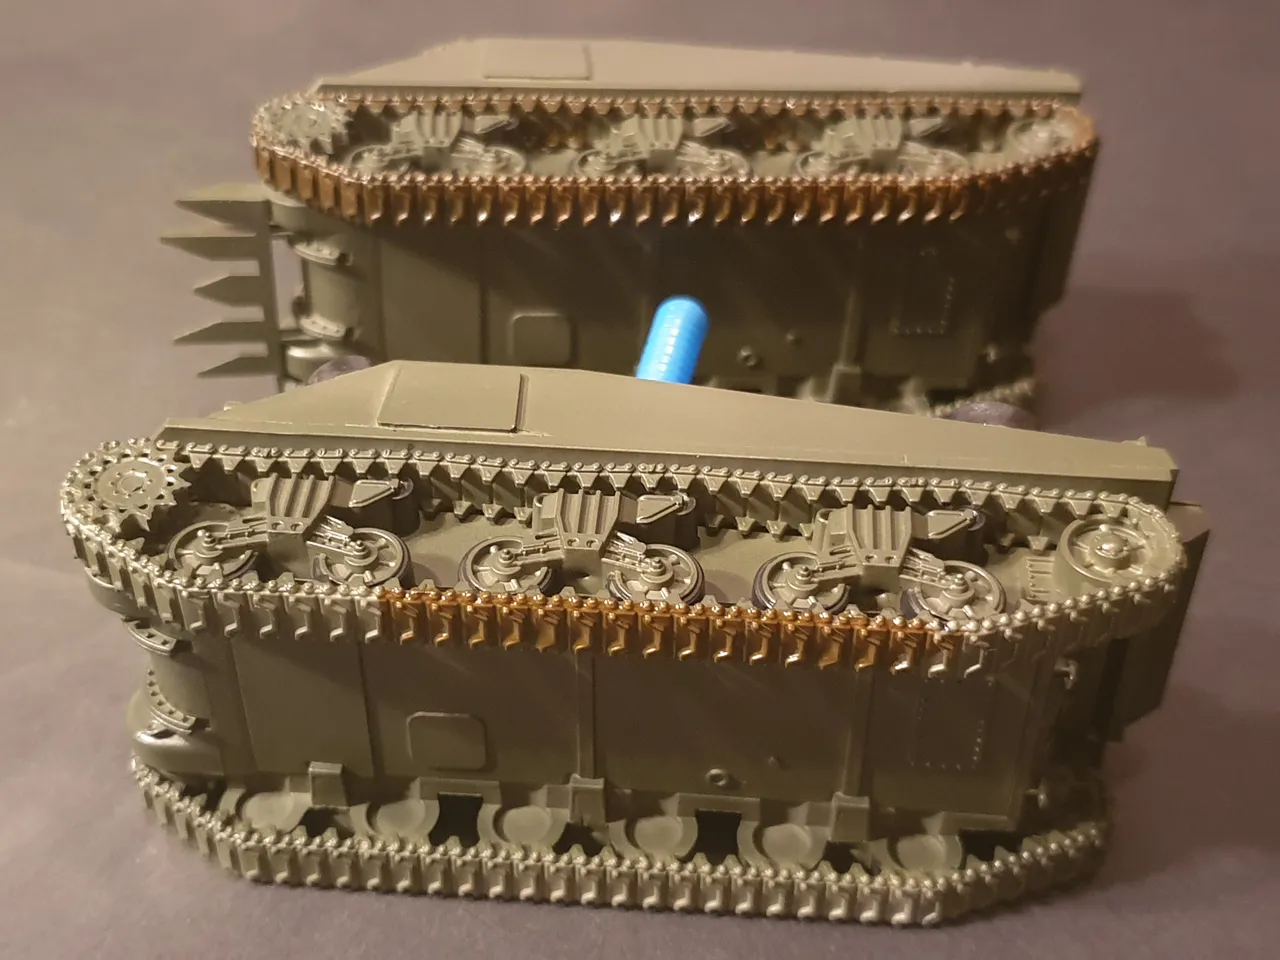
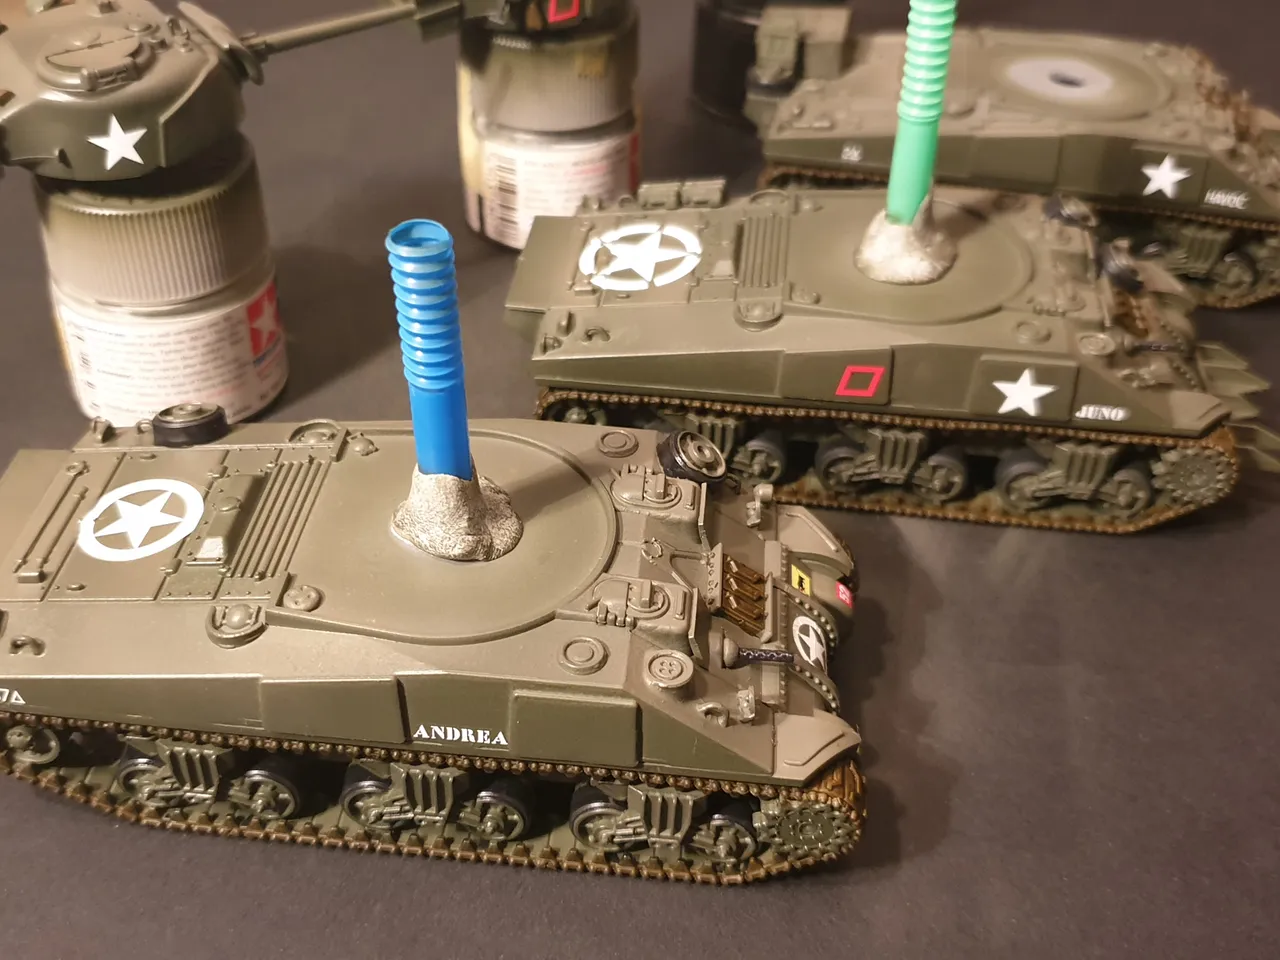
Lets start with the easy to get to ones :-) I use Vallejo Burnt Umber to make the spare tracks attached to the tank appear rusted. This effect will be changed greatly later on, so even though it looks a little odd now, "Trust me, I am allllmosst a Doctor".
You can see in the photo above I have already done the really time consuming part of painting the black, The tracks should be a lot quicker.
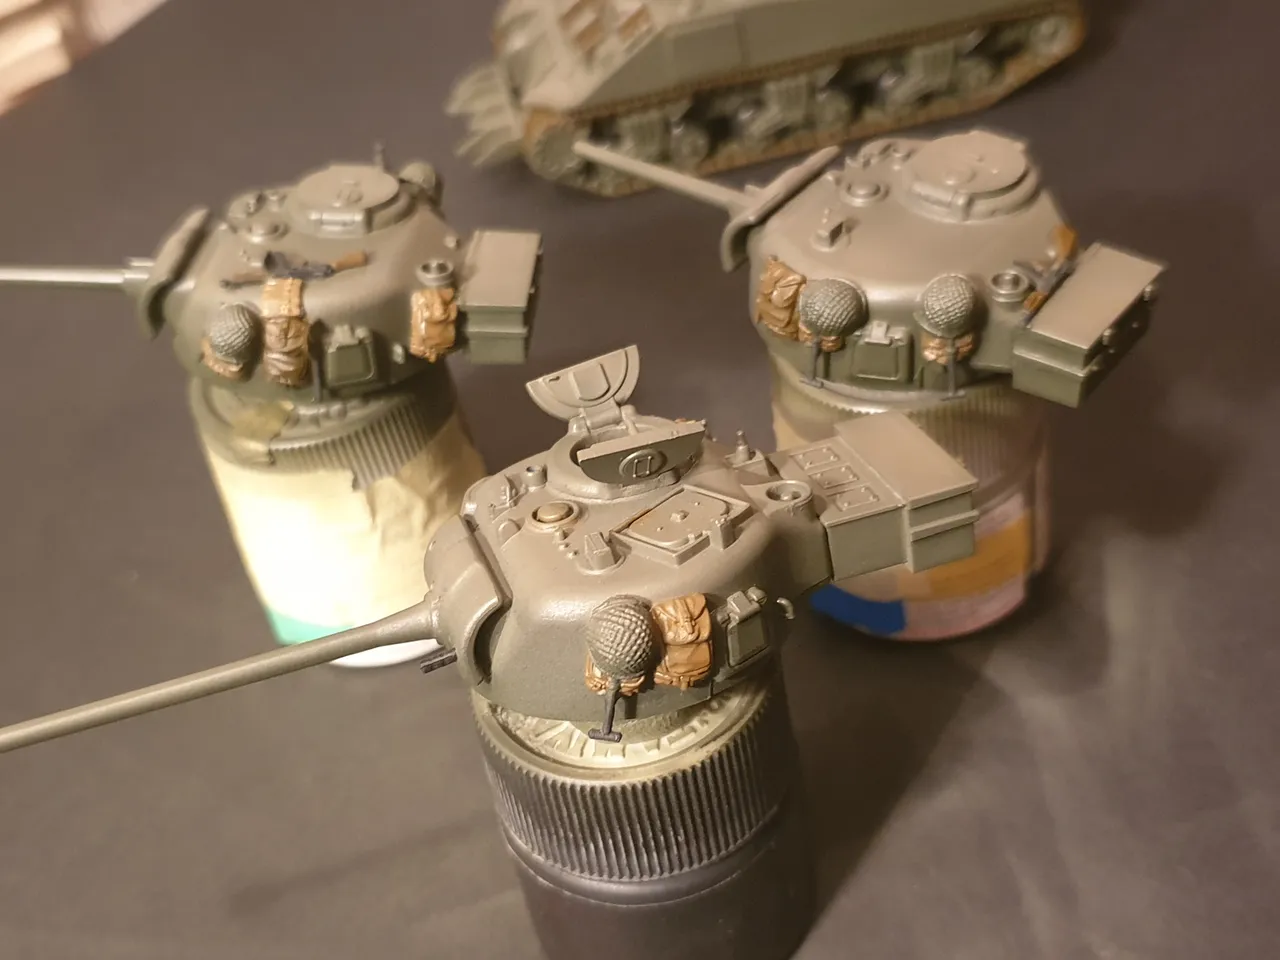
Now is a good opportunity to give the stowage around the turrets a base coat. I will hold off on painting the tools until I have completed most of the next stages. For these Items I use a mix of Burnt Umber again, Model Color Beige, and German Pale brown all from Vallejo.
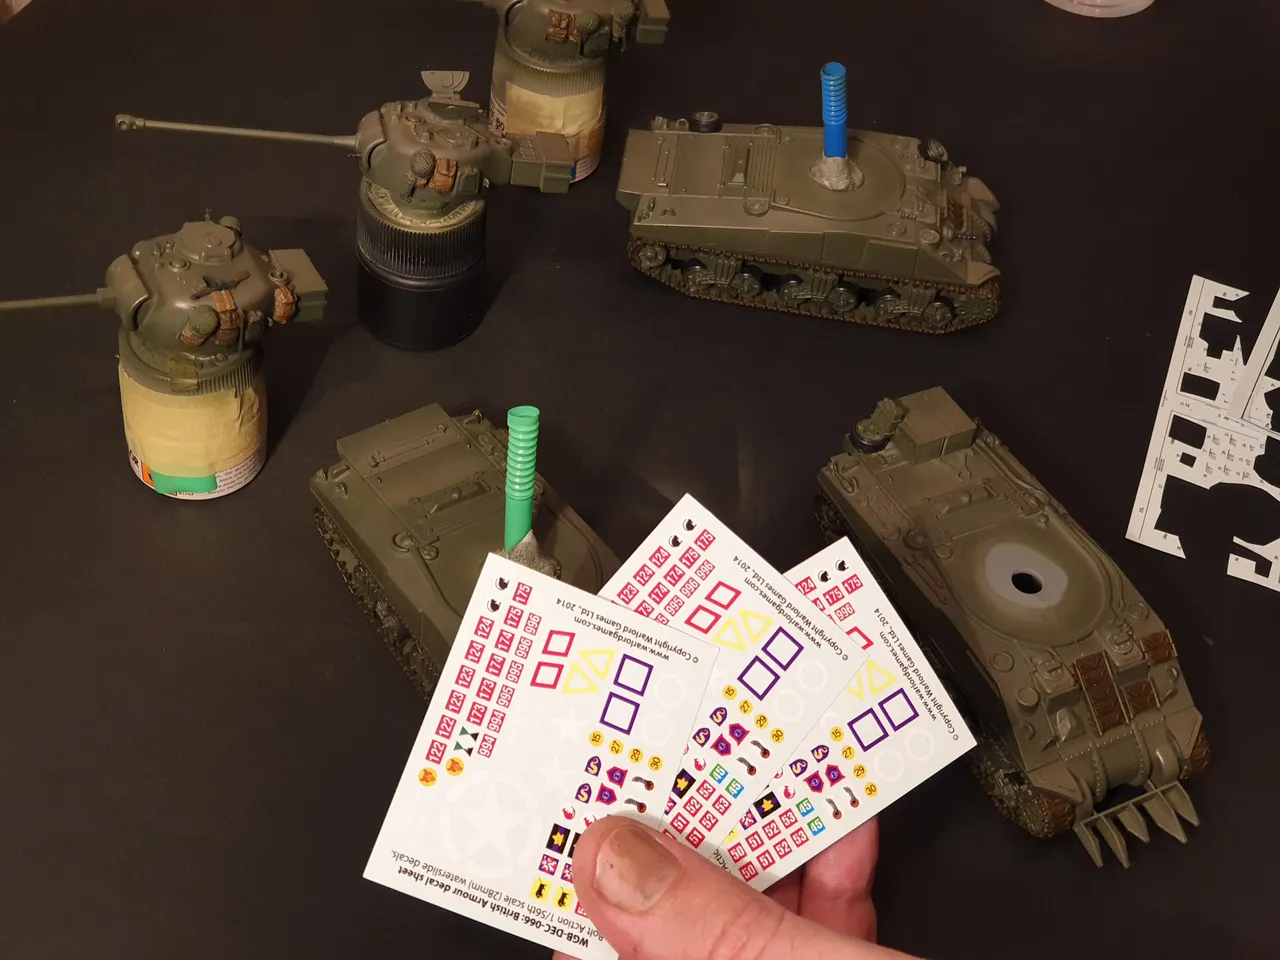
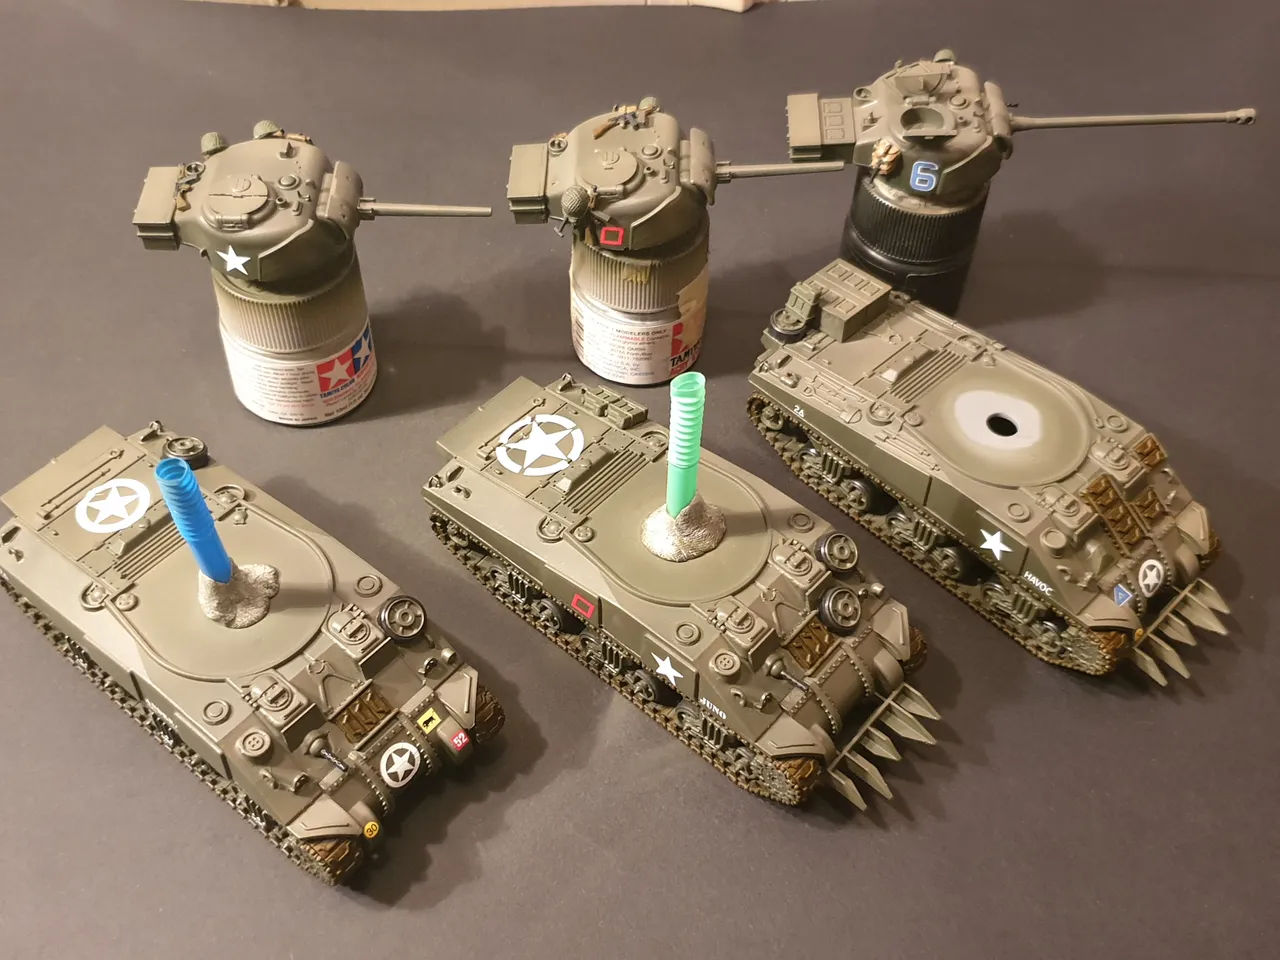
I have a small stack of decals for these tanks but no reference on what goes where. There is a mix of unit numbers, vehicle numbers etc etc. I use some internet images for reference and also make some up on the fly. After all this is supposed to be fun yeah? ;-)
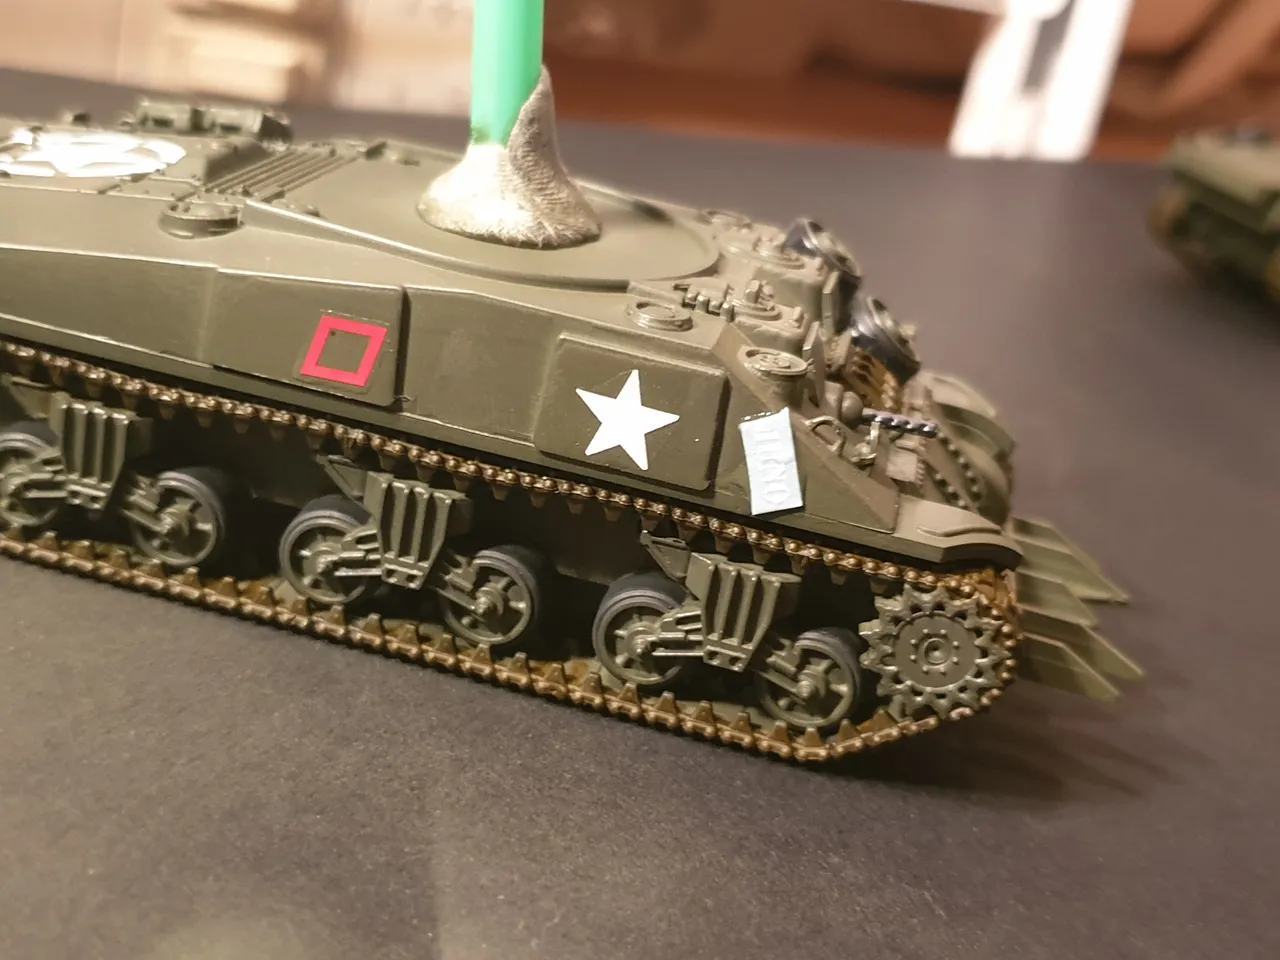
This sequence I demonstrate how to apply the decals. Once cut out of the sheet and left to soften in water they are applied to the tank. Photo above and below.
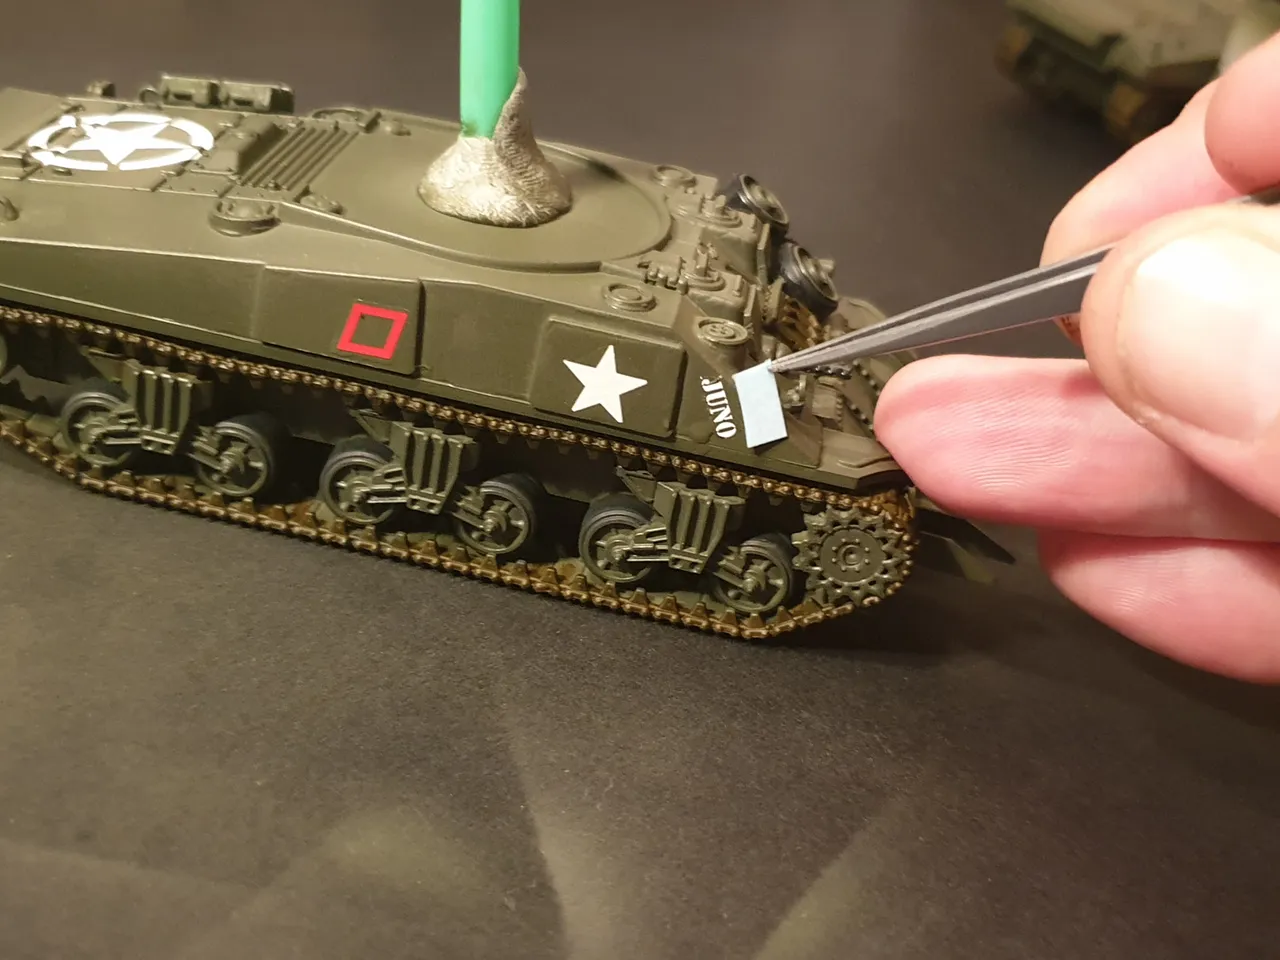
Then very carefully move them into the correct position. And leave them to dry.
You may have noticed that the centre of the track is not covered in the Burnt Umber. Shhhh tell no one, we will hide this later :-)
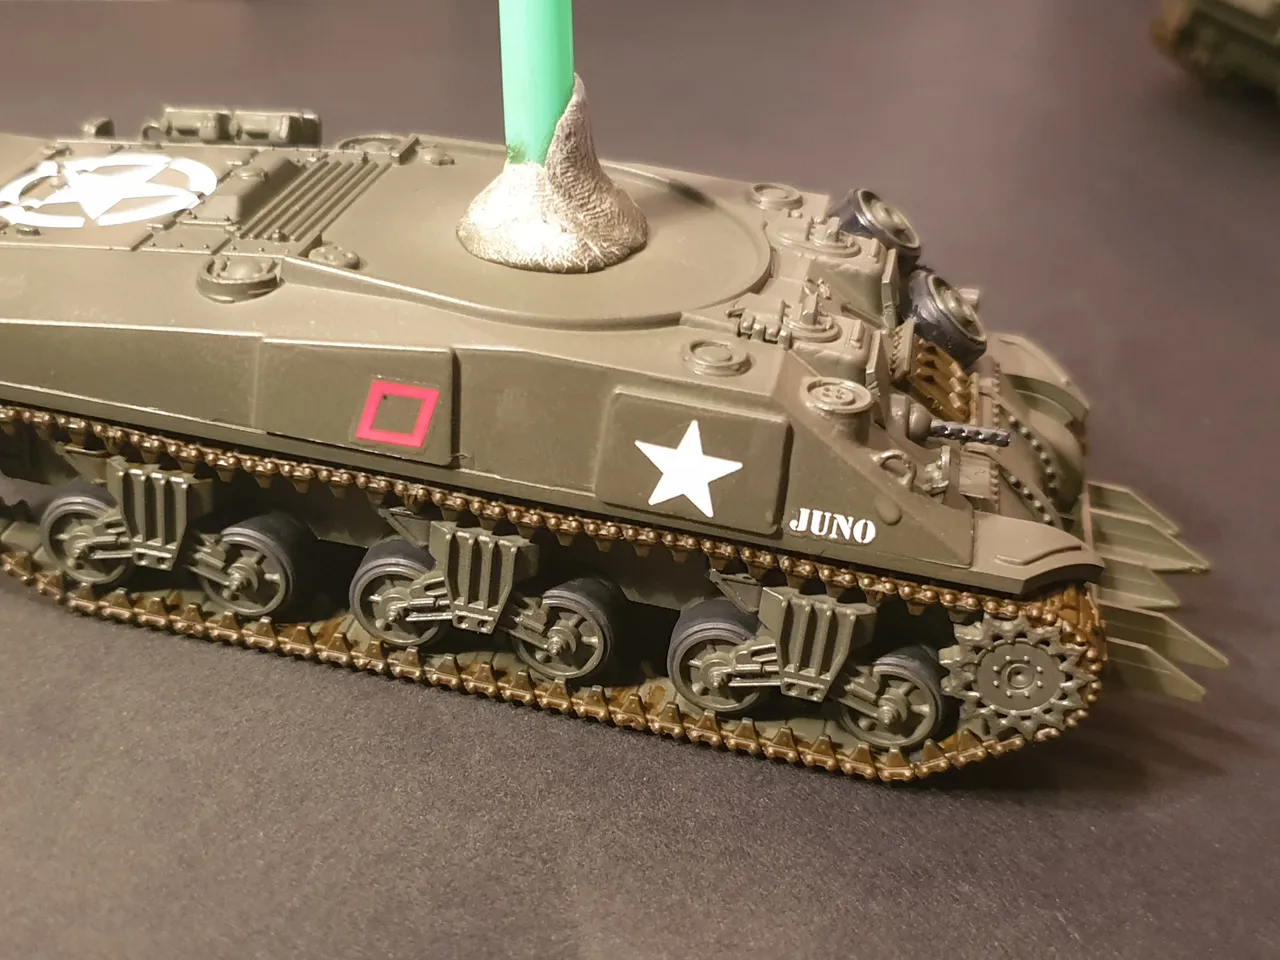
And after a few hours of cutting, soaking and placing here we have it! I must say I am really happy with how these tanks are coming along. Next I need to apply another clear coat to protect the decals from the next stage... WEATHERING :-)
Thankyou for stopping by! Please like this post if you enjoyed it and follow me to see not only how this build finishes but also the Dtube/YouTube Video of the build as well.
Take Care!