Walnut Ink
Summer is about to end and it is harvest time. Time to show you an easy DIY project to gather some new organic colors to try out the rest of the year!
Lots of stuff we can find in our garden or closeby nature can be used to make your own paint or ink.
One of my favorites is the warm brownish ink of the walnut tree. And it's made of the hulls, a byproduct we would otherwise simply get rid of to enjoy the delicious nuts inside!
I just made a fresh patch, that means I am able to share some pictures of the outcome with you.
Materials
1kg of walnut hulls
Water
optional: Iron/vinegar
Jars/Bottles
Slow Cooker
Strainer (different sizes if possible)
Step 1
First, you will have to find a walnut tree. They are simple to spot because there isn't much growing around them. That's due to a tanning agent that is released to the ground by the roots, hulls and fallen leaves.
Water that contains walnut can be used to keep seedling from sprouting.
If you happen to live in a part of the world where these trees don't grow- as far as I know, the hulls can be bought as a powder. That will save you a lot of work.
Step 2
Separate the hulls from the nutshells. Since I am in a fierce competition with the squirrels in our garden, I had to harvest early this year. That means the hulls are not cracked open yet and I had to cut them off. Maybe it would be good to have a stone mortar for those but I need to get a new one.
The walnut hulls can stain your clothes and hands badly! So be aware of that. I didn't use gloves, because I underestimated the deed that needed to be done.
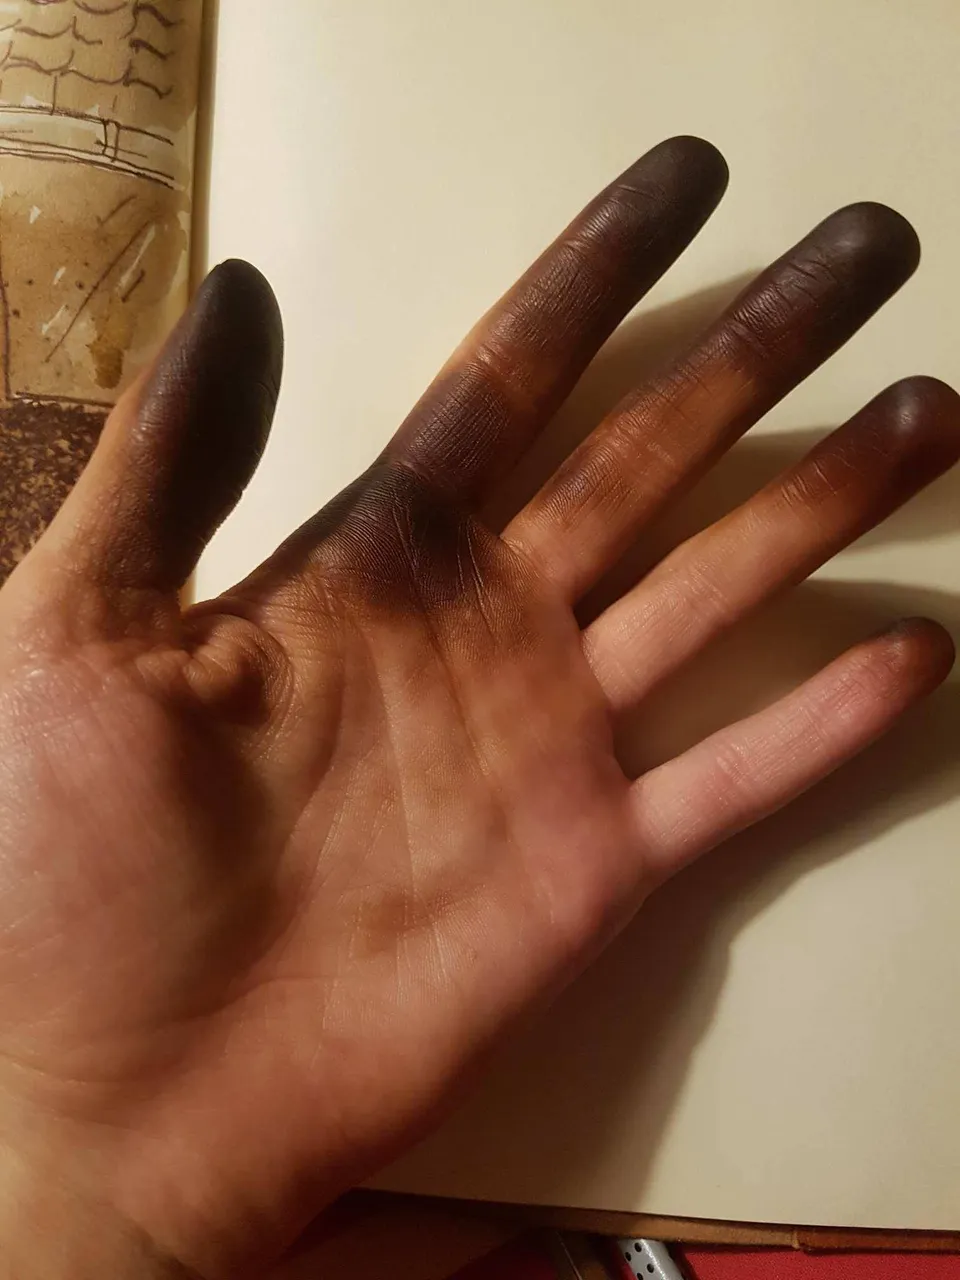
Well, I guess it will grow out with time...
Step 3
Fill the hulls in a pot and let it simmer for at least a couple of hours. Best would be to let it simmer for days. The hulls have to be covered in water. If it boils away, you just refill the water.
Step 4
Reduce it to an extract. Let the water boil away until maybe half a liter is left. I strained the solids before I reduced it to get a better idea of the consistency and color. To filter the ink, it is best to repeat the process with finer filters.
Step 5
To darken your ink, you can use an iron/vinegar solution. The pictures in this article show unadulterated ink, but I will soon experiment to have a variety of shades.
Step 6
It is best to store the ink in dark bottles or jars. if you don't have that available just store the jars in a dark place.
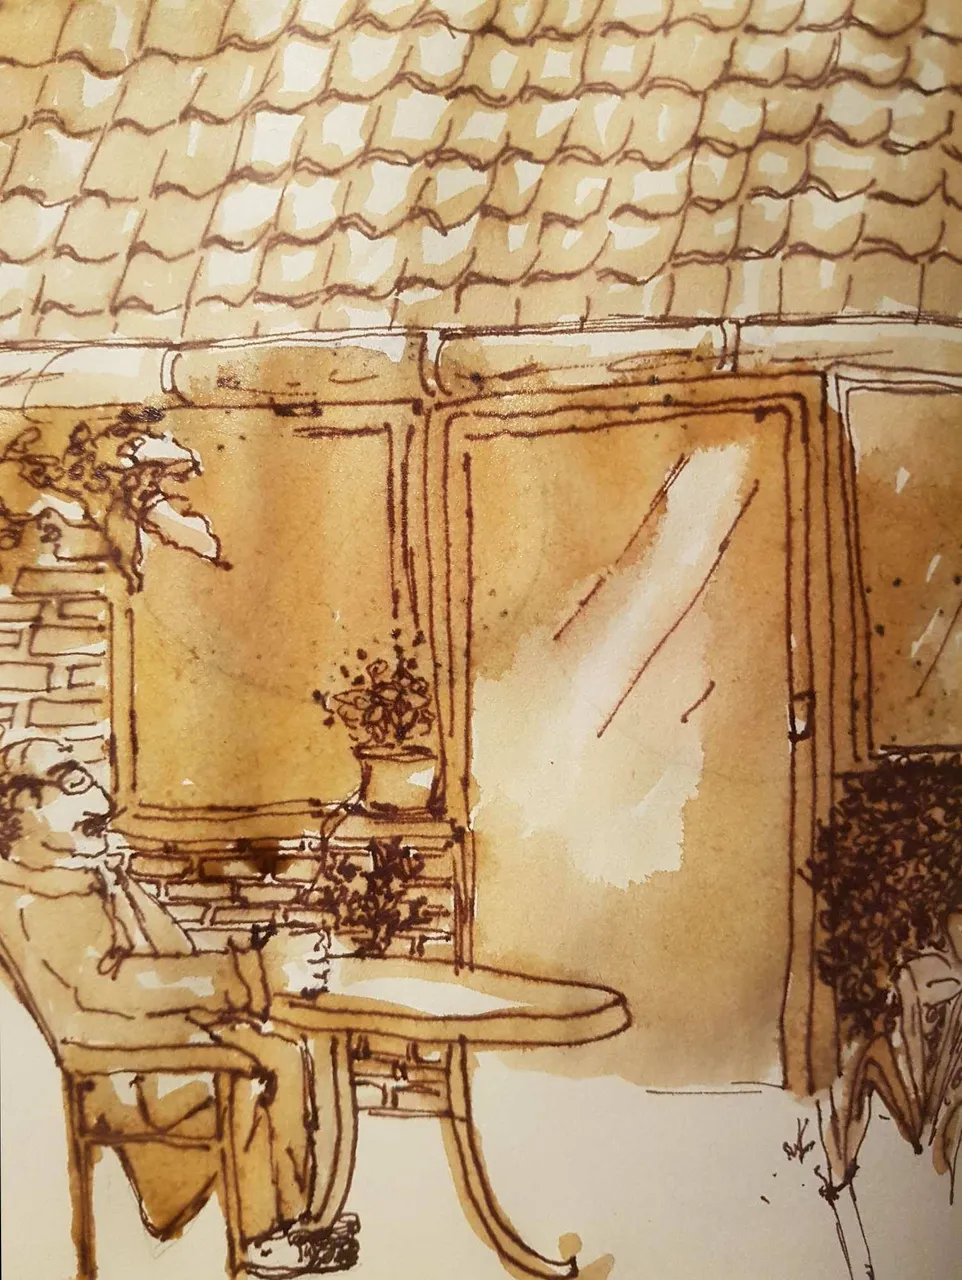
The picture shows a walnut ink drawing still in progress, for a tiny short story I will soon publish on Steemit.
I hope you enjoyed this article!