Material and Procedure
..:: * ::..
..:: :: :: * :: :: ::..
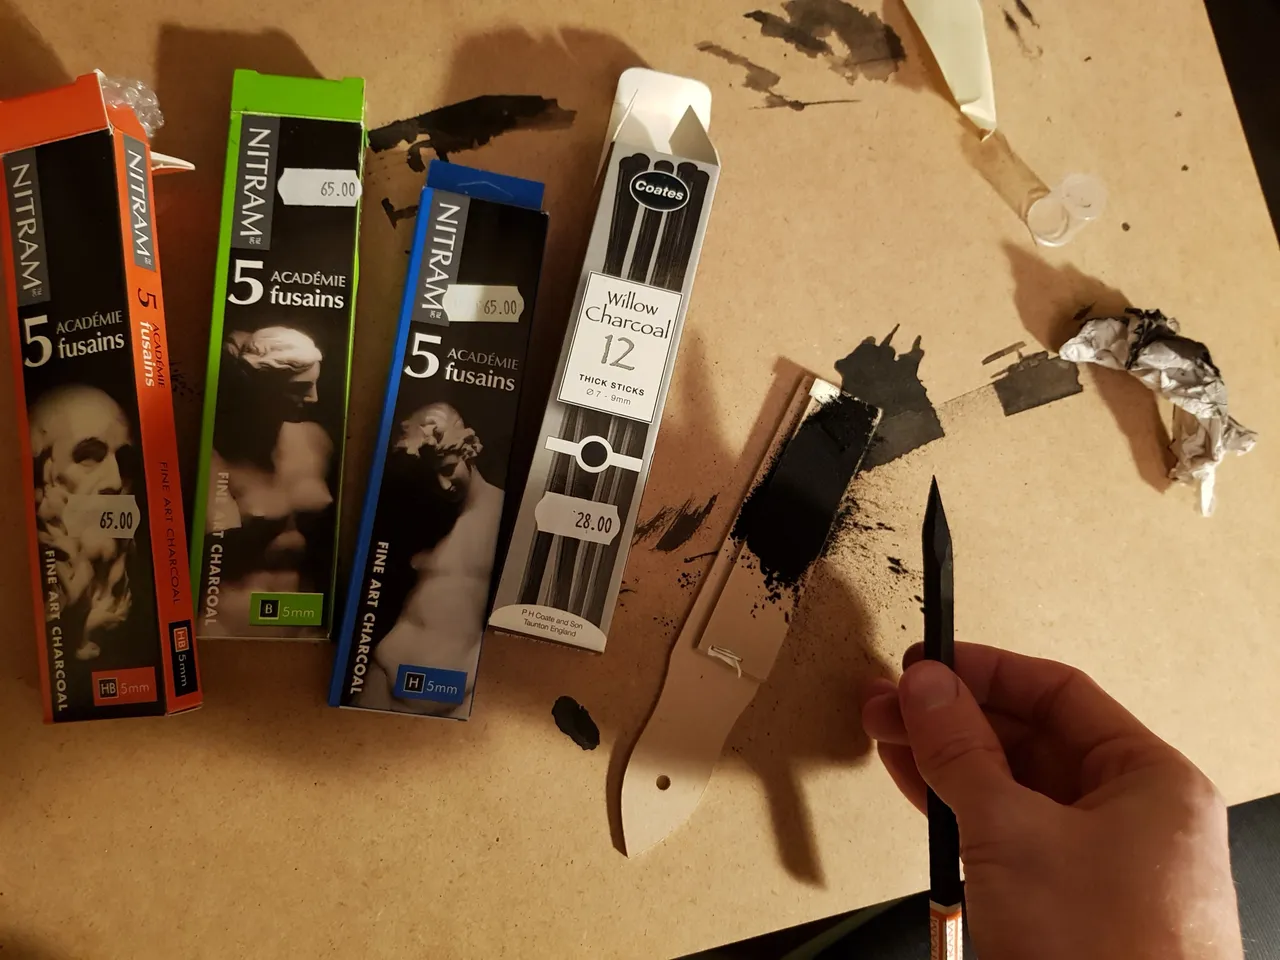
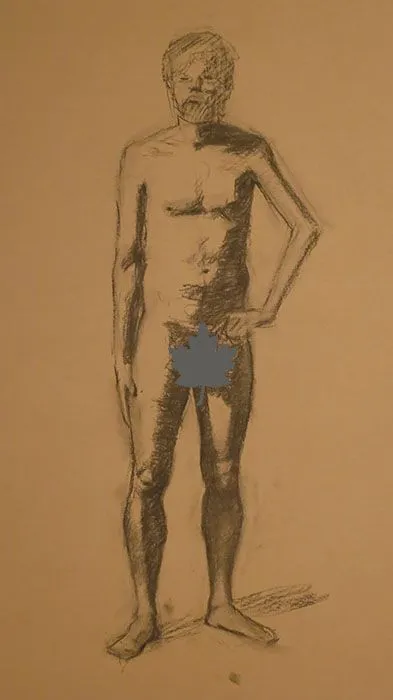
Use the softer Willow charcoal and establish the height - copy from the top of the head and bottom of the feet horizontally to the paper. If you have set up the paper this should be possible.
Establish a center line. Where is the body weight? Is the model leaning? If you draw a line from between the feet straight up - where does it end.
Start to block in the volumes. See big shapes and measure their relationship with each other and the model. Look for angels and draw clear lines that are easy to read! They are easier to check if they are correct.
Check the height - from feet to crotch area to head. Compare the width to the height.
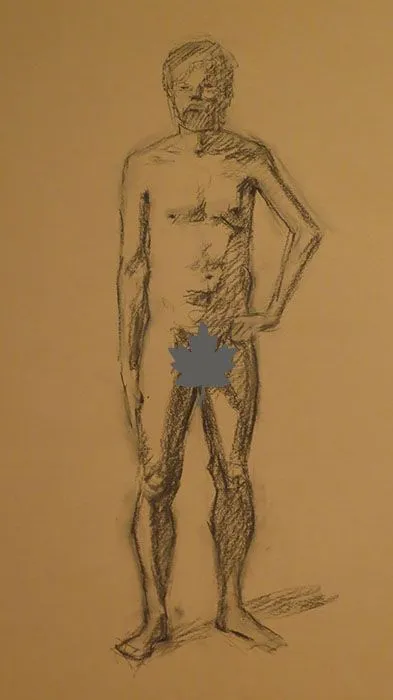
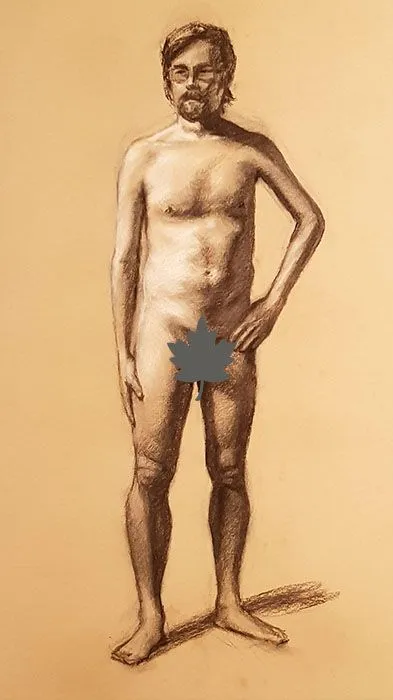
- Finding light shapes and mid tones and breaking all the different shapes into smaller pieces.
- Work with the transitions between the shapes - hard, soft or lost.
- Go back to previous steps as fast as something feels out of proportion.
- Finally add a background that suit the drawing.
- Ta da! All done!
- Fokus on the parts that do not move much. The model will lose posture so skip details in the arms or head in the beginning.
- If you want to focus on one part - ask the model to hold that part still.
- Establish strong legs - they are the foundation to build the upper body on top
- Squint your eyes or blur your vision to see values more clearly.
- Use the art eraser to remove charcoal - but it often work well to just smudge the charcoal.
I think this was enough for this time. Ask me anything. Of course there is lots more to teach but I think this should be enough for a semi advanced charcoal portrait of a live model. Cheers!
