This time i'm going to show you how i create my flash tattoo designs step by step, the materials i use to give a finished look, hoping you'll find it usefull and that you'd be able to grab the best part of this as much as you can.

✋Lets Start✍️
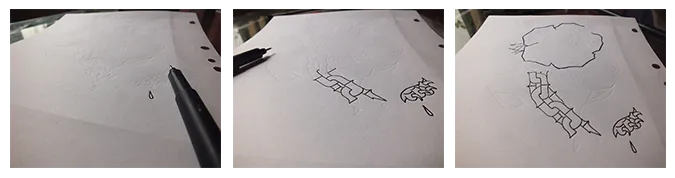
Phase 1
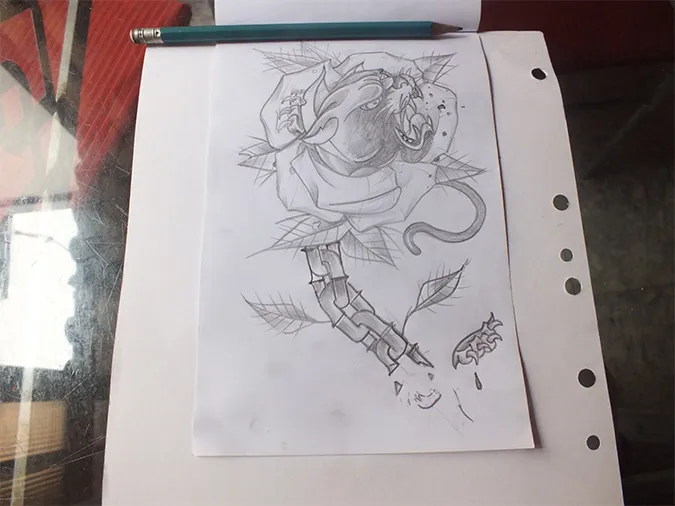
I already had this design in one of my many drawing books, ready to go with the inking and coloring process, as usual, i like to work with recicle paper, i have tons of that saved in my house, old shets from school homeworks, cartridge paper from some old folders, and in this case im working on one of those, take a good look.👀! Hey i really mean it, open your third eye too 👁️
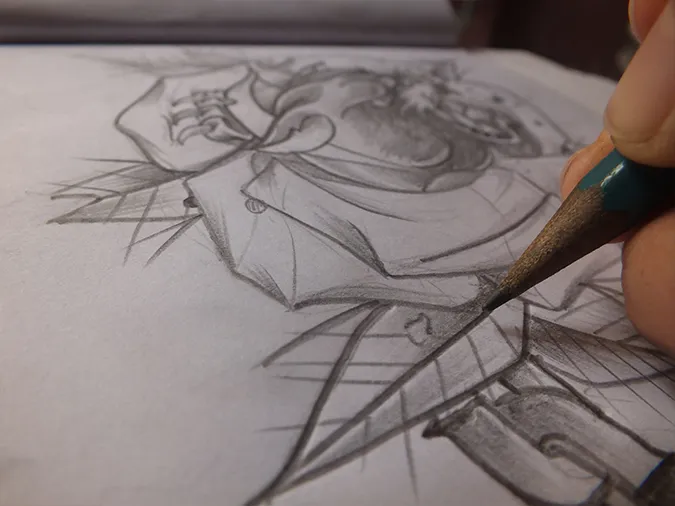
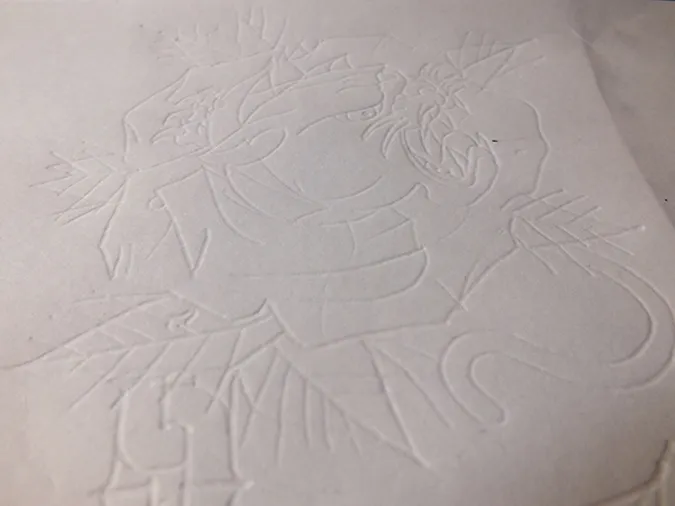
First, i grab the cartridge paper (heavy drawing paper) and place it down the sheet with the drawing, and using a hard drawing pen, i redraw every line applying a little bit of pressure ✍, in a way that later i can use the marks as a guide to create the linework.
Doing it this way, its easier to keep your drawing sheet clean, no pencil strokes or stains. You can see the result down here.
👇

Phase 2
So now that i have all of my guides, i move on into the inking, i made some GIFs to guide you through the whole process.🖊️

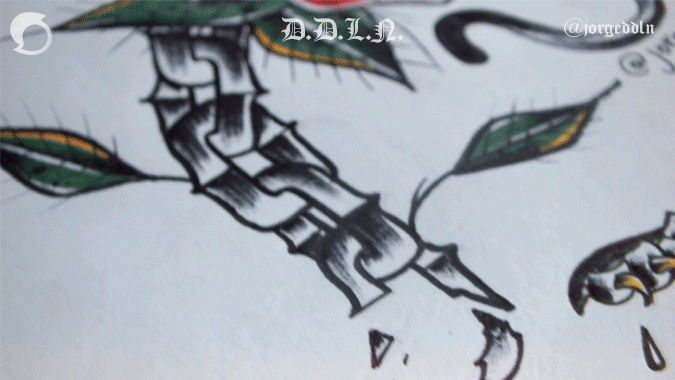
Using a fine point marker i continue creating the strokes to define all the contours of the drawing, starting from the chain at the bottom, and going up, this is the way i like to do it, you can follow the order you prefer.
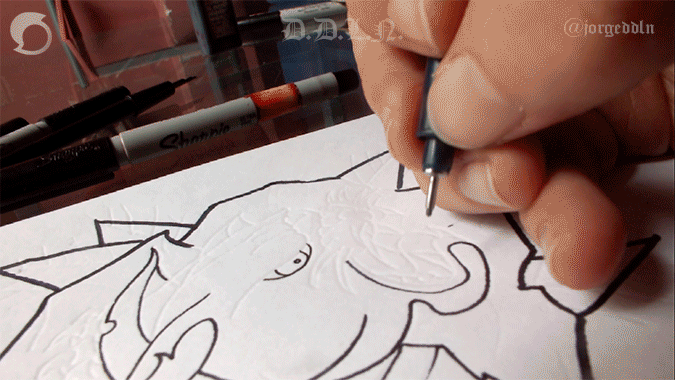
The process keeps going as i continue to define the details on the face. There are some spots, where you'll have to play with the value of the line to give more strenght to the design and make it pop up, the contour it's always going to be thicker and in the inside i add thinner lines, in order to respect the rules of traditional tattoo designs.

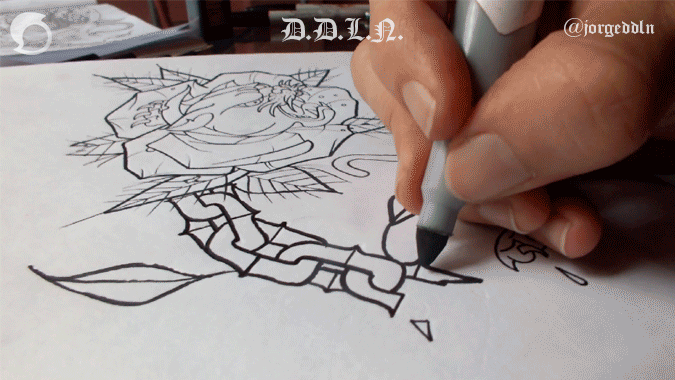
As you can see, i make the line details from inside the leaf and then continue to do simple slighty strokes, to give the look i want.
Phase 3
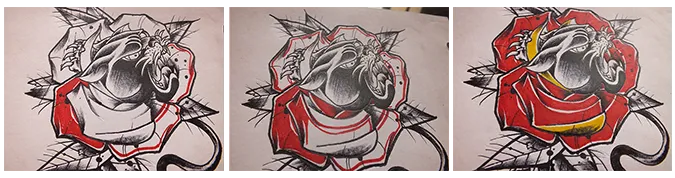
Once i've finished the linework, i start shading the drawing, there are different ways to shade or colour our designs, and in this occasion, i will show you how to do it with a used marker.
I start making little strokes over the drawing, one after the other, trying to go very superficial to create this gradient style finish.
I keep going, making the shadows in every part of the drawing, allways trying to remember the basics of light, adding more gradients or solid blocks where it's needed.

I add some shades to the leaf🍃, using the same technique, and continue to do the same with the rose petals🌹, and every spot in the panther face, remember, in this type of drawing we have to leave a tiny space between the line and the shade so it wont get to confusing, this way every part has it's own space.🎇

Phase 4
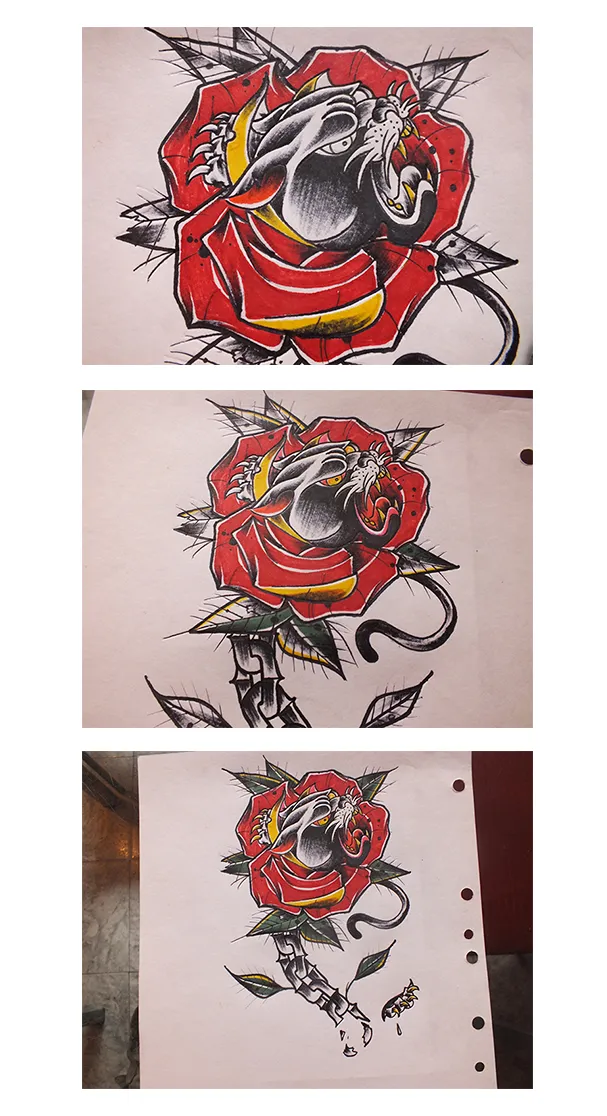
Coloring process: at this part i'm not going to give much details because it's only about adding some solid blocks using color markers, and leaving some space for the lights, now the work it's almost done. I'll let The pictures tell this part of the story, 👁️ watch closely 👁️
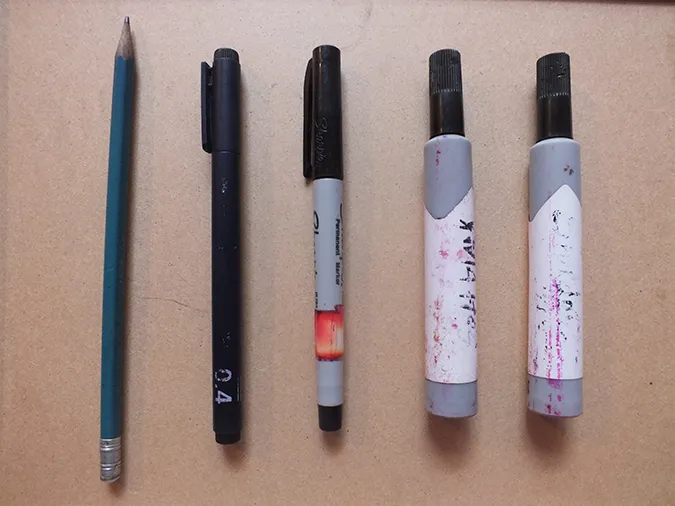
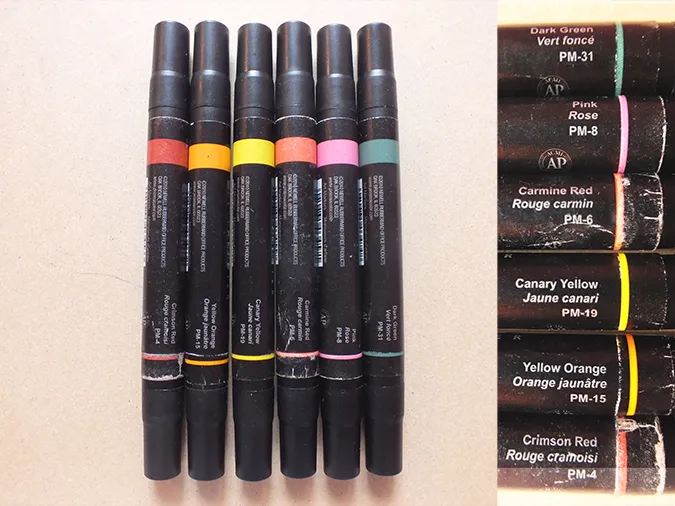
 Here i'll show you the materials i use, some black markers and some color markers as well.
 ✨TAN TAN TAN✨
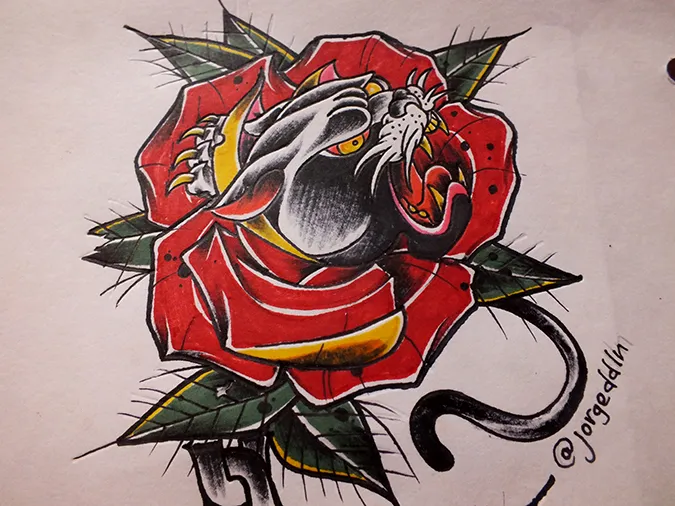
The world of tattoing is a vast world, full of different thecniques and ideas, as every other world in the manners of art.
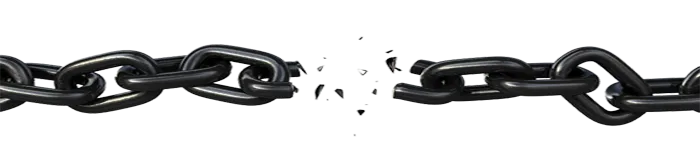
This ilustration its about the strugle in our actual world between the nature and the human creation, thats why i mixed the rose with the chain, and the panther reflects the nature finding its way out of this pollution and chaos.
I think we're done for now, i hope you've enjoyed reading this and most of all that you've learned something new today, and that you can share it with me later.
I say goodbye and open your eyes
The drawing, all images and GIFs were made by me, @jorgeddln Jorge Arellano, using my Fujifilm Fine Pix HSR and with the software Adobe Photoshop CC
chain1chain2chain3
🐏𝖏𝖔𝖗𝖌𝖊𝖉𝖉𝖑𝖓 [𝕯𝖆𝖒𝖆𝖉𝖑𝖆𝖓𝖔𝖈𝖍𝖊] 𝖑𝖆𝖈𝖆𝖇𝖗𝖆𝖇𝖊𝖇𝖊🐐