Hello and good Saturday!
Today I thought I would write another step by step/ process shot post about one of my latest paintings.
I usually like to document my process, but lately I've just done quicker works where I've ditched the photosessions and just focused on the painting.
This little portrait however I made the other day and decided before I started that I would take clear process photos.
One of the reasons being, I wanted to try adding some more drawing in with the watercolor and was curious about the reslut.
Ok, so lets start!
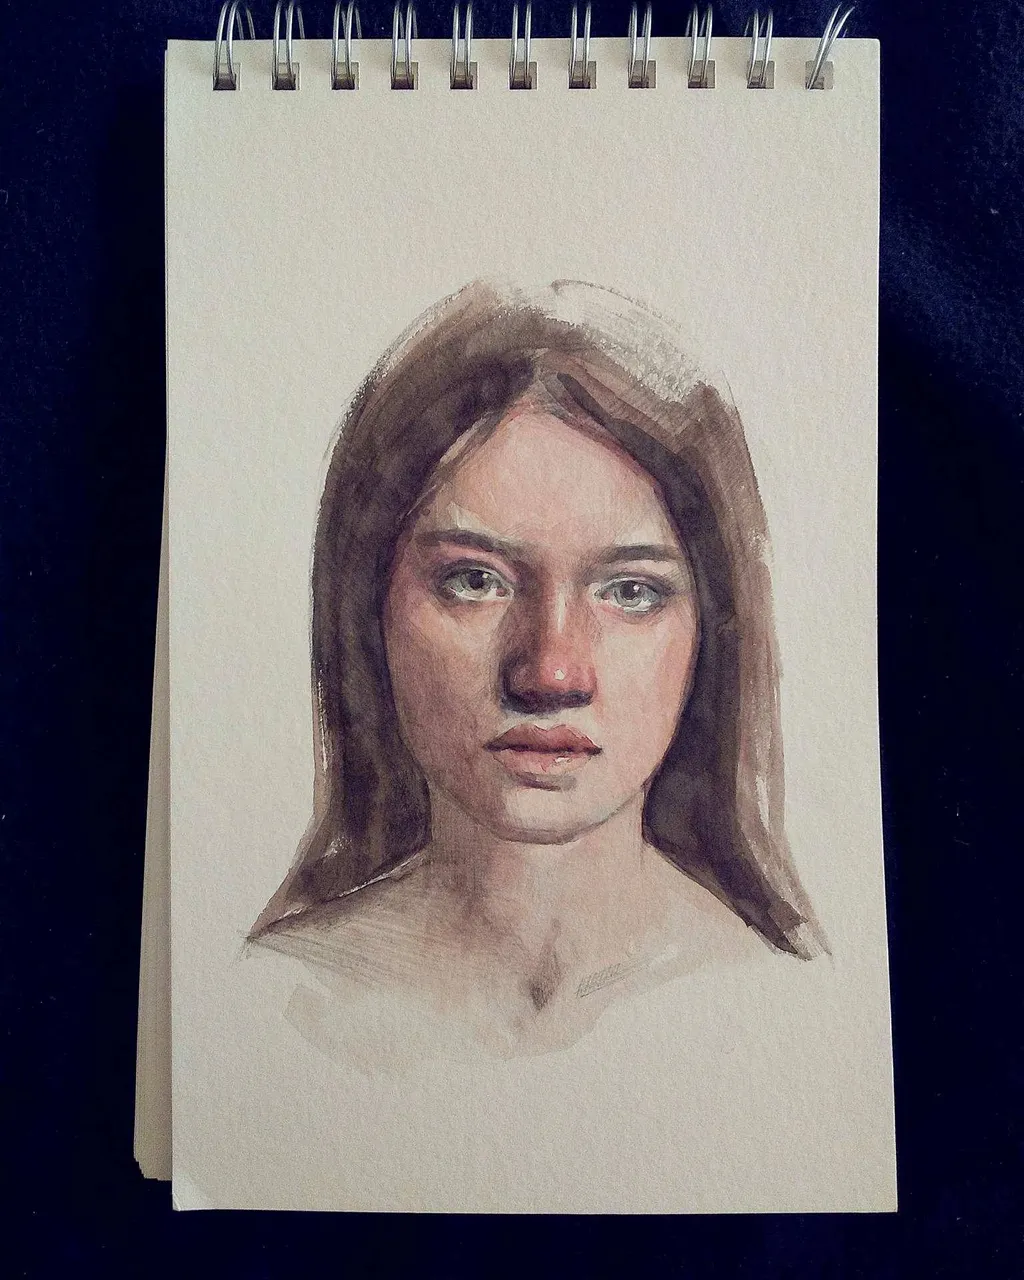
This is the finished version of the portrait I will be talking about;
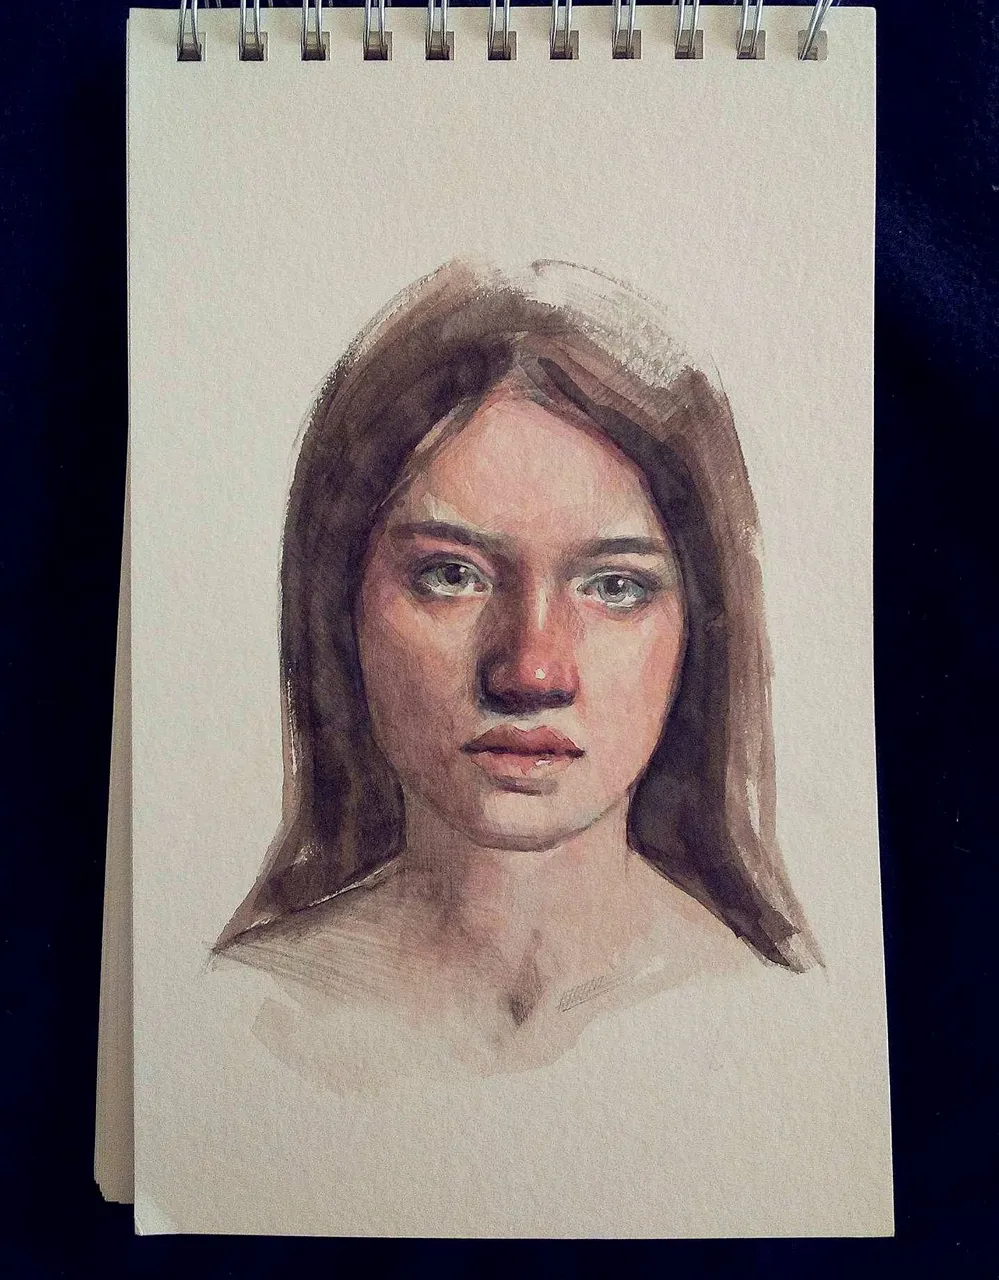
Now this portrait is not a spesific person, it's more or less a ''madeup'' person. That happens sometimes when I don't want to care too much about likeness, but just focus on a technique.
Step 1: The drawing
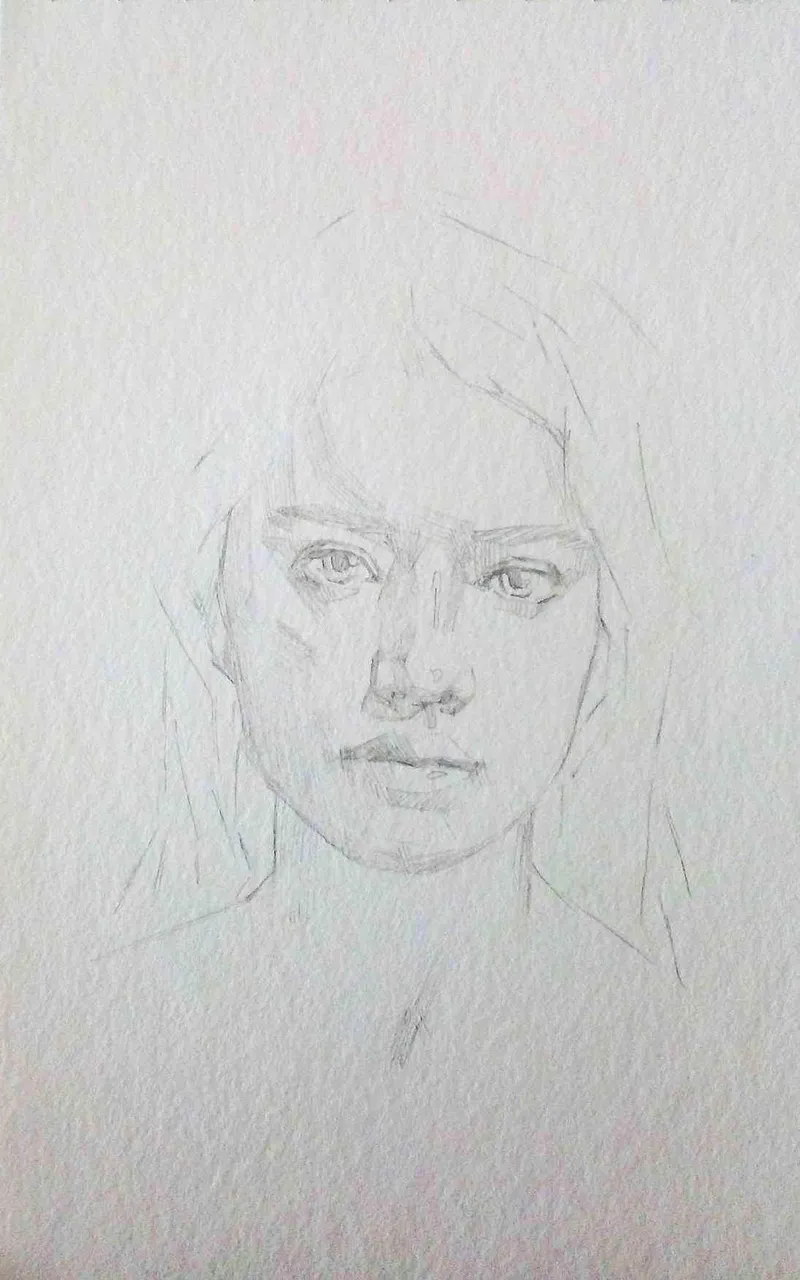
When I make the drawing I use a soft pencil, like a B2 and lightly sketch up bigger proportions and planes. A plane meaning where the form breaks and creates a half tone or a shadow. One area this usually is evident is the nose.
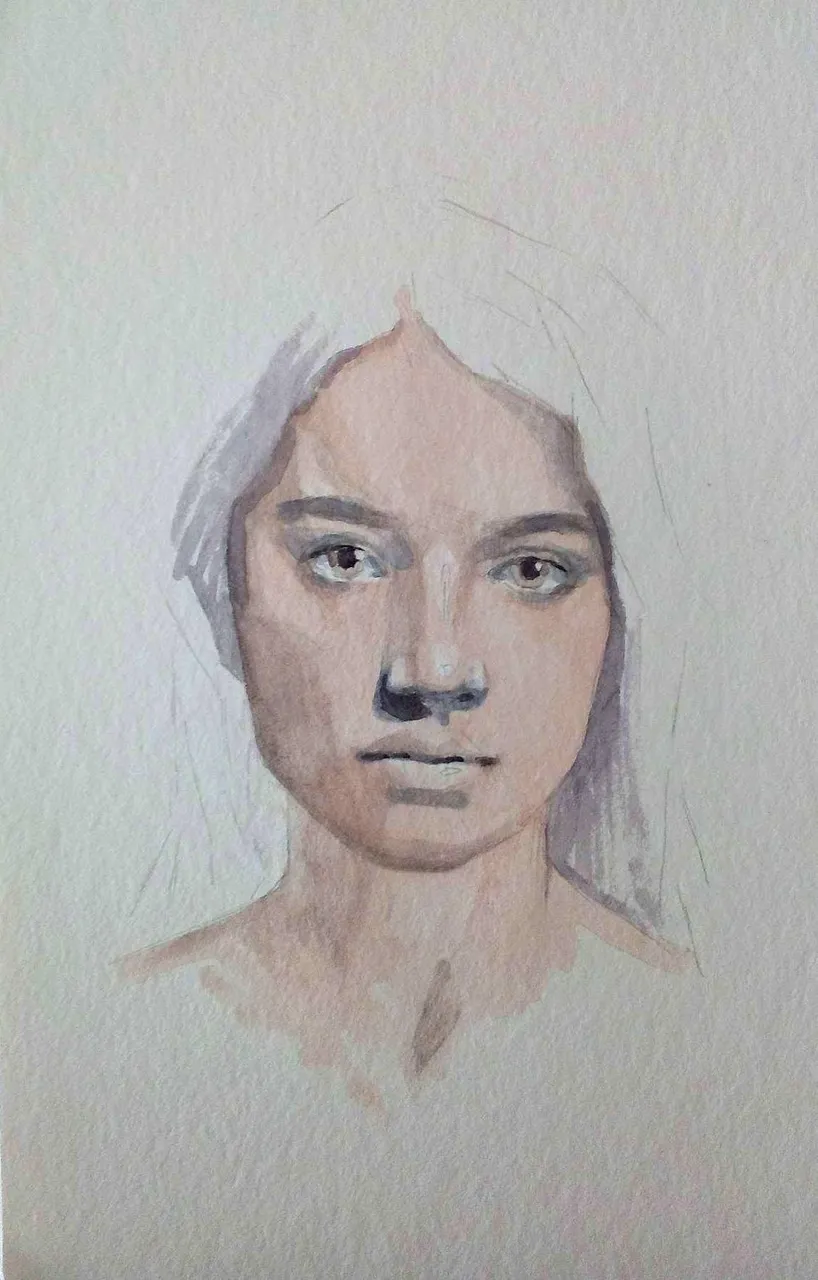
Step 2: Filling in the shadows and darker half tones.
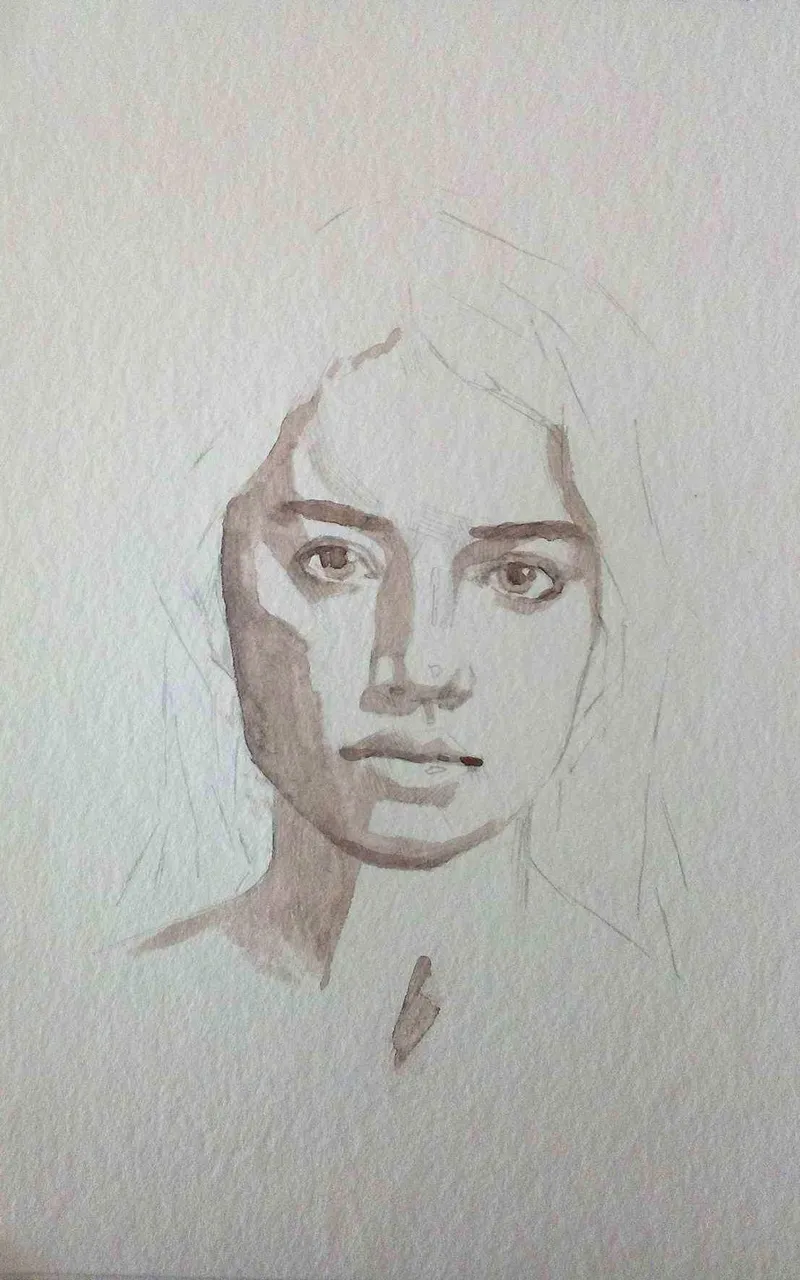
In step 2 I chose a neauteral color and put in a lightdark value to bring forward my drawing. I never put down my darkest darks in this step. This is watercolor, so naturally we go from light to darker.
Step 3: Putting in a light was of the general skin color.
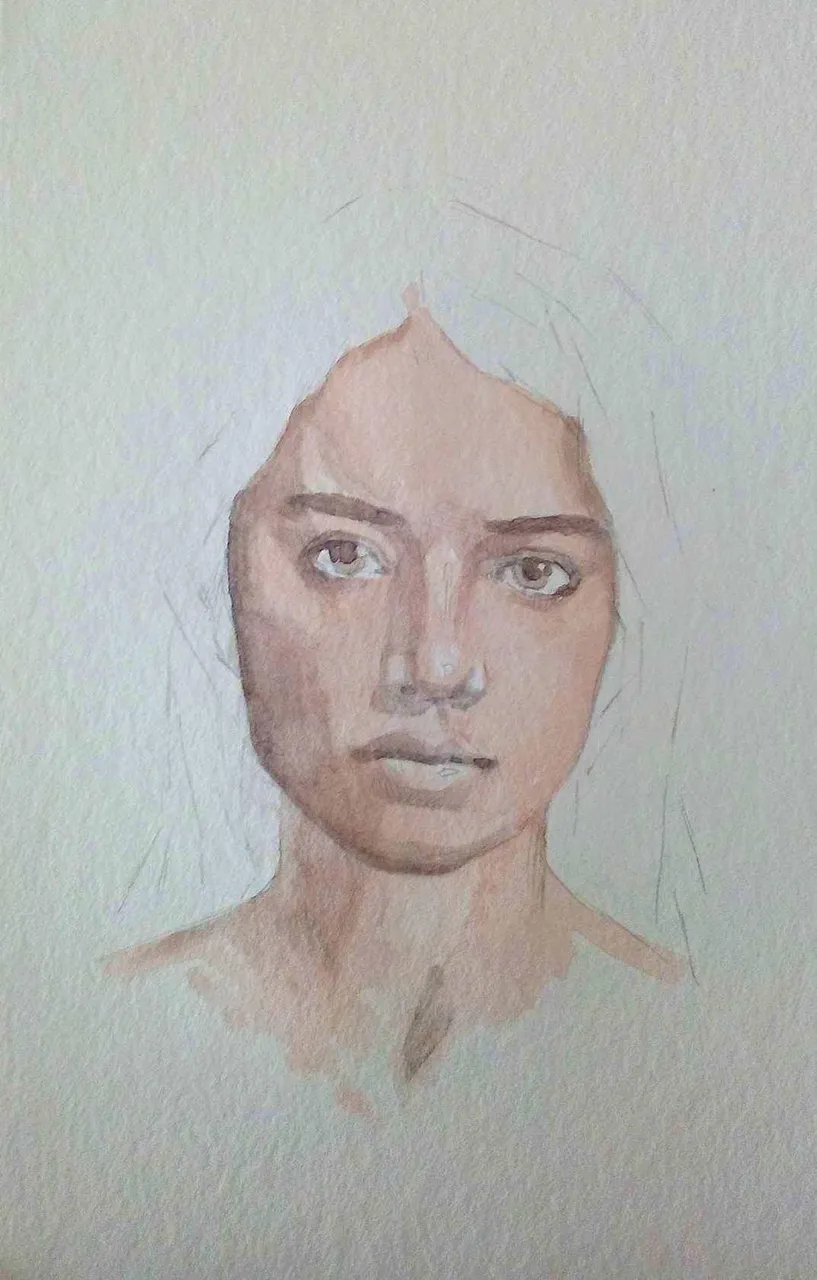
In step three I put in a general value and color for the skincolor. I also make sure at this point that I don't put the color down where I have marked for the highlights to be; the tip of the nose, the lips, the eyes.
Step 4: Put in a couple of notes of darkers value.
At this point I usually pot in a couple of notes of darker value to set my value range.
Step 5: Adding more color and halftones.
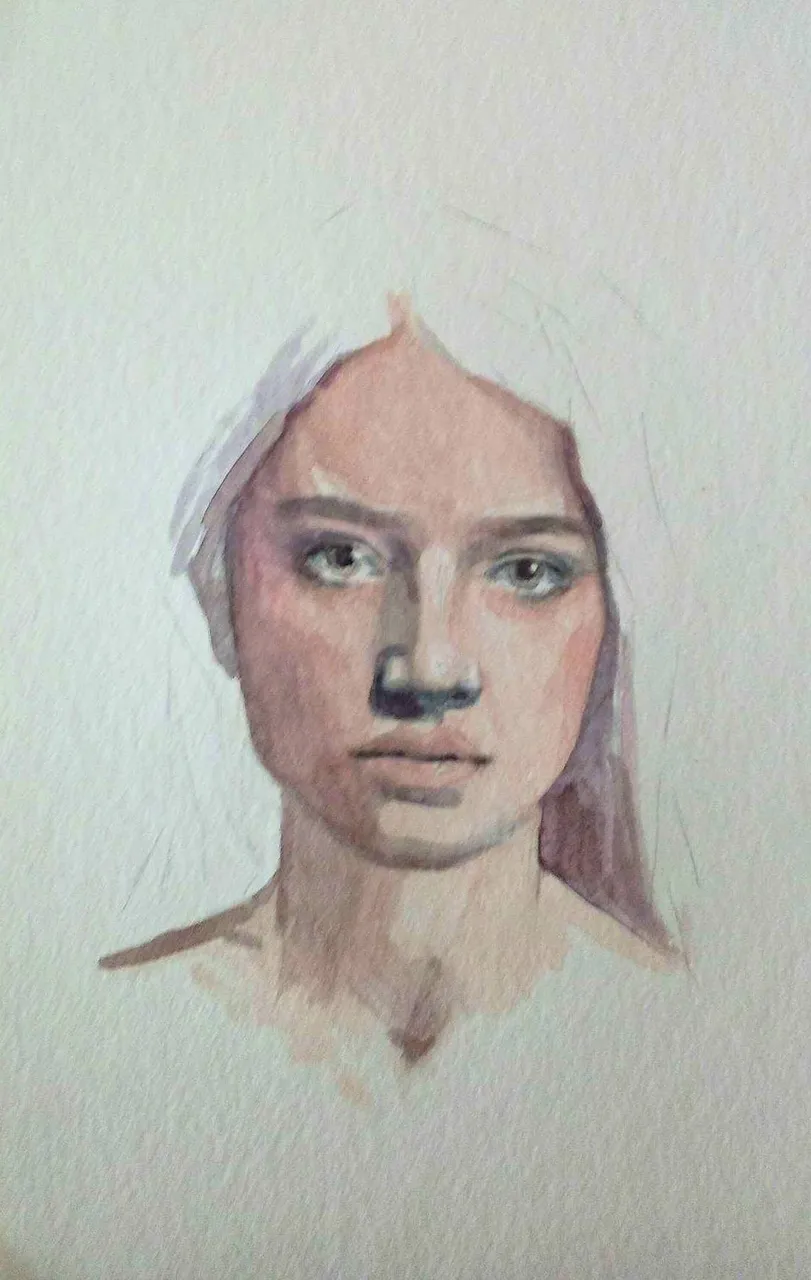
Now that I've stablished my main areas of shadow, what my darkest dark is going to be and the general value of the lightshape I start adding more color and halftones. What this means is that I am starting to build form.
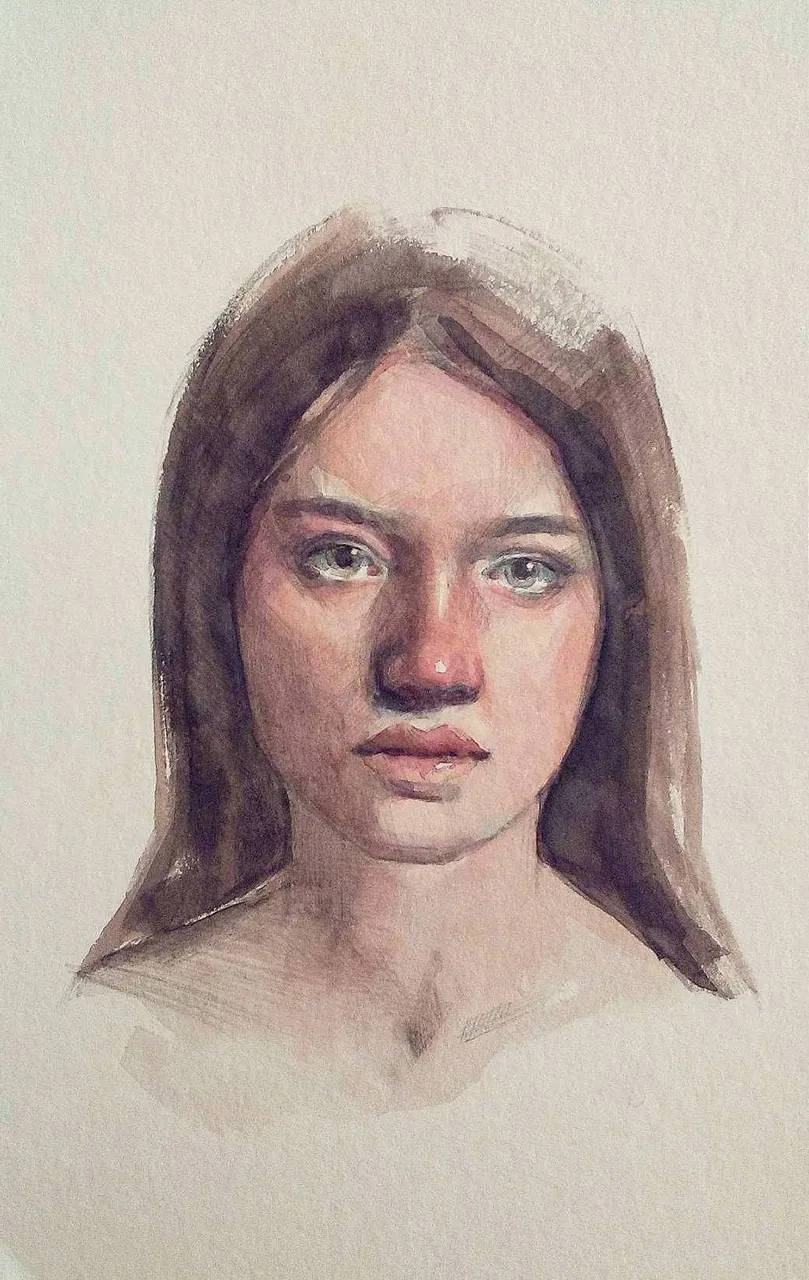
Step 6: Adding the hair and more details.

In this painting I waited for a while before I added the hair. The reason was simple really, I didn't know what I wanted it to look like. On one side I wanted it done up, but then I didn't want it to look like her hair was short, so I went with this behind the shoulders, obviously she's got long hair, but I don't have to deal with it solution.. hehe..
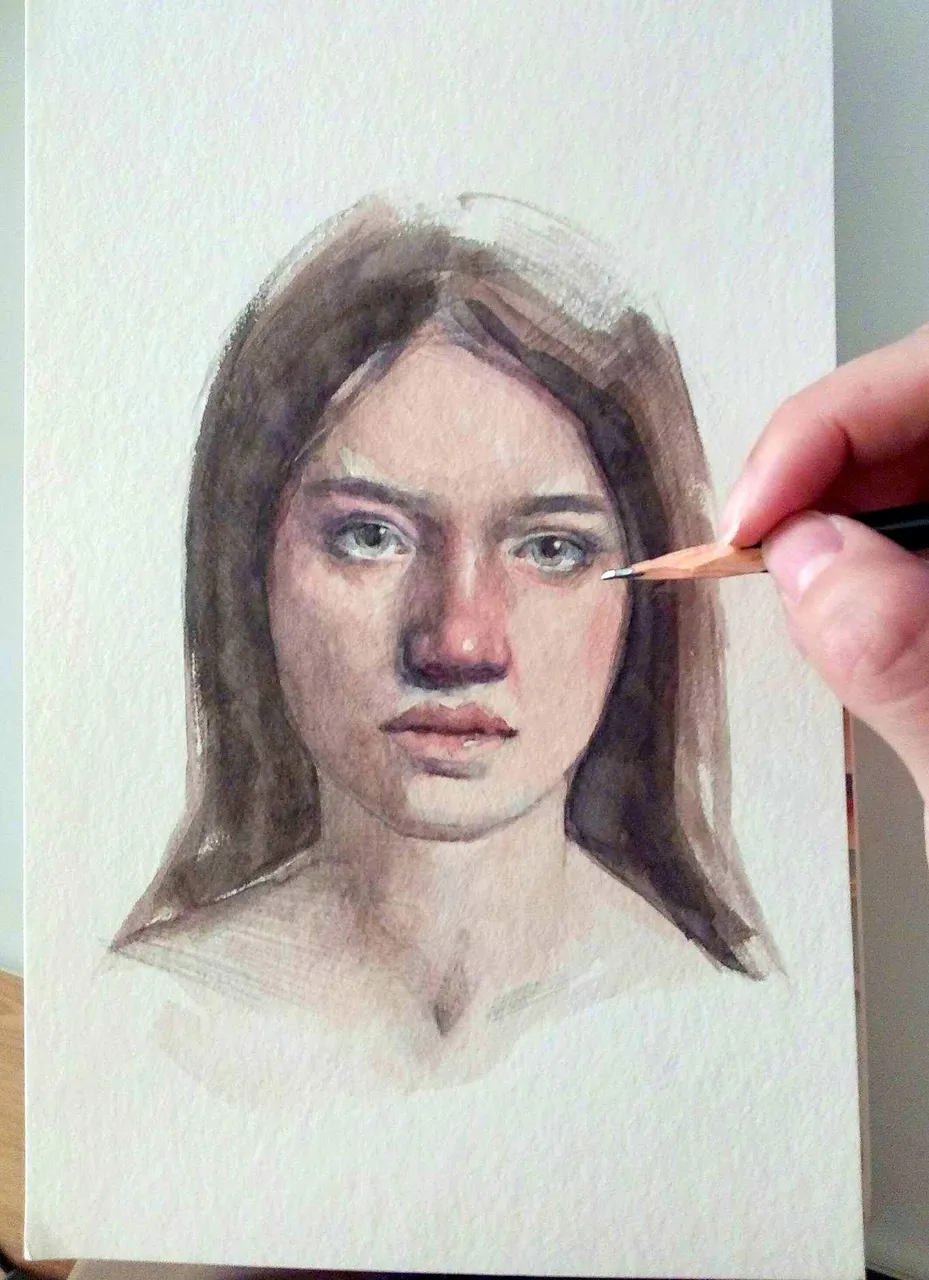
Step 7: Adding more chroma and cross hatching with pencil.
In this last and final step I added more color in on her nose and lips and cross hatched the form with a pencil.
To cross hatch is a technique that is used for building form in drawing or painting. When you cross hatch you basically work with and across the planes of the form with lines. It is a way of buildng and strenghtening the sense of form that I like to use.
And so there you have it! They process of my latest watercolor portrait.
What do you think of combining the use of pencil and watercolor? Have you tried cross- hatching? :)
As always, any thoughts or questions are welcome!
A good rest of the weekend to you all! :)