Hello everyone!
Today I wanted to share with you the process of how I paint my portraits.
One of the ways I make my living is through taking portrait comissions and today I wanted to share one of them with you where I have documented the process.
The painting which we will be looking at is this one;
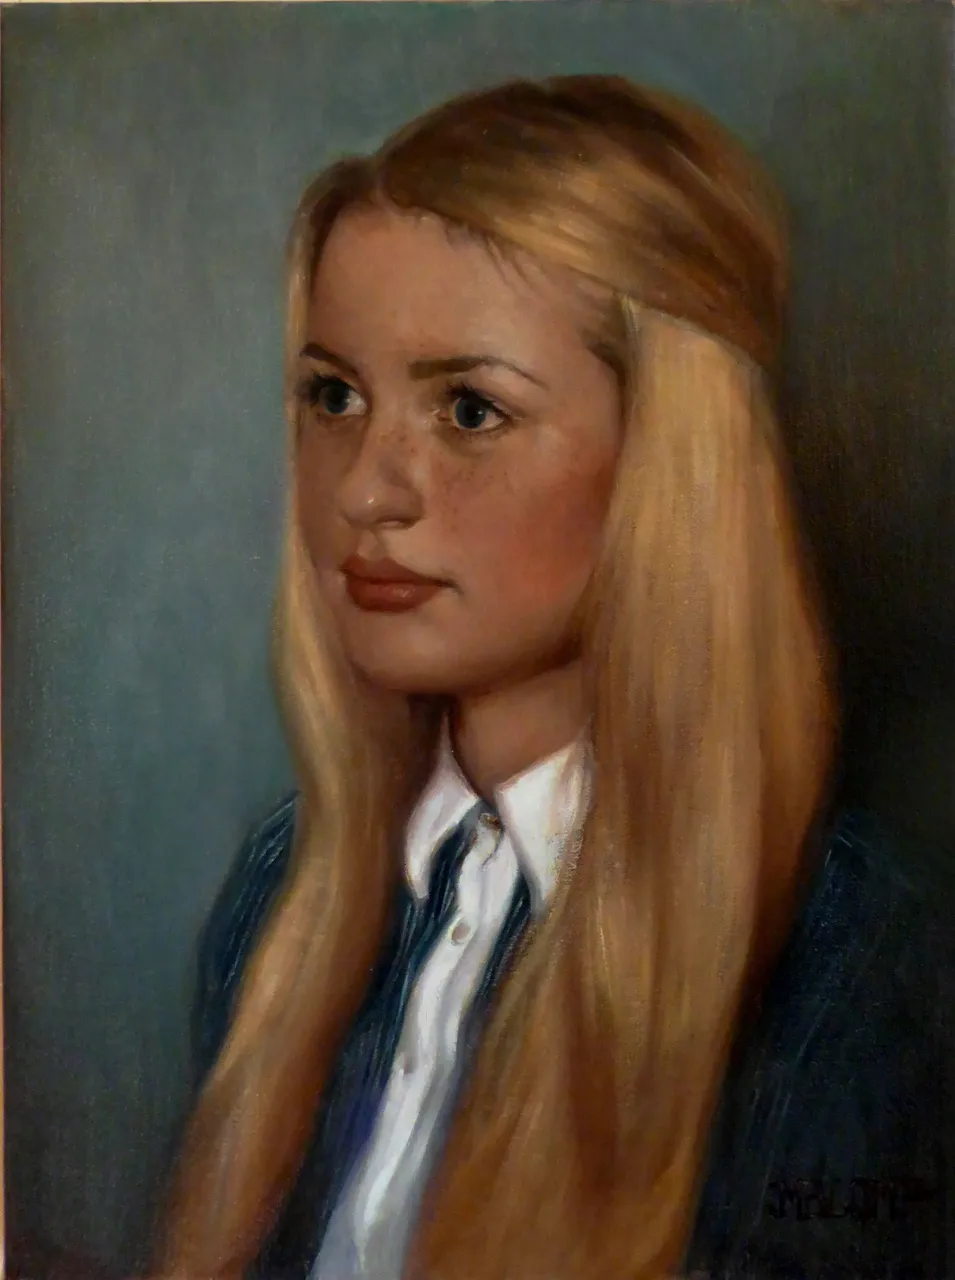
Portraits comission, 30 x 40 cm, oil paint on canvas.
This painting was painted from a photo, but because of the privacy of the people who comissioned me I will not share the photo itself. I will say that I prefer to paint from life, but when I take comissions from people in other countries I sometimes have to work from photos.
Whenever I do that though, I always have clear guide lines that the people must follow when they take their picture.
Like;
- Never use flash in the photo.
- Take the photo in a natural light situation.
- Take the photo on a single color dark midtone background.
- Have the person whos picture's being taken have their eyes be in your own eye level.
- Don't smile with the mouth open so you show teeth. (I hate painting teeth...)
- Take a photo with the highest resolution possible.
Sometimes it takes a bit of back and forth to get the best image to work from, but it's worth it!
So lets get started on what the process actually looks like after I do get the perfect image and I am ready to begin!
Step 1 - Underpainting.
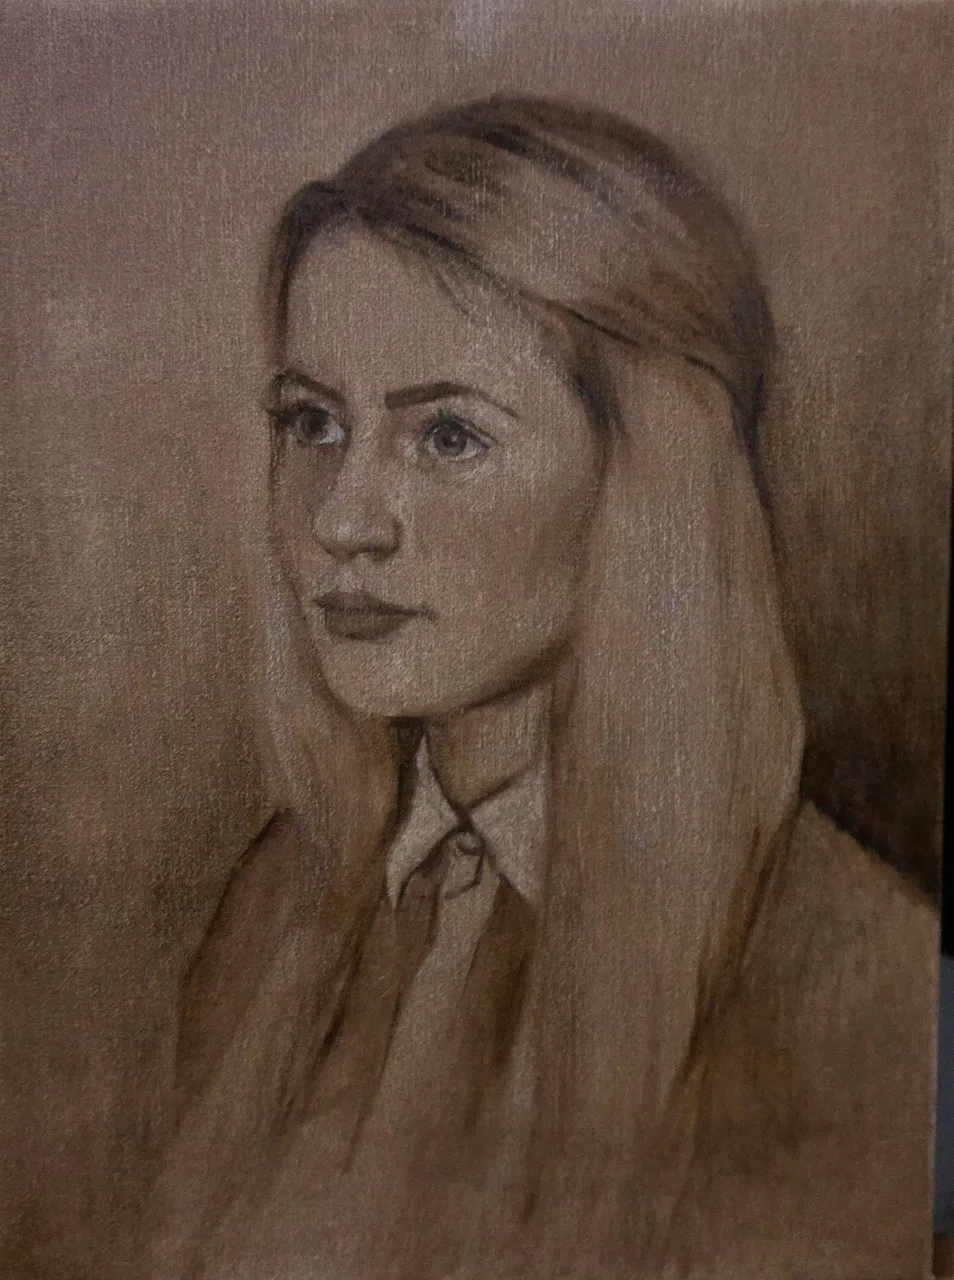
Underpainting using just Raw Umber.
The first step is something called underpainting. When I paint in this first phase I only use a color called Raw Umber. Raw umber is an earth pigment which means that it has less oil, which in its turn means that it dries quicker than other pigments. This is good because when you paint with oil colors you want to go fat over lean. Which again means you want the previous layer to dry before applying the next, this is to avoid the paint cracking over time.
In this stage I only use the paint with a little turpentine to make it thin and easy to move around. I sketch my drawing up on the canvas smudging it around with different brushes. In this stage I use all knds of tools, brushes, paper, sponges. This phase can almost be compared to drawing with charcoal. I know a lot of people like to draw on their canvas with cahrcoal before adding any paint, but I prefer to just start painting right away.
In this stage I get the basic proportions and some of the values down. Usually I go way less detailed with my underpaintings but with this one I had so much fun I worked with it a bit longer.
Step 2- Drybrushing on thing layers of color.
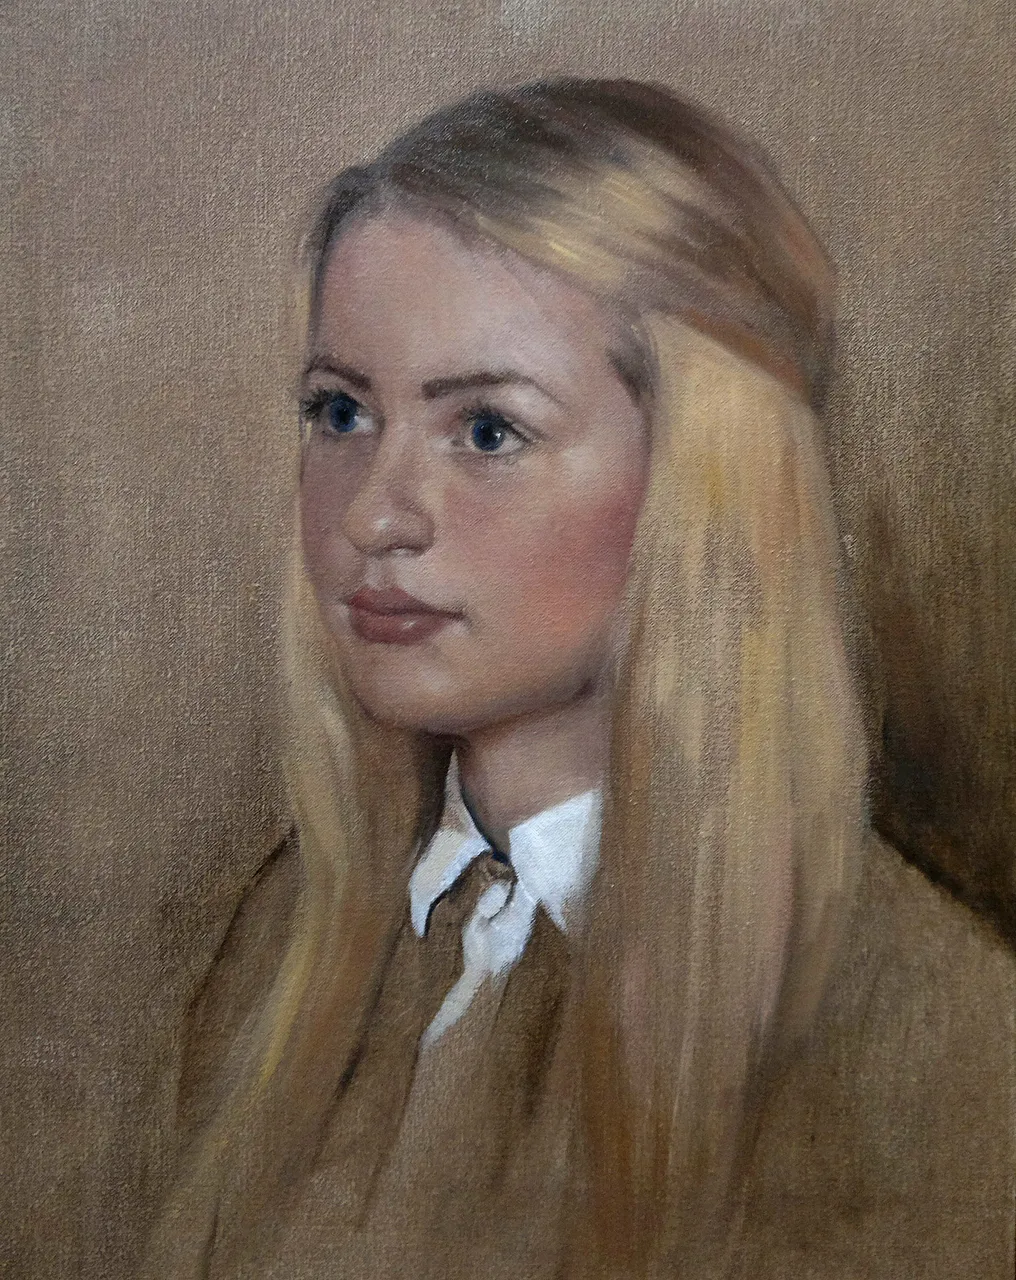
In the second stage I mix up a general value string of skin colors using the pigments; titanium white, ivory black, chinese vermillion and golden ochre. I then use soft brushes and go in with very little paint and just ''rub'' the paint over the underpainting. Some people like to go in with more paint and start to apply direct brush strokes that will completely cover up the underpainting, but I like this way myself, for me it offers more control and I keep the structure of my drawing longer.
Then when I have covered the painting with an even layer that shows me more the correct values and colors I will start my third layer.
Step 3 - More of everything!
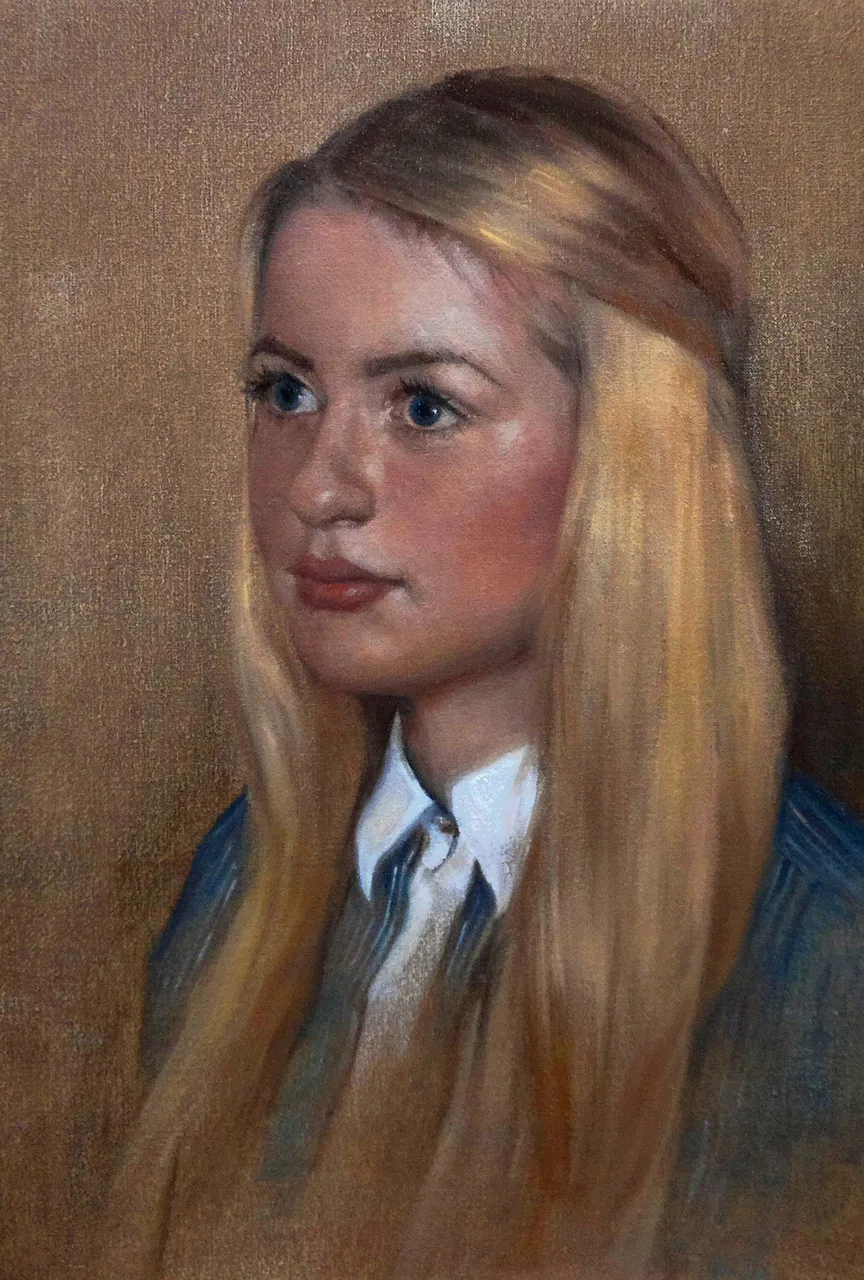
In my thirs stage I will apply more of yes, everything! More value range, more colors, more brushstroke, more paint and more details!
I usually save the background for last because I like to paint it in one go. Sometimes I also find that a portrait doesn't need background color, that the underpainting kind of works on its own. I found that this was the case with this painting, but the people who comissioned me really wanted a background and liked the color blue, so that's what happened. And hey, that's ok! :)
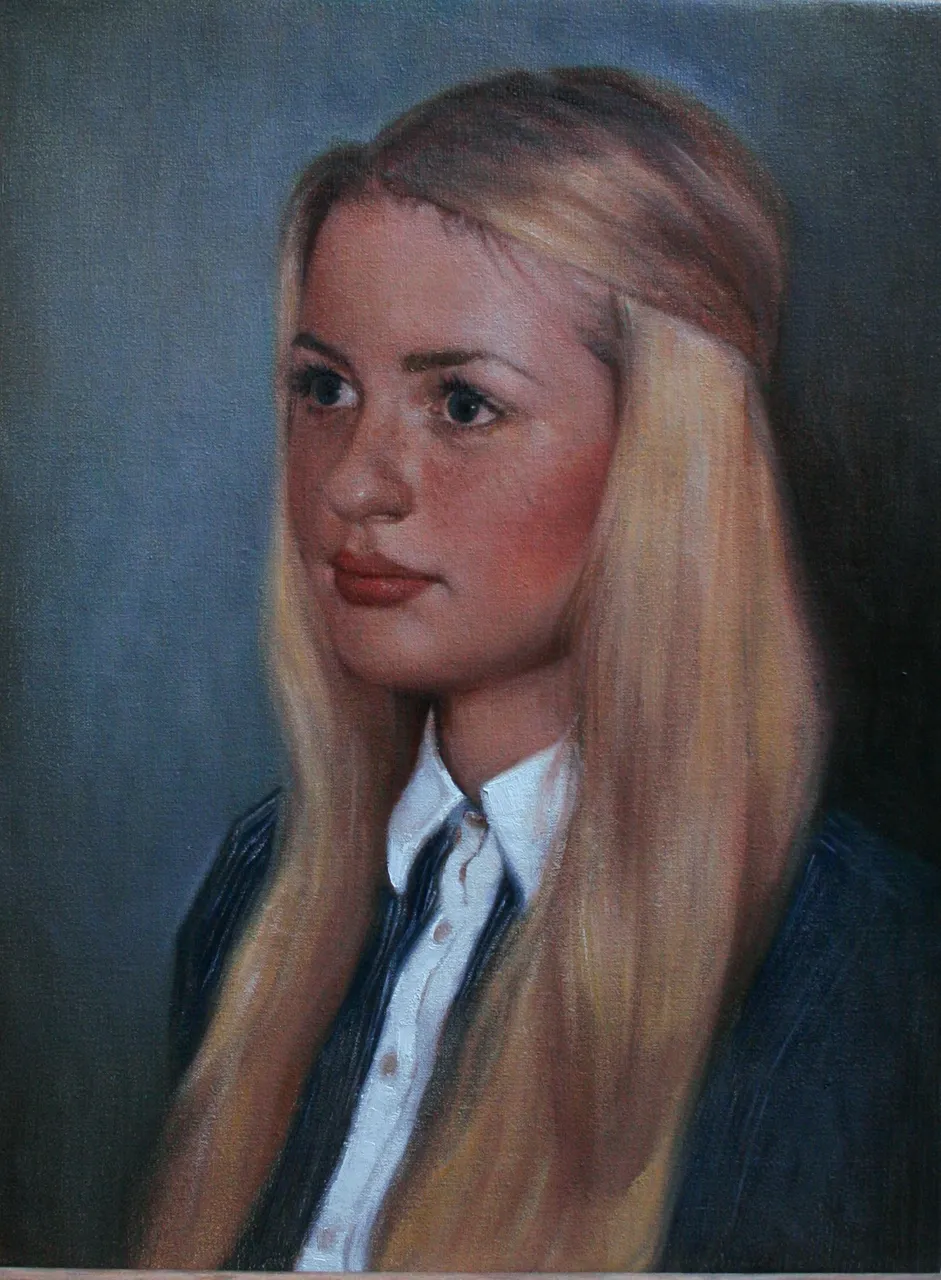
Step 4- Unify.

After adding more of everything it's time to step back and look at the painting as a whole. This is of course important during the whole process. At this point I felt that areas of the face and hair was a bit too ''living on their own''. Like there was too much color and dark values in the cheeks. The highlights needed to be calmed down a bit too as they were sort of giving her an oily shine in the face. Then, after ''smoothing it out'' I started adding in the background.
Step 5 - The background.
When I add the background I make sure to work consiusly with it around the outline of the portrait. One thing that will ruin the whole portrait is is your background is not more than one value and appear flat and with no deapth and atmosphere. I usually work with at least three different values and a couple of different values. One warmer and one cooler. This will make the background appear more alive.
Also, make sure to have a big variation of harder and softer lines in your outline. Pay attention to where the values meld together and get more lost and where there is a higher contrast. This will give the impression that the form of the person is turning in space.
''Step 6- finishing toutches!**
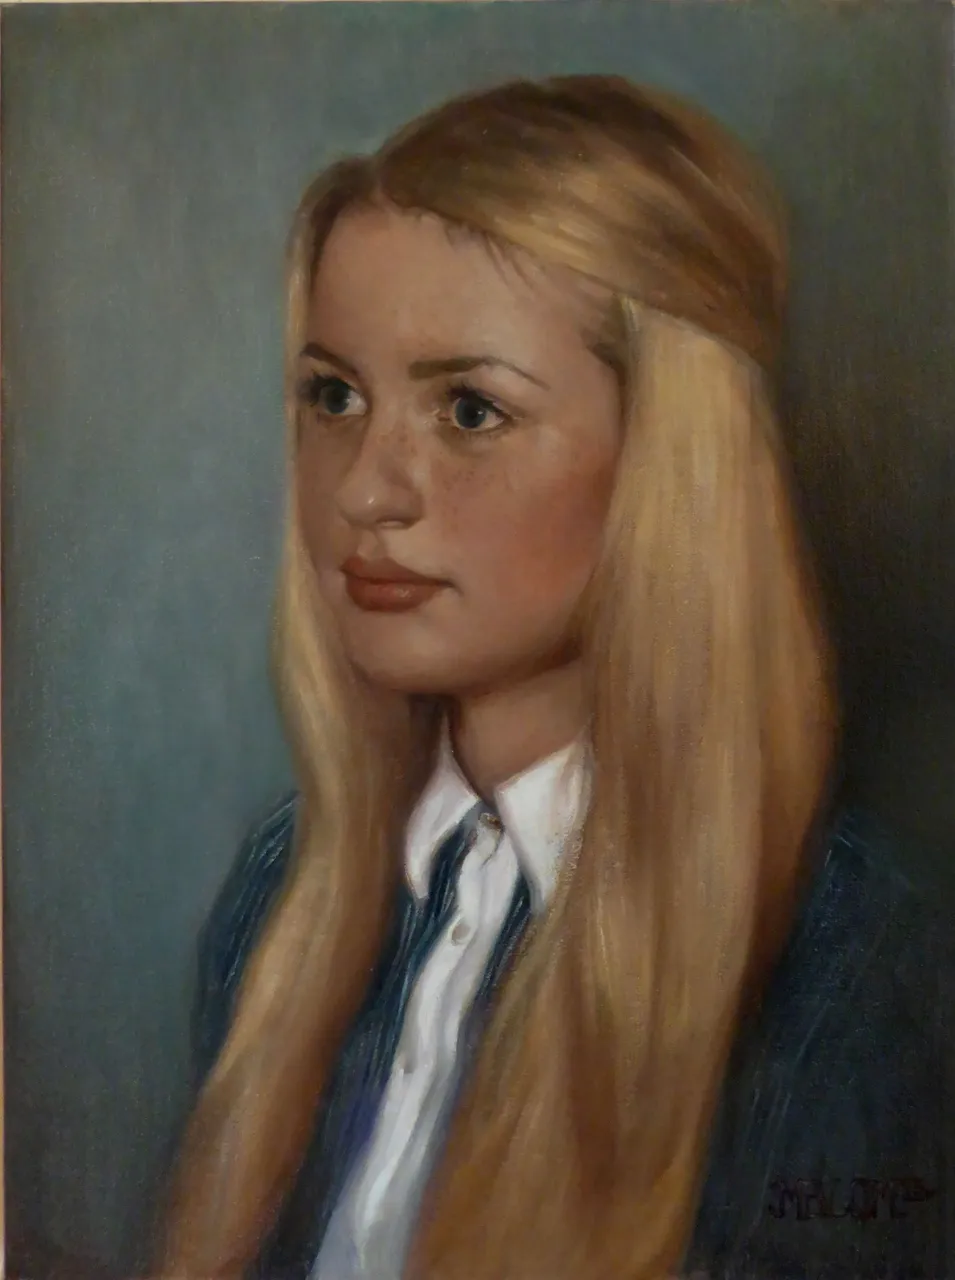
The last stage is just to fine-tuning what you have. What I did was add on some more frekles and soften a few of my lines more. Like the white stripe going down the shirt. I found it was too hard and asking for too much attention, taking focus away from the face.
And there you have it! :)
What do you think of the steps?
Do you have any questions or tips about painting the portrait?
Hope you are all having a good and creative day!