This is for all those designers who just can't help creating new artwork, illustrations, or designs. You can't stop. You won't stop. It's like breathing air.
Or perhaps you're more like me. Now and then, I create a design for a family member. Maybe as a gift. Or just for fun.
Regardless of whether you are a human artwork factory or a sporadic scribbler, one thing's for sure: it's silly to have that artwork hidden away in some iPad digital folder or a journal tucked away in your closet. Let the artwork out! Let it breathe! Let if fly free to bring happiness (or horror) to the world!
So here's the deal. I'm gonna give you a rough and dirty rundown of how to quickly apply your designs to products and sell them online in practically no time flat.
But first, let me tell you what this is NOT. This is NOT a get rich quick scheme. Chances are, you will make almost zero money. Okay, that's not a very positive attitude, haha! Allow me to rephrase. You'll probably make a few bucks here and there, but you'll have to be pretty dedicated to make more than that. And this isn't intended for "dedicated" people. I'm writing this for all the people who hit snooze at least 5x every morning and consider "work" to be a dirty word.
This is also NOT a tutorial on how to start a super-profitable online business. I'm pretty sure that you can more effectively reduce costs and improve your margins utilizing other methods than what I provide.
The good news is that you should be able to generate passive income for the absolute barest minimum effort (assuming you have some designs, artwork, or type that's just sitting around collecting dust).
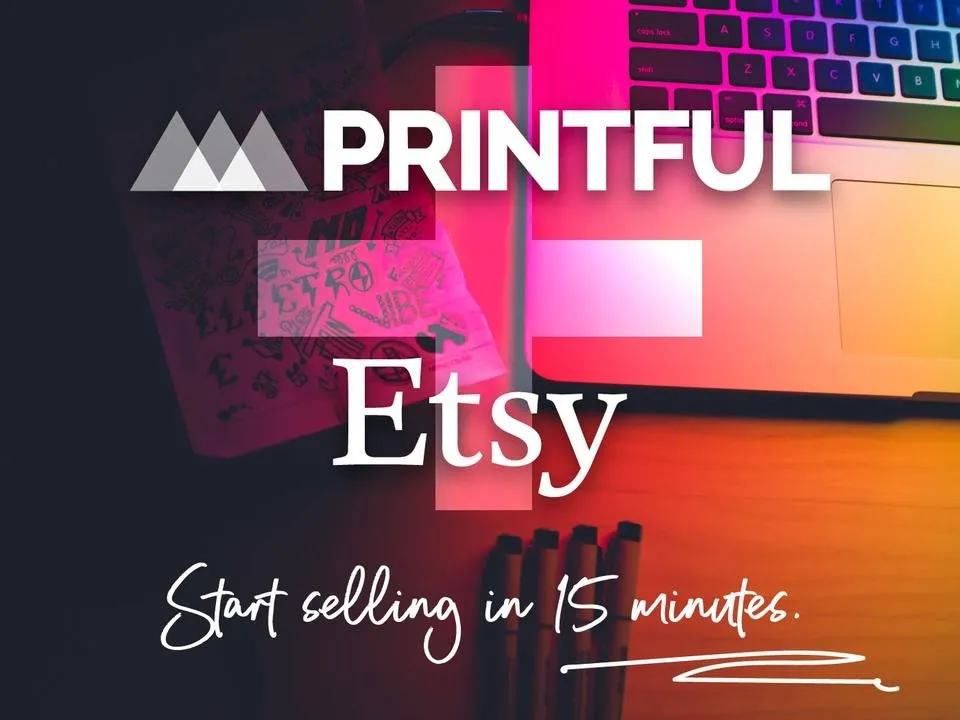
What I'm going to show you is The Lazy Person's Guide to Passive Nacho Money and Custom Shirts. That's T.L.P.G.T.P.N.M.A.C.S. for short. Or just TLPGTPNMACS.
Rolls off the tongue, right?
You'll make enough to buy some nachos from the taco truck, and you'll get custom discounted shirts that display whatever crazy or disturbing content you can think of. Anything above and beyond that is gravy. If you look at it that way, you can't be disappointed--no matter how many products you sell or don't sell.
The purpose is to admit how lazy you are. Embrace it. Realize that either because you are too busy or have too many TV shows to watch, you simply can't comprehend committing to more than 15 minutes of trying before you scream "squirrel!" and run off to chase whatever distracted you.
I'm here to tell you that it's perfectly okay.
Okay?
Okay. Let's get started...
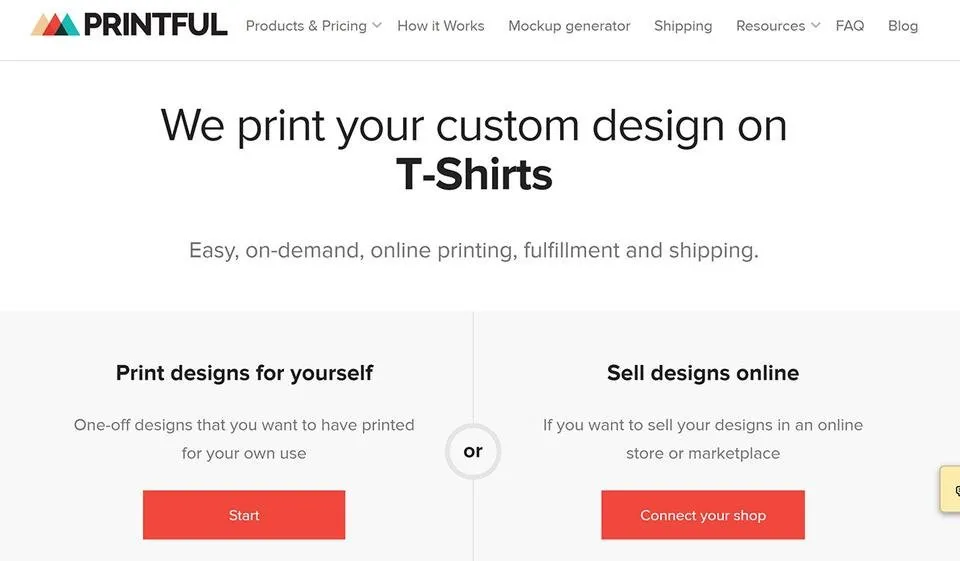
First, open an account at Printful. These guys are going to MAKE your stuff.
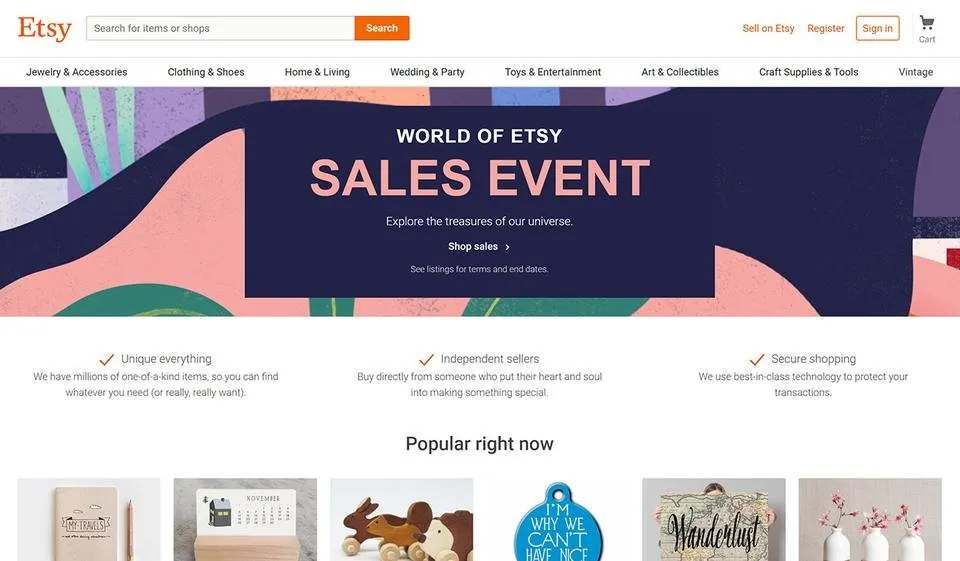
Next, open an account at Etsy. These guys are going to SELL your stuff.
(By the way, as you navigate the two sites, you'll notice that the Printful/Etsy integration will allow you to do waaaaaay more than just shirts. You can create custom bags, pillows, canvas art, phone cases, etc. However, for purposes of this tutorial, I'm just going to demonstrate t-shirts. Why? Cuz I'm lazy.)
Alright, let's head back to Printful.
Assuming you're signed in, you should be provided with the option to open a store. Go ahead and click "Choose Platform" and select the Etsy option.
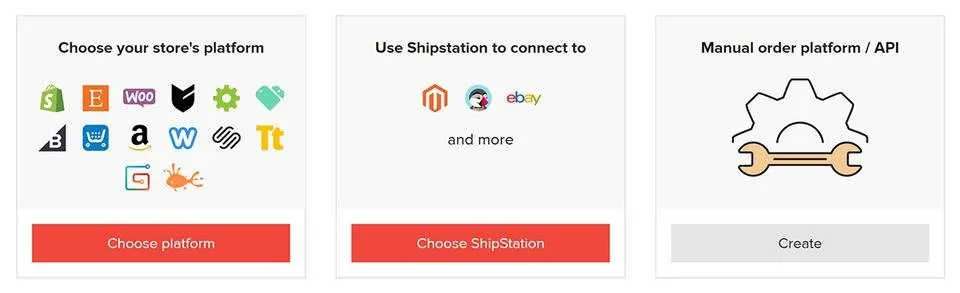
Follow the instructions on the screen to setup the new store. Yay! You're in business!
Well, not quite. We need a product.
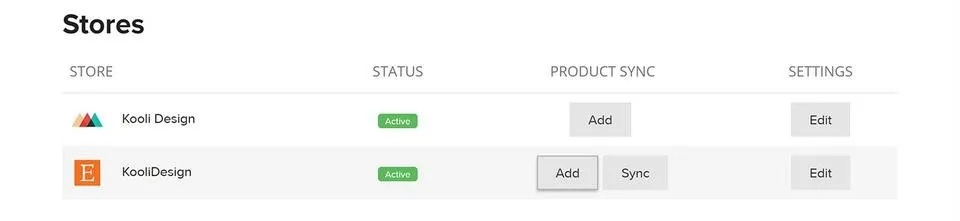
Click on the ADD button for your new store.
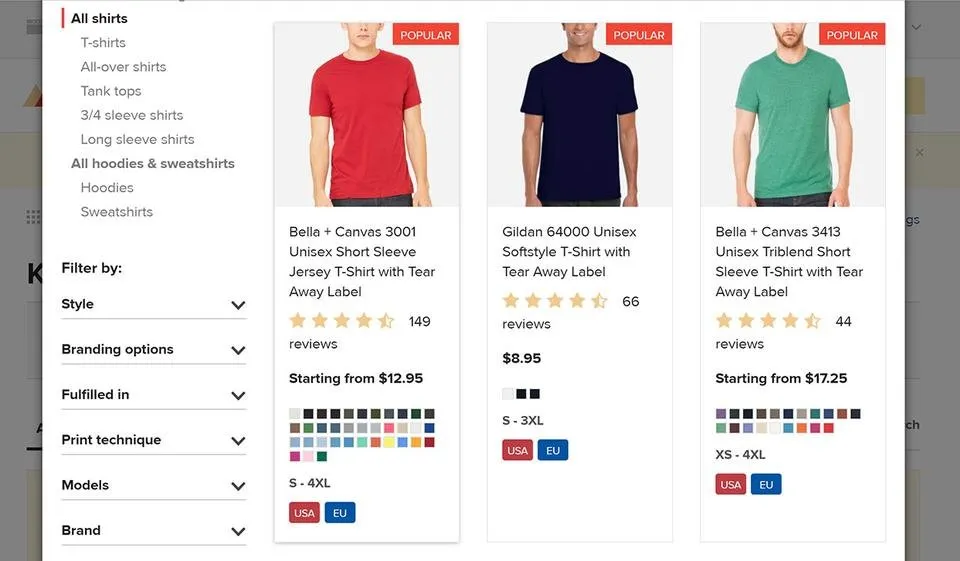
You want to make a Beach Towel? A backpack? Well, too bad. You can come back and do that on your own time. I'm here to make a T-Shirt!
I usually go with the Bella + Canvas 3001. It's not the cheapest, but it has the most color options, it's soft, durable, and people like it better. Plus I'm too lazy to deal with dissatisfied customers. I'd rather just give them a damn nice shirt, so they can shut up, leave me alone, and submit nice reviews.
Now for the fun part.
The next screen should have upload options for all the areas of the shirt that can accept artwork. This is pretty much everywhere!
If the artwork you're trying to upload doesn't fit quite right, reference the following template image:
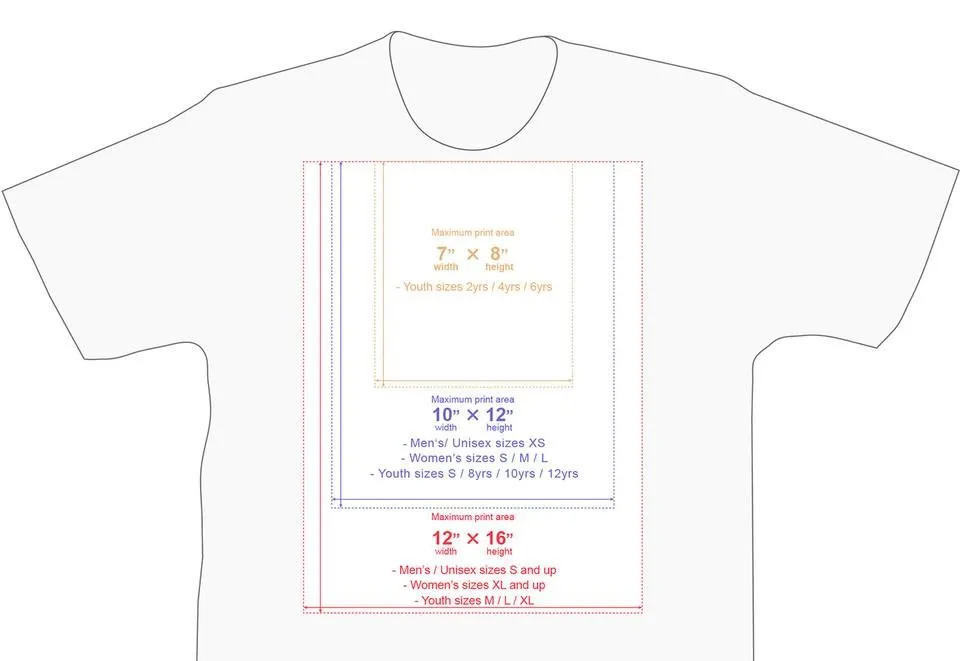
To be honest, the only thing you have to concern yourself with is that your art fits in a 12" x 16" area. The other smaller-sized shirts will automatically scale the artwork to the correct size.
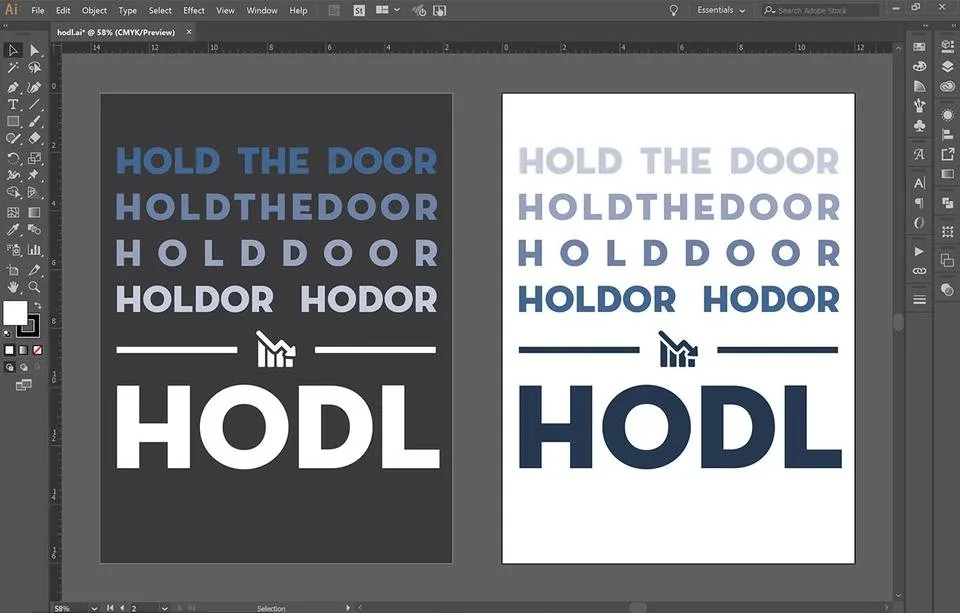
I usually open up Illustrator or Photoshop, create a 12" x 16" canvas/artboard, make my design, then export it as a PNG with transparent background. That's all you need. Use whatever software or program you like. Just make sure that the PNG is about that big.
For demonstration purposes, I'm going to create something relatively simple. No fancy illustration work. Just some text.
The other day, I was wandering around Steemit and came across a comment that made me chuckle. The user was referencing Game of Thrones and the character known as Hodor. But Hodor's famous lines ended with "HODL" instead of his name.
For those of you who don't watch Game of Thrones, just trust me. It's funny, okay? FUNNY I TELL YOU!
And for those of you who don't know what HODL is, it's a meme-driven representation of the word "Hold" (as in "don't sell when the crypto market is crashing! Hold what you've got! If you sell, you're a spineless panzy!").
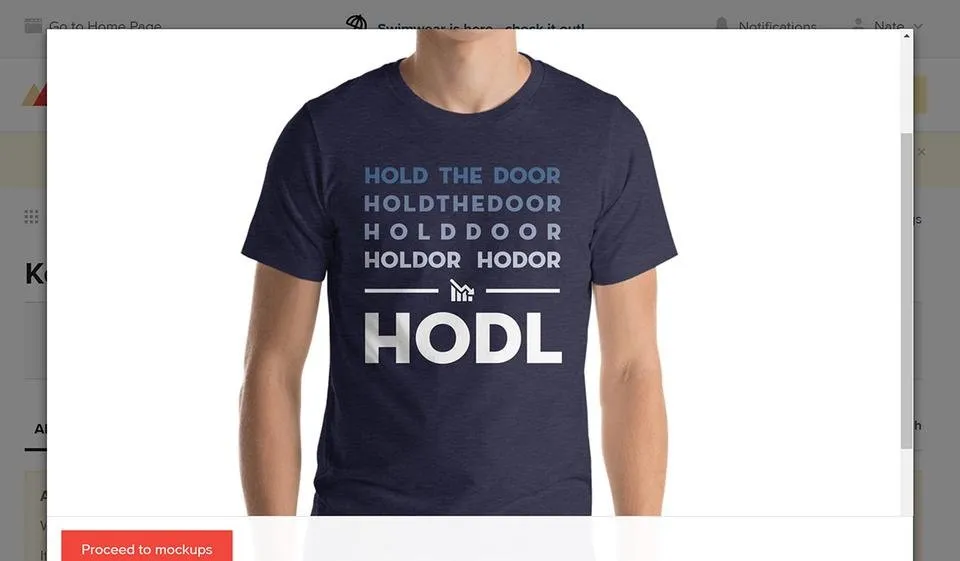
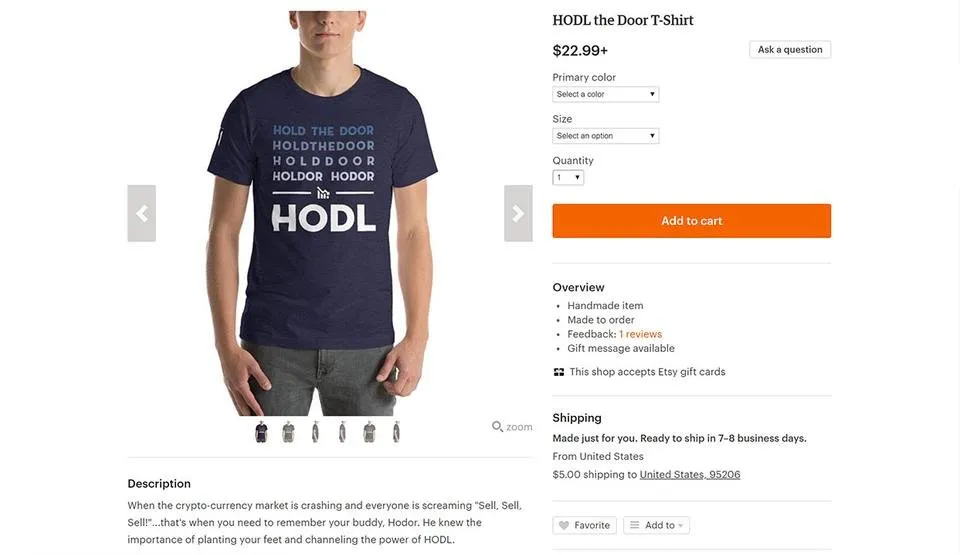
Okay, once I drop that bad boy into Printful, the website presents me with a preview of some dude wearing my shirt.
>>> Insert story of a young boy who grew up dreaming of becoming a t-shirt model. After many zany adventures and a dramatic black-and-white flashback, the young man finds true love. He gets his dream job right before a horrific accident decapitates him. His fiance tearfully props up his corpse in the photo shoot in tribute to a man who overcame all of life's obstacles to fulfill his destiny. Even in death, the mystery t-shirt model with no head is an inspiration to us all...fade to black. <<<
For kicks, I placed a branding image on the sleeve.
Why not? It looks cool, and maybe it will become the next Nike.
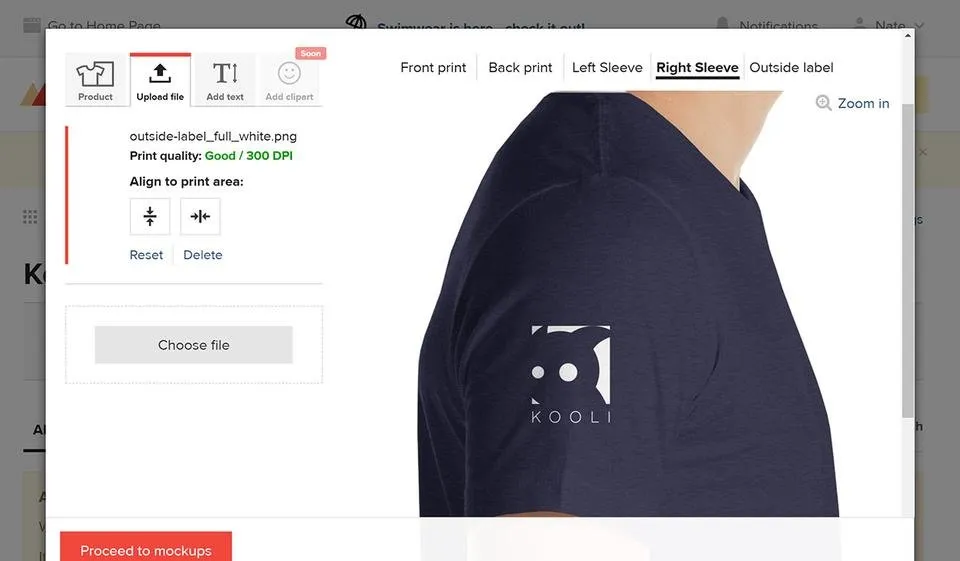
Looks good. Let's continue on.
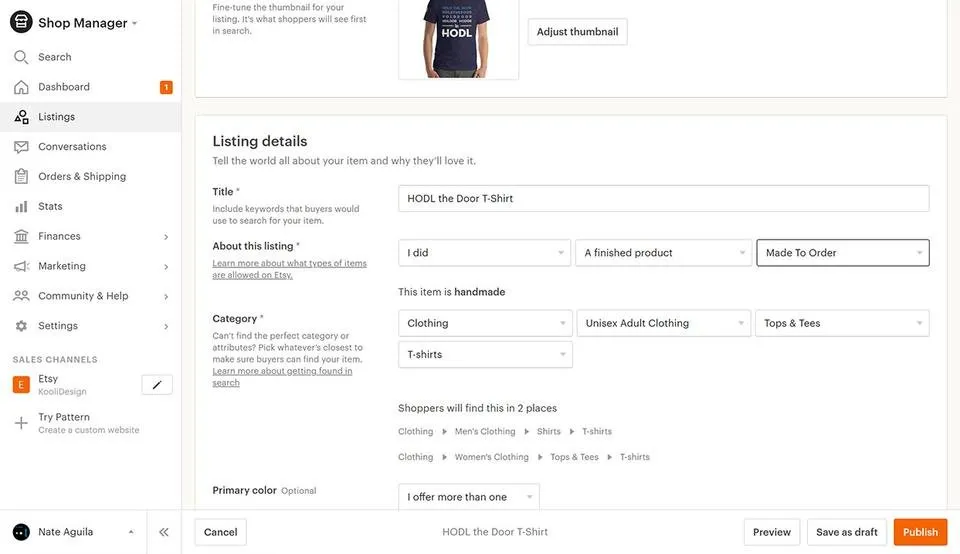
Next we add the product description stuff. Printful is nice enough to fill in the technical stuff in the description for me. I add a little text on top.
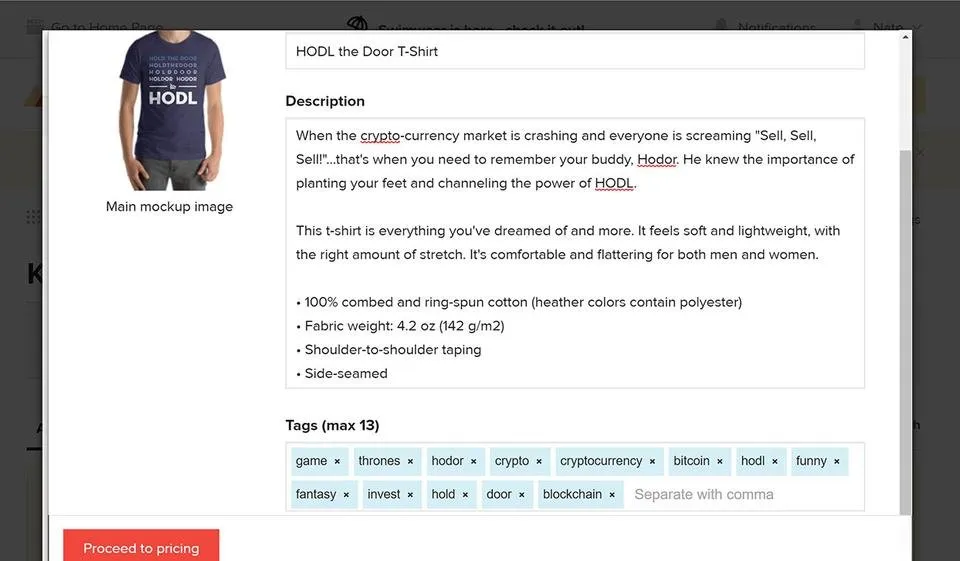
And...
...done!

Well, almost done.
The product is created, but now we need to make sure it shows up in your Etsy store.
Go back to Etsy, and let's finalize the final steps! When you look at your store's dashboard (within Etsy), you'll notice that you now have a new product listed as "Draft". Click on that.
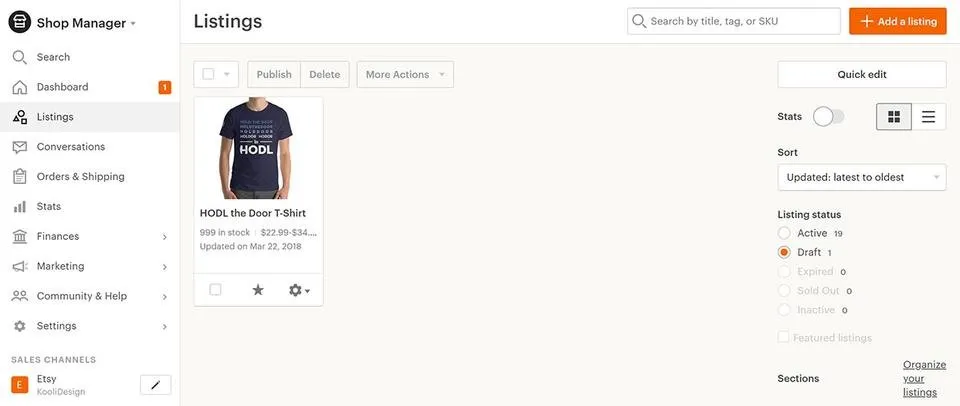
You'll notice that all the info you entered in Printful has been imported into Etsy. Yay for us lazy people!
You'll also notice that Printful makes sure that your Etsy settings are properly configured and ready for drop shipping.
Wait, what? You don't know what drop shipping is??! Are you kidding me? I didn't explain that already?
Alright, so anytime a customer buys your product on Etsy, you don't do anything. That's right, nothing. Printful takes over. They make the product, ship the product, and all emails, notifications, and confirmations are sent automatically. Better yet, all communications can be setup as coming from YOU.
From the customer's point of view, you're running around doing everything. In reality, you're a grown adult watching Gravity Falls on TV. Come on, really? Don't you have anything better to do?
Congrats! At this point, you're a successful lazy online store owner.
Well done! You win at web stuff!
If you want to buy this shirt, hurry up and gimme your money. Seriously. Gimme your money.
Here's the link to go buy it:
https://www.etsy.com/listing/588683904/hodl-the-door-t-shirt?ref=shop_home_active_1
But really, you should go make a shirt of your own. Get crazy. Get weird.
If you succeed at following these instructions, I'd love to see some screenshots or links! Show me what you got!
And if this process took you longer than 15 minutes, it's not my fault. You're just a slow reader. Or it's your internet. You have sucky internet. Or maybe you live near a space-time anomaly.
Did anyone watch the last Cloverfield movie? I like the scene with the arm.
Anyhoo, that's about it.
Maybe my next tutorial can be about setting up a successful pyramid scheme.
I'm not gonna ask you to upvote this post. That's what the dog's for.