If you know me a little, you may know I am a fan of retro gadgets and consoles, birds, technology, science-fiction... so when I had the idea of creating a gadget that could display art while is being made, I just HAD TO DO IT!
I am not as experienced on 3D modeling as I wish I was, so I knew this wasn't going to be easy and would take many hours. But I had hope I would do it and the result would be amazing.
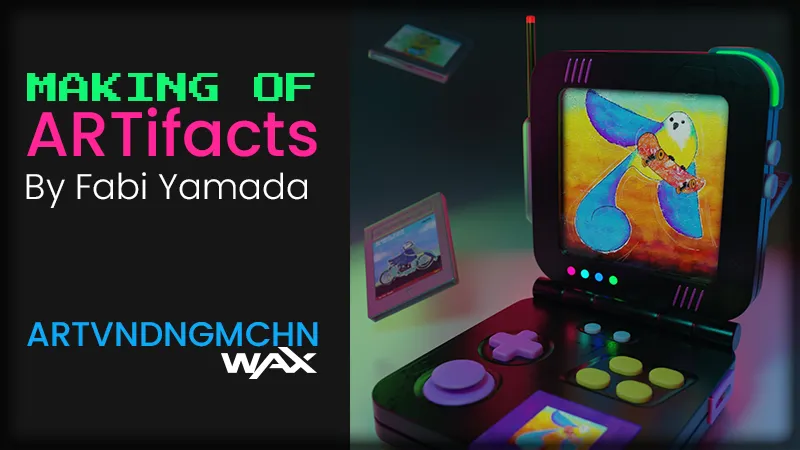
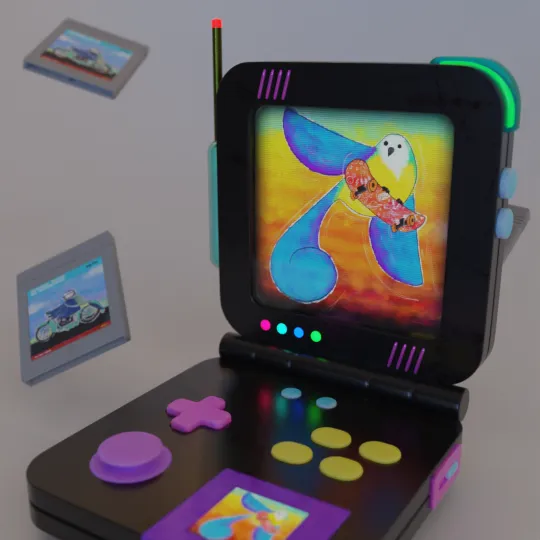
Everything started by modeling a handheld game console similar to retro one that's very famous, and I like it so much.
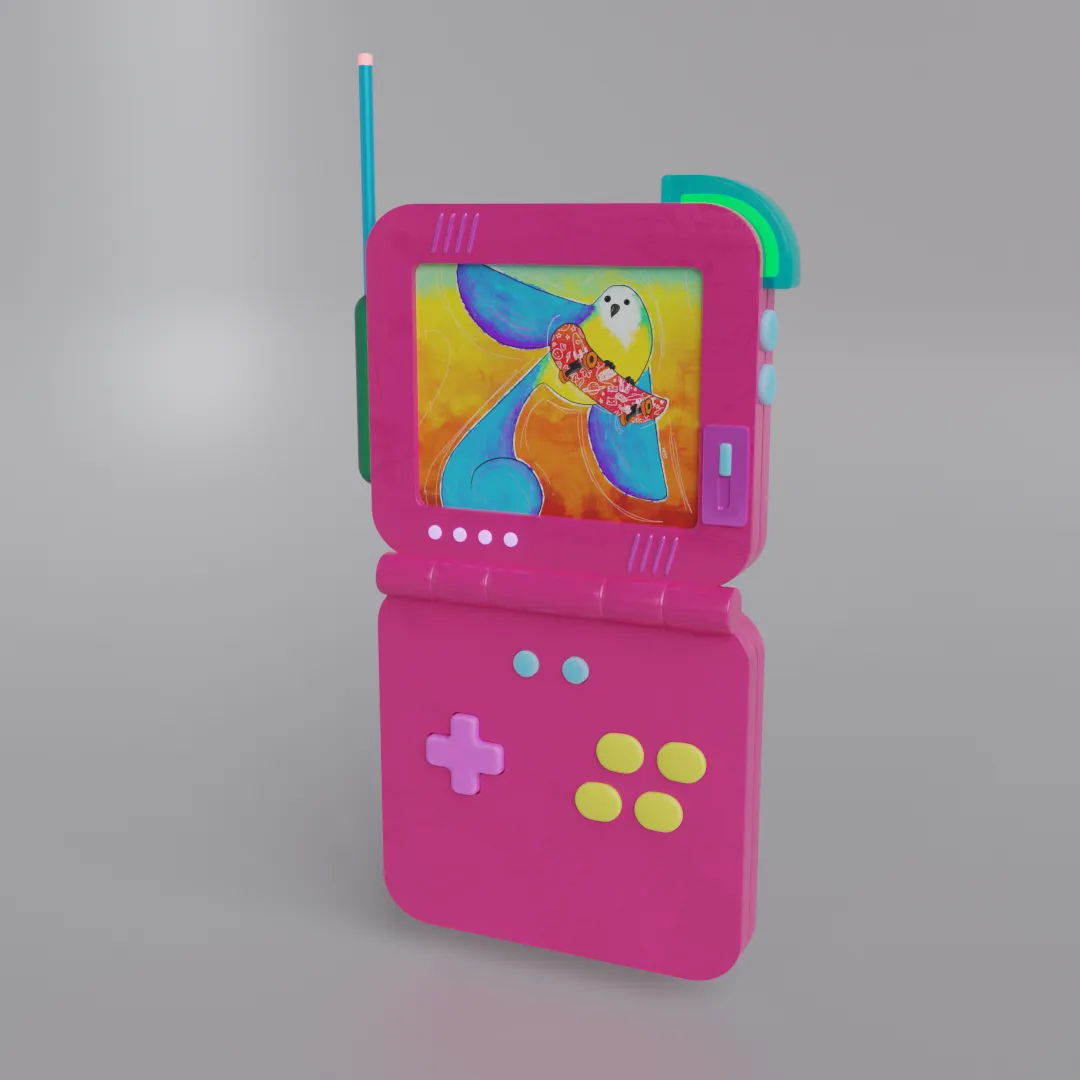
I have one of those miself (the one that inspired me) and I think it's one of the best consoles ever made, it's just so cool! I got my first GBA SP a few years ago, I remember I told my husband (who was not familiar with this console): "Look! I bought some new make up" and he replied: "Hmmm, I don't believe you, it must be a videogame".
Back to the ARTifacts... I decided to add some more texture and more details to make it even more different to the inspiration source.
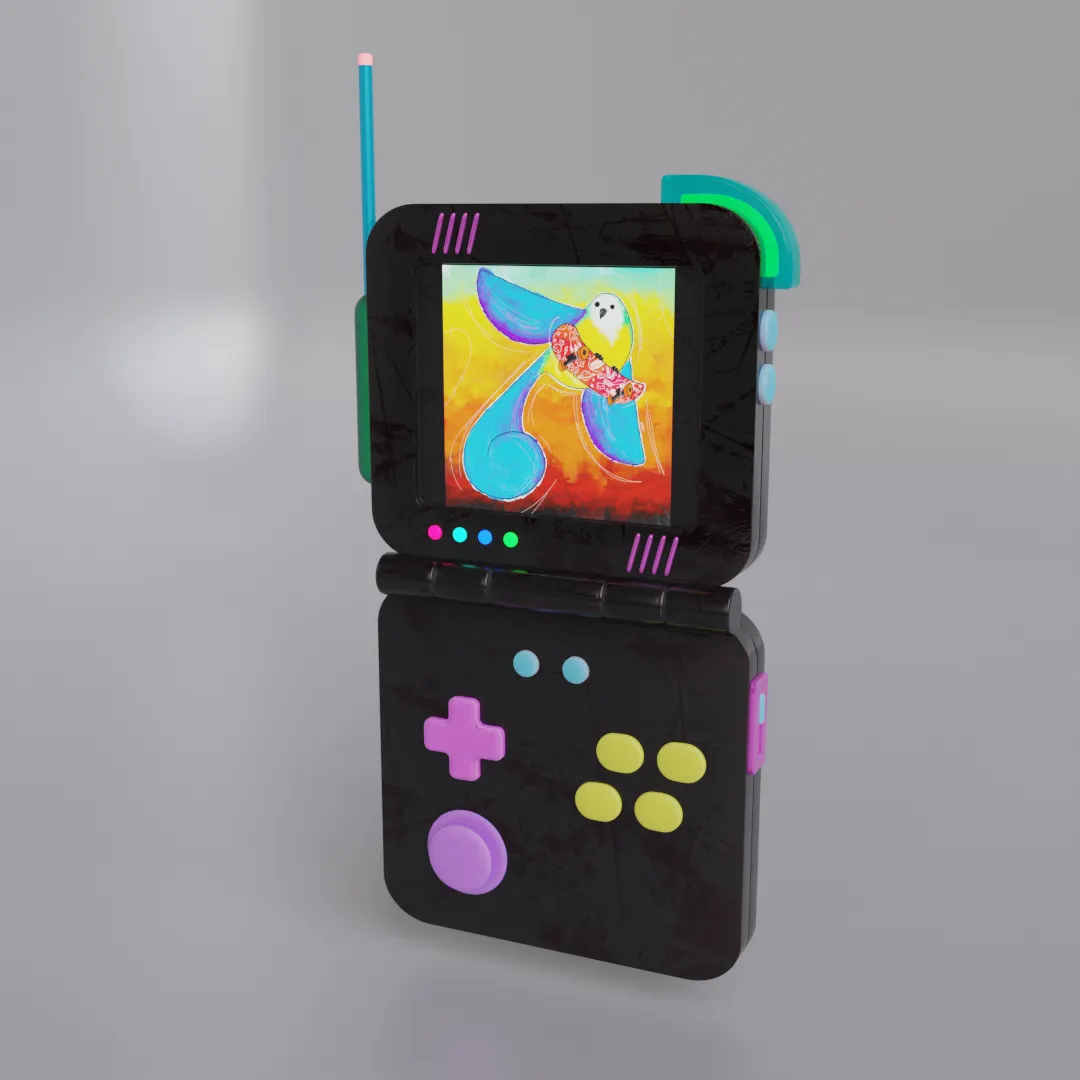
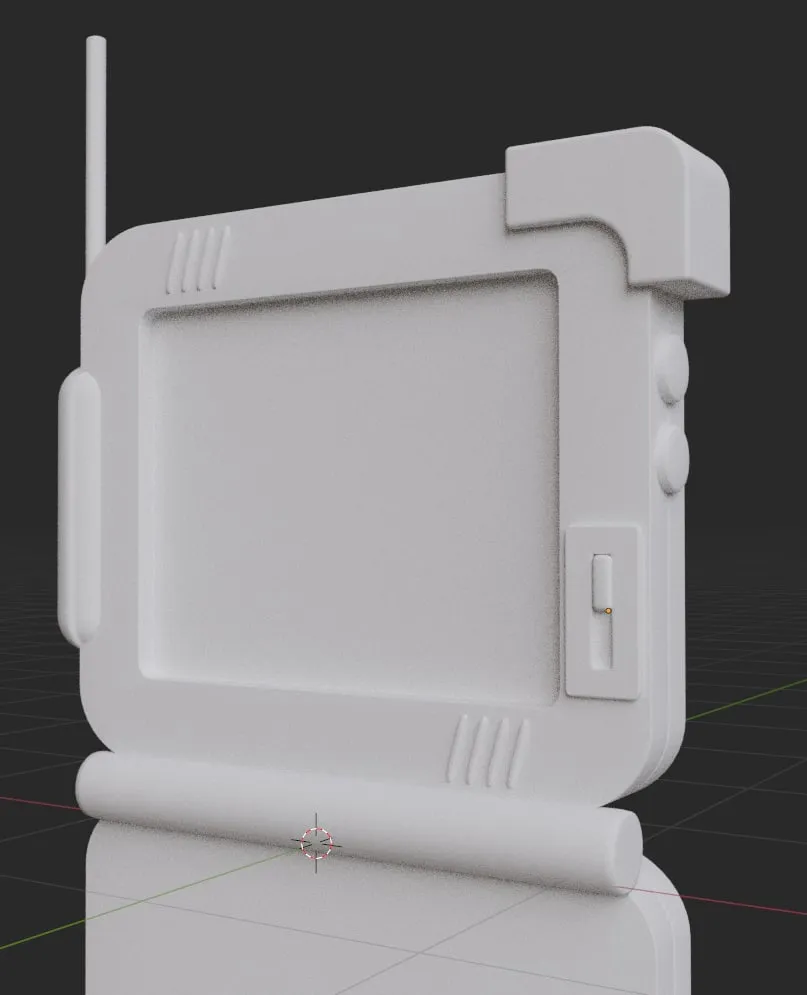
Next steps where very significant too, since I defined a "pose" for the ARTifact, added an aditional display screen and also decided I wanted to show the rest of pieces somehow around it. At this point I also started working on the main screen to make it more realistic by adding a vignette to it and horizontal lines with a slightly different hue to make it look like an old screen.
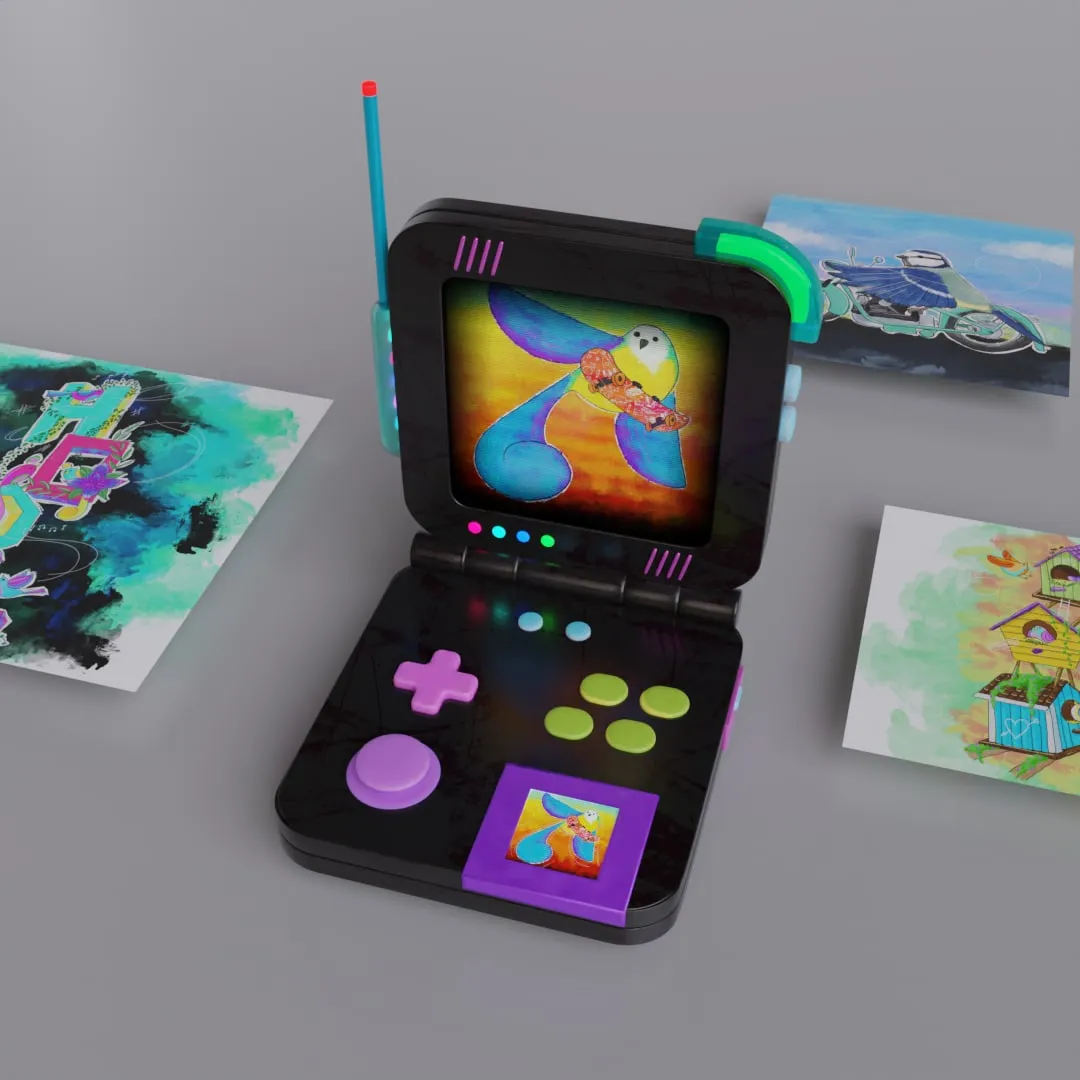
Then I had the best idea ever! The pieces would have their own cartridge! This, of course, added more work than I had anticipated, because I had to model and texture the cartridges to make them look awesome, also I had to make the game covers, even though they woldn't be so visible.
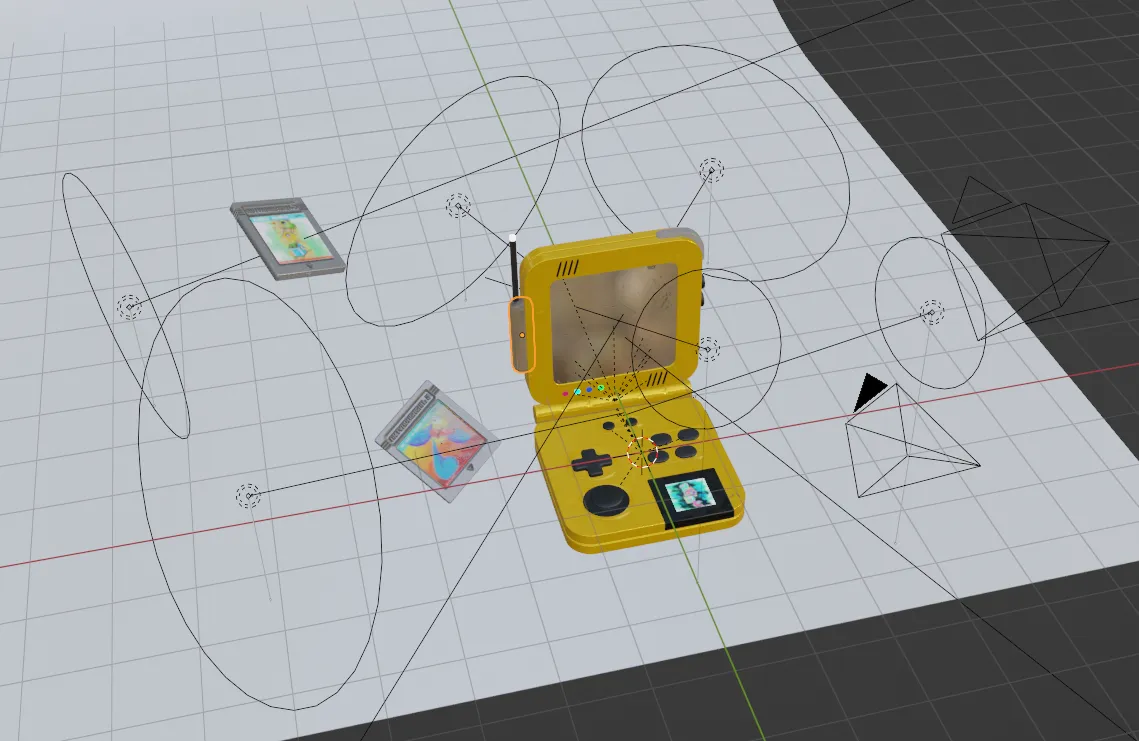
Final step (I thought) would be the lighting, to make everything come together. Here is the crazy final lighting set up:

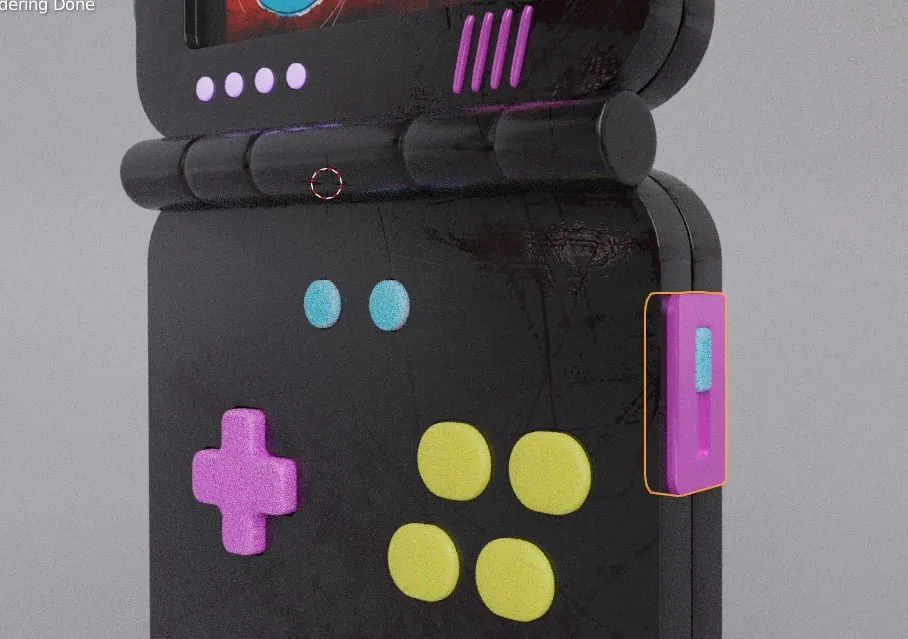
I was really happy with the results, but suddenly I felt something was missing, the buttons area was very plain and definitely needed to work on it. So I created a displacement map, which also took a ton of work to finally make it look exactly how I wanted it, but it was totally worth it!
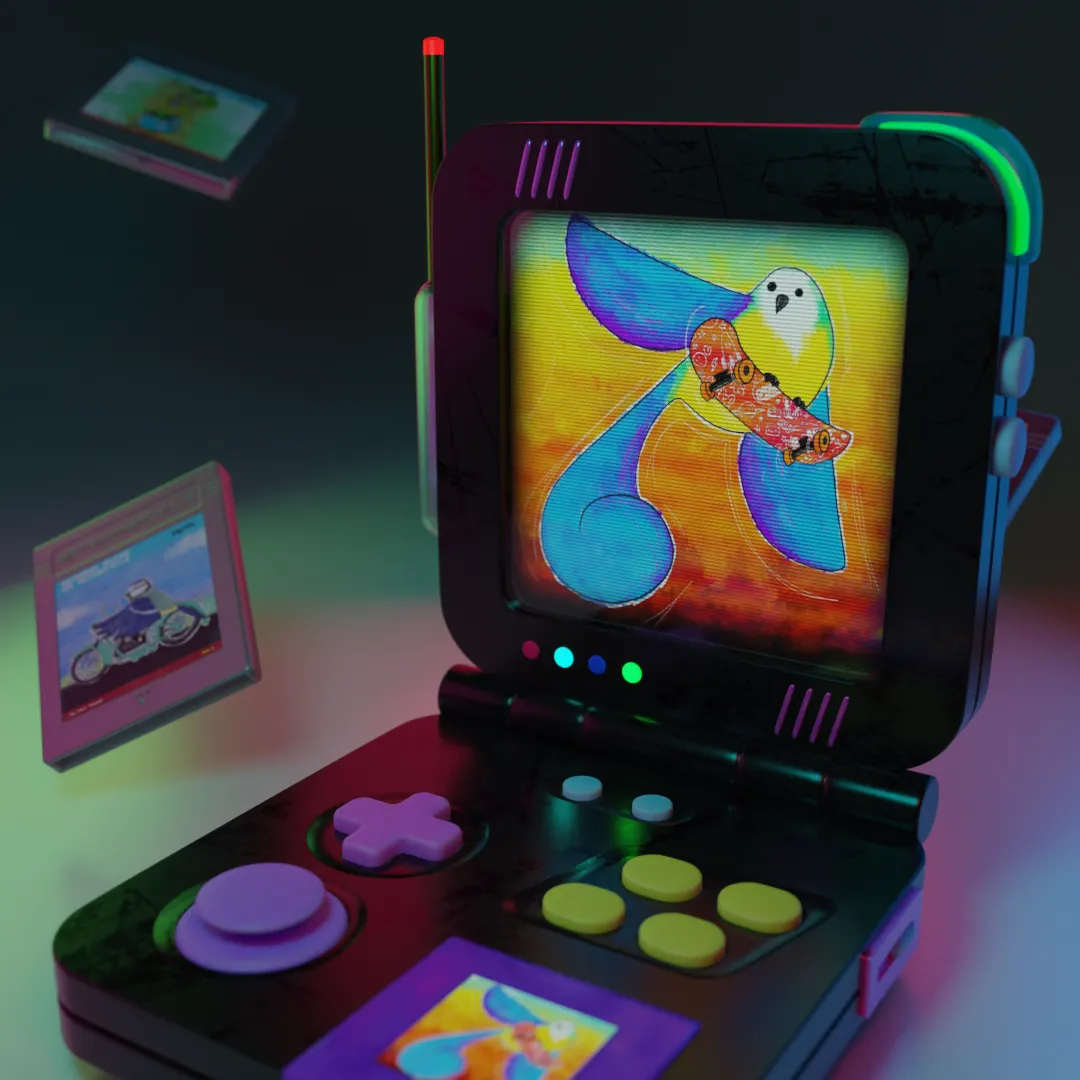
And again I was really happy until I wanted to go even further and add manual scratches to the texture. And I think this is when my 3D modeling commitment got its ATH!

Many hours of work, many tests, many textures, many render hours and I couldn't be happier with the result!
If you pay attention the ARTifact is moving, but lights turn on and off too, the screen shows the WIP of the pieces but also the horizontal lights are animated, the cartidges move too!
Here are the gif previews, but I highly recommend you to check the final MP4 files to appreciate the pieces in all their splendor (links to HD videos below each preview).
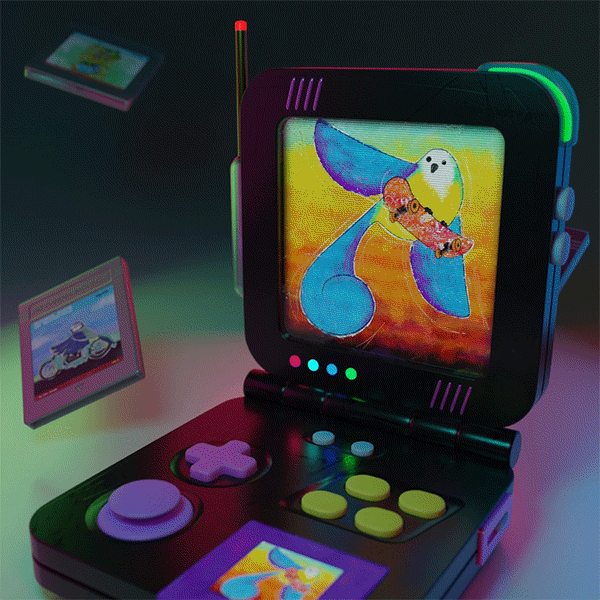
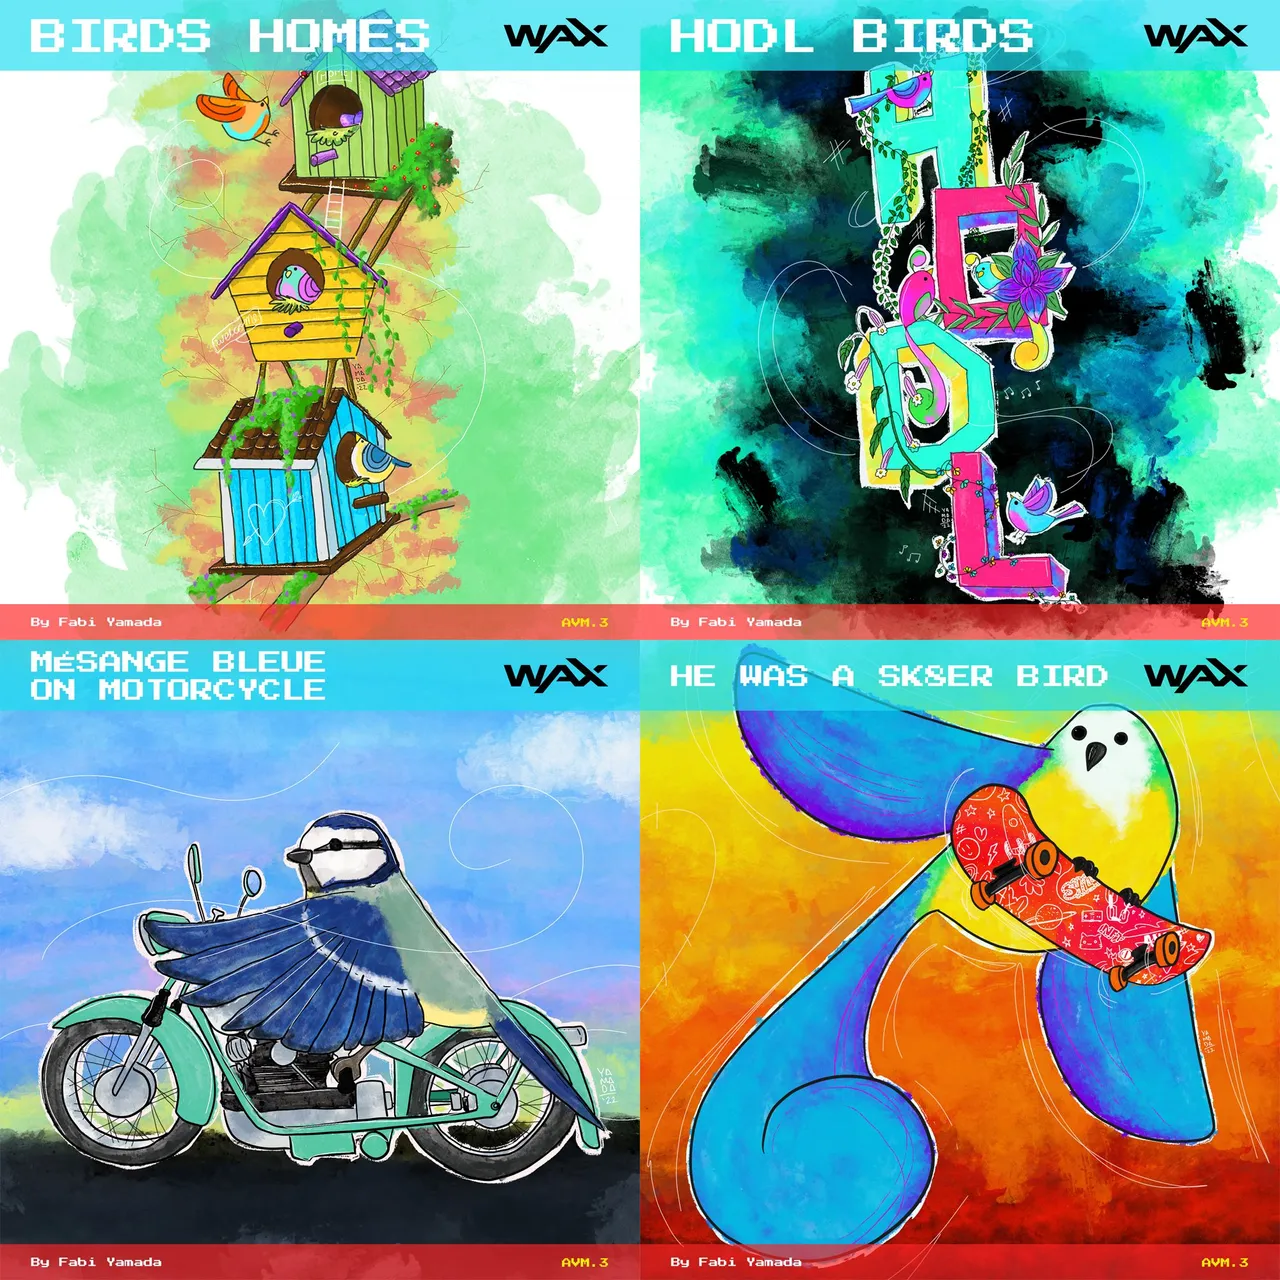
This one was the very first I finished.
HD video here: https://wax.atomichub.io/explorer/template/artvndngmchn/490559
The NFT has a max supply of 3 and can be blended here. Only one has been blended this far.
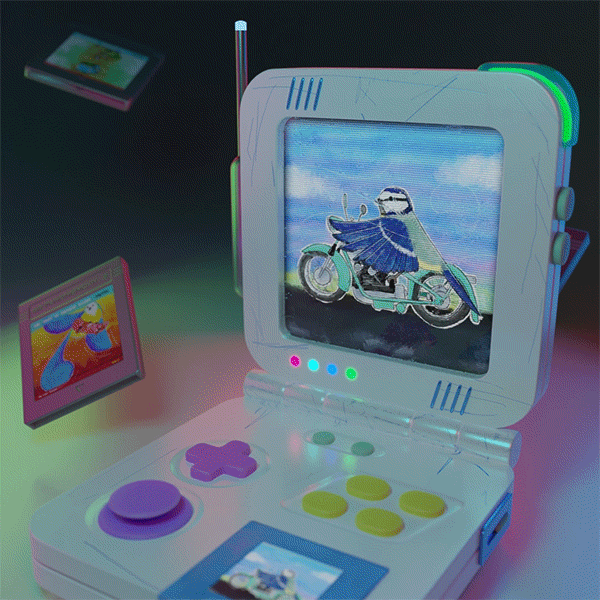
My favorite bird!
HD video here: https://wax.atomichub.io/explorer/template/artvndngmchn/490561
There will be only 3 editions of this piece and if you have the ingredients you can blend it here.
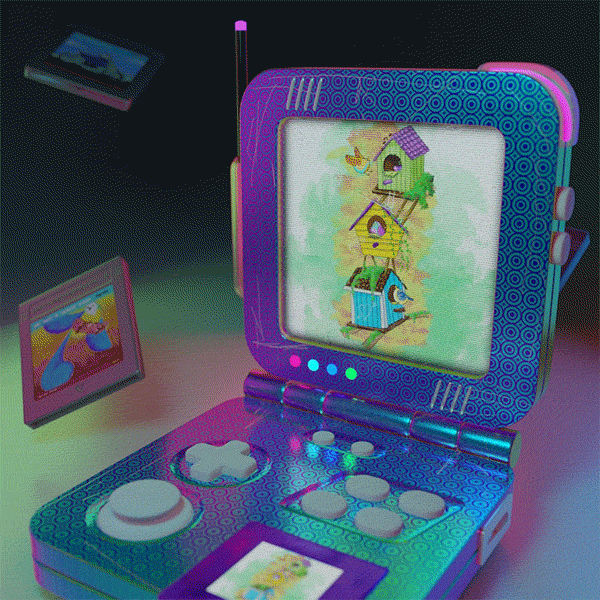
This one has the actual first illustration I finished!
HD video here: https://wax.atomichub.io/explorer/template/artvndngmchn/490549
Only 1 of 3 has been blended and if you own the ingredients you can blend yours here.
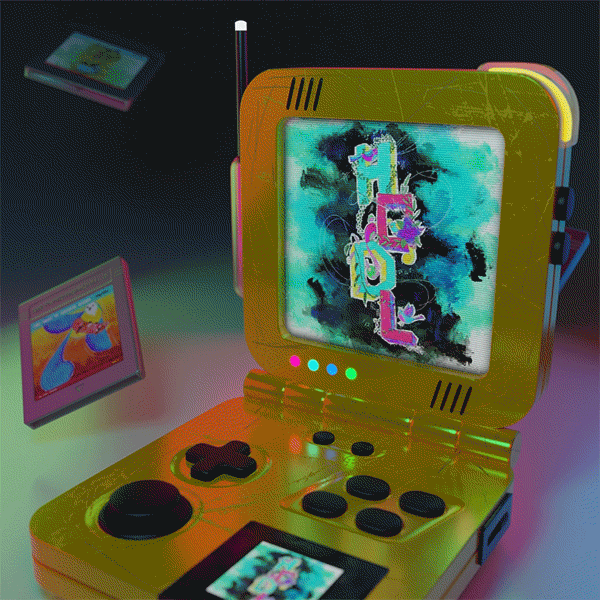
HODL Birds on ARTifact is the most rare! There is just one edition.
HD video here: https://wax.atomichub.io/explorer/template/artvndngmchn/490560
Still hasn't been blended, you can do it here if you have the necessary ingredients.
You can also see the final HD videos in my youtube channel:
I really had a ton of fun making these pieces and I learned A LOT!
Special thanks to @joechiappetta for inviting me to be part of ArtVndngMchn series 3; and also for this interview, my first one ever!: Artist to Artist: An Interview with Cryptoart OG Fabi Yamada.