Let's Make Clay
Need something fun to do outside on the hottest days of summer?
Why not make some clay?
Find a shady spot, and get your hands elbow deep in some wet mud. It is actually a very relaxing activity, and the soft, cool clay on the skin helps the body to lower the blood temperature slightly.
A few days ago I started making some clay in my backyard as a material I wanted to collect for my bonsai hobby. Clay can be used for any kind of ceramics such as making pots, vases, bowls, or ornamental statues.
At first I just wanted to see how hard or easy it might be, because I had dug up some pieces that looked like raw clay I did not want to waste. Processing the clay turned out much easier than I thought it would be. This is a fun hands on activity that might also be fun to try with small children who like to play and get their hands dirty.
This post describes how to collect and process clay. It isn't rocket science, and there are no hard rules, so you can do things differently to suit your own preferences. I'll be showing you with photos how I did this myself.

Why Make Clay?
You don't have to process clay. It can be bought. Purchased clay is usually smoother quality to handle and fires well in a kiln. I am not so concerned about that, and I like to do things cheaply for fun. Why spend money on a free resource? Making clay is a fun activity for those of us who like to be outside with the dirt, and get really down and dirty.
In #Bonsai, clay can be used for a variety of things. Probably the most important thing clay is used for, is making pots. By the traditional definition, a bonsai tree is not really a bonsai unless it is combined with a shallow pot to grow in. Ceramic pots tend to last the longest, and have the best aesthetic appeal for bonsai. Alternatively, clay can be used to make bricks, adobe houses, or earthen ovens and kilns. Prior to electronic civilization, clay appliances were very commonly used, and they can still be made useful today in an energy and waste-conscious world.
Last spring, I made this more natural-looking landscape scene using clay and rocks (see the above photo). The clay was collected from the garden, in much the same way I will be demonstrating in this post. It has a wall of mud around the outside, with drainage tunnels around the perimeter. The clay was never fired in a kiln, but it is getting sunlight heating it in our scorching temperatures, which cements the clay hard and strong against the stones. This landscape-making project is something I might like to try again in the future with more rock materials I have collected.
As you can see, my rock landscape is now covered in Ash tree seeds. These seeds will begin to take root in the next few months. Then I will have a new forest scene that I made using mostly rock and clay. Very natural.
So let's get started!
Is Clay Hard to Find?
After doing some research, most people recommend collecting clay from near rivers and streams. I have neither one on my property, and most rivers and streams are considered protected areas for fish and wildlife. You are not supposed to disturb habits in nature, because the clay might be holding down rocks where fish have laid eggs, frogs are hiding, etc. So I found my own way, using my own land.
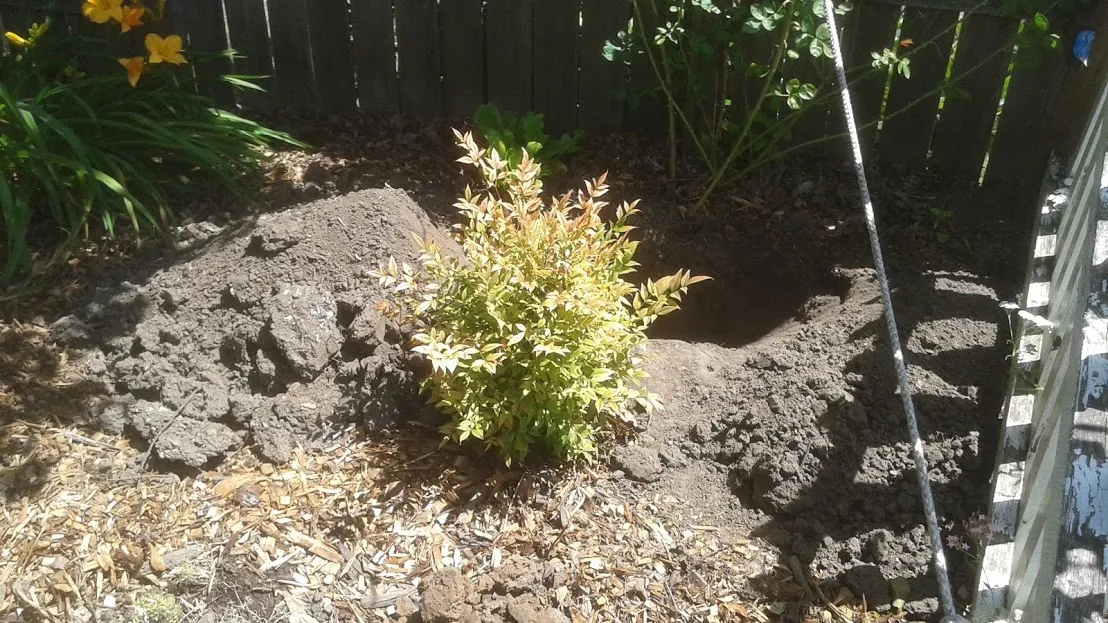
Sometimes while weeding the yard, a bit of digging must inevitably be done. This hole for instance is part of my on-going annual trumpet vine removal project. Invasive weeds such as this one makes deep tunneling roots that won't die off from weed killers (which are toxic to humans and wildlife), so I do it manually with a lot of deep digging through the hard-packed dirt.
Once in a while you might unearth some dirt that is different in color, shape, and texture. I started making a habit of setting aside dirt that looks like dried, shriveled, reddish sponges (see my cover photo on top). If it feels soft and crumbly, with moisture retained. Looks like clay to me. The other dry grey dirt I dug up might have clay too, but I was attempting to start with the stuff that looked the most clean and pure.
Essential Tool #1
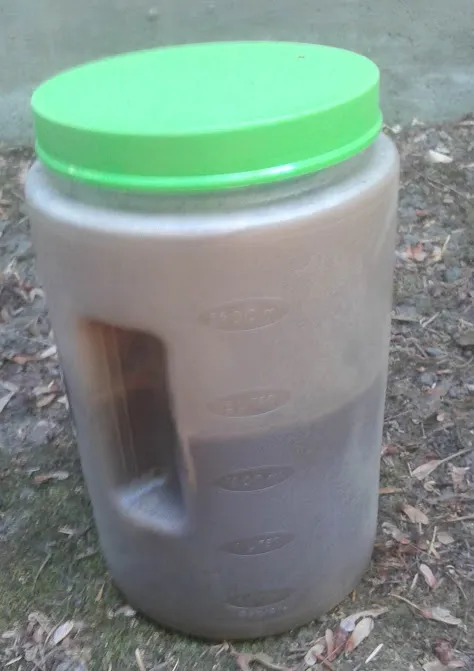
A large container with a cap.
This water pitcher came with a lid that screws on almost air-tight. Cost: $1 at The Dollar Tree.
Put all the collect clay, dirt, and mud into the container, and fill with water.
And then...

Source: giphy.com
Shake What Your Momma Gave You!
Do the Twist, Watusi, Samba, Belly Rolls, the J-Lo... no, never do the Twerk. We do not Twerk. Never.
After shaking the container filled with water and clay, let it sit in the shade for a day or two. The water will begin to soften the clay.
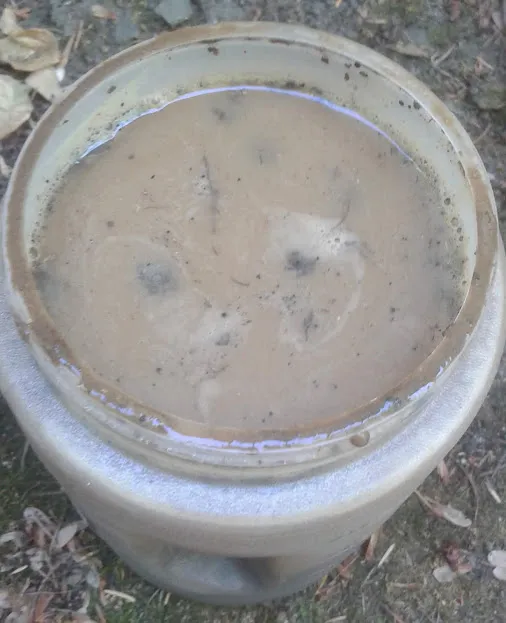
This is what is looks like after I waited two days. Looked to me like powdered chocolate milk. Very watery, with some small sticks and roots floating in it.
Drain off the excess water. Save all of the drained water in a bucket, because it has lots of clay in it.
Warning/Beware!
The next few images might look gross to some people. I do not classify as NSFW, but it comes close.
Prepare to look at:
- Brown
- Slimy
- Chunky
- Mud on my hands
Turn back now if you are squeamish to such sights. I am not responsible for your wild imagination when you look at these photos.

Ewwwwwww!
Mix the Mud
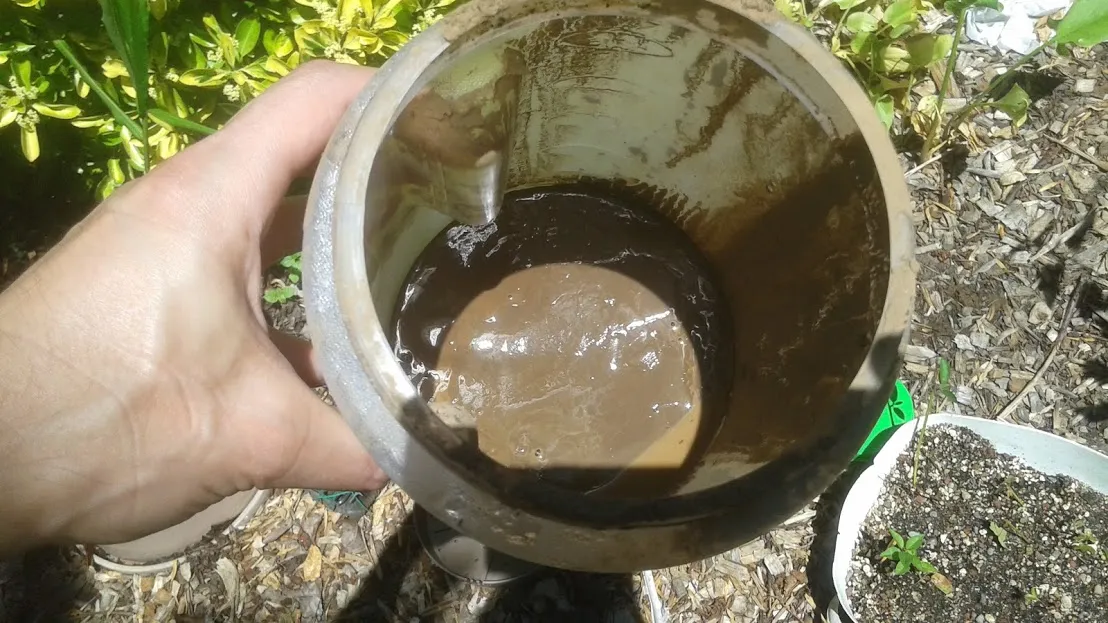
Inside my container, I can see that most of the clay is still holding its original shape. It needs to be mixed by hand.
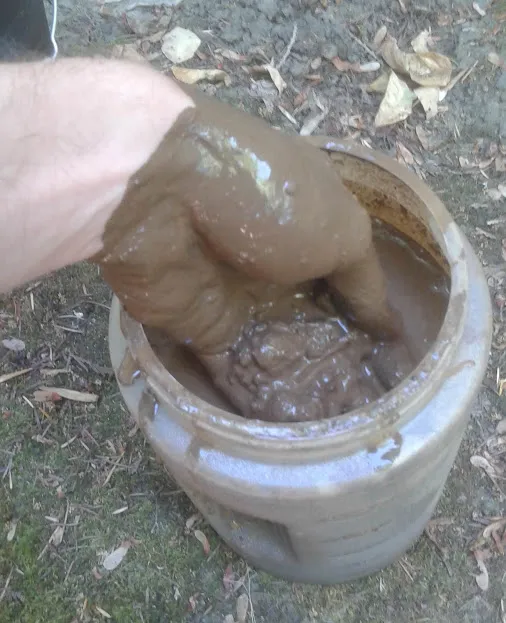
As I break up the clods of mud, I could feel little marble sized granules of rock, silt, and chalky clay.
Using my thumb and fingers, I rub the clay between my fingers until it dissolves into the water solution.
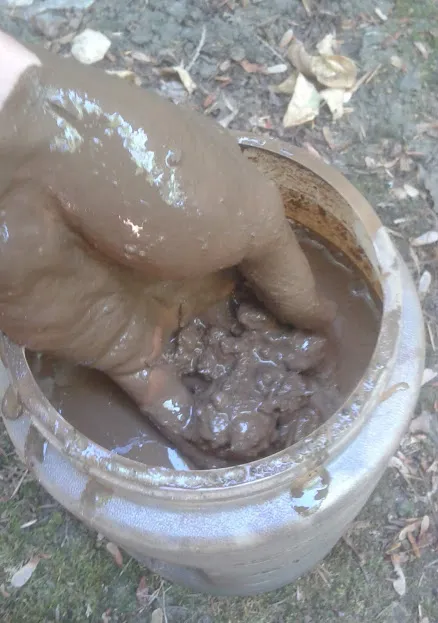
The more clay that is dissolved, the more the liquid will stick to and coat the skin.
The pieces that will not dissolve will be screened out in the next process.

Essential Tools #2 and #3
A simple bucket and a screen. Both of these I picked up at the The Dollar Store. My current total cost for tools is $3. Everything can be re-used.
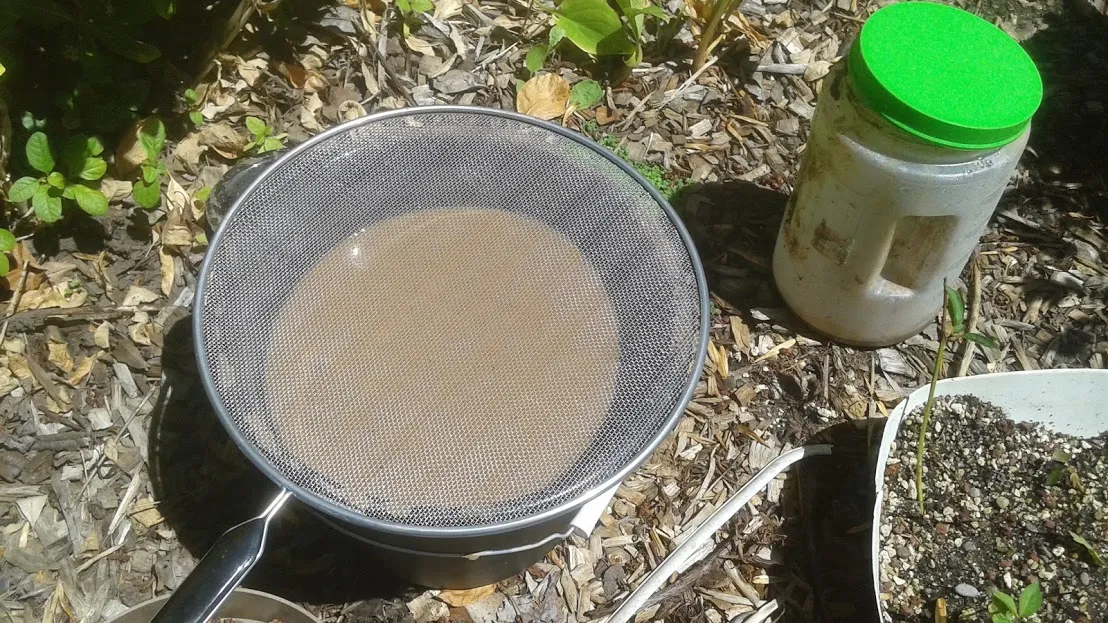
Using the screen and bucket, pour the contents of the container slowly through the screen, to save the clay water in the bucket.
Sometimes it might not drain very well, and it forms a slimy mass on top. I use my hands and slide my fingers across the screen to press the wet water through. Keep rubbing the contents through the screen until it is mostly rocks and organic matter on top (sticks, leaves, roots, and possibly worms and bugs).
Discard the screened off organic content, and spread it across the garden. Nothing is wasted.
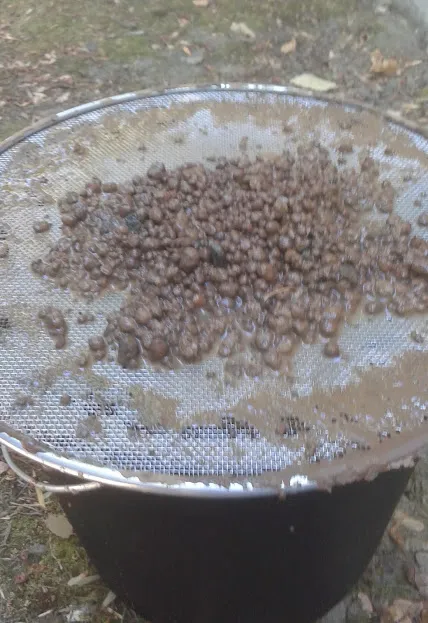
Small Rocks
Once I finished pouring the last of the muddy water through, I ended up with a lot of small rocks that were screened off from the bottom of the container.
Save the rocks!
In bonsai, rocks can be used for rooting and planting trees. Especially small rocks covered in a thin layer of clay, like these, will be better than anything you can purchase. The rocks will be smooth and small, which isn't very useful in quality bonsai soil, but it is good enough for getting young trees started grown from seed, or rooting cuttings. I decided to save these little rocks in a small cup so they can be used later.
You can use a watering can to rinse off the rocks over the screen if you want the rocks to be cleaned. I decided to leave the thin coating of clay on them.

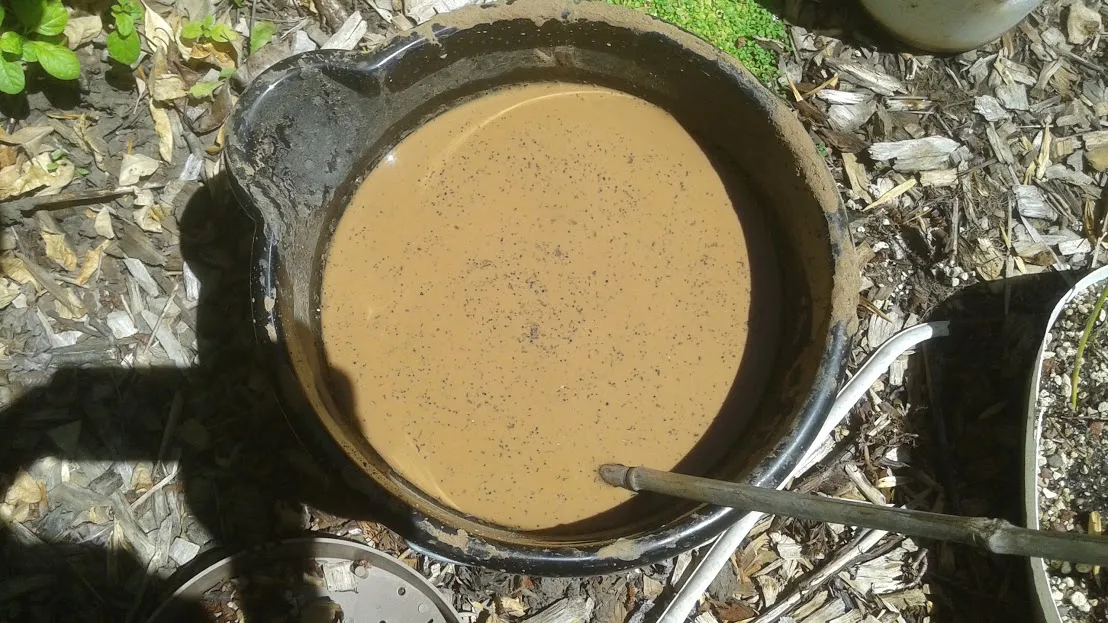
The remaining clay water should look clean and smooth. No visible matter.
This can be poured back into the container, and repeat pouring it back into the bucket through the screen. This should make it more smooth, and remove any other small pieces of rocks and organic matter that might have been missed.
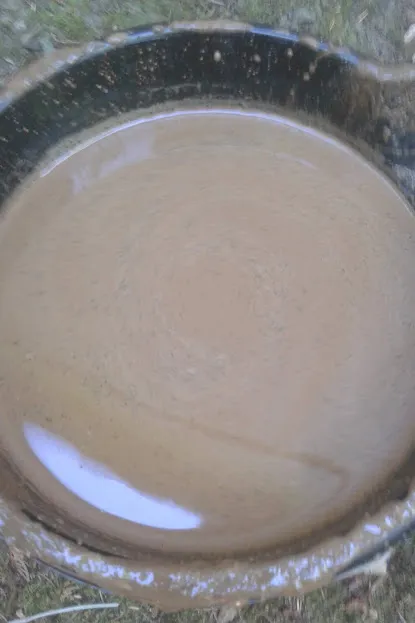
If there is any more clay in the container, you can mix it into the water and add it to the bucket, or you can leave it in the container.
The next step will be to dry out the water from the clay.
This activity is best done on the hottest days of the year.
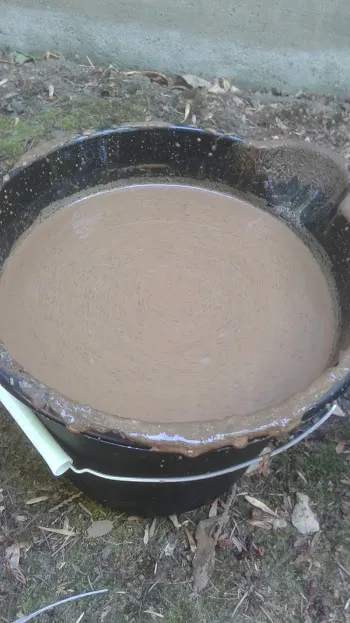
Let the Sunshine do the rest
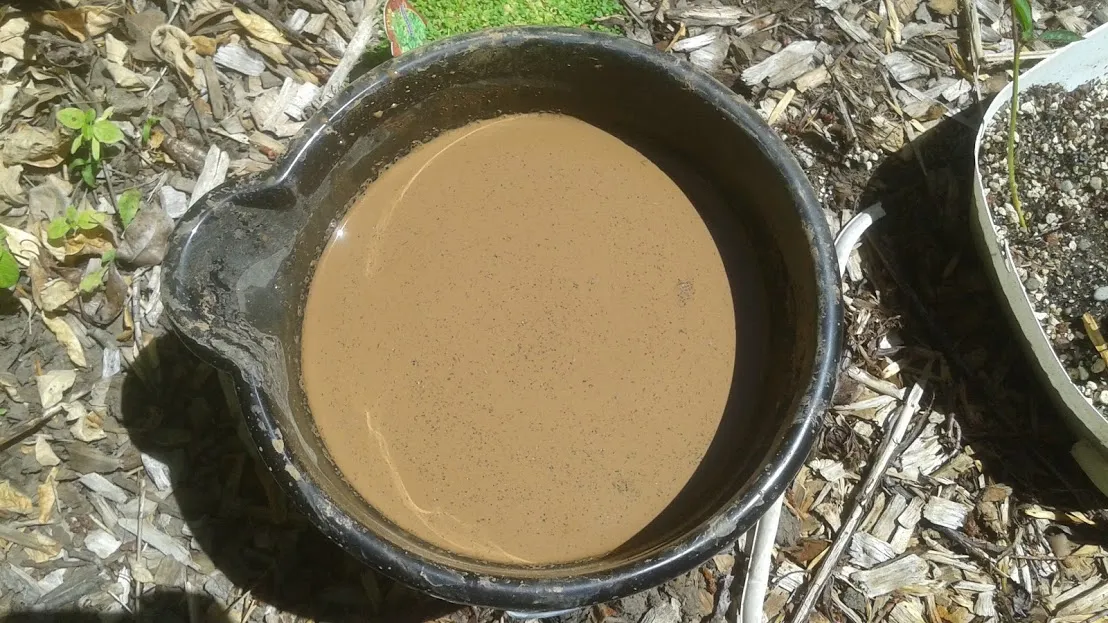
I put the bucket and container in a sunny location, so the water can evaporate.
The container still had some watery clay settled on the bottom, so I decided to leave it in. The clear container walls will allow some sunlight to pass inside, and by leaving the cap slightly open, the vapor can be released.
Having a dark colored bucket will greatly improve the ability to absorb heat. I use the same screen to cover the bucket to prevent debris and bugs in the air from falling inside.
See my cuttings, rooting in the #sand and #rocks to the right? This is exactly why small rocks are useful in bonsai.
After 24 hours, I had about a half inch of clay at the bottom of my container. It is still very loose and runny, so I will allow it to continue to evaporate for another day.
After a day in the sun, the bucket still have quite a bit of water that needs more time to evaporate from the clay. It might take a week for all this water to fully evaporate.
Use a stick to stir the water, to determine how much clay has settled under the surface of the water. It felt like I had had over and inch of clay at the bottom. Using the stick, I stirred the clay into the water, to make it smooth again.
I am not sure if stirring the clay into the water helps the water to evaporate faster or not. Probably not, but it did allow the cooler parts at the bottom to be mixed into the warmer water on top. It probably doesn't make much difference, but stirring it allows me to determine how much clay has settled under the water. After a week, we might end up with only a shallow layer of water on top of the thick layers of clay, and then it will finished.
When clay it mixed evenly with water, it is called Slick. In ceramics, slick clay is used for combining pieces of clay together. It acts like glue.
Finishing Up
It will be a few more days, maybe a week, before the water on the clay has finished evaporating. Just remember not to pour off the excess water, because the best clay is usually floating just under the surface of the water. The sandy clay, usually not very useful to work with, will be sitting on the bottom layer, because the small sand pieces are heavier than clay. This bottom layer of sand can be removed if the clay is hard enough to be handled by hand.
Also, if you have to clean up your work for any reason, you can pour everything into a plastic bag, and save the clay for later. You can even leave the bag open slightly to continue to allow water to evaporate.
This was less an an hour work for me in total to make this much clay. If I spent several hours doing this in a week, I would probably have several pounds of clay that can be used for making pots and ceramics.

Community Forums
Photos in this post are all #originalworks by @creativetruth, unless stated otherwise.
Find me on discord and chat with other tree growers, bonsai enthusiasts, and gardeners. We have quite a few accredited experts filling out our ranks, and a helpful Spanish-speaking community.
Bonsai!

| Account Value: $2,137.82 | Votes Given / Received: 3092 / 4477 |
| SP: 1,617.886 | Posts / Comments: 211 / 1355 |
| STEEM / SBD: 0.814 / $5.996 | Delegated In / Out: 0 / 0 |
| REP: 62.439 | Followers: 1,516 / 181 following |
| Curation Rewards: 1.496 SP | Author Rewards SP / S / SBD: 1.573 / 0.022 / 0.011 |
| STEEM In / Ex = 1.318 / 1.33456 | BTC / ETH/ LTC = 6216/ 430 / 76.4 |
| SBD = 1.08867 | Gold/Silver oz. = 1,241.40 / 15.87 |