UPDATE Google does not allow cryptocurrency mining with their free trial. If you still wish to use it switch to a paid micro VM.
The scope of this guide is to outline the steps to prepare a VM on GCP that is sufficient for running a CHC masternode. I will not cover the steps for setting up & configuring the masternode as this is sufficiently covered other places (links at the end). So, why GCP?
- Cost: $4.88/month (currently) with a micro VM.
- Ease of use: I find the GCP interface more intuitive than others (like Amazon)
- The GCP mobile app: With the GCP app you can monitor & administer your VM(s) from your phone (start, stop, even SSH).
Steps:
- Activate your GCP account here https://cloud.google.com/
- Navigate to your GCP console or go here https://console.cloud.google.com/
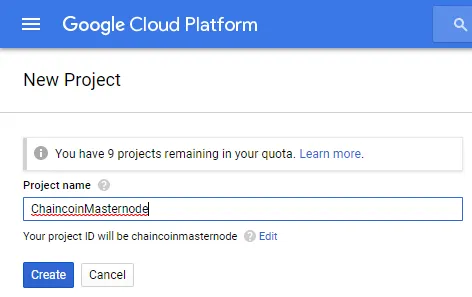
- I recommend to create a new project for your masternode(s):

Give your project a name and click create:
Once the project is created open the project's VM Instances by using the menu button in the upper left corner:

Create new VM Instance:

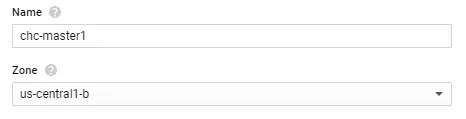
Input desired VM instance name & select region (regions vary in price):
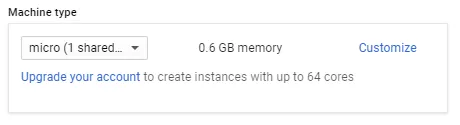
Machine type, select Micro. (Note, you can select a more powerful VM for the setup process, which may reduce the time for some steps to process. After you are done with the setup you can stop the VM and scale back down to Micro). Mine was set to the 1vCPU option for the setup process.
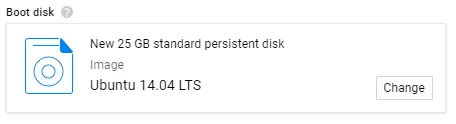
Boot disk & image: Select "Ubuntu 14.04 LTS" and configure a 25 GB standard persistent disk.
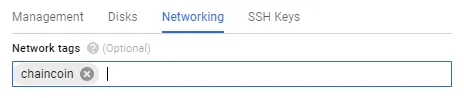
Expand the "Network" section and create a Network tag (i.e. "chaincoin") and note this as we'll need it for the firewall rule:
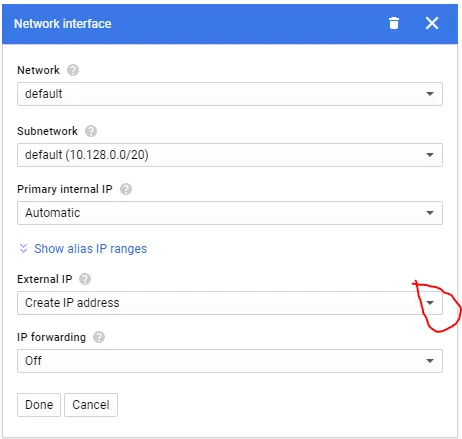
Click the "edit" pencil on for the Network interface and create a static External IP address:
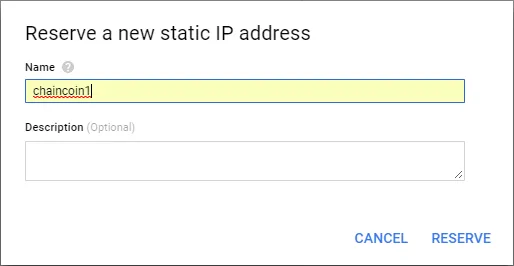
Input desired name for the static IP, click reserve, click done:
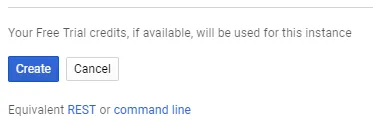
Click Create at the bottom to create the VM:
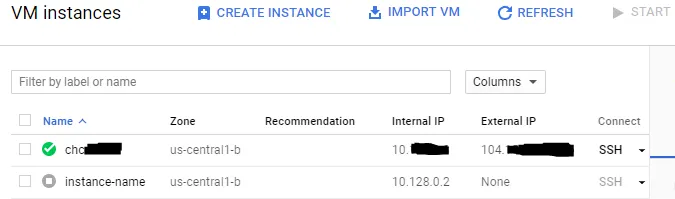
After a minute or two your VM should be up and running. Note the external IP as you'll need it for your masternode config:
Setting up the firewall rule:
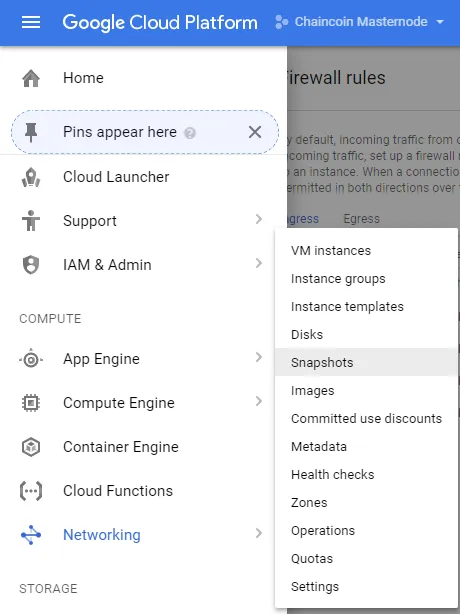
Click the menu button in the upper left corner and navigate to Networking and click Firewall rules:

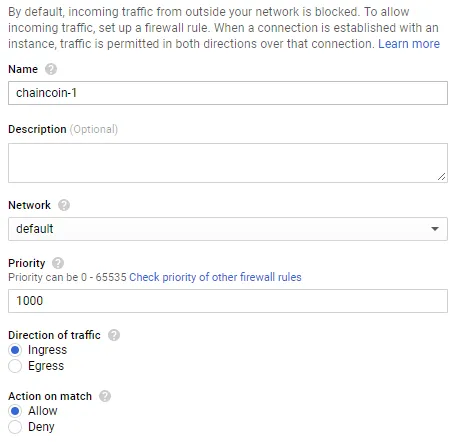
Click "Create Firewall Rule"

Input desired name, ensure "Ingress" and "Allow" are selected:
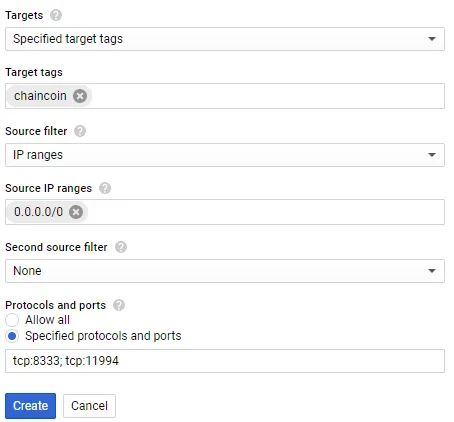
For Target tags, input the network tag you created earlier (i.e. "chaincoin")
For Source IP ranges input "0.0.0.0/0"
For Protocols and Ports input "tcp:8333; tcp:11994"
Click Create:
You should now see your newly created firewall rule, verify it looks correct:

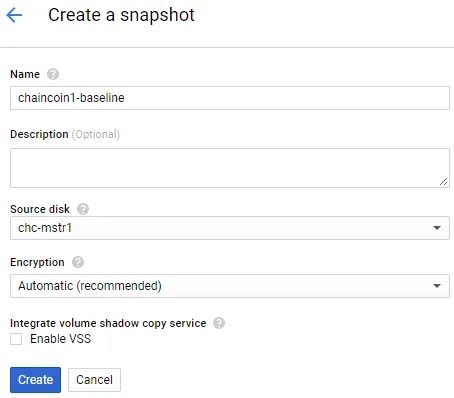
Create a baseline Snapshot! By creating a snapshot now we can revert back to our starting VM configuration should something go wrong with the masternode config/setup. Restoring a snapshot is much quicker than starting from scratch:
Stop your VM first (this may not always be required but it will ensure a consistent & valid file system)
Navigate back to your VM Instances, select the VM and click stop

Click Menu and navigate to Compute Engine, Snapshots:
Input a snapshot name, select the source disk for your VM, click Create.
Navigate back to your VM Instances and click Start
That's it! Your VM should now be ready for the masternode install and config.
Notes:
- SSH - I did the entire setup just using the SSH feature in GCP. If you you desire to connect with Putty there are instructions in GCP on how to create your SSH keys.
- File Transfer - There is a file transfer feature in the GCP console as well. I haven't used it much but it seems to work ok.
- Android Console app - Check out the app, you can manage your VMs, SSH and even create snapshots from your phone.
Useful links:
ChainCoin masternode setup http://www.chaincoin.org/how-to-set-up-masternodes/
FB Group https://www.facebook.com/groups/313419965749502/
HighOnCoins Slack https://highonc.slack.com/