Before
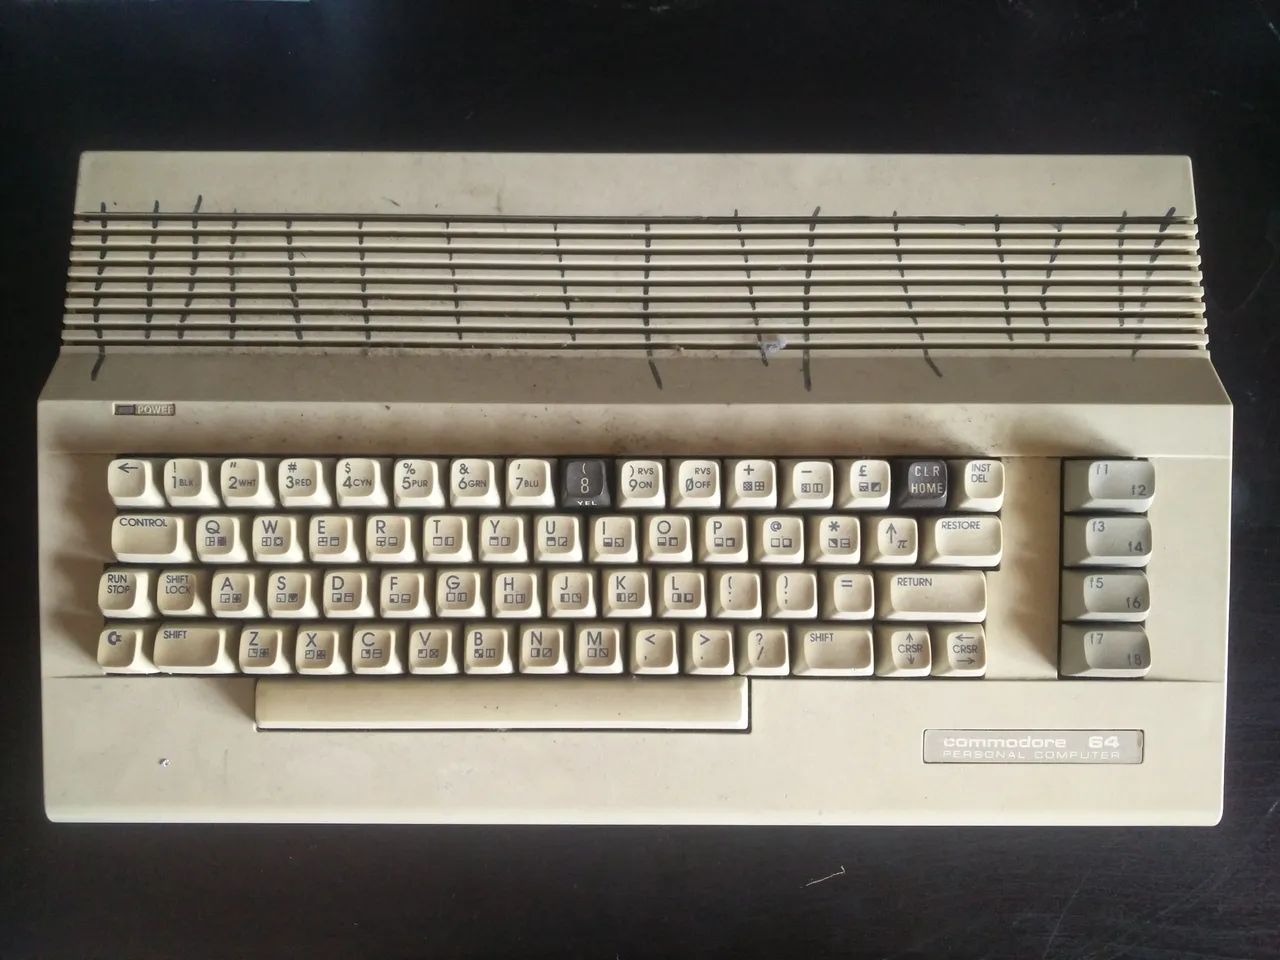
The plastics were yellowed, everything was dusty and somebody drew on it with a permanent marker...
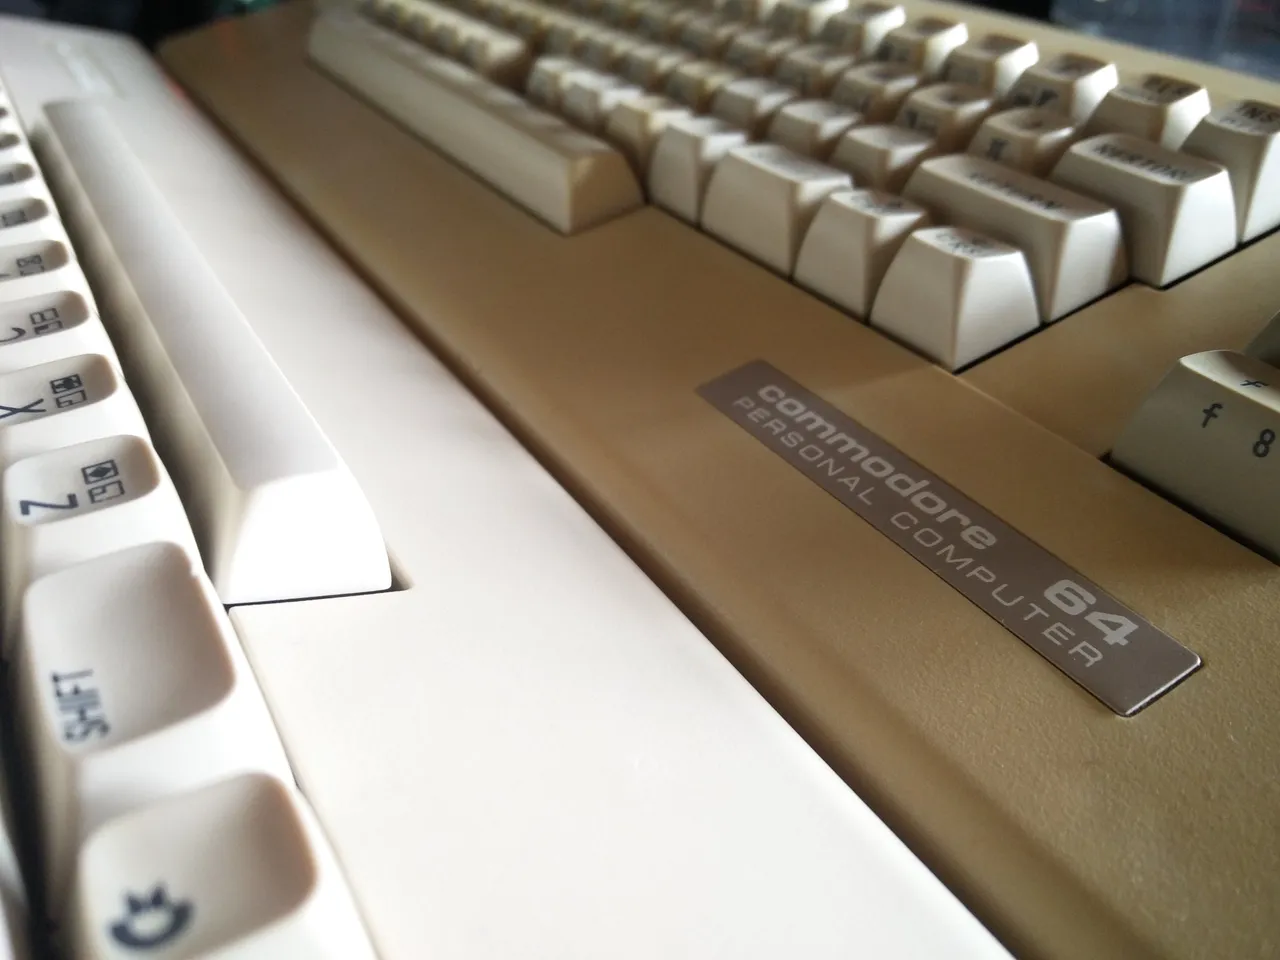
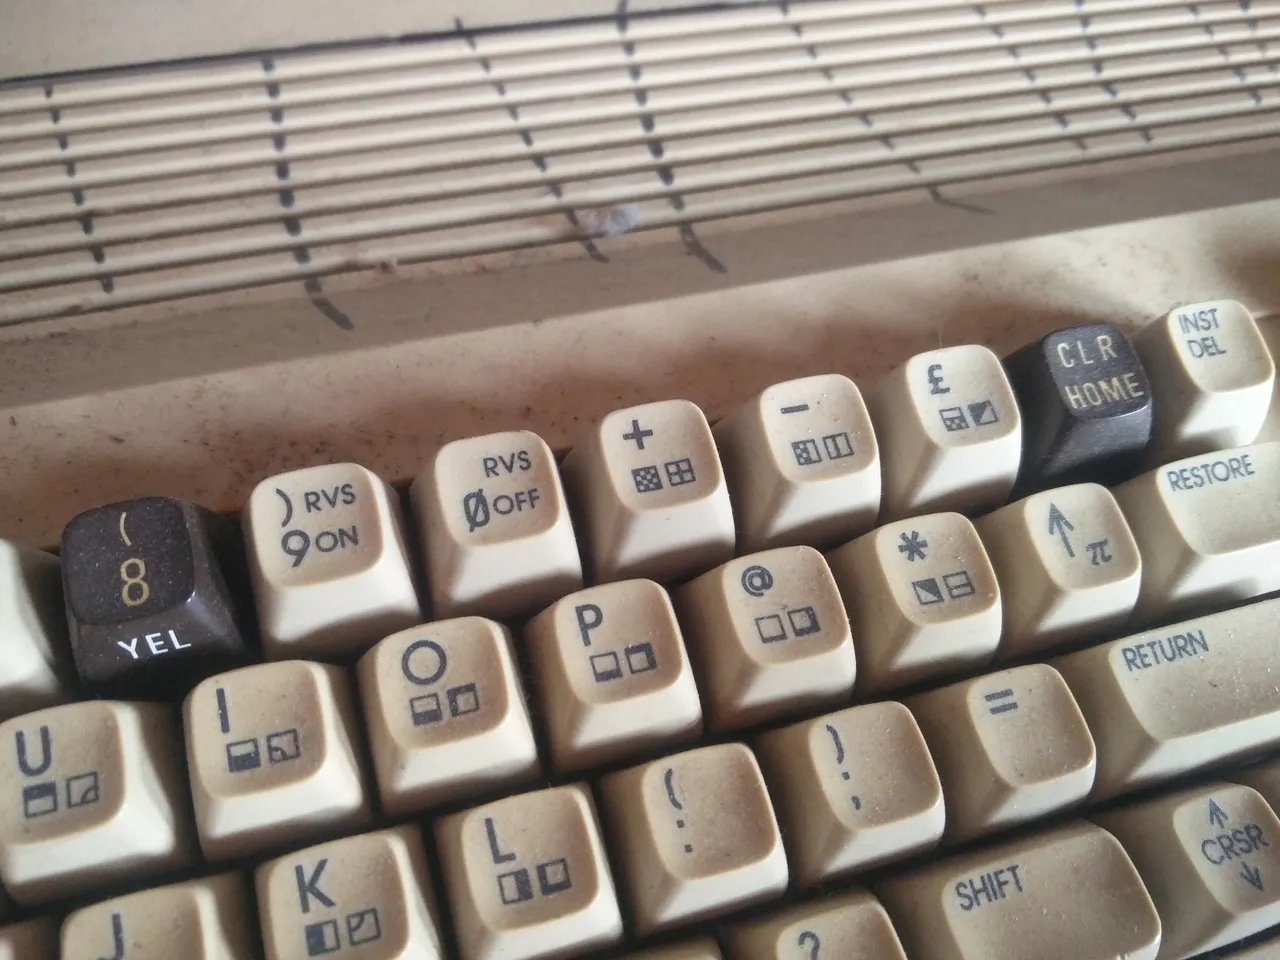
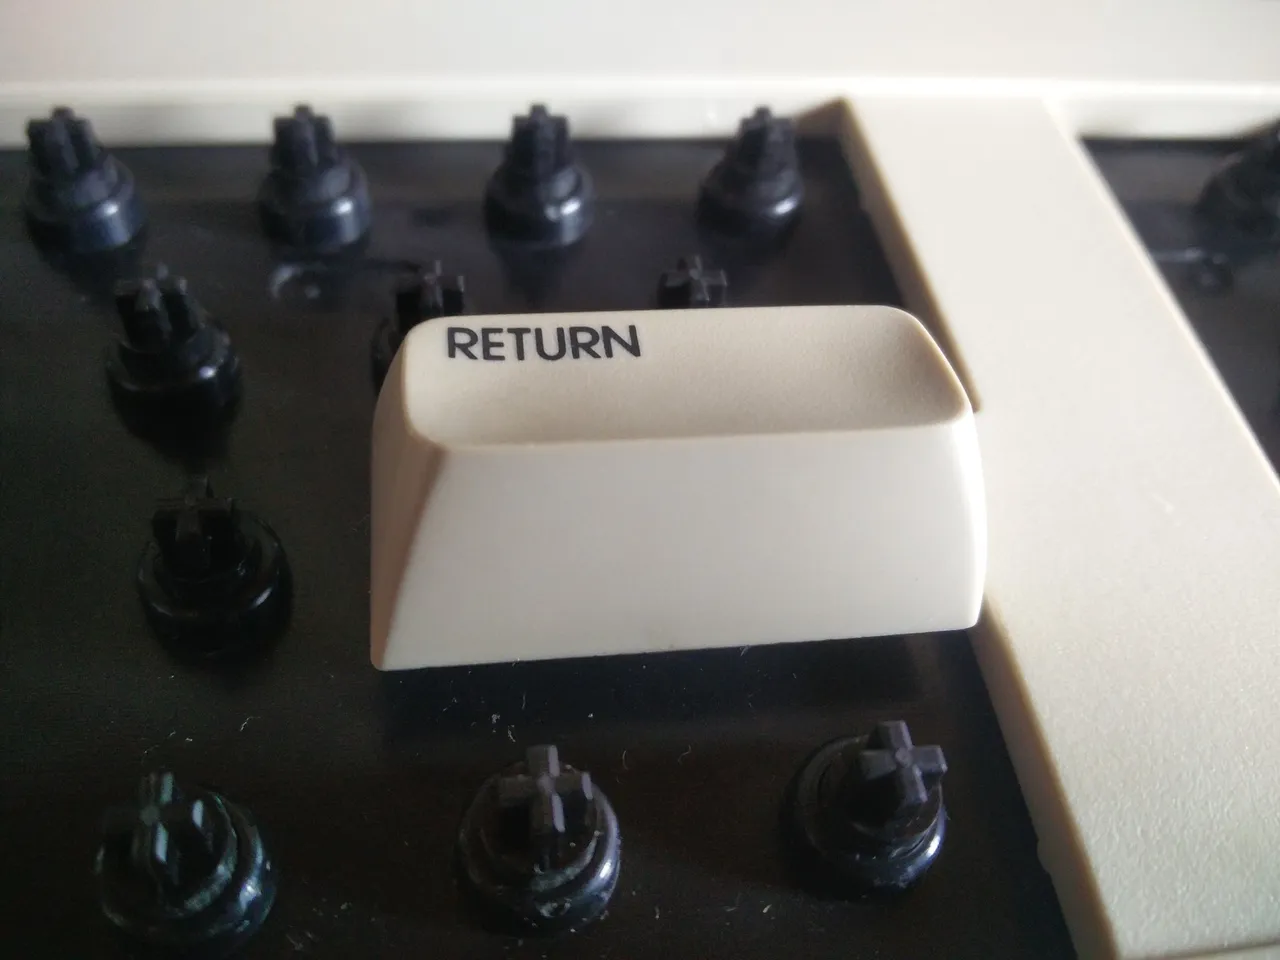
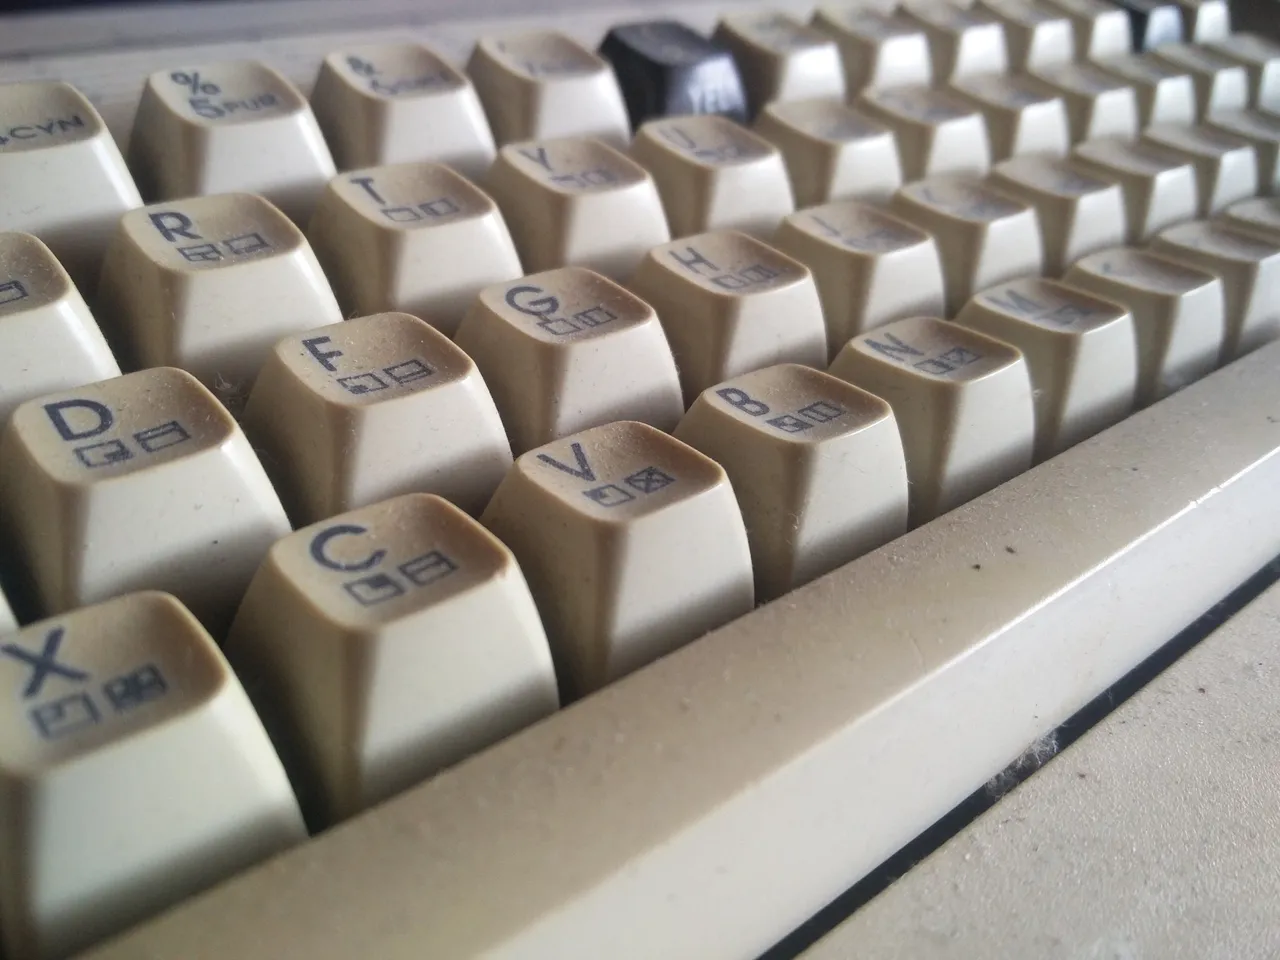
Also, two keys were replaced with black keys from the older version of the C64.
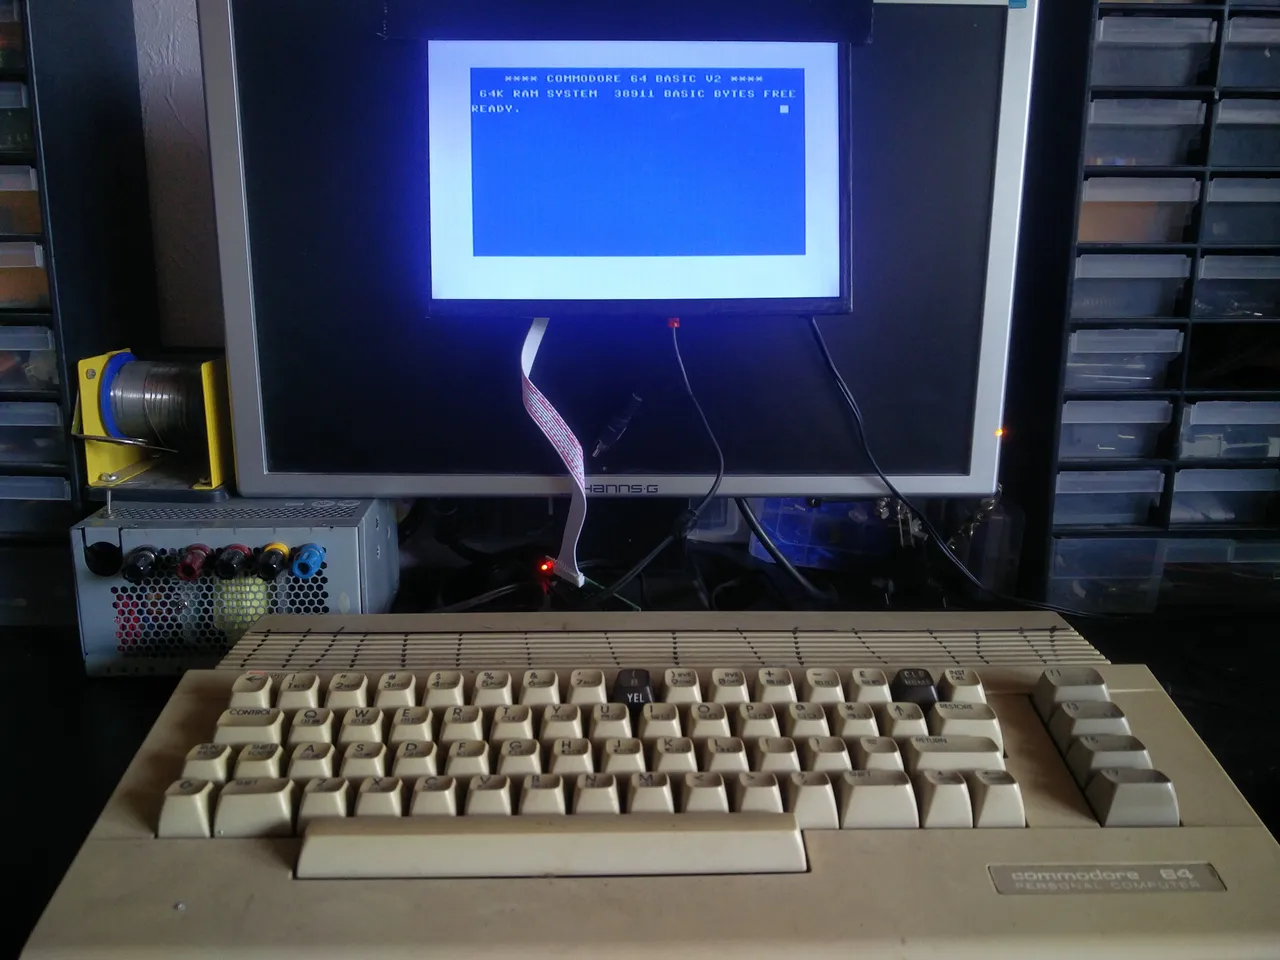
So, I first started with testing, if it still works. After plugging it in, it works perfectly fine!
Disassembly
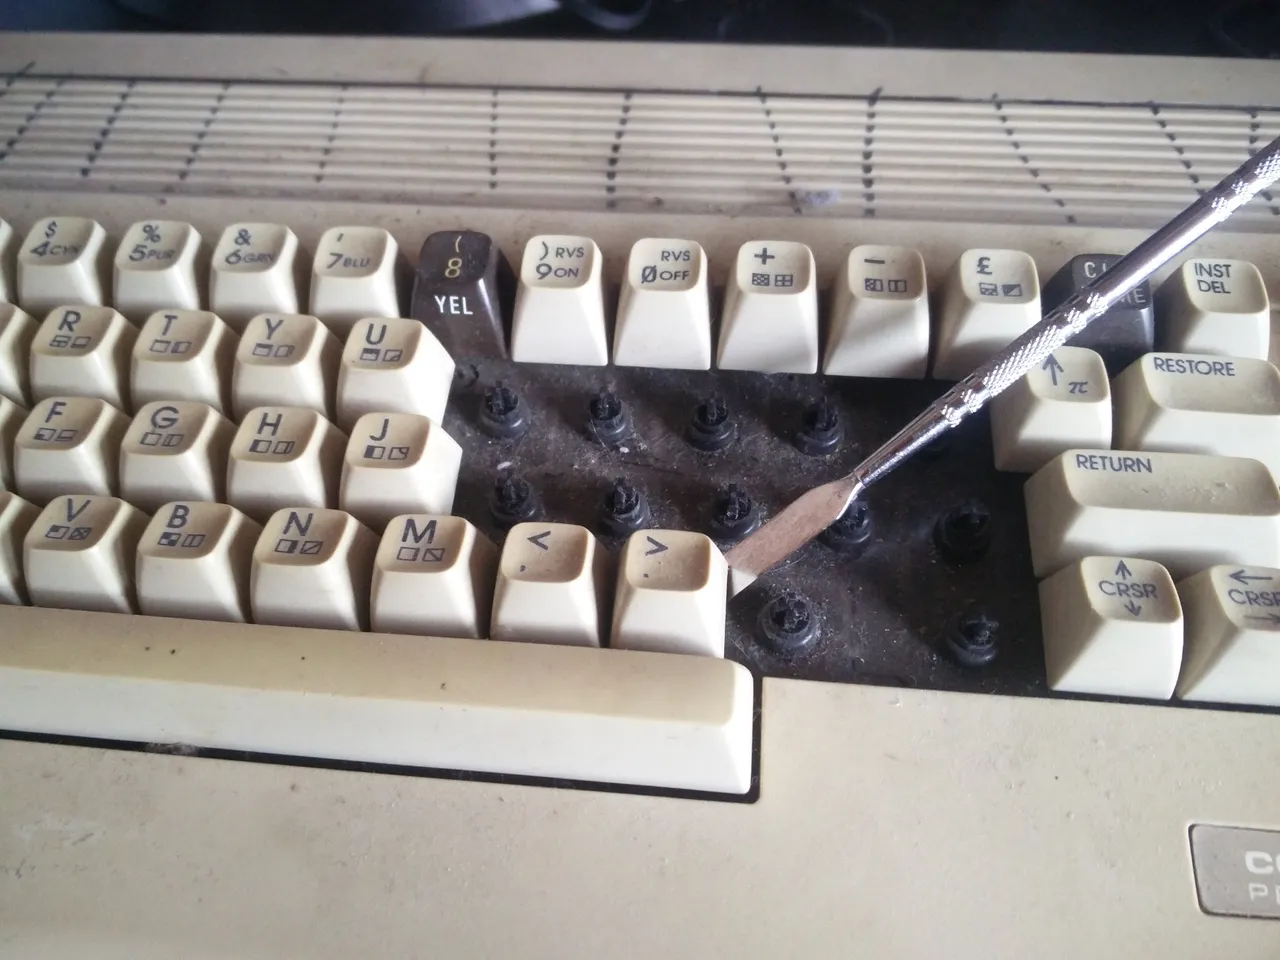
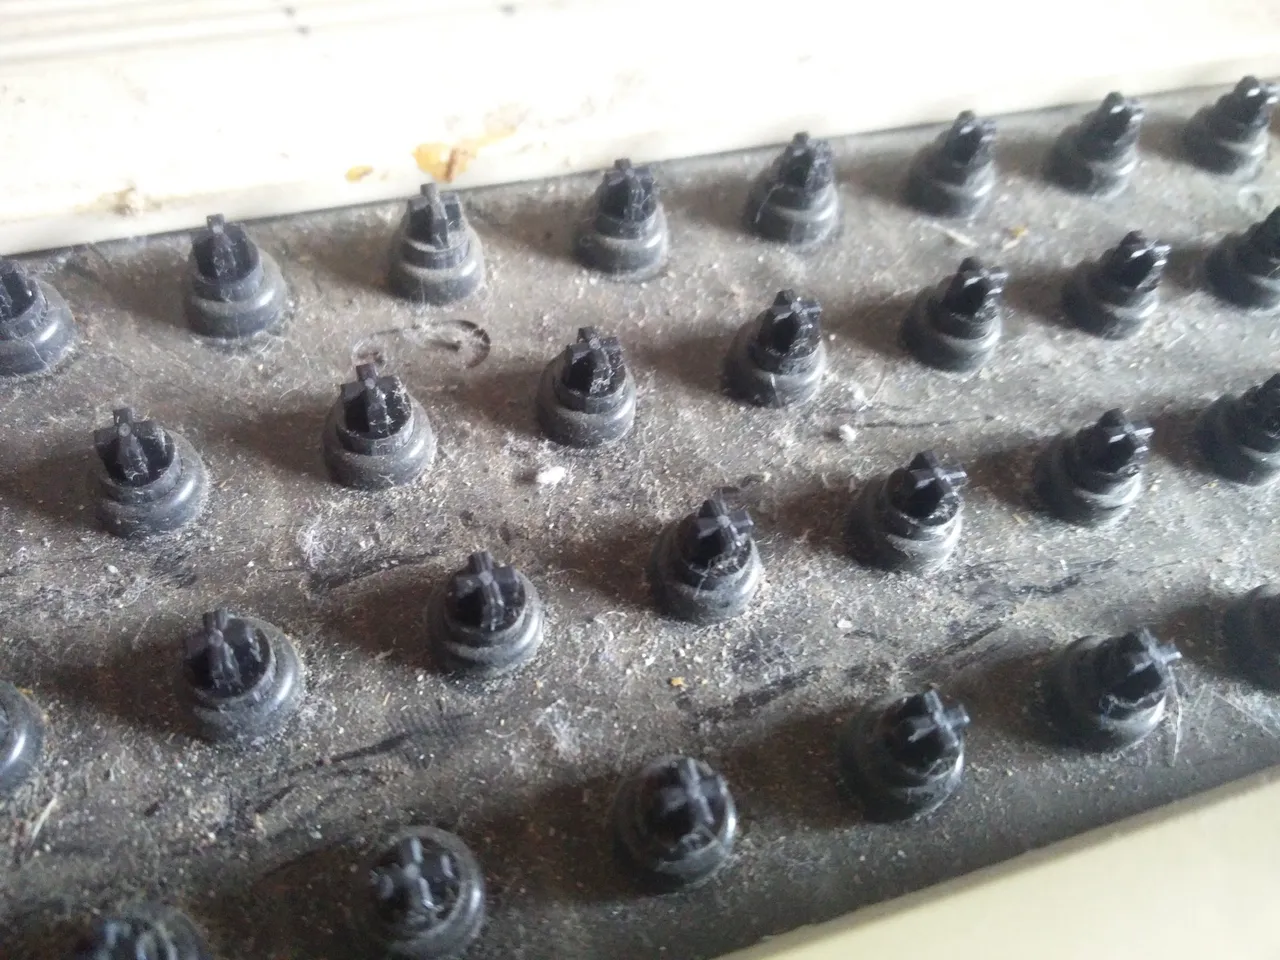
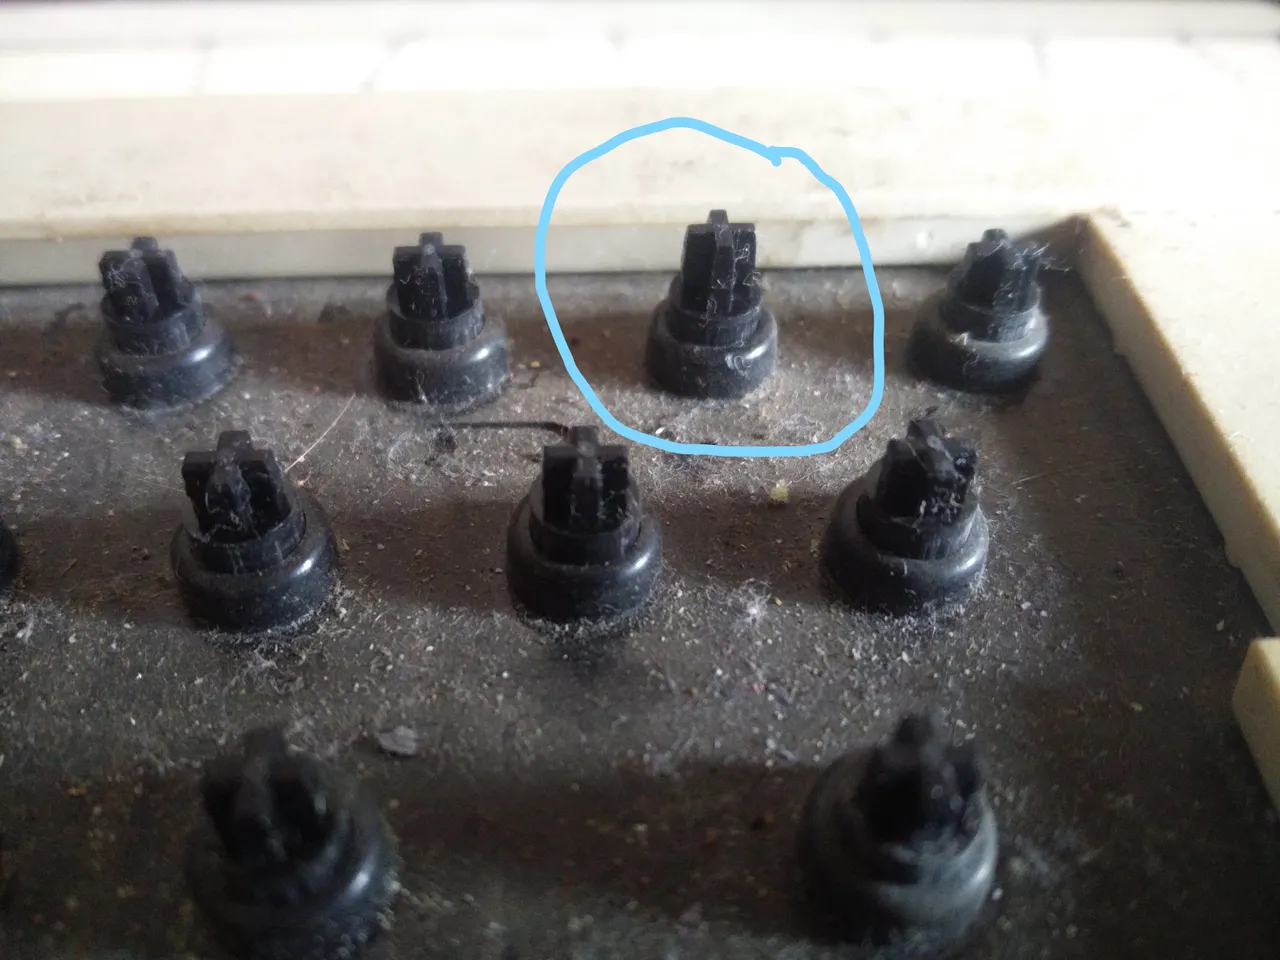
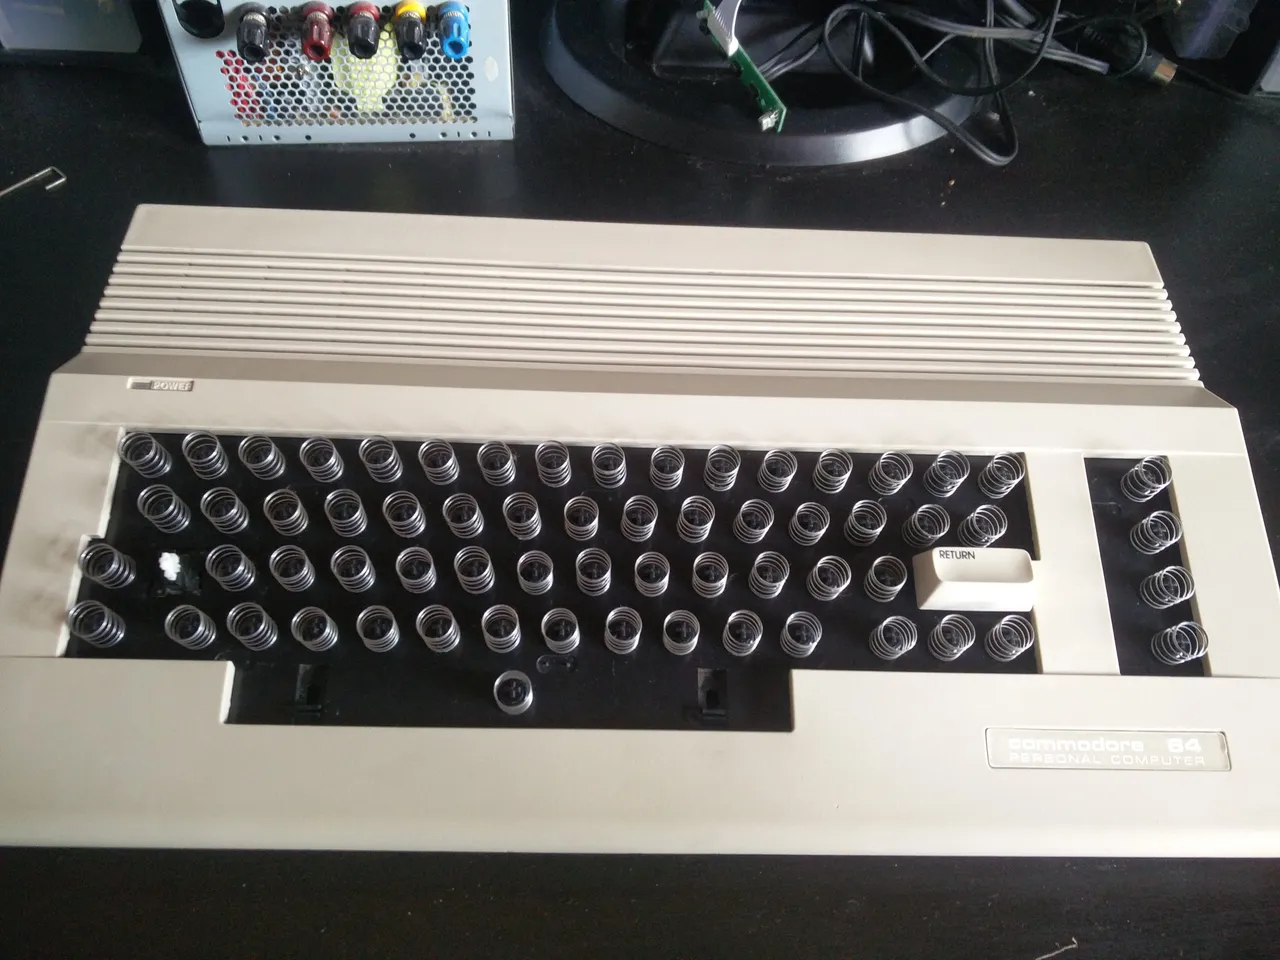
I started the disassembly by removing the keys. I used a thin metal pry-tool to gently pry up each key. This showed, how dirty and disgusting the keyboard was! I noticed, that one pin was longer than the other! You’ll see why, later on.
Then I opened the C64 up by unclipping three latches.

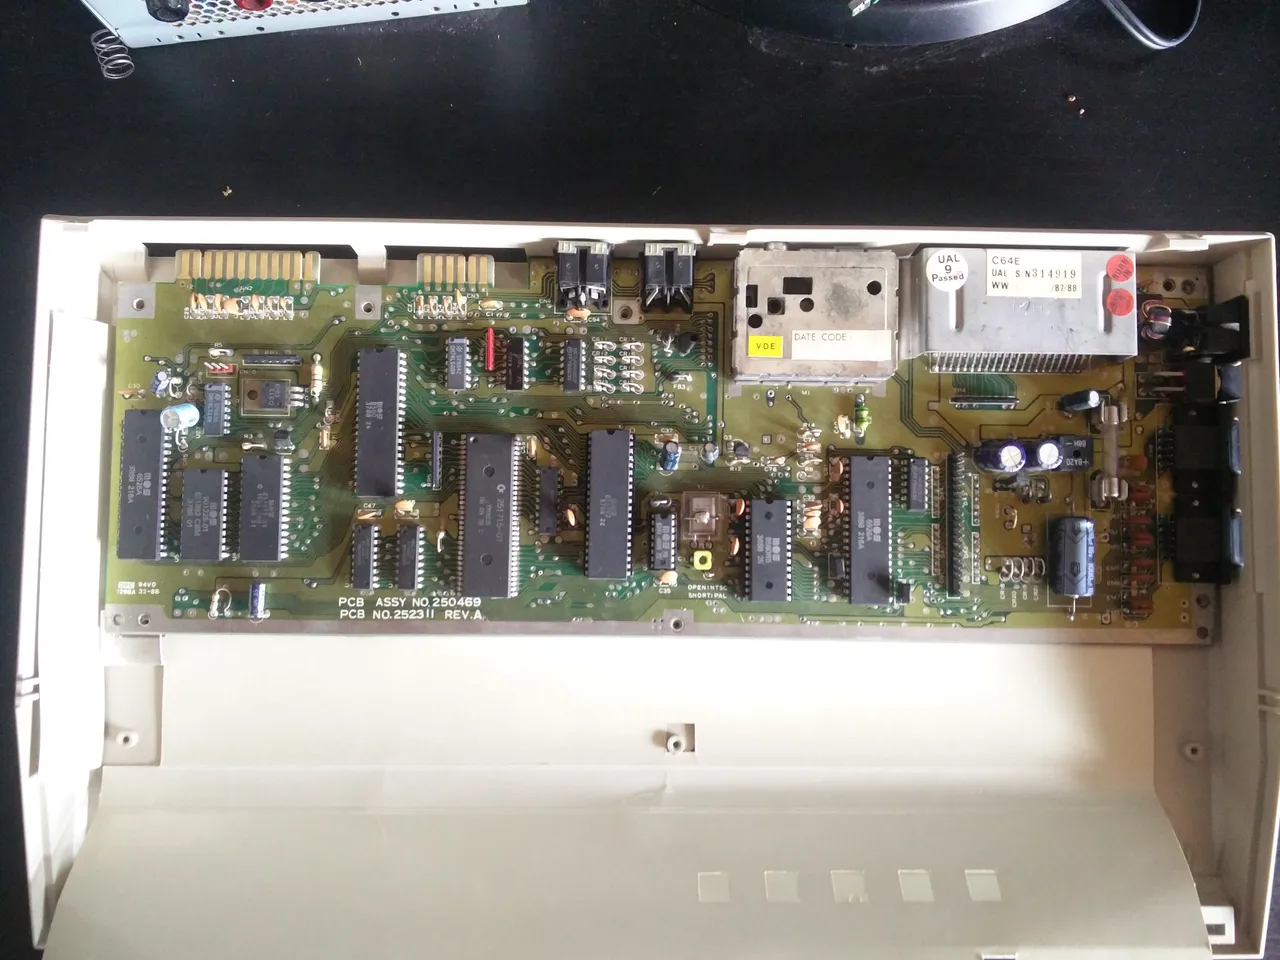
I removed the shielding and this revealed the dusty and dirty motherboard.
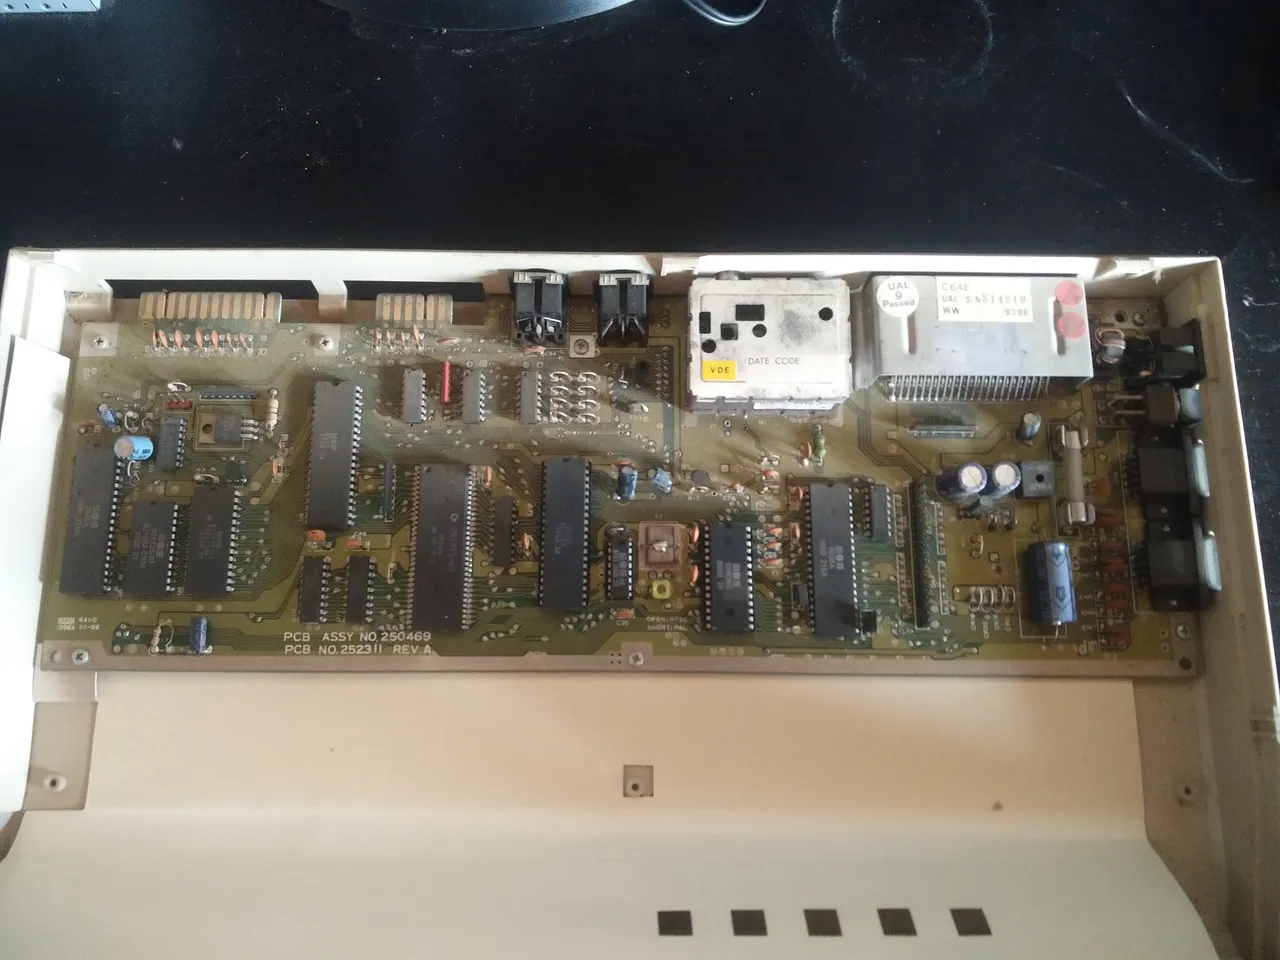
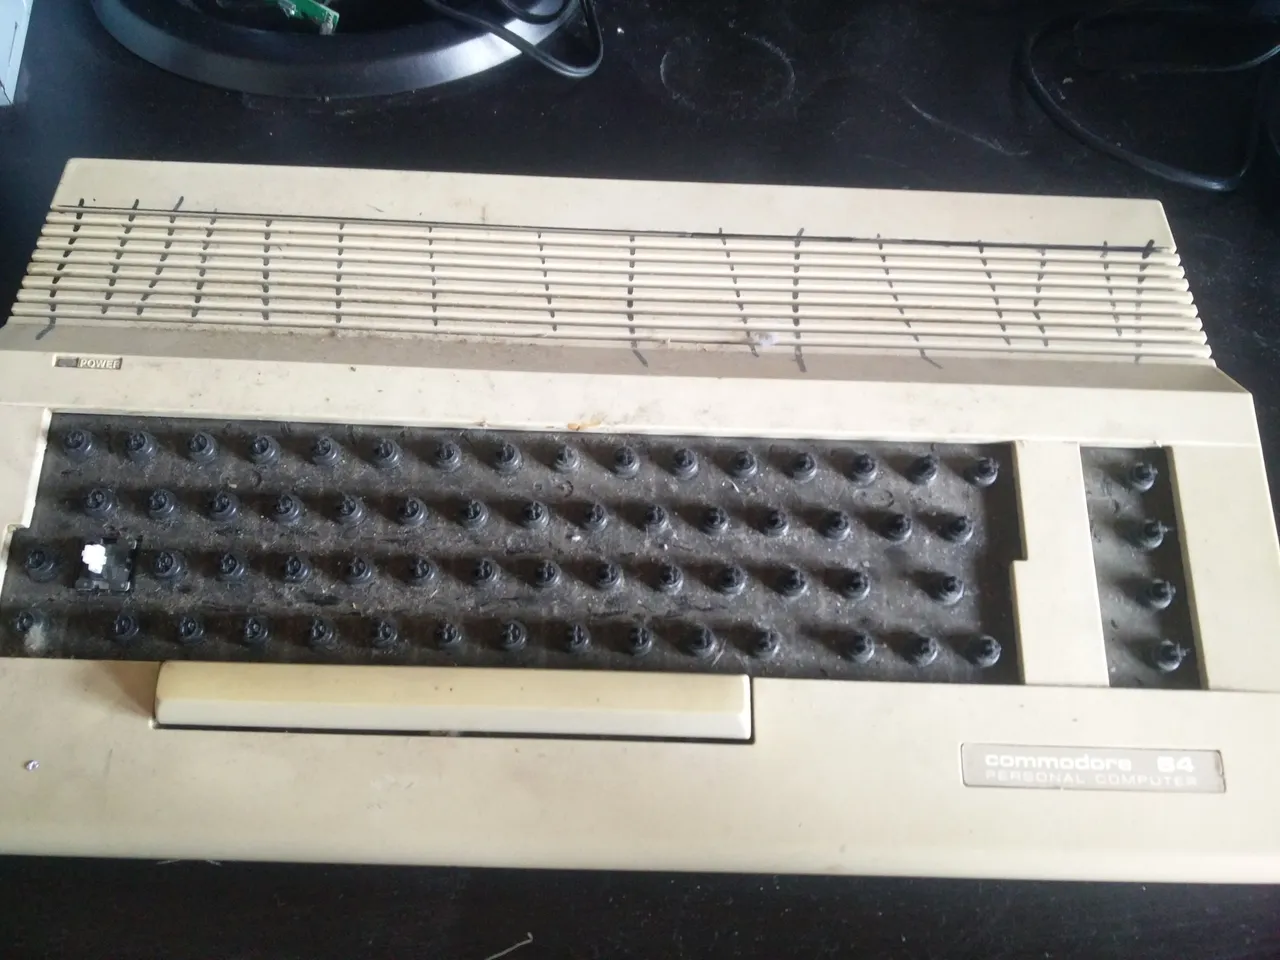
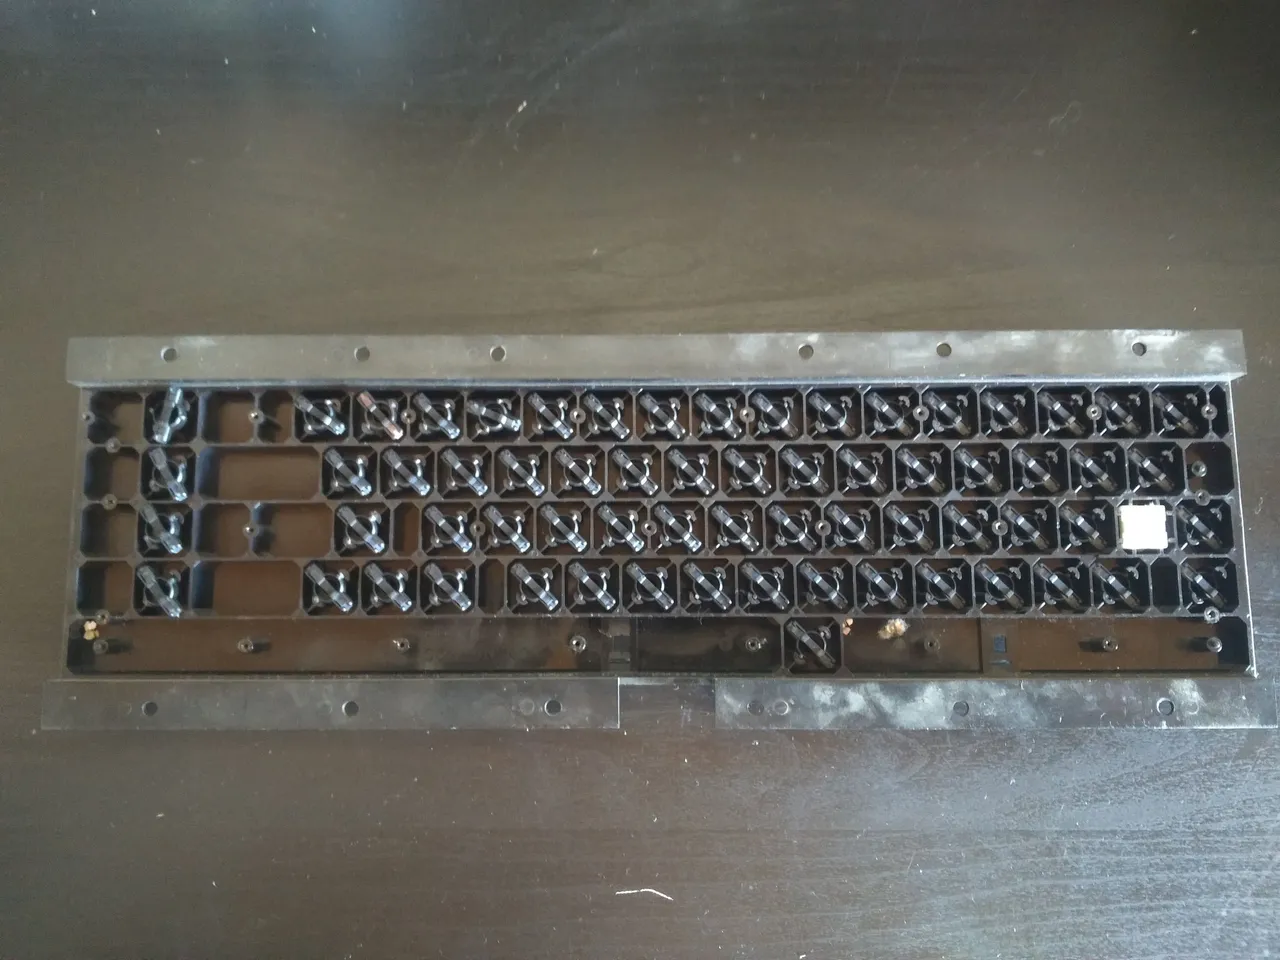
I removed the motherboard and the shield and started working on the keyboard.
The keyboard was very easy to remove. First unplug it and then release a few more latches. (Don’t forget to remove the power LED)
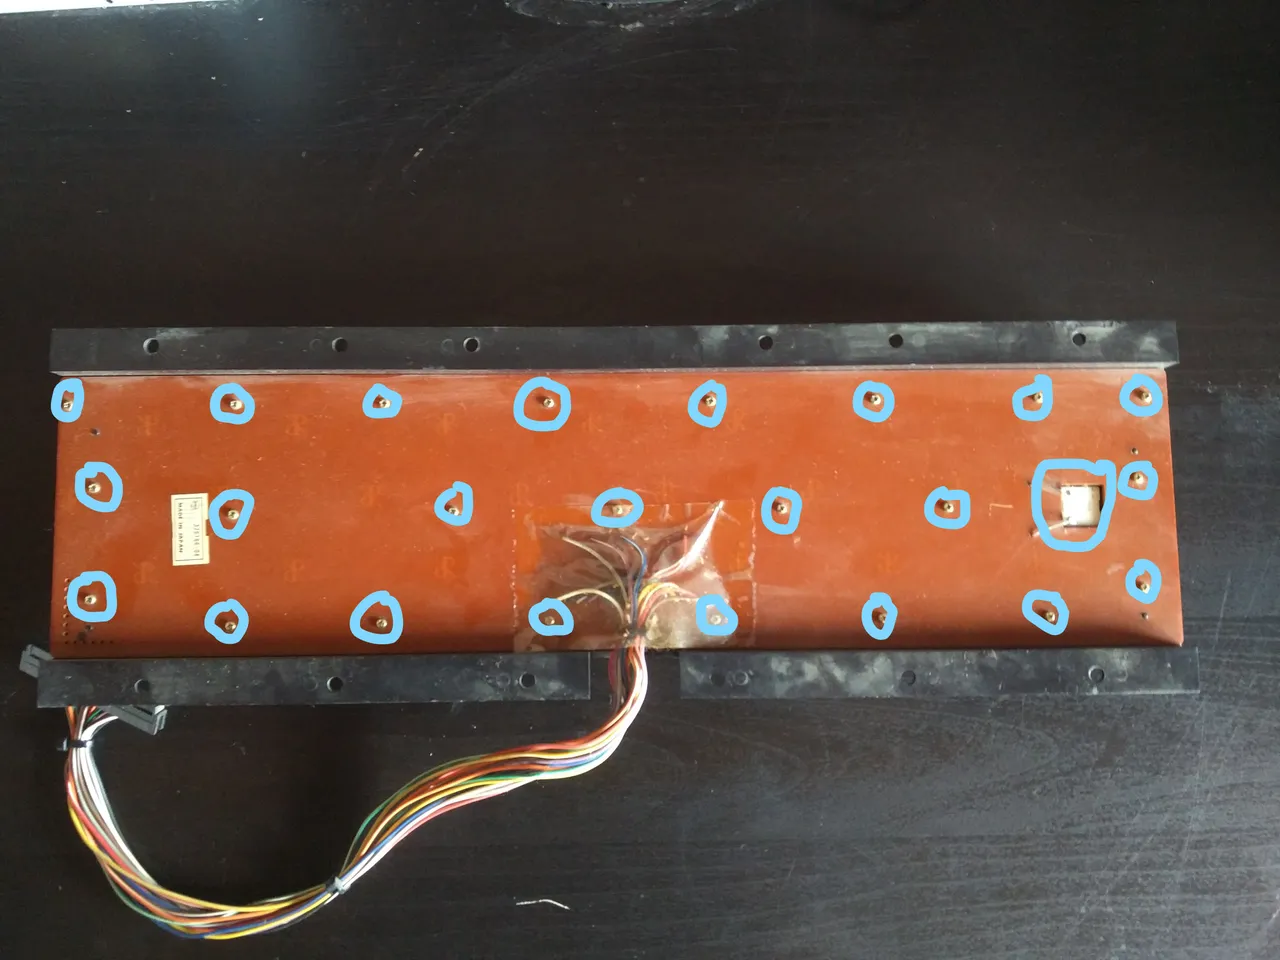
To tear the keyboard down, I removed 24 (!) screws on the bottom and desoldering the shift lock key. This revealed, that the one pin, which was longer than the others, in fact was a wrong replacement part, like the two black keys.

Cleaning
The C64 was very dirty, so I started cleaning it. For the case I used a special sponge (Don’t ask me, what it is made of…) to remove the dirt and the marker lines. It worked perfectly!
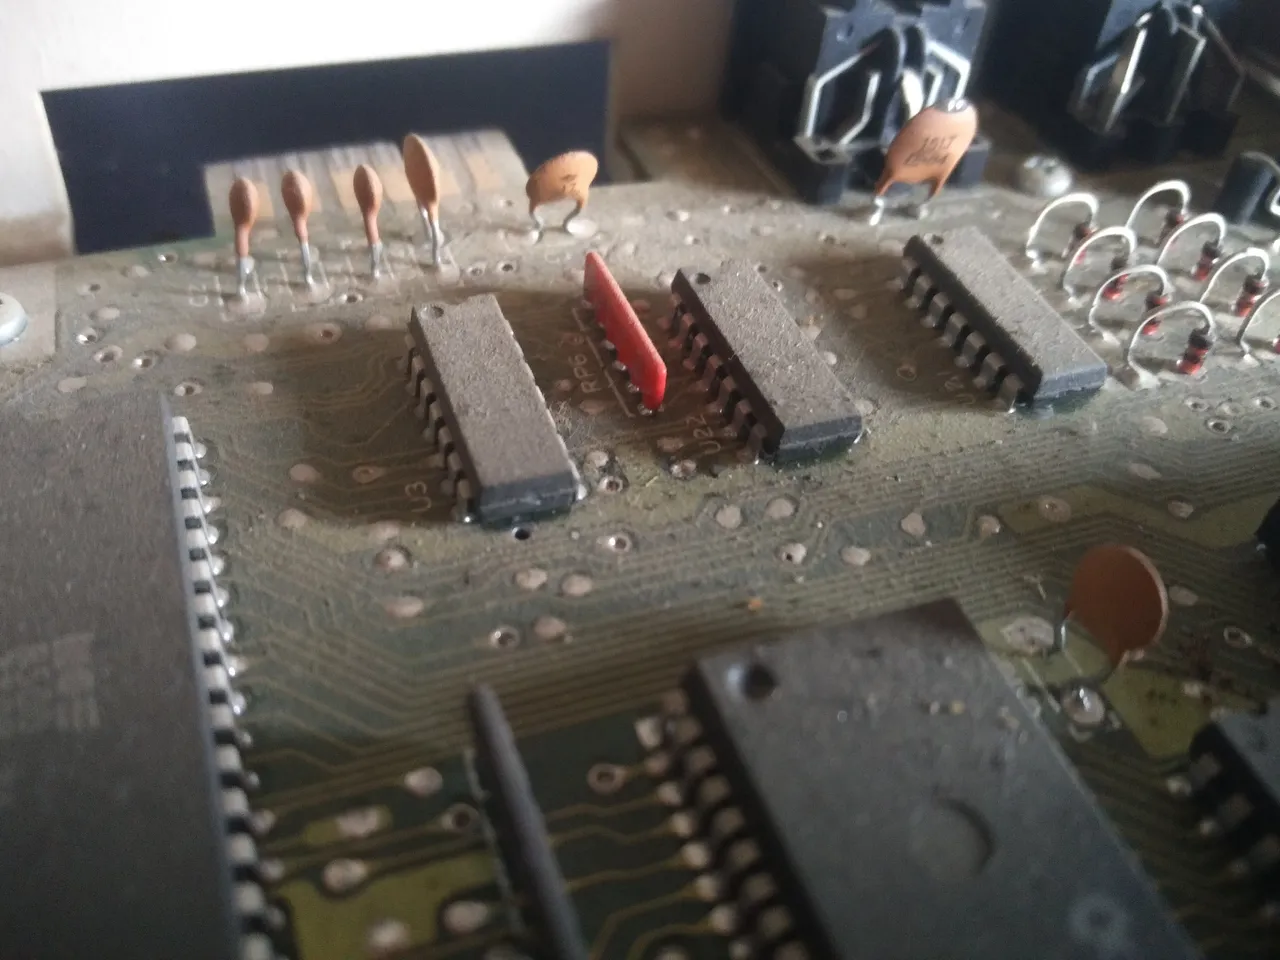
For the motherboard and the keyboard-frame, I just used an old toothbrush and some rubbing alcohol to clean it.
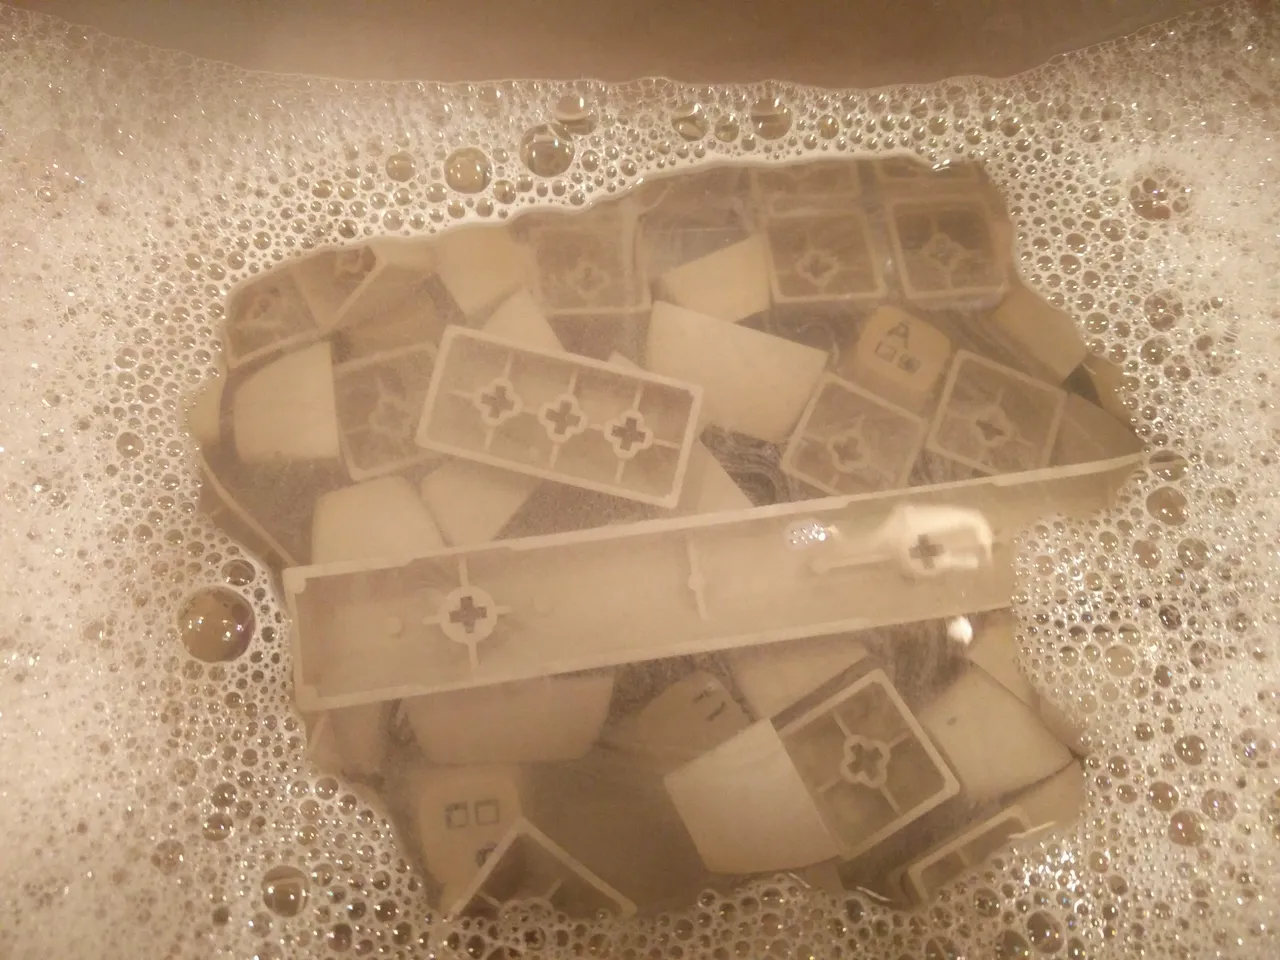
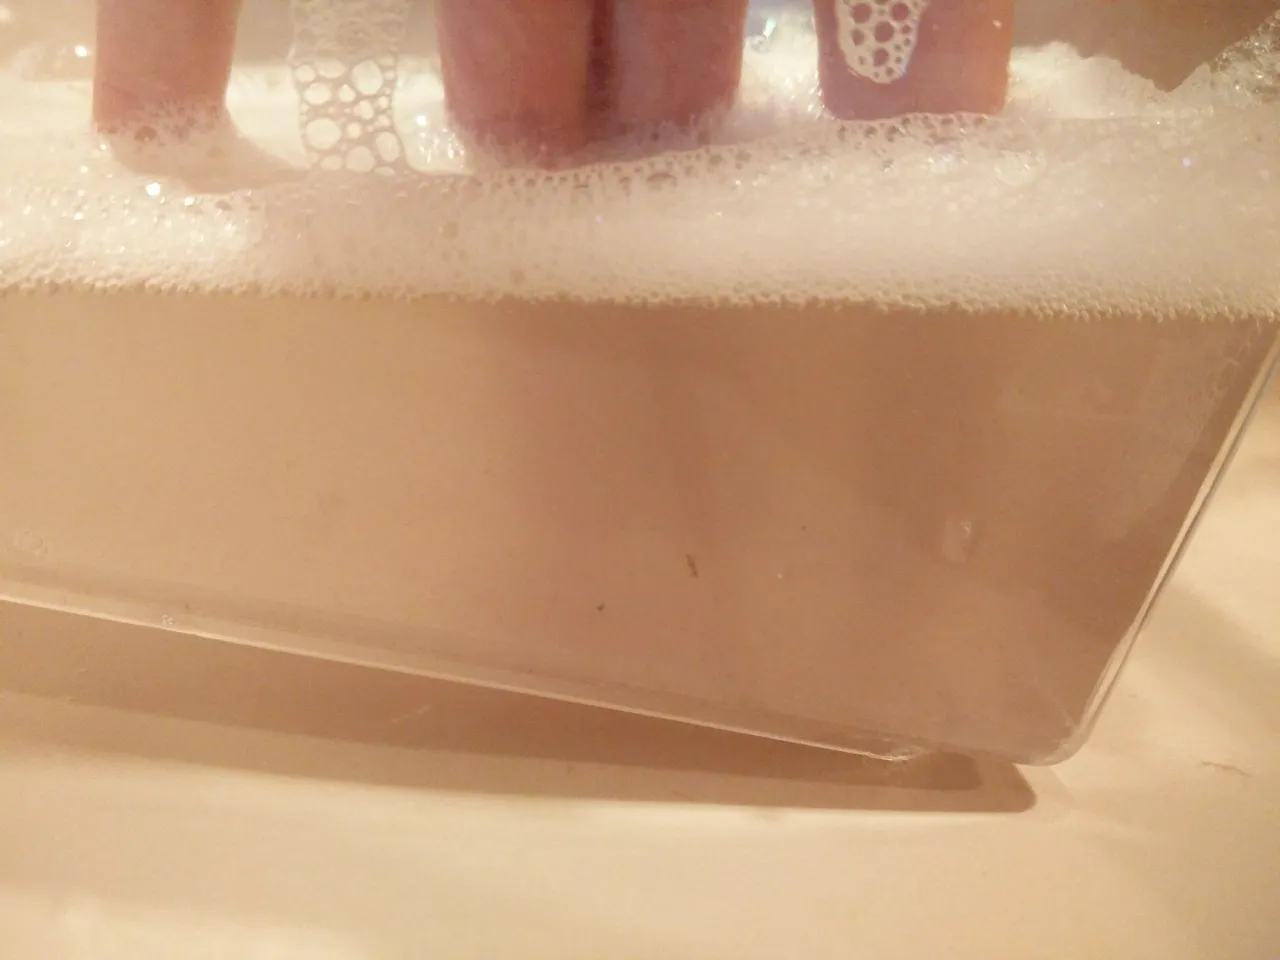
I cleaned the keys by giving them a good wash with soap and water. (Look how dirty the water is, after the first wash!) After five washes, the keys were clean again.

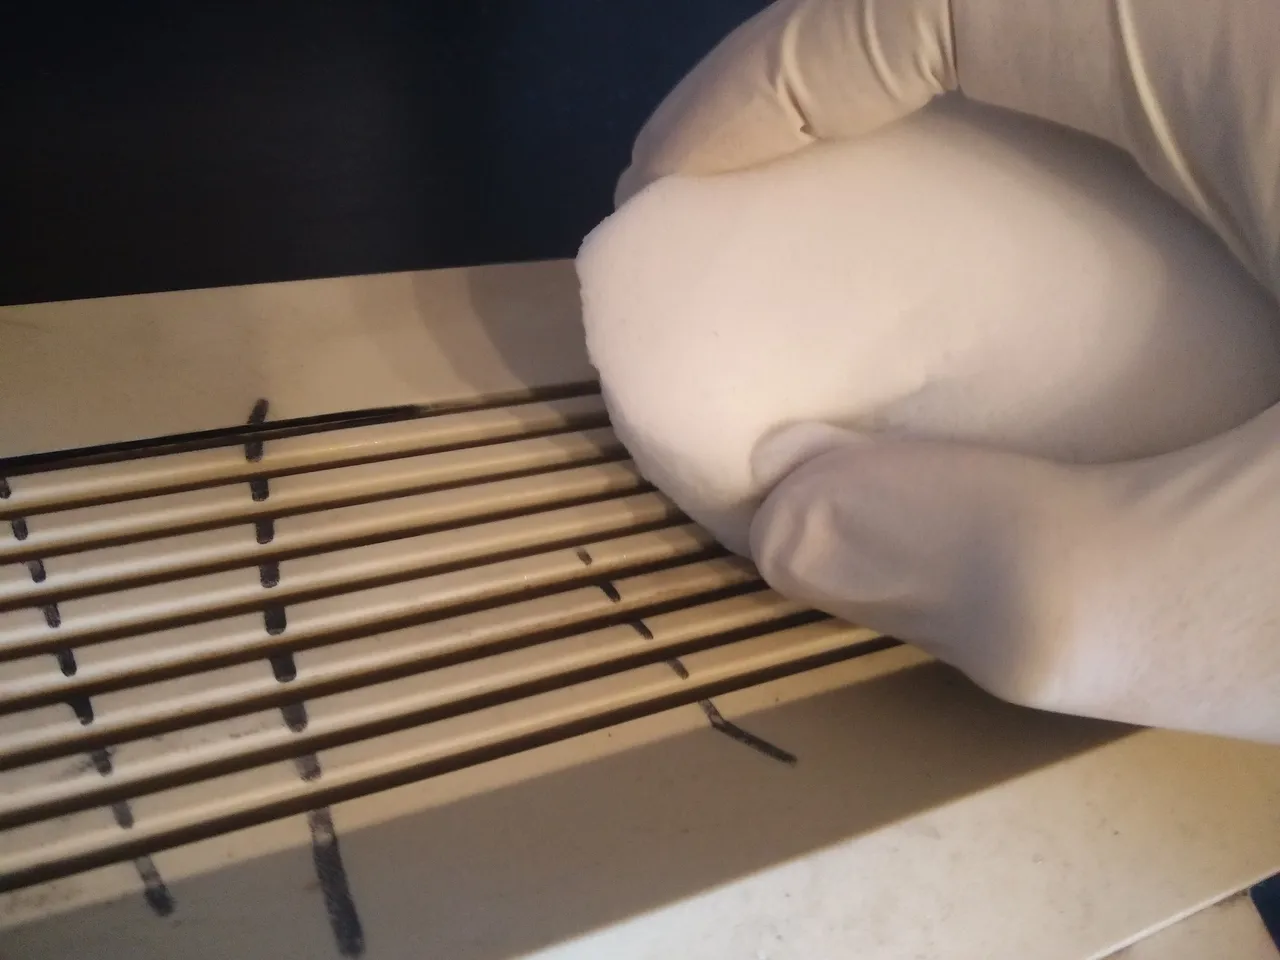
The springs, I just brushed of the dust, because water would cause them to rust.
Fixing the yellowed plastics
To fix the yellowed plastics I used a hydrogen-peroxide cream. First, I coated every key and covered it with cling film, so it wouldn’t dry out. I repeated this with the top and the bottom of the case.
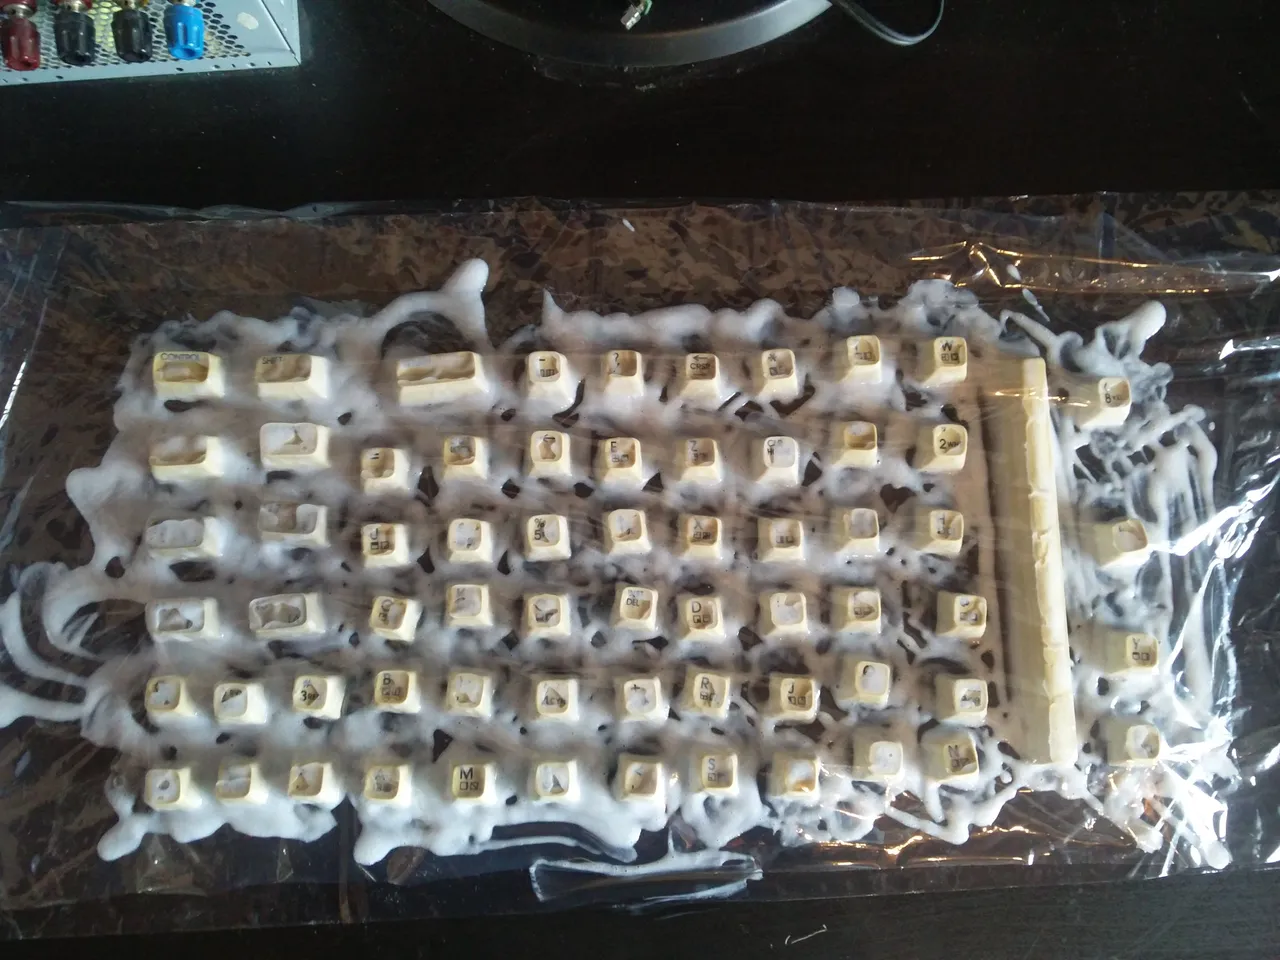
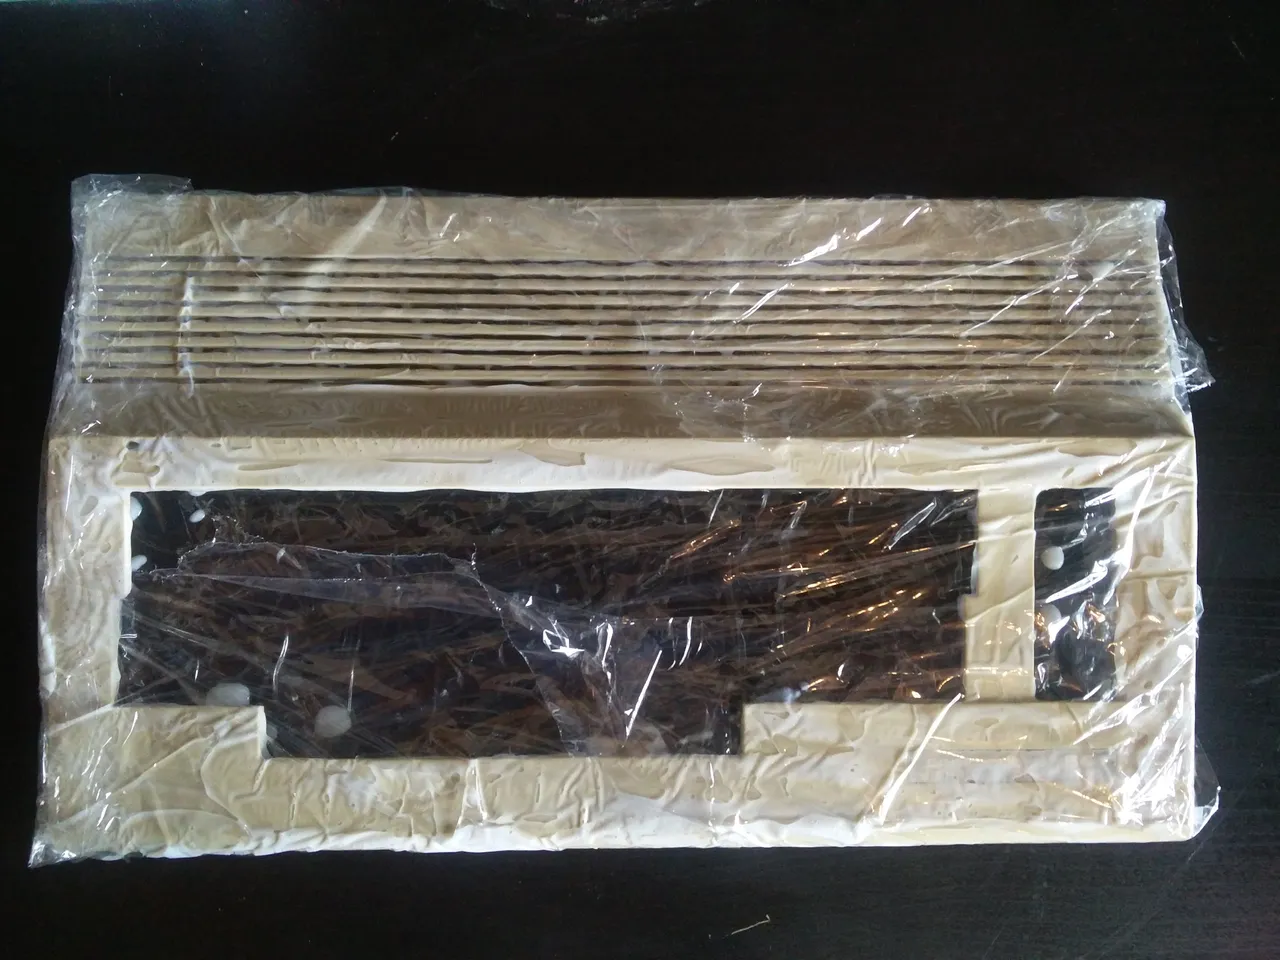
After I was done coating them, I laid the parts in the sun, because hydrogen-peroxide needs UV-Light to react with the yellowed plastics.
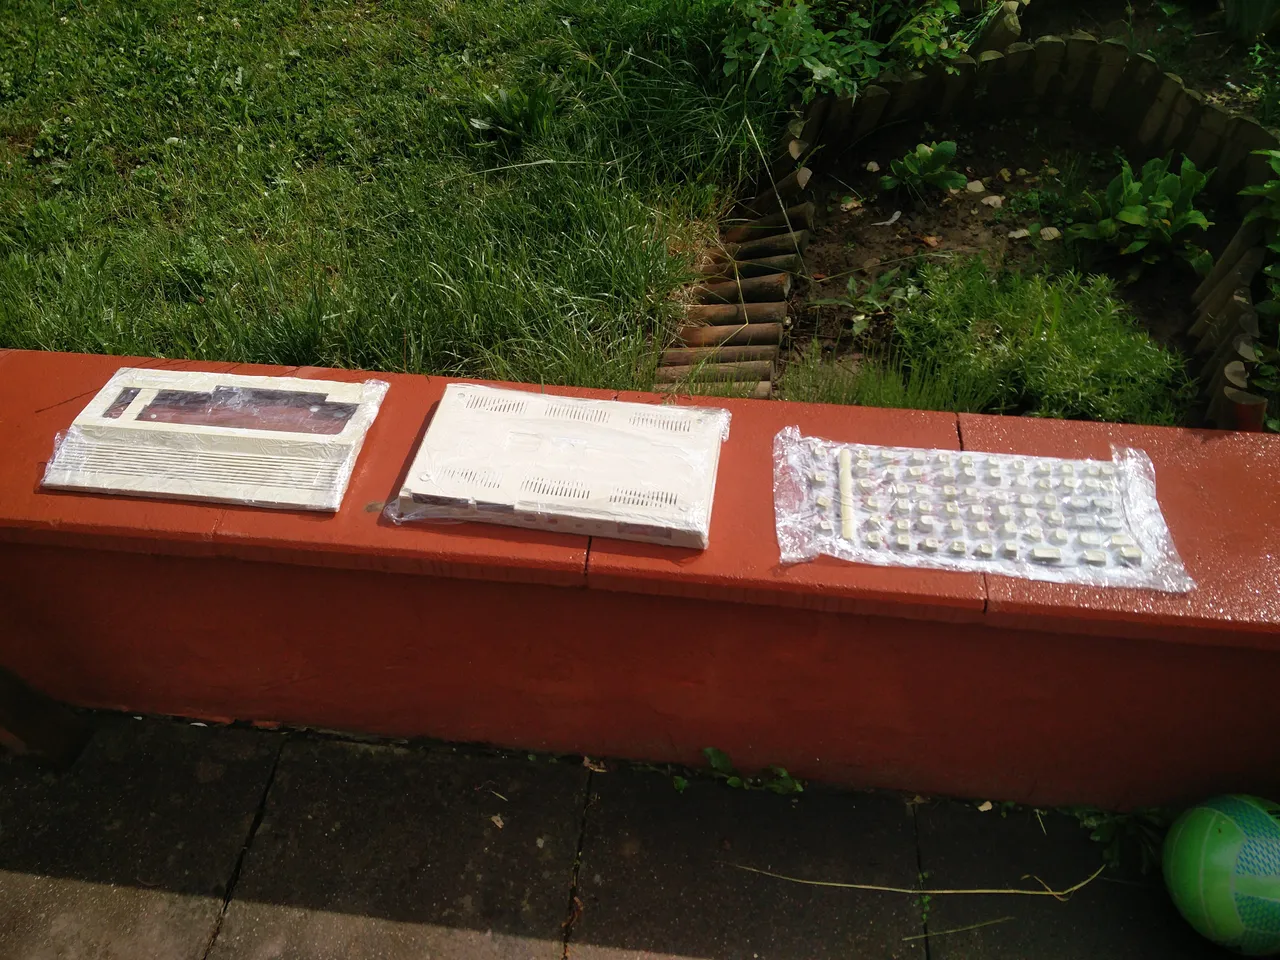
Because the weather was pretty bad, I let them outside the whole day. Normally, it would only take about 1-2 hours on a sunny day.
I washed everything and started with the assembly.
Assembly
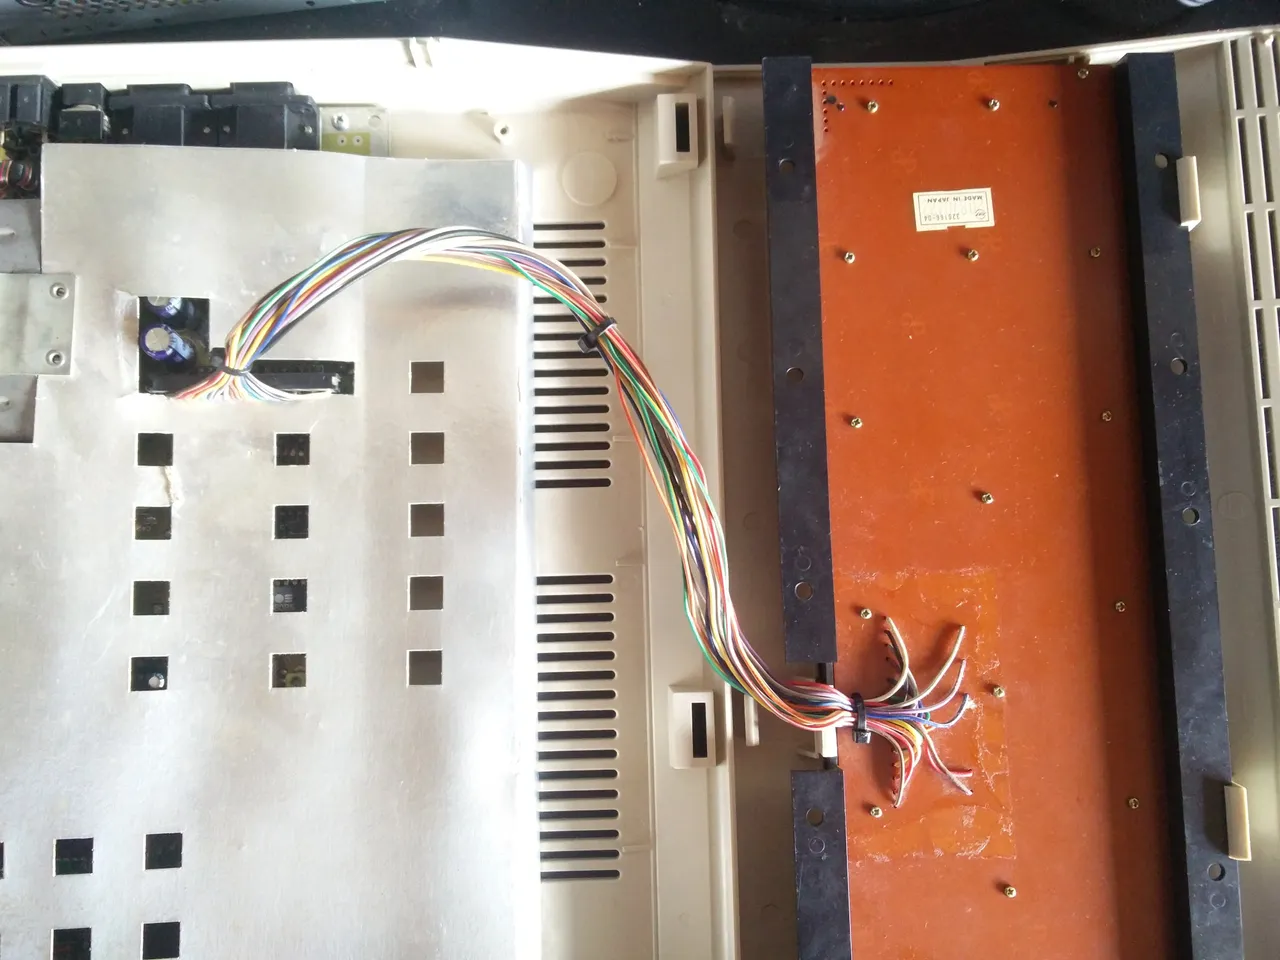
I started, by putting the shielding and the motherboard back inside the case and screwing it tight. One of the screw-hole-stems broke off, so I glued it back into place.

I replaced the wrong sized pin and screw the keyboard back together.
I plugged the keyboard back into the motherboard and clipped it into the top-half of the case.
Before closing the C64 up again, I connected the power LED because the cable of it is very short. Then I was able to just close the case because it doesn’t need any screws.

I put every spring in its position and started putting the keys back where they belong.
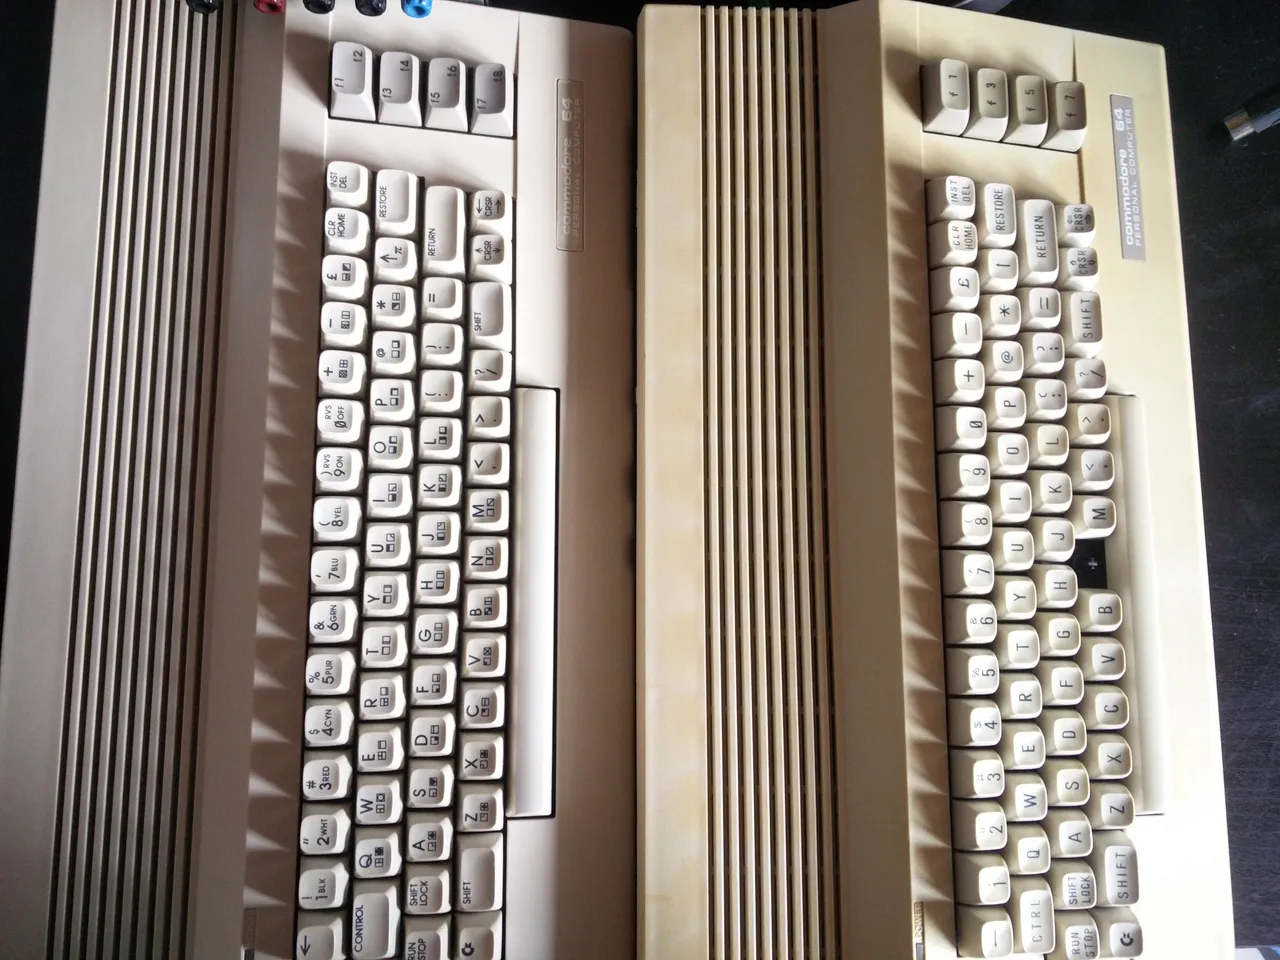
Before and after comparison
I also used a C64 of the same model I got from the same owner to show you the difference, hydrogen-peroxide and the sun makes.