
Hey Steemers!
For the past 2 weeks I've been working on a new project. A takedown longbow is a bow that can be taken apart for travel or even to swap out the limbs.
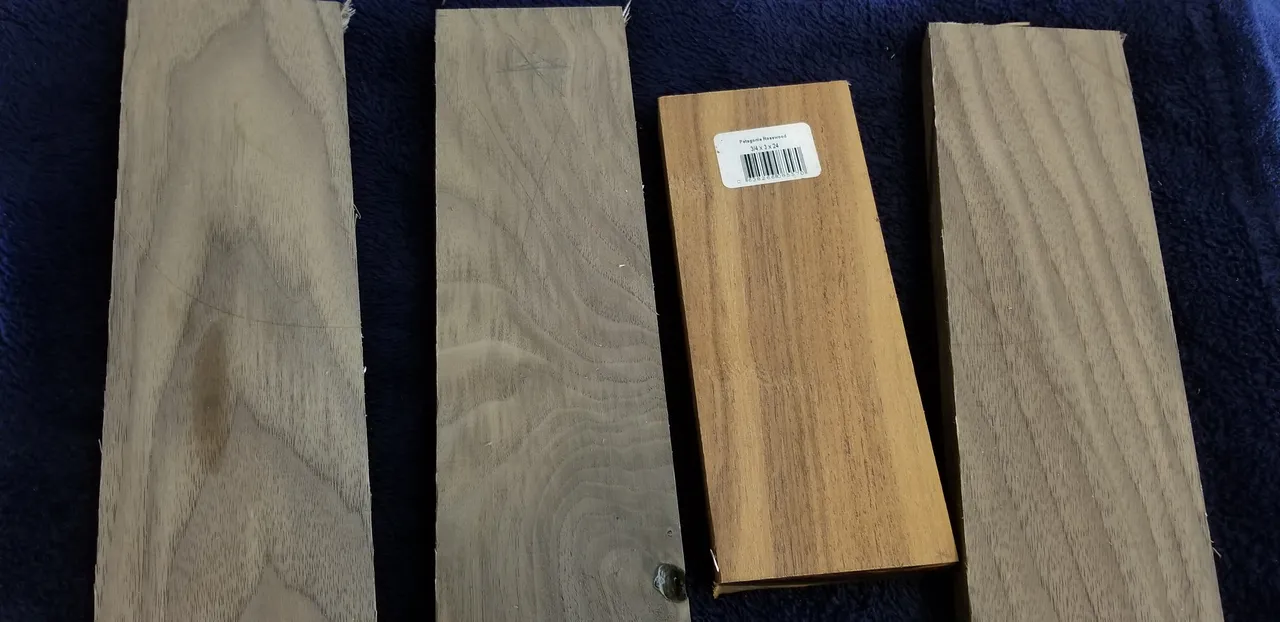
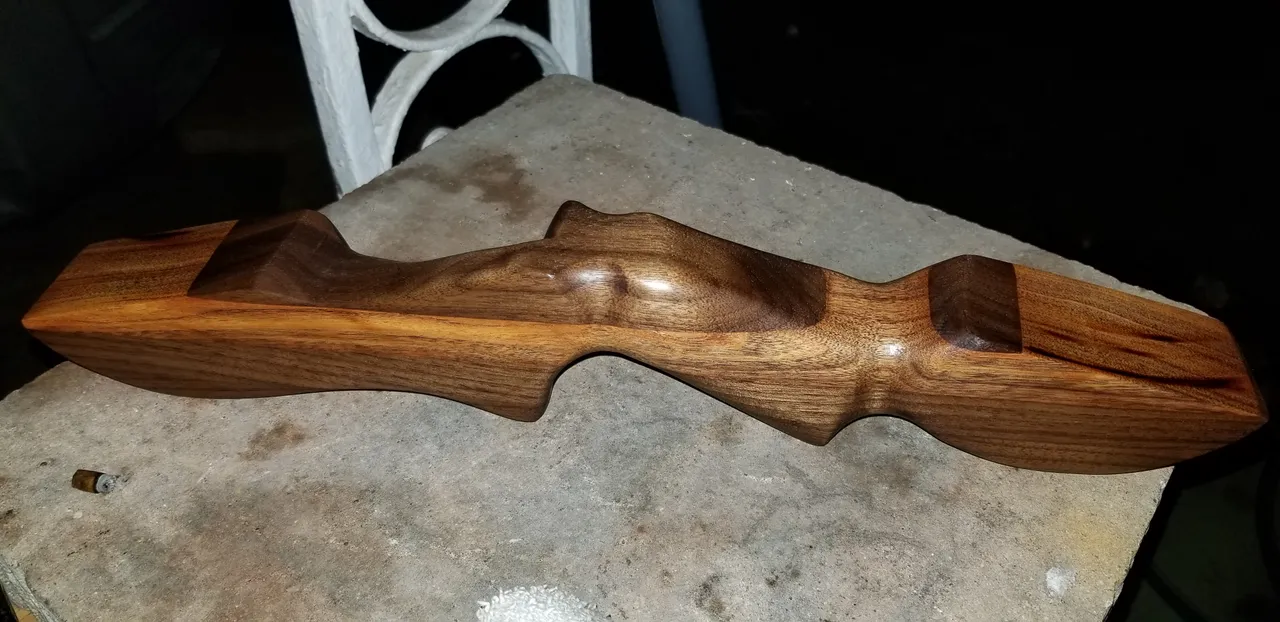
I started with drawing out how I wanted my handle/riser to look. I picked some nice hard woods and began to cut them to size and glue them together.

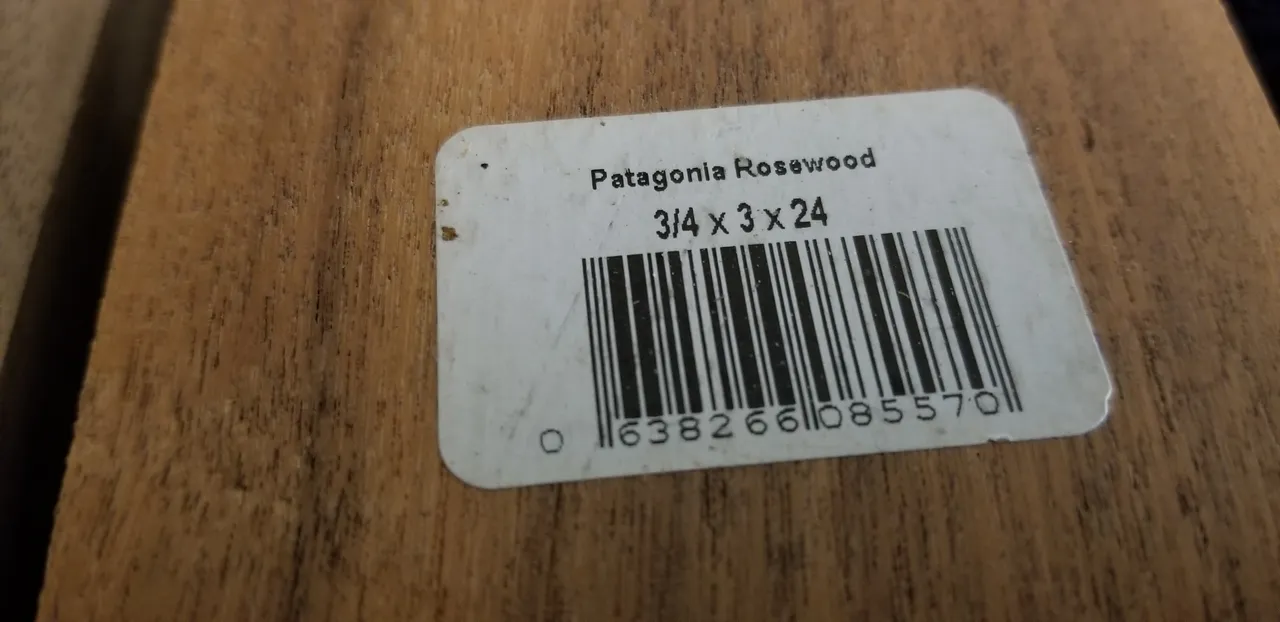
I'm using Walnut and Patagonia Rosewood to make a 16" riser block.
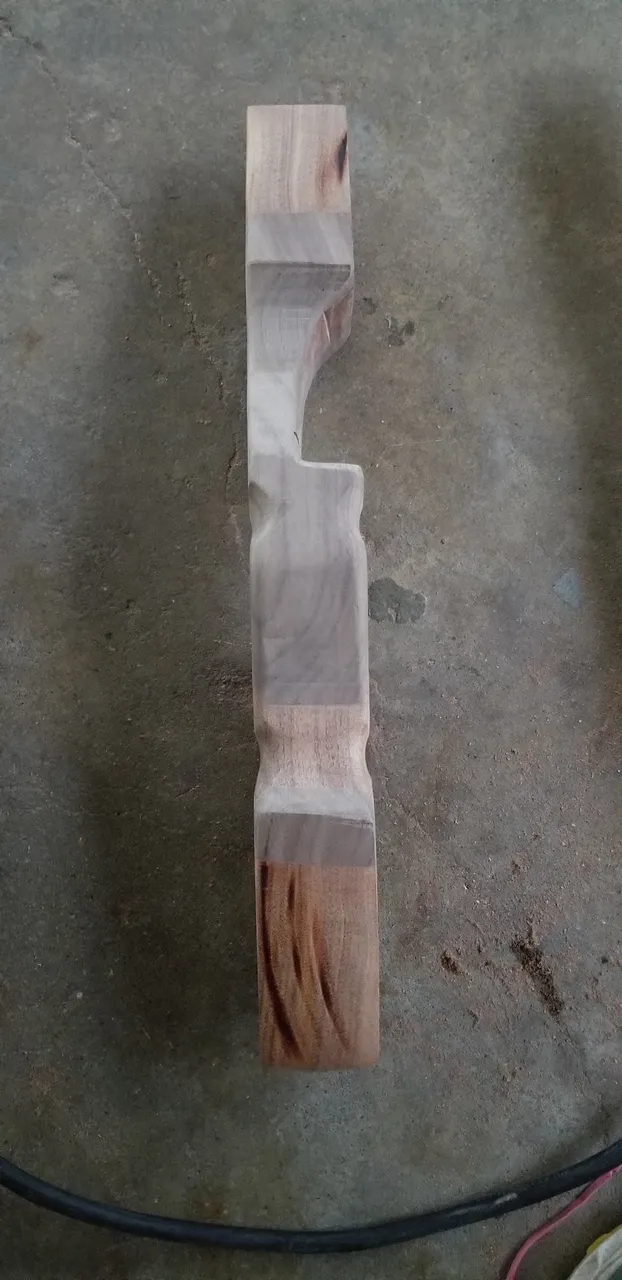
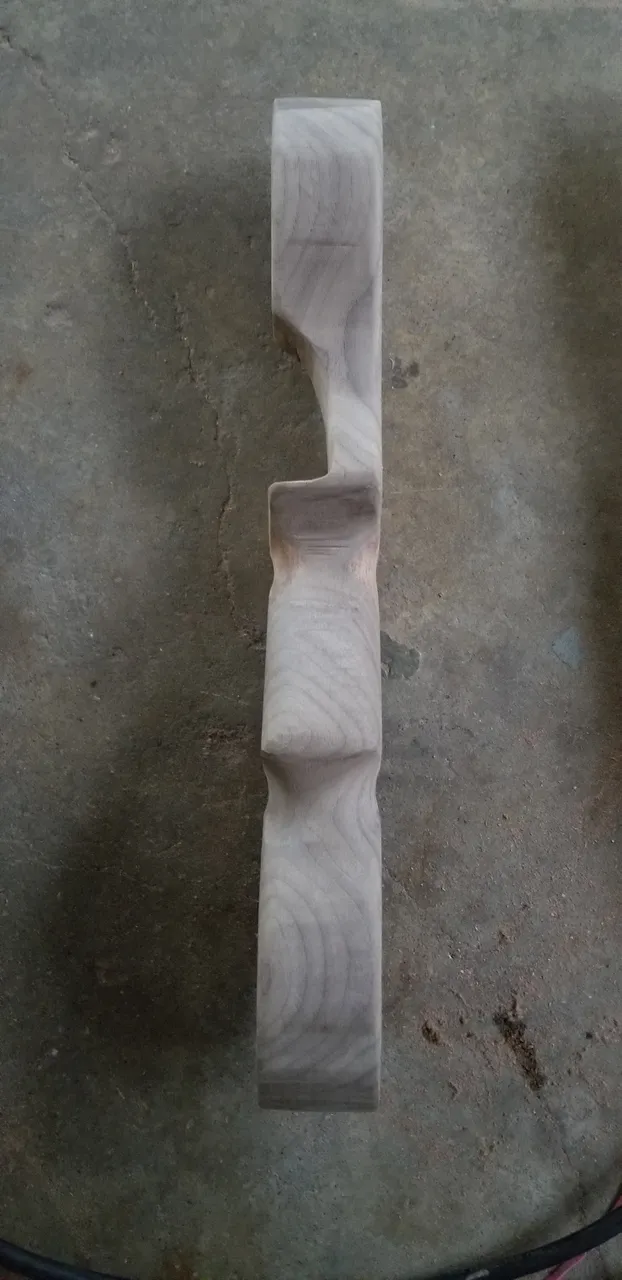
Once I had my wood glued together, I traced my template to the riser block and started cutting out the rough shape.

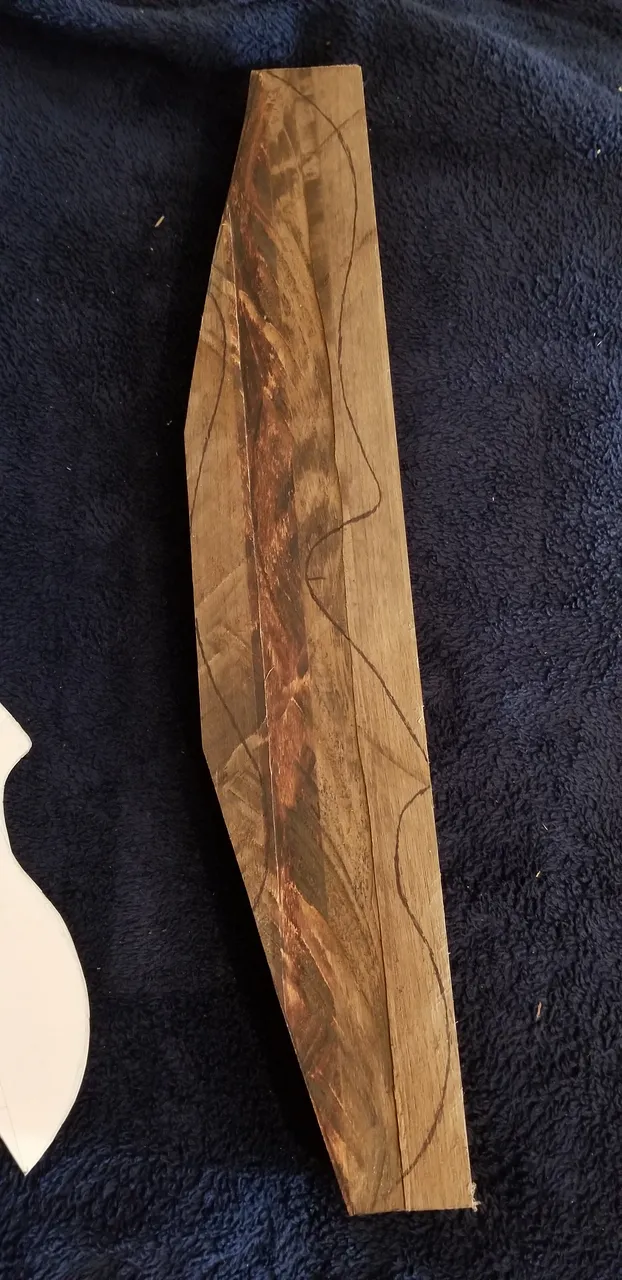
Using my jigsaw, I cut the curves, then gave it a good sanding. Now its starting to take shape.
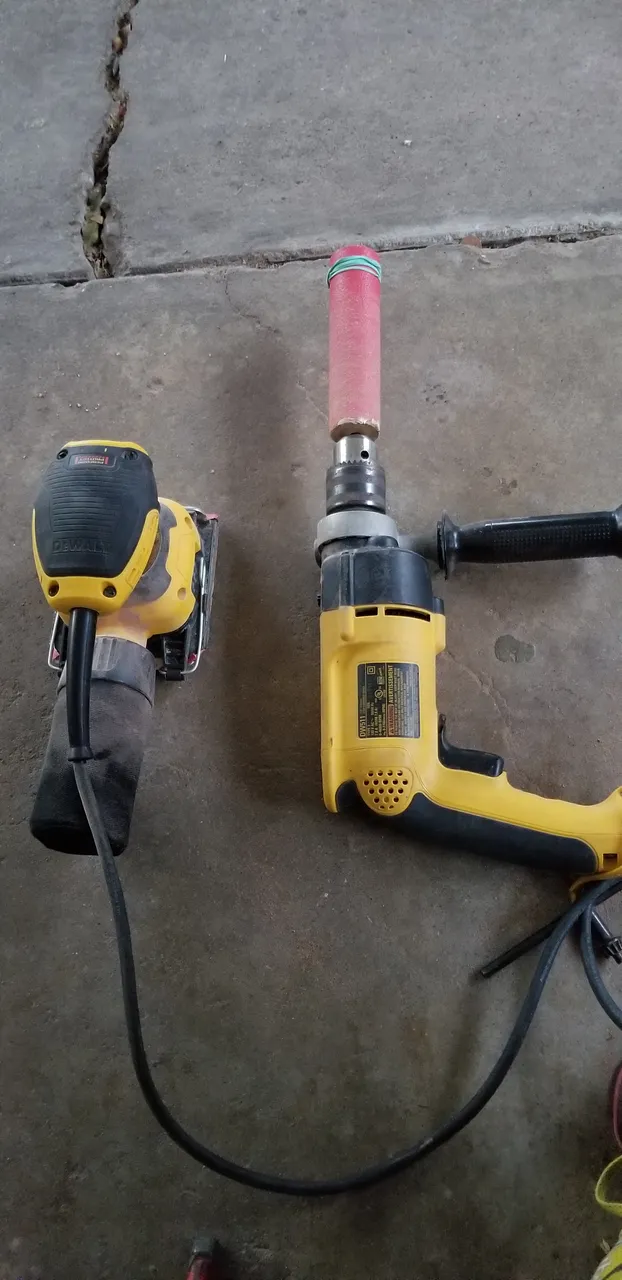
I don't have any specialty tools so I use what I have. I made a "spindle sander" by using a wooden closet pole cut to 6 inches with sandpaper glued on. Worked great and allowed me to get closer to my template shape.
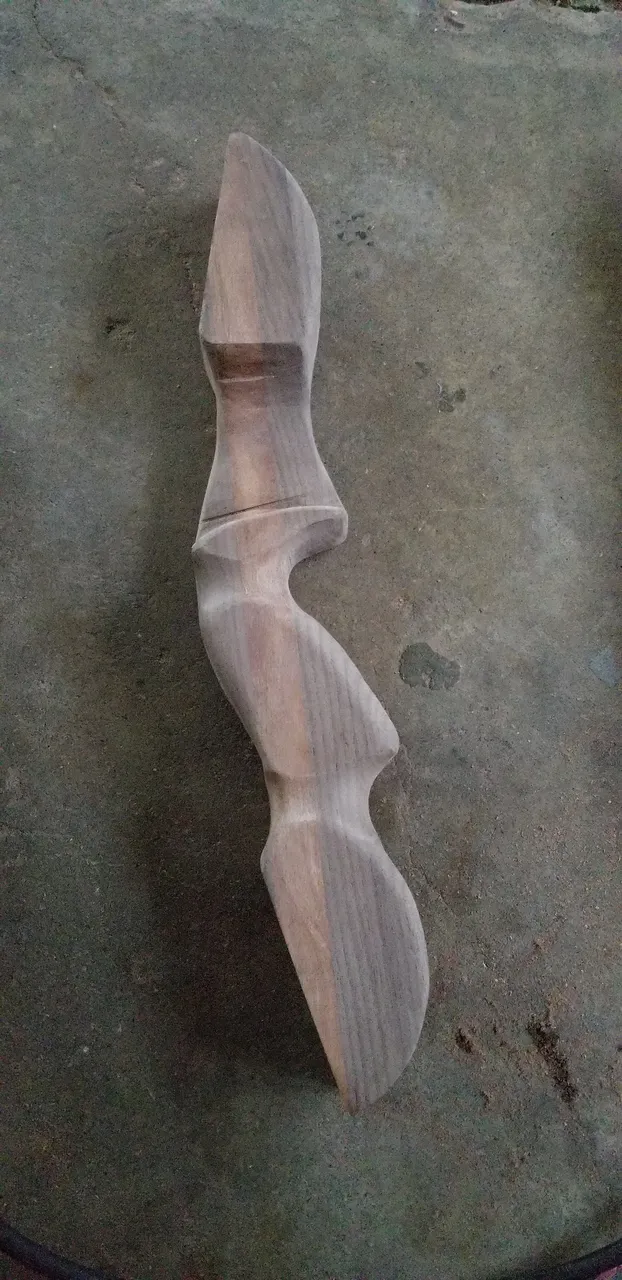
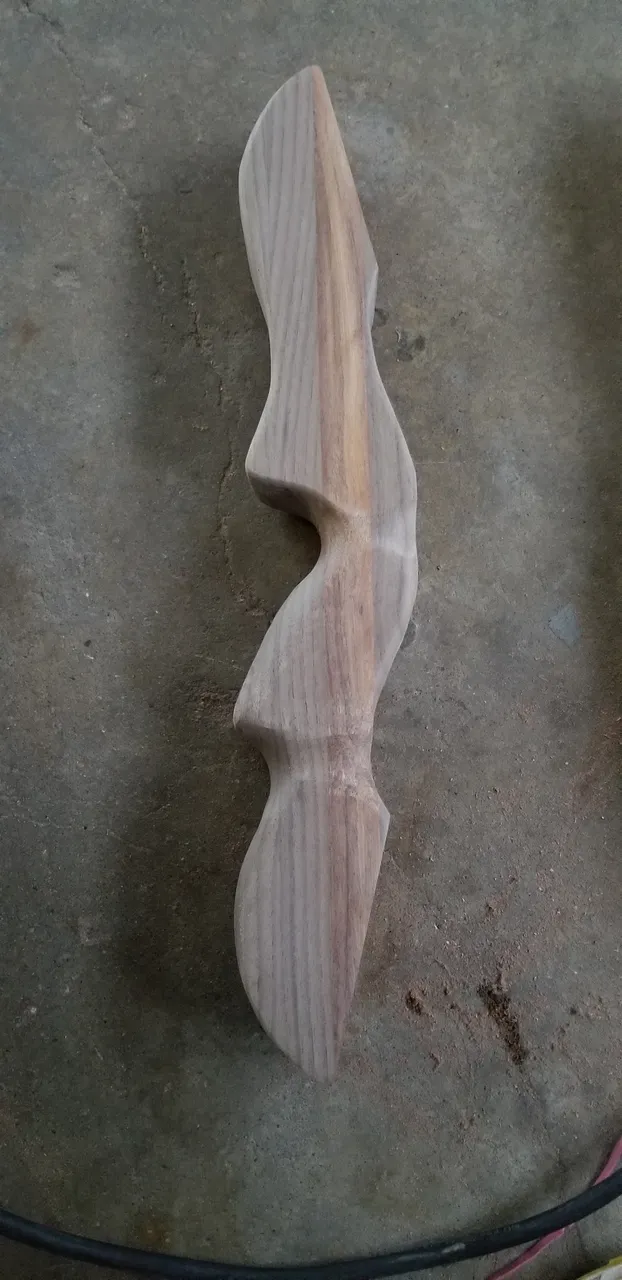
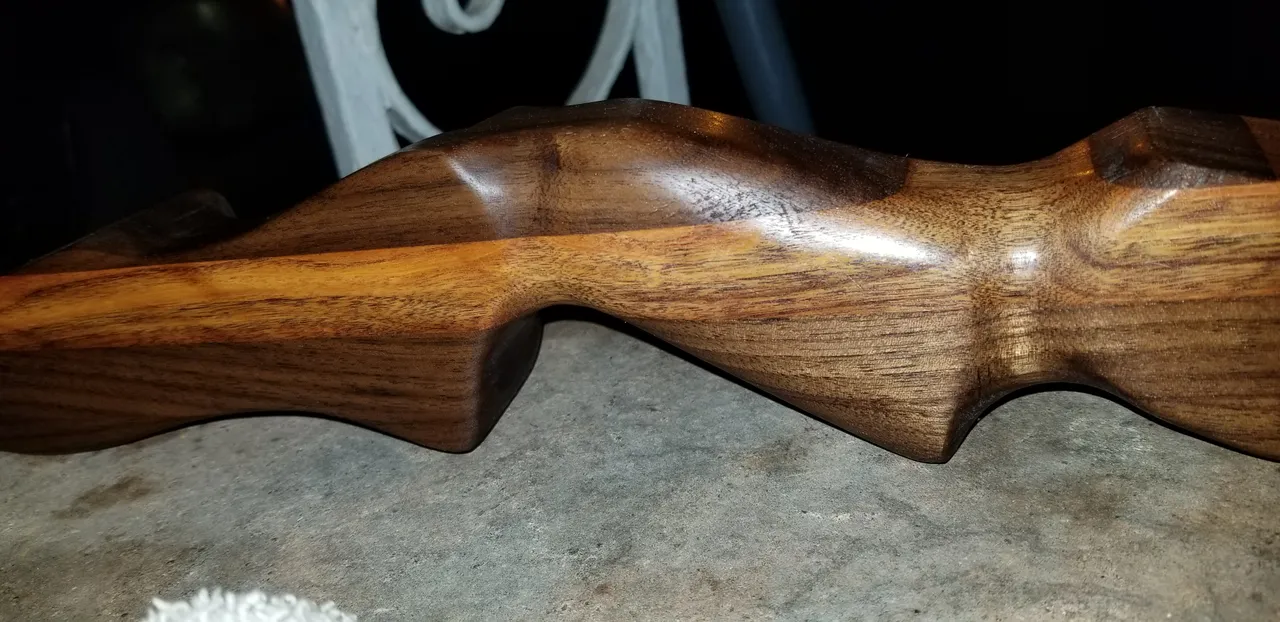
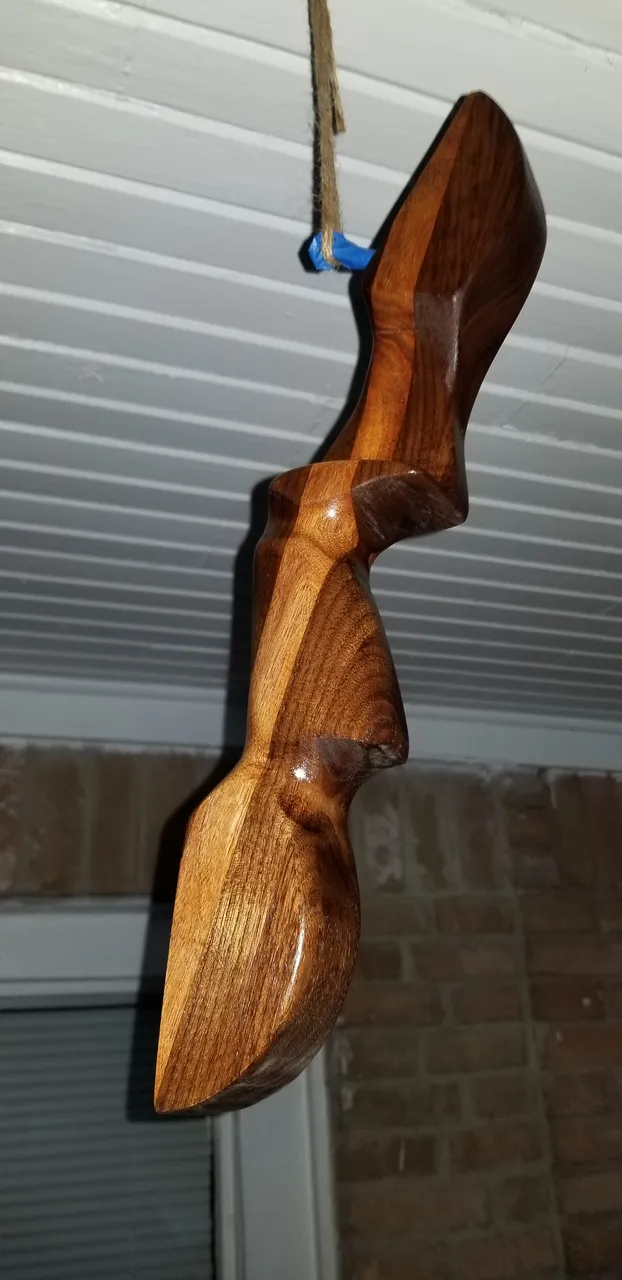
After a lot more sanding and rasping and shaping, I got the riser and grip exactly how I wanted. Fits my hand perfectly.
Now I'll sand it with 150grit, 220, 400, and 1000 sandpapers to get a glass-smooth finish. Now I can put about 8 coats of Danish oil on it to give it some luster.
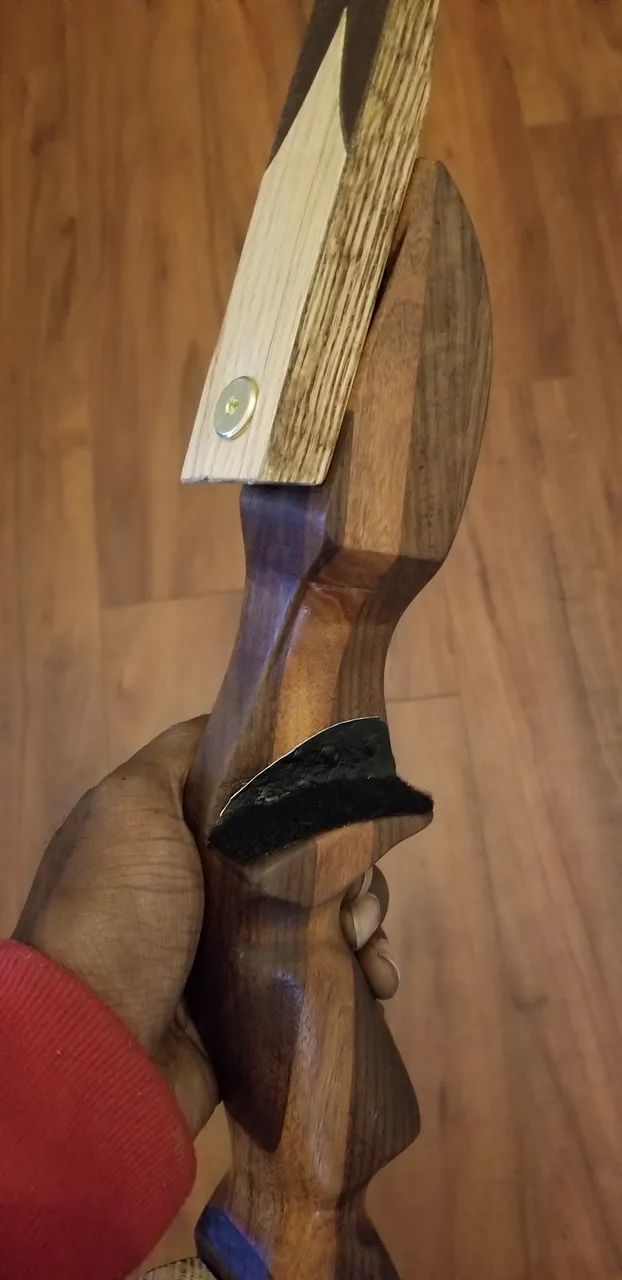
With the riser done, I wanted to add screw in inserts snd an alignment pin that will make sure I have a strong and straight connection for my limbs.
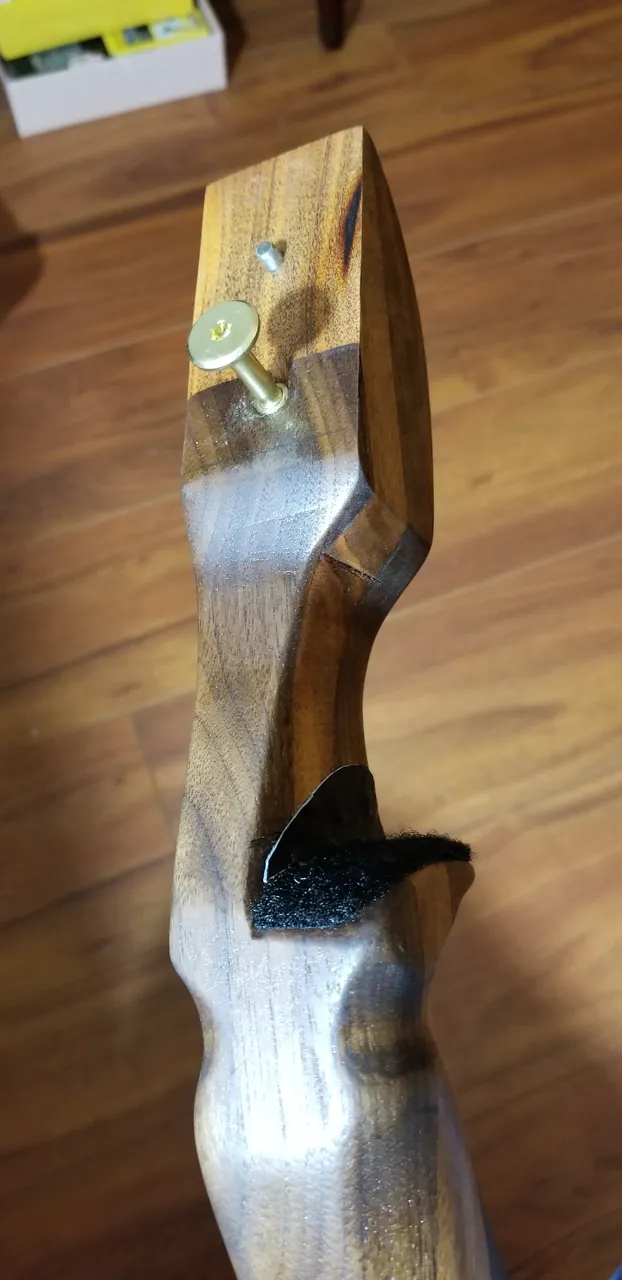
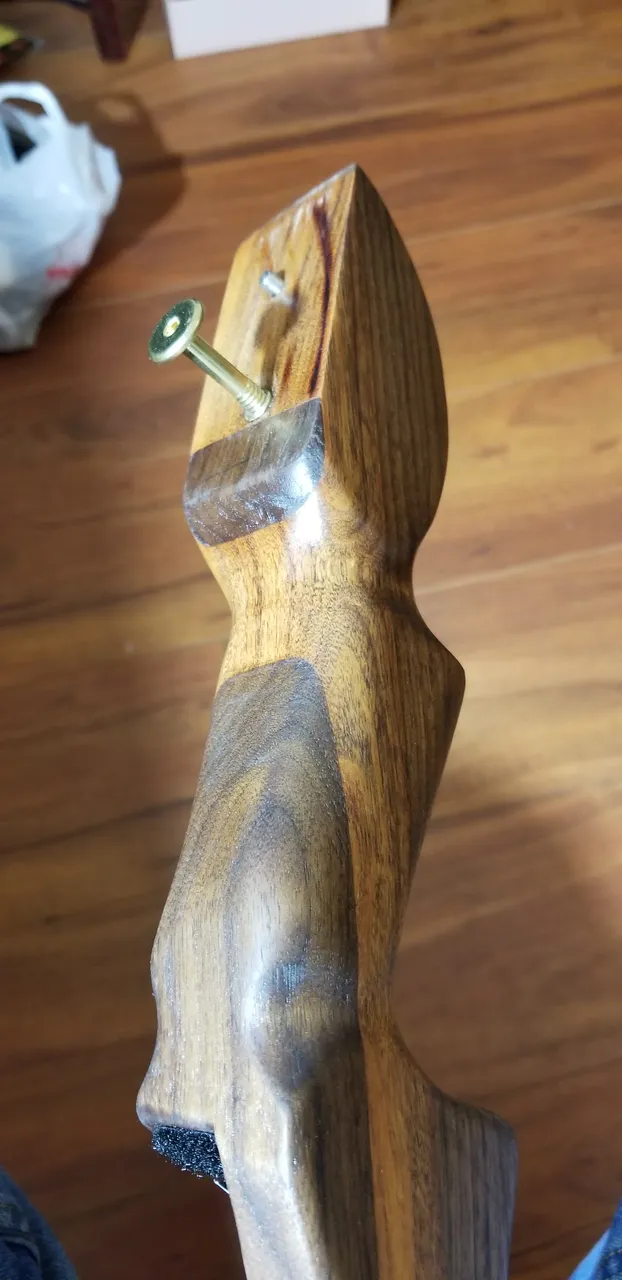
With the inserts and pins epoxied in place, I gave the riser 3 coats of spray on polyurethane, lightly sanding with 0000 steel wool between each coat.

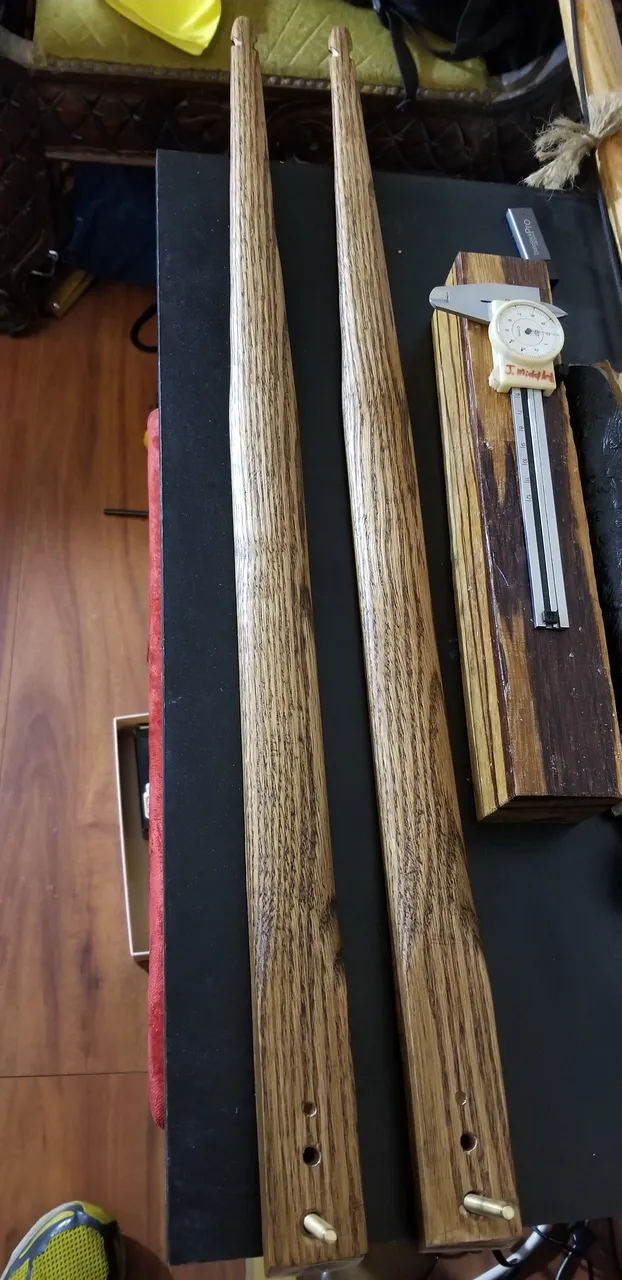
While the riser block dried, I started working on the limbs. I don't have the equipment to do laminated limbs yet, so I made the limbs the ssme way I did the last 3 bows I made. That particular style is called a "selfbow" or "board bow" made from 1 stick or 1 board.
So I used (2) 28" × 1.5" × .75" boarde for my limbs. Cut them, tapered them, and shaped them accordingly. Check out any of the Bow Build posts I've made for detailed instructions on how these are made.
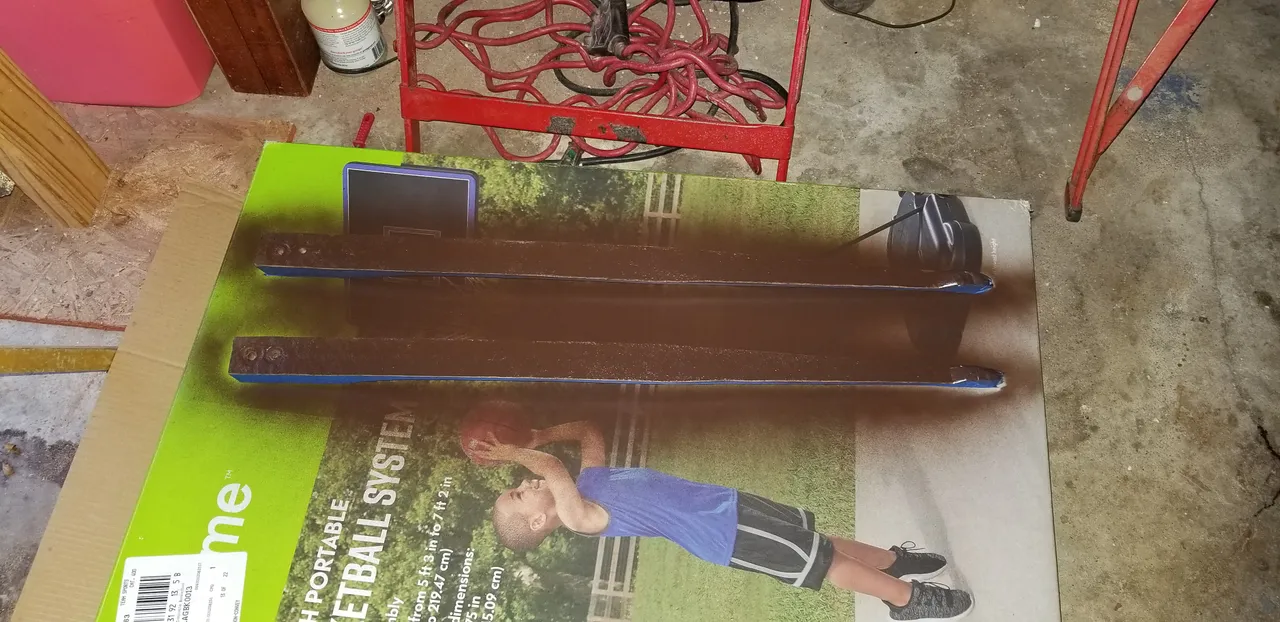
Painted..
Stained...
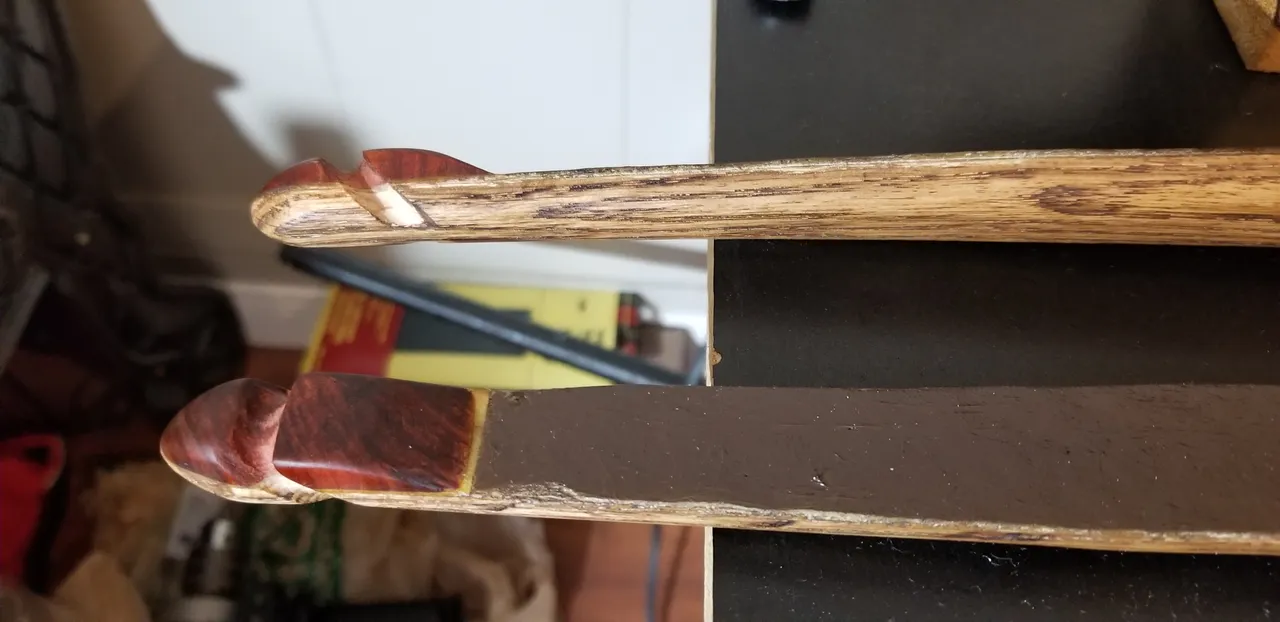
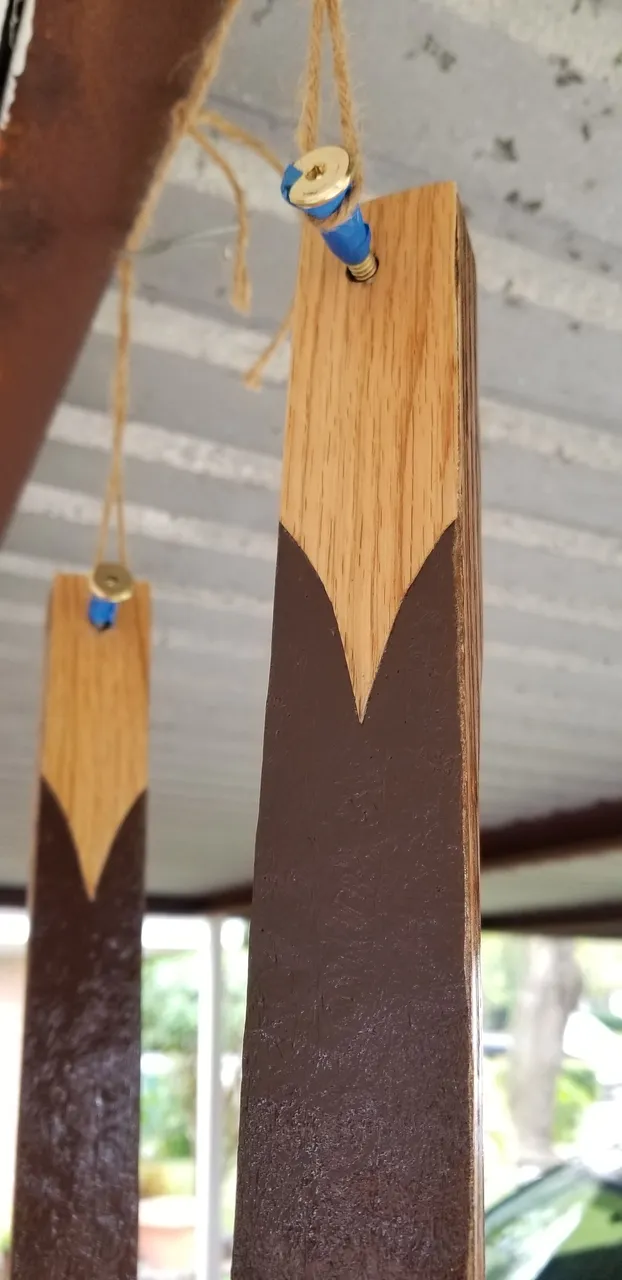
Limb tips added (Redheart wood)
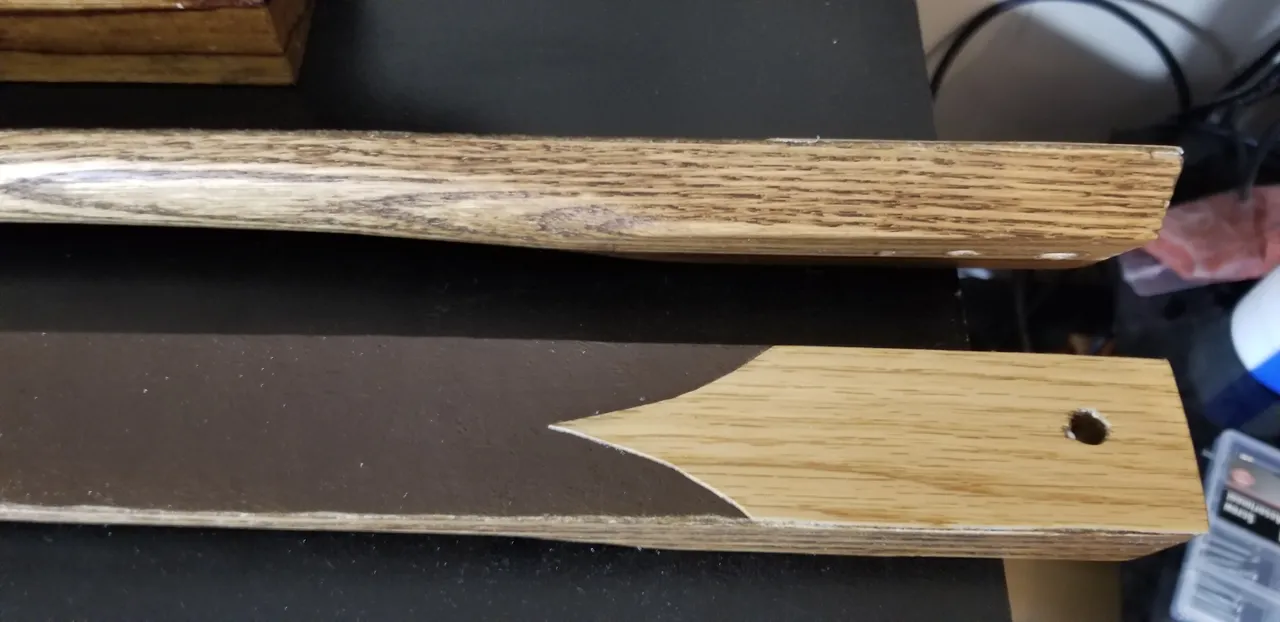
Red Oak Veneer accents added...
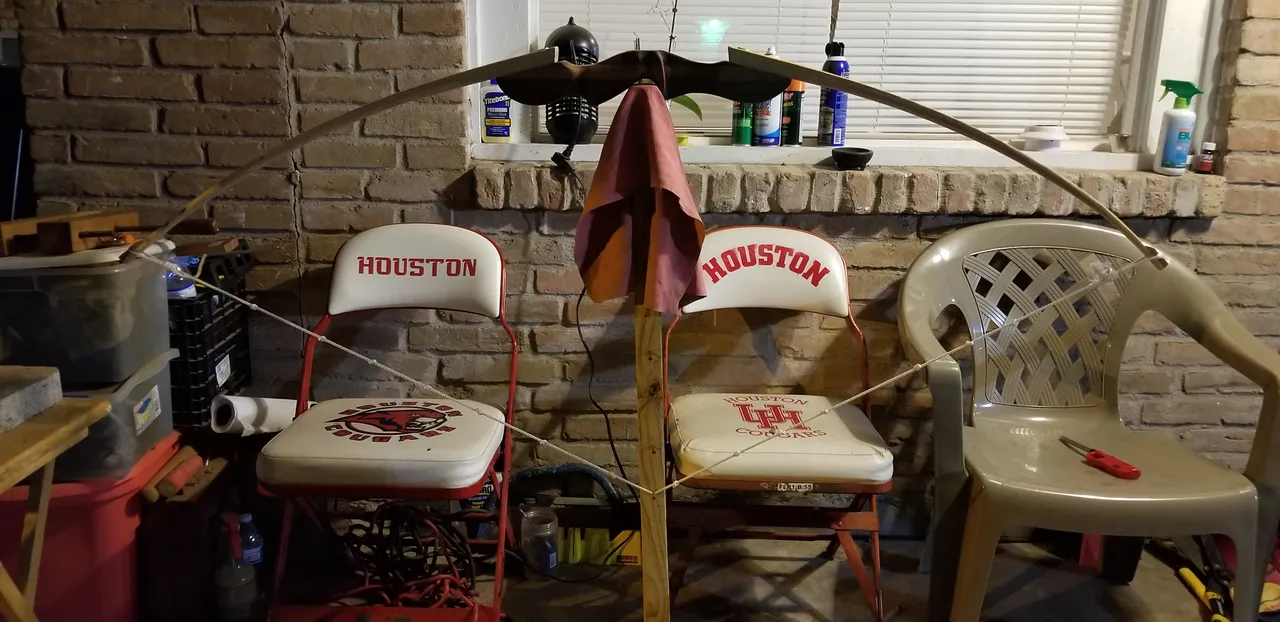
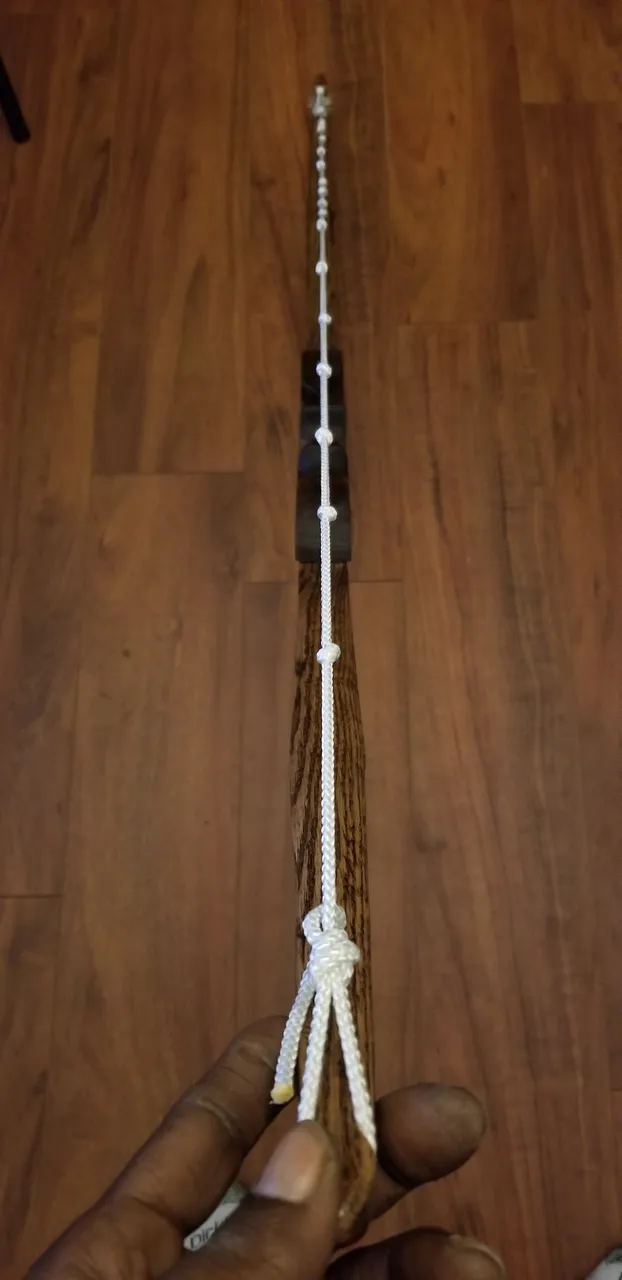
After quite a bit of tillering and working the limbs, I was able to finally brace to bow/string it up.
Satisfied with the limbs, I sprayed them with a few coats of poly to seal them up and make em shine!

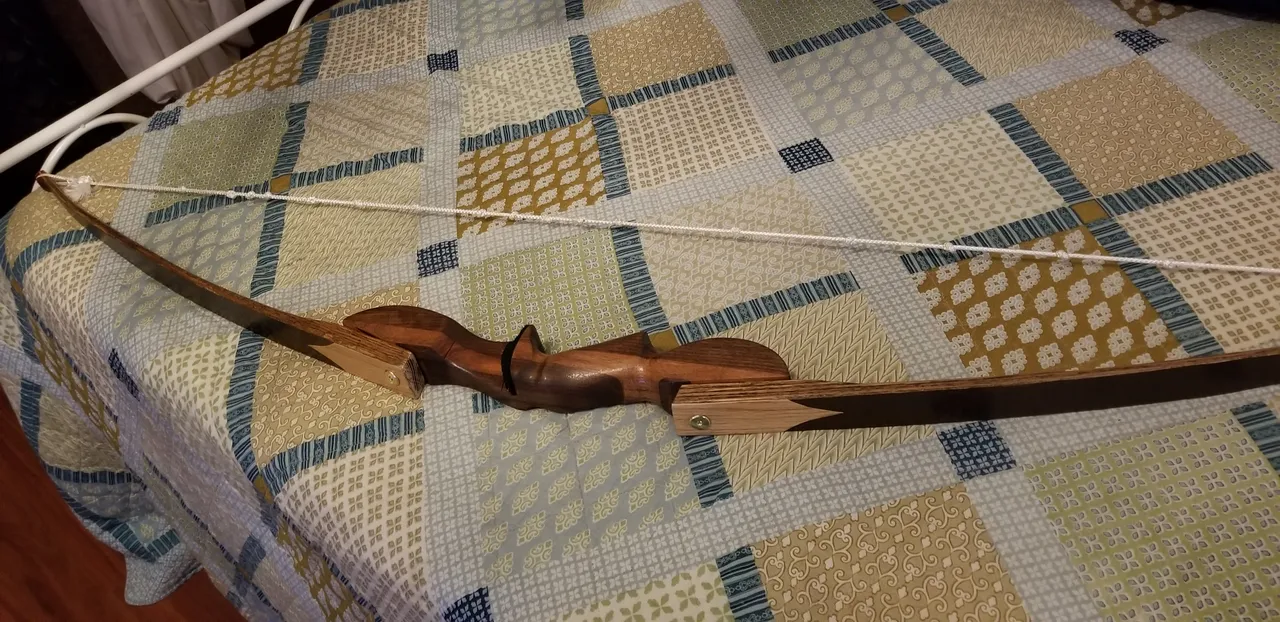
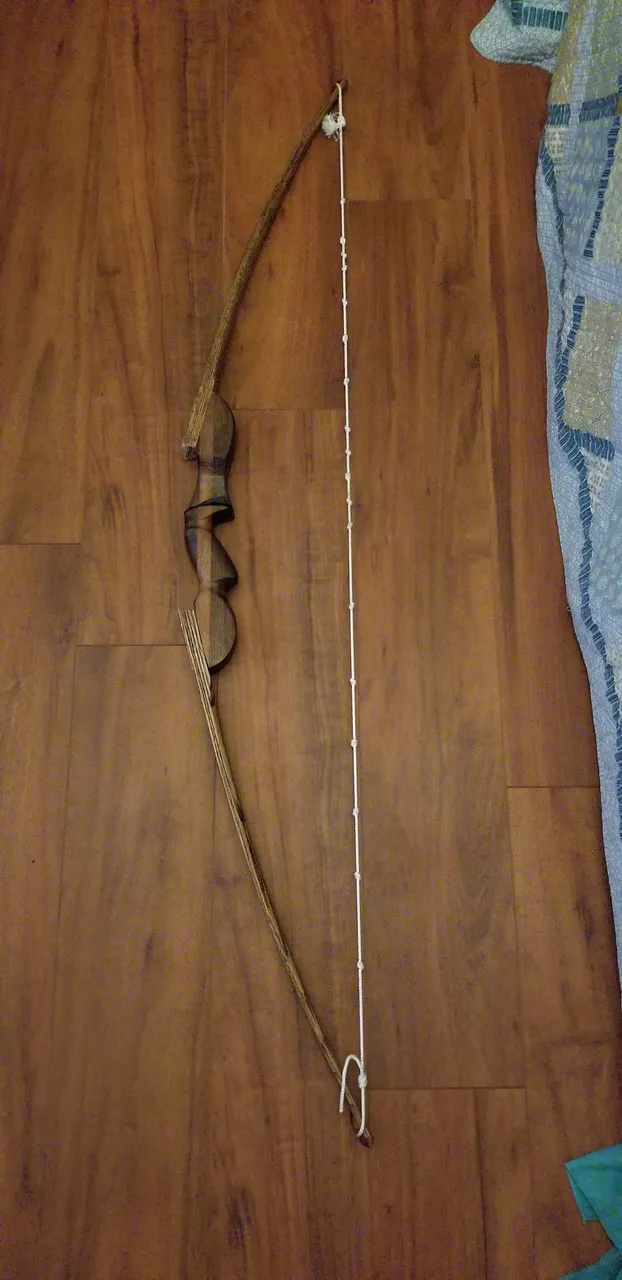
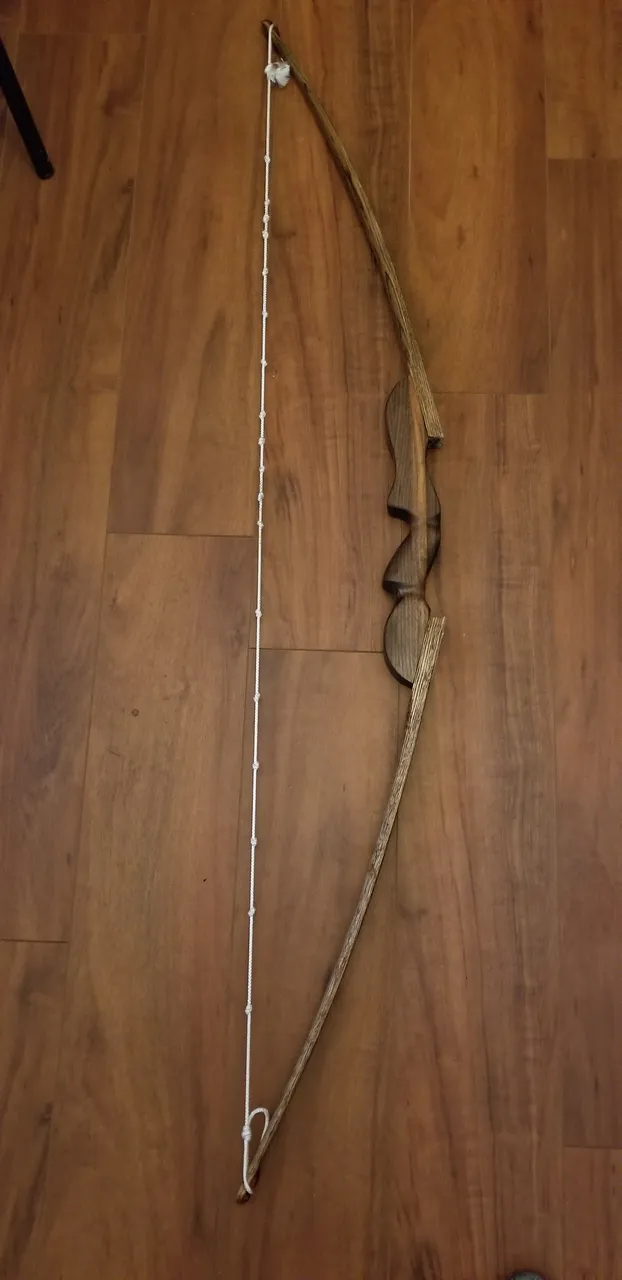
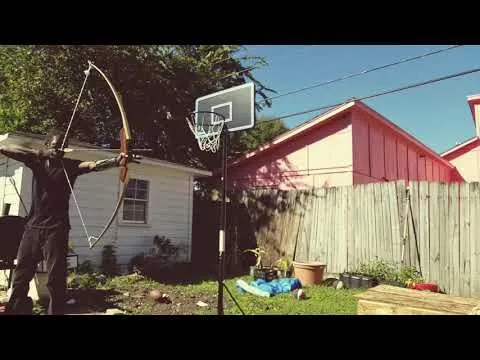
Here's what the bow finally looks like.
I learned a lot on this build. I researched and I made mistakes, but I kept going. Its really rewarding to finally shoot the finished bow. Here's some footage I shot while fine tuning...
Thanks for taking the time and following along! Any questions? Hit me! I'll answer them to the best of my ability!
Peace!!