Your DIY Guy is back at it again!! This time I am jumping on the pallet train and taking that bad boy all the way to DIY’ers Paradise. I have never built anything from used pallets before so this is a first for me. I have a pretty steady supply of pallets at work, so I grabbed a few and took them home in hopes of being able build a nice deep box for my Carrots. I have no plans or specifics of what this box is going to look like, so I am just going with the flow on this one.
Pallet Planter Box
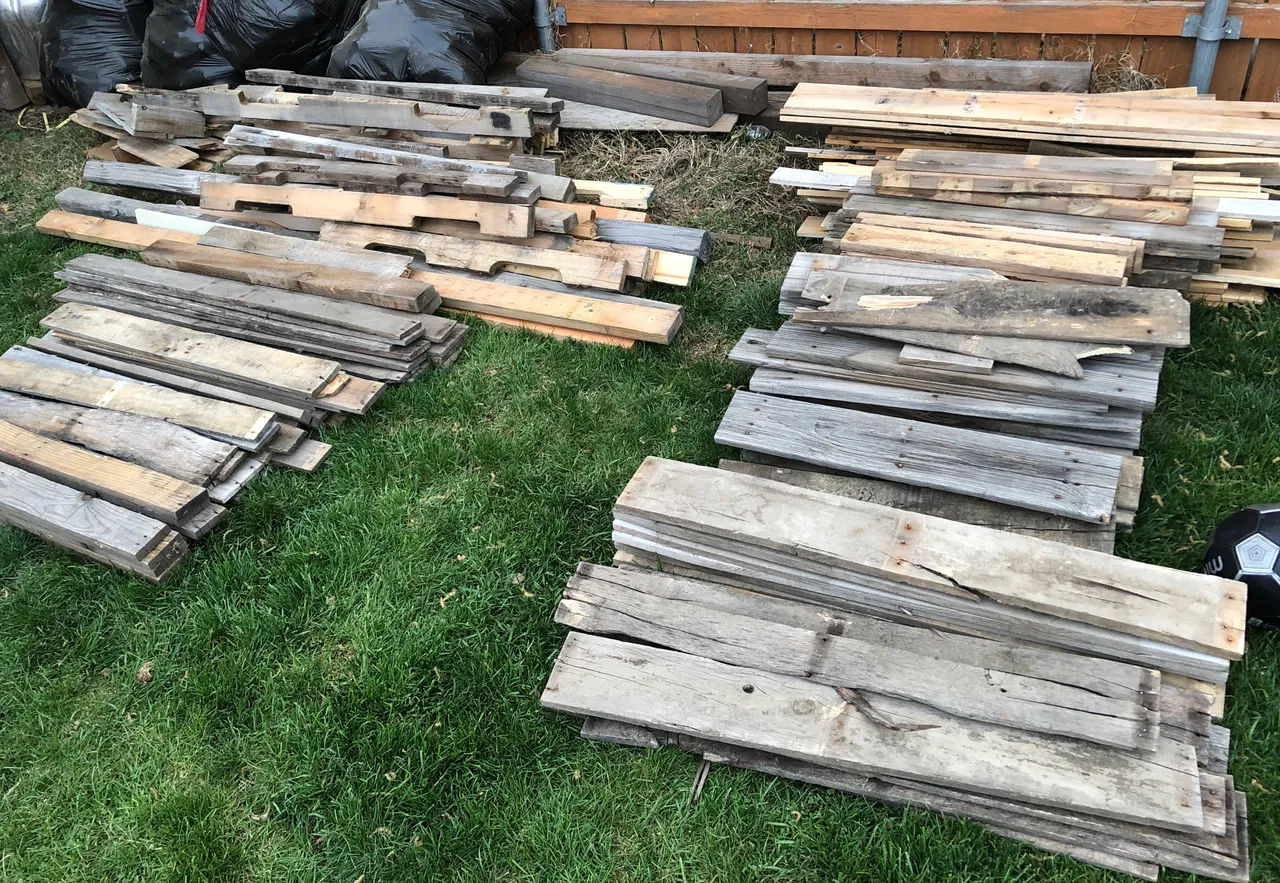
After dismantling the pallets and taking a look at all the different types, colors and thicknesses of wood available, I knew this was going to be a cool looking box when I get done. Wait... I don’t even know the size or shape of this box yet, so how “cool” is this box going to turn out? I guess I will just have to get started and see what I can come up with.
I didn’t want to create just a basic “box”. Yet I didn’t want to get all fancy about it either. This Bad has a purpose to fulfill. I do know that it needs to be able to have a depth of 18 inches of dirt inside. I had carrots that grew over 12 inches long last year, so 18 inch deep dirt should be enough. That is a good amount of dirt and the box is probably going to be pretty heavy when it is filled. So we need to start off with a good base.
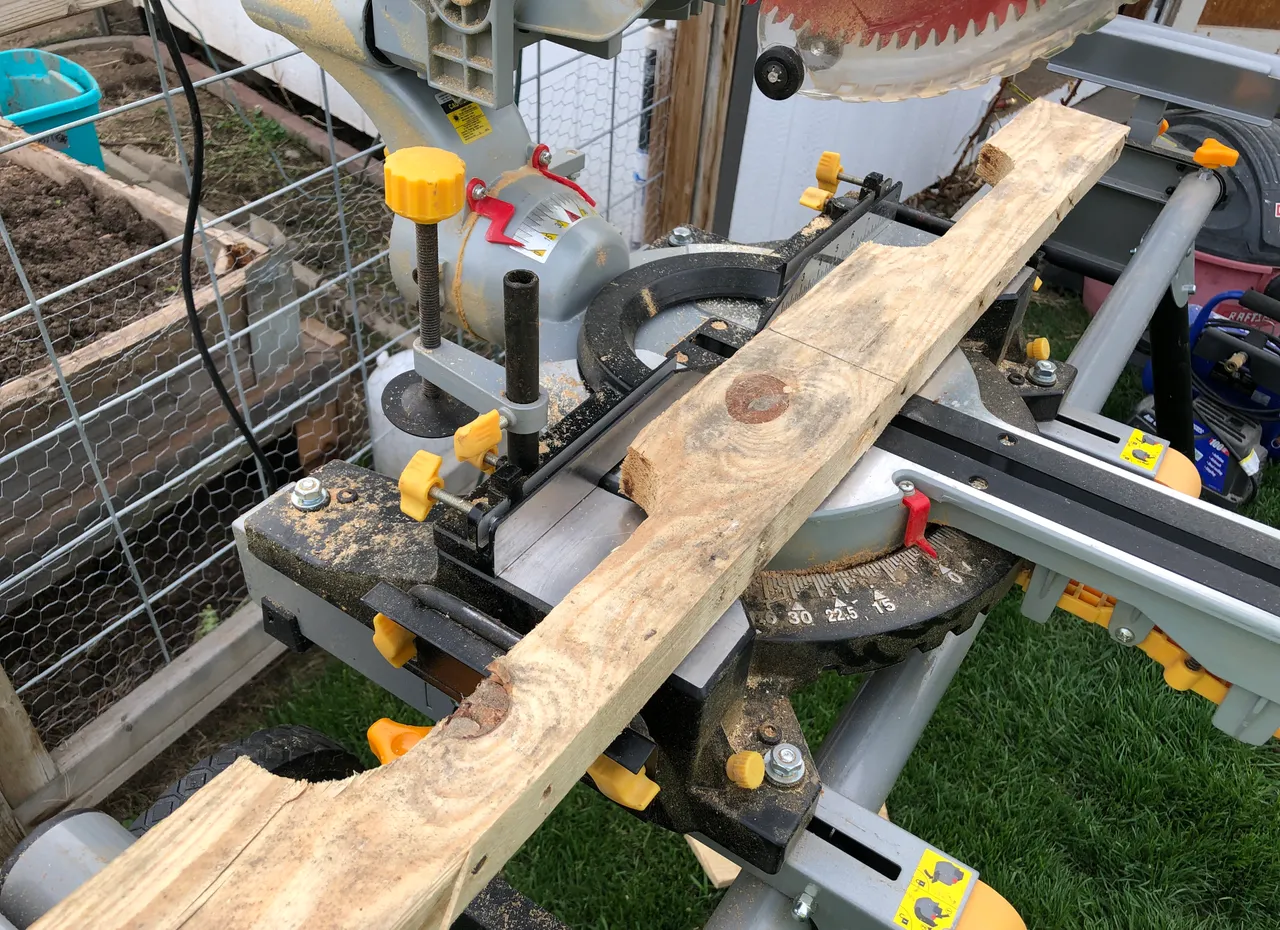
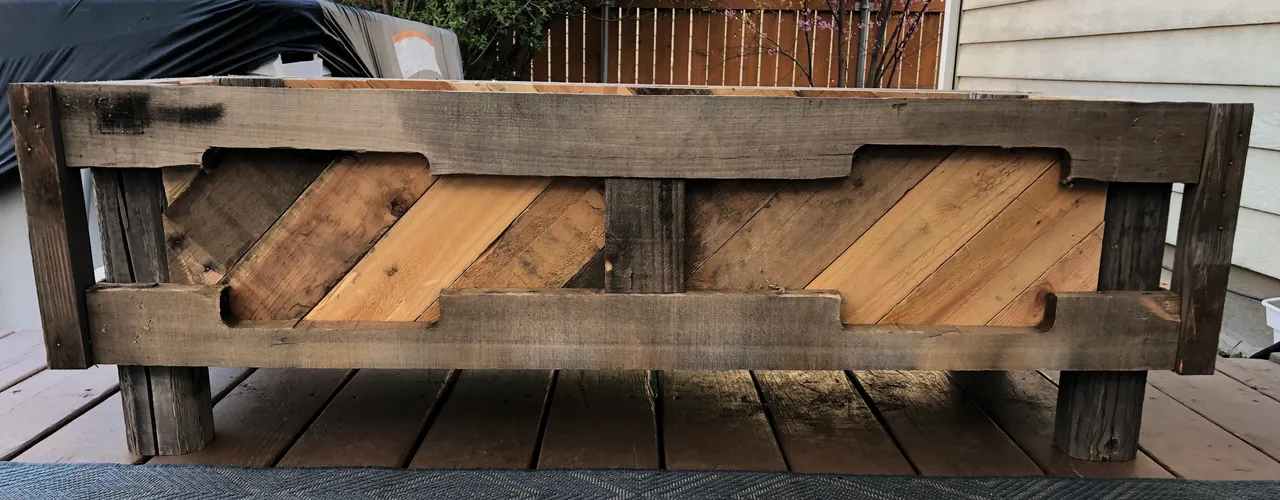
Most pallets have these, runners as
I call them, with these little arches cut in them. I am going to utilize that arch to add just a touch of “Fancy” to this box. Not too much, just a little.
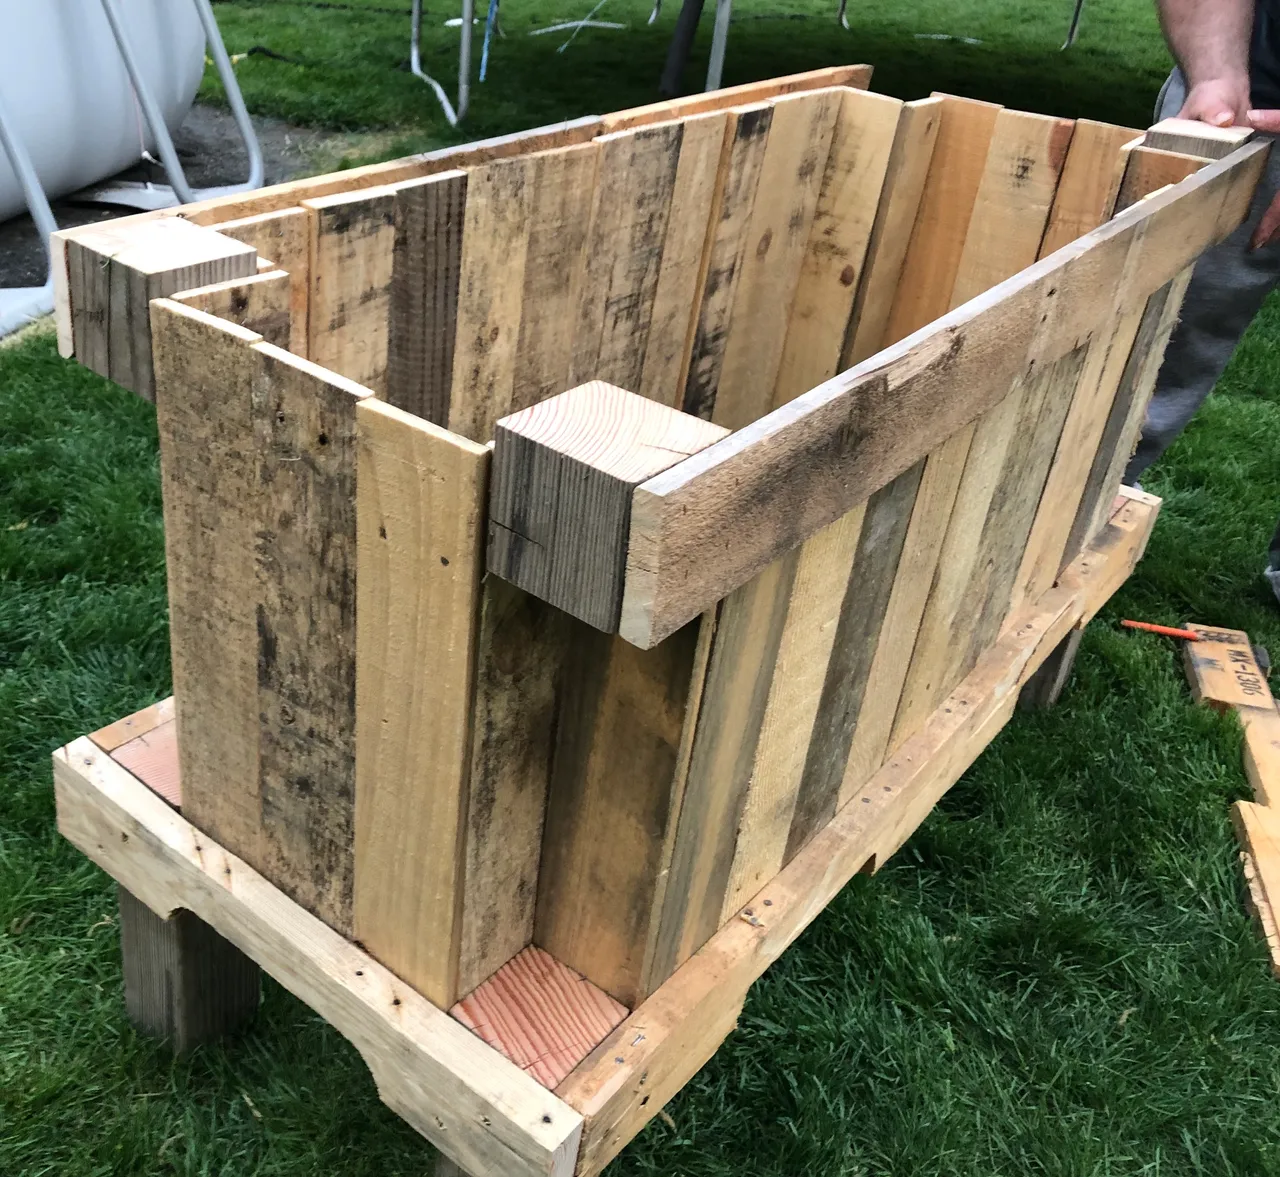
Granted this part I didn’t get from the pallets but I did have it laying around, a 4X4 post. It was old and weathered a bit, so I thought it would look good for the legs of this box. After cutting the 4X4 to size and screwing in the runners to create the lower frame I was pretty excited to see how this box was beginning.
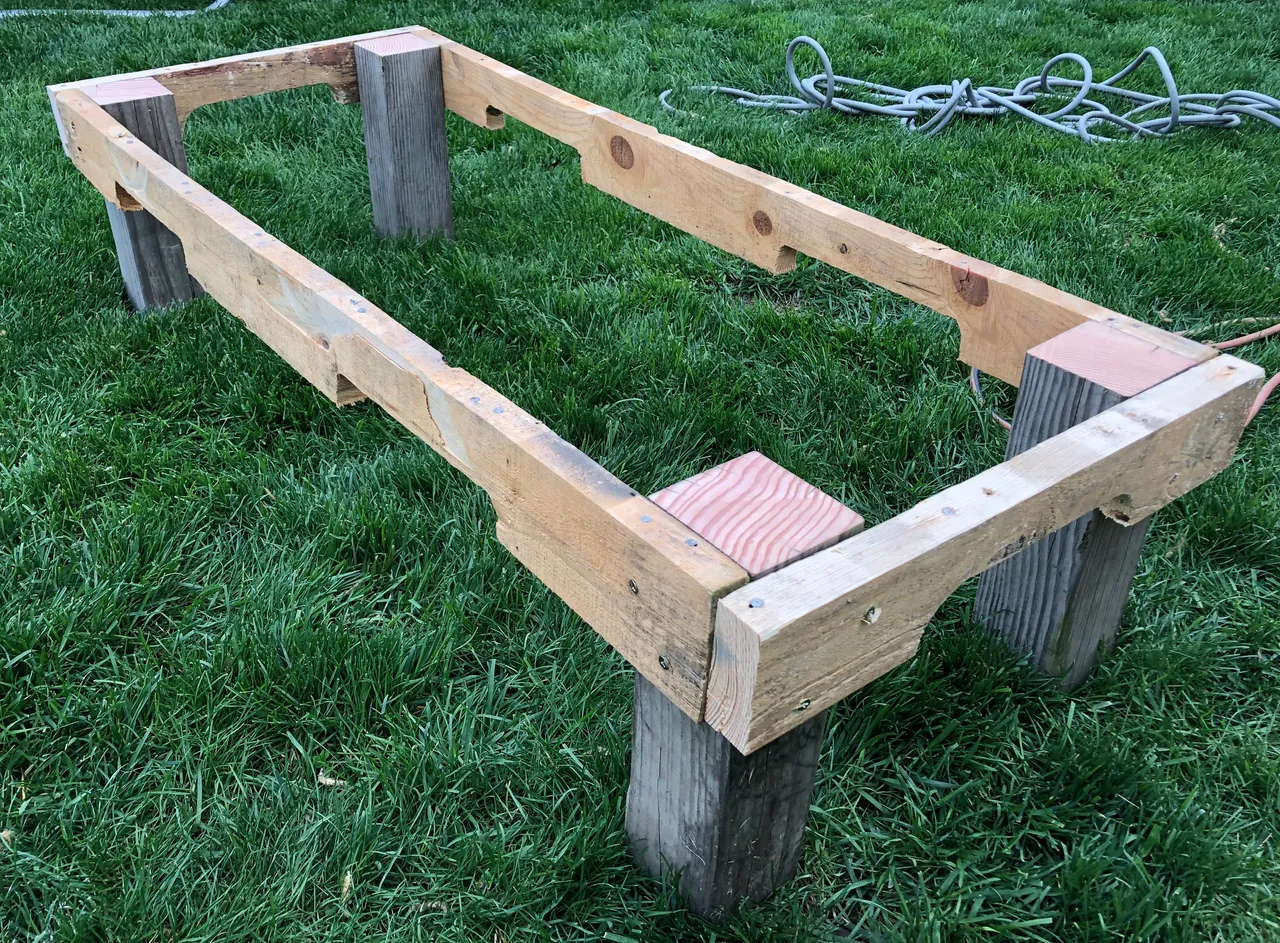
Then I realized I had made a little mistake. I wanted to attach all the vertical planks on the inside of the box. Yes, that can still be done but now I have the post on each corner. I should have installed all the planks first then attached the posts inside of that. CRAP!!
Wait.... Hold Up!!
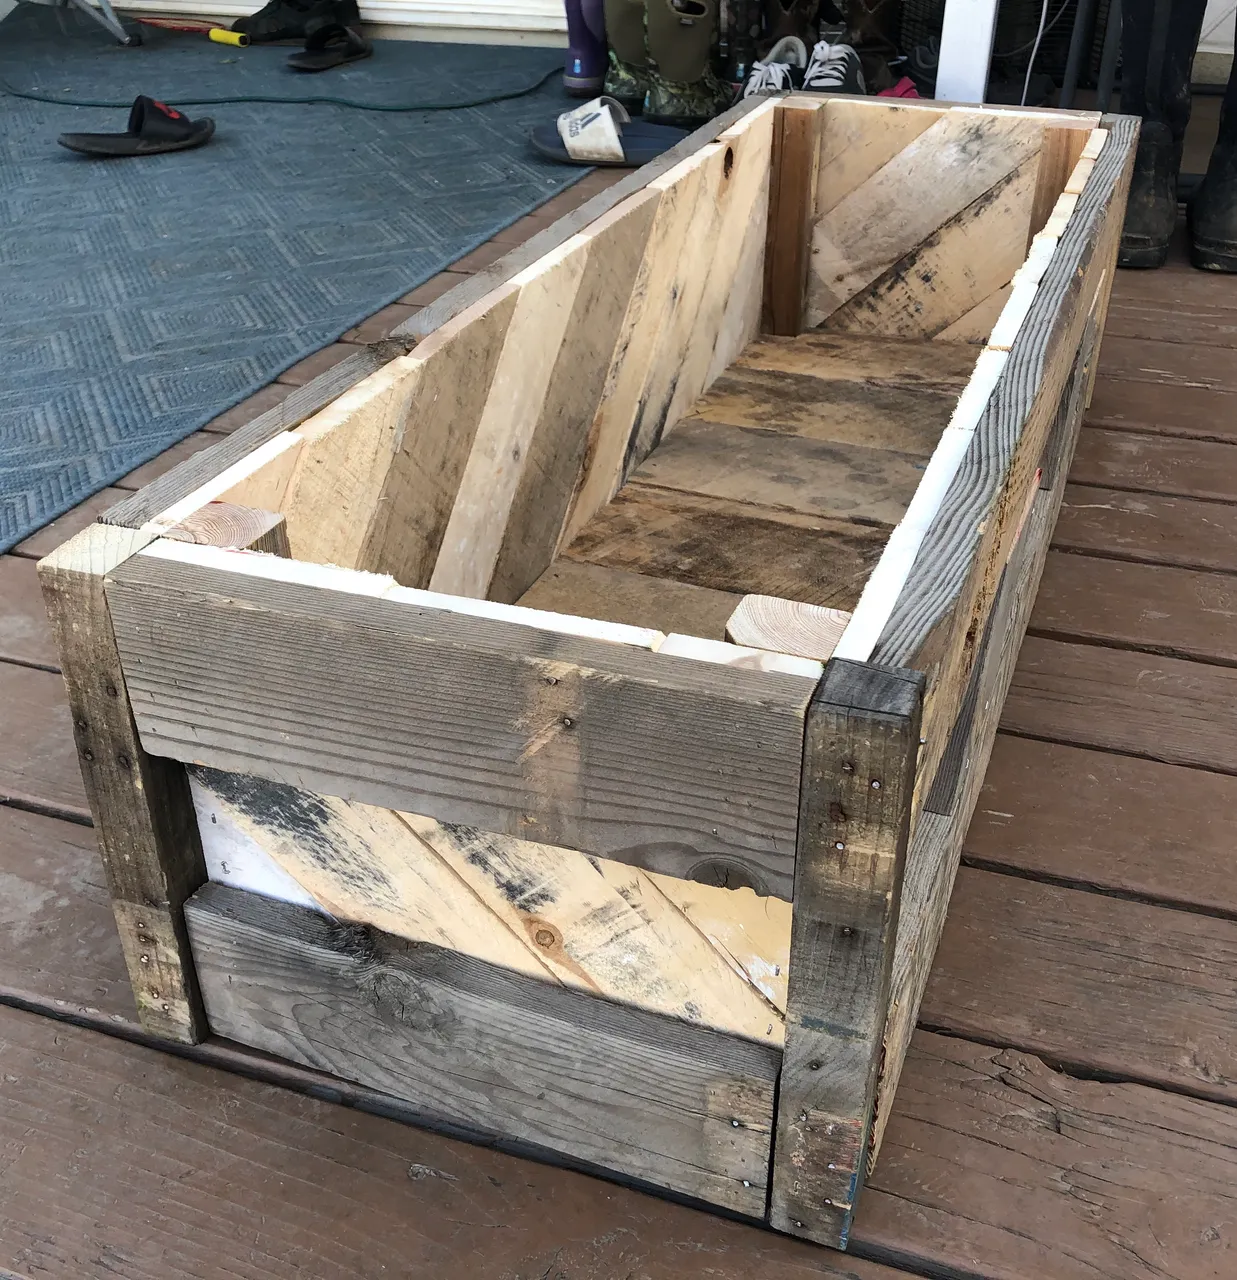
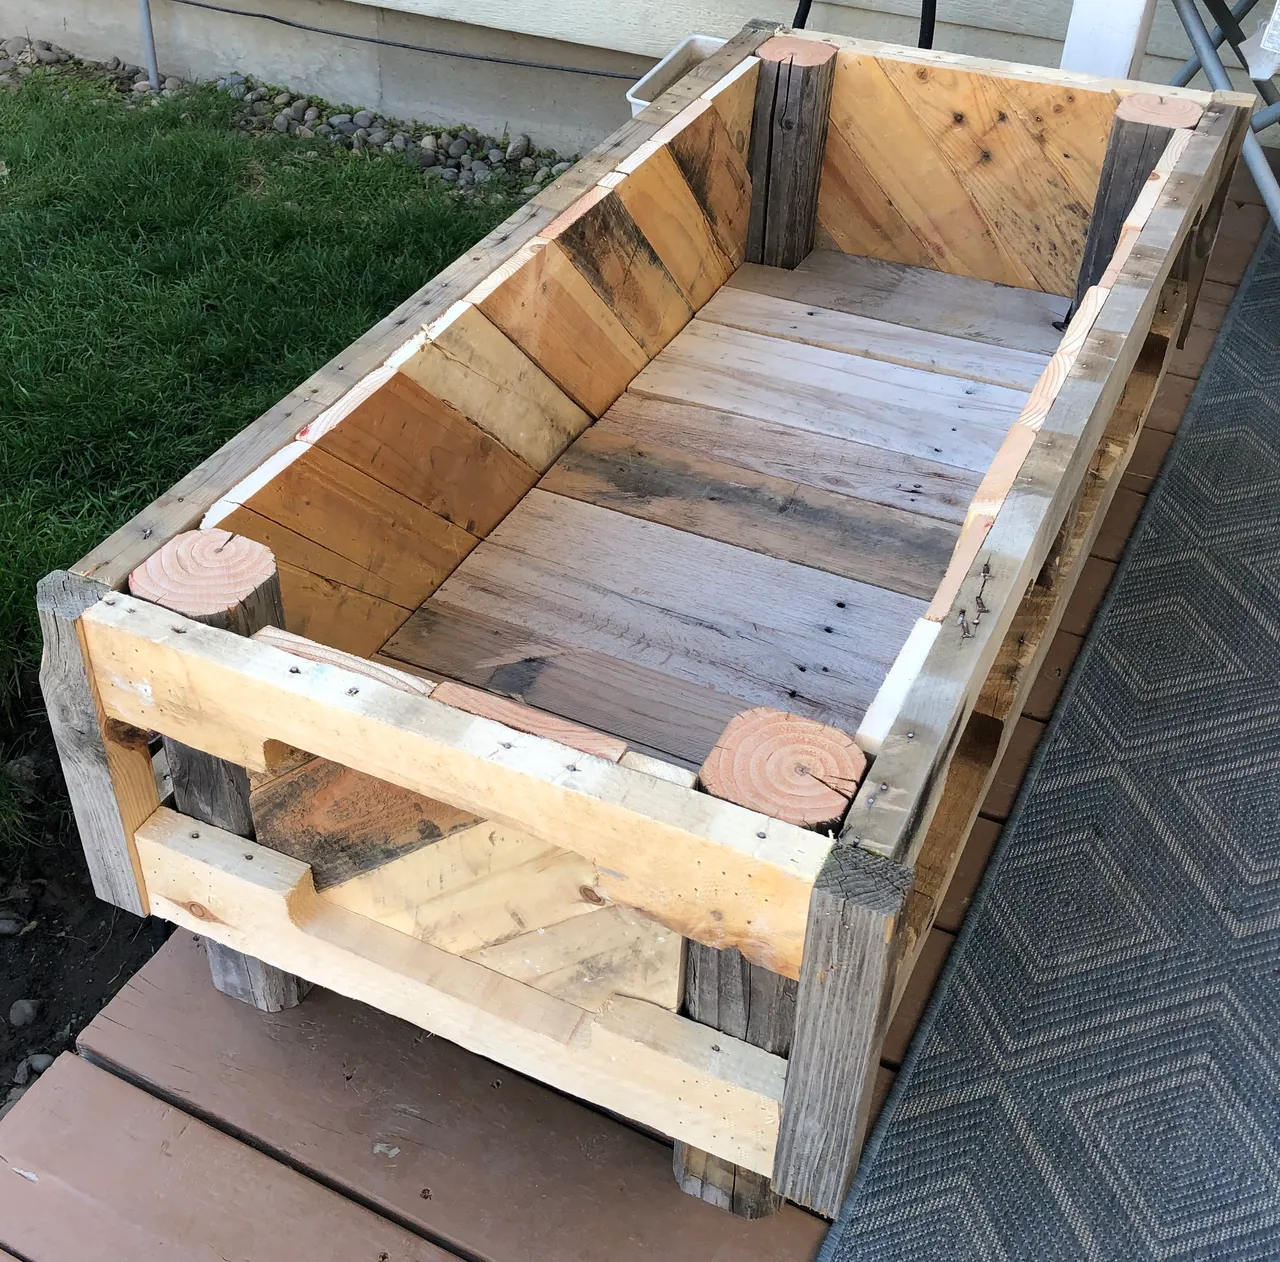
I am not tearing anything apart, I think this could end up looking really cool. So like I mentioned before, Time to go with the flow. I went ahead and just started installing the planks on the inside of the frame. When I got to a post, I went around the inside of it, creating an indent or pocket on each corner.

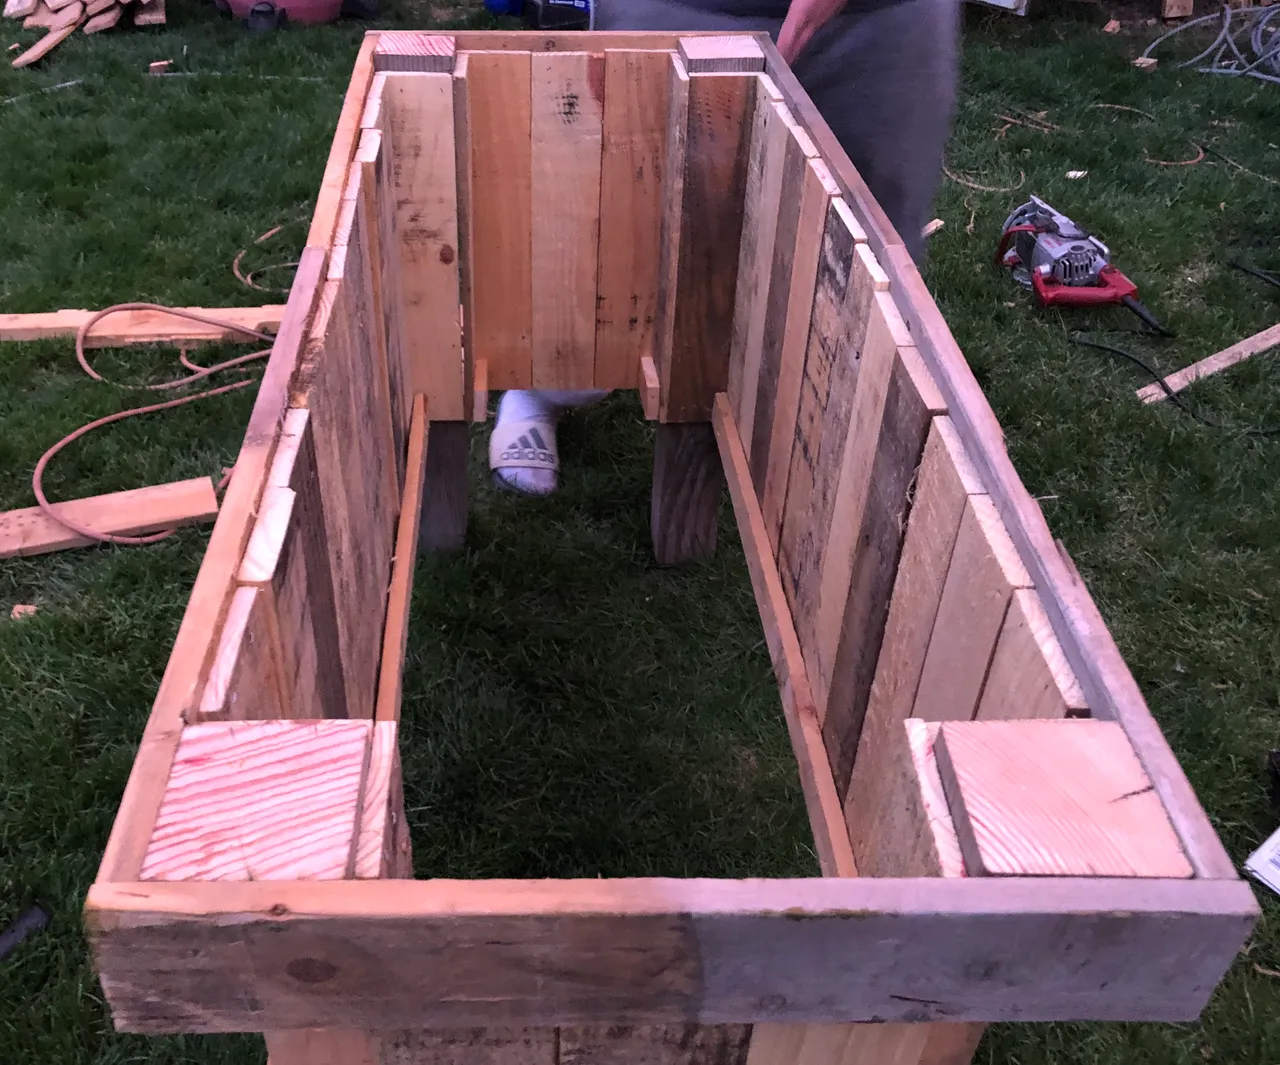
After making my way all the way around the box with the vertical planks, it was time to frame In the top. I didn’t want to use the same style pieces like the bottom. Plus I didn’t have enough anyway :wink :wink. Again, I ran into another issue. What am I going to do with the corners of the top frame? The planks that went on the inside of the lower post have nothing for support on the top. Great, I should have just cut the posts long enough to go all the way to the top! DANG IT!! Then I wouldn’t have this.... light bulb I think I just made another Happy Mistake Why not just cut a small chunk of 4X4 the same thickness of the upper frame. This will create a kind of pocket on the side of the box. I mean really... why not???
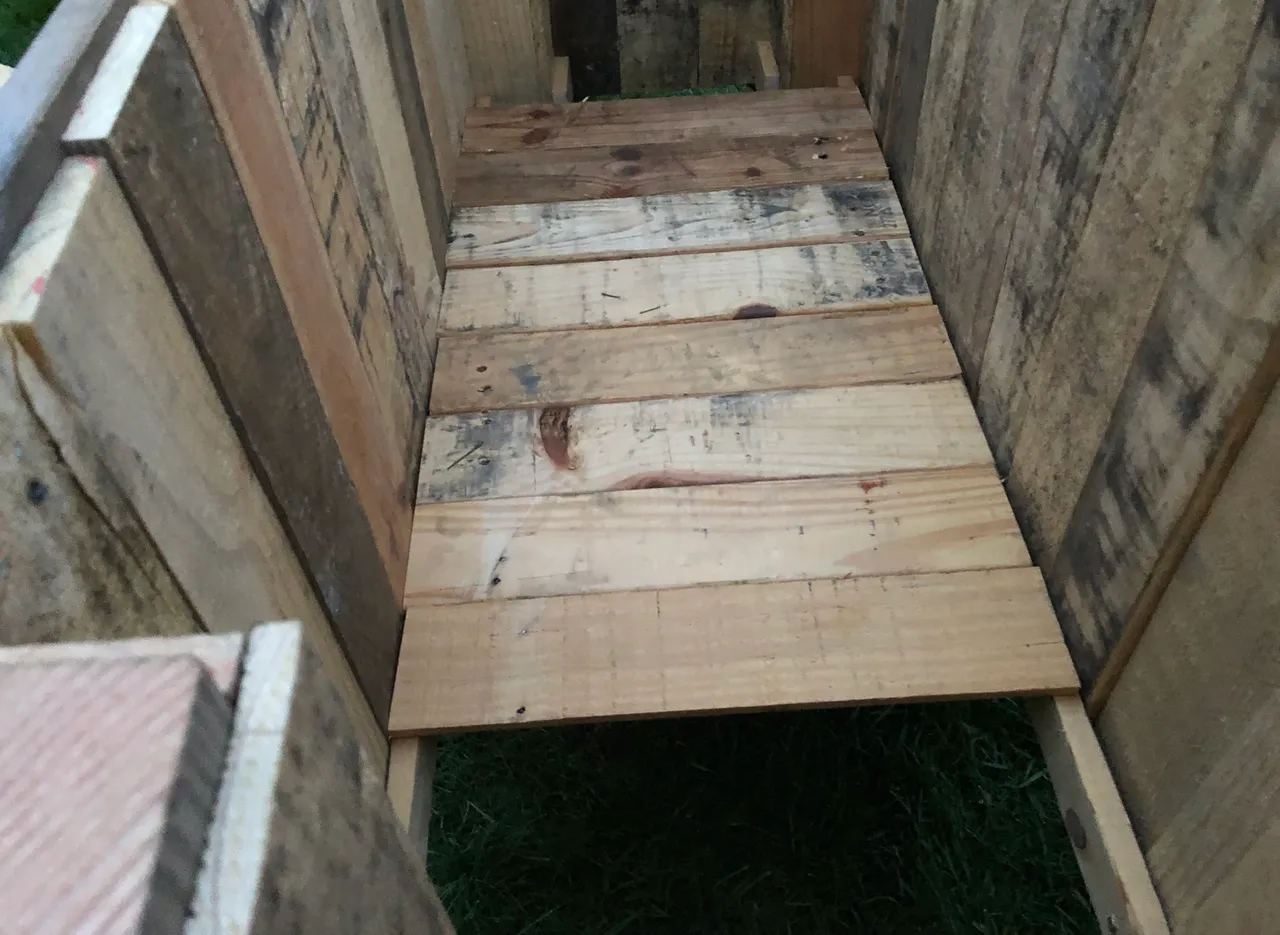
Now that the top is all framed in, I totally brain farted and forgot to install some sort of supports for the bottom of the box. There is no bottom on the box!! A box can’t hold anything inside of with without a bottom!!
I stood there looking at the box thinking, “Man, That is a good looking Box!! Ummm... crap!!! It needs a bottom!! Why didn’t I think of this??”
I am just happy that this box was big bough for me to be able to reach inside with my drill and screw in some runners on each side to lay planks on to create the bottom.
Just attaching the planks to the bottom of the box wouldn’t be a good idea. Screwing them in from the bottom. With all the weight of the dirt and moisture in the dirt, the planks would just fall off. That is why I put the runner supports in the inside. Now all I have to do is cut a bunch of planks to fit in the inside of the box and this project is wrapped up.
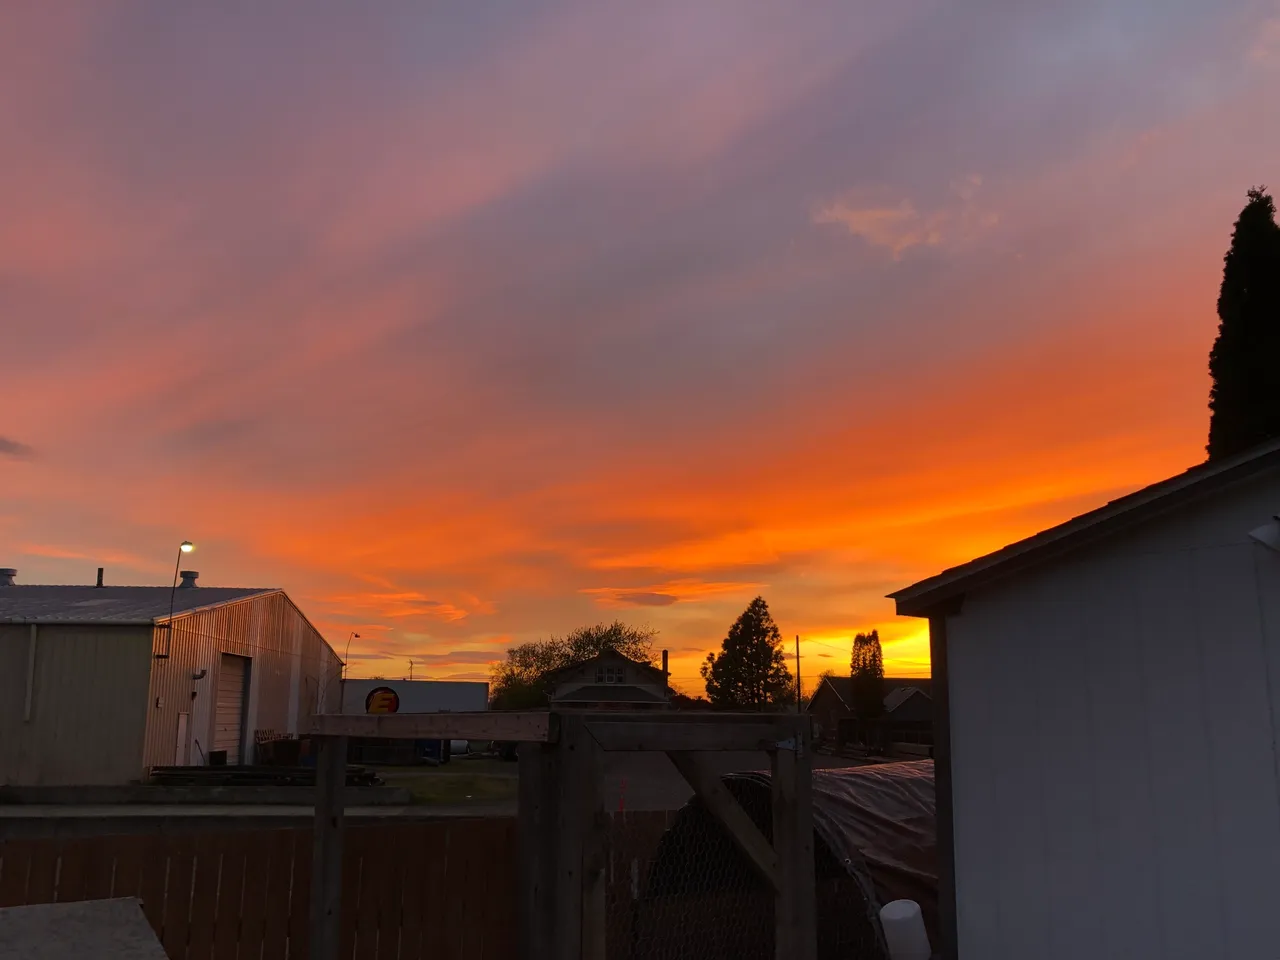
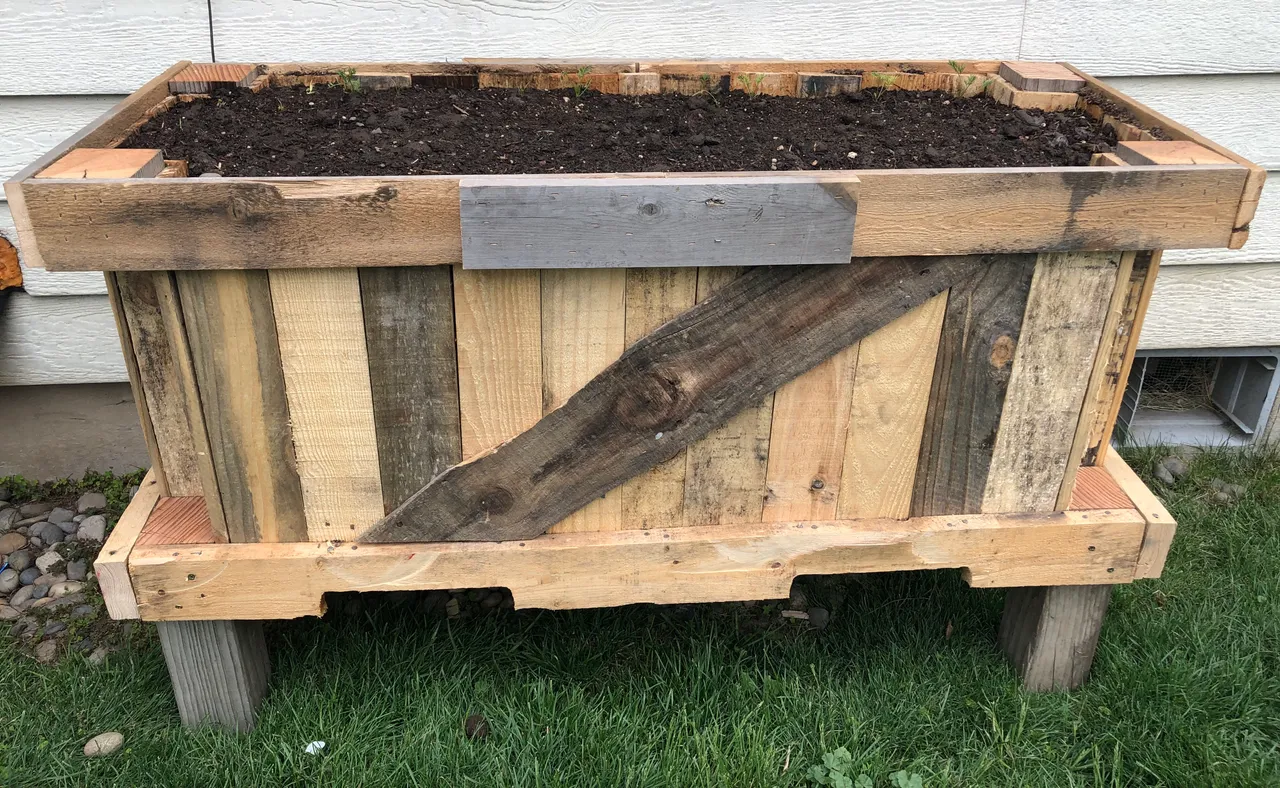
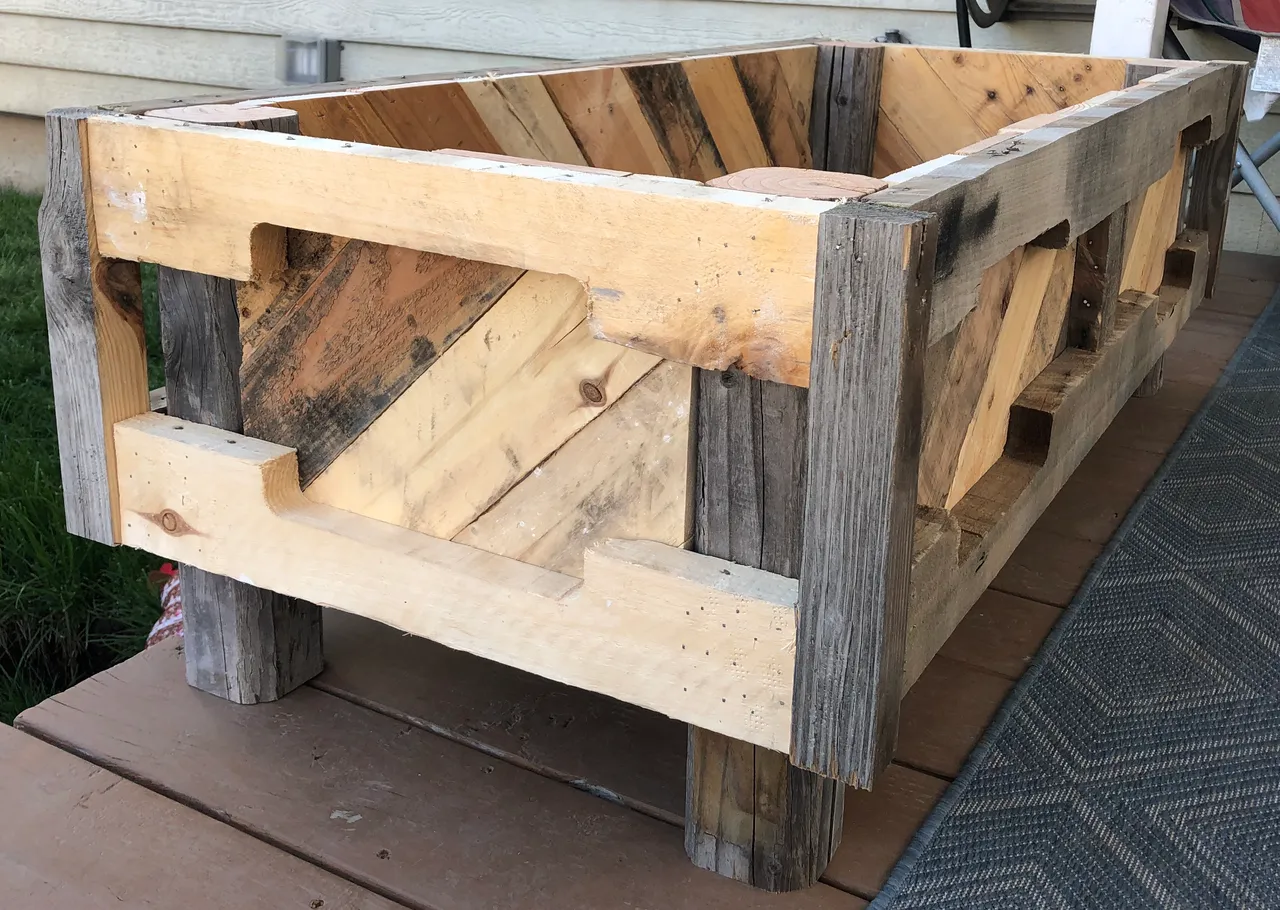
The box is complete and just at the right time. The sun is beginning to set and I still need to clean up this mess, fill up the box with dirt and get the carrots planted in it before it is dark.
Check out this Sunset
I really like how the corners of the box ended up looking. I thought for sure I was going to have to take it apart and rethink my idea. Instead, it turned into a box with a couple beverage holders around the bottom.
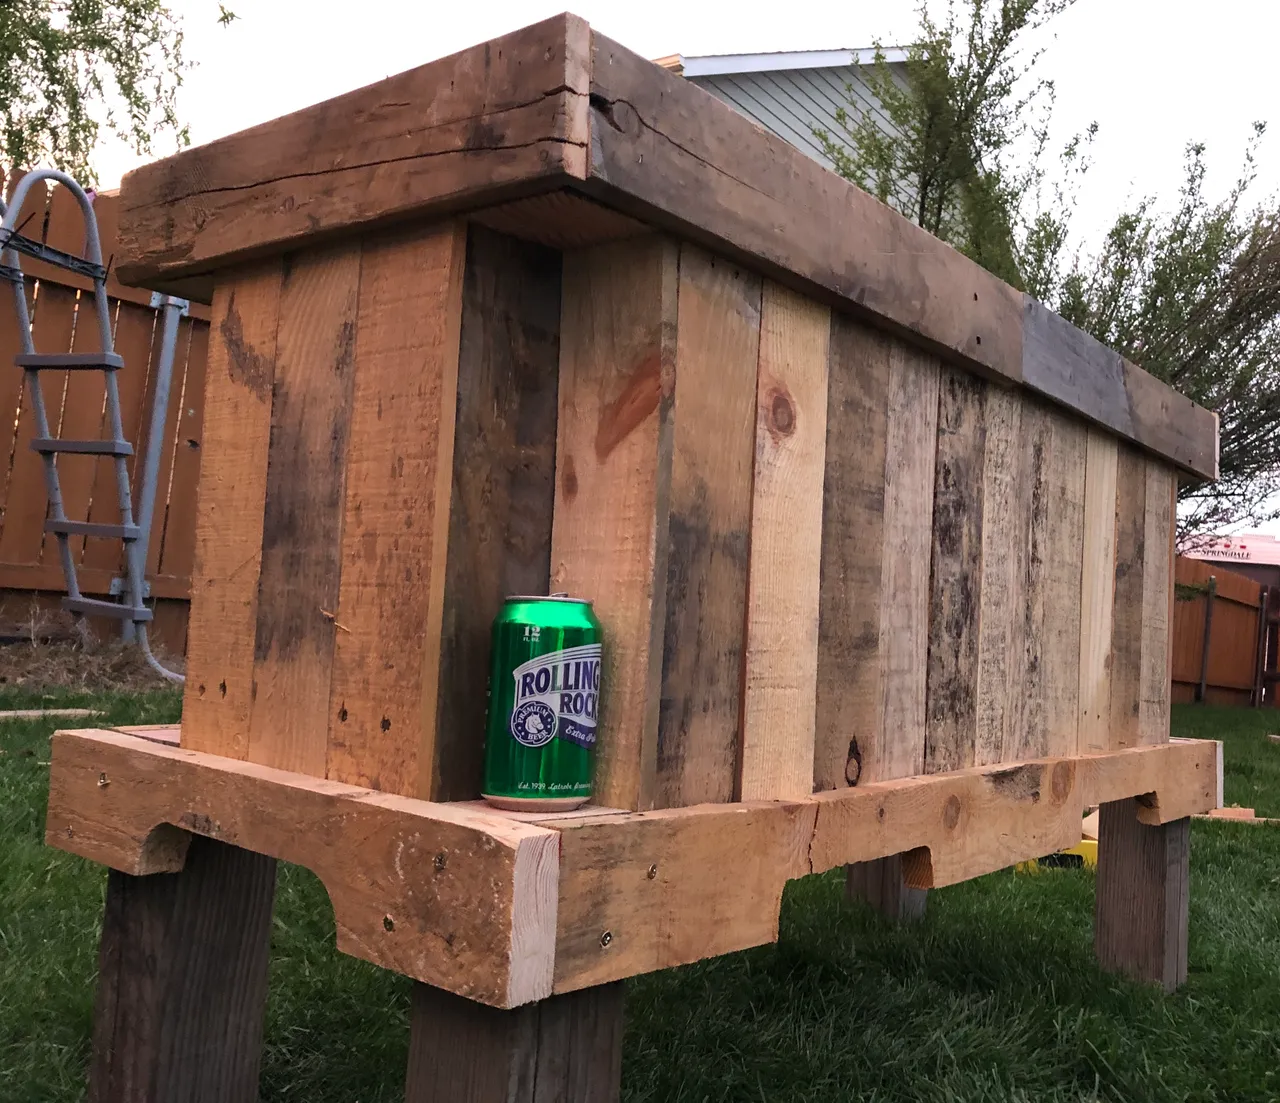
I couldn’t stop giggling inside about how many “mistakes” I made and how I was able to turn those “mistakes” into a box that ended up looking like this.
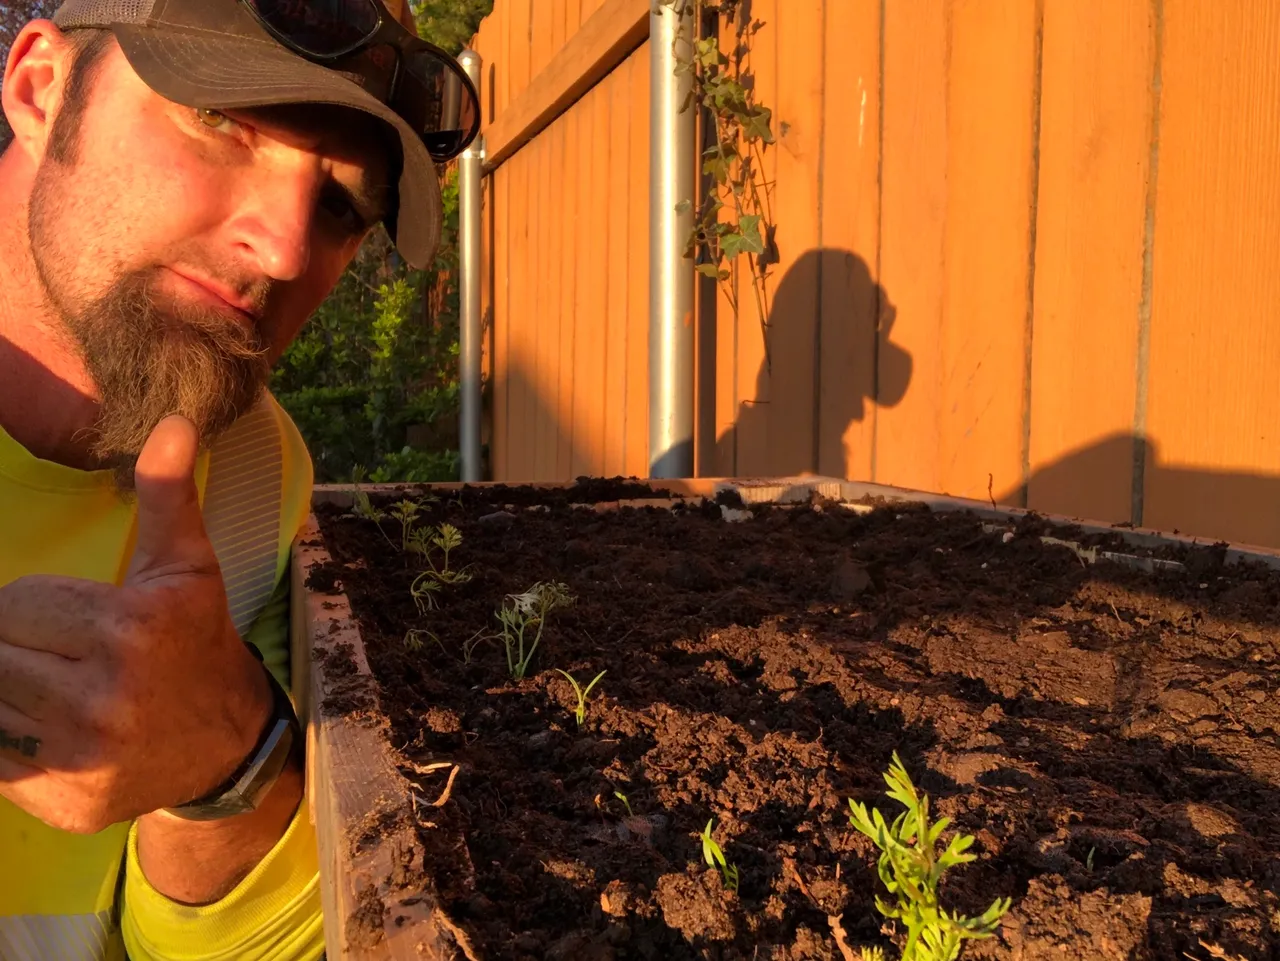
I did end up getting the box filled with dirt and the carrots planted before it was completely dark outside. With the sunset being so orange the phots turned out a bit.. Oompa Loompa-ish.
So the next day I came home from work and took a few better photos of the new Pallet Carrot Box. Plus I nailed in a couple accent pieces to it that just helped to add a little something extra to this box.
Before
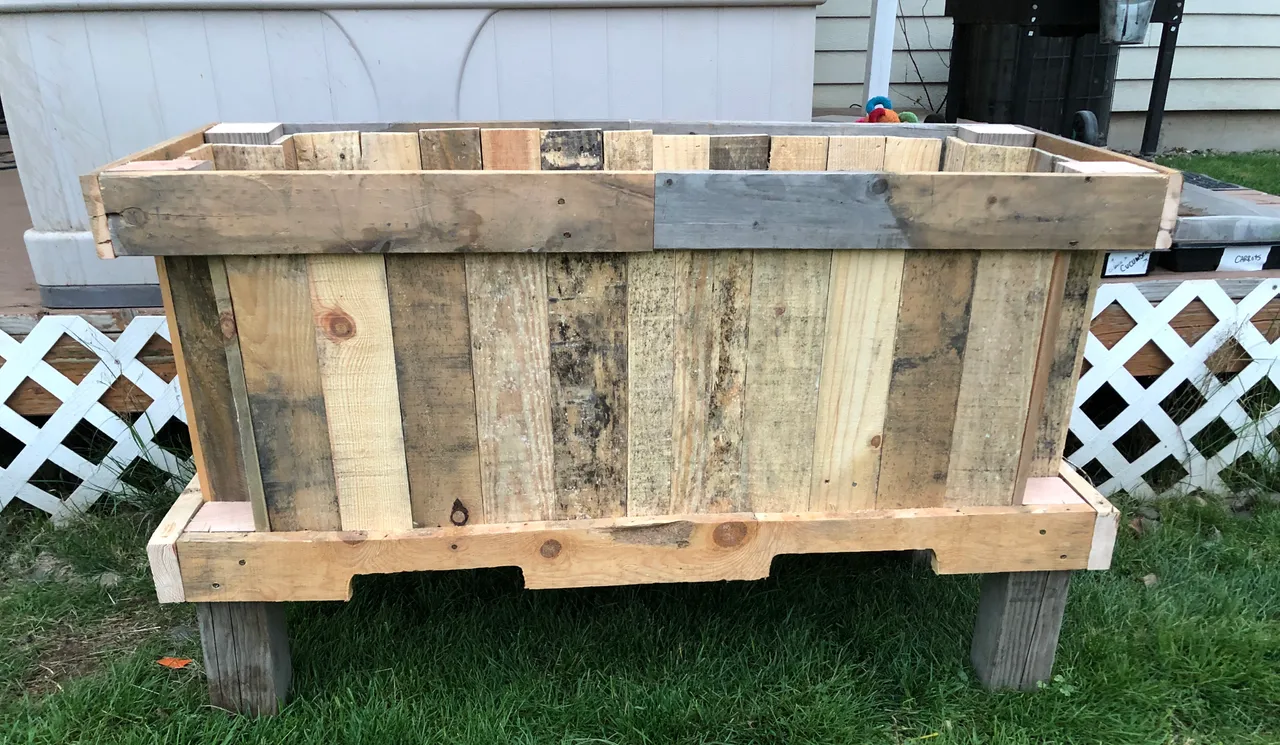
After
With those couple pieces added... I am calling this project finished!!! You know I think I like these pallet projects. They aren’t meant to be perfect, they are meant to serve a purpose. It was a little difficult at first to get over the fact that pieces didn’t align just right. A gap here, a gap there.. I am not used to building like this at all. I want straight boards and tight joints, plumb and square!! Not when you are working with pallets!!
This whole time I kept saying... I... I... I. It should have been We We We Because my brother-in-law was involved in creating this carrot box as well. It wasn’t 100% my ideas nor his. We make a good planter box making team. We both began to think of what other style boxes we could create. So over the next couple days I brought home some more pallets. Then we began to experiment and see what we could make.
Check These Out!
This is the first box we made that doesn’t have a specific purpose at the Splatts House. We tried to keep it pretty simple and really like how it turned out.
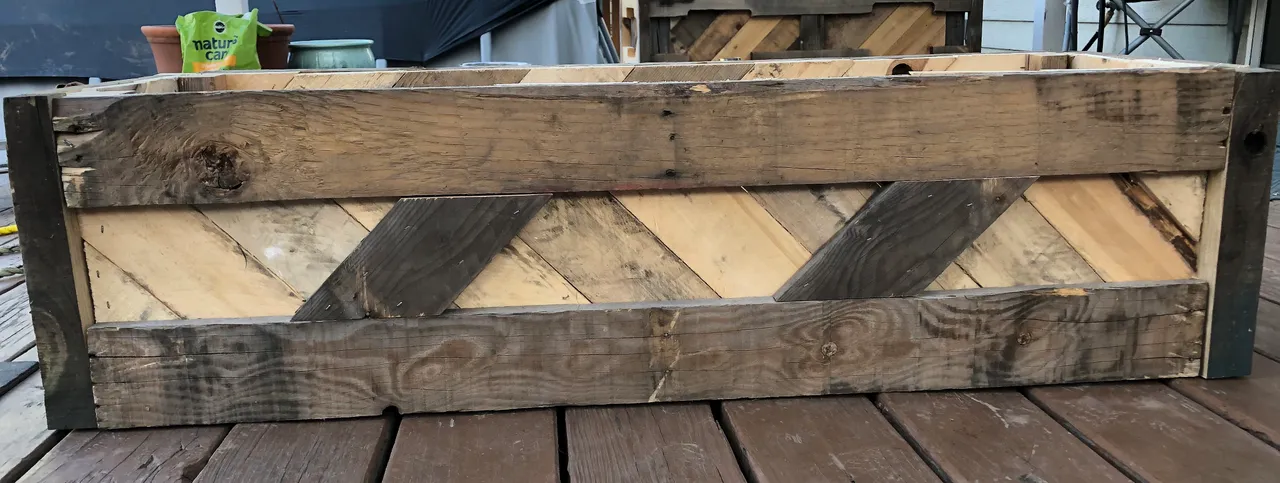
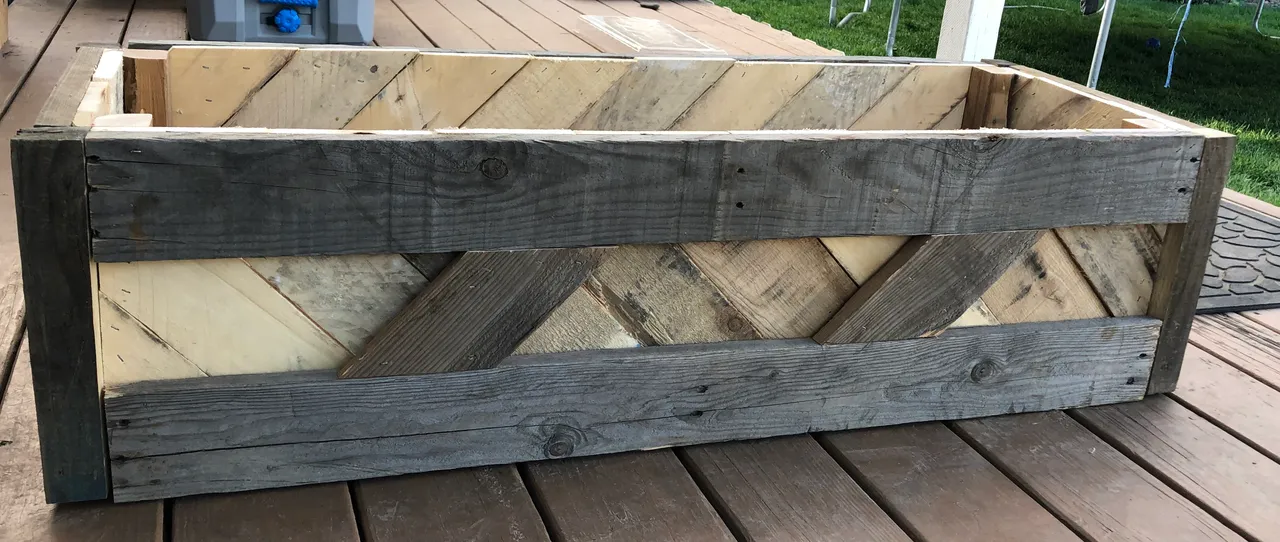
The Fancy Box
We got a little wild with one, it took a lot of thinking to get this to turn out this way. A couple mistakes were made but again they just added a little something to the box.
I have no idea what we are going to do with these boxes, keep them maybe sell them, I have no idea. These pallet boxes are really fun to make and they make you dig deep into your creative side in order to produce something out of nothing.

Steem On
and
Do a Little
DIY Project
It’s good for ya