Past few months, I built an external DIY monitor from old laptop screen which is very light,portable and further it is very cheap to build.So,instead of throwing you old laptops you can build an external monitor youself which can be used for portable TV, secondary screen and much more.Learn to build ,You might enjoy!
Equipment Required
- Old laptop Screen
- Control board for your Screen model
-Tips: You can find your model number on back of screen and search for "Control number" control board on ebay - Plywood for Frame
- Carbon fiber to get an amazing looks
-Tips: you can get it from Bike,Car Workshops for few dollars - HDMI Cable
- 12V 4a DC adapter
- Hot Glue
- Hinges for support
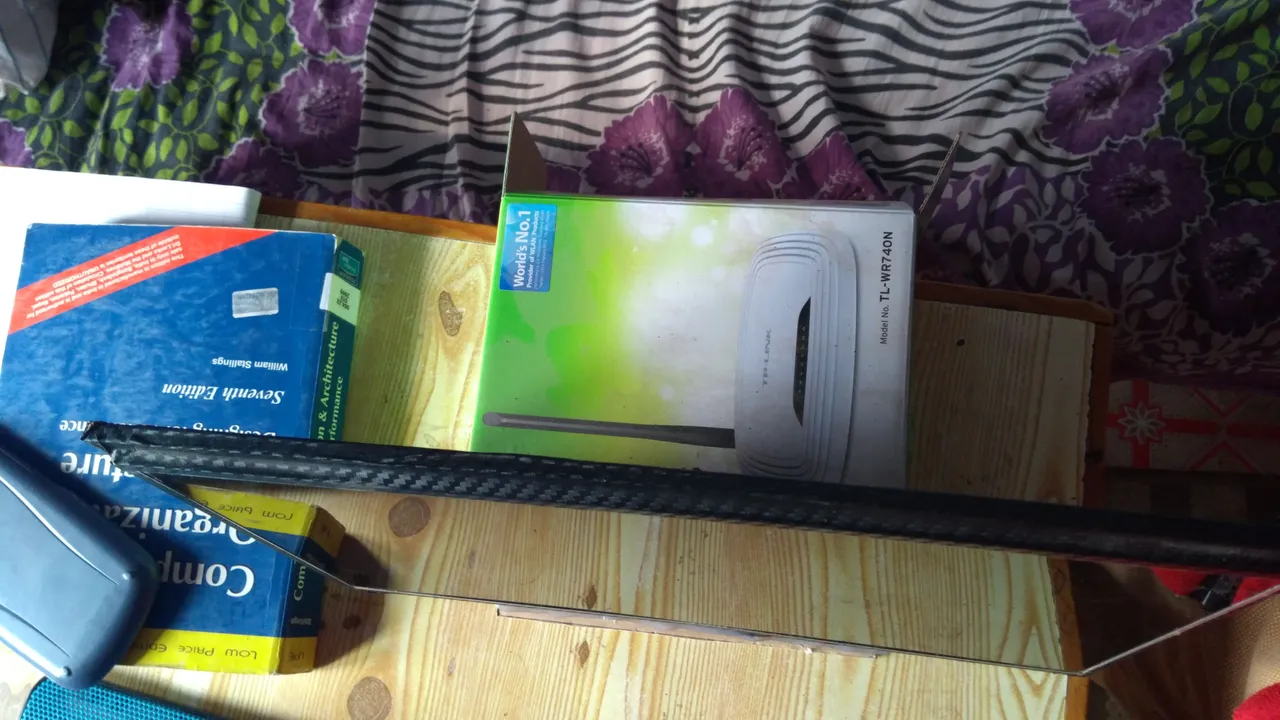
-But i used a case of Router box for support where i kept all the components
Steps
- Connect the Connector wire to Screen and Control Board
- Use Some adhesive to wrap the plywood with Carbon Fiber
- Attach the Screen to plywood using adhesive
- Cover the edges of screen using carbon fiber
- Screw the hinges so that hinges can suppor the screen
- Fix the control button in appropriate location
- Fix the control board in suitable location
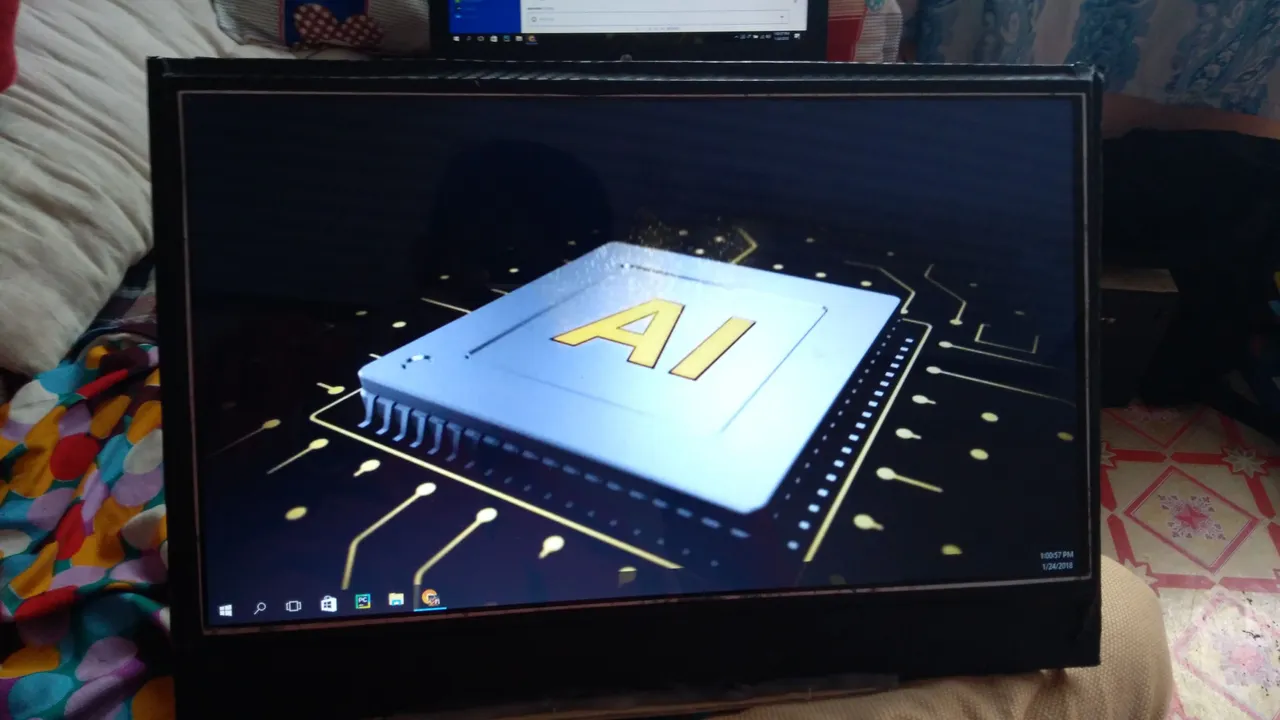
Simply,it's done.Now plug the DC adapter and HDMI port and your DIY monitor is ready to use.It cost me about 30$ to complete this DIY project.Here are some image.
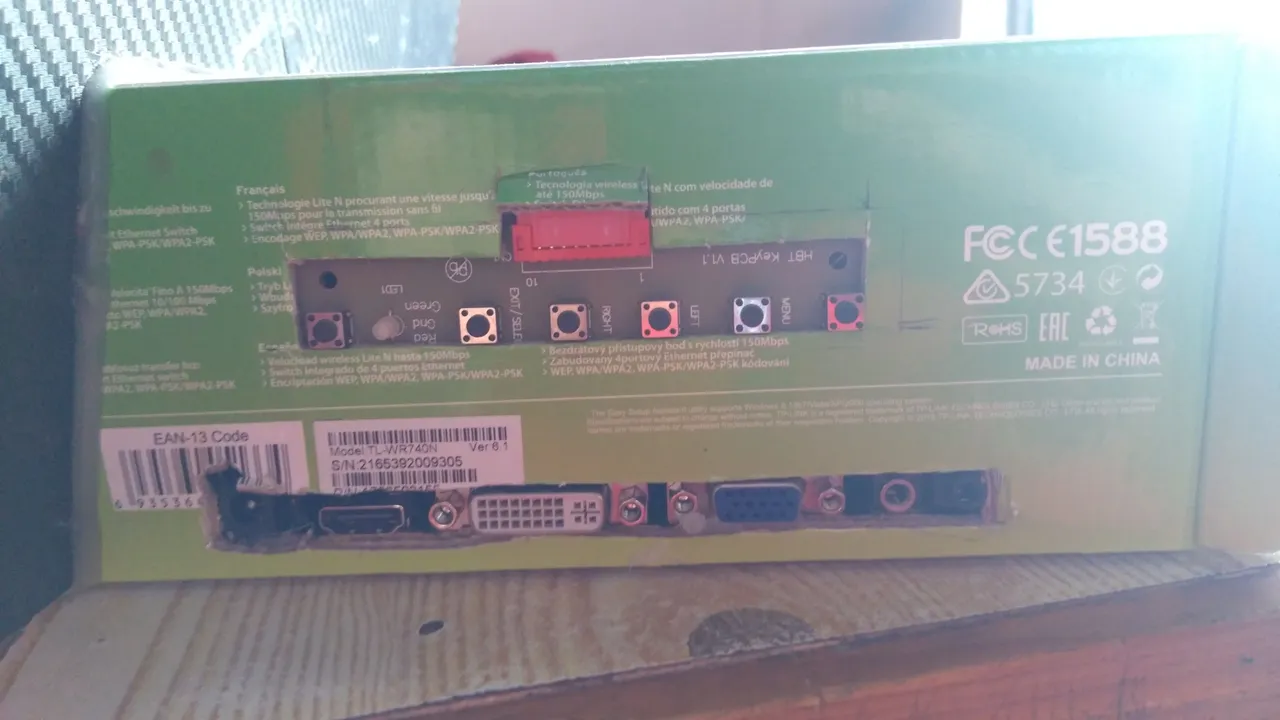
Control Buttons and input ports
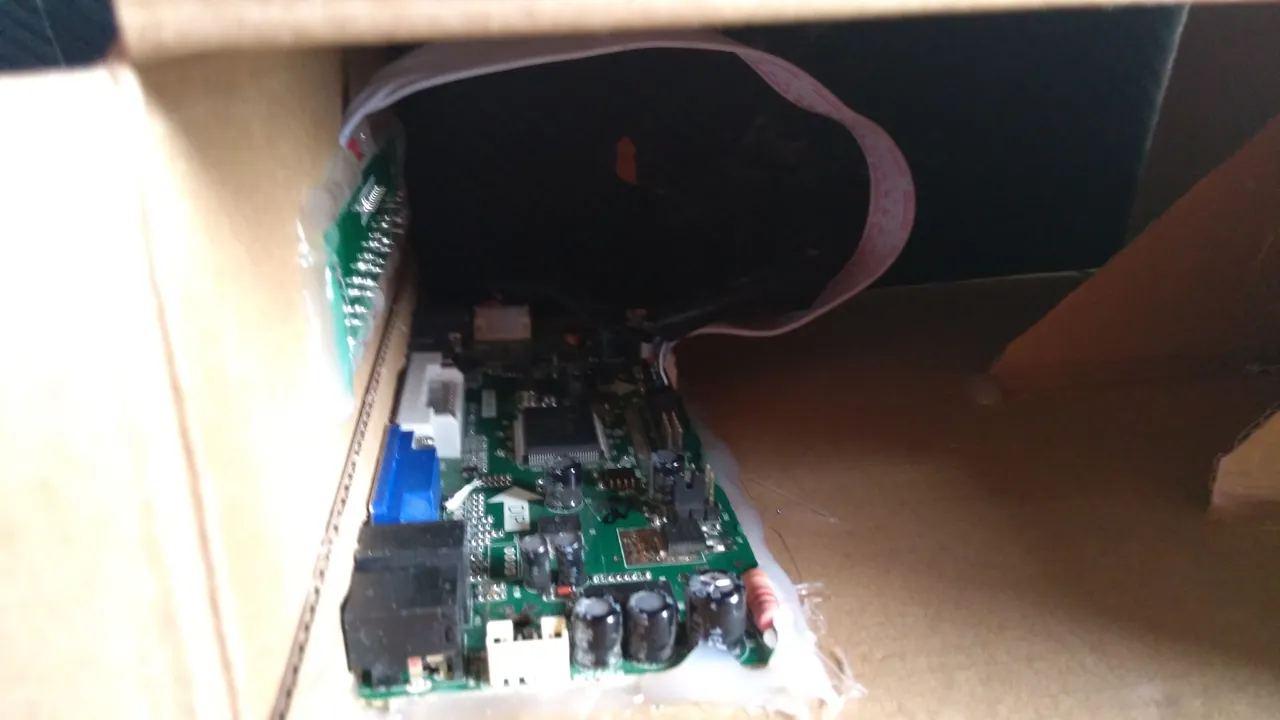
Control Board
Top View
If you have any questions and help need for this DIY project,feel free to comment below,I will always be there for you.Hope you like this article.