Hello again!
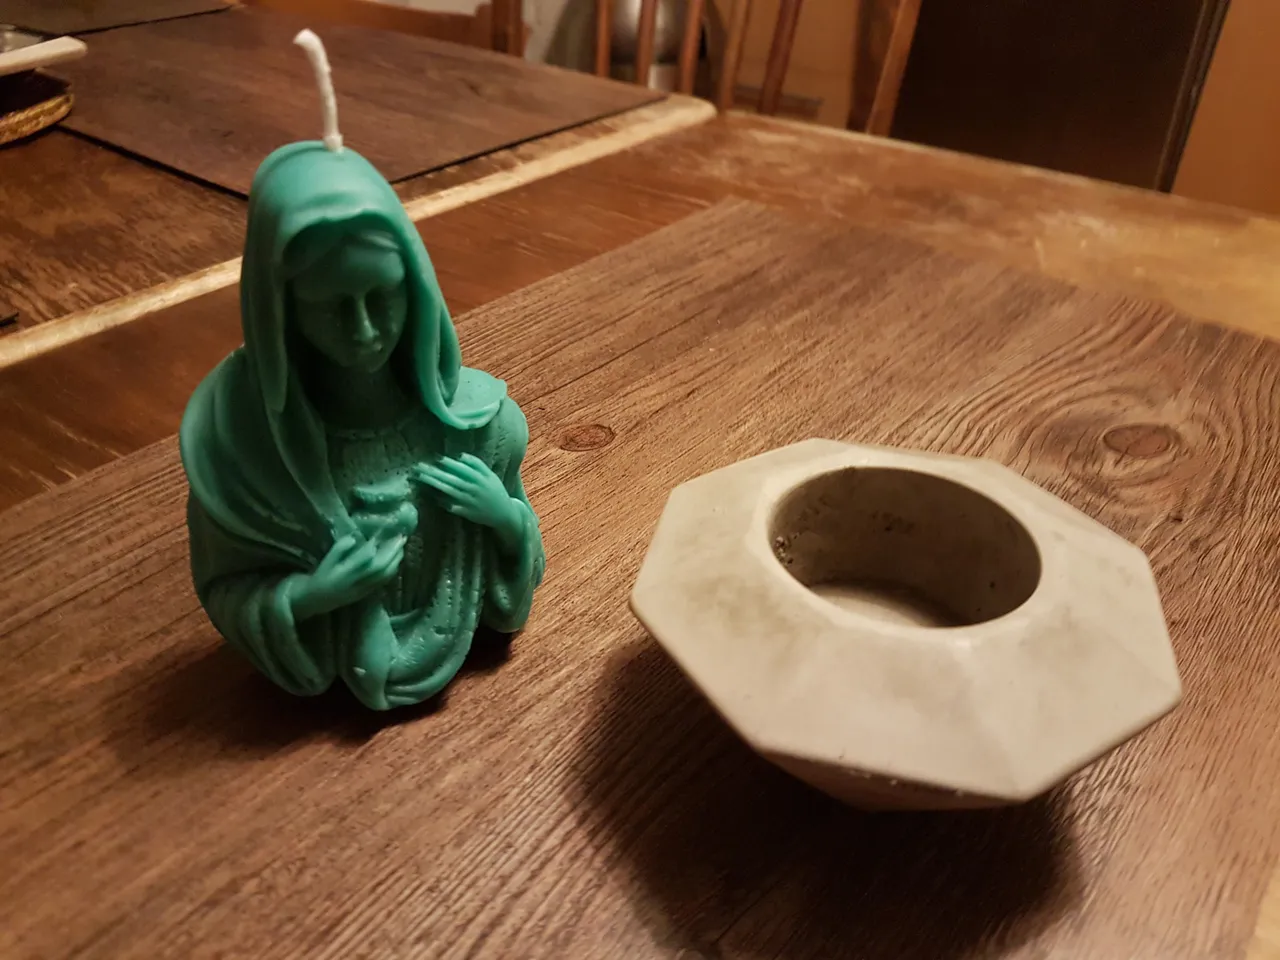
Now I am going to go through the process of using the newly made silicon molds for casting. I made a candle with the virgin Mary and a cement bowl / candle holder with the diamond shaped proto.

Again I started by measuring with water to see how much wax and cement the molds would take. I did that by putting the model in a measuring can with water (the water floating slightly over the model) and then taking it out of the water and measure the difference of the water surface.
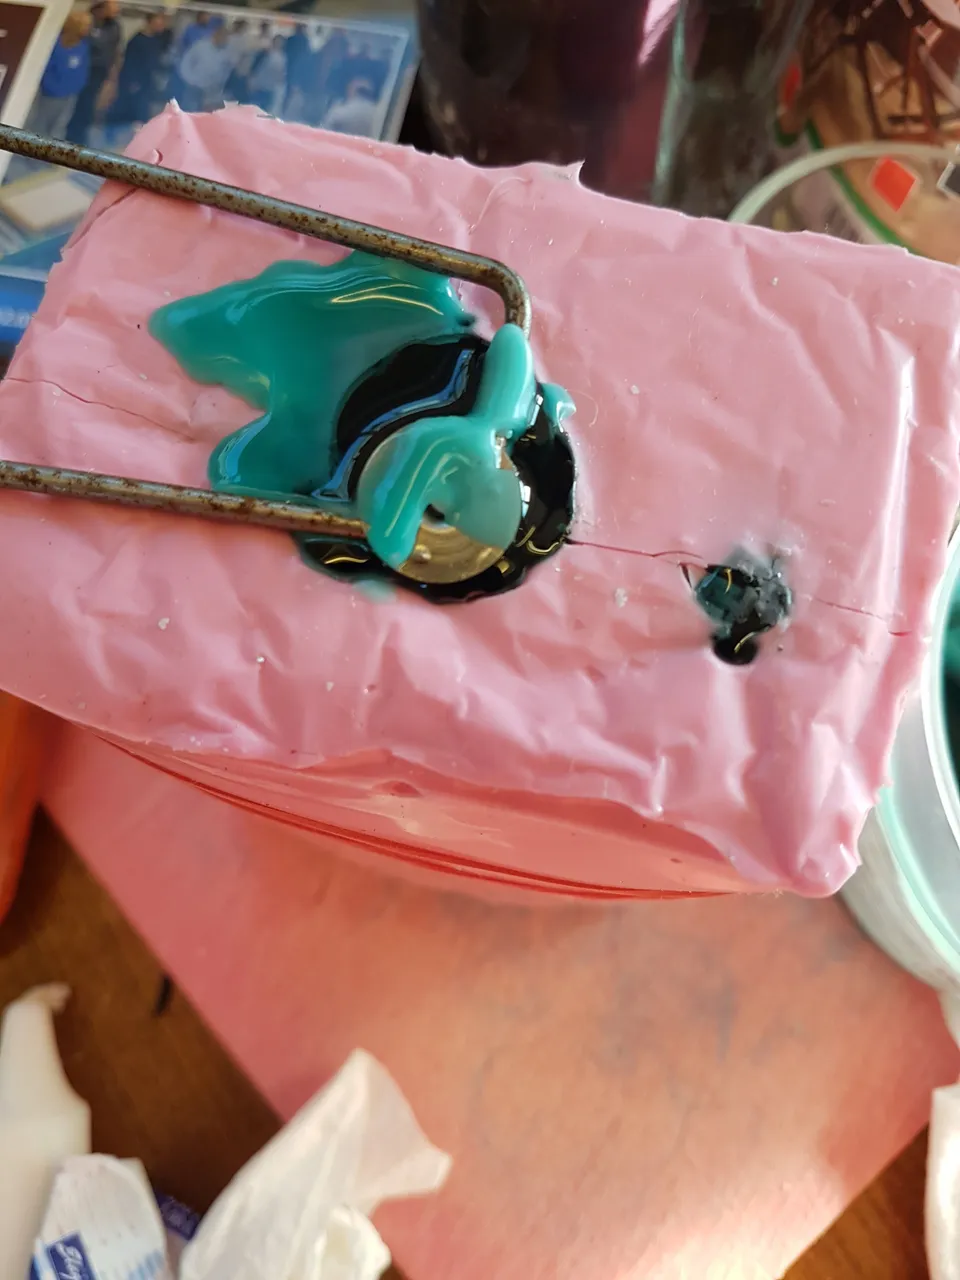
While melting the wax in a glass measuring can in a pot with water I made a hole in the bottom of the candle mold for the candle wick. I used a needle at first but then I used a wire and pushed the candle wick through the hole with the wire. The silicon is very elastic so it tightens itself well up against the wick and does not leak. I also put rubber band around the mold to hold it together where I had cut it open.

The wire I had did have some kind of a hook in the end so I could use it to hold the end of the candle wick and move it around a bit. So to have enough space for pouring the wax I could move it aside.

When the wax had melted I poured it in to the mold and moved the wick right to the middle with my hook.
The wax sinks a little bit after few minutes so be ready to pour a little bit more wax in it.
While the wax was drying I started to make the cement blend.
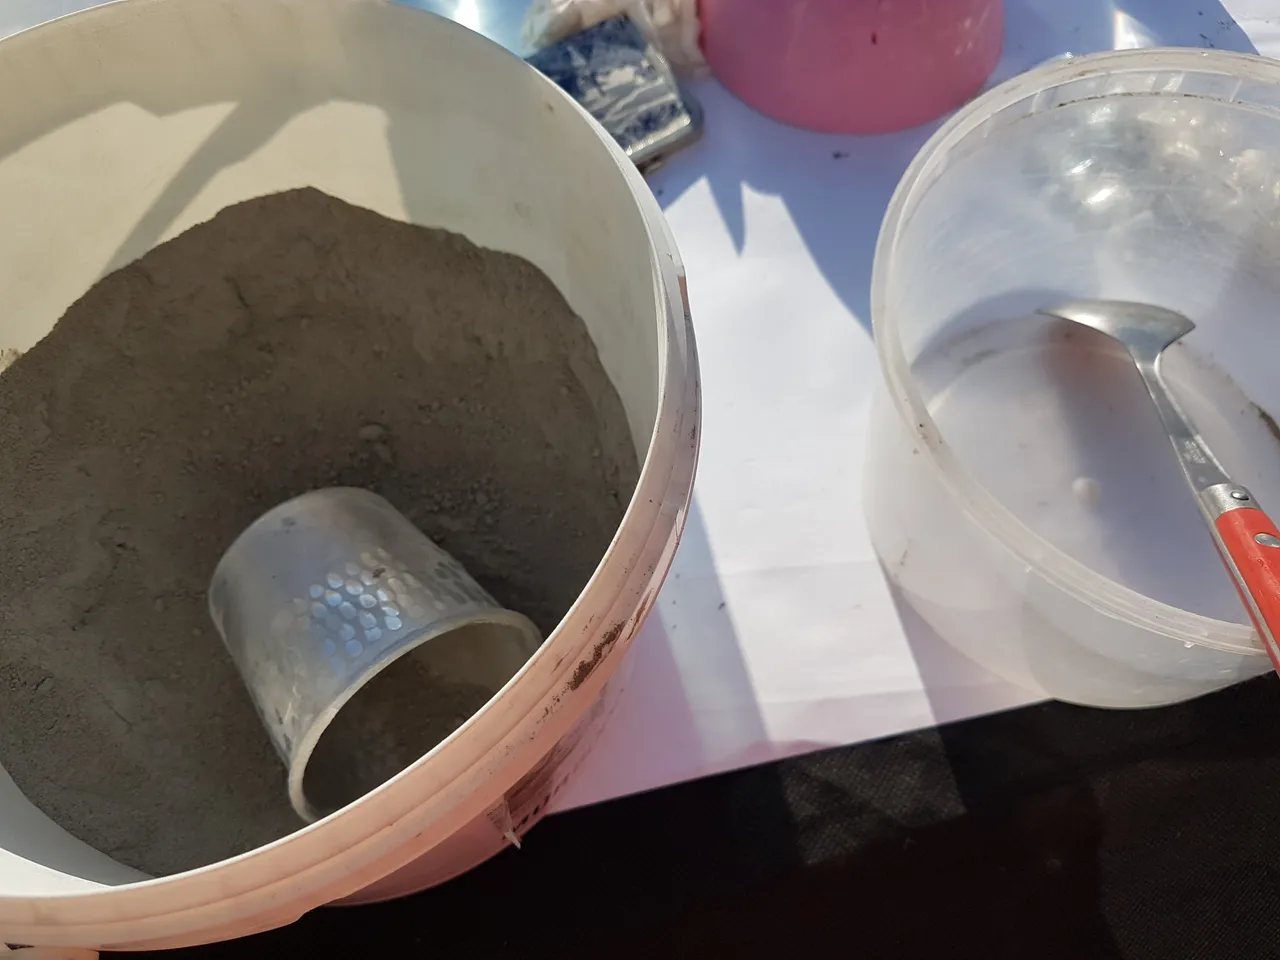
That is easy, just cement and water. But as I didn´t know how much volume the cement would take in the water I just used the measurement of the water and knew I would have a bit left.

You have to stir the cement very well, leaving no lumps.
When ready I poured it into the mold.
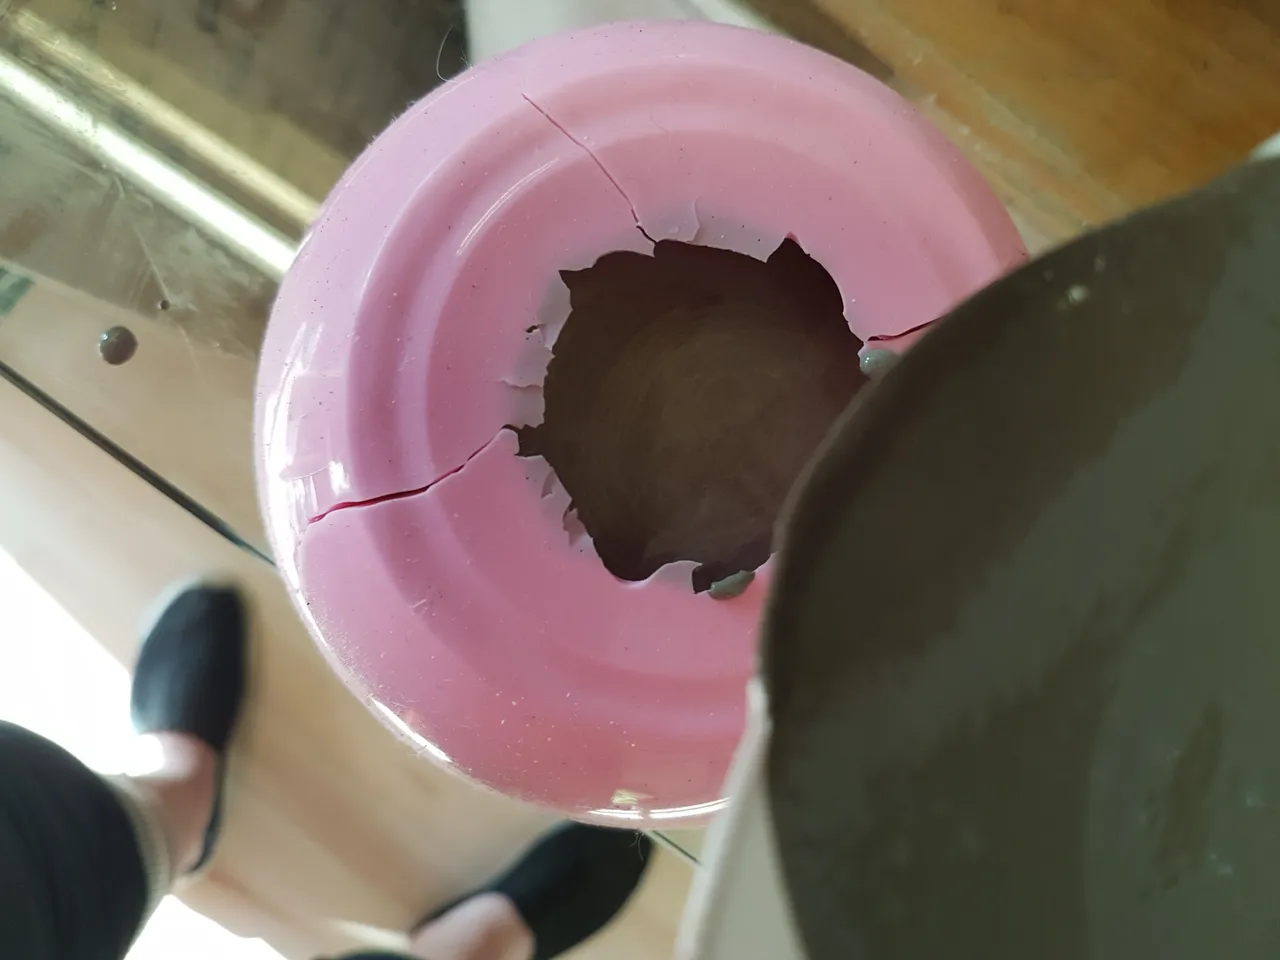
Then I put a rubber band around it and a strong tape to hold it together where I had cut it open.
Then I knocked in the table with a screwdriver for a while to get rid of air bubbles.
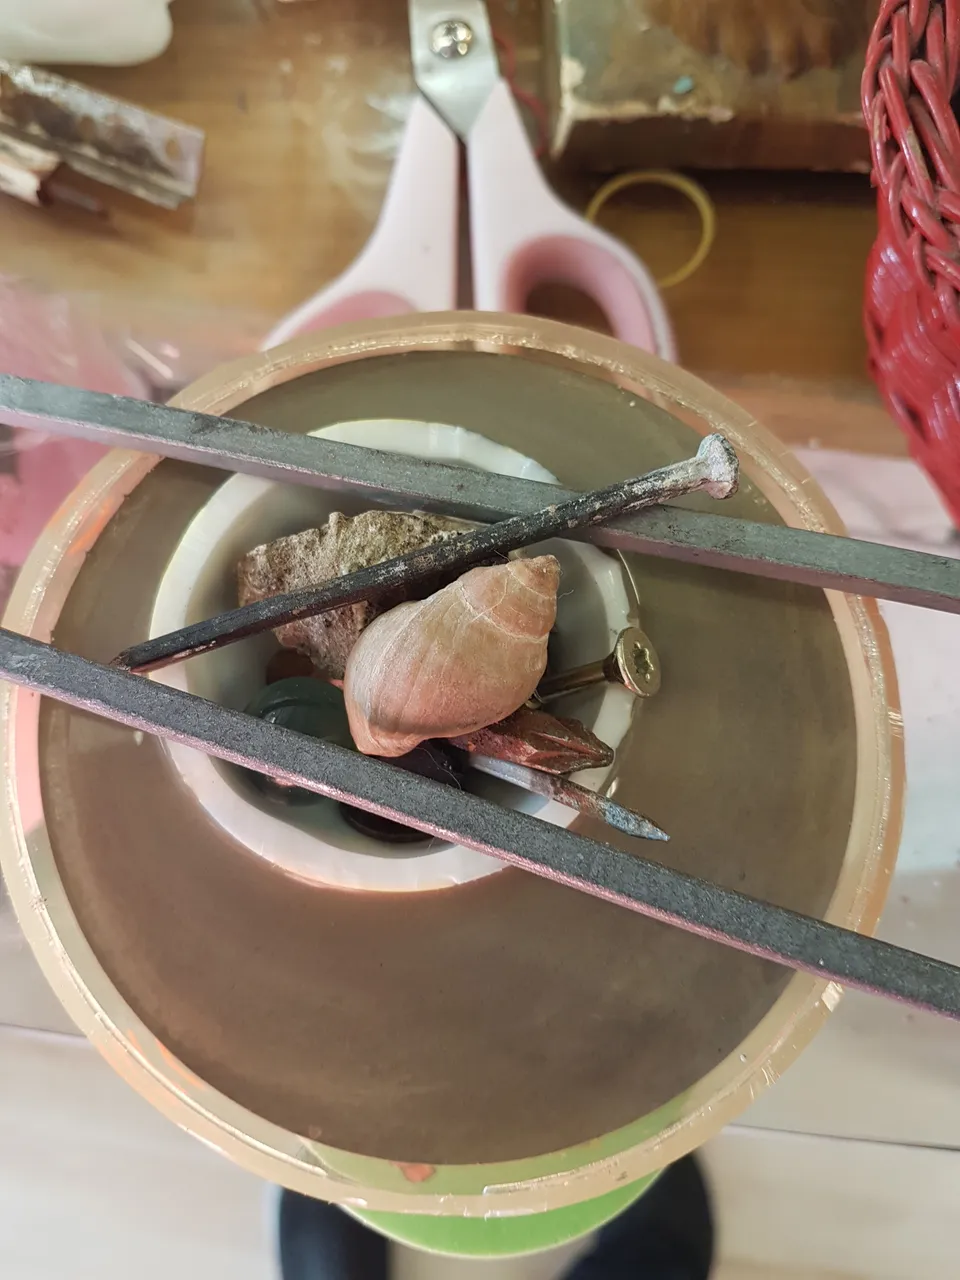
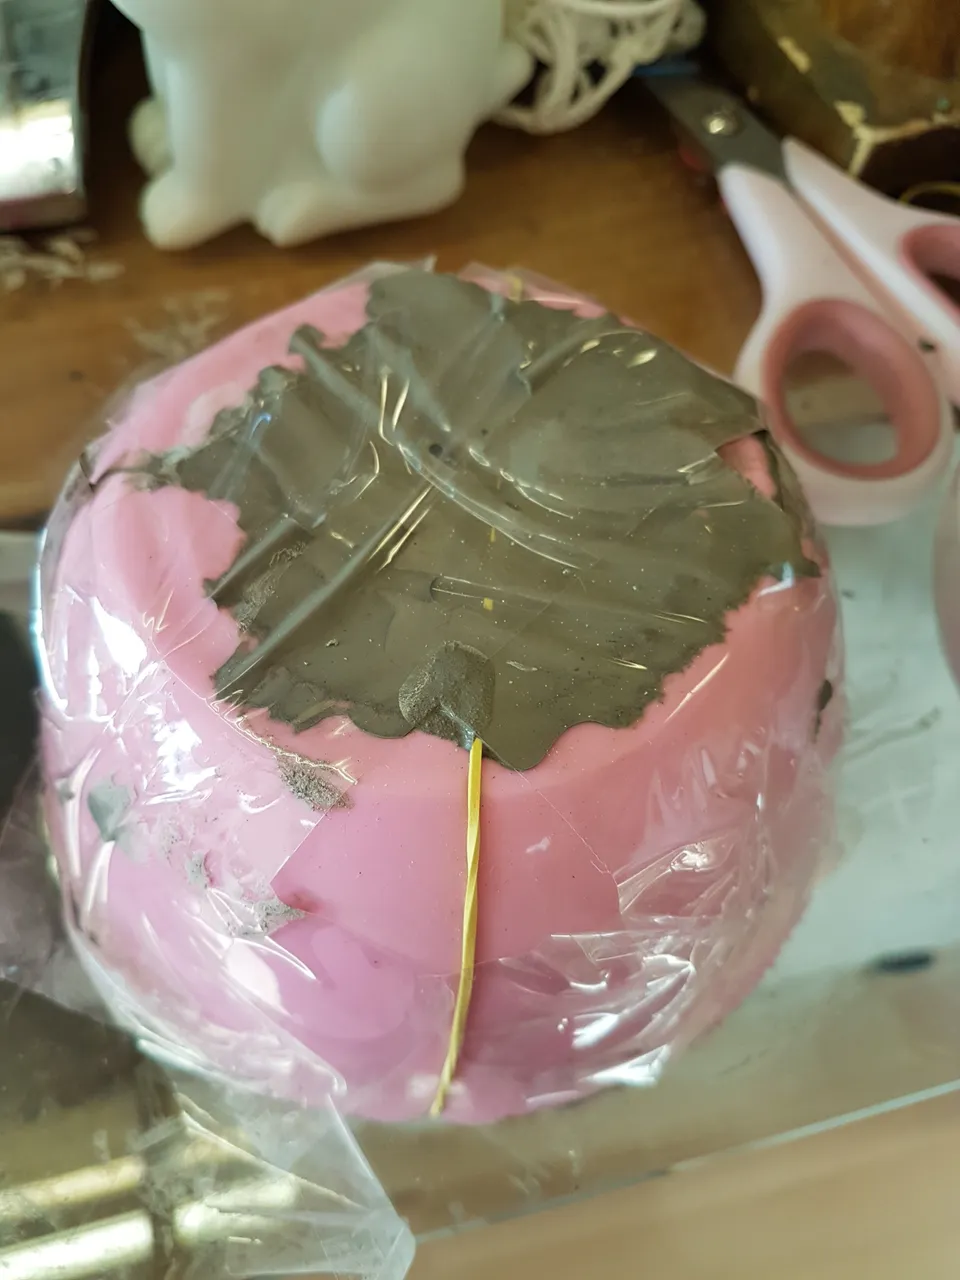
As I had some leftover of the cement I poured it into another mold. I had taken two toy balls and cut them in half, one bigger and one smaller. I let the bigger one sit in a small bowl, poured the sement in it and then put the smaller half ball inside it. I then put in some heavy stuff, stones and nails to make it as heavy as it should. Sinking as it should without sinking to much.
It can also be good to put two big nails over the boarder of the balls to hold the inner one in place en keeping it from going up.
After a couple of hours I could take my prototypes out of the molds.
The Virgin Mary had her smallest details like the tears on her chin but I was not very happy about the air bubbles.
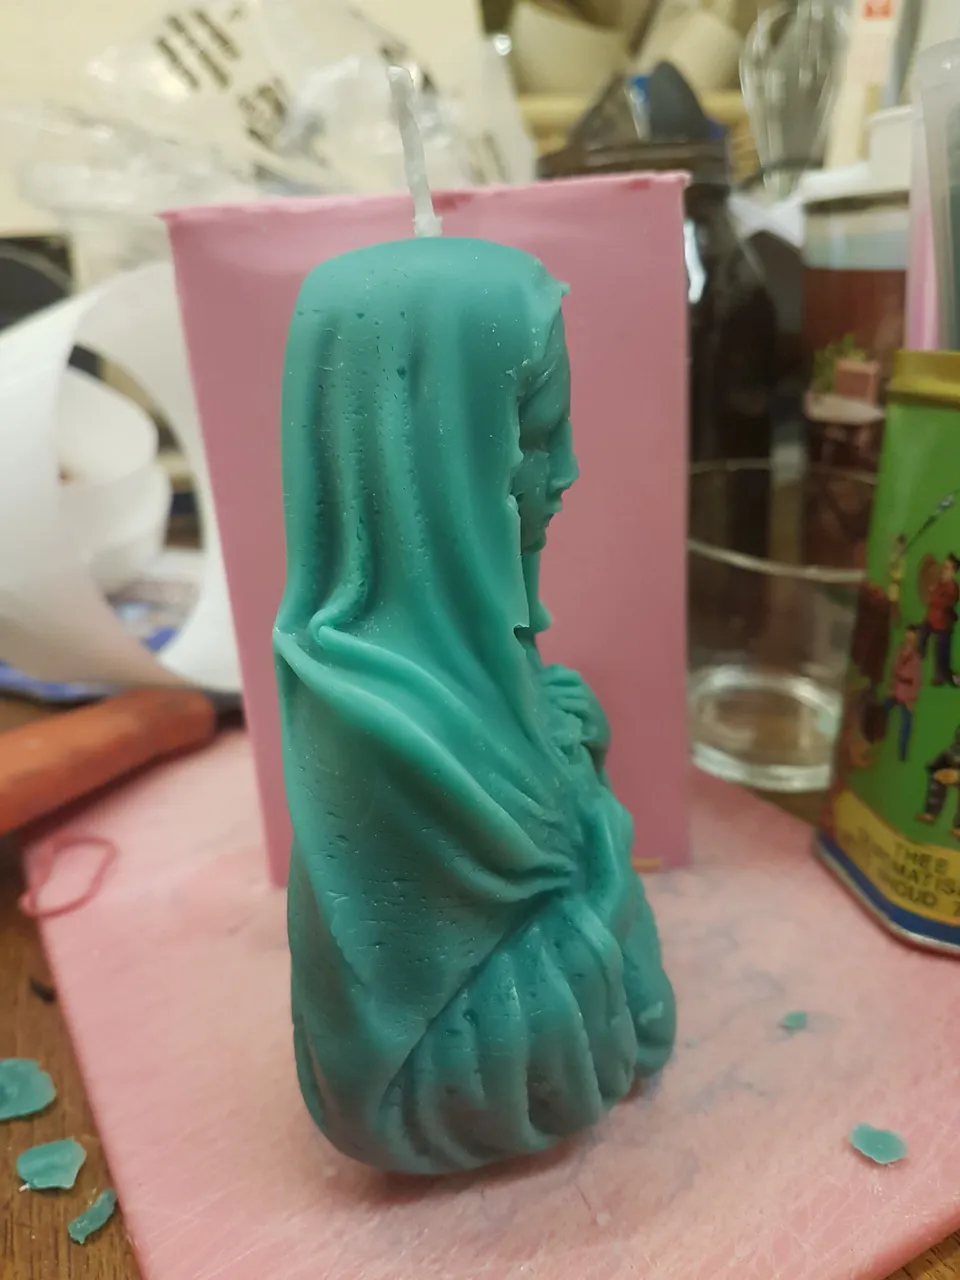
I have made two other candles in the same mold and the airbubbles are in the wax but not the mold. The trick is to pour just a small amount of wax insid the mold and turn it around to fill in the face and all the outer sides before filling all the mold.
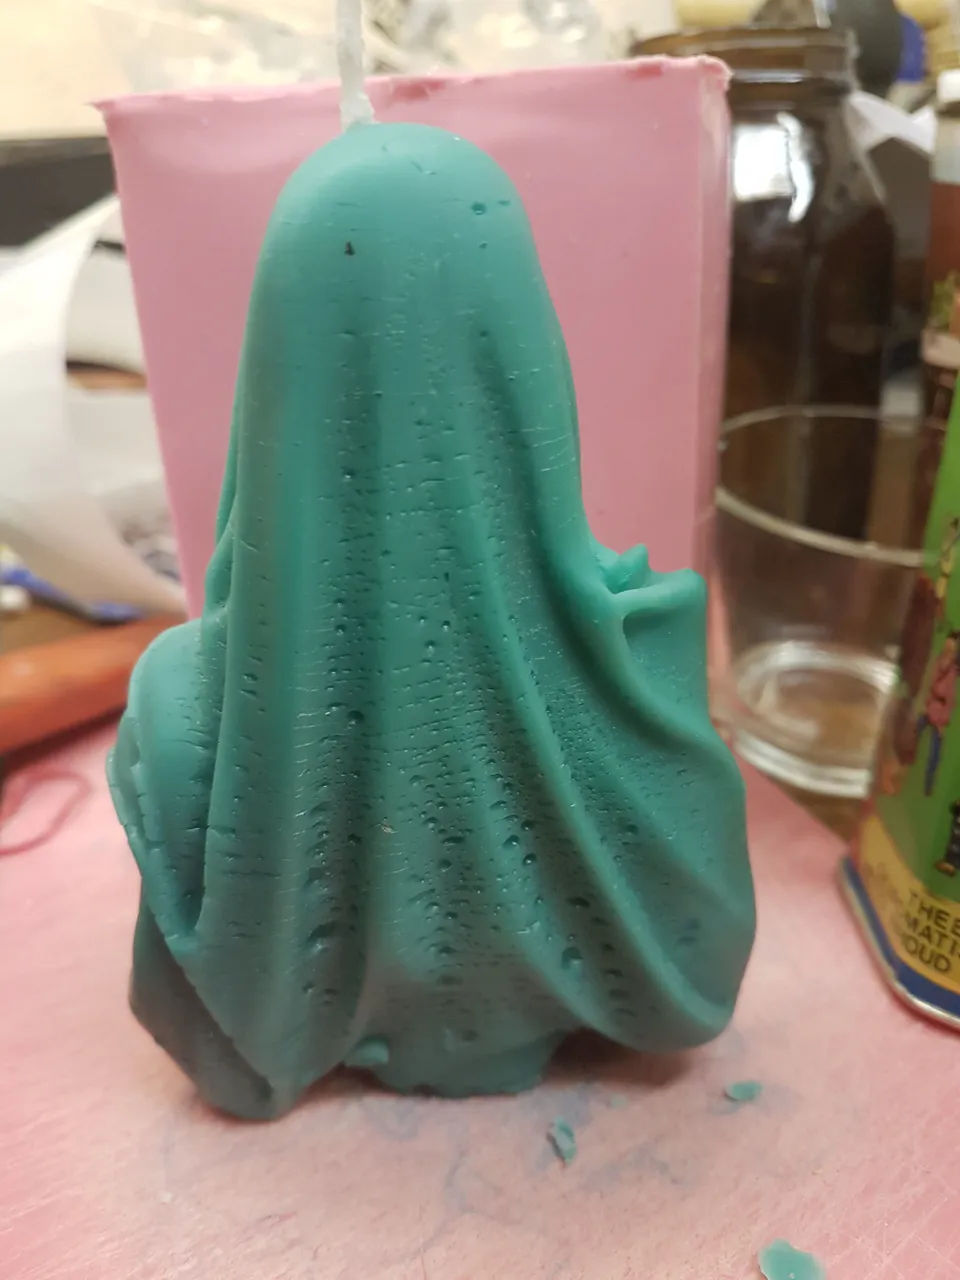
I also noticed that the wick had not been positioned on the exact spot on her head so I fixed that as well. I made a new hole and put a tiny bit of clay in the old hole.
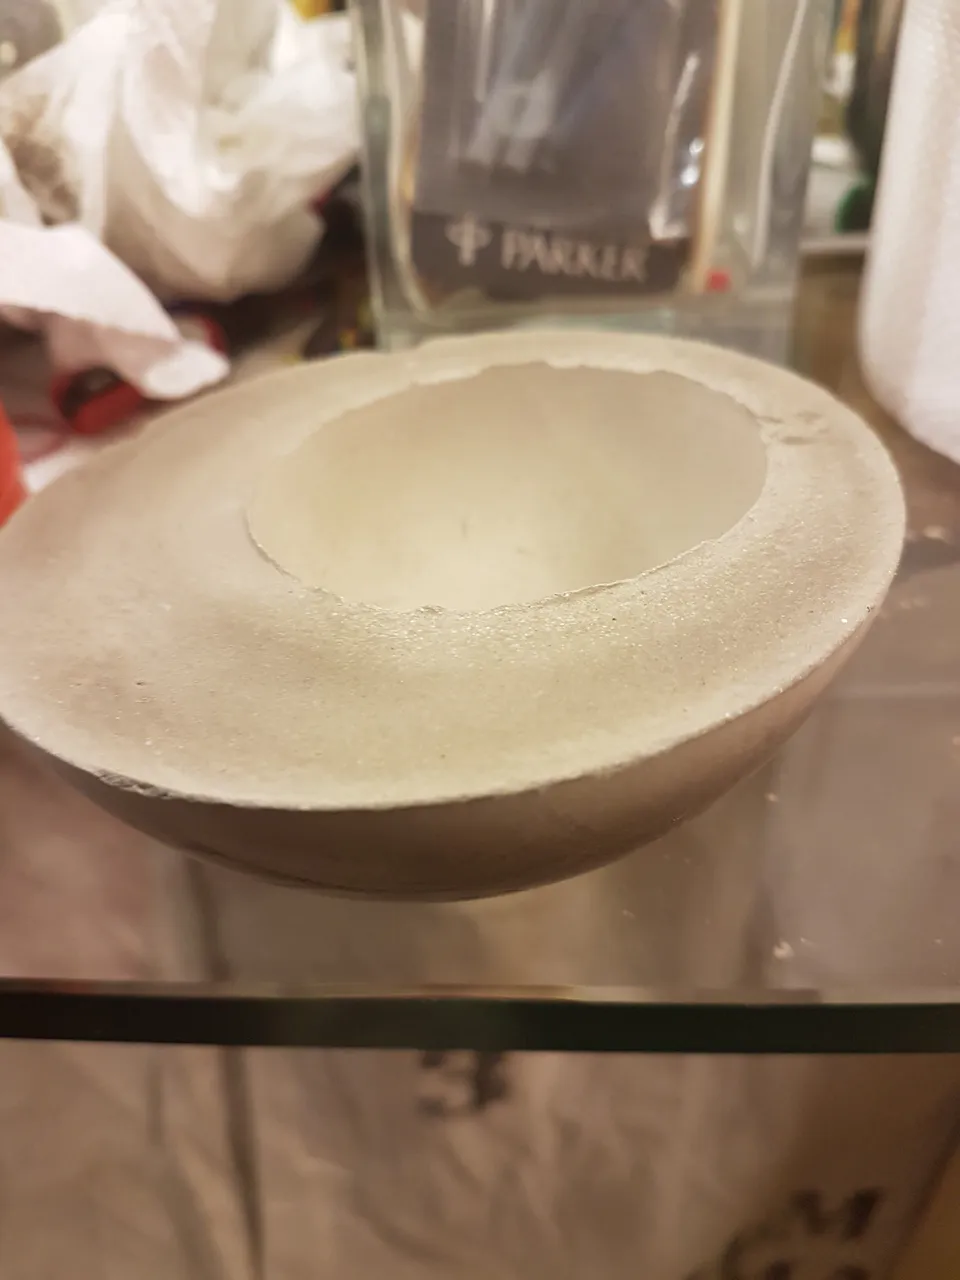
The small extra bowl turned out good. It needs a little bit of polishing.

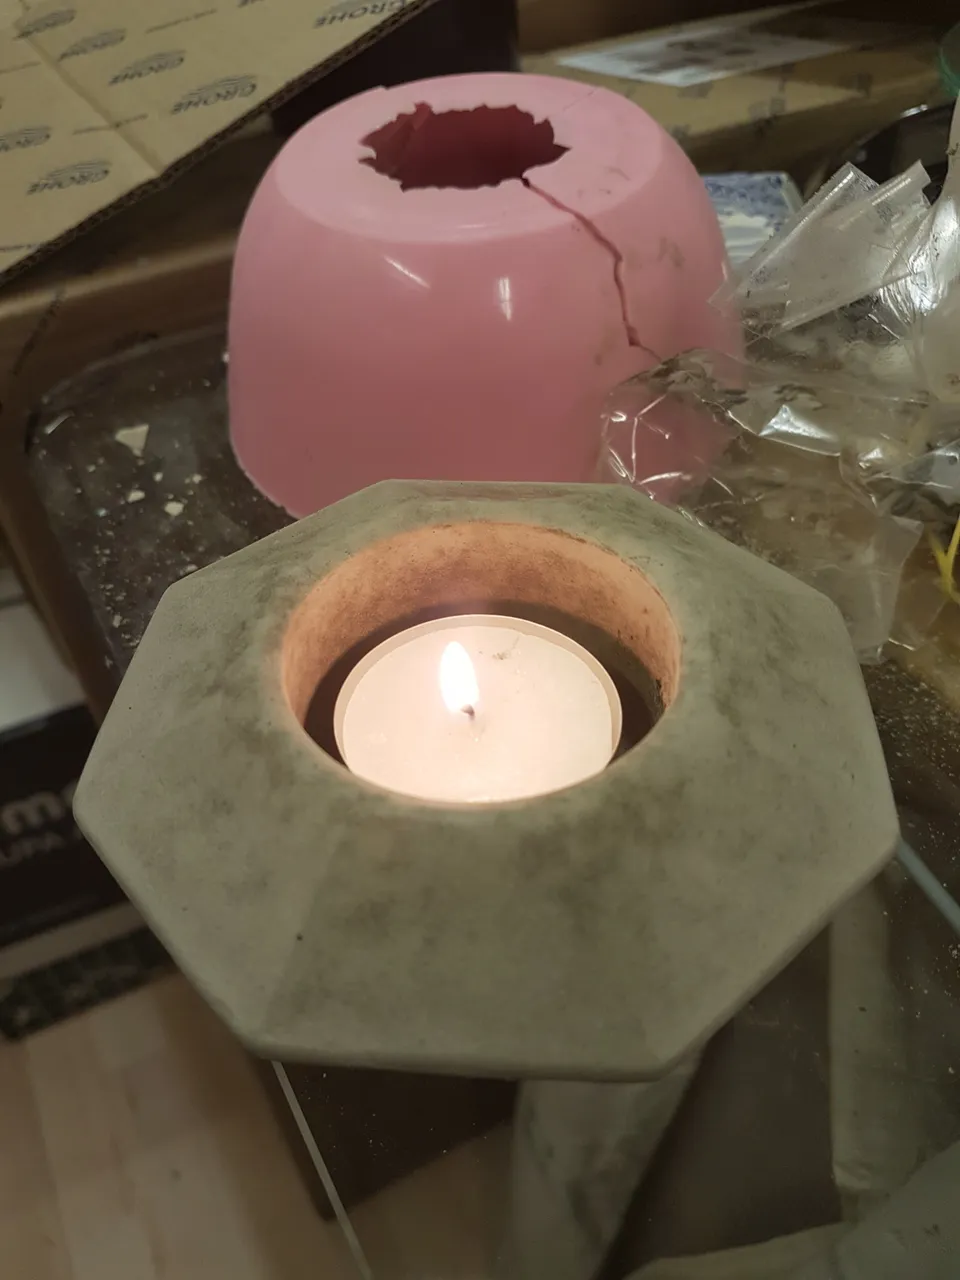
And the diamond shaped candleholder....
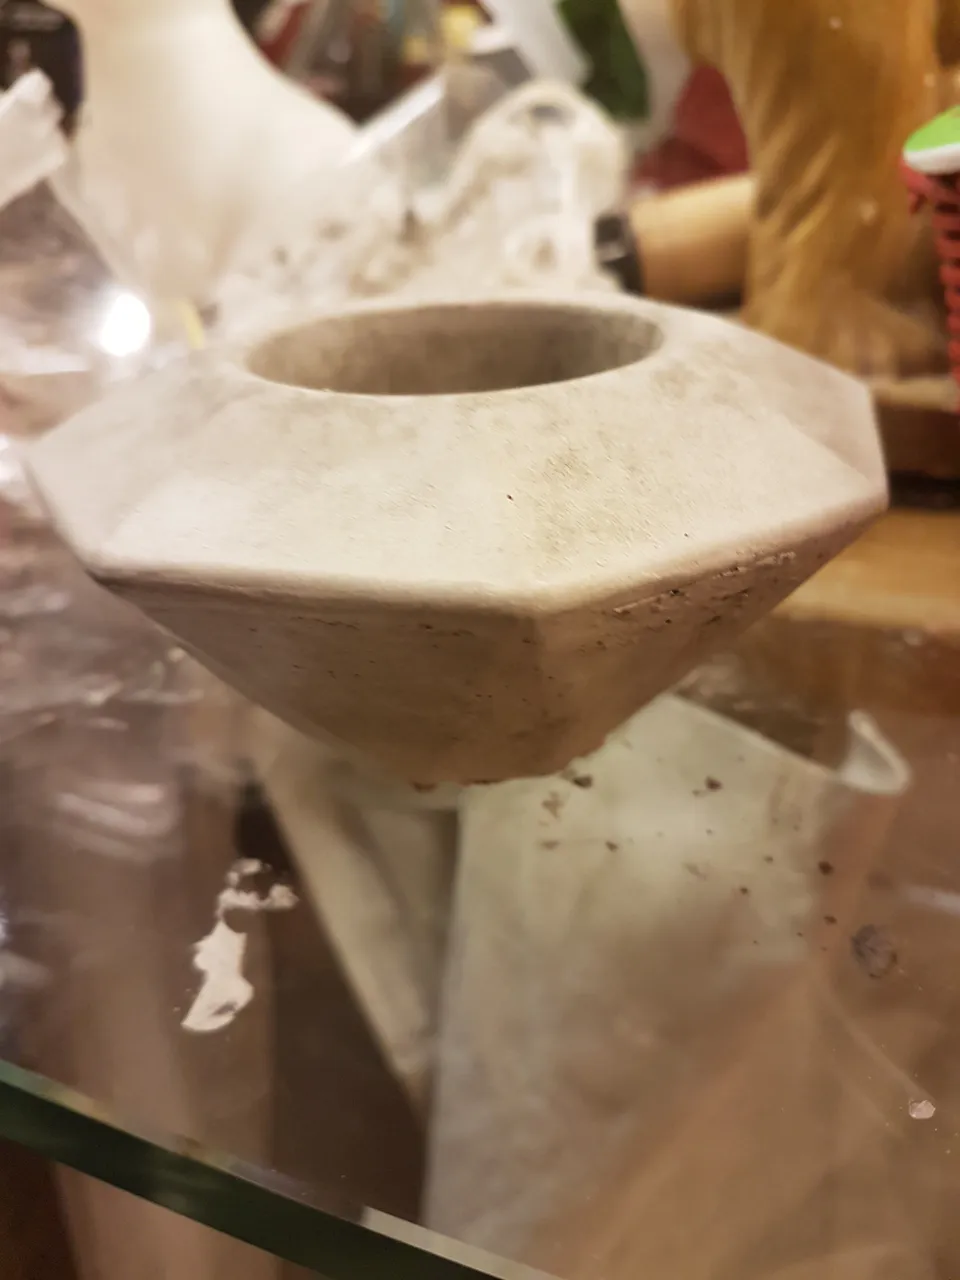
...turned out very well. Needs very litle polishing.
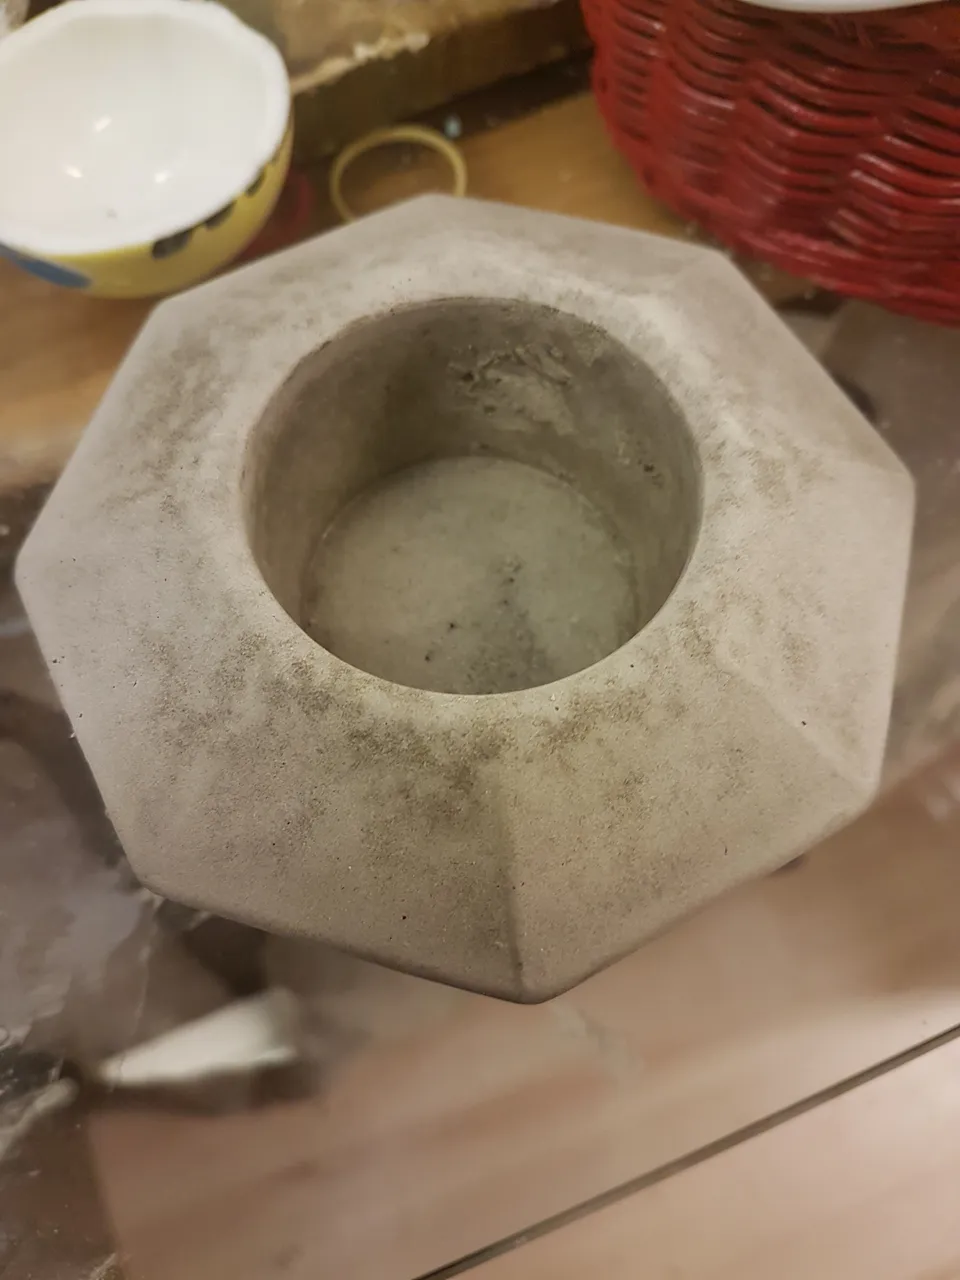
It only needed a bit polishing in the bottom.
All in all I was very happy with the results of my first mold casting.
Now I have a new kind of silicon as well but that is a brush on silicon. I look forward to try that out but I´m told that that one is even better in capturing details and it lasts longer when you use it again and again.

The Virgin has now been tested in few different colors and sits in a shelf in the Hiddenbay lodge studio, but as I am using leftover wax ( recycling ) the colors will probably never be the same in two items. That just makes them unique and underlines that they are handmade.
Have a good day and I hope you try out mold making :)
Here is the link to the first part of mold making:
https://steemit.com/diy/@mariap/diy-how-to-make-your-own-silicon-molds-studio-at-hiddenby-lodge
M.