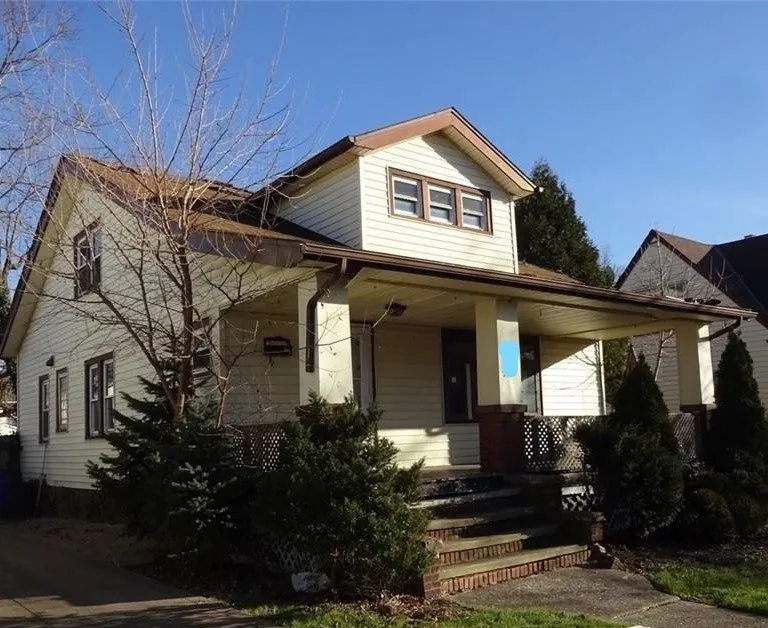
The hosts walk in to a wreck of a house and in the space of one episode they transform it into something magical and sell it for way more than the market can bear.
Here's a little glimpse into the reality behind the hit reality shows.
Stay tuned to see our progress. I promise it'll take more than one episode.
The Real House Flip with @Mattifer
Matthew and I recently purchased the house above with the intention of rehabbing and flipping it. Last time, we showed you around a bit and let you in on our rehab plans. We've been hard at work tearing the house apart. Let's take a look!

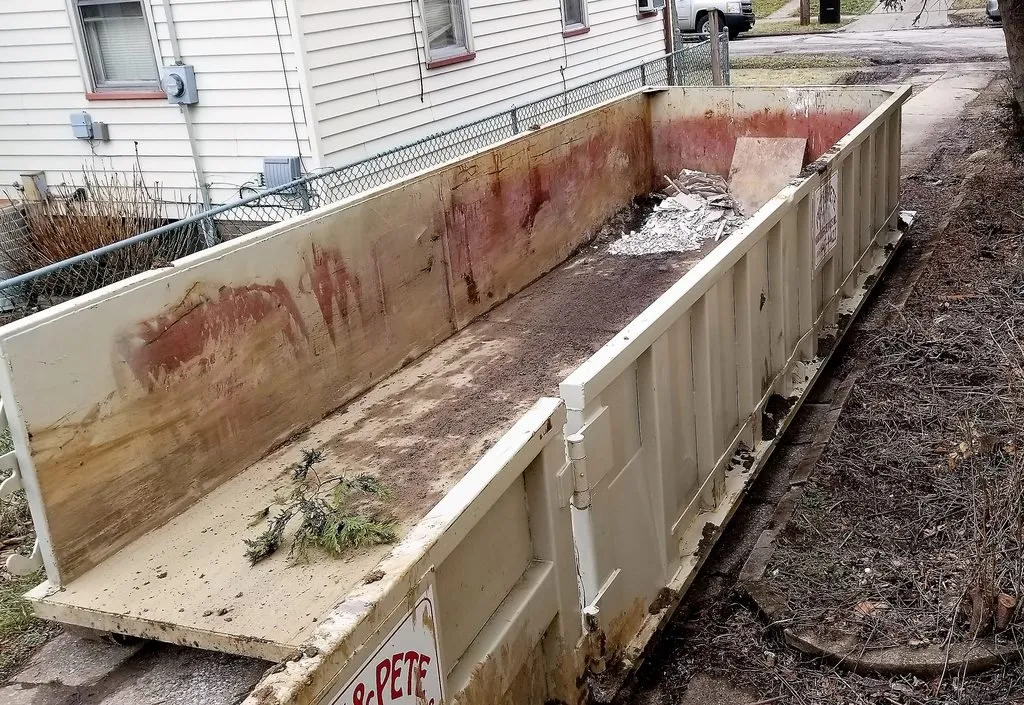
Bring on the Dumpster!
One of the first jobs when flipping a house is the demolition of all the stuff you want to get rid of. Trust me - that's a lot of stuff. Between tearing out old flooring, removing soiled carpet, eliminating walls, and replacing lathe and plaster with drywall, we've got a big, dirty job ahead of us. Don't worry though, the dumpster arrived right on time!
Watching the dumpster be delivered was a special kind of entertainment. It was all loaded on the back of what's called a 'rollback' truck. We're in a residential neighborhood (obviously), so there wasn't much room on the street for the driver to back into our narrow driveway. Once in the driveway, the entire bed of the truck lifted up and the dumpster just sort of slid right off. I was impressed at the driver's ability to land it right where we asked him to. Now it's time to fill it up.
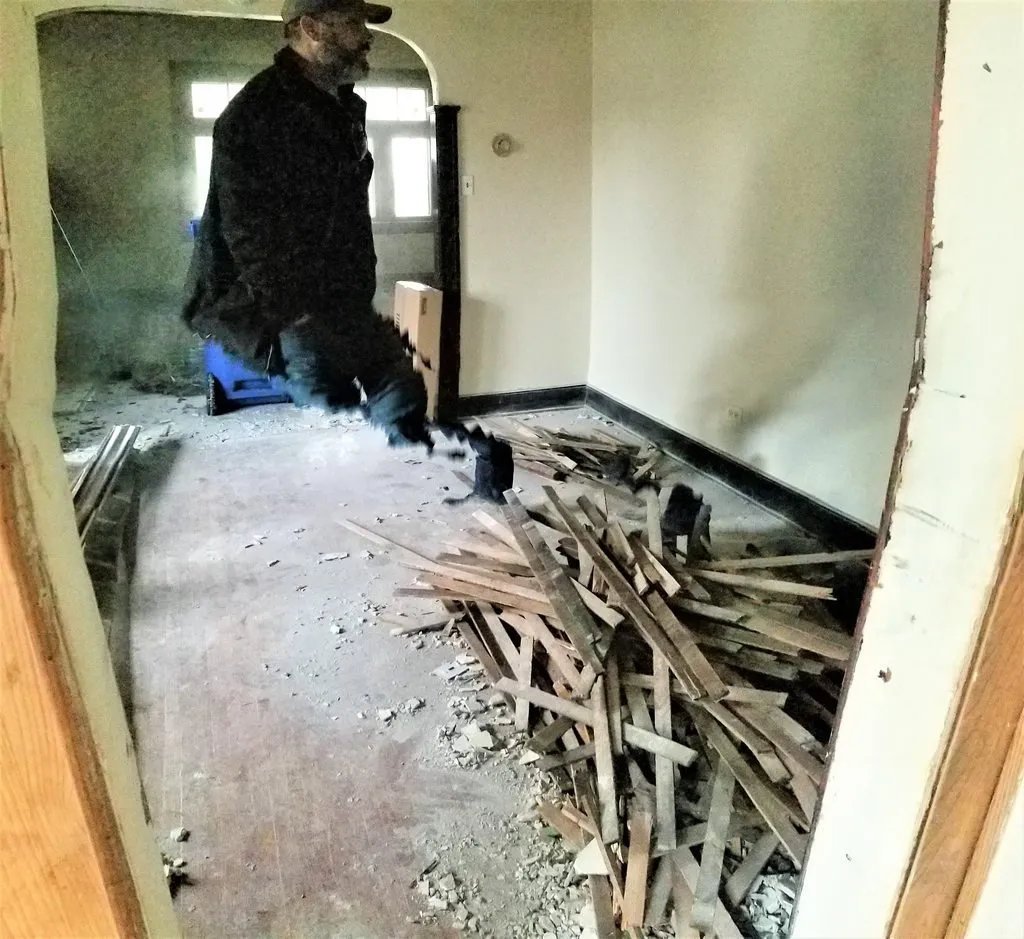
Destruction Time
With the dumpster in place, we can get to work on the demo. I'd recommend wearing a mask - which you can see Matthew is clearly not doing - anytime you do demo work. It is a dirty, dusty job and there's no telling what might be in those walls. Bring a hammer and a pry bar. I like a big pry bar myself - it gives me the most return with the least effort. We also used a handsaw to remove some of the walls. Before you start removing walls, it's a good idea to see if they are load bearing first. If you don't, you could end up with a saggy house, or worse, a caved-in house.
P.S. Matthew has feet - but I was taking a panoramic shot to include the entire room and he walked through as I was panning.
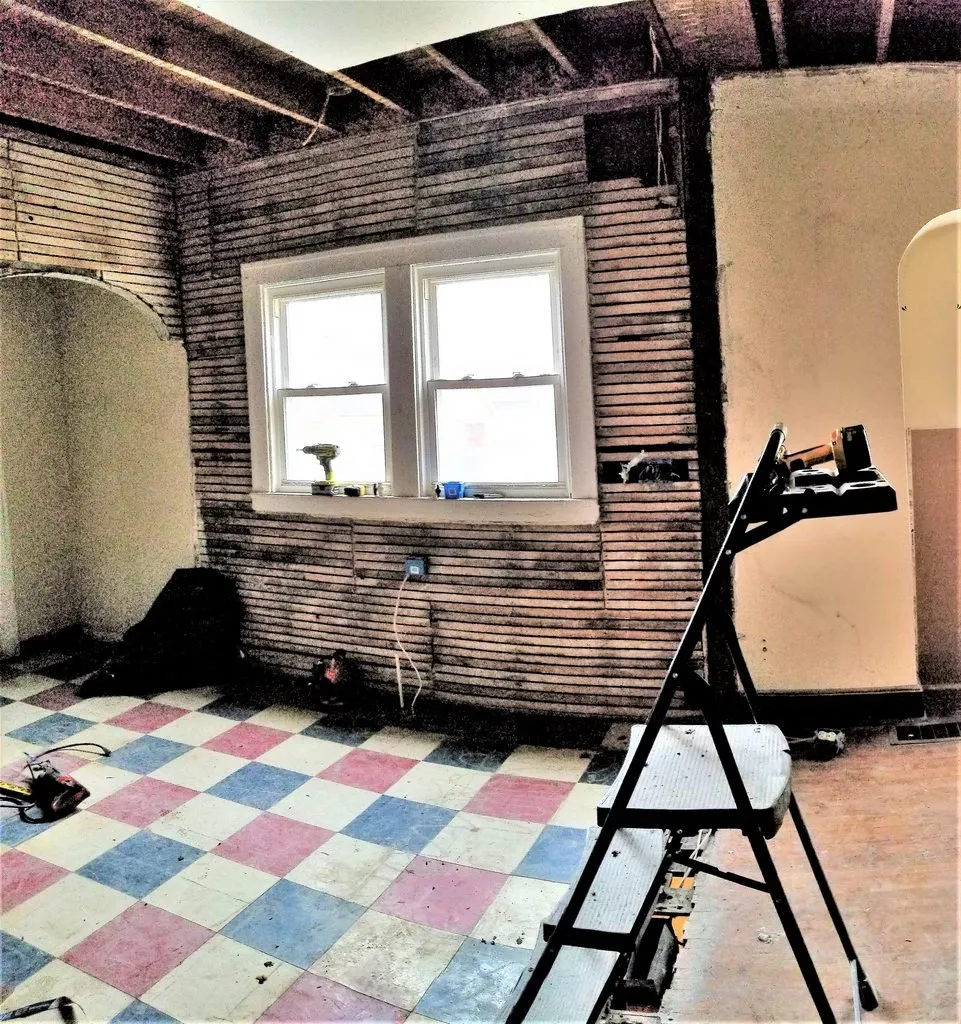
Tear Down the Walls!
Remember the kitchen from the previous episode? We've taken out the counter tops throughout, and exposed the walls down to the lathe and plaster. Fun fact about lathe and plaster? When you remove it, a lot of plaster sticks in between the lathes and you have to go through every inch of wall to make sure you remove it all. If you don't, you'll have a hard time installing drywall on the top. Oh, and we tore down the wall separating the kitchen from the dining room. It makes a huge difference in the feel of the house already.
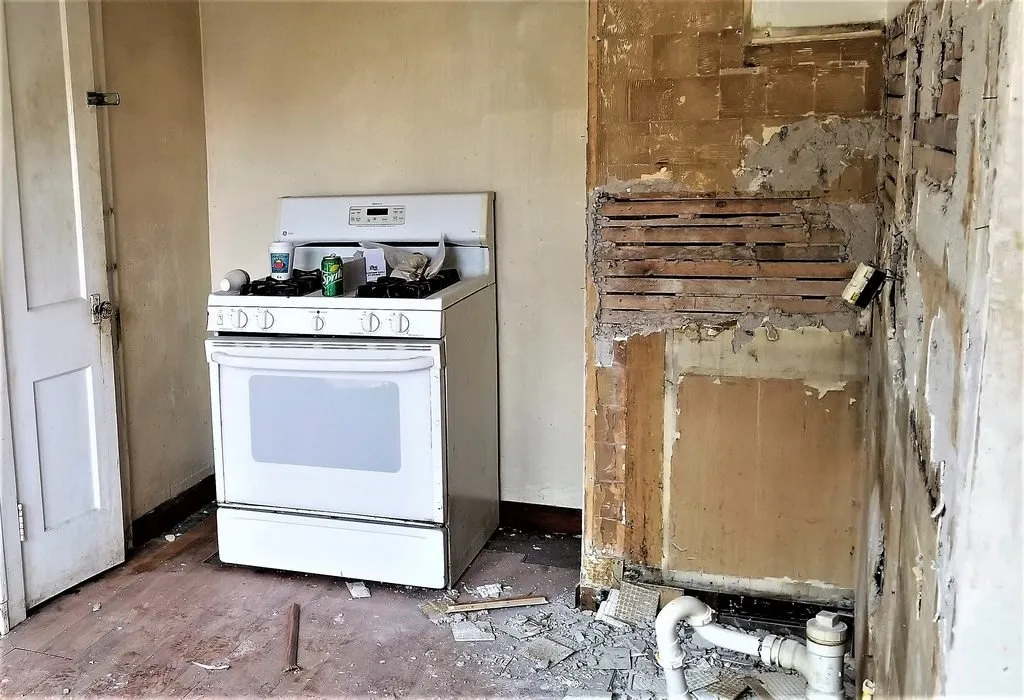
Here's another view of the kitchen. You're looking at the future home of a shiny, new refrigerator. That stove has got to go. See that tiny closet on the left? We're going to get rid of that too. We envision a wide open floor plan, and while closets are nice, that one is too small to be very useful. We'll instead add plenty of cupboards and some nice shelving elsewhere in the kitchen. Did I mention the peninsula? That will come along with nice storage space as well.

Dining Room in Progress
Here you can see that we've left most of the walls intact in the dining room (except of course, the ones that we removed buttressing the kitchen). We did have to remove the ceiling however. It was sagging in multiple places. If you look closely, you can see that we've begun running electricity to brighten up the place and we're ready to install lighting in the ceiling.
Off to the side is enough drywall to finish the entire house, I hope. That red thing in the center of the room? That's a drywall hoist. It makes it much easier to install drywall on the ceiling, although I still wouldn't call it easy. Basically, you manhandle an 8' x 4' sheet of drywall until it is flat and secure on the top of the hoist. Then you crank the handle to raise it all the way to the ceiling. Once you are close, position it carefully, then crank it until it's flush with the ceiling. Get out your drill and boom, boom, boom. You're ready for the next one.
We only have to repeat that process about 54 times. Aye yi yi!
Nowhere is Safe
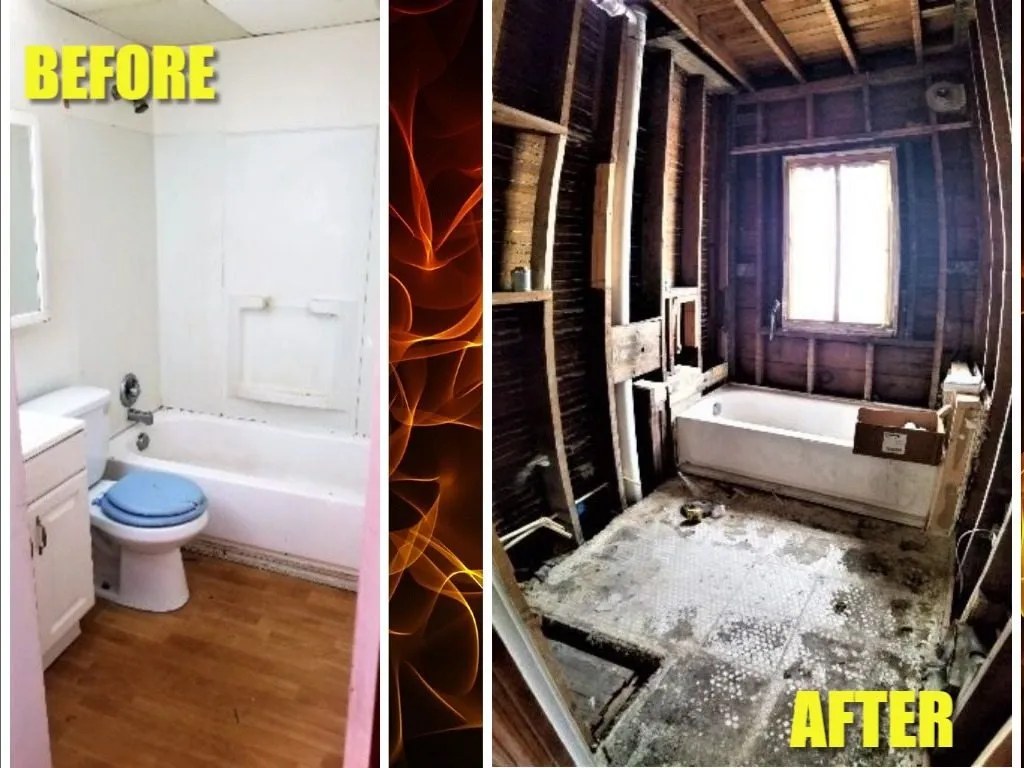
This before and after image may make it appear as it we are making backward progress, but in reality we are going in the right direction! As you can see, we've removed the sink, toilet, walls, and that awful drop ceiling. After inspecting the tub, we've discovered that it's in good shape. We'll simply reglaze it and add a pretty surround.
The corner cubby has also been removed. It was originally a linen closet accessible from the hallway. We've left the hallway side intact, but removed the bulk of the depth. This will give us enough room in the bathroom to install a sink with plenty of counter space while still providing a shallow cabinet with hallway access. It's the best of both worlds.
Making Space in the Master Suite
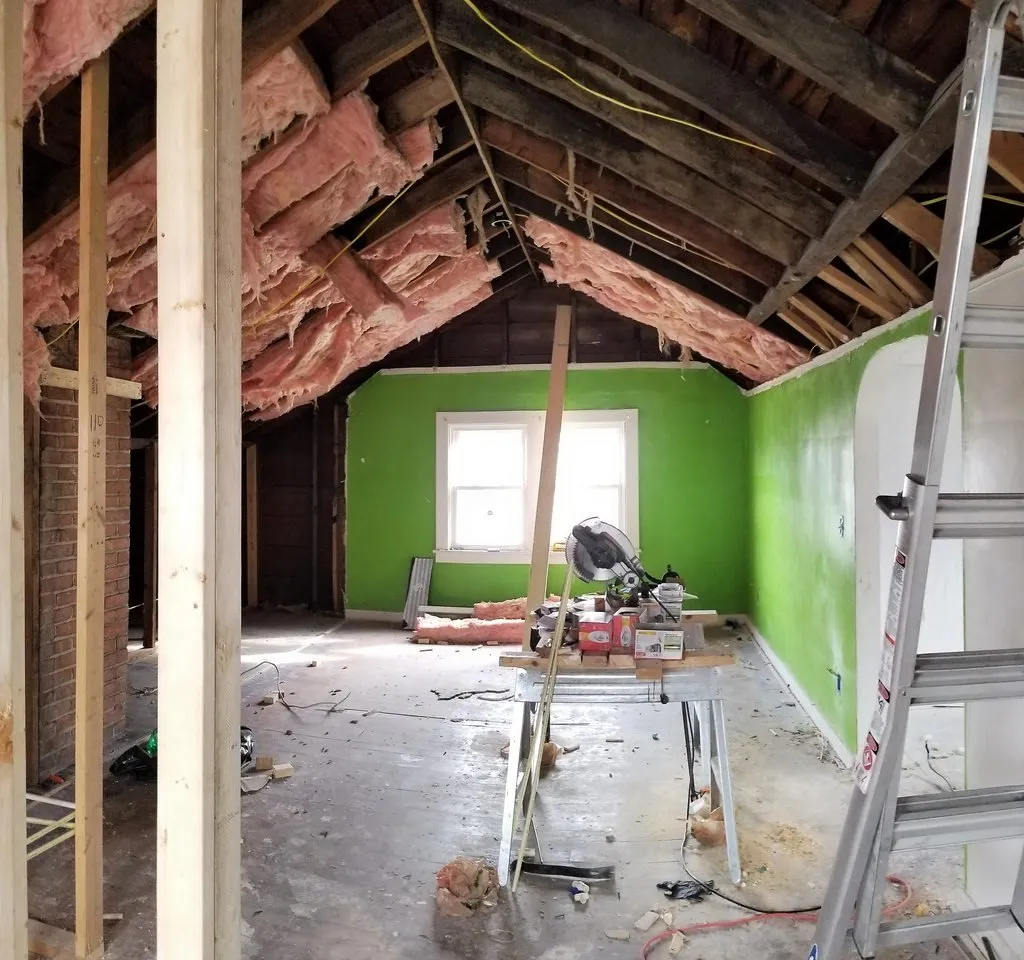
Moving upstairs we what good removing a few beams can do to brighten a space. As we tore down the ceiling, we noticed that the cross beams could easily be removed to make a master suite with a high ceiling. That will give us room to install a decorative and functional ceiling fan as well as make the entire room feel larger. Pushing the wall back on the left side of the room also increases our square footage by close to 30 feet! When we are finished, this space will feel relaxing and inviting.
To the left you can see the beginning of the master bathroom. We've roughed in the walls and planned the layout. More on that next episode!
Thanks so much for joining us! I'd love to hear your thoughts and suggestions in the comments below. Check back soon to see how we are progressing on the Real House Flip of Cleveland!
Cheers!
Jennifer and Matthew
If you missed a previous episode, check it out here!
Episode 1: The Beginning
