I had meant to make this series in 'parts' that where roughly equivalent to a weekends efforts. That's not going to work out due to me working on this project in smaller bytes of time after work, and whenever else I could find the time... for that reason, this is going to be a long post that will take the project to 'completion' (in quotes, as my projects are rarely fully 'complete'... there are always more changes and additions I want to make).
We will start this post with where we left off in Part 1
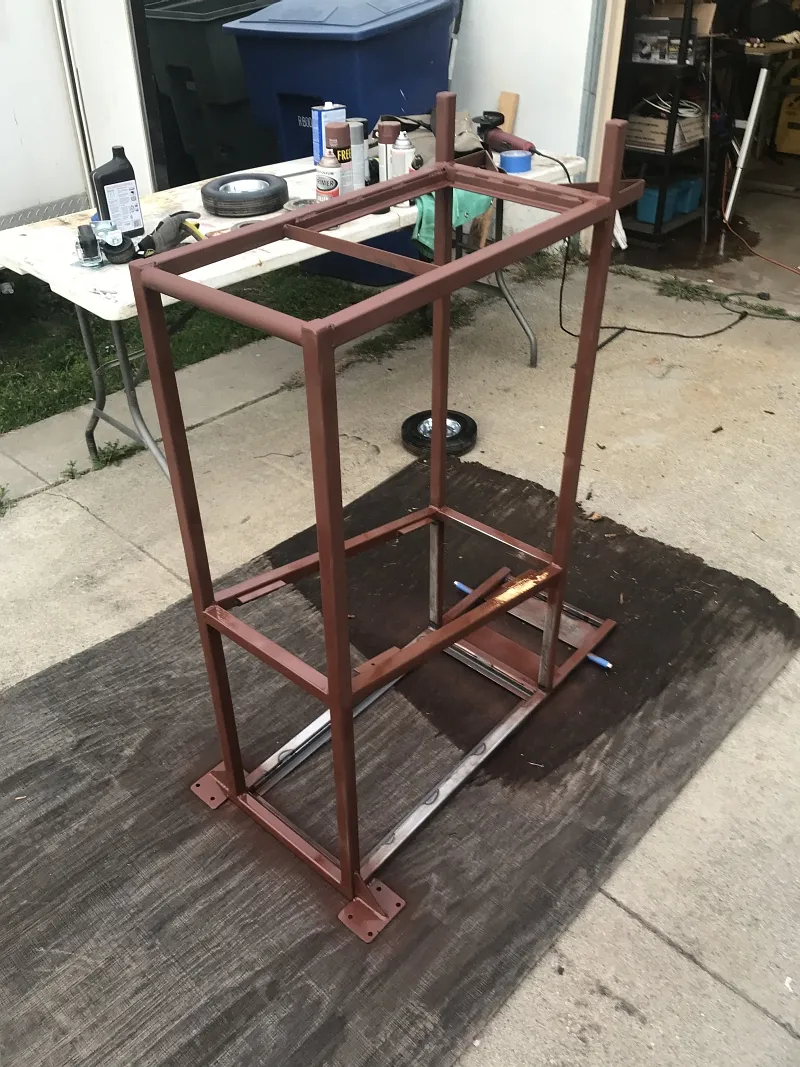
I completed the structure of the cart and all the main components are now fully welded. The next step is to add the wheels (casters in the front, and 8" solid wheels in the rear). I wanted to spread the mounting of the casters out in the front to aid the the stability of the cart. The welder is going to be mounted up about almost 18" off the ground, and the tank is almost 5' tall. The last thing I want is this thing tipping over.
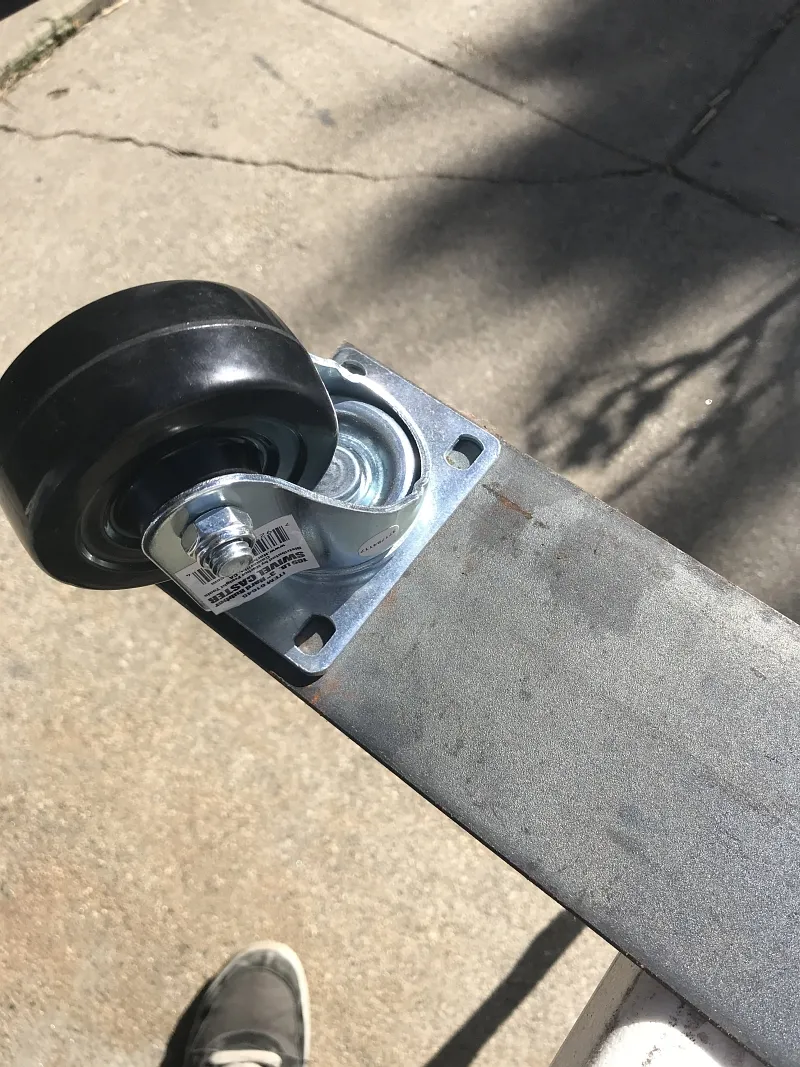
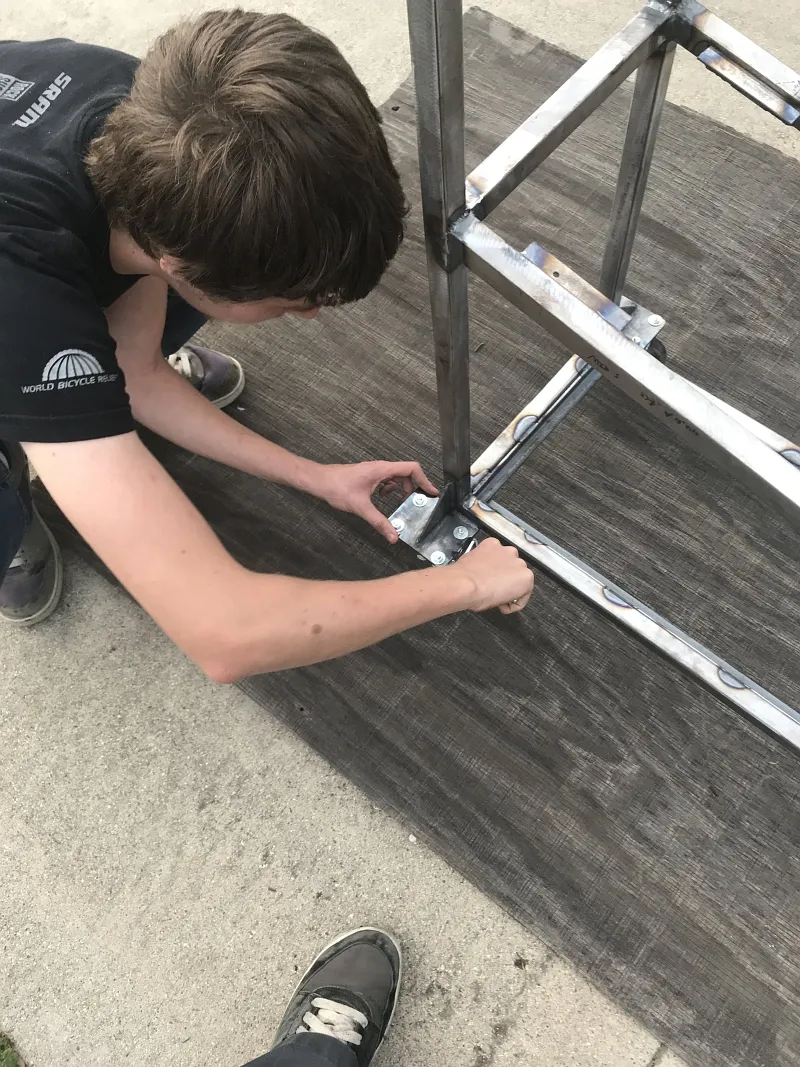
I have a piece of plate that is the perfect size to make mounting plates out of, so I lay out one of the casters
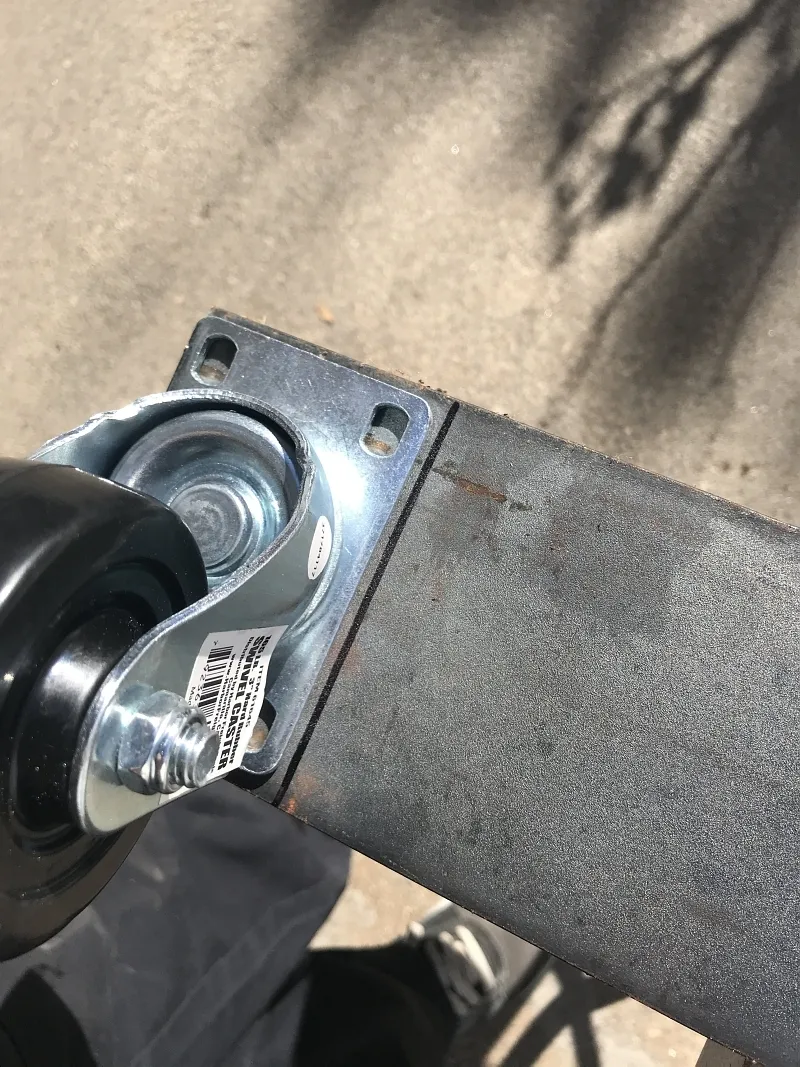
and mark a line to cut with the angle grinder. The next step was to drill holes to match up with the casters... Unfortunately, I didn't get any images of this.
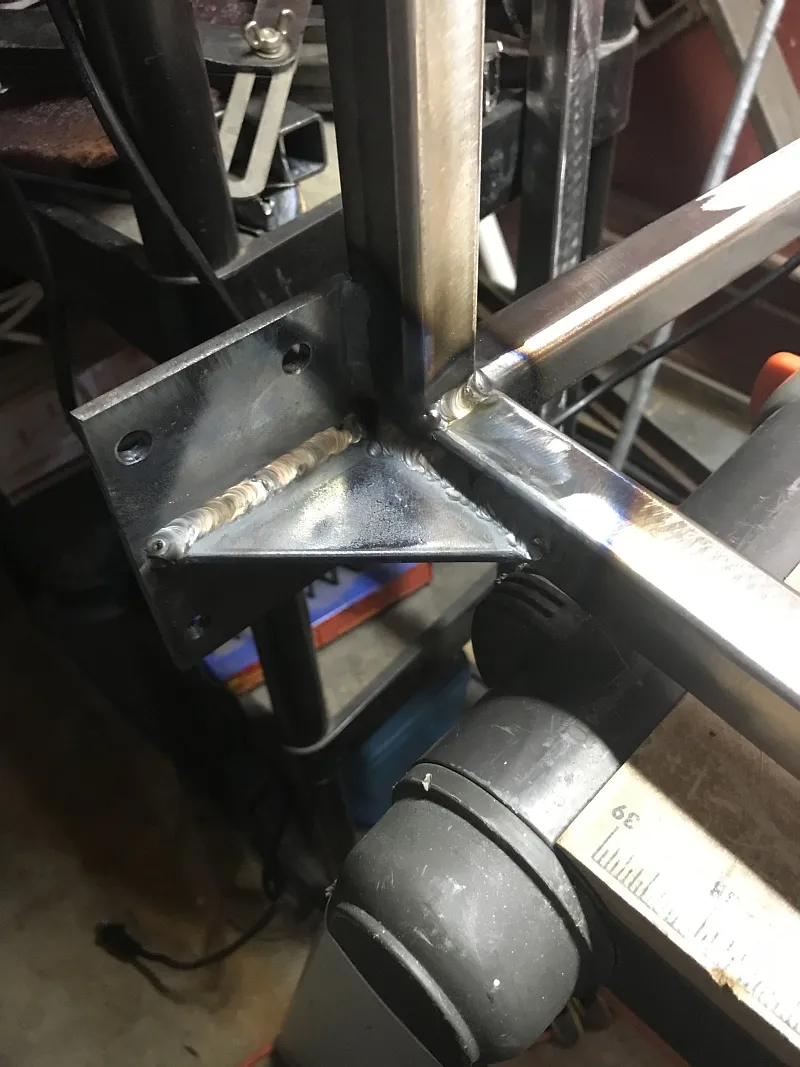
Like most of the cart, the caster mounts are WAY overbuilt. I think this is 3/16 plate; its what i had on hand. I doubt the gusset is even necessary, but the mount just edge welded to the frame didn't look right...
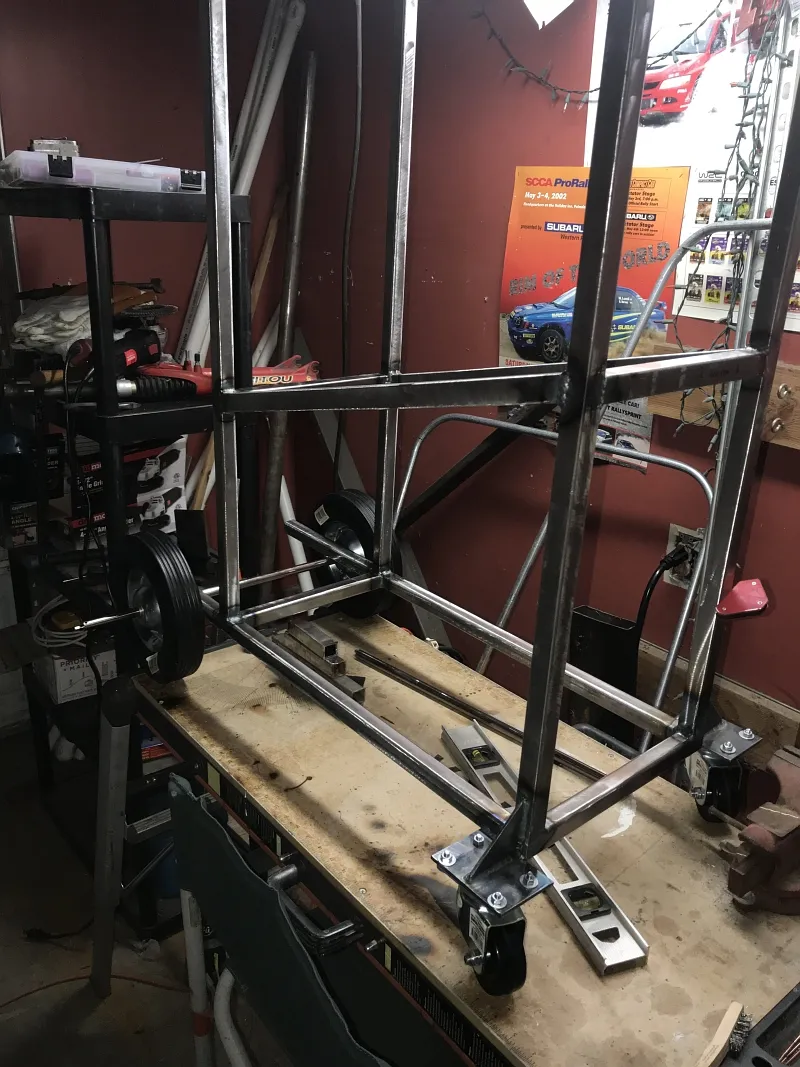
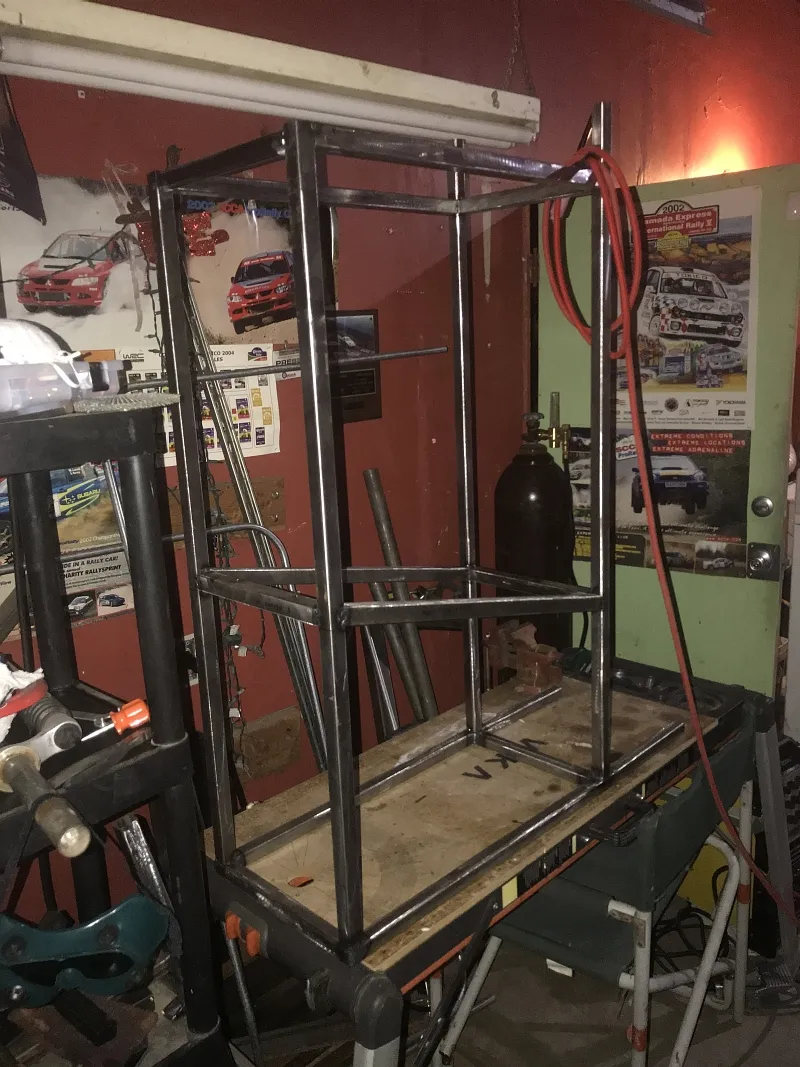
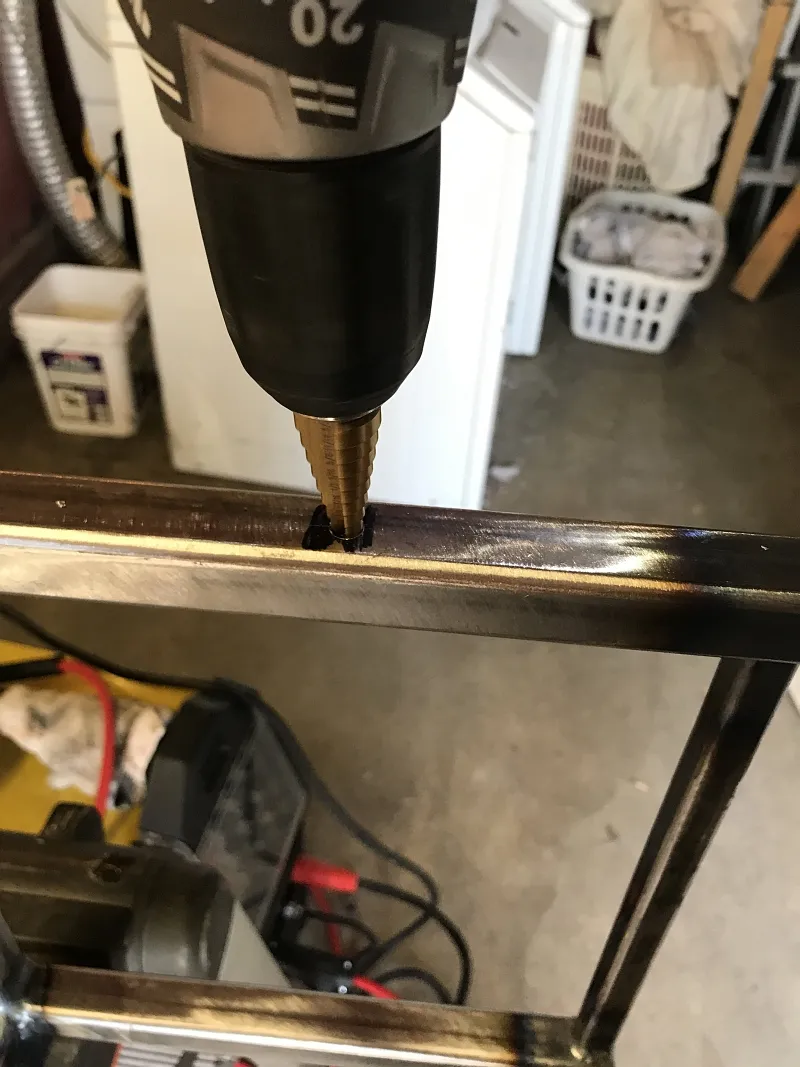
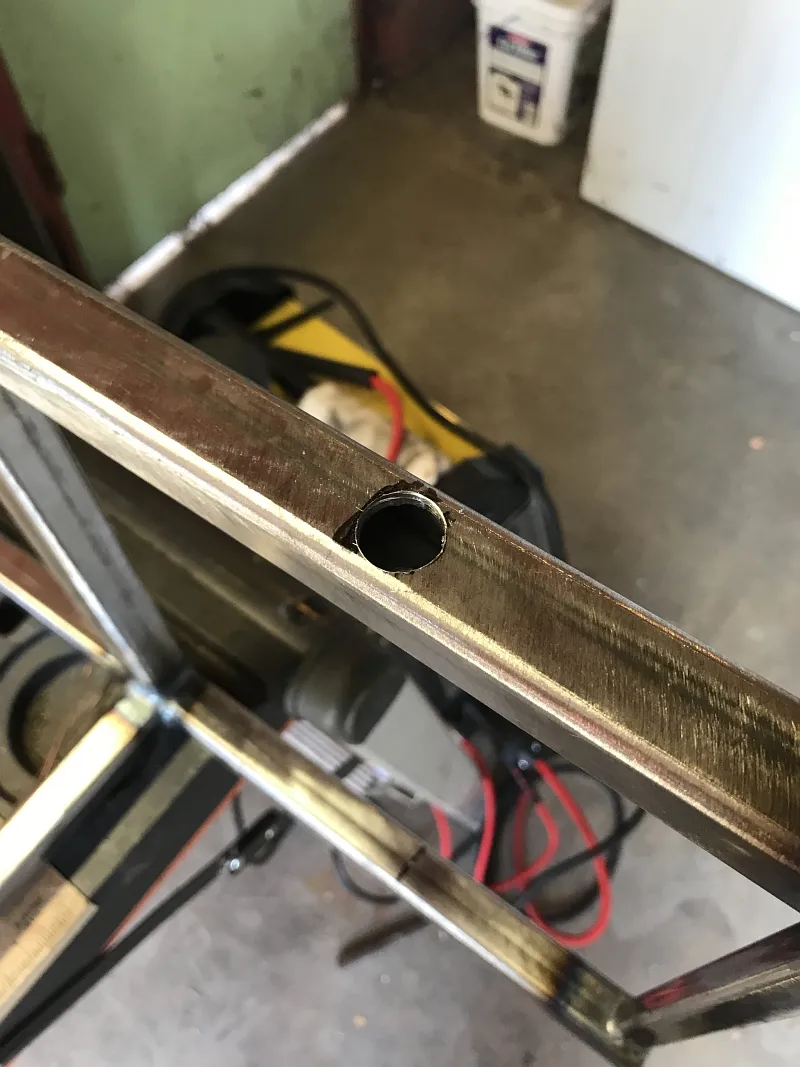
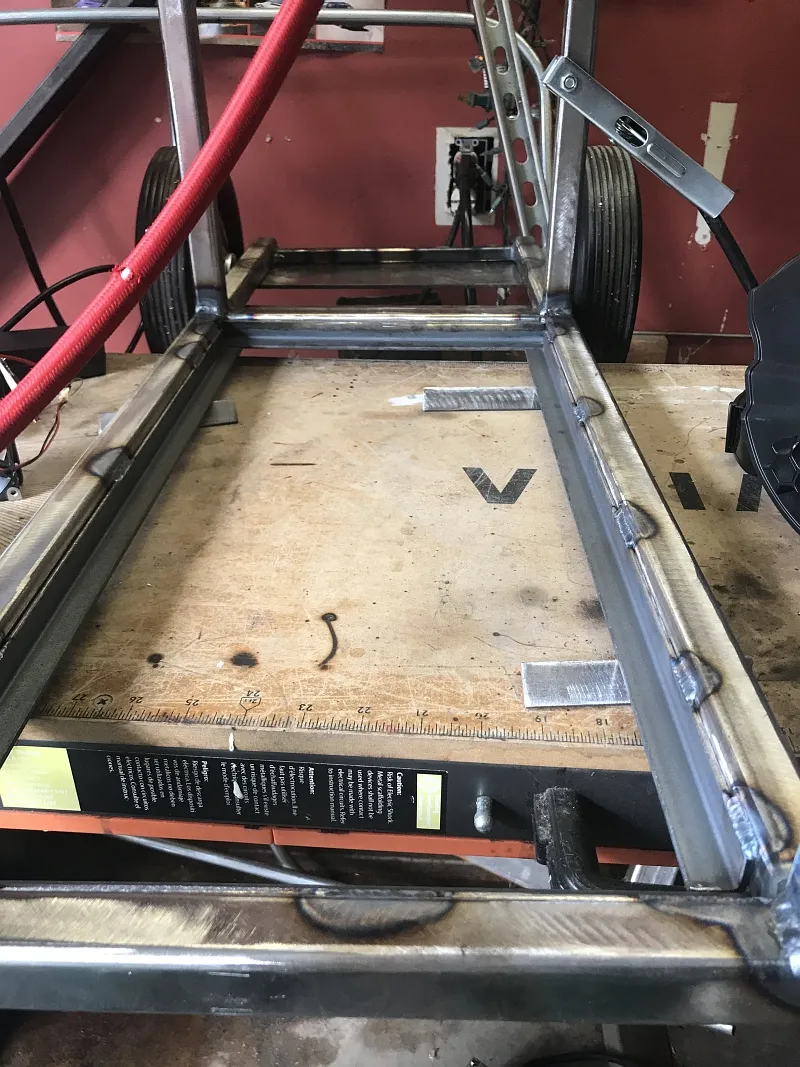
Here is the cart with the casters mounted, and the rear wheels and axle mocked up... The plan was to just weld the axle (a re-purposed rod out of an old impact printer) to the top of the frame, but that gave the cart a 'Cali lean' due to a slight miscalculation on my part... So I decided to drill a hole through the frame and cut the axle at the inner wall and weld it there.
After welding the axles in place (sorry, again no images), It was time to test fit everything:

Everything seems to fit fine, so it is time to finish up the welding of the shelves and the supports for the tank
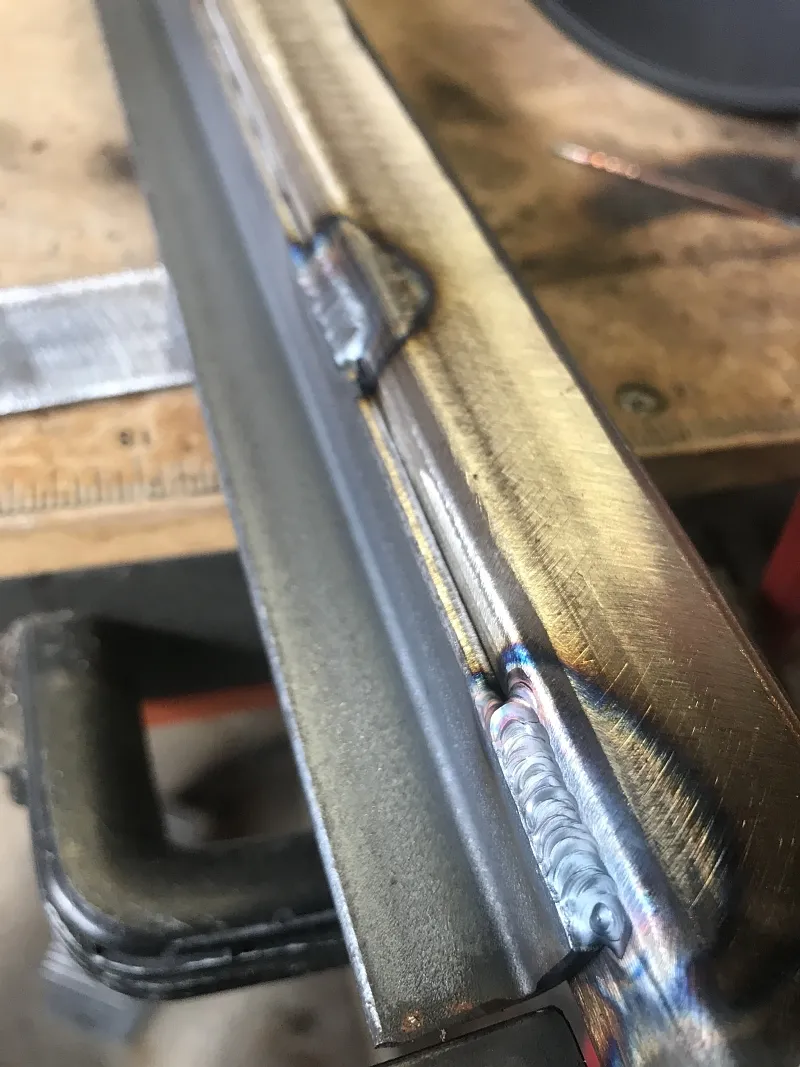
My welds are improving...
The shelf on the bottom is supported by 3/4" angle iron welded to the inside of the frame. this is the area that the water-cooler will eventually fill
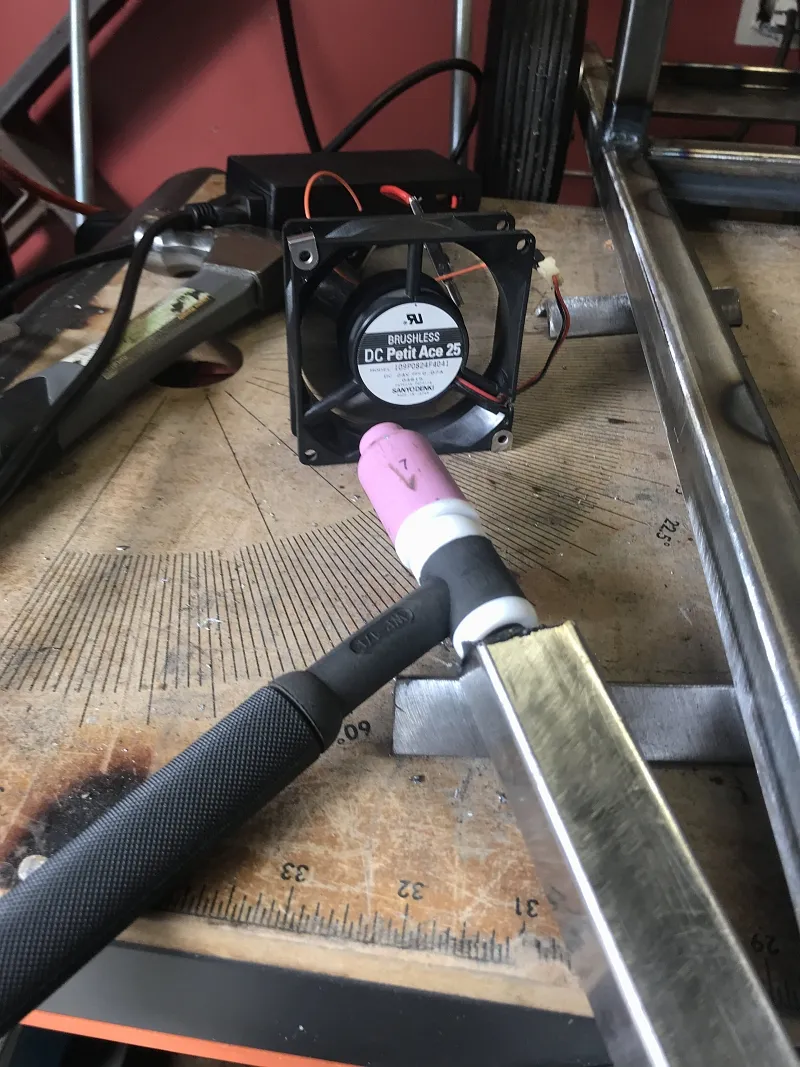
The air cooled torch is nice for its size and flexibility, but even running at these relatively low amps (about 140A), it gets hot quickly. Due to the fact that the torch is basically 'cooled' by the shielding gas flowing through it was you weld, once it get hot it takes a while to cool off (with no gas flowing through it). I set up a little fan to help. A water cooler is definitely in the future.
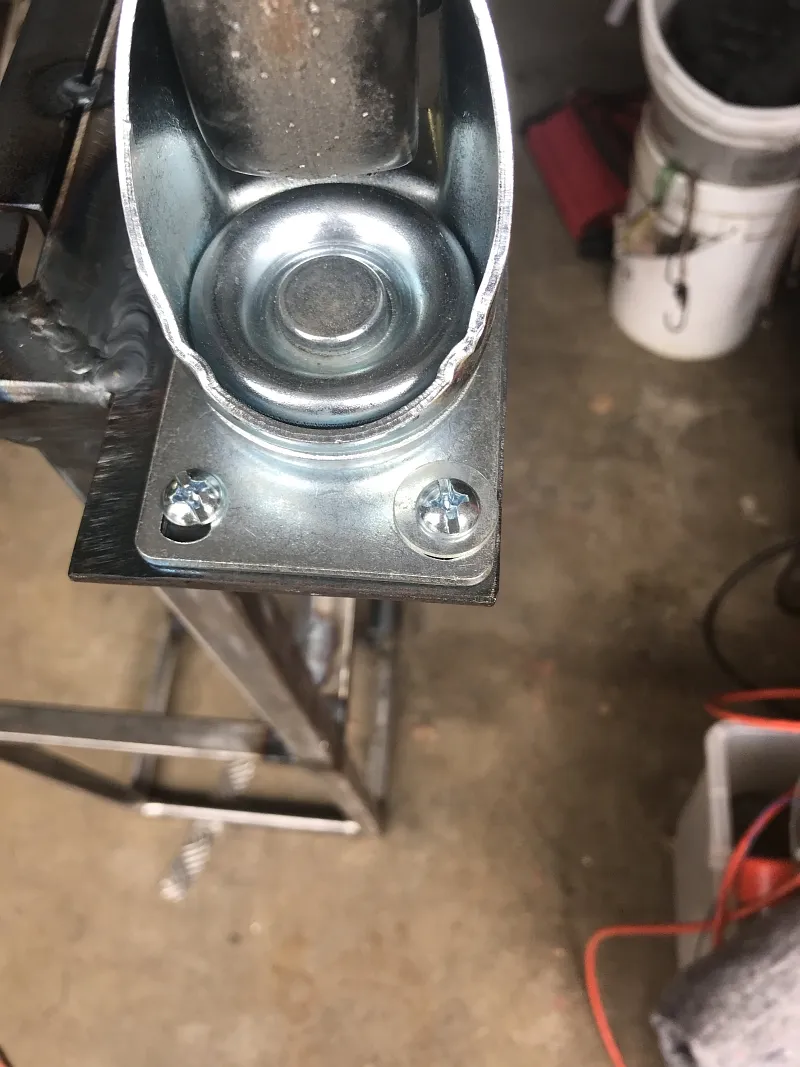
The mounting plates for the casters are a little too 'pointy'. The welding cart is in the garage, next to the laundry area- so closed toed shoes are not always being worn. At 4" off the ground, these looked like a good way to hurt yourself if you are not careful.
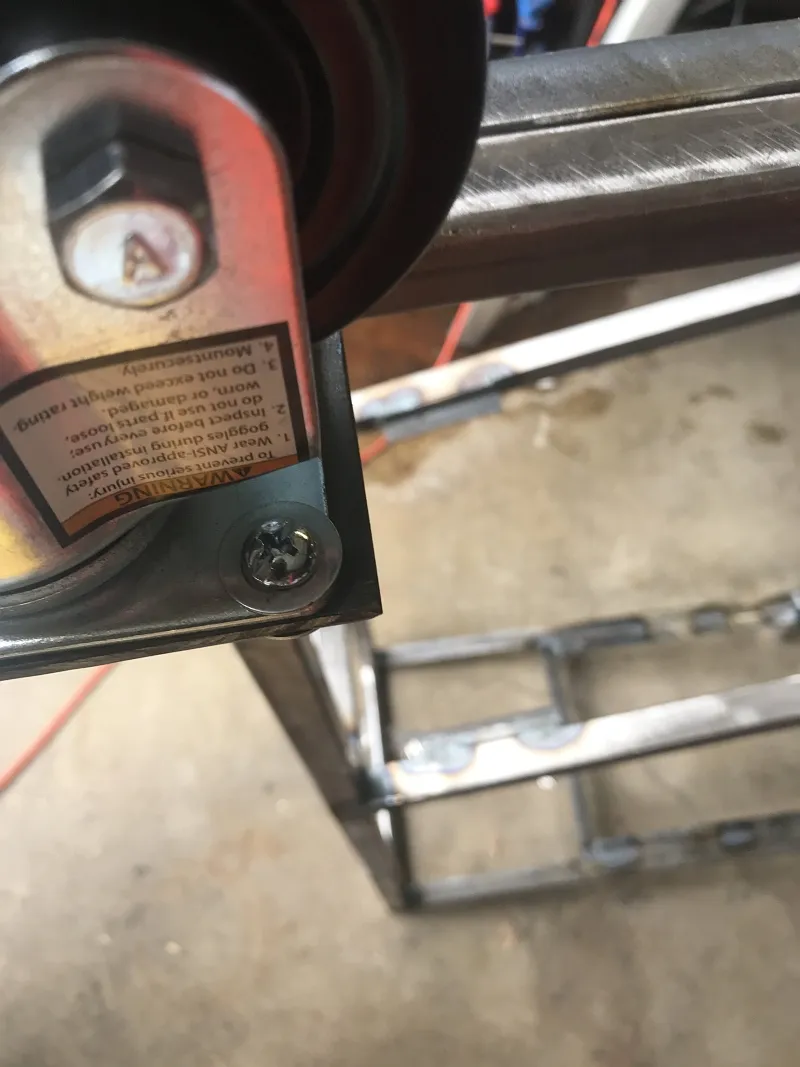
sharp
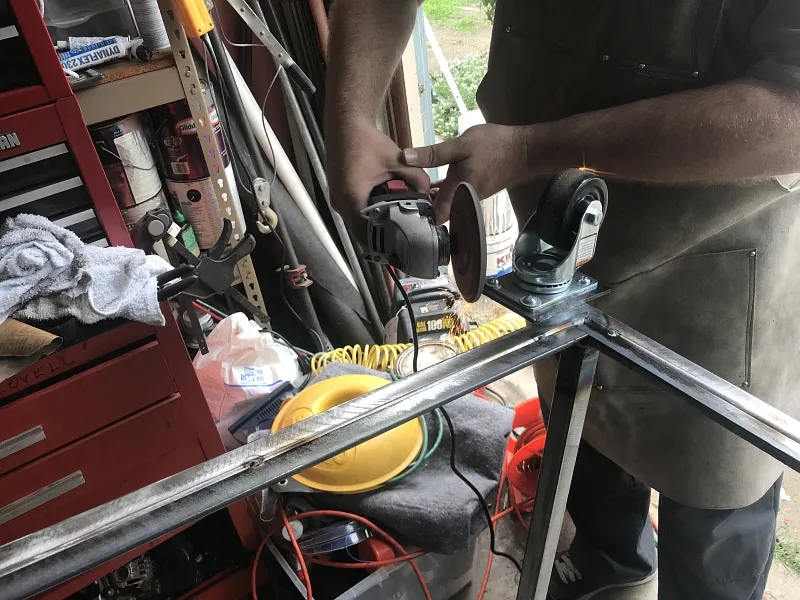
A couple of minutes with the angle grinder and a flap disk makes short work of the sharp corners
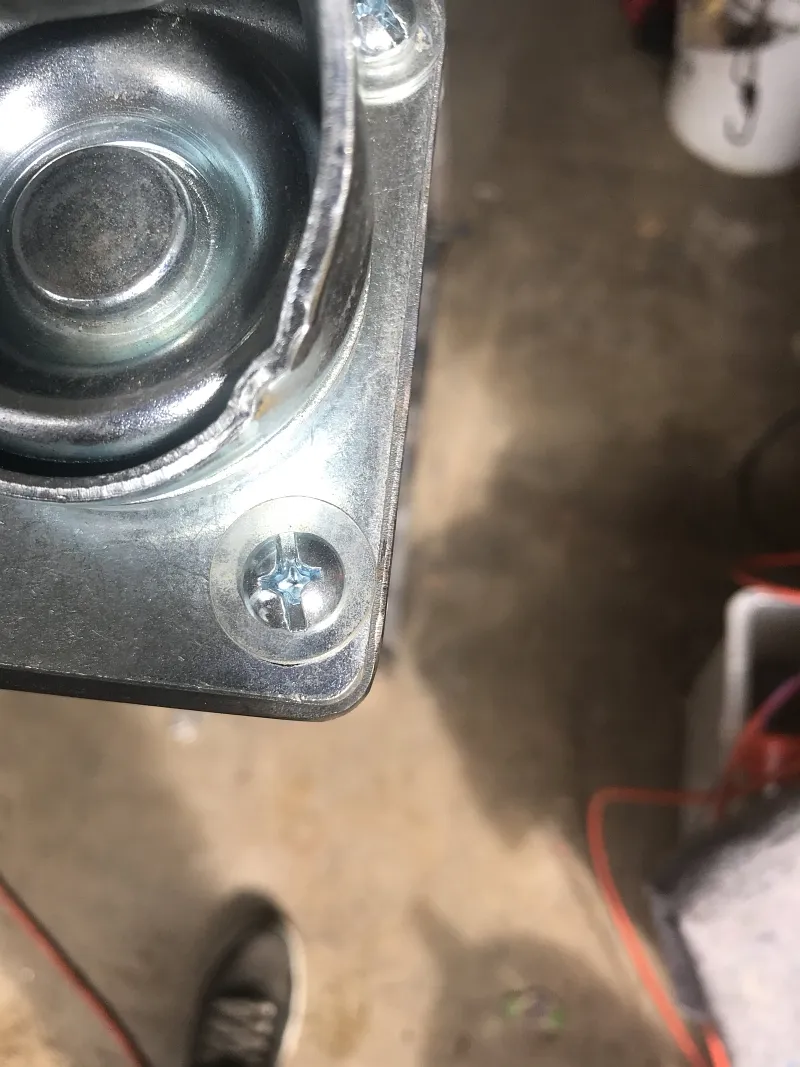
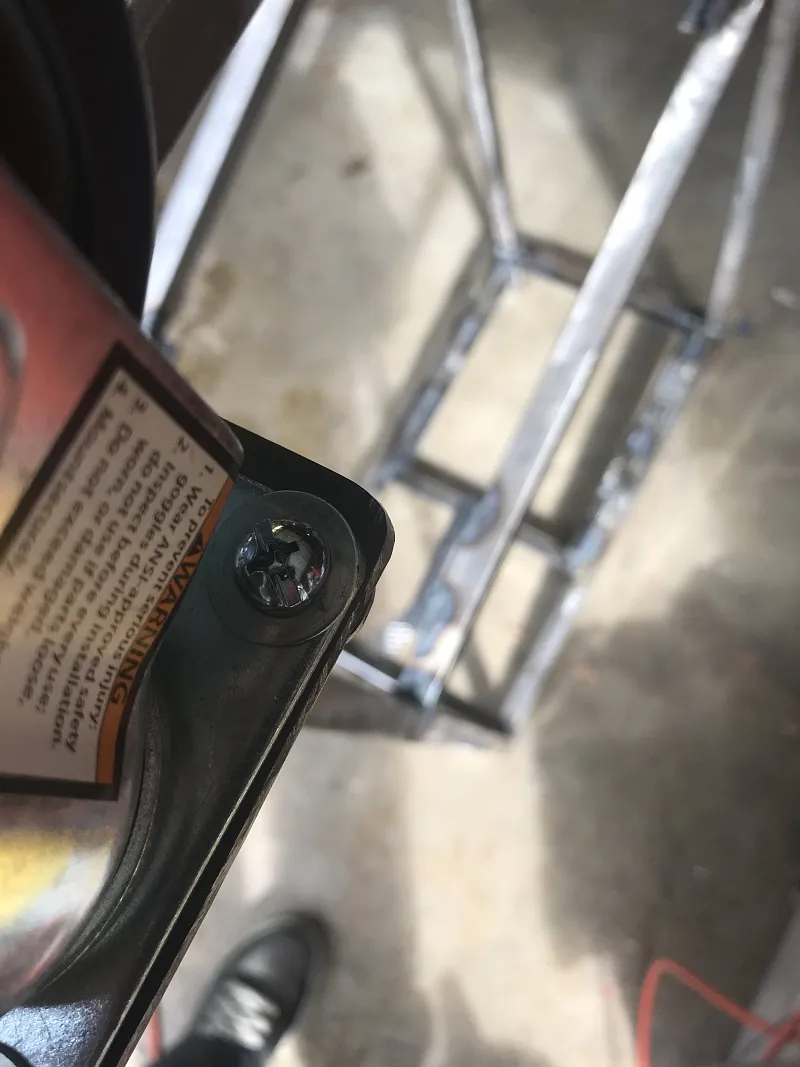
Much better!
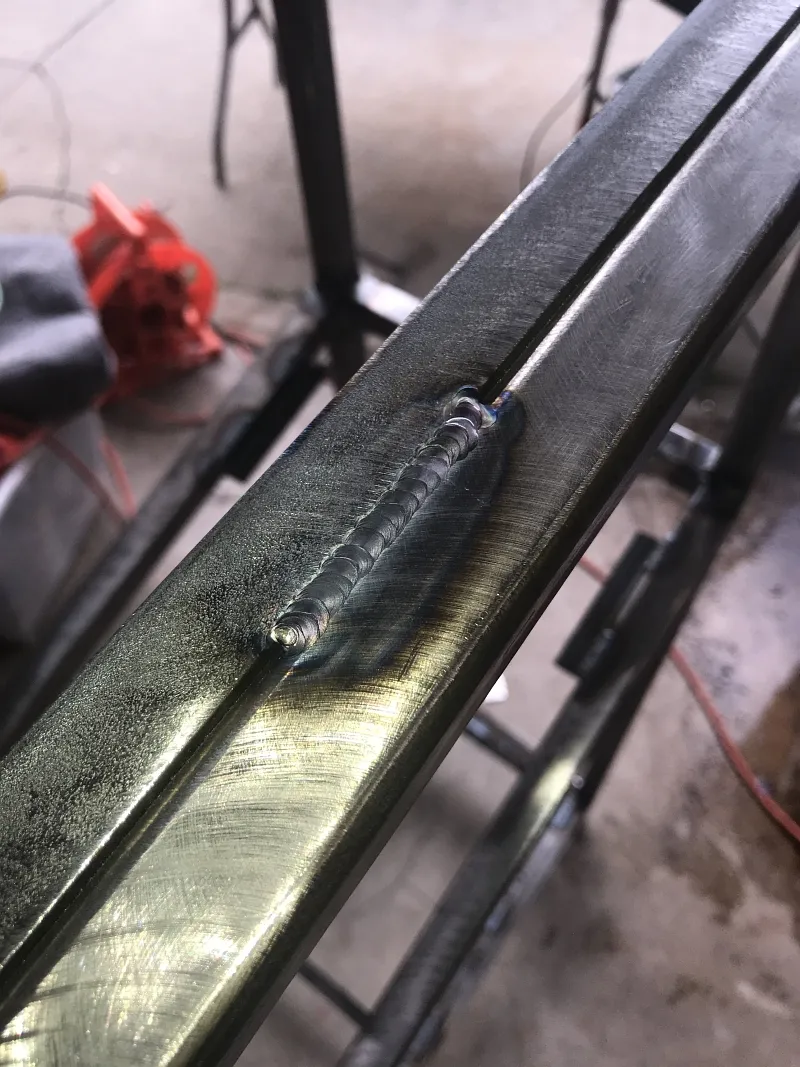
Welds continue to improve...
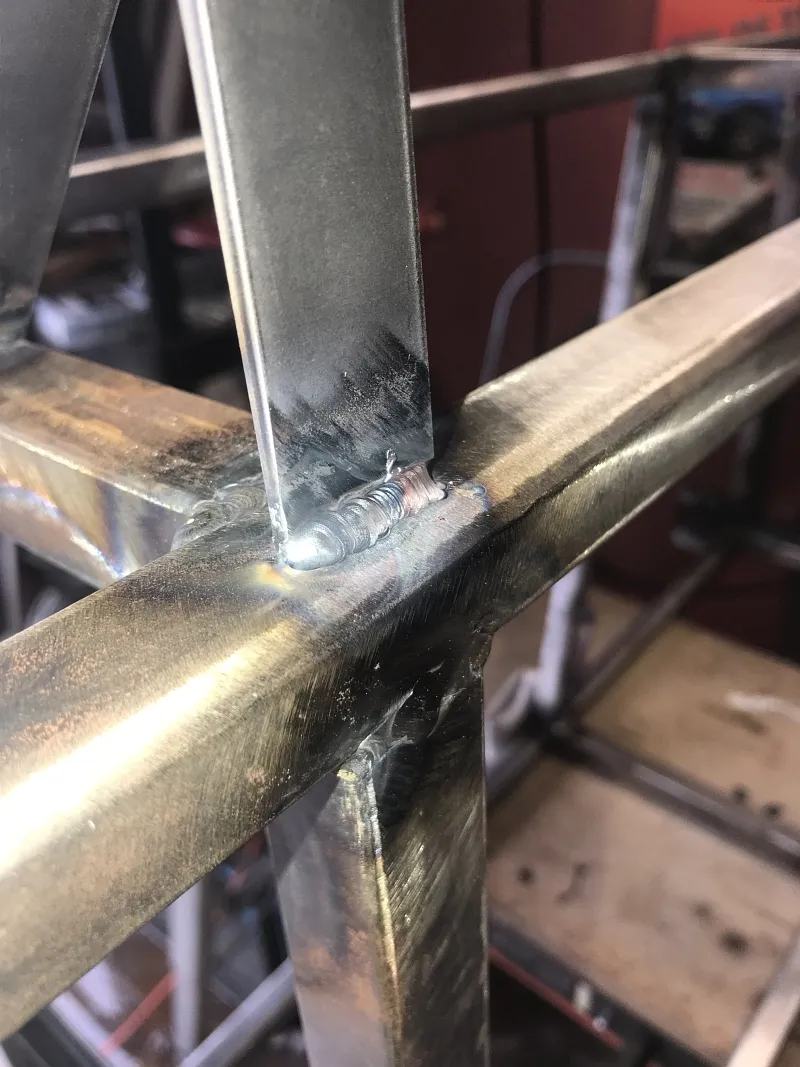
I made the tank supports out of some 1" wide plate to form a V shape: |\O/|
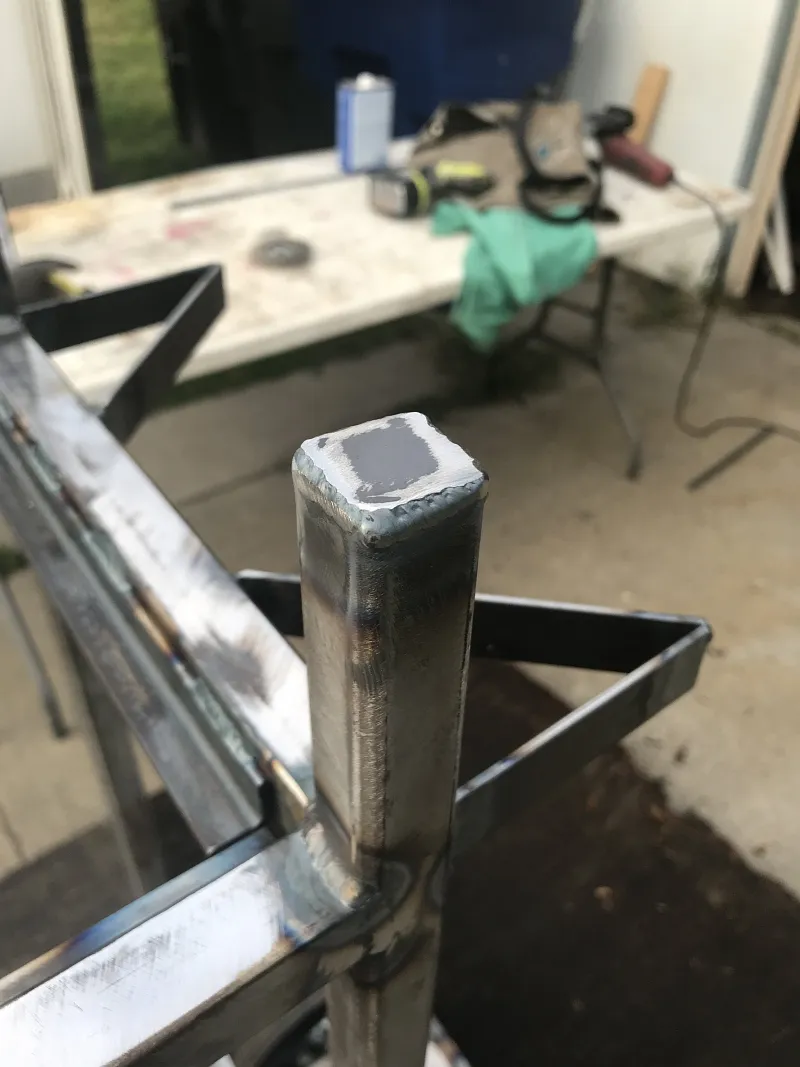
The last of the welding to do was to cap off the uprights.
Now to get some paint on this thing and call it 'Done'!
first, take all the wheels off and wipe the entire cart down with acetone
and apply a coat of primer... or at least as much as I can before I run out. I got most of the cart primed, and i dont feel like spending $$ on more primer.
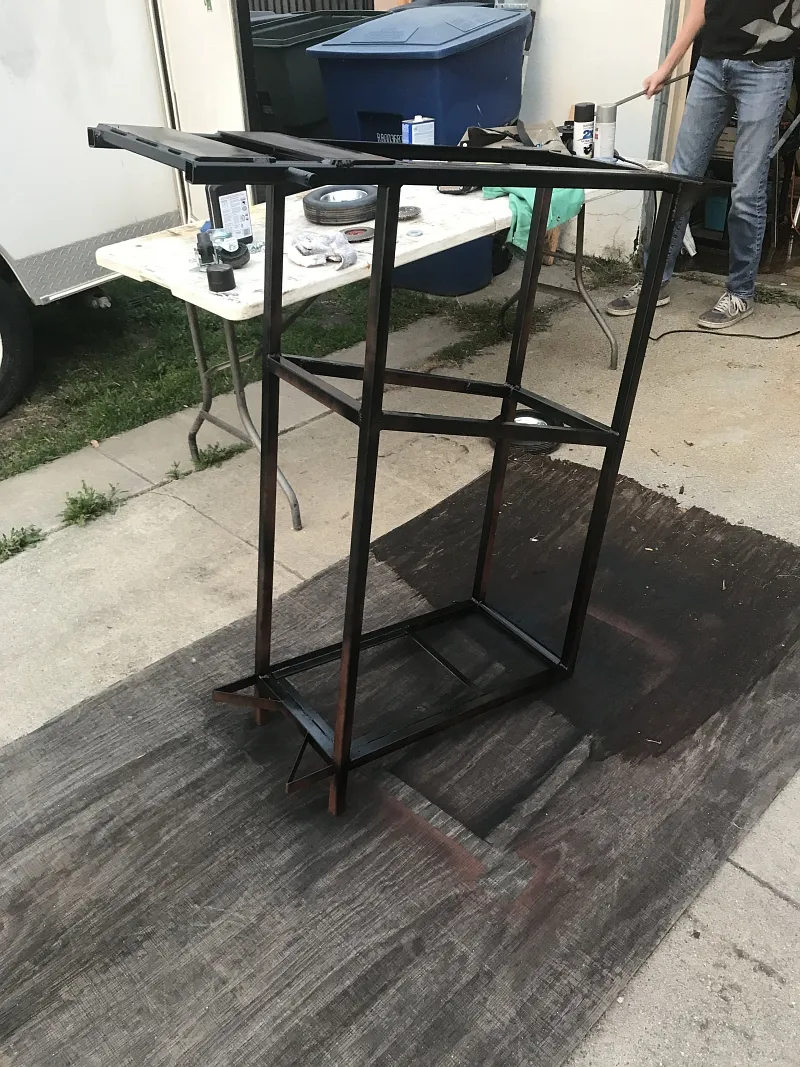
Fortunately, the partial can of black that i have left is a 'paint and primer in one' product :)
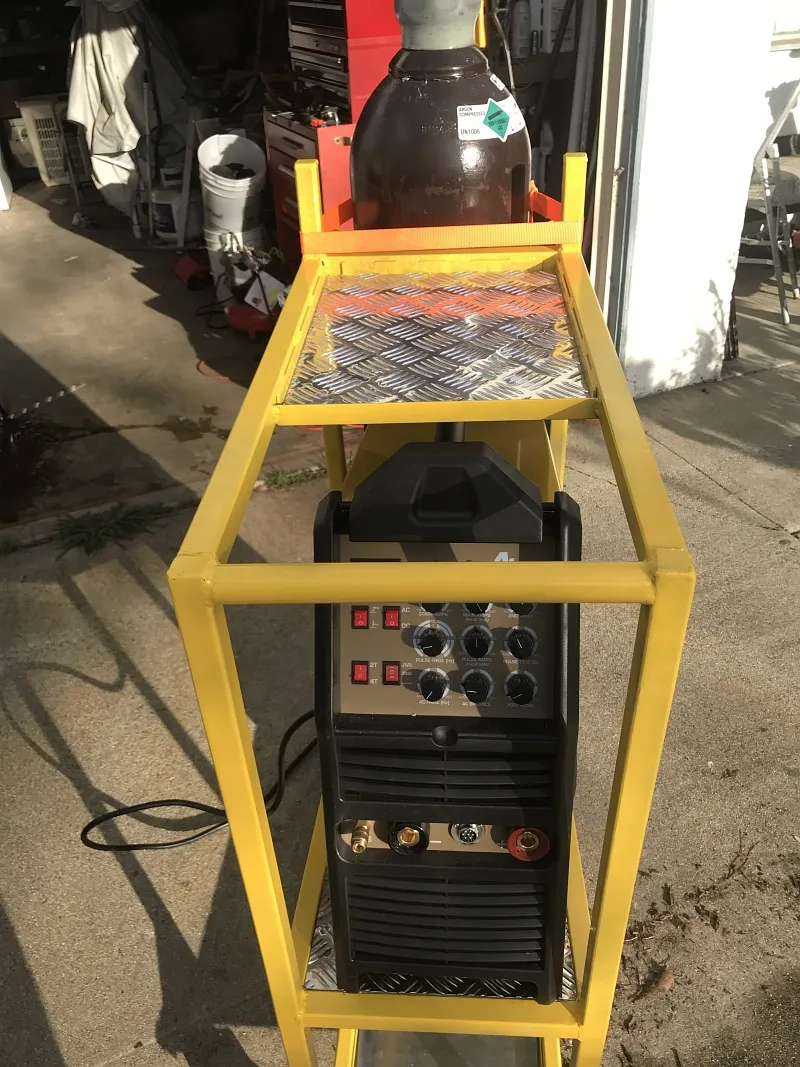
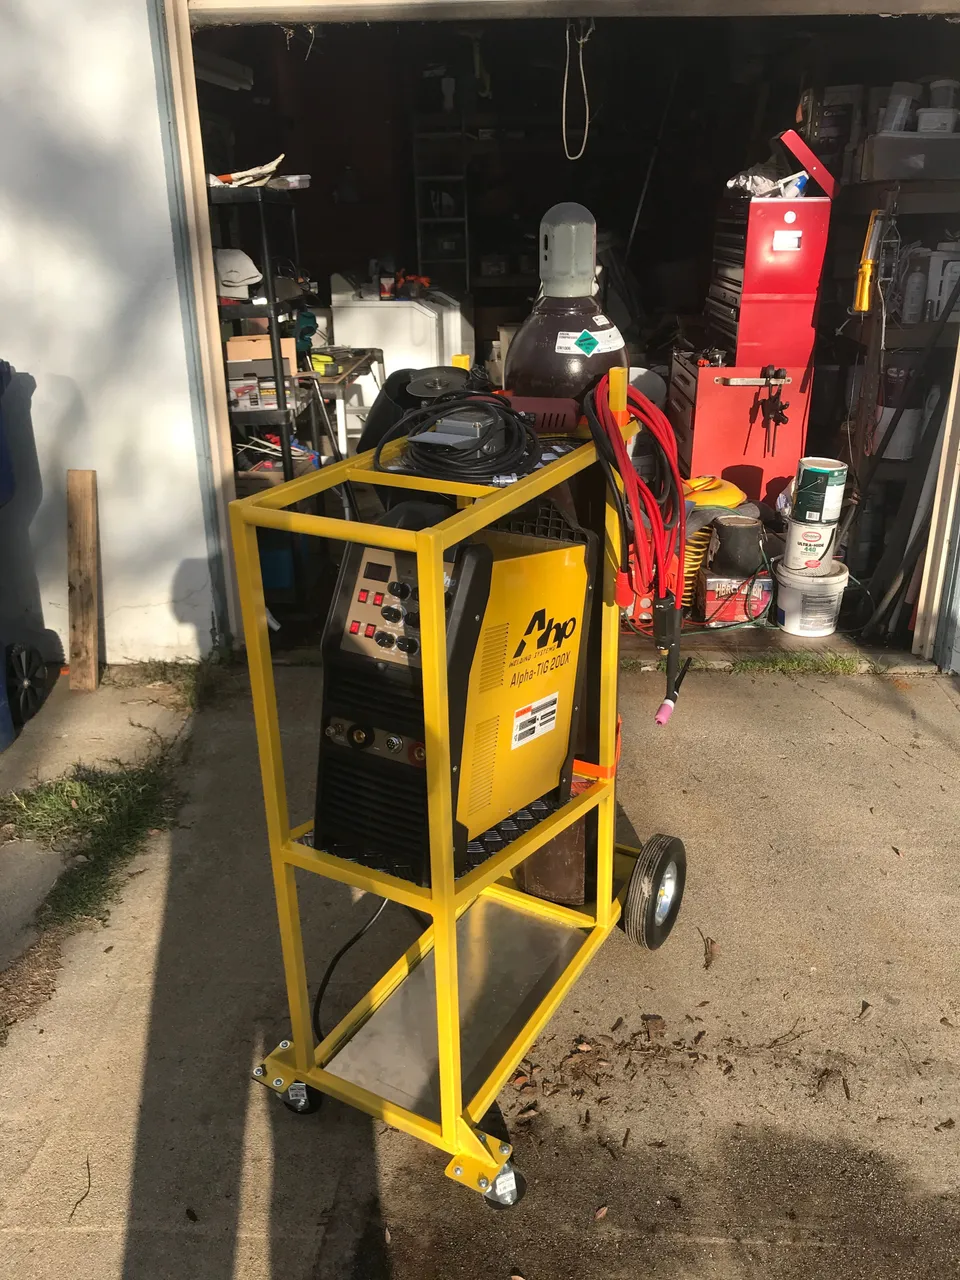
The final coat is yellow. I wish the base coats where lighter (grey primer), but again this is what I had on hand. It could use another coat or 2 of yellow for a bright finish, but the entire cart has paint, so I'm happy with it.


Final product looks pretty close to the original design :)
