Here I am again making CD's with money I shouldn't be spending. I hate writing that. It almost makes me want to... post this link to subscribe to Tetrahedroseph for only $4 a month here: http://tetrahedroseph.bandcamp.com/subscribe.
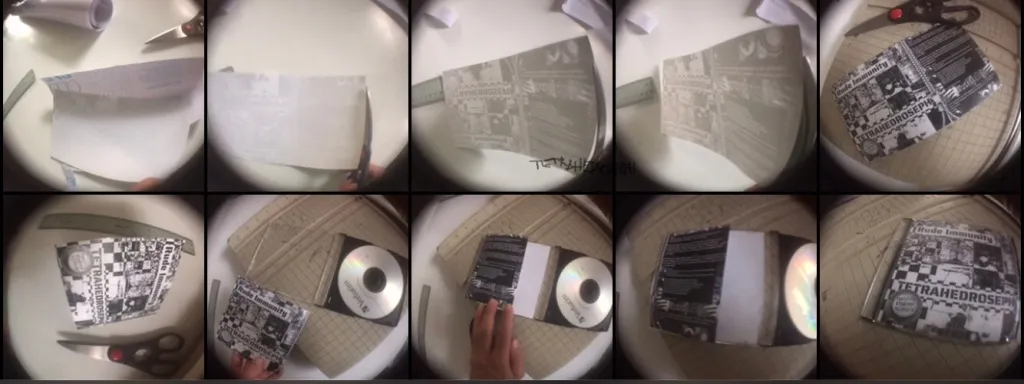
The images below show a small portion of the creation process. This is the process of creating one CD.
First, I run down my check list of tasks. These lists are old...
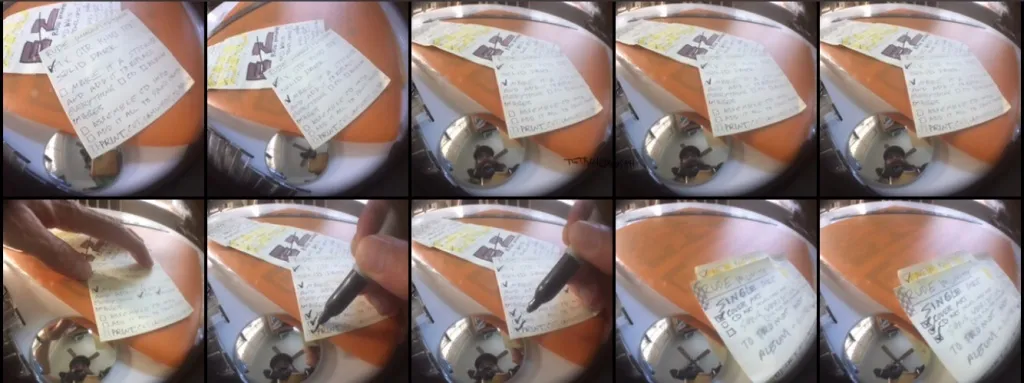
Fish eye lens and convex mirror seemed like a fun and new idea at first. Eventually, the mirror became an extra variable that was a little too much to mess with.
List looks good, moving from top left to right in the image below, compact disks and jewels cases are ready. My tools and raw materials. Paper cutter is ready and my orange folder is here with the jackets. The paper copies i printed at FedEx.
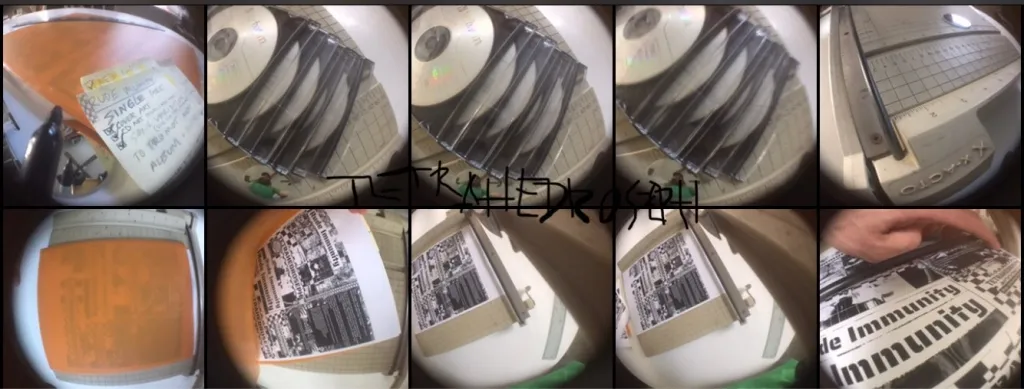
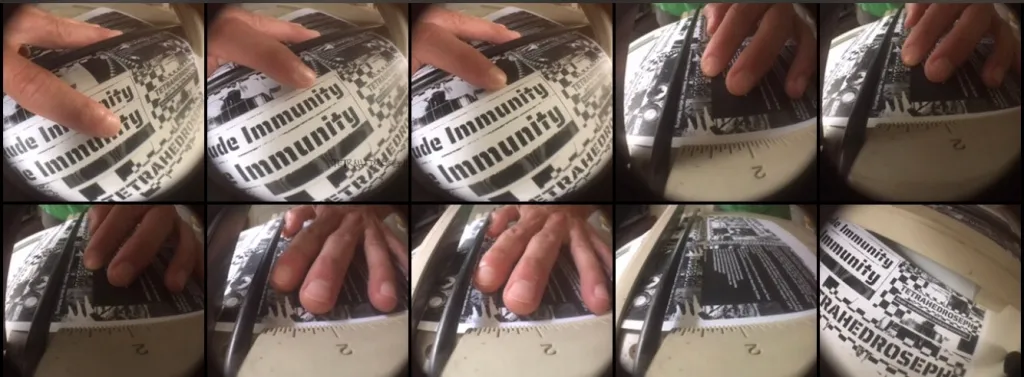
It's time to cut these up. I'll be separating the large top section from the lower section of paper first. The top section contains the perfect sized image of the album cover. The album cover image is attached to leaf contains album info. That extra piece will fold over and stay behind the cover. It's like a poor man's double sided copy.
In the series of images below I am lining up the paper on the paper cutter. The camera is looking down the blade from the top of the device. That black bar is the guard. It gets in the way sometimes, but that's because the paper cutter is crooked and dull. This requires the operate to hold down the lower section of long paper. The bottom row and last to images in collage below show the two sections. The last bottom right square shows the bottom/sticker half of my sheet.
After I separate the top and bottom, I'll laminate them both. The collage below shows this process.
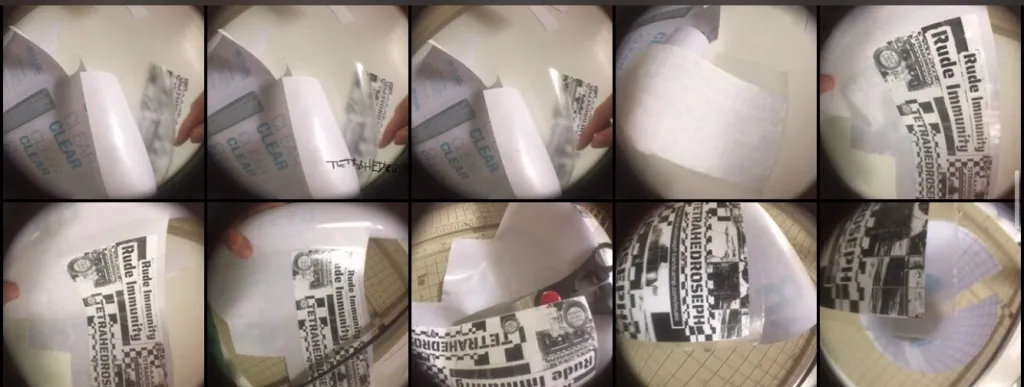
I've learned to leave a little room for cropping. The laminating part takes patience and smooth placement. Static electricity will work against you. Be sure to stop the instant you see a bubble, but don't damage the image by pulling back the laminate. It's best to avoid pressing the laminate down hard if you have not pressed the bubbles out first. To press out the bubbles, place a scrap piece of paper over the area and then use something hard, flat, and smooth to press and glide across the bubble area.
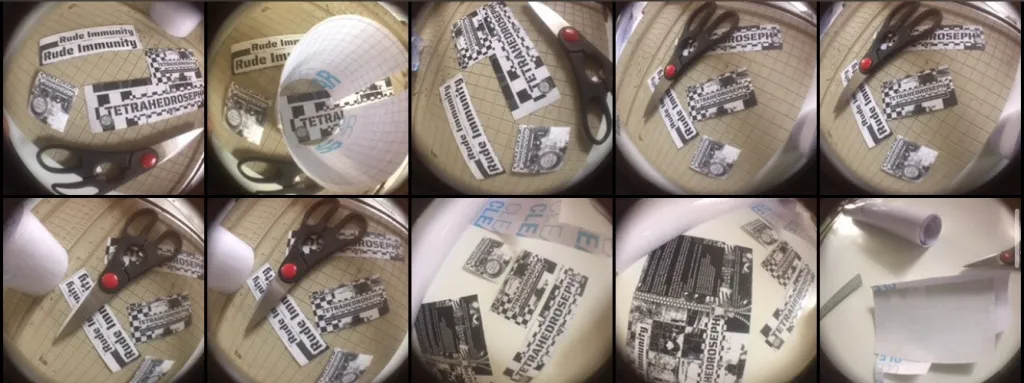
Cut, cut, cut, and then laminate and cut, cut, and cut some more. It's not as easy as a machine. This cutting board/paper cutter is not tight and we can see a large gap near the middle. Maybe that's why someone was getting rid of it. Yup, got it for free a few years ago.
In the image below, I am preparing to laminate these future stickers that came from the bottom half of my paper. I'm using the best scissors I own, kitchen scissors. These are great for cutting vegetables directly into your dish. They are also the sharpest and straightest blades in the house.
 Now, I'll laminate the top section of my print out. It contains the albums image and the liner notes. I love this tactic for album cover and insert. For now, this is the best way for me to create a CD jacket that looks double sided. I'll figure that out soon, but for now I'm grateful to have the CD's dimensions measured out on the printout.
In the bottom right of the collage below, we can see the final product. That's it. The images along the bottom show the album cover being laminated folded, and inserted in the jewel case. Ahhh, it's in.
Now what? Add a few stickers... maybe... actually, no. They won't stay in there.
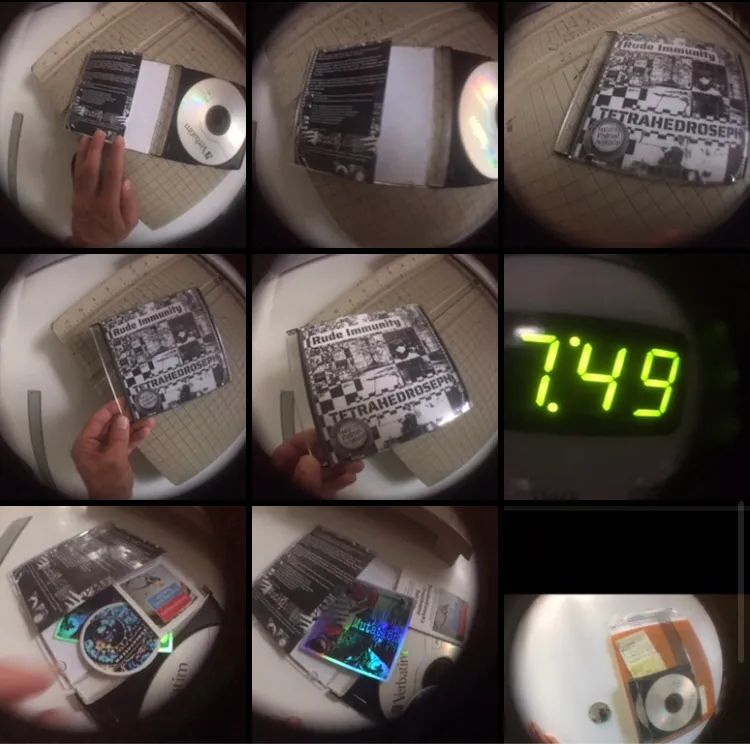
If I add stickers like the last two images in the collage above, they will launch out and or create weird folding dynamics for the end user.
Wtf do bands do with stickers these days? I still like stickers. They have their place.
Anyway, WOW look what time it is! Before I go let's take a look at the time. The collage above shows a shot of the clock reading the lucky number "7:49". This is what i'm calling the end time, "7:49."
The image below shows what I will consider a start time of 6:26. That is the time stamped for the first image of this part of the project.
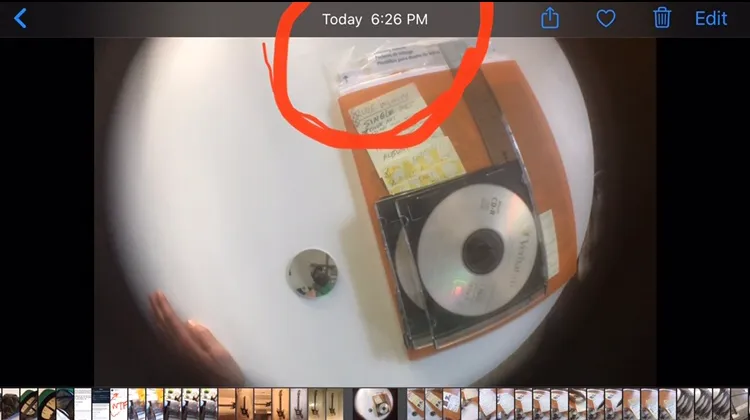
I started at 6:26pm. I will be streamlining this process along the way. 10 perfect inserts will be my goal NEXT TIME!
Shit-quote Of The Day: "Recognized a mediocre tool when you see one and drive it like it's hot!"
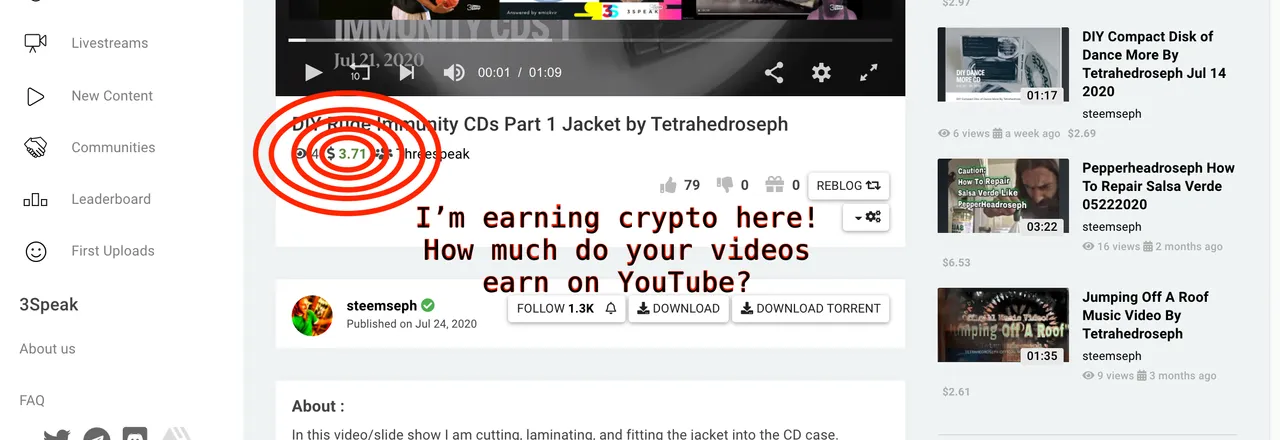
Oh look, it's all in this video that I posted on 3Speak and not YouTube.
Oh look, that video is going to earn me more than anything on YouTube has ever earned me.