Hello friends!
I spend my weekend with this display I took from an old alarm clock.
The beginning
The first hours were used to find out how this thing gets connected (I did not found a datasheet).
As I figured it out I started soldering... without a plan :$
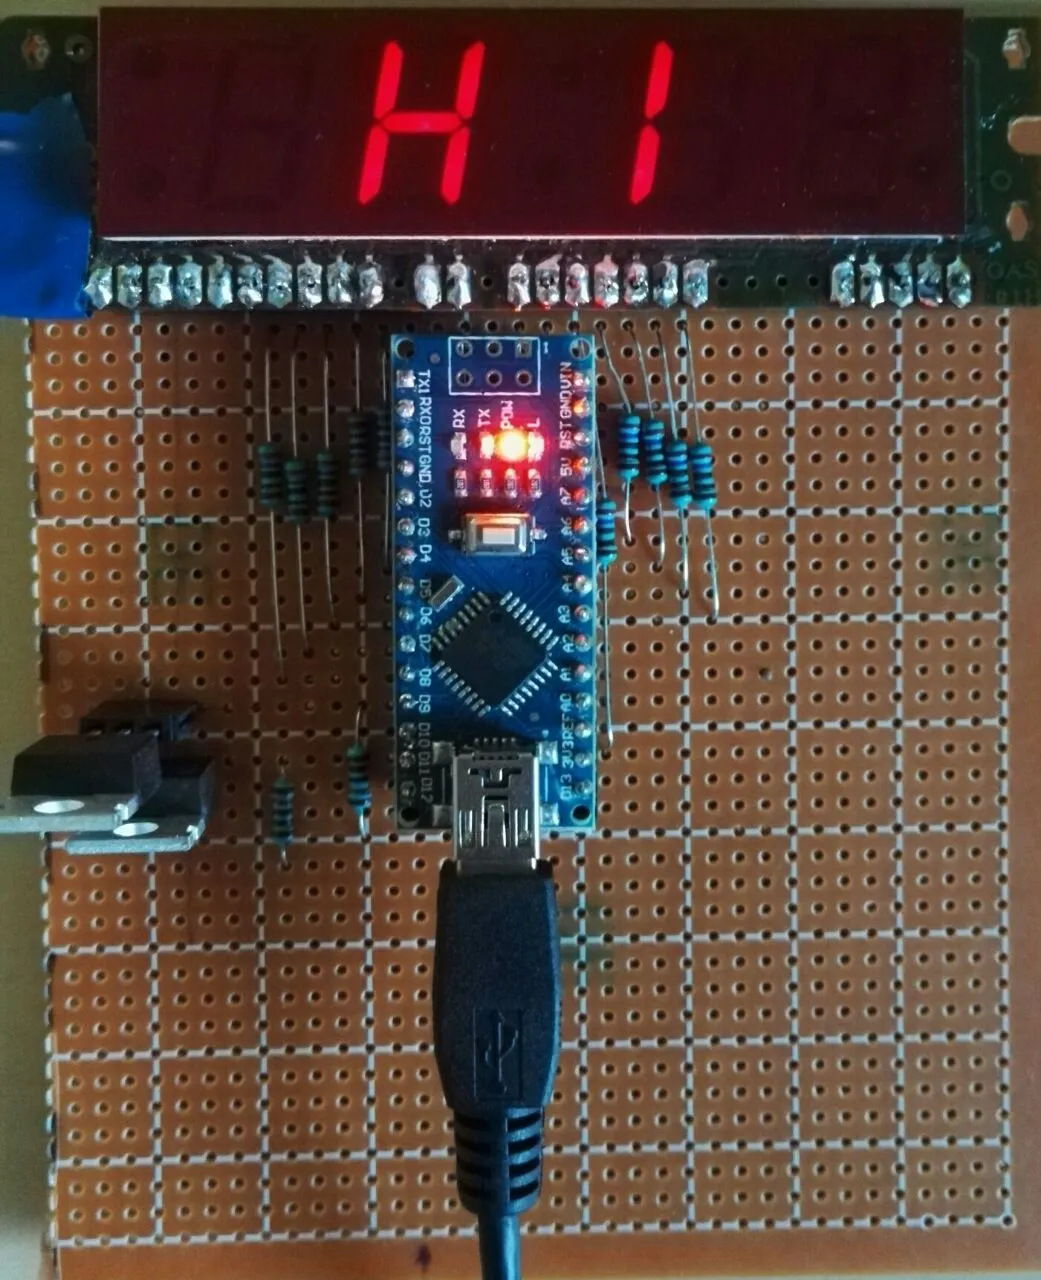
That's why the resistors at the right side are bend a little bit^^ As long as it works I have no problem with that :D
As I finished building I started programming the arduino which is the core element.
- It powers the Display
- It controls the individual Segments (the tricky part. I am going to explain later why)
- It drives the MOSFET's
The display has two individual negative terminals which are connected to different segments.
For example:
The first 7-Segments are not connected to one negative terminal, they are mixed!
Multiplexing is the solution
The two MOSFET's in the left center are responsible to control the negative terminals.
They are switching on and off very quickly so it looks like all segments are always on.
The downside is that it is hard to programm your code fast enough and that you can display everything you want.
Here is a picture of the result:
Future plans:
- running letters
- easier programming (at the moment everything is hard-coded)
- 3D-printed case
I hope you liked this little project!
If you have any questions leave a comment!