Hello friends,
Today I am going to teach how to build an obstacle avoiding car. For this project, you will need:
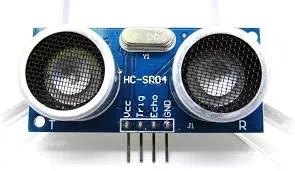
- An ultrasonic sensor (HC-SR04)
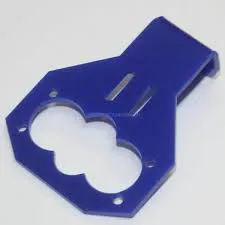
- Ultrasonic sensor mount
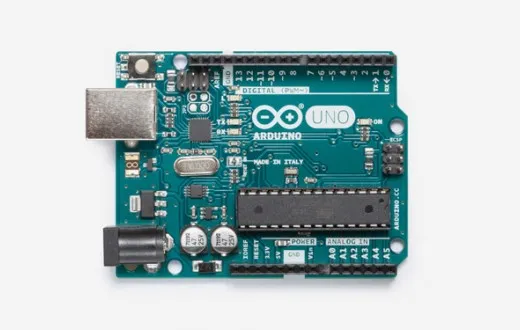
- An arduino/genuino Uno
- These Motors
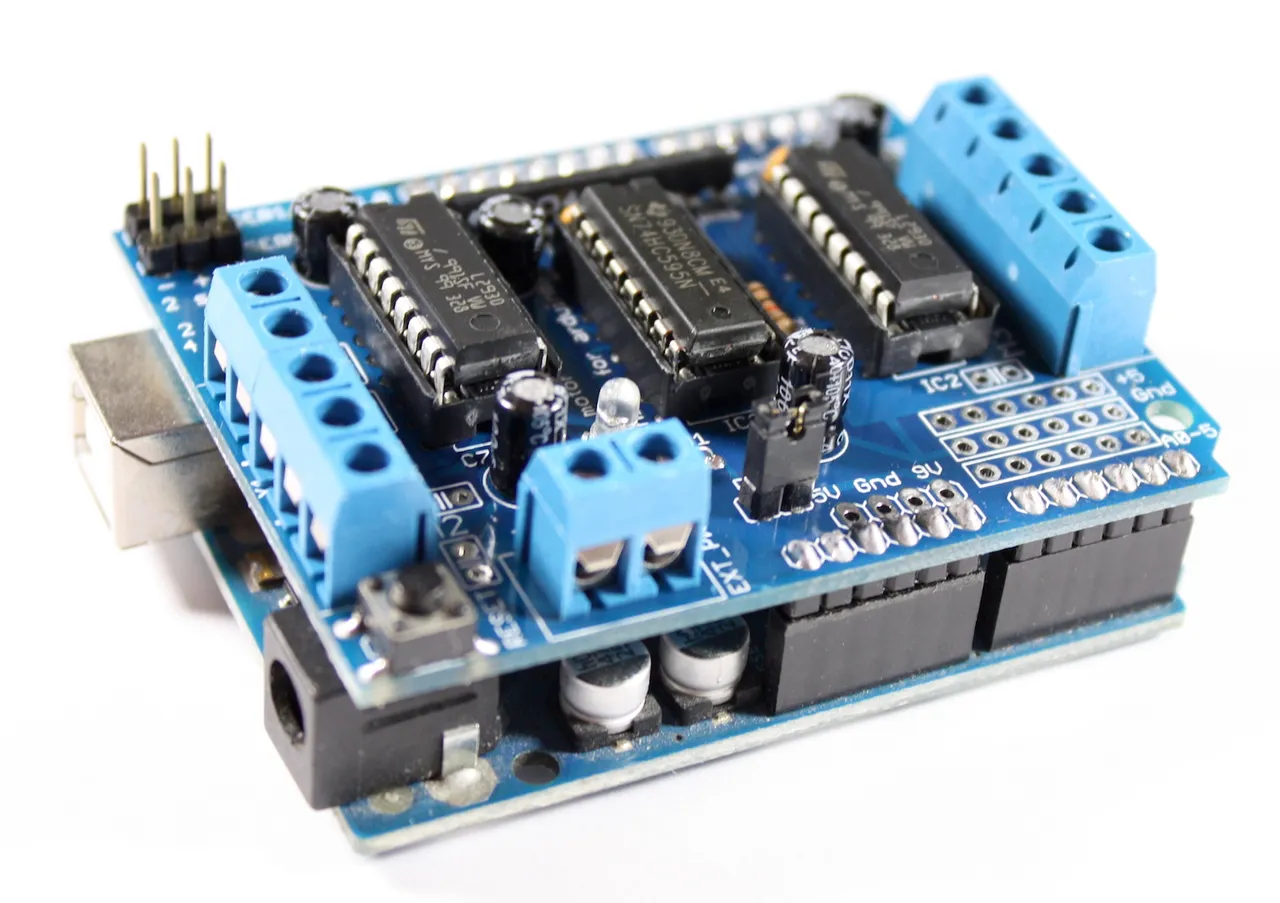
- This Motor Shield
- A Piece of rectangular or circular plastic to use as a chassis (Bought Pre-made on amazon is fine too)
- Jumper Wires

- A 9V Battery
- Arduino IDE - download here
- Adafruit Library Installed - https://github.com/adafruit/Adafruit-Motor-Shield-library
- Some tape for wire management
- Hot glue gun
Alright, lets get started!
First thing you want to do is attach the motors to the chassis. If you bought pre-made on Amazon, follow the instructions that came with your kit. If not, use some hot glue to glue the motors to the chassis.
I used a 3d printed chassis - feel free to be creative and make your own designs.
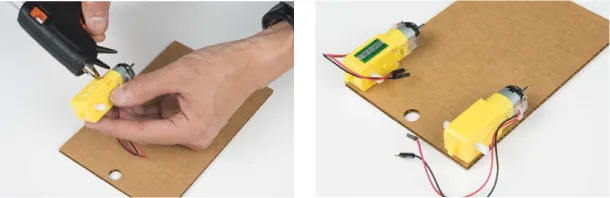
Do this for all four motors.
Now, attach the wheels to the motors.
Next thing you want to do is attach the jumper wires to your motors. On your motor you should see small metal pieces with holes in them.
Thread your jumper through this and then bend it down so it doesnt come out. (Or you can use hot glue, but I find bending it gets a better connection. Dont solder until the end when you have a working robot.)
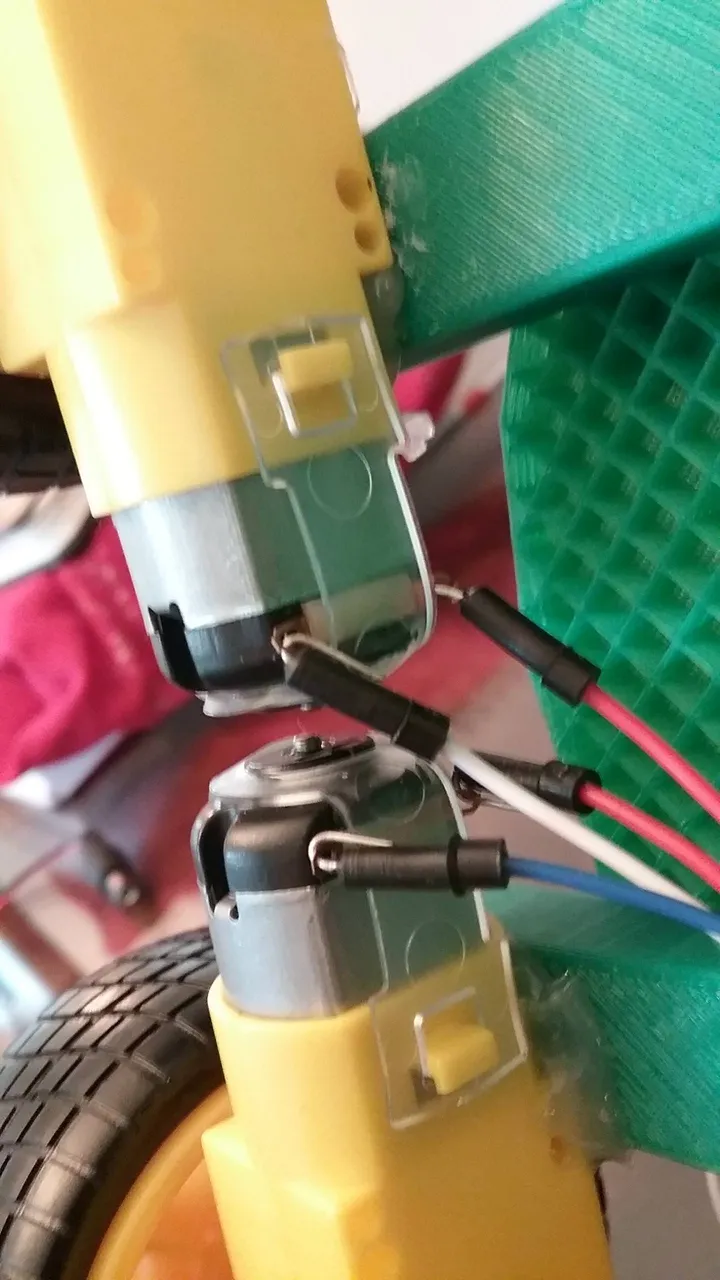
Thread 8 wires into the holes on your motors, 2 for each motor, making sure the connections on each are strong.
Flip the chassis over.
Now for the arduino. Your arduino and motor shield should snap together like so:
Put this on top of the chassis.
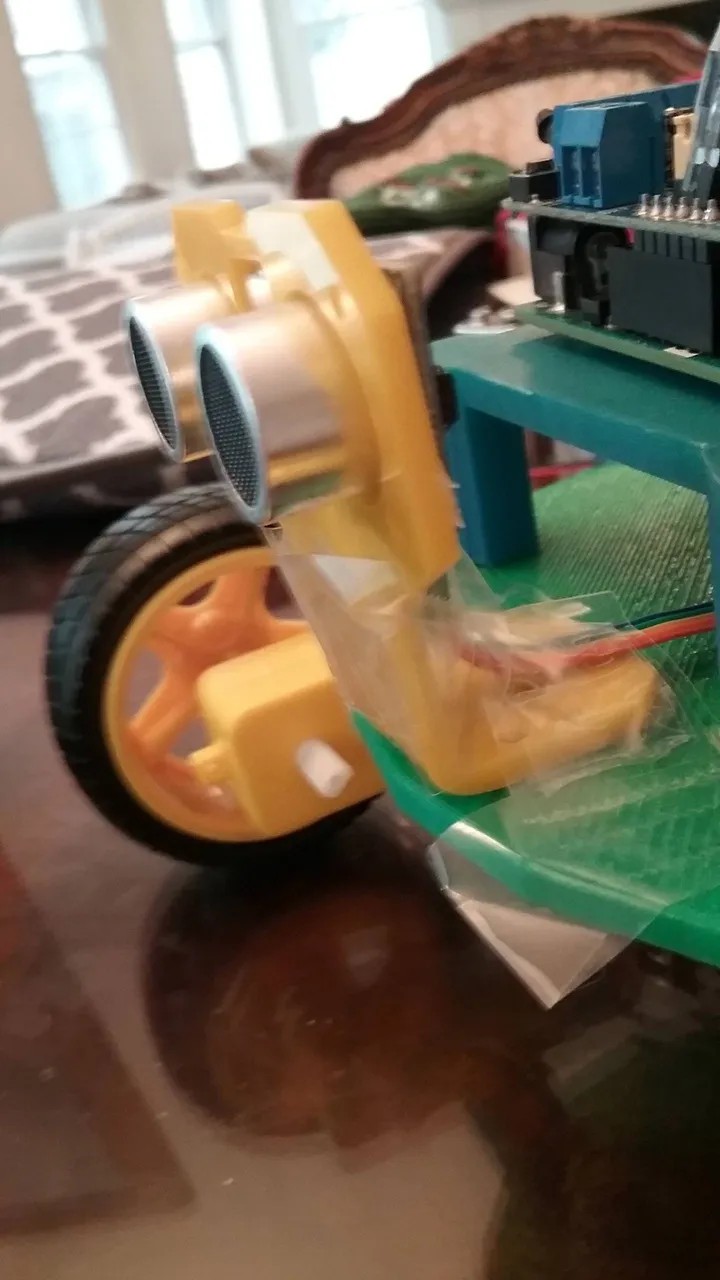
Now the next thing to do is to attach the HCSR04 to the mount. Use the mounting screws to secure this.
Use hot glue or a lot of tape to secure this to your chassis (I personally recommend hot glue)
Alright, your car body is built! Time to wire it up.
Each motor has by now 2 individual wires coming from it. Tape these together so that its easier to keep track of. Designate the front right motor at fr1, front left as fl1, bottom left as bl1 and bottom right as br1.
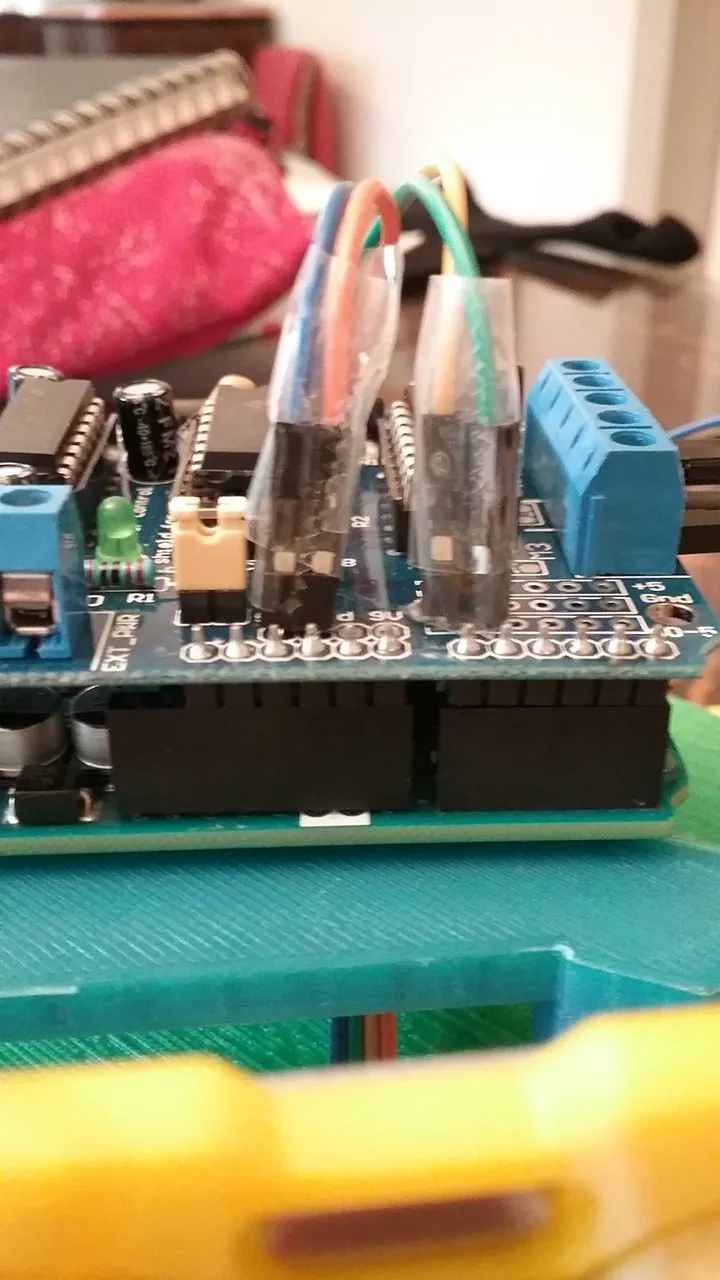
Plug in front right to M3, back right to M4, front left to M2, and back left to M1.
Make sure the positive wire is on the outsides, and the ground on the inside. Like this:
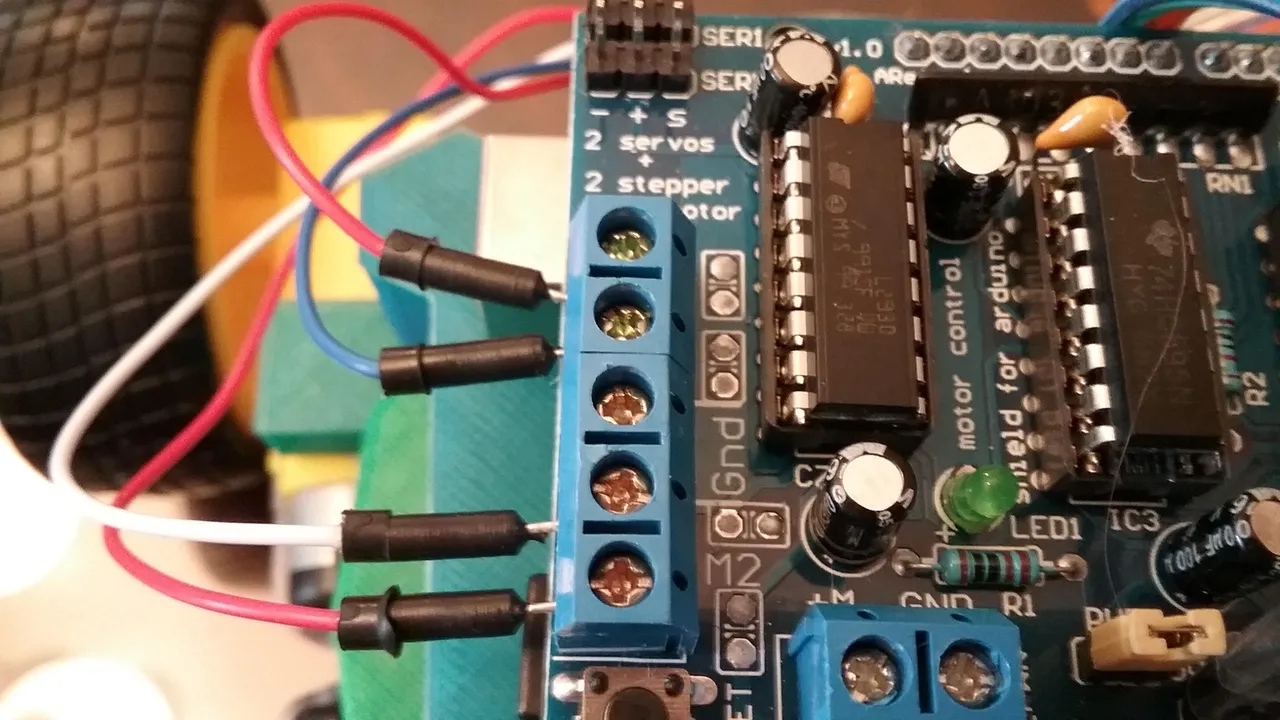
In this case, red are positive and blue and white are ground. Wire your board in the same way
Good, the motors are now attached.
Almost done! Wire the ultrasonic sensor to the motor board, with vcc going to the 5v pin, GND to GND, trig to A1 and echo to A0.
Alright! Everything is wired up. Time to upload the code and get moving.
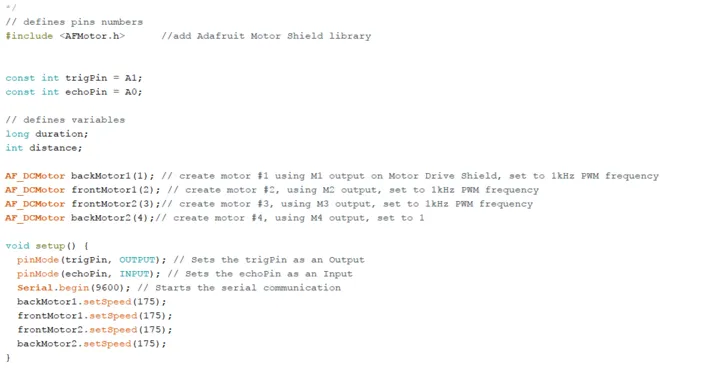
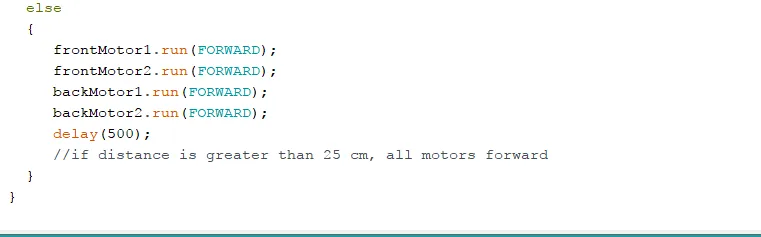
Upload this code to your arduino device.

Great! Your finished. Not to hard is it? You've just built a robot!
Plug in the 9V battery and watch him go. When he runs into an object, he should stop, back up, and turn away another direction. Feel free to play with the code and see if you can develop something better.
This may have been a simple project, but remember - if you can dream it - you can build it. All that lies between you and your imagination is just knowlege and time. Learn what you need to learn, and spend time developing your project - and you can build anything!
I hope you enjoyed this tutorial, and remember as always if you ever have any questions or comments dont hesitate to ask.
I hope you have a great day!