In this post i'm going to just show you how i go over the process of modelling this part of the armor.
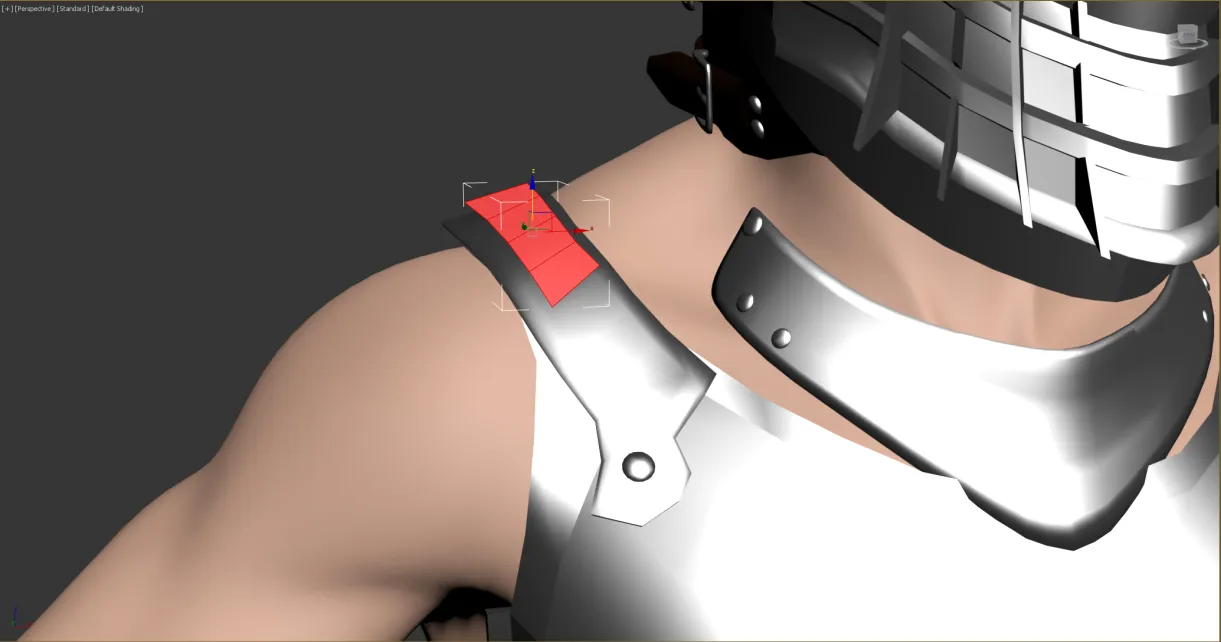
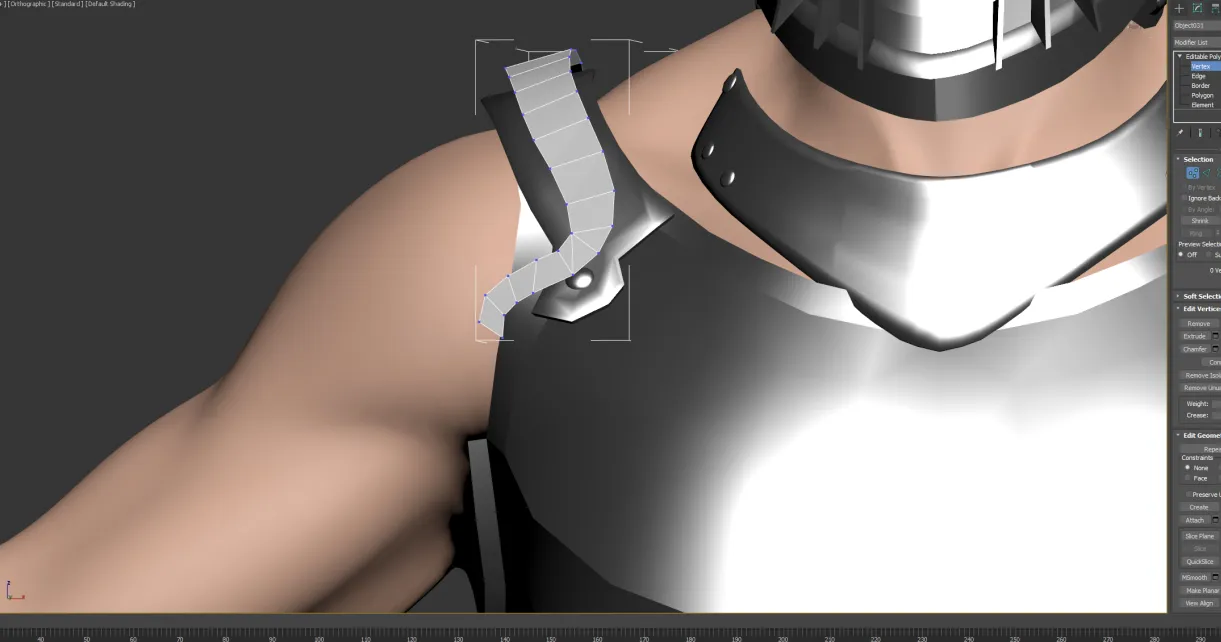
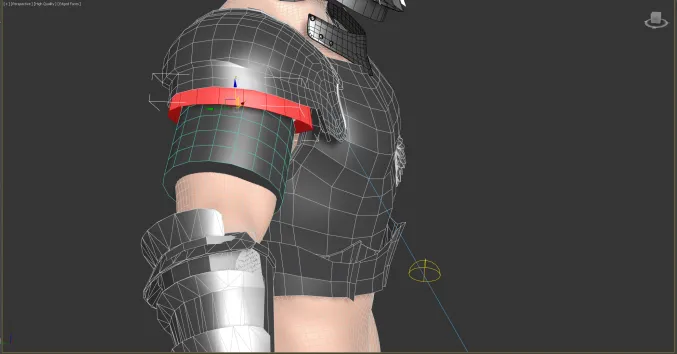
First i copy paste some polys from the articulation below it.
Reshaping the vertexes into a more straightened up semi arc going over the acromion / connecting shoulder bones.
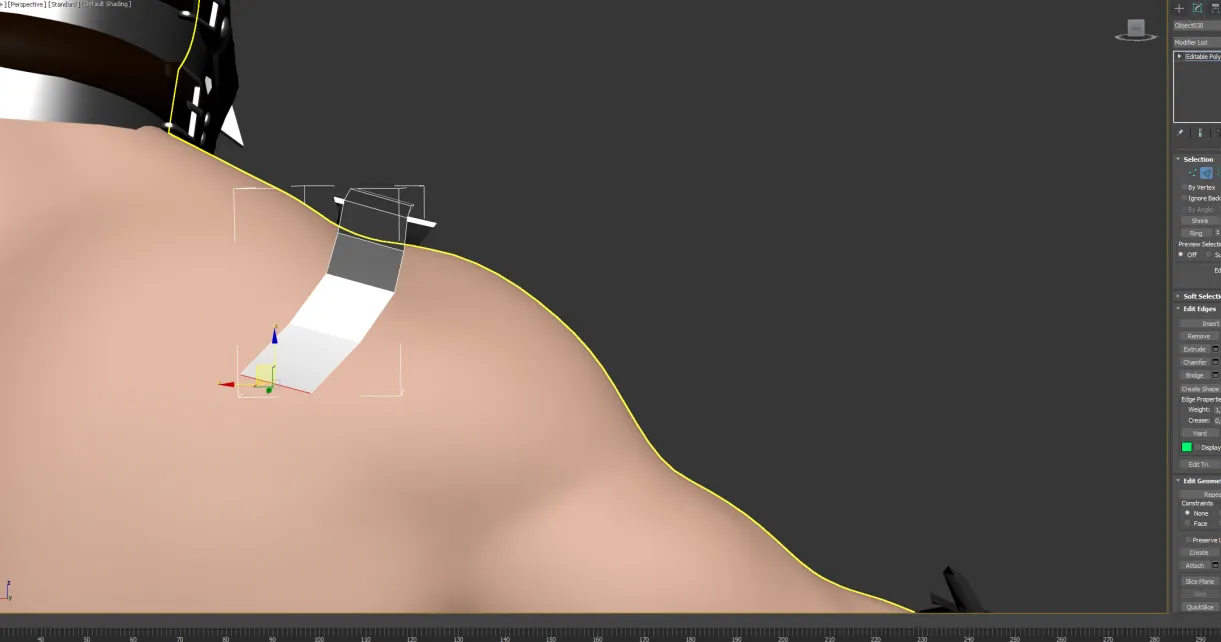
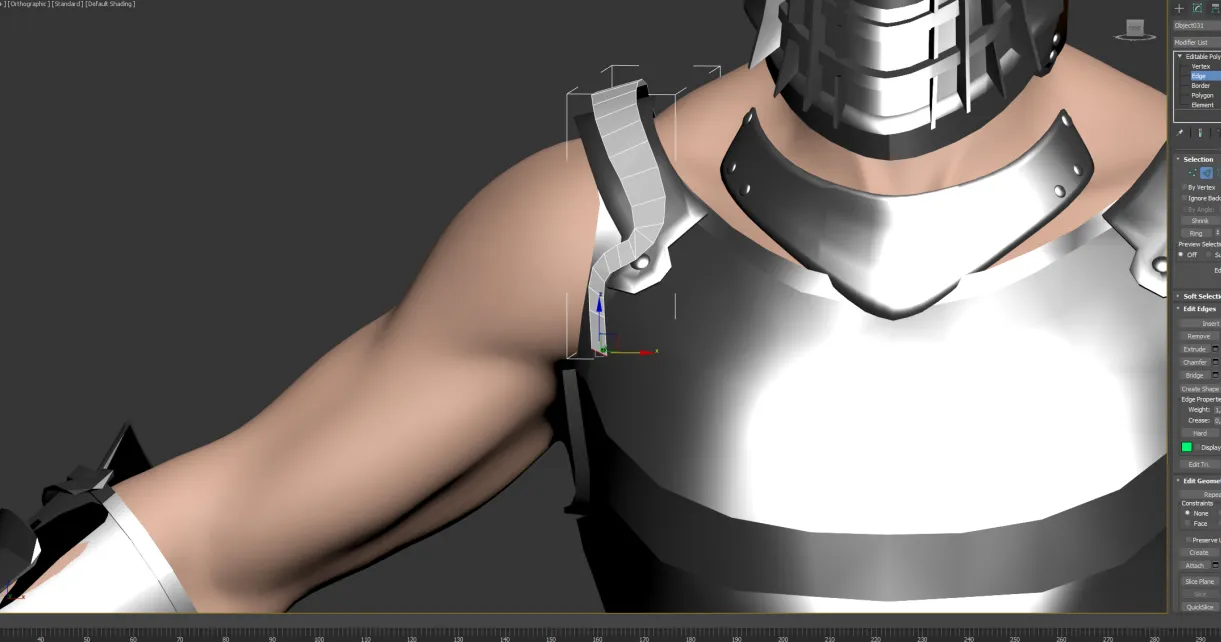
Extending edges back there.
Following the shape of a reference picture of a pauldron of the 14th / 15th century.
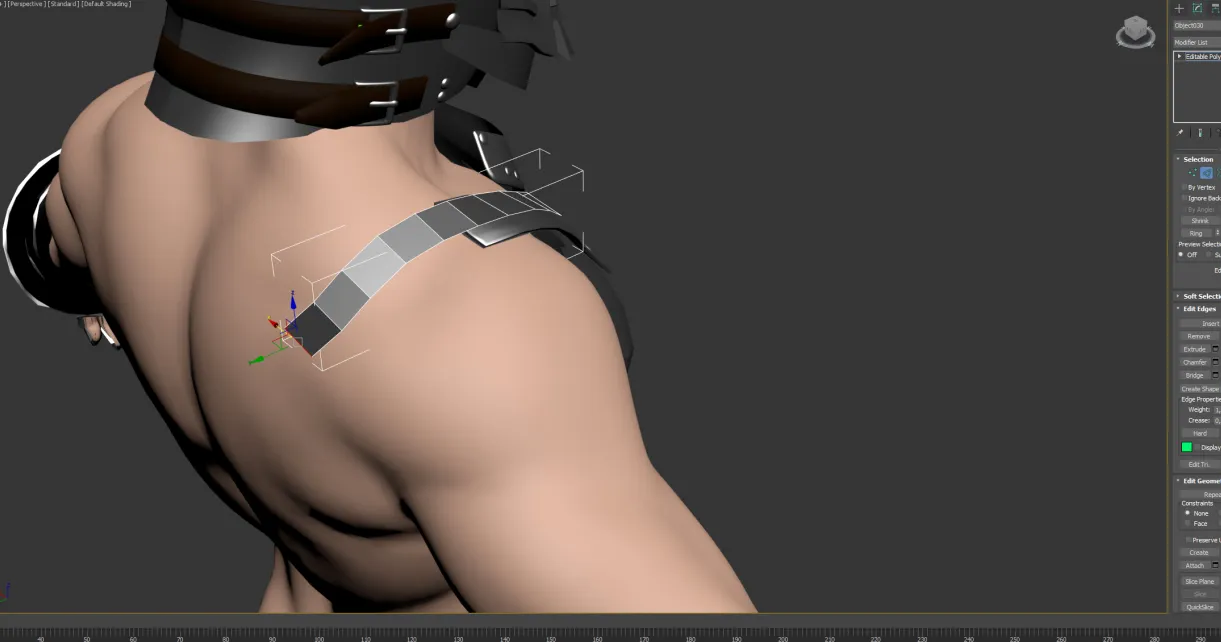
Using edge extension after edge extension we can really "draw" some sort of exterior line of the shape, it's my most common way of modelling, it's like almost drawing in space / volume / 3D.
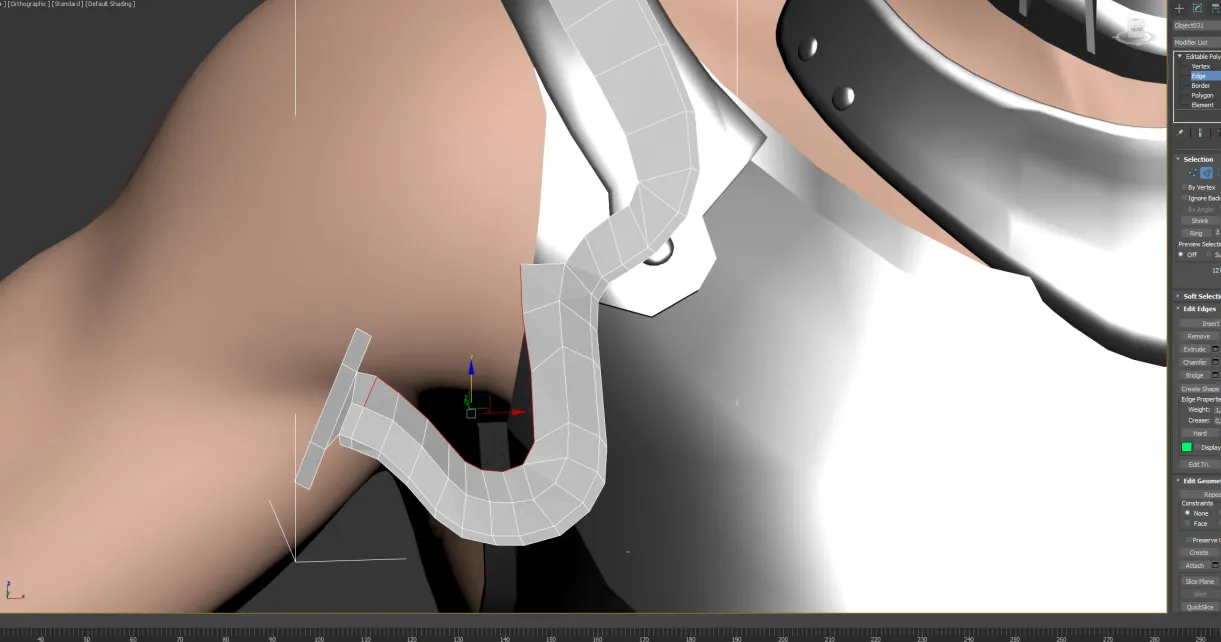
Extending wide rows of edges and rescaling them, or repositionning vertexes to get a nice edge flow.
Extending multiple row of edges and connecting them together sometimes using target weld on edges, and other time, using target weld for vertexes.
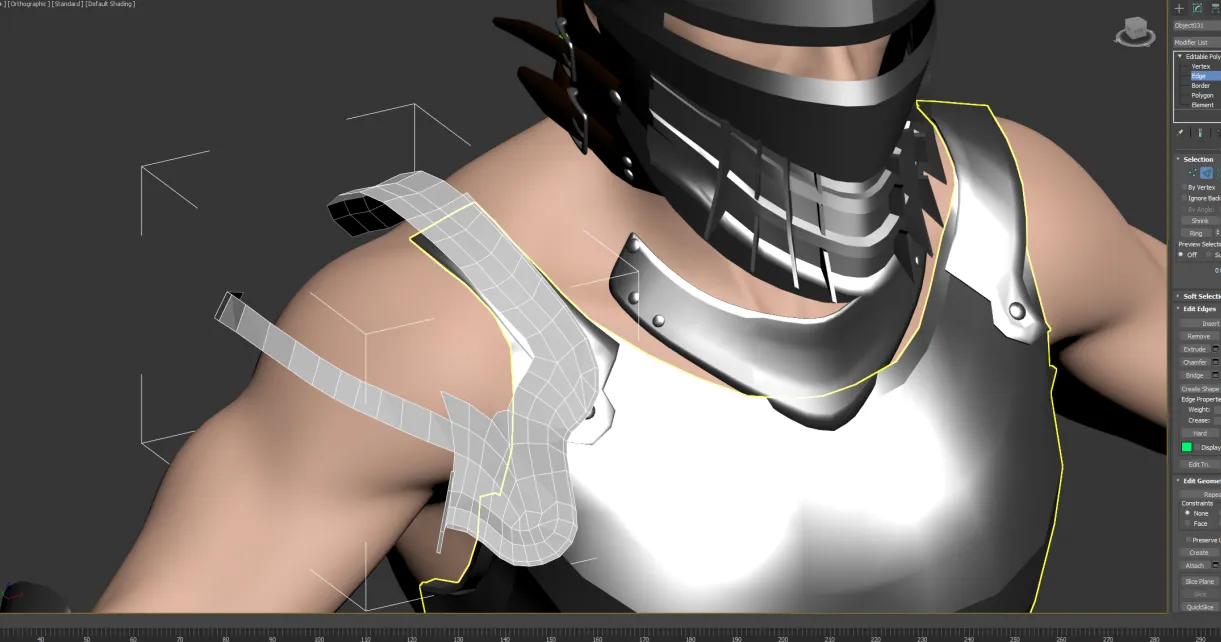
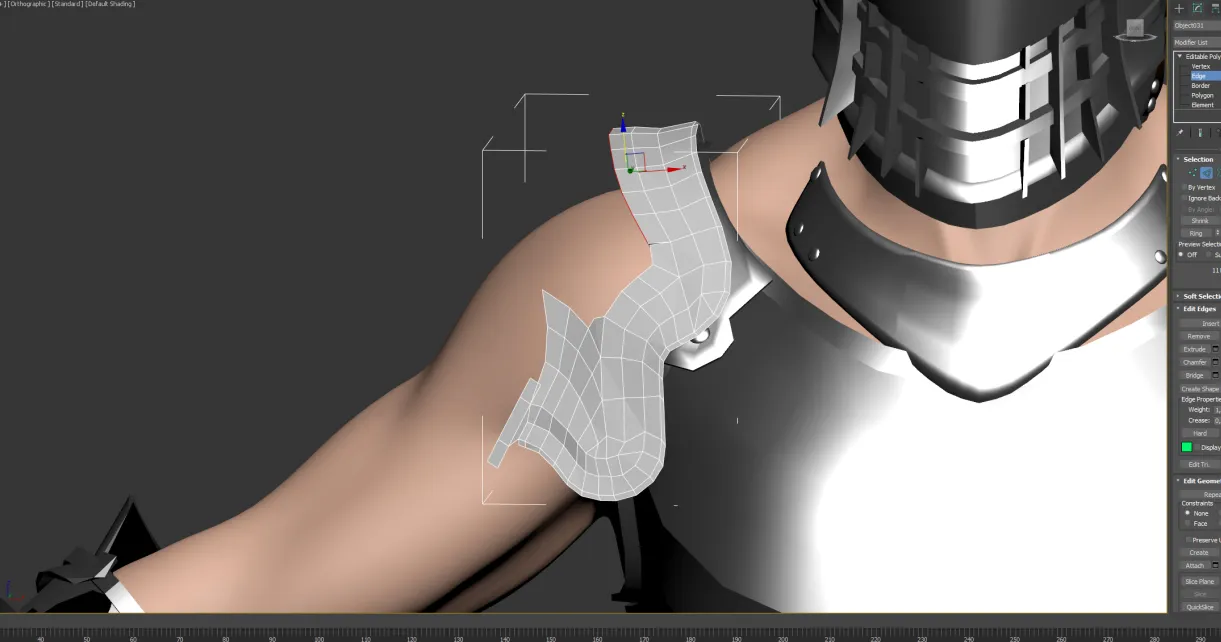
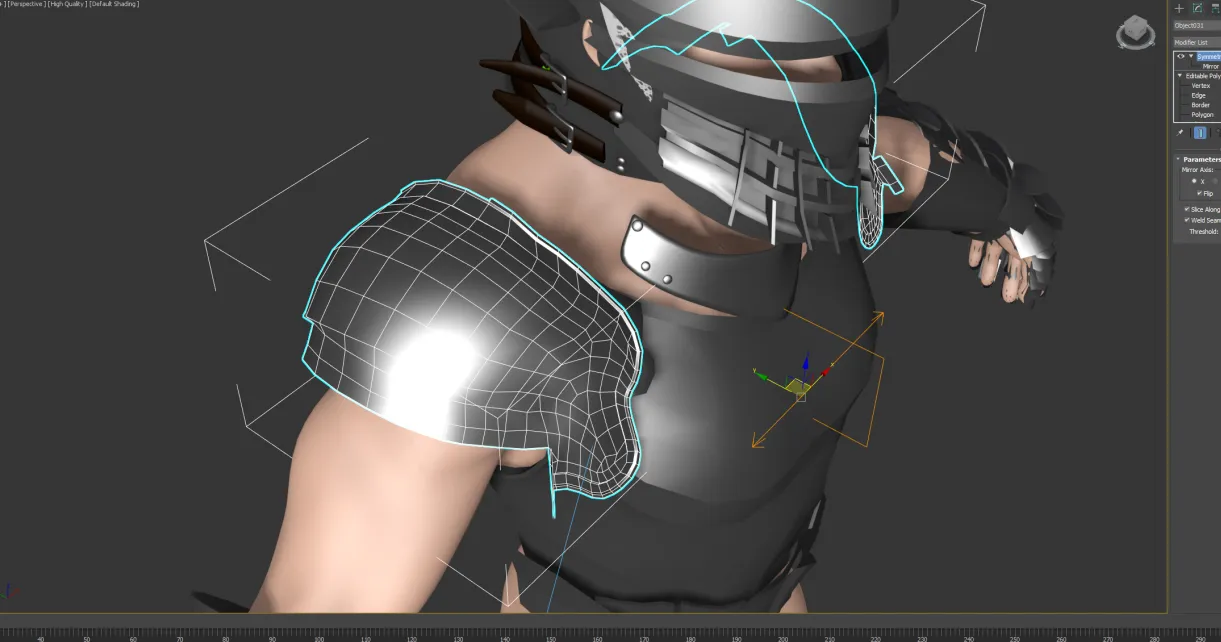
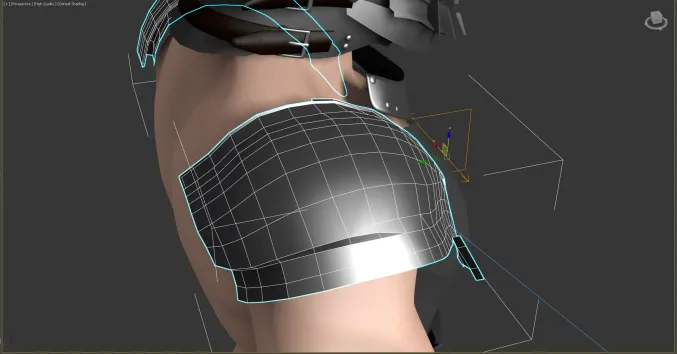
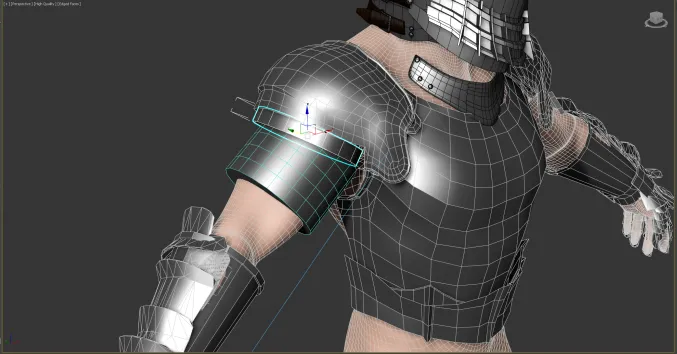
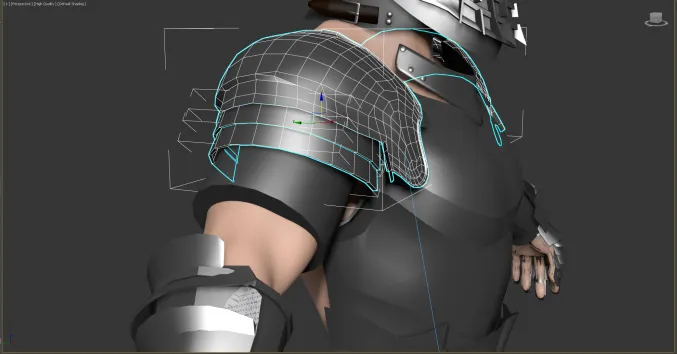
"Drawing" the line going over the end of the shoulder, following a semi spherical / semi cylindric shape.

extending more edges and closing a whole lot of polys and reshaping this part so it's almost somewhat spherical but more in an slightly "oval" / egg shape, not totally spherical.
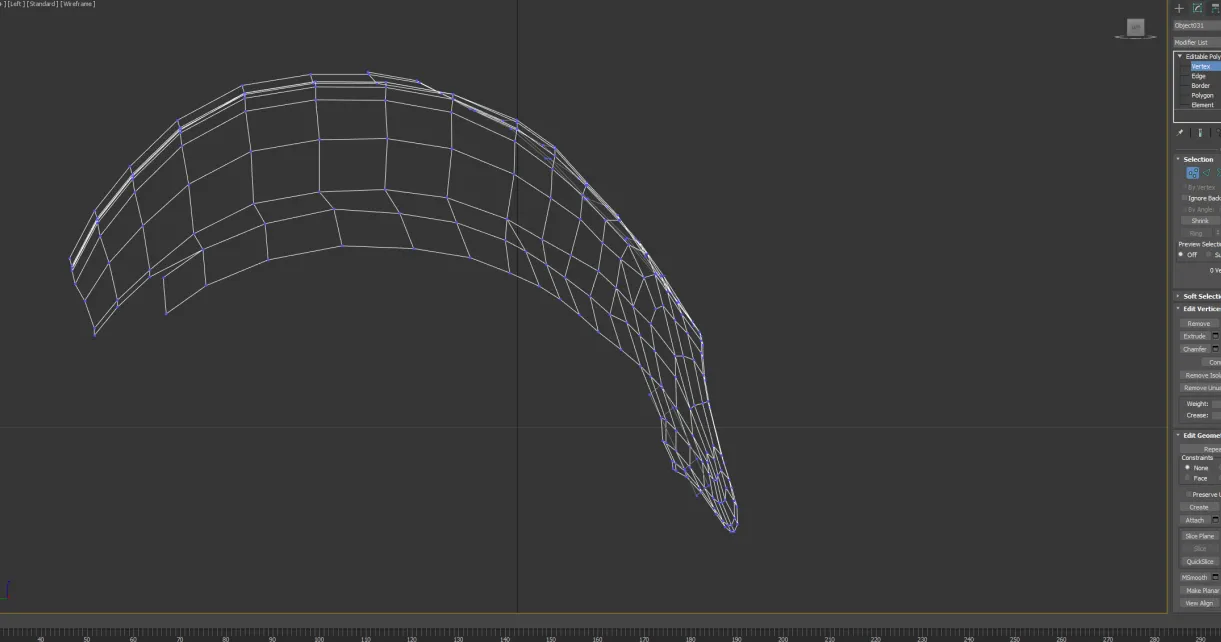
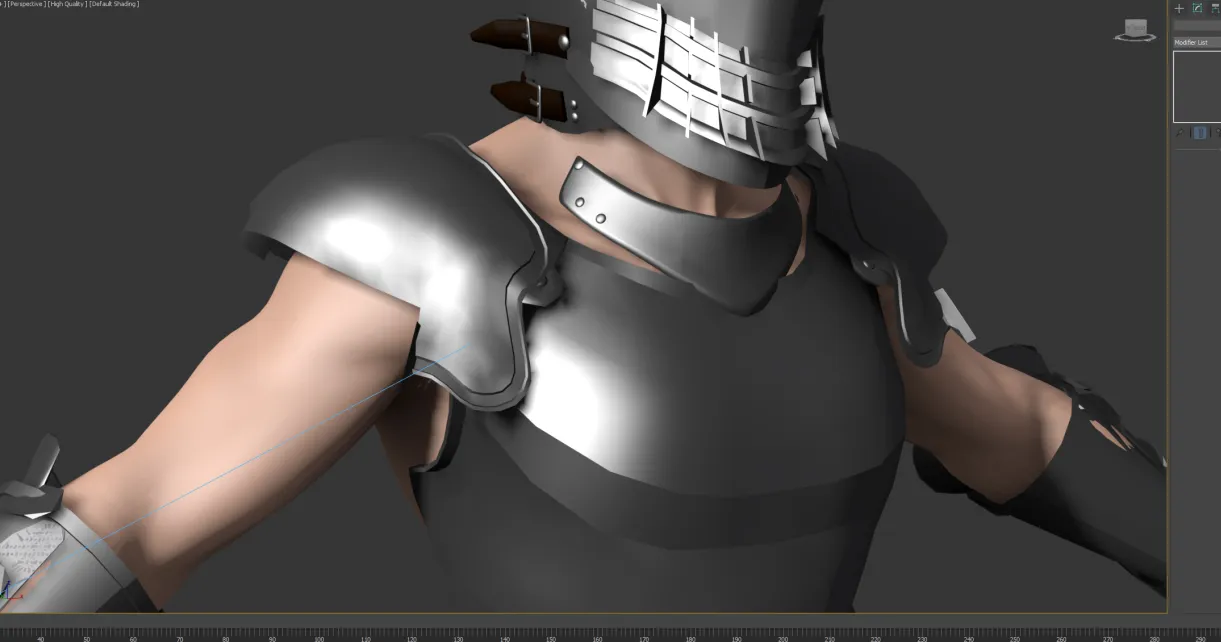
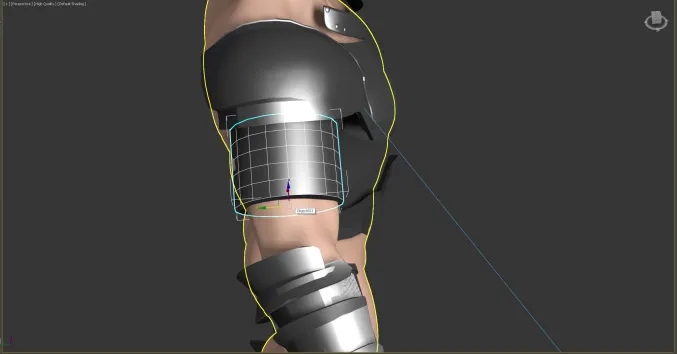
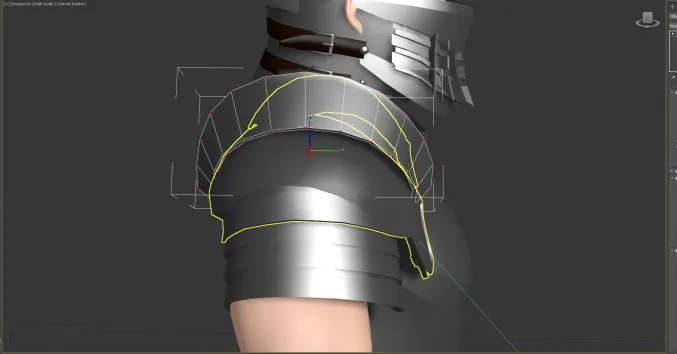
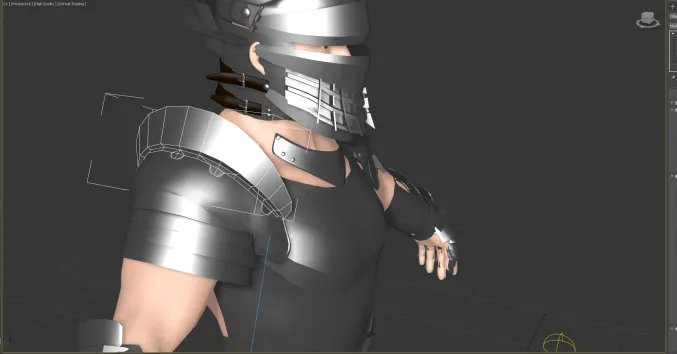
Here's what the curvature look like from the right view.
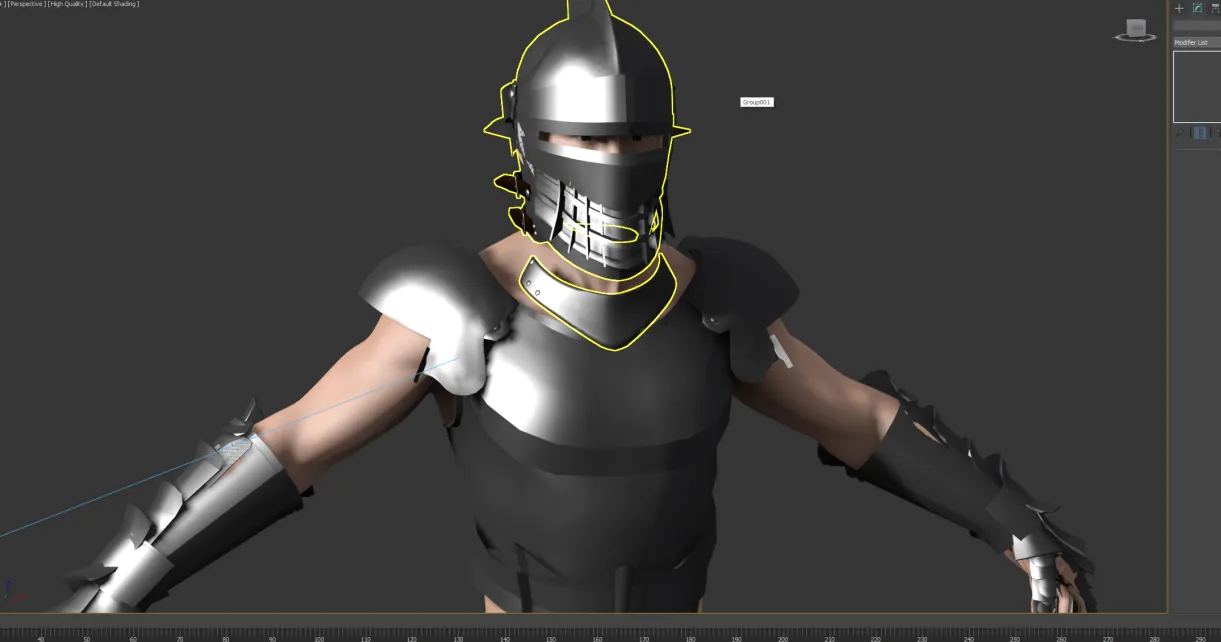
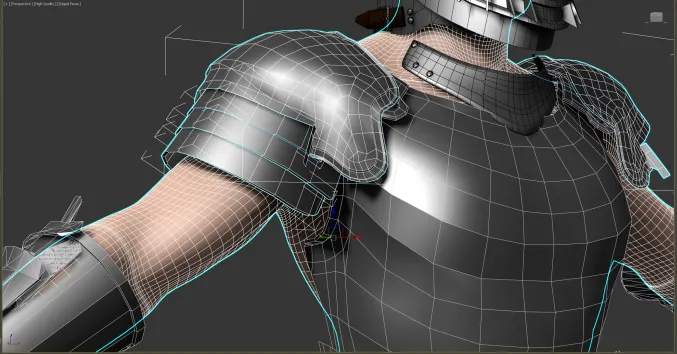
Applying a metallic material to see if the shape translate well enough with a shader.
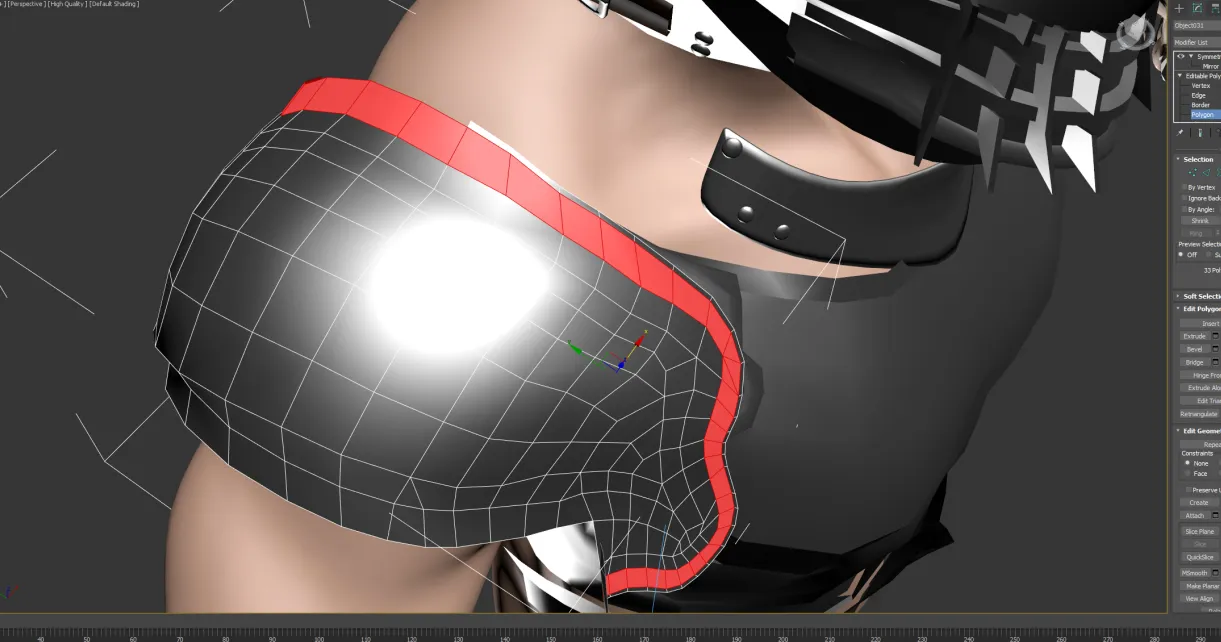
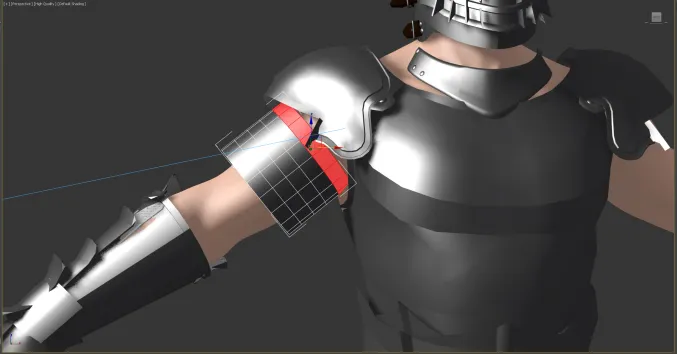
Beveling down a "river" inside the interior part of the shoulder pad that will host a bunch of rivets / bolts.

Here are the settings i used for bevelling it down only 1 level.
That's how it looks.
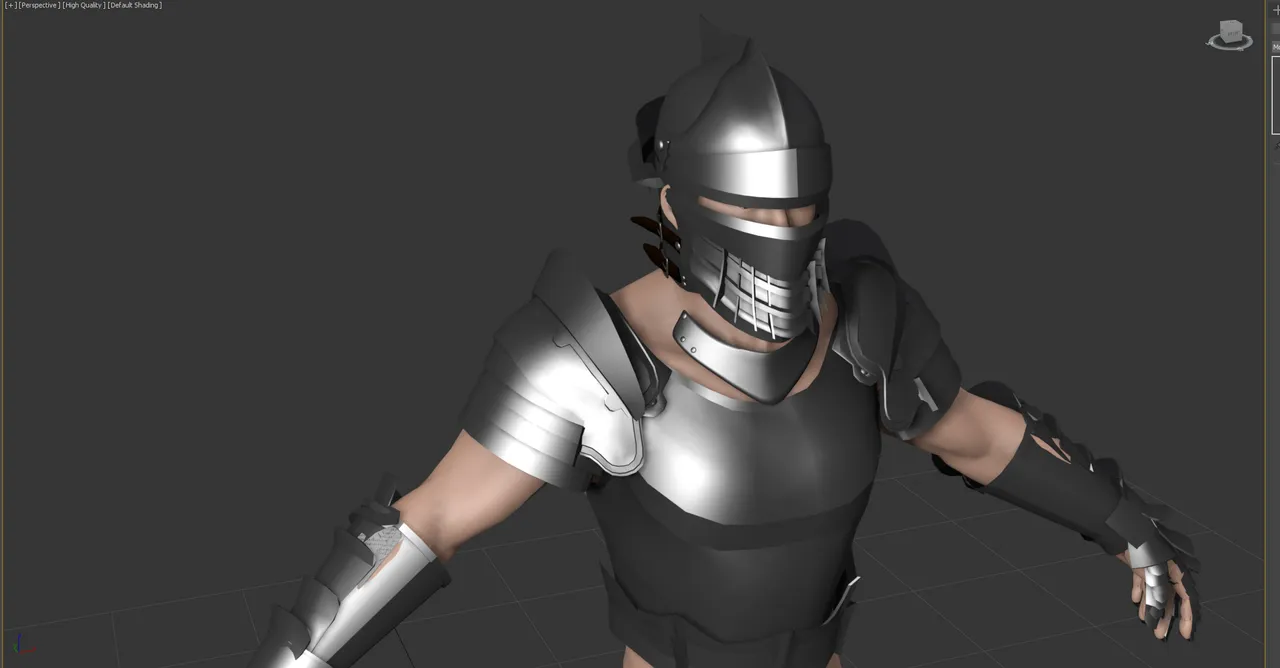
Finishing the back part of this shoulder piece, but it isn't complete yet.
just showing it on another angle.
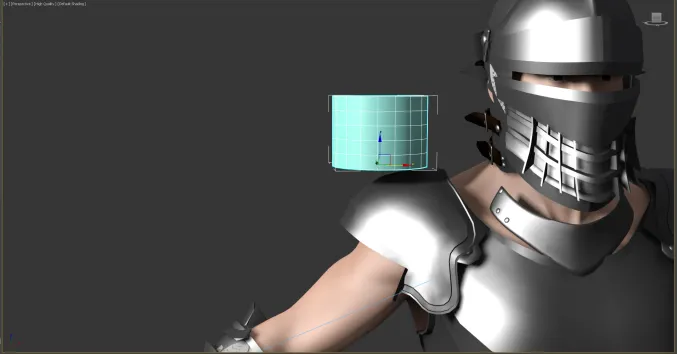
We need at least 3 articulation section going down from the main part. So i decided to create / spawn a cylinder.
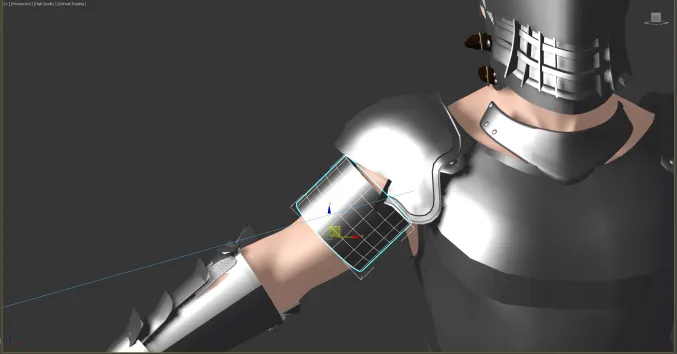
Rotating and positionning the cylinder in place for the next stage.
I also scaled it up on the y axis so it fits the thickness of the arm at least. It wouldn't be very logical otherwise.
Copy pasting a row of polys from the cylinder and trying to position it just below the last row of polys from the shoulder part.
When well put in place, resized, reshaped so it follows nicely the shape of the shoulder pad on top of it and the arm under it, just copy paste it a few times under it and resize for it to conform to the rest.
repeating the same operation, basically.
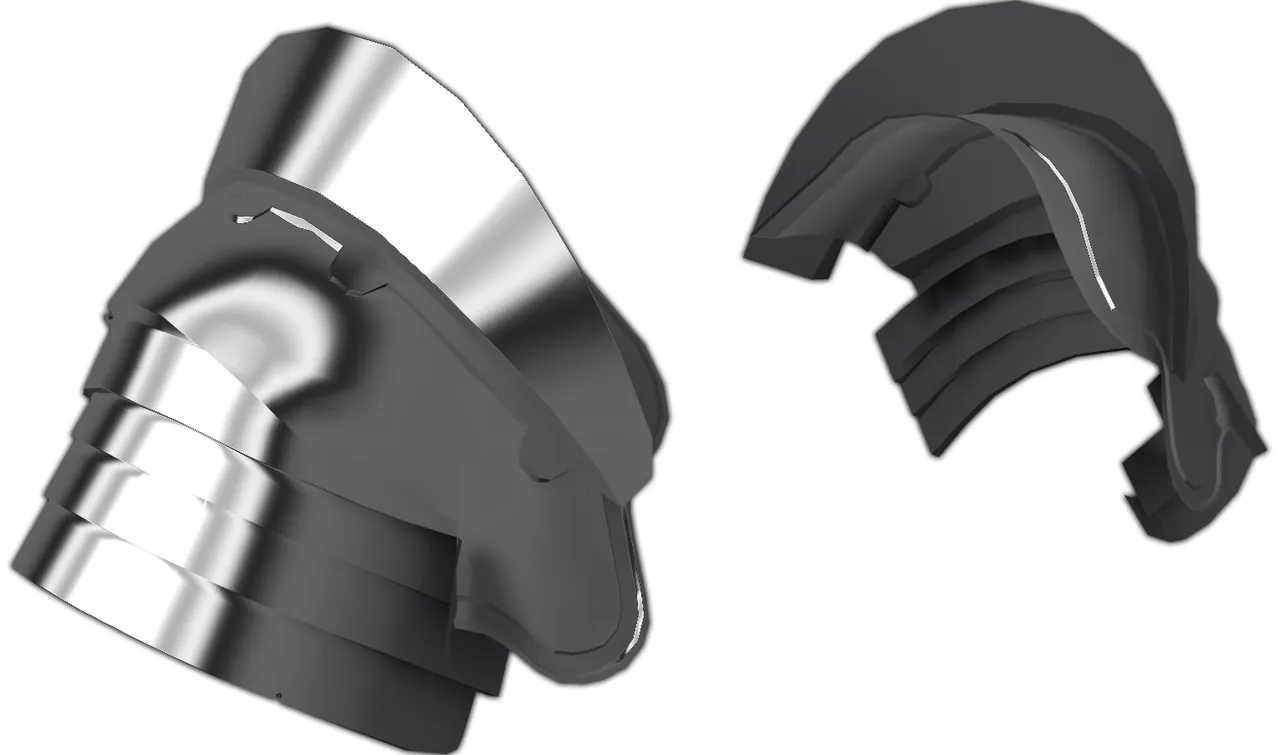
Finishing the last one with a more "rounded" end under the shoulder pad.

Copy pasting from the cylinder, i scaled some vertexes to make the "wing" on top of the shoulder pad.
Positionning edges and vertex so that they follow the curvature / sphere of this side of the shoulder pad.
Adding parts used to "attach" the wing to the rest of this piece of armor, usually put together with rivets.

Hey, that's pretty good.