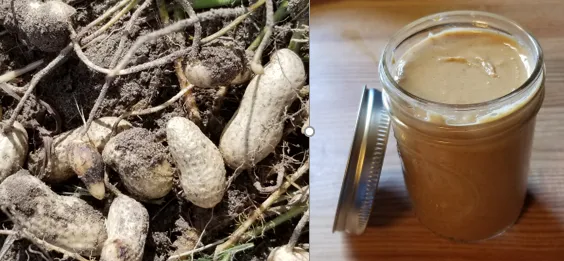
Peanut Butter: From Harvest to Sandwich
As a follow-up to a previous writeup along with requests from followers, I will be picking up from where the last article left at. If you didn’t see it before and would be interested in checking out how to grow and harvest your own peanuts, check out the post below:
Peanuts: How to Grow and Harvest
Prepping for Roasting
Once your peanuts have finished drying, you’re now ready for them to come off the plant and go inside to prep for roasting. I’ll usually fill the sink up with a few inches of water and throw a decent number of peanuts in there. I’ll then just work my hands around in the water to remove a majority of the dirt of the dirt from the peanuts, and giving special attention to some of the more stubborn ones that had more dirt on them.
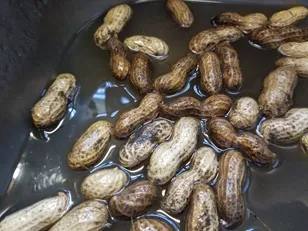
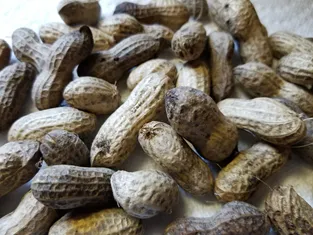
There’s no need to get them perfect, just most of the dirt removed. After doing this in a timely manner and not letting them soak too long, you’ll then want to place them out on some paper towels to dry for a few. I’ll usually wait around 10-15 minutes.
For Reference on estimating how many peanuts to use: Approximately 1 lb. of peanuts in the shell will give you about 3 cups of peanuts out of the shell. To make 1 cup of peanut butter, you will need about 1.5 cups of peanuts. So, 1 lb. of peanuts in the shell, will give you about 2 cups of peanut butter.
Roasting Your Peanuts
There are two different ways that you can roast your peanuts – either in the shell or out of the shell. Both will achieve the same results, but I prefer to cook them in the shell as I feel this gives them more even of a roasting. While your peanuts are finishing drying, preheat the oven to 350 degrees F.
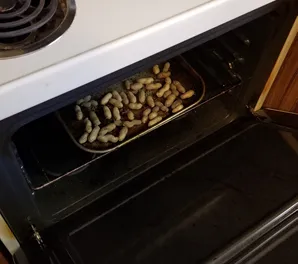
With your peanuts arranged in a single layer on a baking sheet, place them into the oven. If you are cooking them in the shell, cook them for about 20-25 minutes. If you removed them from the shell first, cook them for about 15-20 minutes. After they are done cooking, take them out and let them cool completely. Be careful with them though, they will be extremely hot when you take them out of the oven and they will continue cooking for a few minutes while they’re on the baking sheet.
Homemade Peanut Butter
Now is the exciting part, making your very own Peanut Butter! Unknown to many people, making your own peanut butter is extremely easy…almost too easy. From the point you’re at now, you will have your peanut butter ready in about 5 more minutes.
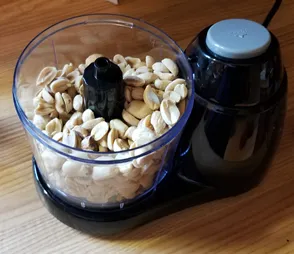
Taking a food processor, add your peanuts and then turn the processor on. Your peanuts will first turn into a chunky powder, and then it will go to a little bit finer of a powder. Now keeping on blending it some more(this is where the magic starts to happen after about 2 minutes of processing).
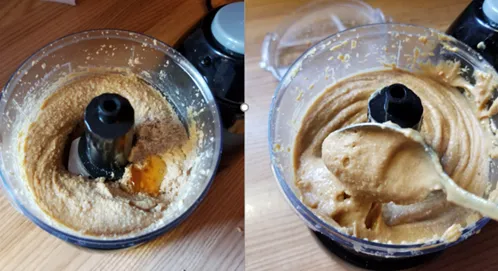
You will then notice that the mixture is starting to get a little clumpy as the oil starts working its’ way out of the peanuts. Continue blending it and you will then see that creamy goodness starting to appear in the container. Initially you will see some powder sitting on the bottom, but that will disappear very soon once the mixture starts getting more uniform.

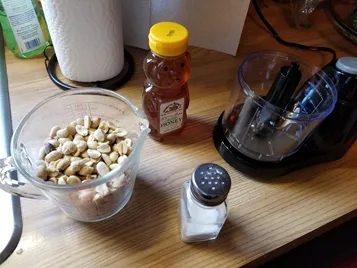
At this point, you can add some additional flavorings, if you like. I always like to add a little honey, with a pinch of sugar and salt, and adjust accordingly to taste. Continue running the food processor after putting in your additions until you reach the consistency that you like. If you enjoy a crunchy peanut butter, stop it a little sooner and stir in some chopped peanuts to your final mixture.
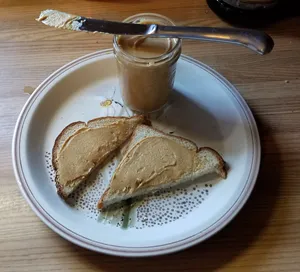
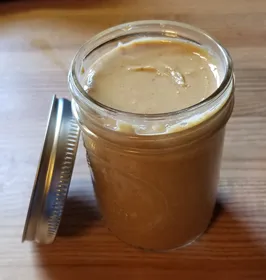
Now you’ve got your very own homemade peanut butter that you’re ready to enjoy! Not only do you have the pride of making your own (especially if you grew your own peanuts too), but you get to enjoy some peanut butter that is a much healthier alternative than store-bought products with all of their additives.
If you plan on eating your peanut butter relatively quick, you can leave it out on the counter. I always prefer to store mine in the fridge and it will keep for several weeks. If you want to store it for even longer, you can always store them by canning and keep your homemade peanut butter for much longer! You can even apply the same method to almonds and other types of nuts to make nut-butter.
Hope you enjoyed and feel free to ask any questions below!