Hi guys!
Today I will cover a few more sides of the scratch build knee with some more pla plates then do a small clean up. So here are updates on Project Devil Gundam!
Today I will cover a few more sides of the scratch build knee with some more pla plates then do a small clean up. So here are updates on Project Devil Gundam!
Cementing Process
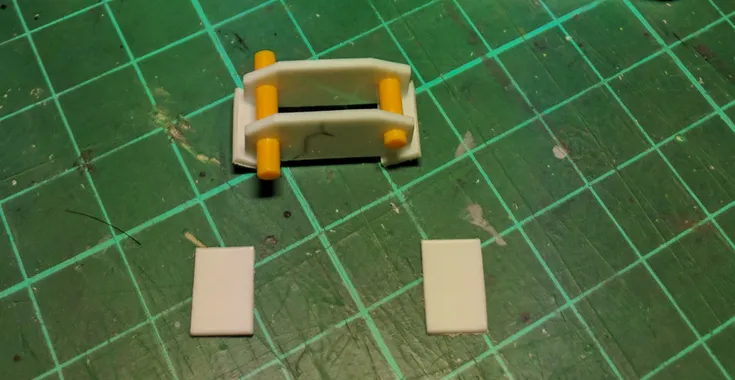
Cementing process is quite straight forward. I use regular cement for the actual bond between the pla plates and thin cement to kind of clean up the edges a little bit.
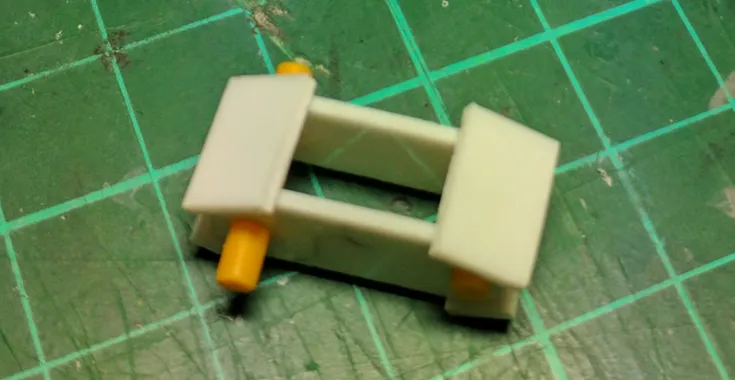
Plan for Detailing
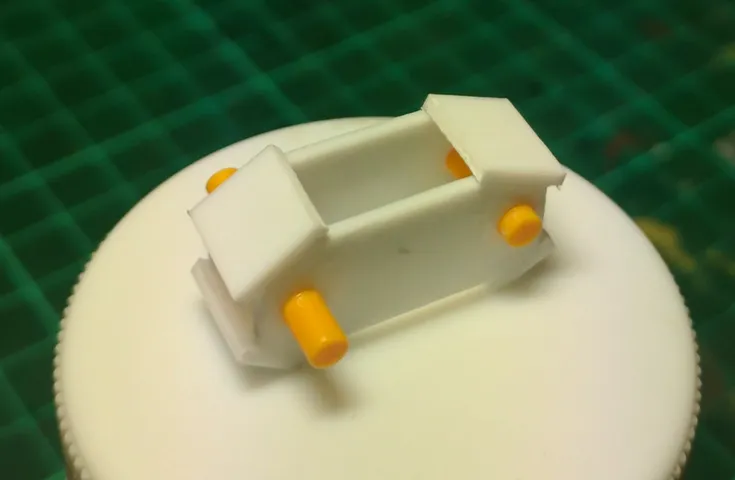
I've covered a few sides of the knee and I will start making plans on how I will detail the knee.
I start with the sides since the top and bottom part is not done yet.
I will do a small panel line here which will complement the pla plates that later will be cemented here.
Because I'm not sure I can make that c-joint I will finish detailing the knee first.
I start with the sides since the top and bottom part is not done yet.
I will do a small panel line here which will complement the pla plates that later will be cemented here.
Because I'm not sure I can make that c-joint I will finish detailing the knee first.
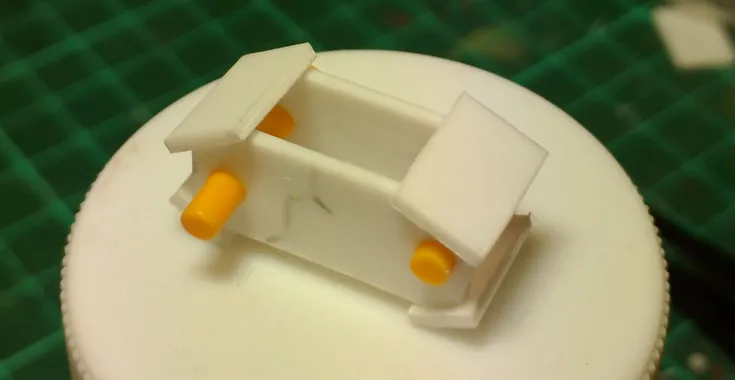
Cleaning Up
After I let the cement cure overnight I can start cleaning up the excess pla plates using hobby knife and file.
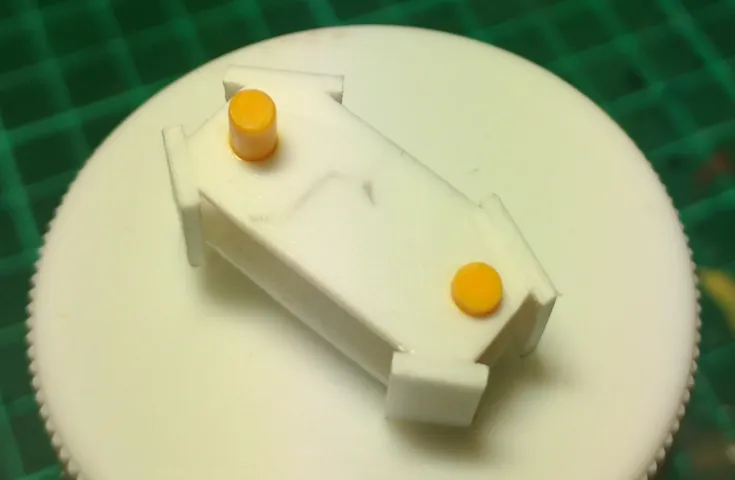
Later I will do a test fit with the connector and the thigh then reshape the edges of those pla plates so I can cover top, bottom, front and backside of the knee.
And so this is my updates for today on this Devil Gundam x Neue Ziel Project.
Keep on building! Keep on steeming! Have a nice day!
Later I will do a test fit with the connector and the thigh then reshape the edges of those pla plates so I can cover top, bottom, front and backside of the knee.
And so this is my updates for today on this Devil Gundam x Neue Ziel Project.
Keep on building! Keep on steeming! Have a nice day!
Quick access tutorial:
- Fixing broken peg using gunpla runer and several tools.
- Fixing holes using cement and plastic scraps.