Buenas tardes para toda la familia #hieveMotors. Y a todos los integrantes, también a los participantes, que gracias a ellos podemos aprender cada día algo nuevo, o que no sabíamos, o que tal vez uno lo hace de una forma y como lo hace otro puede ser más rápido. Es por eso que les doy gracias a todos por sus publicaciones.
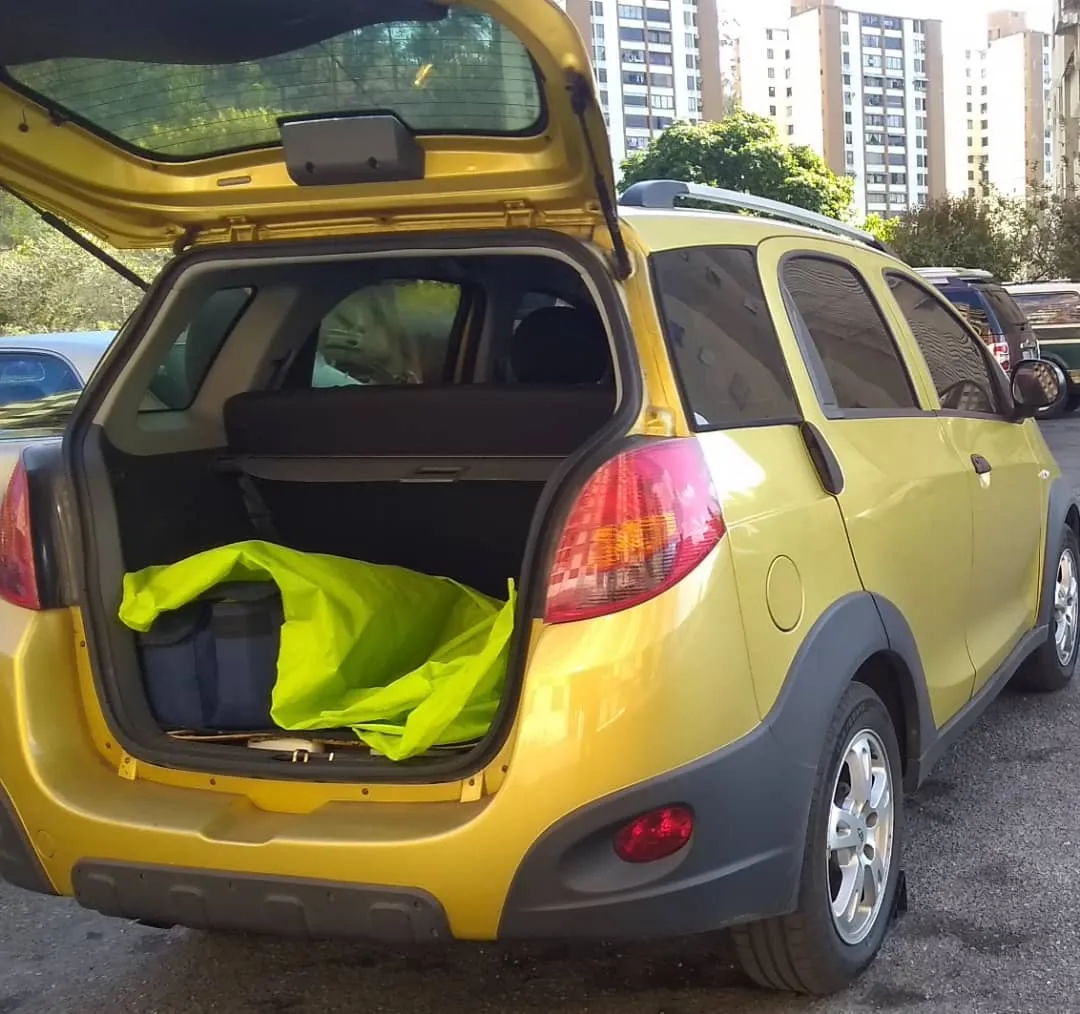
Chery X-1
Hoy estamos por aquí para mostrarle un poco del cambio de la rolinera delantera del lado de piloto.
Les cuento que esa rolinera mi yerno la llevo a que se la cambiaran en un taller en noviembre y no duro nada, que pudo haber pasado ahí 😮? Si alguien quiere comentar para aprender.
En esta oportunidad él se lo trajo para que mi esposo se la cambiara.
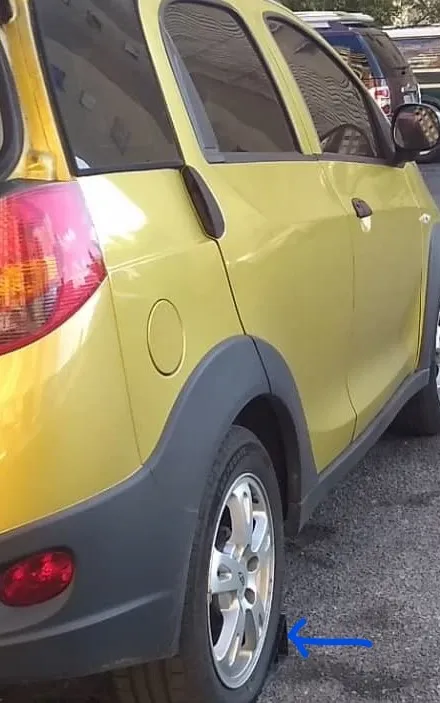
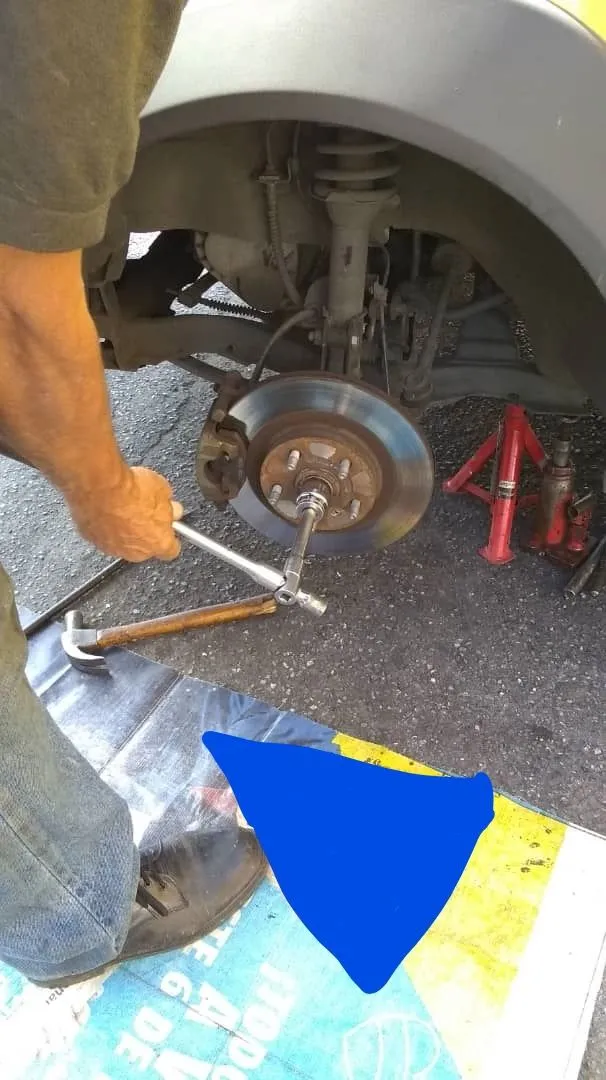
Primero que nada. Vamos a ponerle una cuña al caucho de atrás 👇
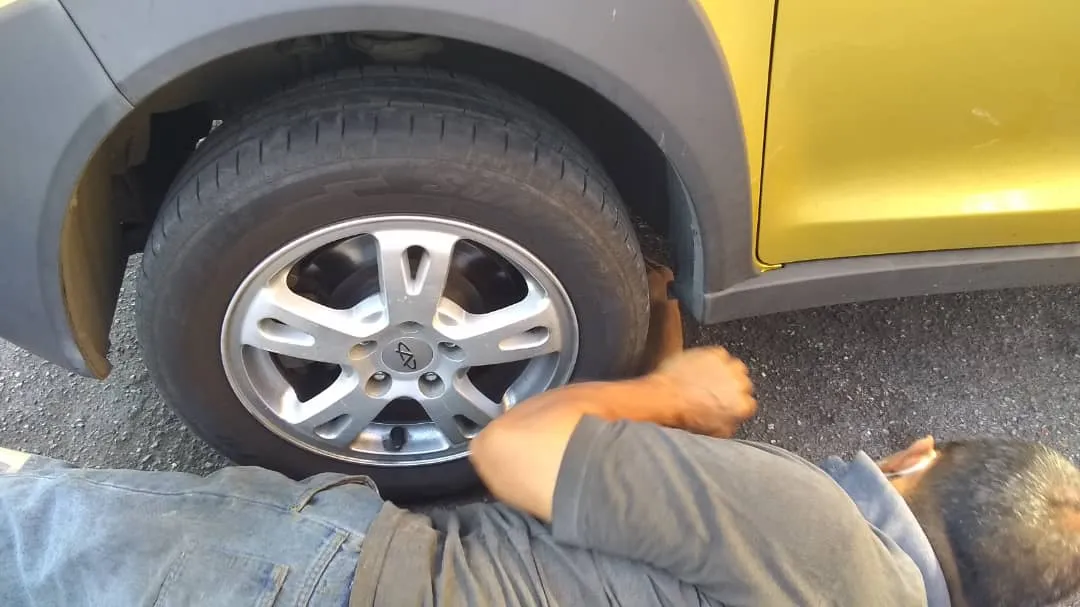
Ahora vamos a meterle los gatos, también le vamos a meter un burro, para tener bien estable la camioneta
Porque como se le tiene que hacer fuerza. Queremos estar bien seguros, para poder sacar el caucho.
Bien sacamos el caucho. No pongo las fotos, porque todos sabes como sacarlo.
Haciéndole presión al émbolo o pistón de la mordaza hacia adentro 👇. Para cuándo se proceda a armar de nuevo entre con facilidad. Es importante recordar que mientras esté el émbolo o la mordaza fuera, no se debe pisar el pedal de freno, ya que va a presentar dificulta para volver a armar el sistema, y tendrá que recurrir a una prensa tipo sargento para poder llevarlo a su sitio y poder montar.

Se aconseja poner el o los cauchos debajo del carro. Cómo estrategia. En caso de un inconveniente con el o los gatos.
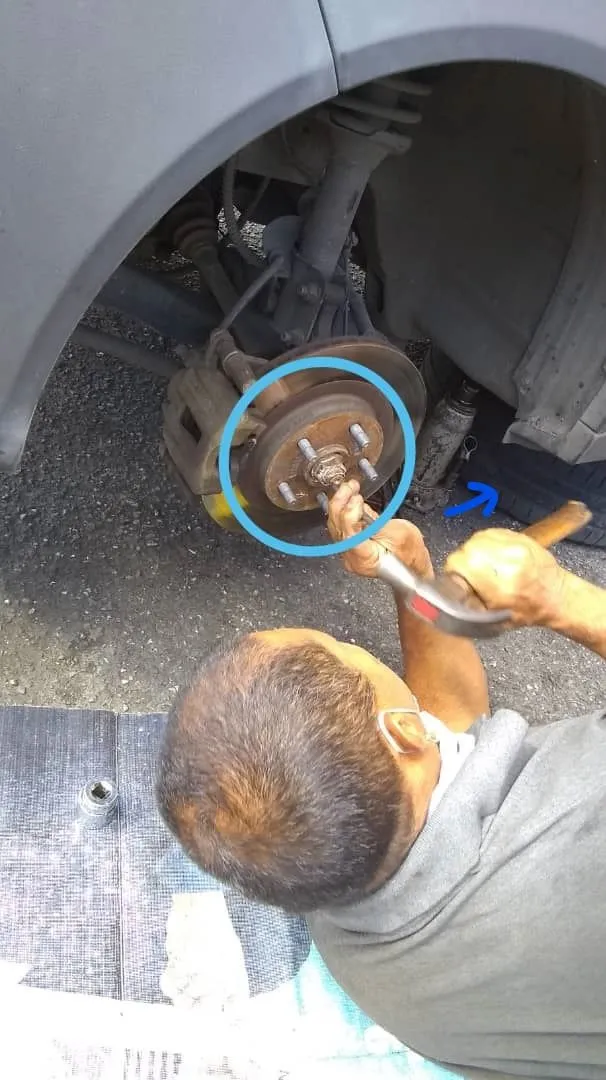
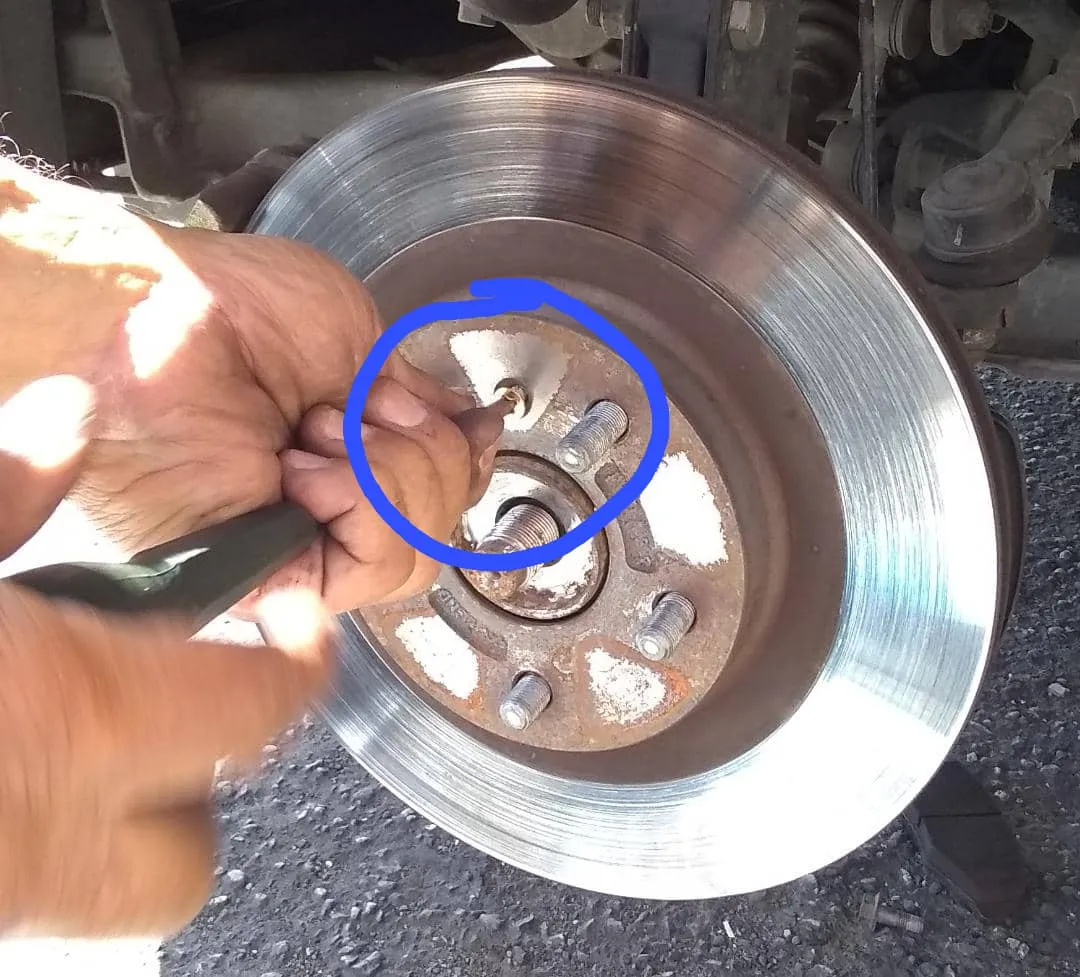
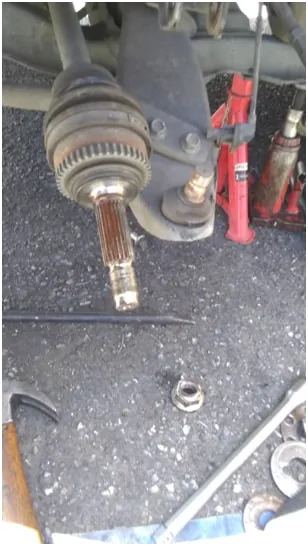
Sacando con un centro punto el borde de la tuerca de seguridad que está unido en la muesca o canal del espárrago del trípode 👇. Vamos a sacar el tornillo de seguridad que está en el disco y así seguir con los siguientes pasos.
Haciéndole presión al émbolo de la mordaza hacia adentro 👇. Para cuándo se vaya a armar entre con facilidad. Es fundamental recordar que mientras esté la mordaza afuera no pisar el pedal de freno. Porque si no hay que tener una prensa tipo sargento para poderlo montar.
Se usó un dado hexagonal de 30 ml, cuadrante media con una palanca para aflojar la tuerca 👇
Terminal izquierdo de la dirección también se tiene que mover 👇

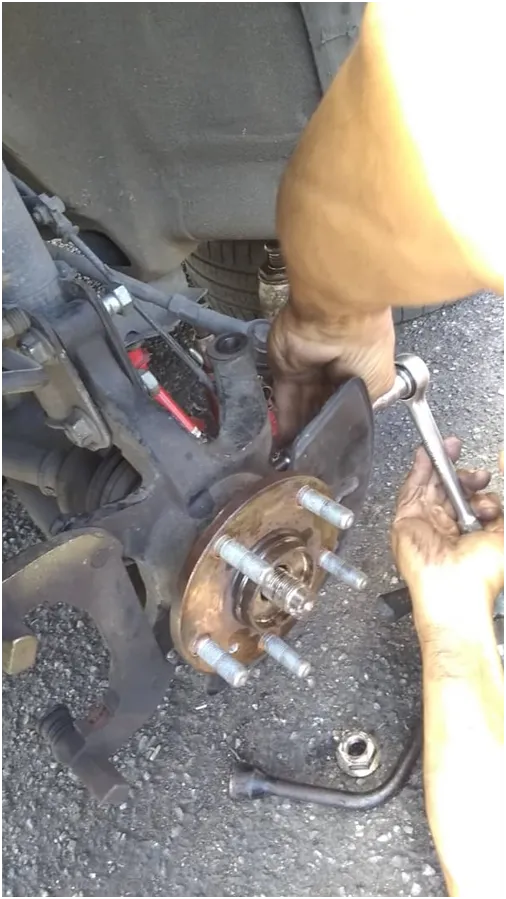
También se tienen que sacar los tornillos del amortiguador para sacar el disco 👇.
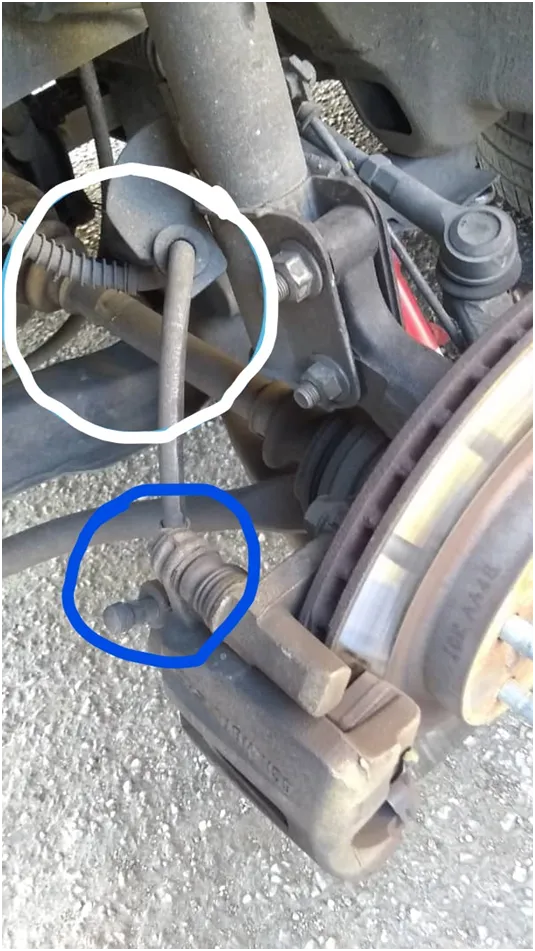
En esta fotografía les señalo con un círculo blanco la manguera que lleva la liga de frenos. Esa no la vamos a tocar. 👇 ella queda amarrada a la mordaza y al espiral. Para que no pierda la liga.
Vamos a sacar el tornillo de seguridad que está en el disco 👇 y así seguir con los siguientes pasos.
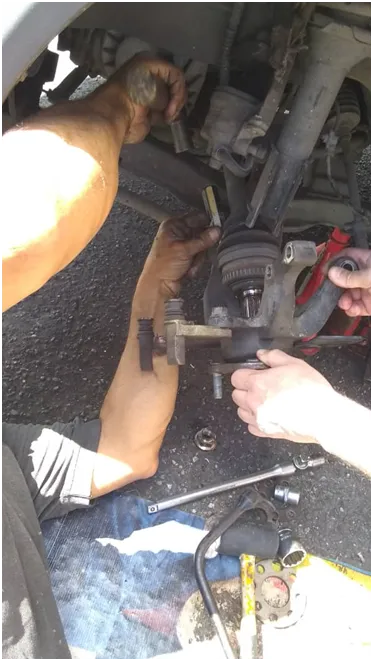
Tiene un tornillo pasante en la meseta inferior que actúa en forma de prisionero impidiendo la salida del muñón inferior de la meseta. 👇 Y listo ahora si salió en muñón.
Se mueve la dirección para trabajar mejor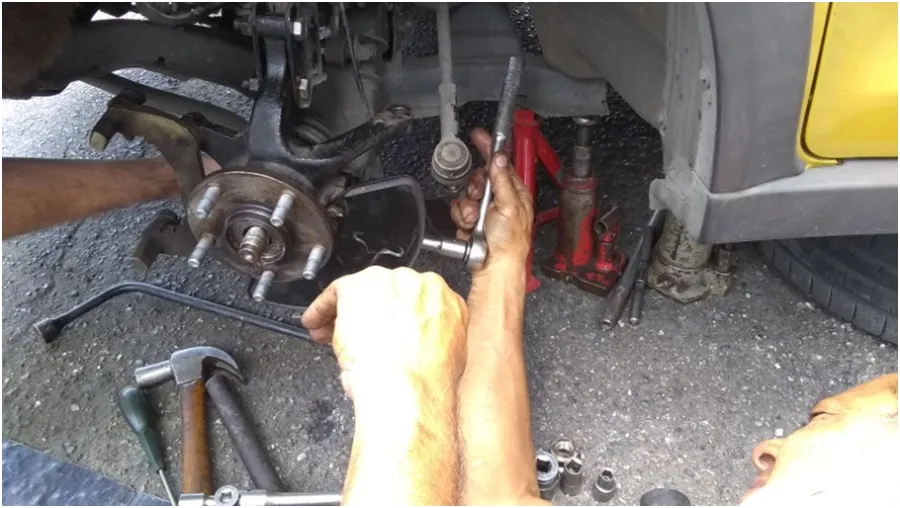
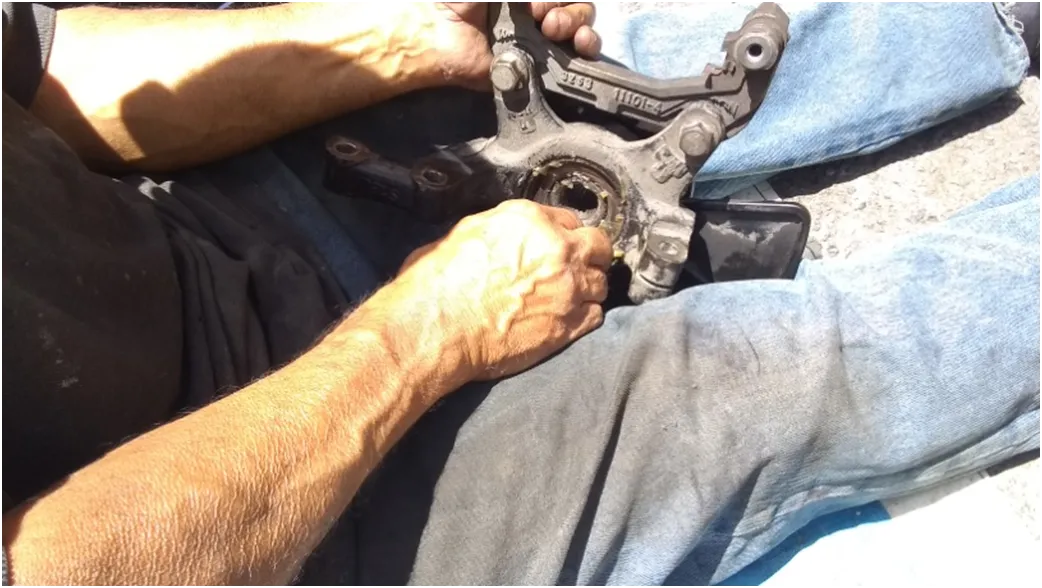
Aquí ya saliendo el mozo
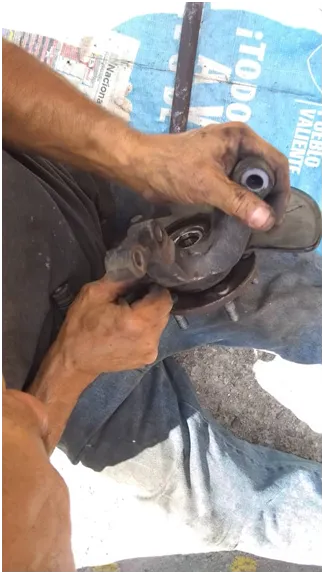
Ya sacamos el mozo del mutante para llevarlo a un taller donde tengan una prensa
🚕🚙 🚕🚙 🚕🚙 🚕🚙 🚕🚙 🚕🚙 🚕🚙 🚕🚙 🚕🚙 🚕🚙 🚕🚙 🚕🚙 🚕🚙 🚕🚙
Gracias por visitar mi blog
Las fotos fueron tomadas con mi celular Motorola E5
Fuente de los separadores
🚕🚙 🚕🚙 🚕🚙 🚕🚙 🚕🚙 🚕🚙 🚕🚙 🚕🚙 🚕🚙 🚕🚙 🚕🚙 🚕🚙 🚕🚙 🚕🚙
ENGLISH
Good afternoon to all the #hieveMotors family. And to all the members, also to the participants, that thanks to them we can learn something new every day, or that we didn't know, or that maybe one does it in a certain way and how someone else does it can be faster. That's why I thank you all for your posts.
Chery X-1
We're here today to show you a little bit of the driver's side front bearing change.
I tell you that my son-in-law took that roller to have it changed in a workshop in November and nothing lasted, that she could have happened there 😮? If anyone wants to comment to learn.
This time he brought it to her so that my husband could change it for him.
First of all. Let's put a wedge on the back rubber 👇
Now we are going to put the cats in it, we are also going to put a donkey in it, to keep the truck very stable
Because how do you have to force it? We want to be very safe, to be able to remove the rubber.
Well we take out the rubber. I don't put the photos, because everyone knows how to get it.
Pressing the plunger or piston of the gag inward 👇. For when it proceeds to arm again enter easily. It is important to remember that while the plunger or caliper is out, the brake pedal should not be pressed, as it will make it difficult to reassemble the system, and you will have to resort to a clamp-type press to be able to take it into place. and be able to ride.
It is advisable to put the rubber or tires under the car. How strategy. In case of an inconvenience with the cat(s)
Taking out with a center point the edge of the safety nut that is attached to the notch or channel of the tripod stud 👇. We are going to remove the security screw that is on the disk and continue with the following steps.
Pressing the gag plunger inward 👇. For when it is going to be assembled, enter easily. It is essential to remember that while the caliper is out, do not step on the brake pedal. Because if you don't have to have a sergeant type press to be able to mount it.
A 30ml hex socket, mid-quadrant with a pry bar was used to loosen the nut 👇
Left terminal of the address also has to be moved 👇
You also have to remove the shock absorber screws to remove the disc 👇.
In this photograph I point out with a white circle the hose that carries the brake league. We're not going to touch that. 👇 she is tied to the gag and the spiral. So you don't lose the league.
We are going to remove the security screw that is on the disk 👇 and continue with the following steps.
It has a through screw in the lower plateau that acts as a prisoner preventing the exit of the lower stump from the plateau. 👇 And ready now if she came out in a stump.
Address is moved to work better
Here the mozo is coming out
We have already removed the mutant's mozo to take it to a workshop where they have a press
🚕🚙 🚕🚙 🚕🚙 🚕🚙 🚕🚙 🚕🚙 🚕🚙 🚕🚙 🚕🚙 🚕🚙 🚕🚙 🚕🚙 🚕🚙 🚕🚙
Thanks for visiting my blog
The photos were taken with my Motorola E5 mobile phone.
Source of separators
Translator source
🚕🚙 🚕🚙 🚕🚙 🚕🚙 🚕🚙 🚕🚙 🚕🚙 🚕🚙 🚕🚙 🚕🚙 🚕🚙 🚕🚙 🚕🚙 🚕🚙