Some days back I talked about classifying our activities according to their priorities, saying that an A Priority was one that needed our Immediate attention, B Priority was needed but not urgent, C Priority could wait to be taken care of, and so on. However, some C Priorities could turn out to become an A one all of a sudden. Similarly, an A Priority though needed to be attended the sooner the better, it is put aside due to present circumstances.
I felt all wrapped up unintentionally in this situation with my bedroom’s air conditioner. It needed a proper look, and it was left in standby since all my economics efforts were dedicated to a family health issue.
So, the time came to take up this priority again and so I did. With this hot weather we were and still we are facing, one could say that the quicker it could be repaired, the better. However, a deep thorough look would provide better results than just a replacement of a malfunctioning part, since that AC had been working for over 10 years non-stop. At this point in time the application of the Seven Step Diagnostic Procedure or Strategy would come in handy. This is to say:
I.- First Step: Verify the problem.
II.- Second Step: Visual Inspection.
III.- Third Step: Gather Data & Study it.
IV.- Forth Step: Develop a Diagnostic Plan.
V.- Fifth Step: Carry out some Testing.
VI.- Sixth Step: Determine the Root Cause & Repair.
VII.- Seventh Step: Verify the Repair.
First Step.
I knew the air conditioner once it was turned on, it lasted between 25 to 30 minutes to stop and display the E4 Error. However, the more the A/C was on, the shorter were the periods it lasted functioning. To follow this first step in the Diagnostic procedure was fairly easy. It was just a matter of turning the AC on and waiting till it stopped.

AC displaying error E4
Second Step.
However, to implement the 2nd step, the lid of the console had to be taken off. Once I did it, honestly, though I am not an expert, nothing seemed to be out of its place, burnt, or broken, or impregnated with some sort of oily liquid.
Third Step
In order to follow this next step about Gathering Data & Studying it, I had to look for support with people that knew more than what I did about AC. I must say that, regrettably, I found out that the tendency of most of the refrigeration or cooling technicians I know, is that they are very good at the cooling process itself, but not necessarily on the electronics it is controlled by.
I called a couple of friends to have a look at my bedroom’s air conditioner and when I told them about the symptom error E4, they did not seem to be very keen to go and have a look at it. They scheduled a date to come and simply did not do so, apologizing afterwards they could not make it due to work they had had compromised with previously.
So, in the meantime there was no other choice but to investigate in internet what that Error E4 was all about. I scrolled among various web pages and I found out a few possible causes, with no apparent connection to each other, according to my little knowledge about the subject.
In any case, webpages such as https://www.reviewhomewarranties.com/home-maintenance/hvac/fixing-e4-error-on-air-conditioner/, provides certain suggestions to follow, which I state in my own words:
1.- There is a fault in the condensing unit. Probable causes:
a.- Damage in the compressor capacitor.
b.- Fan of the condenser is slow due to bearings.
c.- Condenser coil dirty with dust, making the pressure to rise.
d.- Freon or refrigerant charge low, causing the evaporator coil to freeze, disconnecting the compressor by the pipe temperature sensor.
2.- Failure of the pipe sensor. Its resistance should be according to the temperature measure, that for room temperature it should be around 3 kohm.
Others defined the E4 display not as an error. Instead, it is defined as a display that alerts, the unit is going into the defrost mode, disconnecting the compressor. What this actually means is that something is malfunctioning, causing the AC to get too cold. Either one of the two temperature sensors, pipe or room temperature sensor are malfunctioning.
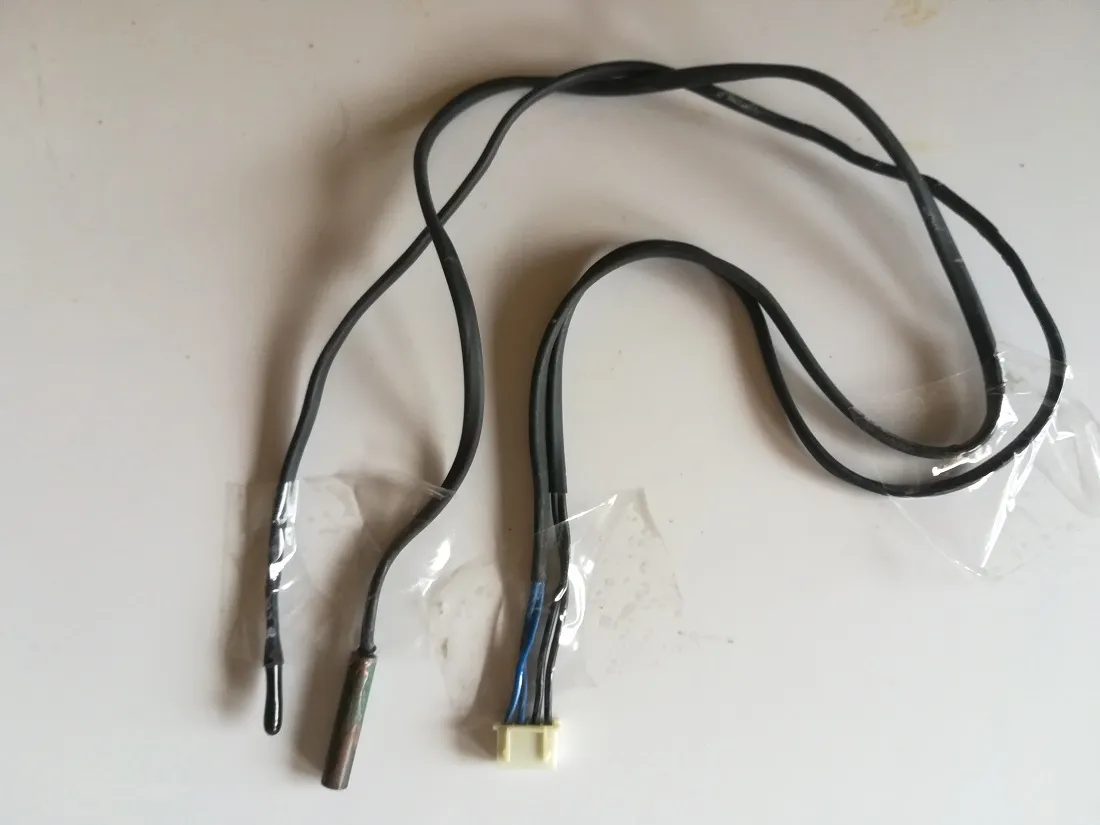
Room Temperature & Tubing Temperature Sensors
Forth Step.
After all this investigating I went on with step 4 of the Diagnostic Procedure: To develop a plan of action.
.- Undust the condenser and evaporator coiler using a water hydro jet device.
.- Check the condenser fan bearings
.- Check the freon pressure
.- Test the pipe and room temperature sensors.
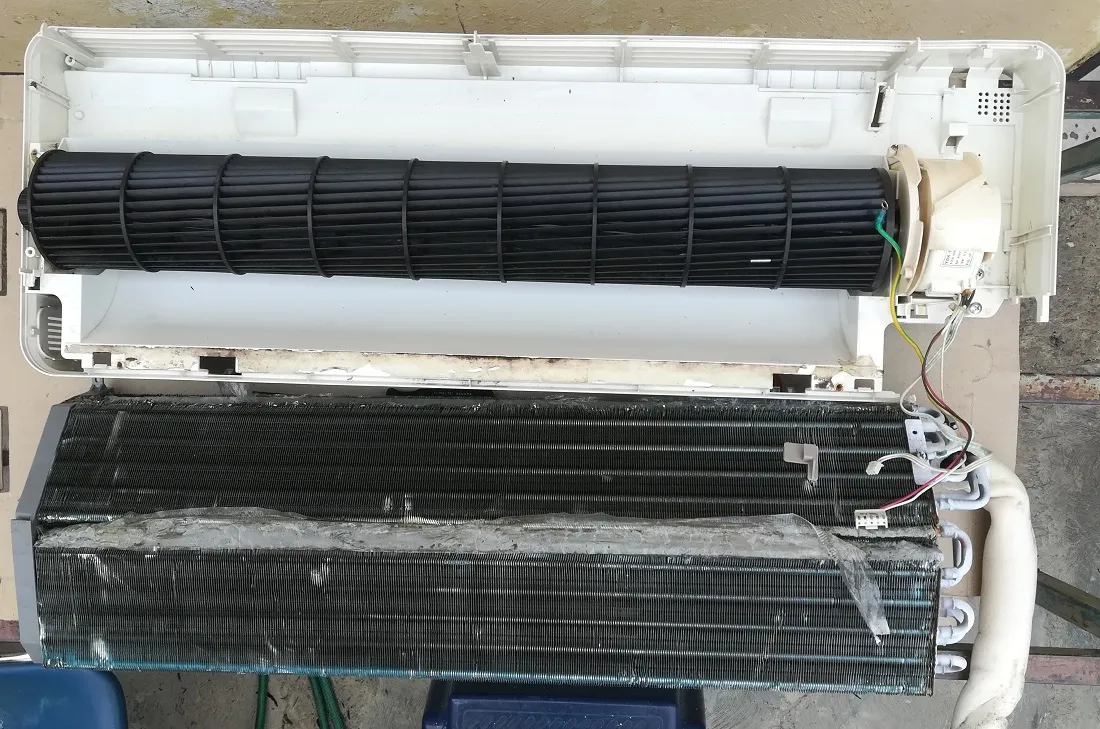
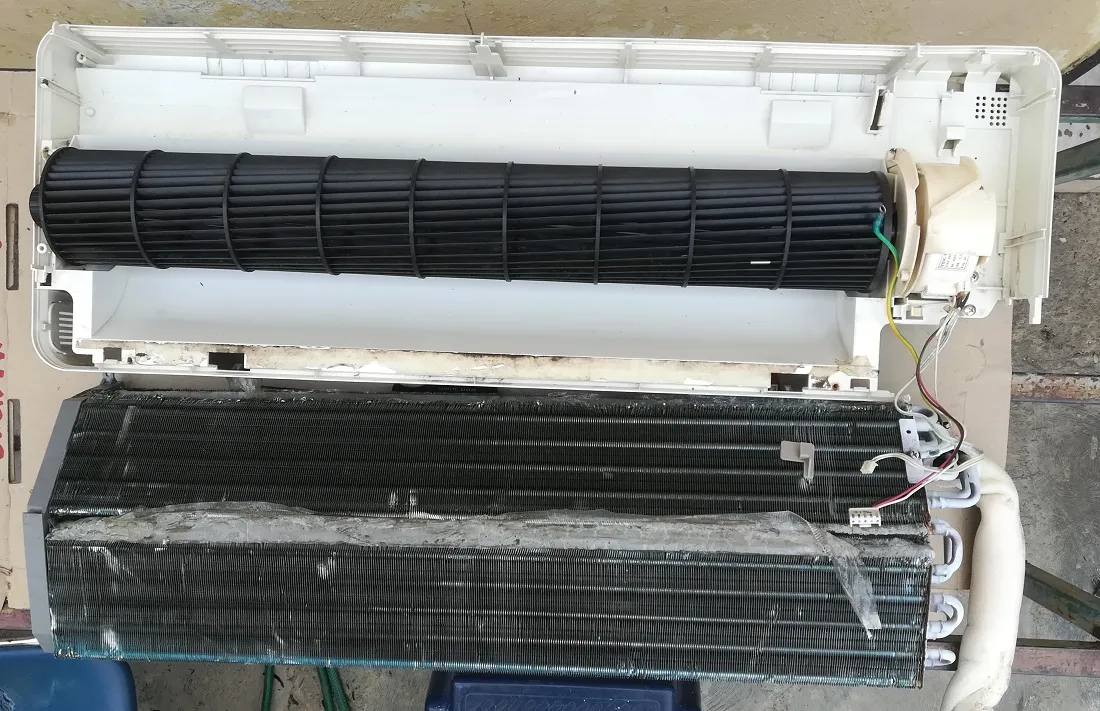
At this point I did what I was able to carry out, the cleaning of the condenser and the checking of the fan bearings. When testing the freon pressure it was very low 50 psi and also the current being drawn by the compressor was 4.59 A, when fully charged it should be 9.00 A. From this last test it was concluded that there had to be a leak. At this point in time, I decided to bring the split console down to carry out some proper maintenance.

Split AC Console taken down to disassemble it as much as possible
Which consisted of: lubricating every rotating part,
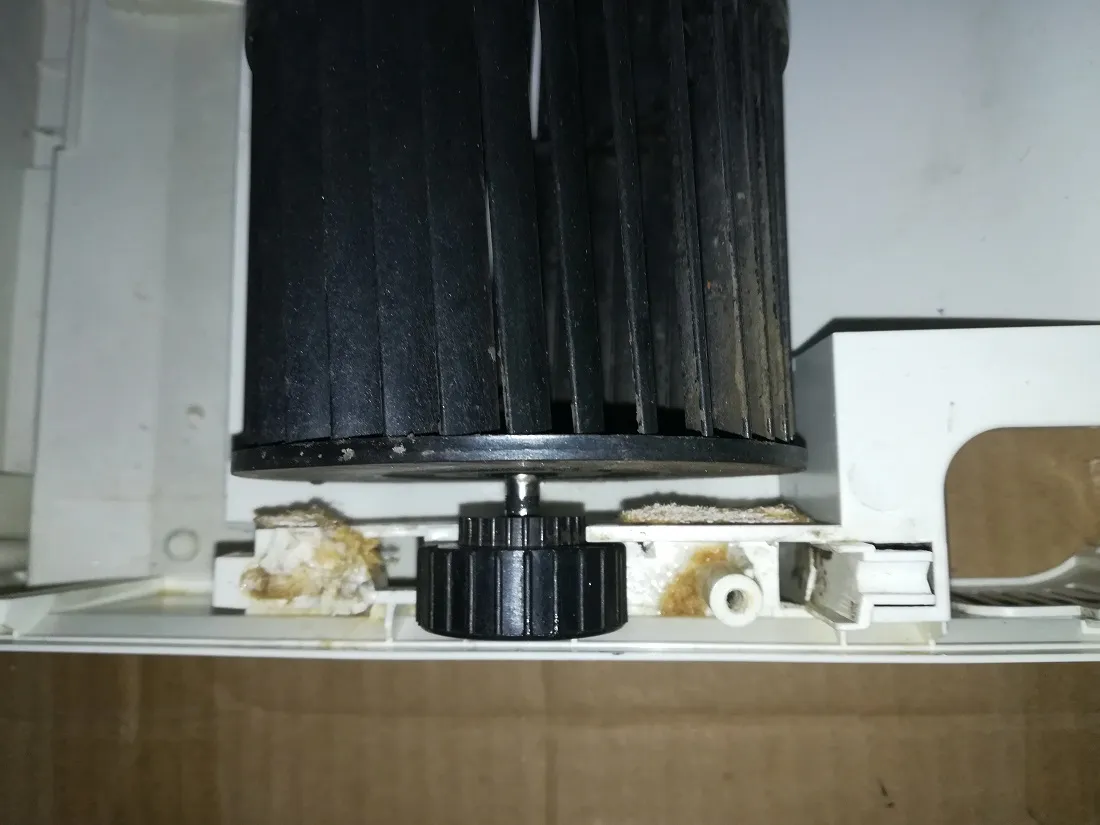
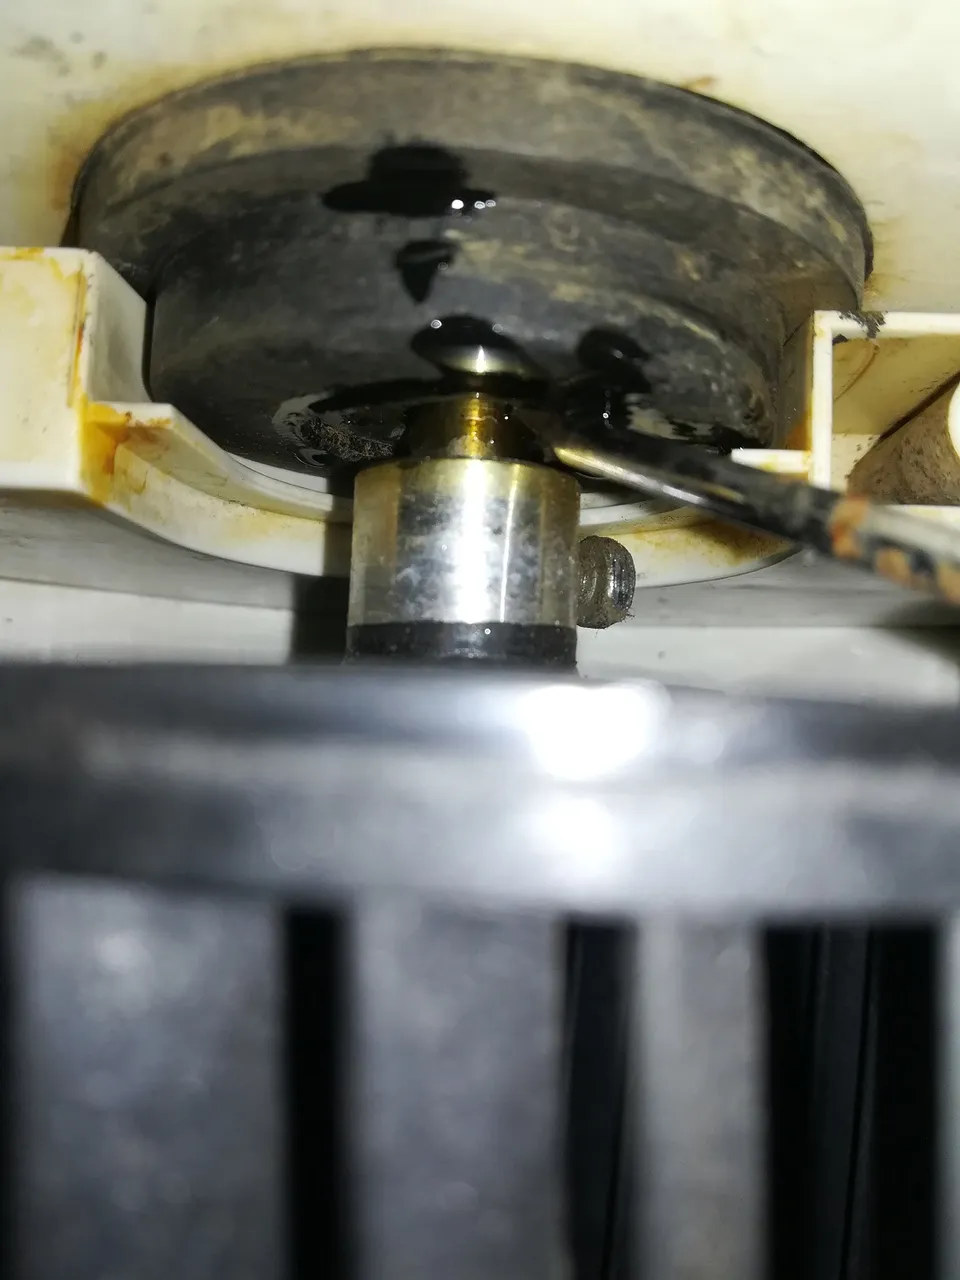
Lubricating the axle/bushings of the indoors air drum
Eliminating all possible rust and painting it afterwards,
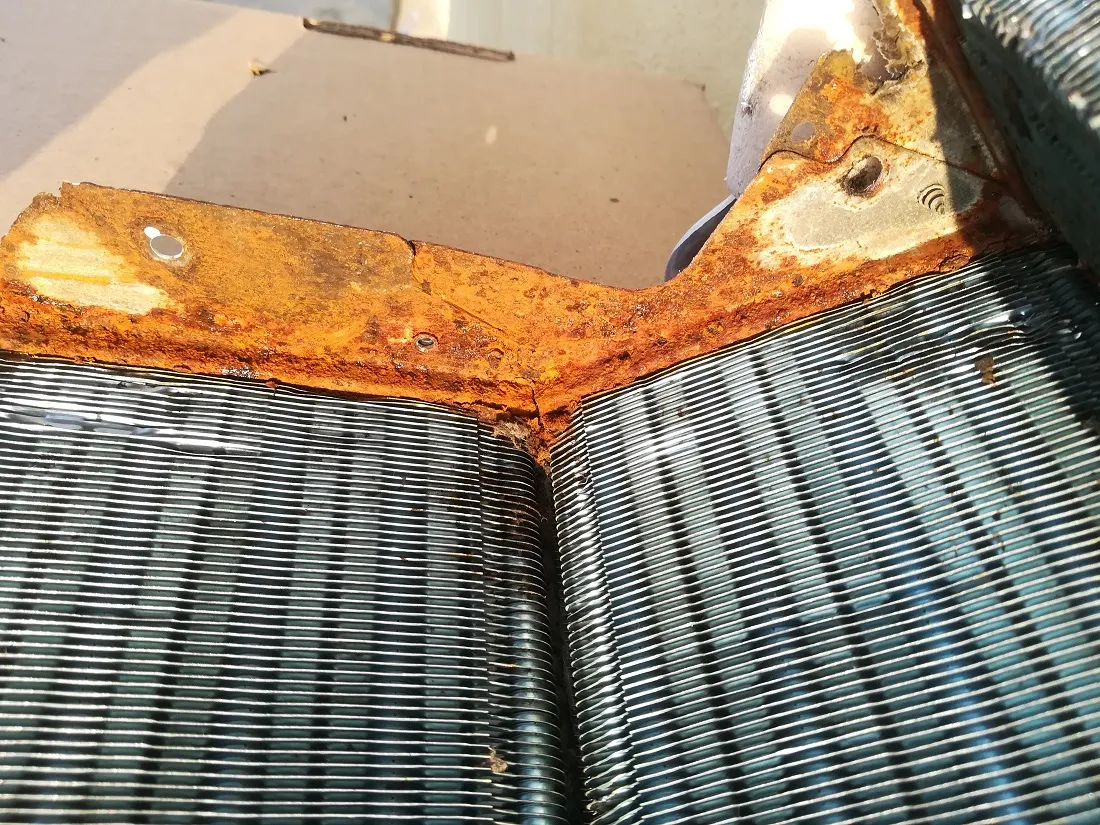

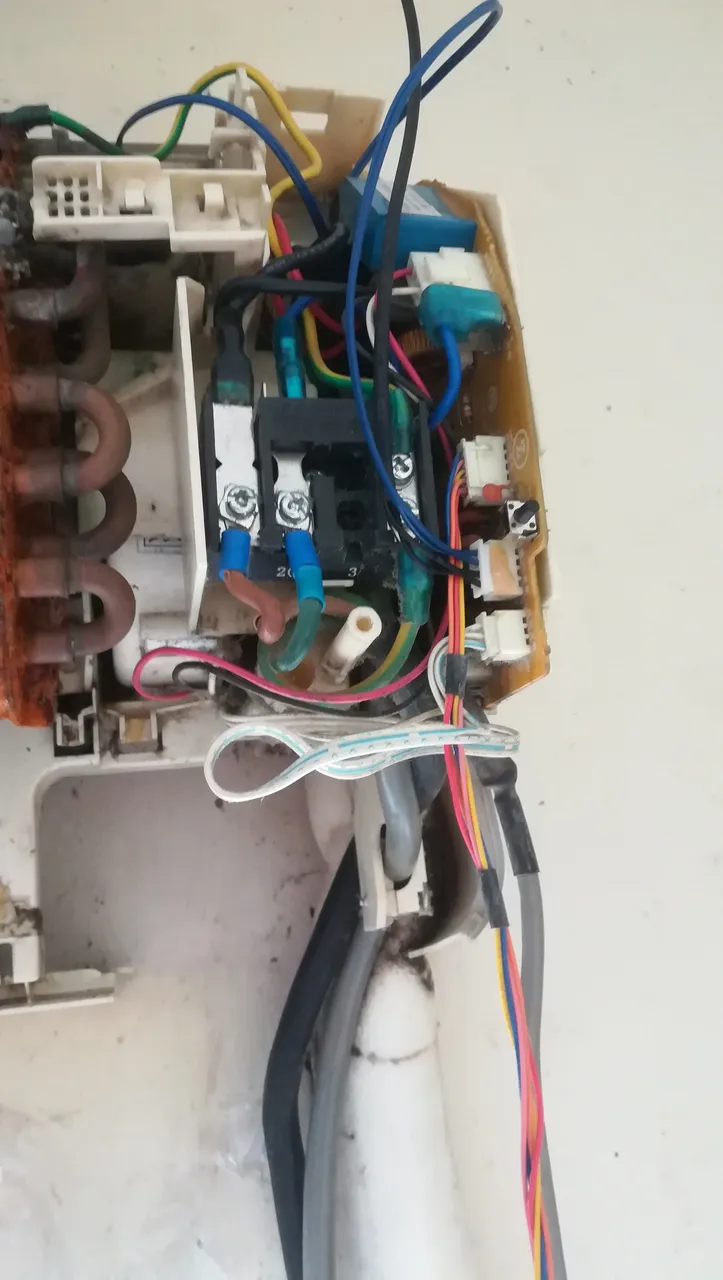
Also making sure the electrical connections did not have rust resistance,
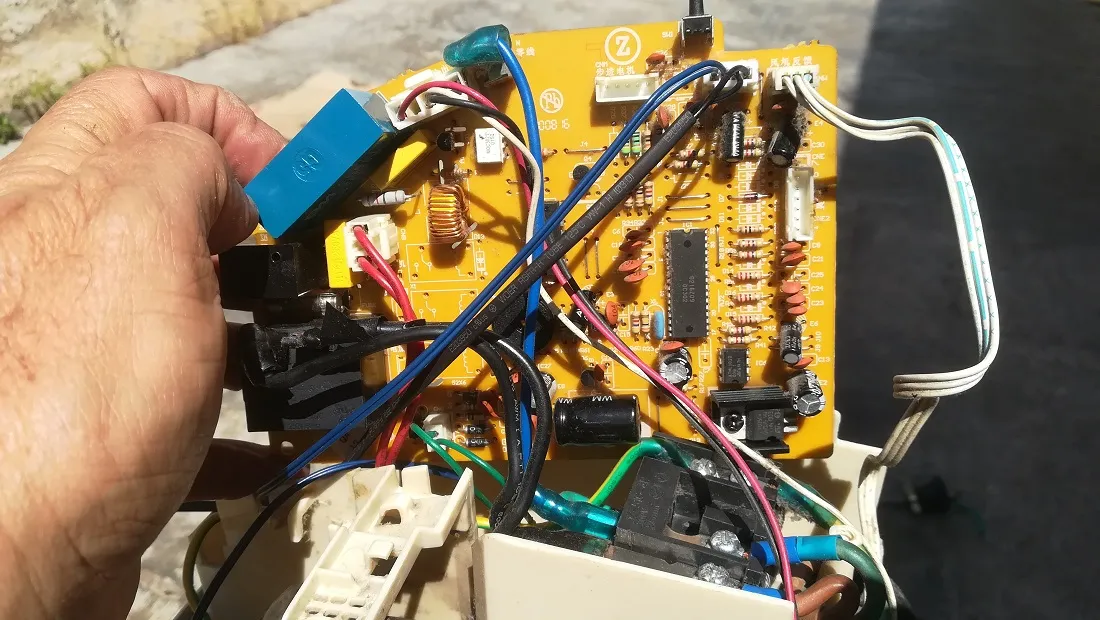
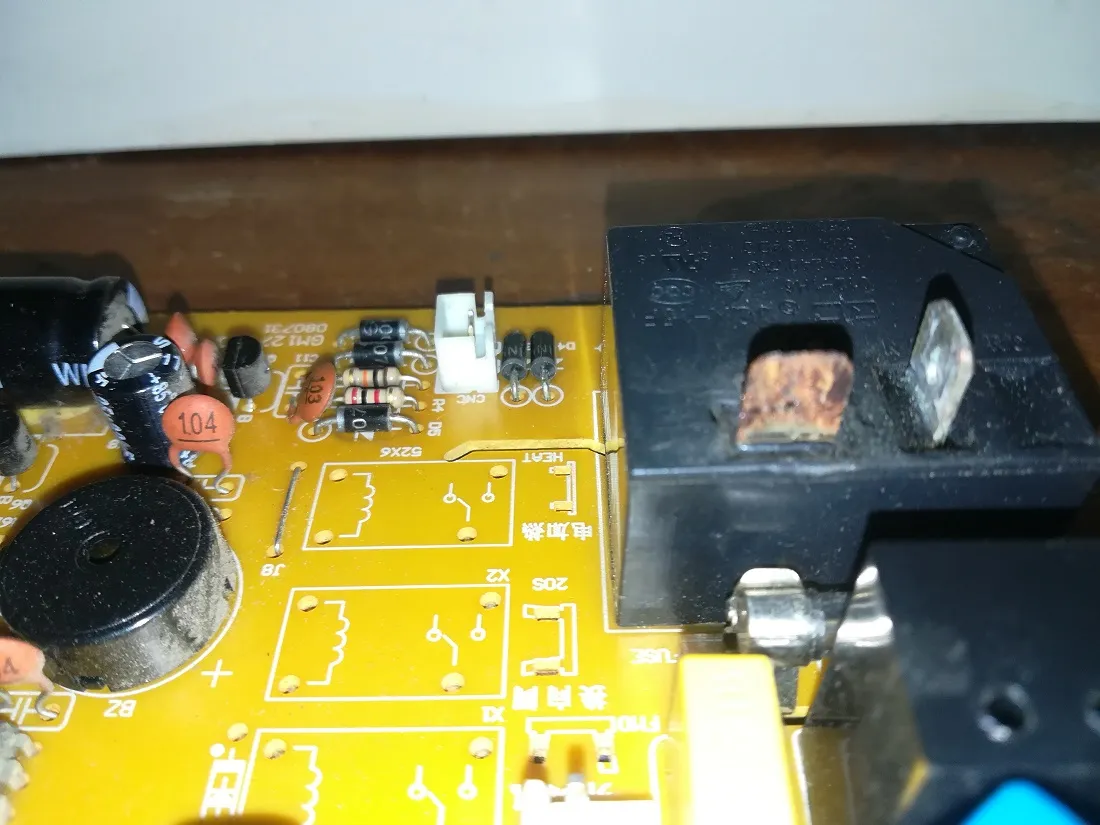
So that it could be as clean as possible prior to reassemble it,
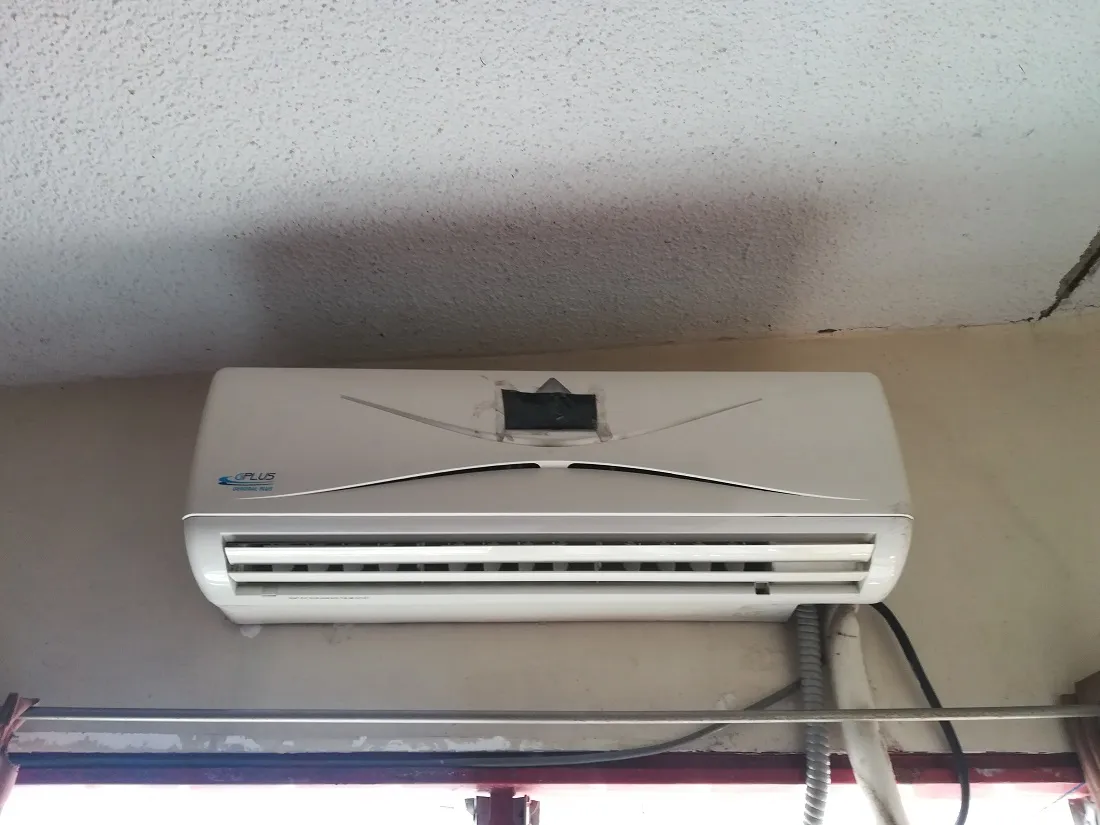
Now it is back to where it was originally, waiting to have its tubing pressurized to see if there is any leak, to clean its tubing with nitrogen, and finally to charge it with the amount of freon required.
I should say that the last three steps, Testing, Determine the Root Cause and Verifying the Repair, of the Seven Step Diagnostic Procedure are yet to be performed. That would be done for the second part of this post.
All pictures are of my own