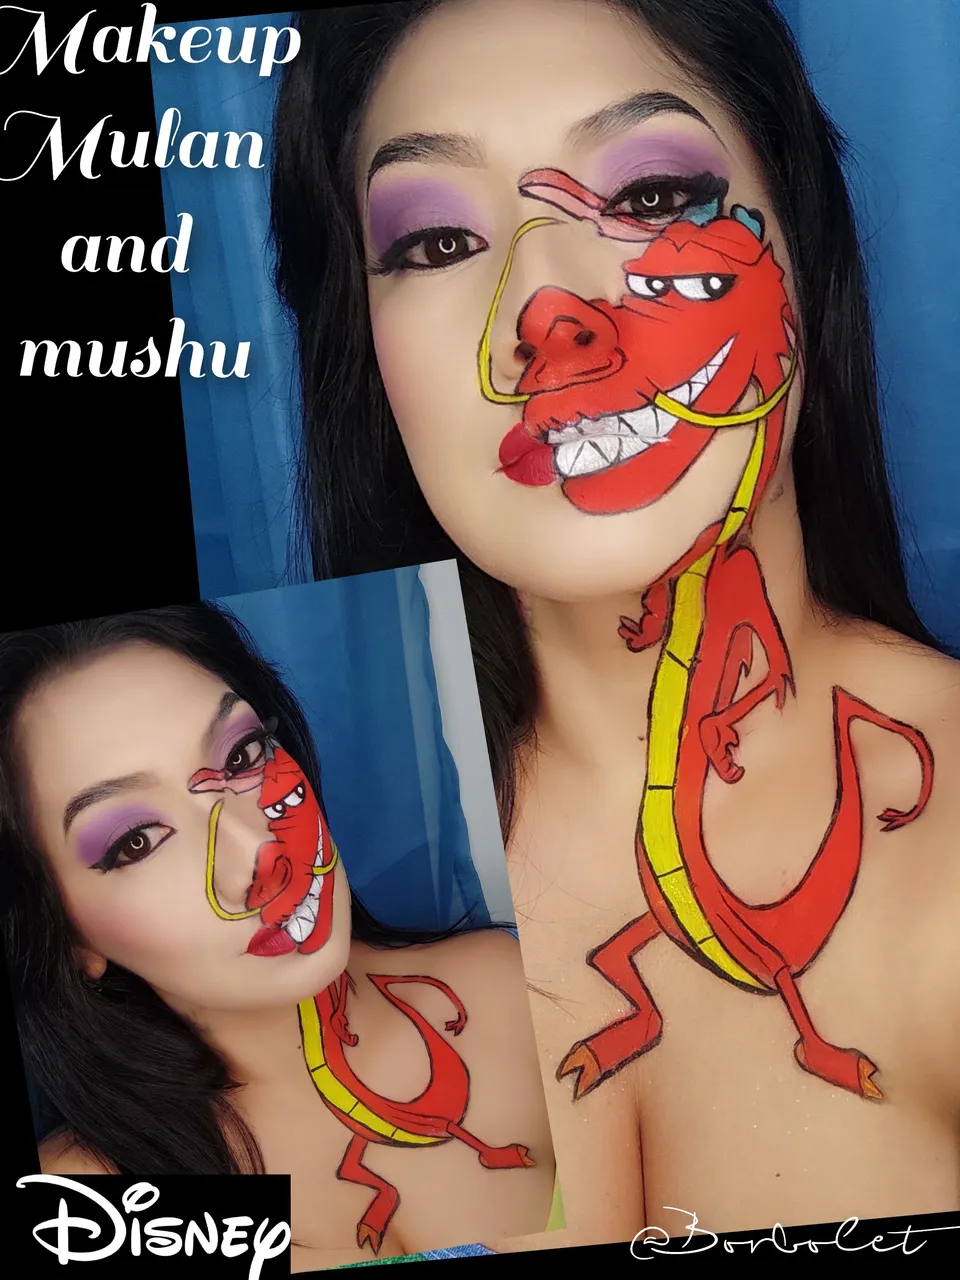
¡¡¡Hola a todos!!! 🤗Bienvenidos a mi blog, espero que hayan tenido un gran día, es un placer compartir con todos esta gran comunidad de @makeuppower, hoy me sumo a la iniciativa propuesta por una maquilladora muy talentosa que hace vida en esta comunidad @mayifiesta, que es hacer un maquillaje artístico inspirado en un personaje disney. He elegido hacer un maquillaje donde represento a "Mulan" una joven que va a una batalla imperial en honor a su familia y a "Mushu" el pequeño dragón que vive en esta historia guiando a Mulan.
Hello everyone! 🤗Welcome to my blog, I hope you have had a great day, it is a pleasure to share with all this great community of @makeuppower, today I join the initiative proposed by a very talented makeup artist that makes life in this community @mayifiesta, which is to make an artistic makeup inspired by a disney character. I have chosen to do a makeup where I represent "Mulan" a girl who goes to an imperial battle in honor of her family and "Mushu" the little dragon who lives in this story guiding Mulan.
🔅❤️🔅❤️🔅❤️🔅❤️🔅❤️🔅❤️🔅❤️🔅❤️🔅❤️🔅
Para hacer este maquillaje utilice lo siquiente:
🔅Primer
🔅Base
🔅Polvo Compacto translucido
🔅Tintas faciales ( rojo, amarillo, blanco, negro, azul, rosado)
🔅Lapiz delineador negro
🔅pincel fino
🔅Sombra (morado, naranja, y verde fluorescente)
🔅Corrector
🔅Labial mate en tono rojo
🔅 Pestañas postizas
🔅Rubor
🔅Contorno
To make this makeup use the following:
🔅Primer
🔅Base
🔅Translucent Compact Powder
🔅Facial inks (red, yellow, white, black, blue, pink, black, white, blue, pink)
🔅Black eyeliner pencil
🔅Fine brush
🔅Eyeshadow (purple, orange, and fluorescent green)
🔅Corrector
🔅Matte lipstick in red shade
🔅 False eyelashes
🔅Blush
🔅Contouring
🔅❤️🔅❤️🔅❤️🔅❤️🔅❤️🔅❤️🔅❤️🔅❤️🔅❤️🔅
Pasos del Maquillaje/Makeup steps🖌️🎨
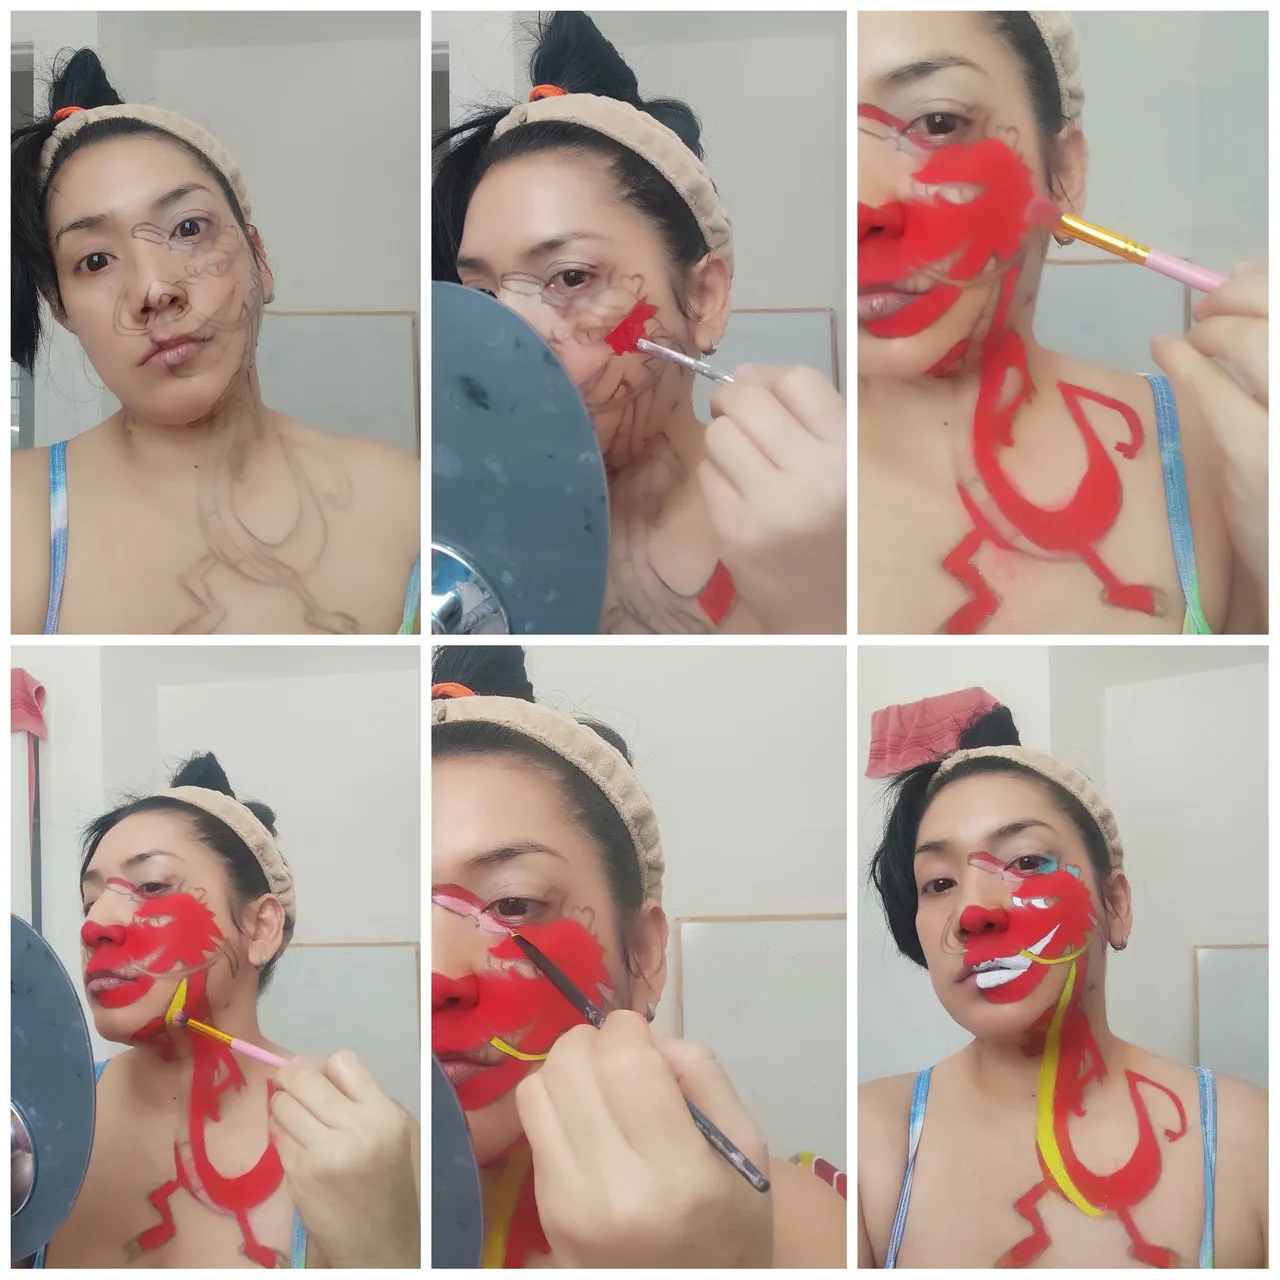
-Lo primero que hice fue buscar el boceto, en este caso busqué una imagen del dragoncito mushu.
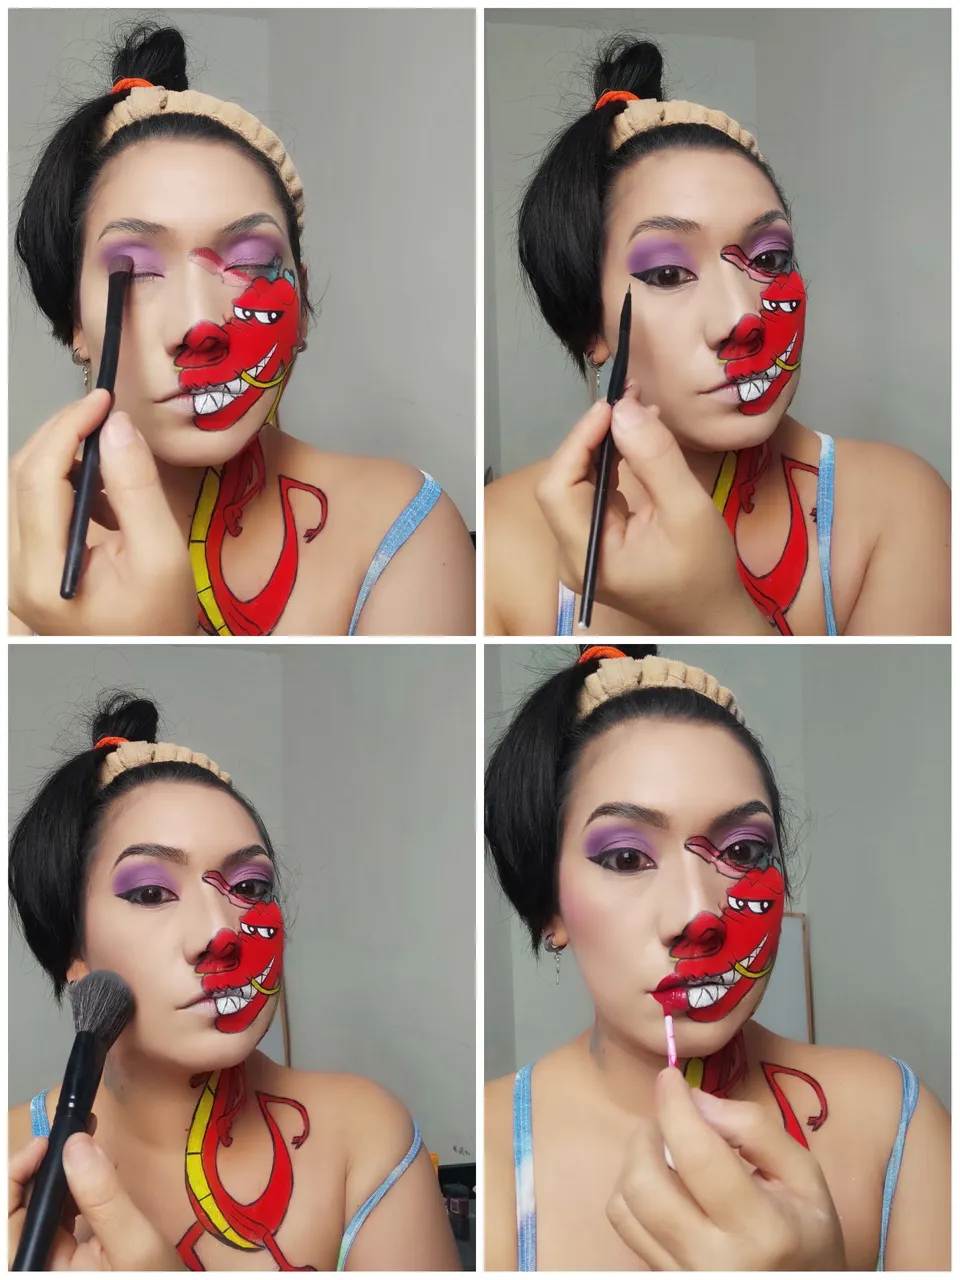
-Luego me limpié la cara y el lugar donde vamos a hacer el dibujo, lo hidraté y aplique primer en el rostro, luego tomé un lápiz negro y comencé a dibujar el boceto desde la cara hasta la parte del pecho.
-Luego comencé a dar color comenzando con la tinta facial roja aplicándola en el cuerpo del dragón, luego utilicé la tinta amarilla para aplicarla en el centro del cuerpo y los bigotes.
Para sombrear estos colores aplique una sombra naranja en el tono rojo y un verde fluorescente en la zona amarilla.
-Luego utilice el azul, el blanco en los ojos y dientes del dibujo y el rosa para las orejas.
-The first thing I did was to look for the sketch, in this case I looked for an image of the mushu dragon.
-Then I cleaned my face and the place where we are going to make the drawing, I moisturized it and applied primer on the face, then I took a black pencil and started to draw the sketch from the face to the chest part.-Then I started to give color starting with the red facial ink applying it on the body of the dragon, then I used the yellow ink to apply it on the center of the body and the whiskers.
To shade these colors I applied an orange shadow on the red tone and a fluorescent green on the yellow area.-Then I used blue, white on the eyes and teeth of the drawing and pink for the ears.
-Luego comencé a trabajar con el color negro haciendo los contornos y dibujando los ojos. Esta parte hay que hacerla con mucho cuidado y precisión para que quede muy bien.
-Then I started to work with the black color making the outlines and drawing the eyes. This part has to be done very carefully and with a lot of precision so that it looks very nice.
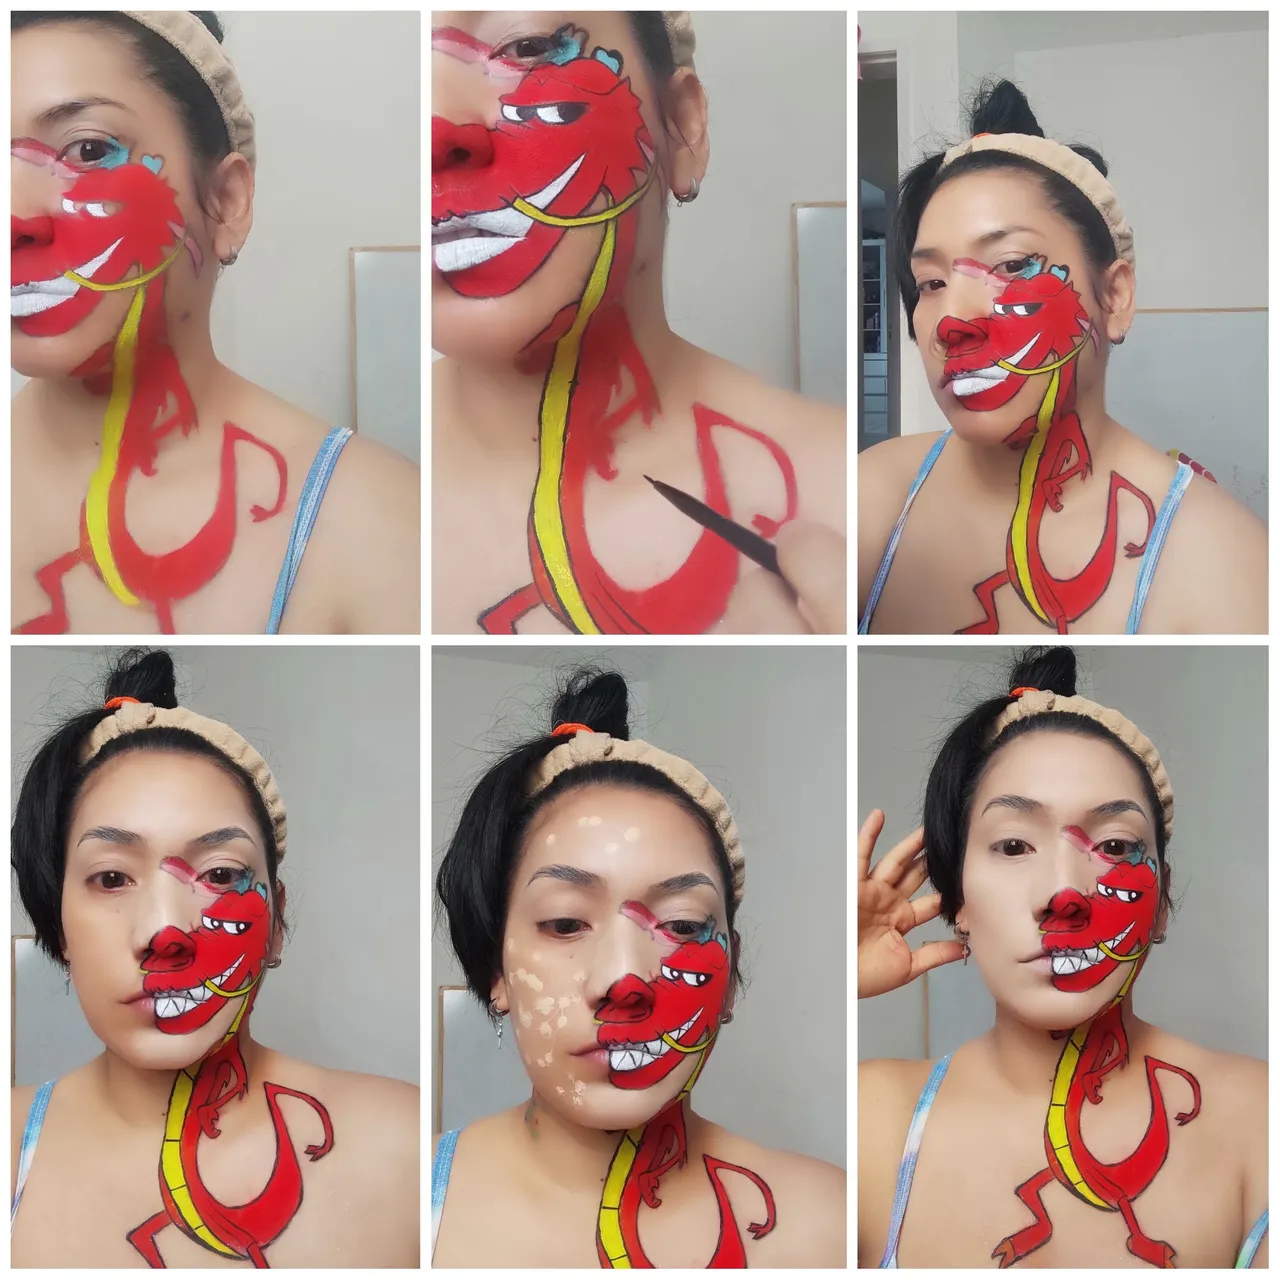
-Después de terminar con el dragón, que es la parte artística, utilicé un corrector y lo apliqué a lo largo del borde del dibujo, luego apliqué una base de maquillaje en el rostro y la difuminé con una esponja, después contorneé y sellé con un polvo compacto.
-A continuación apliqué una sombra morada en los párpados y la difuminé, luego resalté un poco las cejas con sombra negra en gel aplicada con un pincel y dándole forma.
-A continuación, me hice un delineado negro en todo el contorno de los ojos, seguido de un poco de colorete rosa en las mejillas y un pintalabios rojo mate en el lado izquierdo de la cara.
-Terminé con pestañas postizas.
-After finishing with the dragon which is the artistic part I used concealer and applied along the edge of the drawing, then I applied a foundation on the face and blended with a sponge, then I contoured and sealed with a pressed powder.
-Next I applied purple shadow on the eyelids and blended, then I highlighted my eyebrows a bit with black gel shadow applied with a brush and shaping it.
-Then I did a black eyeliner all around the rim of my eyes, followed by a little pink blush on my cheeks and a matte red lipstick on the left side of my face.
-I finished with false eyelashes.
🔅❤️🔅❤️🔅❤️🔅❤️🔅❤️🔅❤️🔅❤️🔅❤️🔅❤️🔅

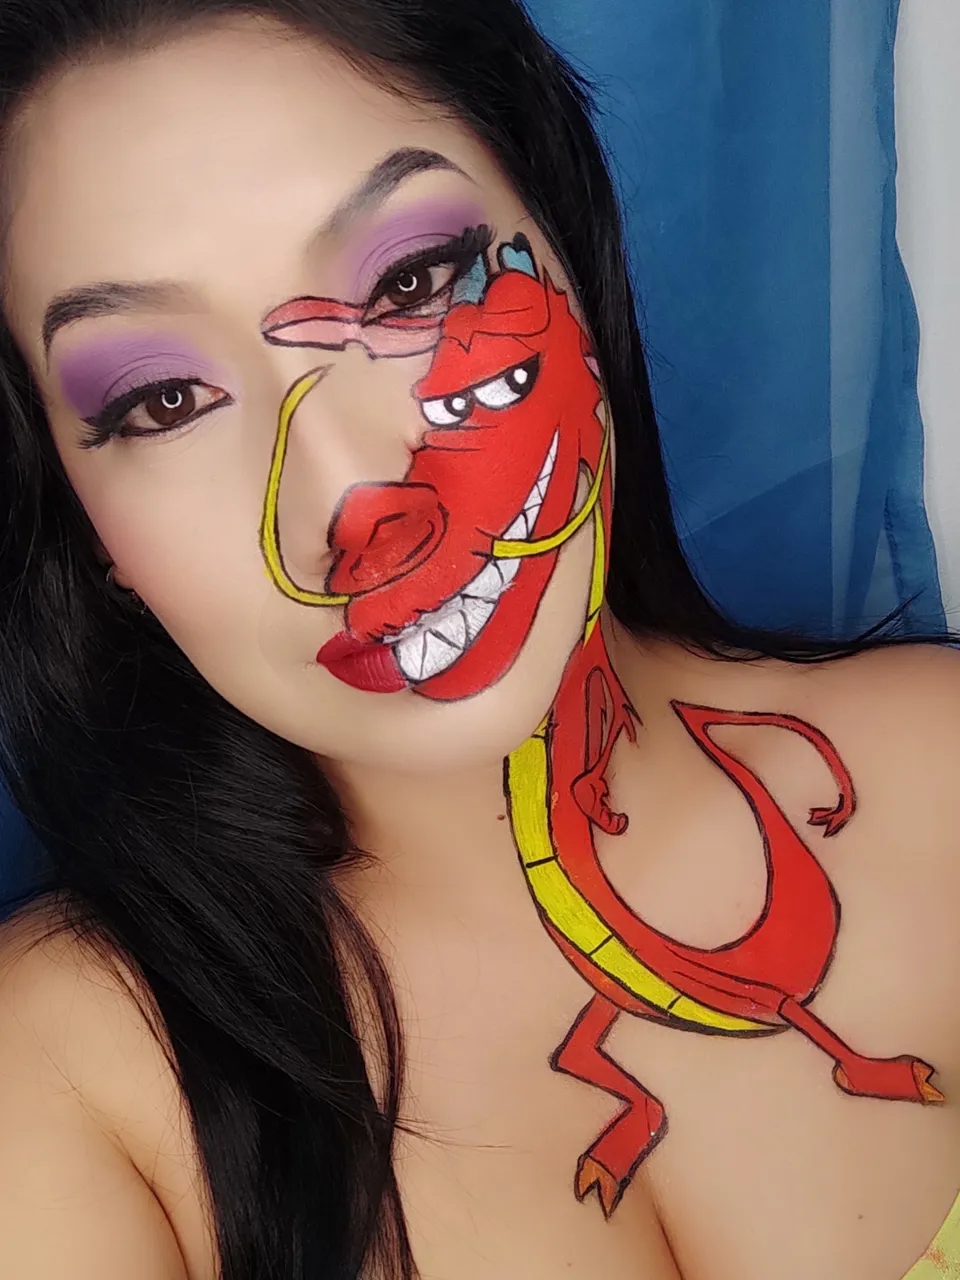
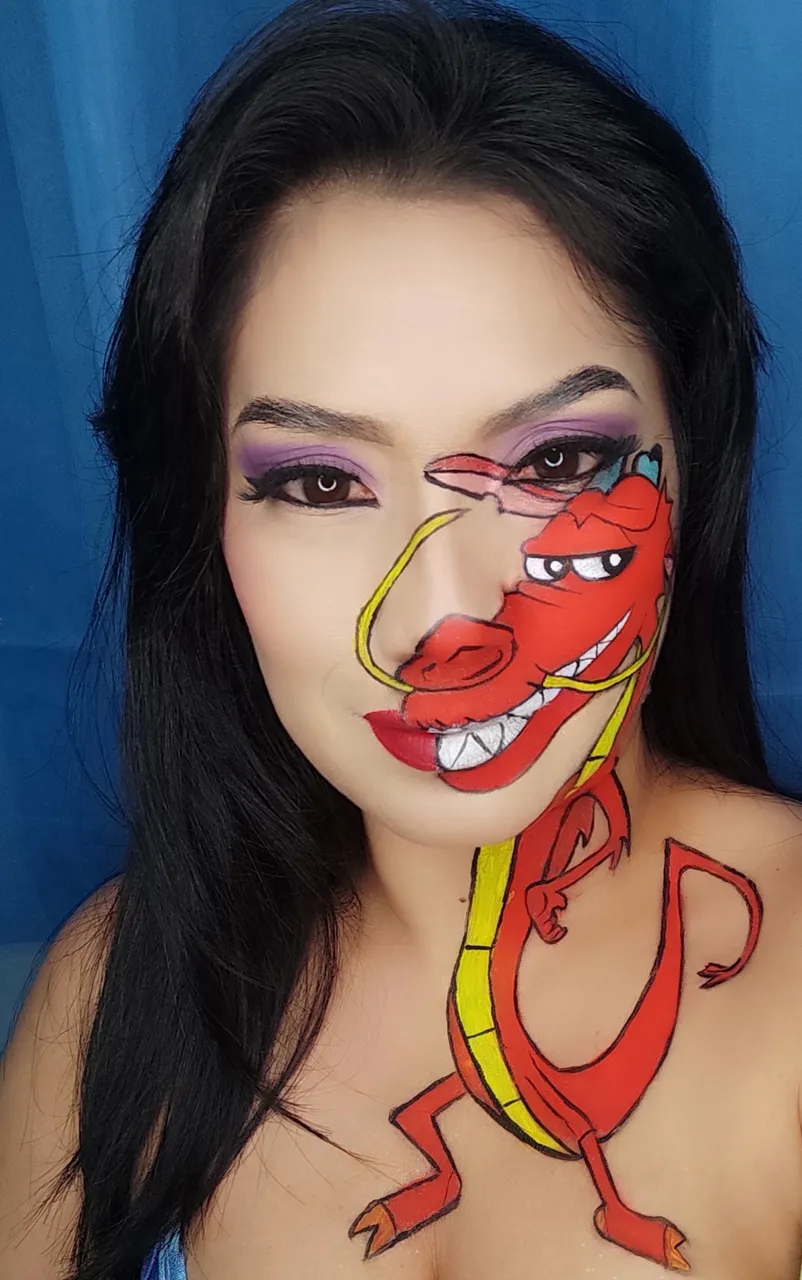
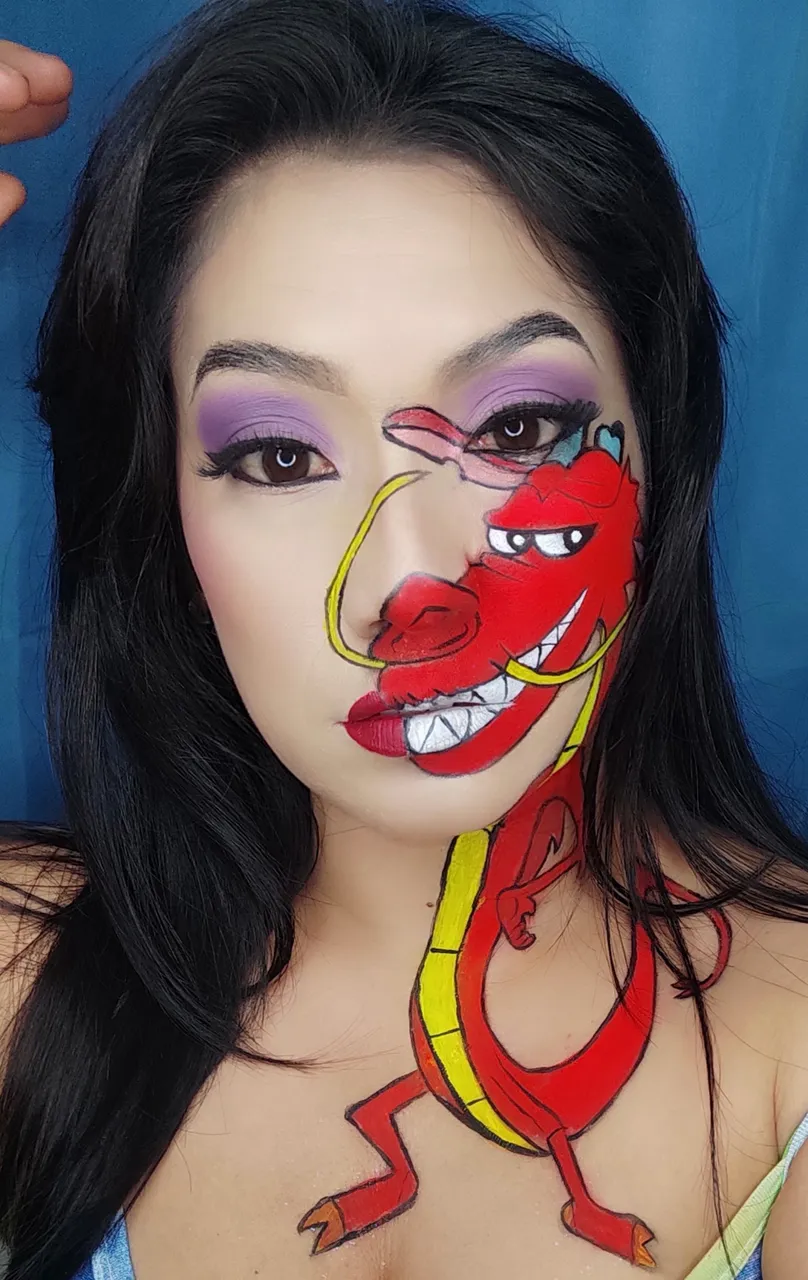
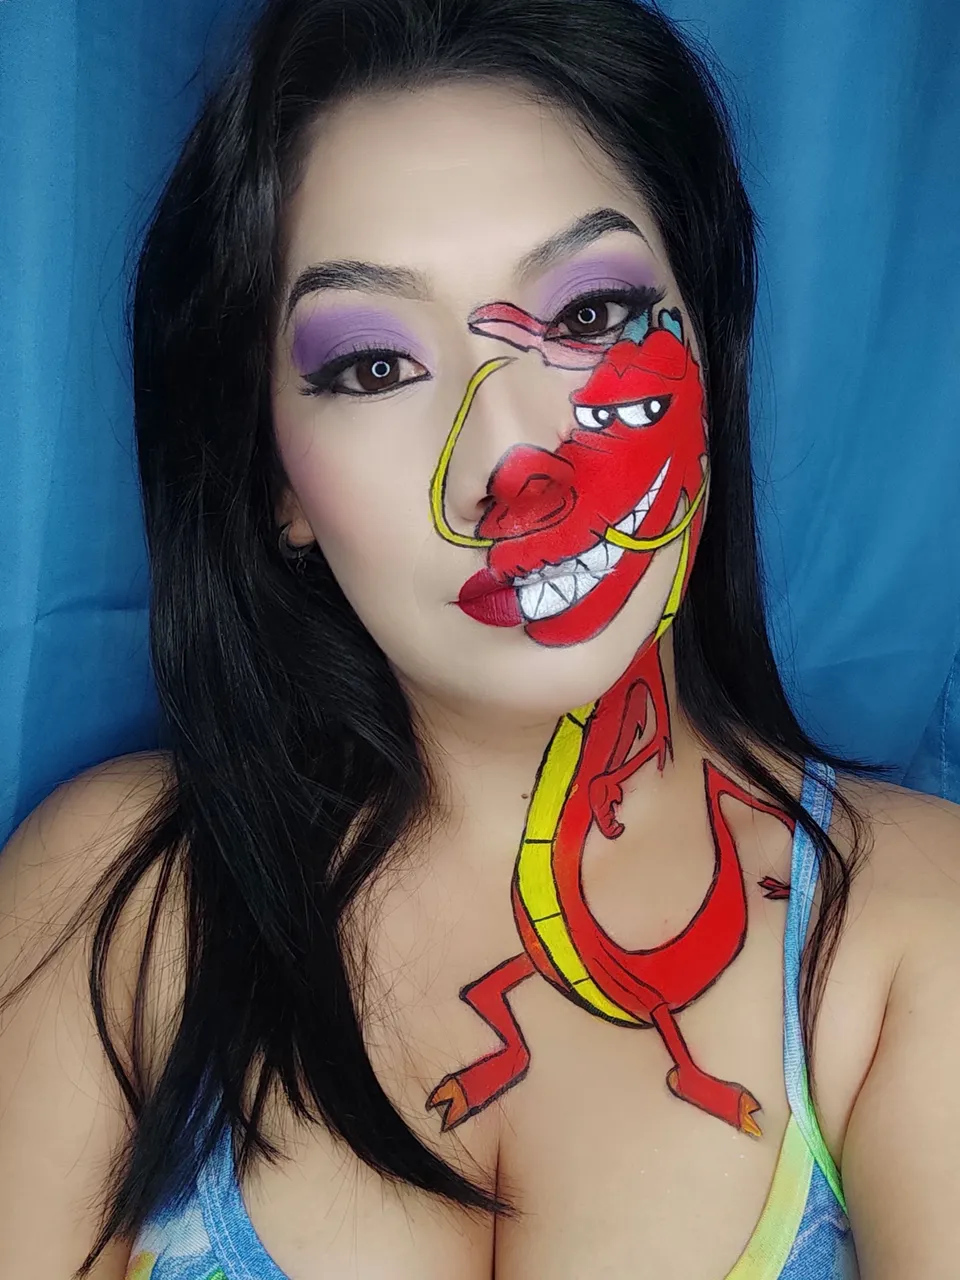
Así fue como terminé con este maquillaje de mi personaje de Disney, el cual ha quedado muy bonito, me tomó como 4 horas hacerlo por los detalles y además me gustó mucho usar las tintas faciales porque los colores son más vibrantes, y cuando se seca no se transfiere y lo mejor de todo es que a la hora de quitarlo solo me doy un baño y sale muy rápido.
Con esto me despido hasta otra oportunidad espero que les haya gustado mi trabajo, hasta la próxima y que Dios los bendiga a todos.
That's how I ended up with this makeup of my Disney character, which has been very nice, it took me about 4 hours to do it because of the details and also I really liked using the facial inks because the colors are more vibrant, and when it dries it does not transfer and best of all is that when it comes to remove it I just take a bath and it comes out very fast.
With this I say goodbye until another opportunity I hope you liked my work, until next time and God bless you all.
Todas las imagenes son de mi propiedad las he tomado con mi telefono redmi note 9 pro
Utilice la app gridArt para enmarcar la fotografia de portada.
All images are my property taken with my redmi note 9 pro phone. Use the gridArt app to frame the cover photo.