¡Hola queridos usuarios de Hive ✨💕!
Hi dear Hive users ✨💕!
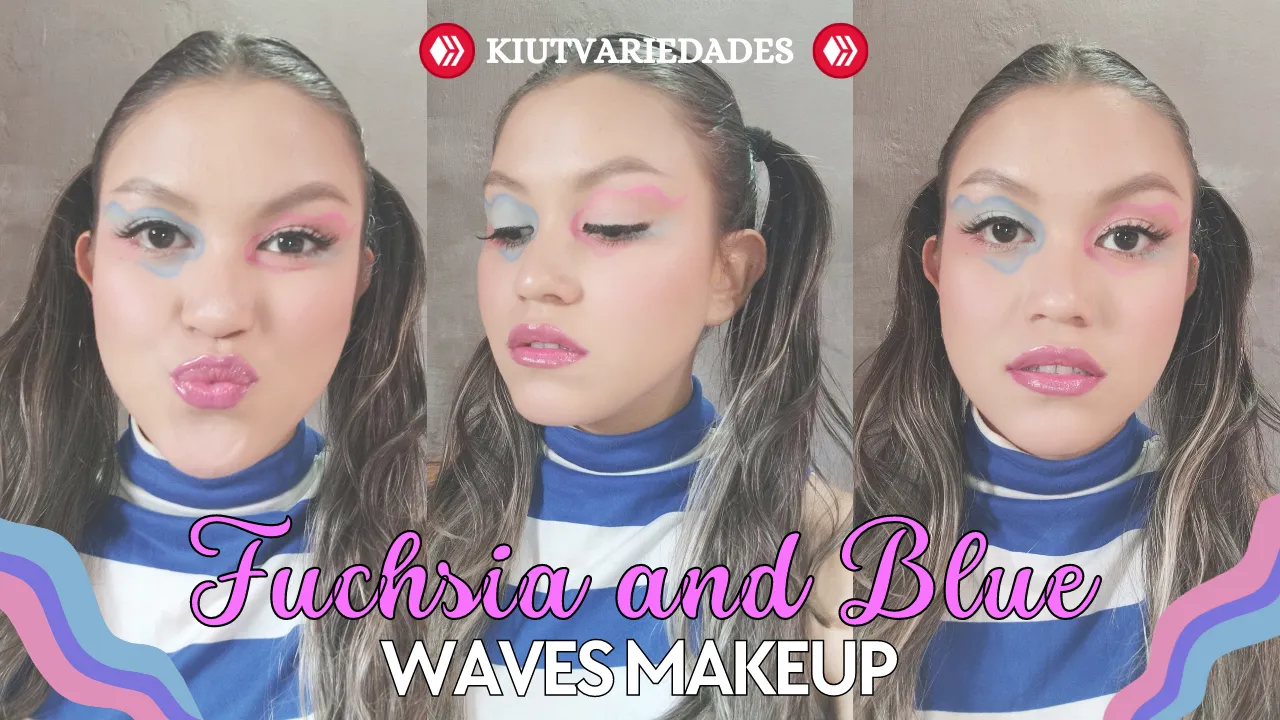
Buenas buenas comunidad de Makeup Power, nuevamente estoy por aquí con un tutorial de maquillaje que me hacía mucha ilusión hacer, si recuerdan la semana pasada hice un post donde les decía que había ido a comprar maquillaje a una tienda Dolce Bella que hay en mi ciudad, y aunque me moría por probar los productos que adquirí, decidí esperarme hasta éste tutorial para hacerlo y así irles dando mis primeras impresiones de las cosas que vaya probando, además el look de hoy también me emocionaba porque es primera vez que hago un maquillaje de ojos con formas de ondas y por tal motivo representa un reto para mí, así que no añadiré más nada para ponernos manos a la obra con éste tutorial.
Hello hello Makeup Power community, I'm here again with a makeup tutorial that I was very excited to do, if you remember last week I did a post where I told you that I had gone to buy makeup at a Dolce Bella shop in my city, and although I was dying to try the products I bought, I decided to wait until this tutorial to do it and give you my first impressions of the things I'm trying, also today's look also excited me because it's the first time I do an eye makeup with waves and for that reason represents a challenge for me, so I won't add anything more to get down to work with this tutorial.

💙 COMENCEMOS CON EL LOOK || LET'S START WITH THE LOOK 💖
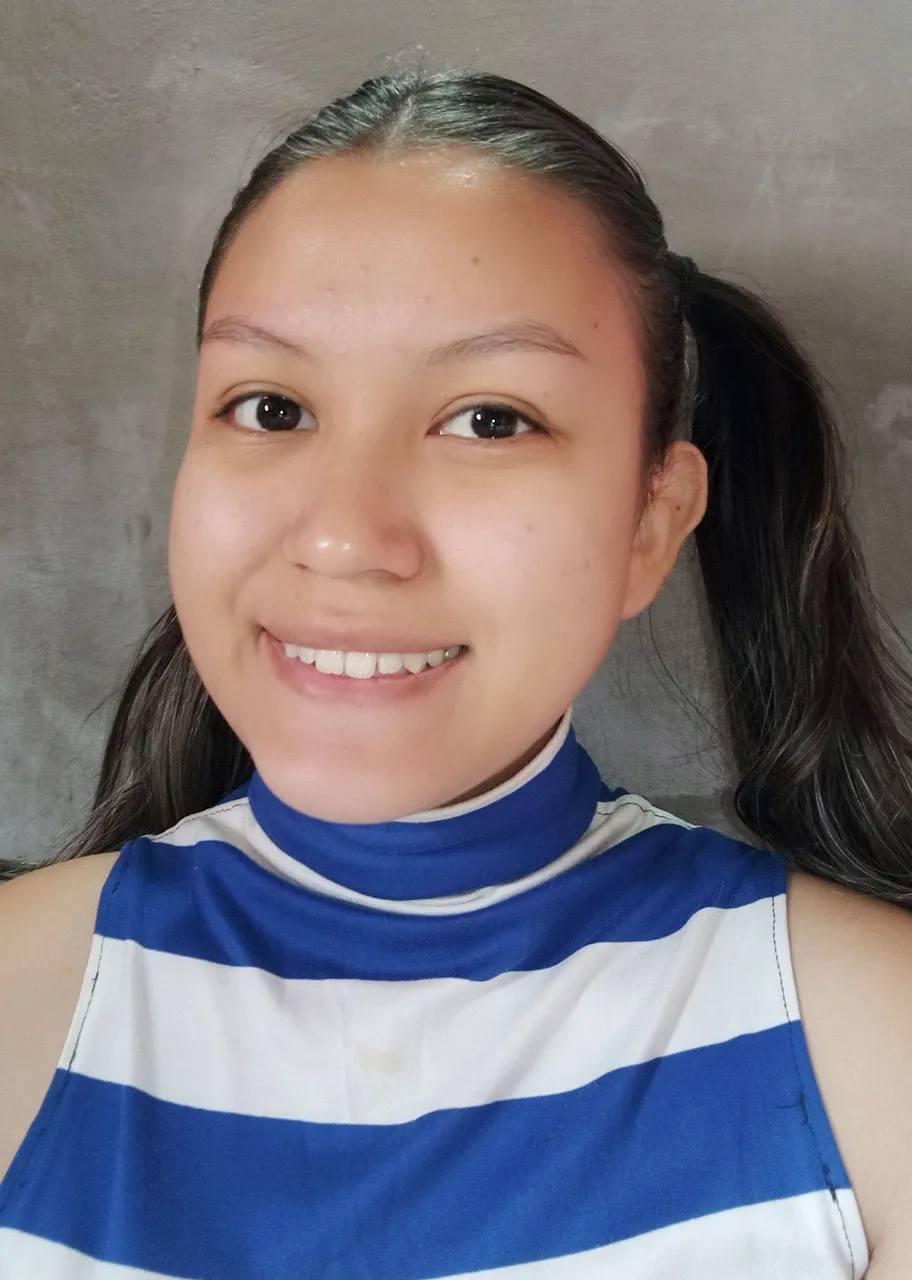
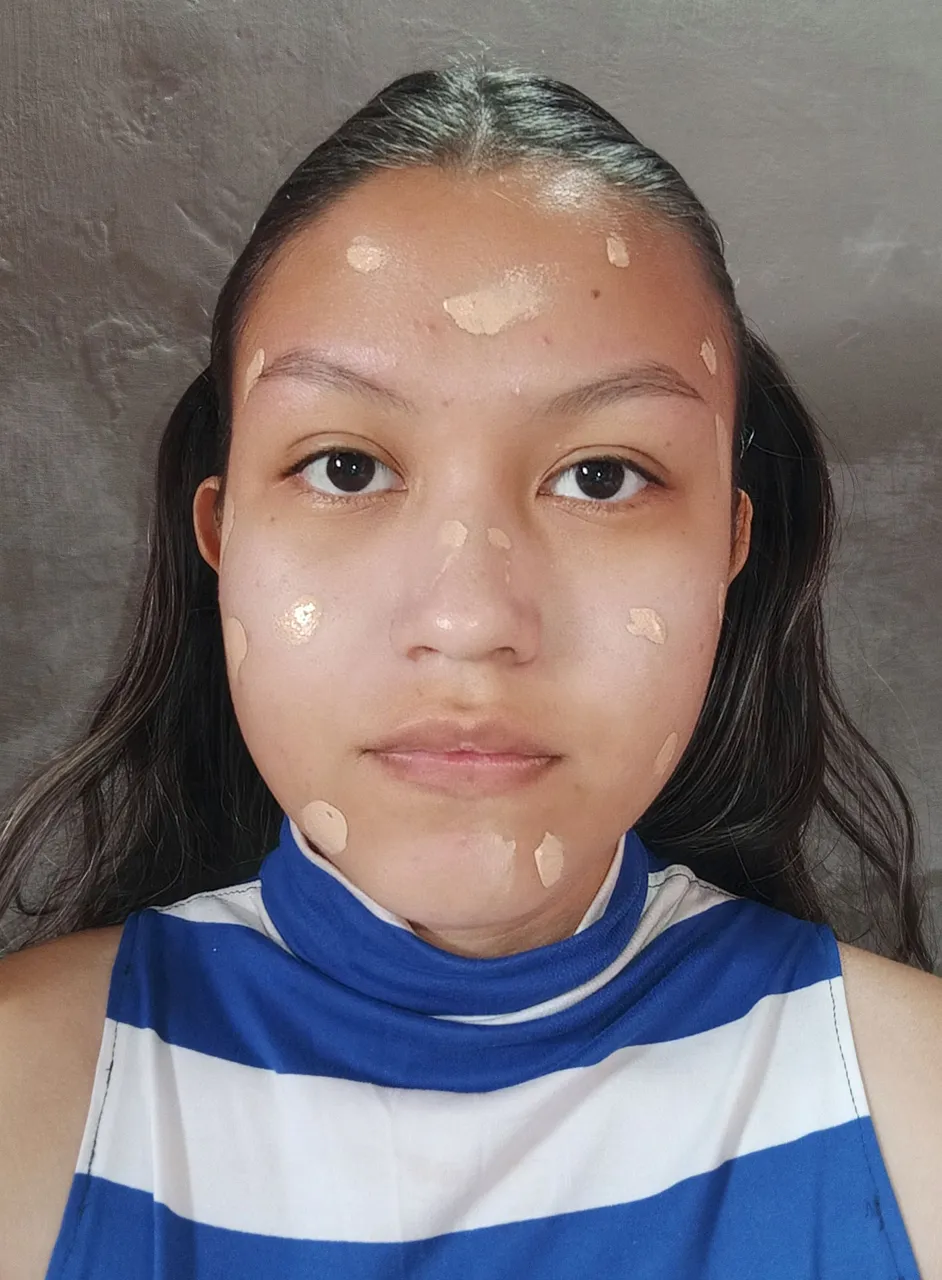
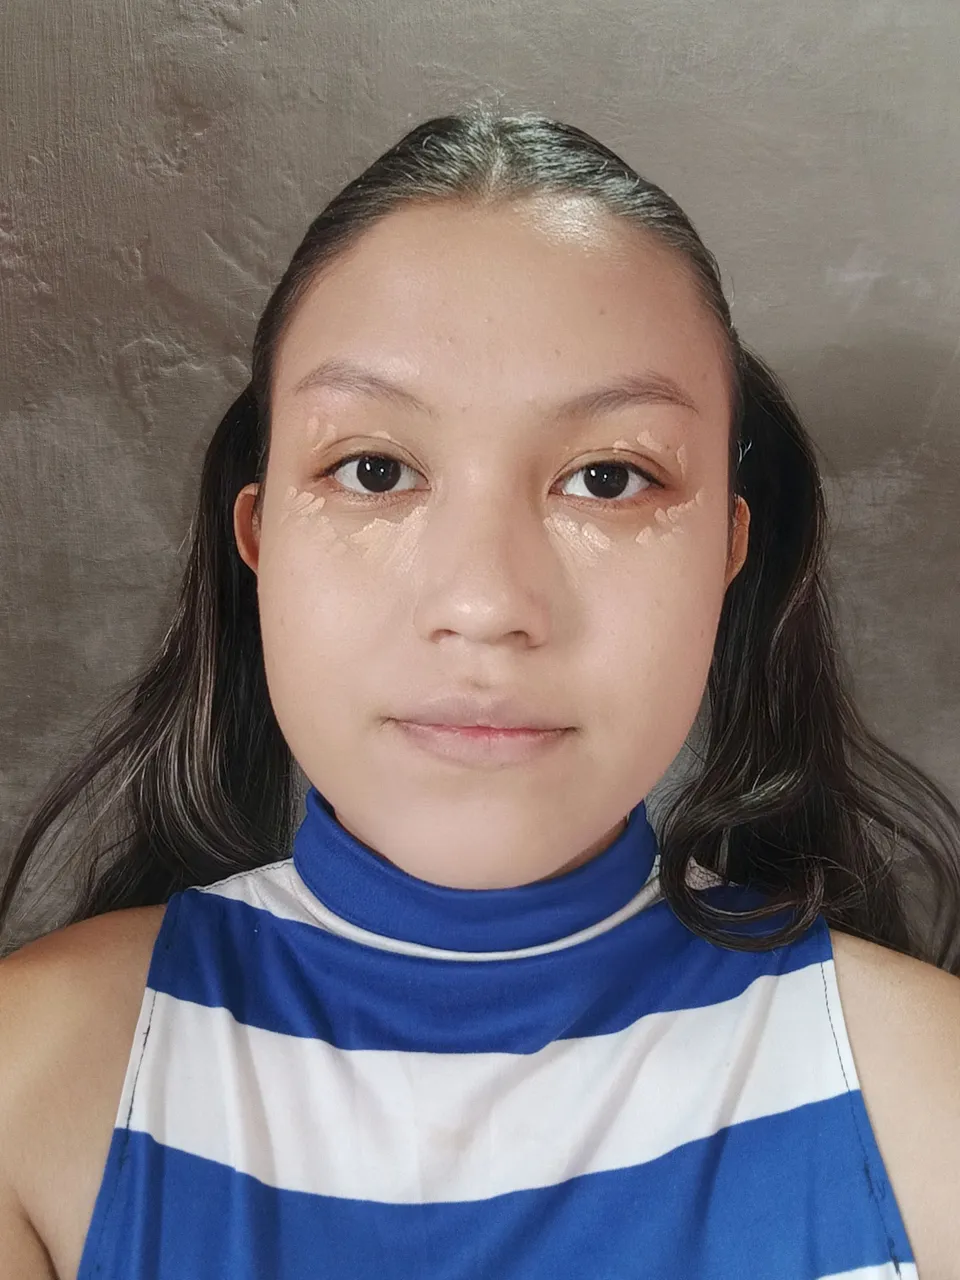
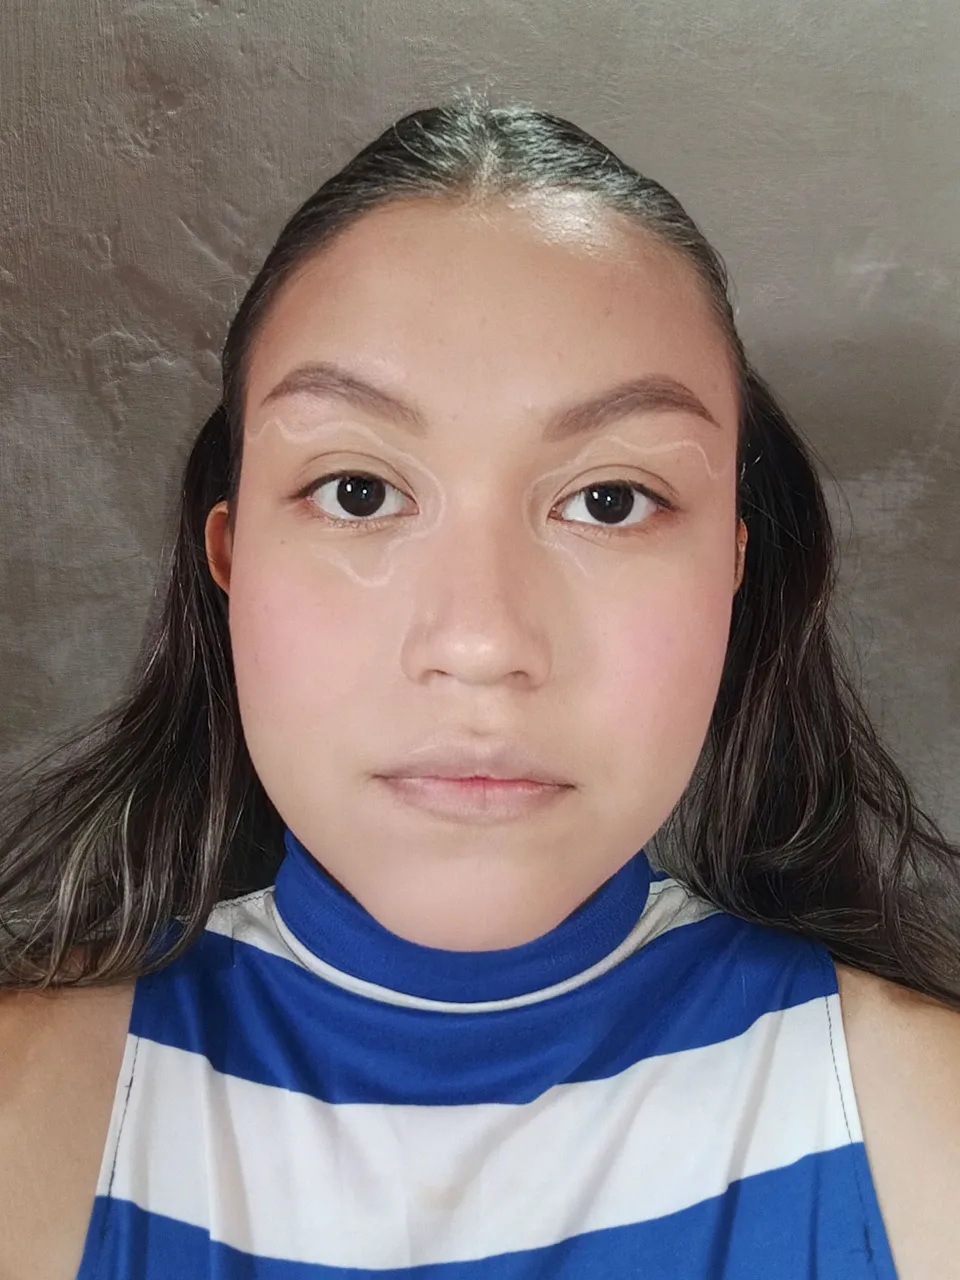
Igual que siempre el primer paso antes de maquillarse es preparar la piel, además como ya sabrán normalmente yo suelo empezar los maquillajes por el área de los ojos, sin embargo como la mayoría de los productos que estaré probando son de rostro y además las ondas que voy a realizar en los ojos abarcan parte de la zona de la ojera, me pareció más oportuno empezar por la cara. Es así como lo primero que apliqué fue la base y el corrector, debo decir que la base me sorprendió demasiado, estoy casi segura que no es la que mayor cobertura tiene, pero a mi personalmente me dejó un rostro hermoso y cubrió todas mis manchitas rojas de viejas espinillas cicatrizadas, aparte que se difuminó de maravilla y coincidió perfectamente con mi tono de piel (que eso no lo había conseguido antes).
As always the first step before applying make-up is to prepare the skin, and as you may know I usually start my make-up with the eye area, however as most of the products I will be testing are for the face and also the waves I am going to make on the eyes include part of the under eye area, I thought it was more appropriate to start with the face. So the first thing I applied was the foundation and the concealer, I must say that the foundation surprised me too much, I'm pretty sure it's not the one with the best coverage, but for me personally it left a beautiful face and covered all my little red spots from old scarred pimples, besides it blended beautifully and perfectly matched my skin tone (which I hadn't been able to do before).
 |  |
|---|
 |  |
|---|
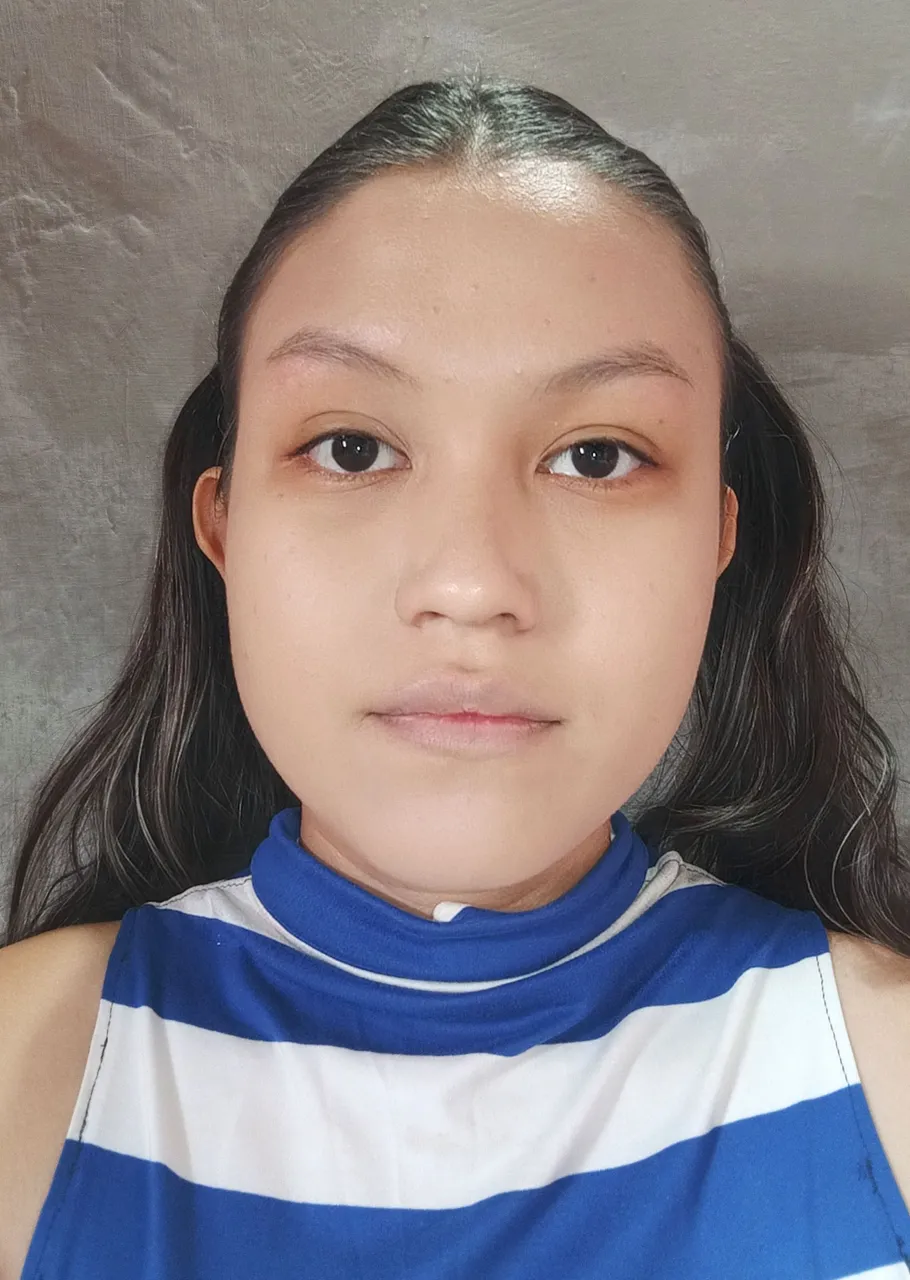
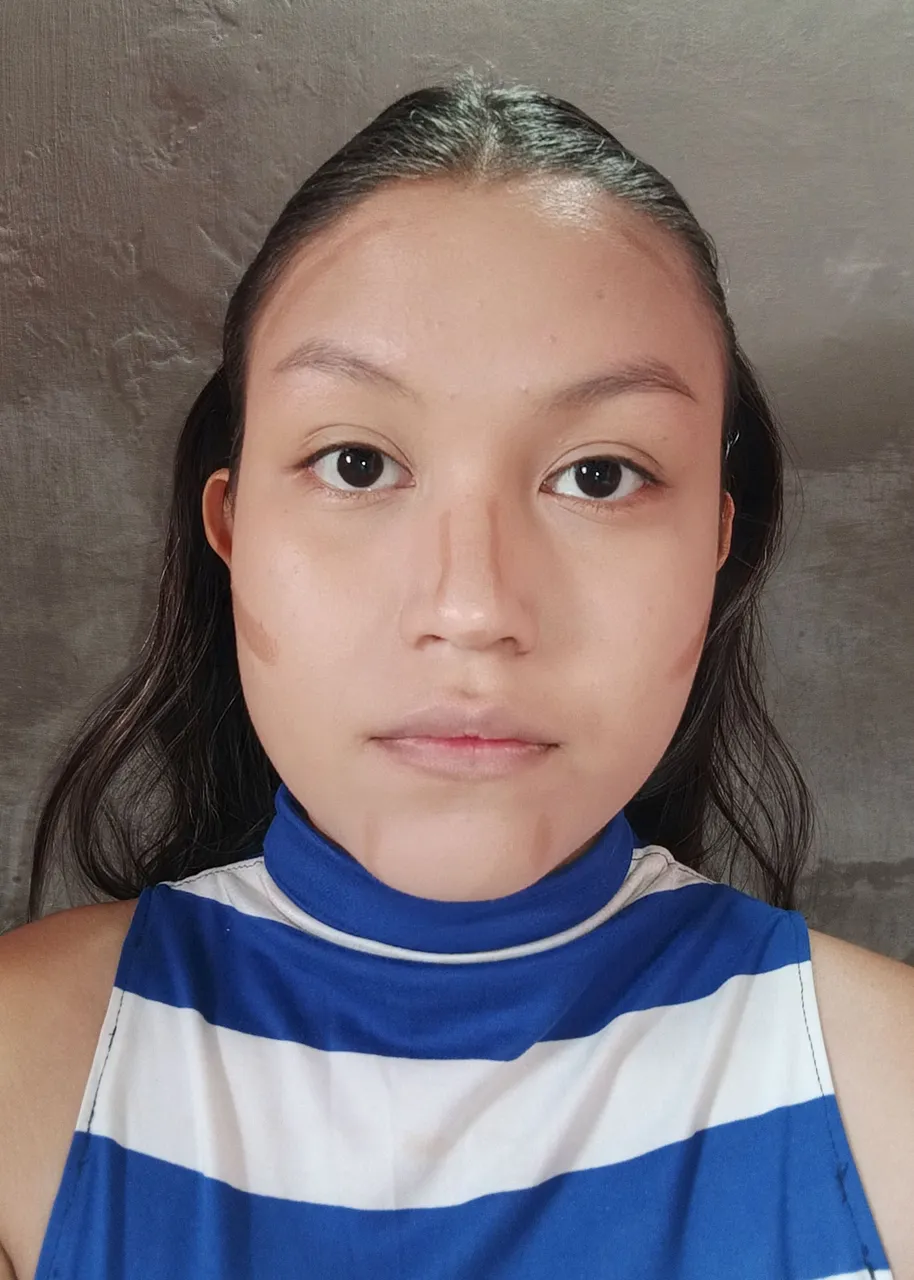
Luego pase a contornear mi rostro con el contorno en stick, y éste producto era de los que más ilusión me daba probar aparte de otro que diré más adelante, y no me decepcionó para nada, se difuminó super bien tanto con esponja como con brocha y no dió un subtono tan naranja como pensé, aparte fue súper chévere de aplicar 💕. Después añadí rubor en tinta, que debo decir que oficialmente le agarré el truco para no quedar manchada 🤣, y por último hice mis cejas.
Then I went on to contour my face with the contour stick, and this product was one of the ones I was most excited to try apart from another one I'll tell you about later, and it didn't disappoint me at all, it blended super well with both sponge and brush and didn't give such an orange undertone as I thought it would, plus it was super cool to apply 💕. Then I added inky blush, which I must say I officially got the hang of so I didn't get smudged 🤣, and finally I did my eyebrows.
 |  |  |
|---|
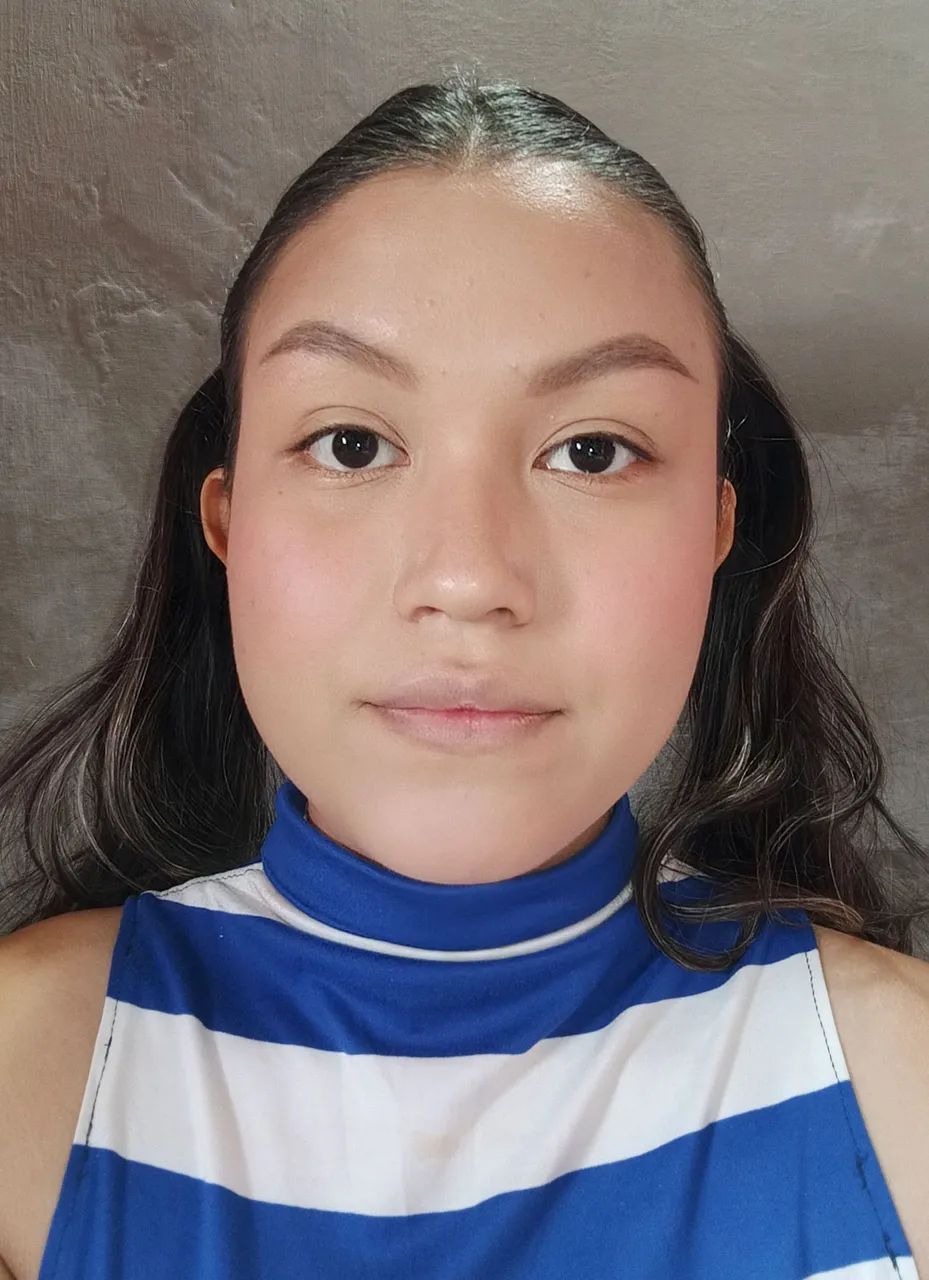
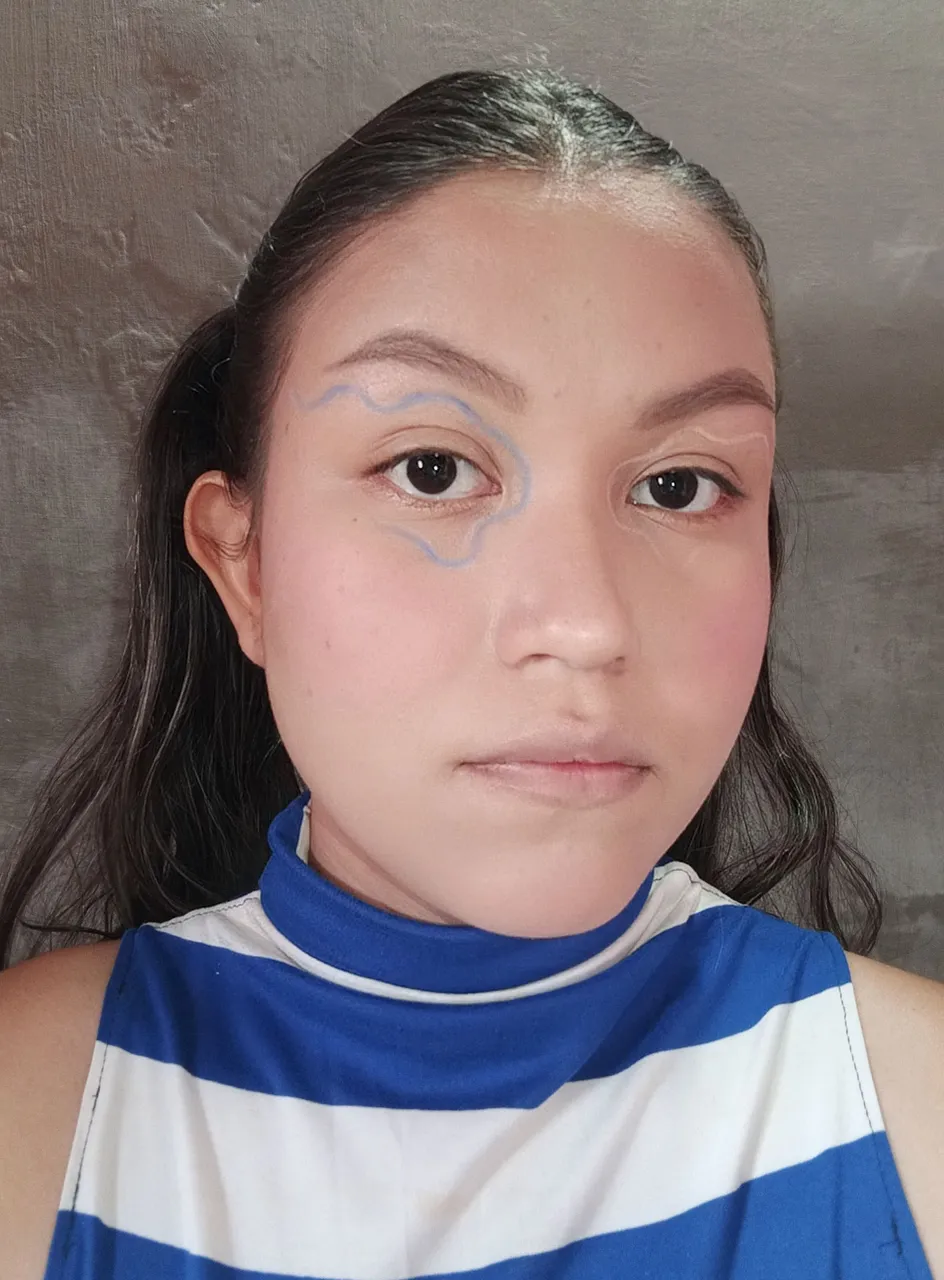
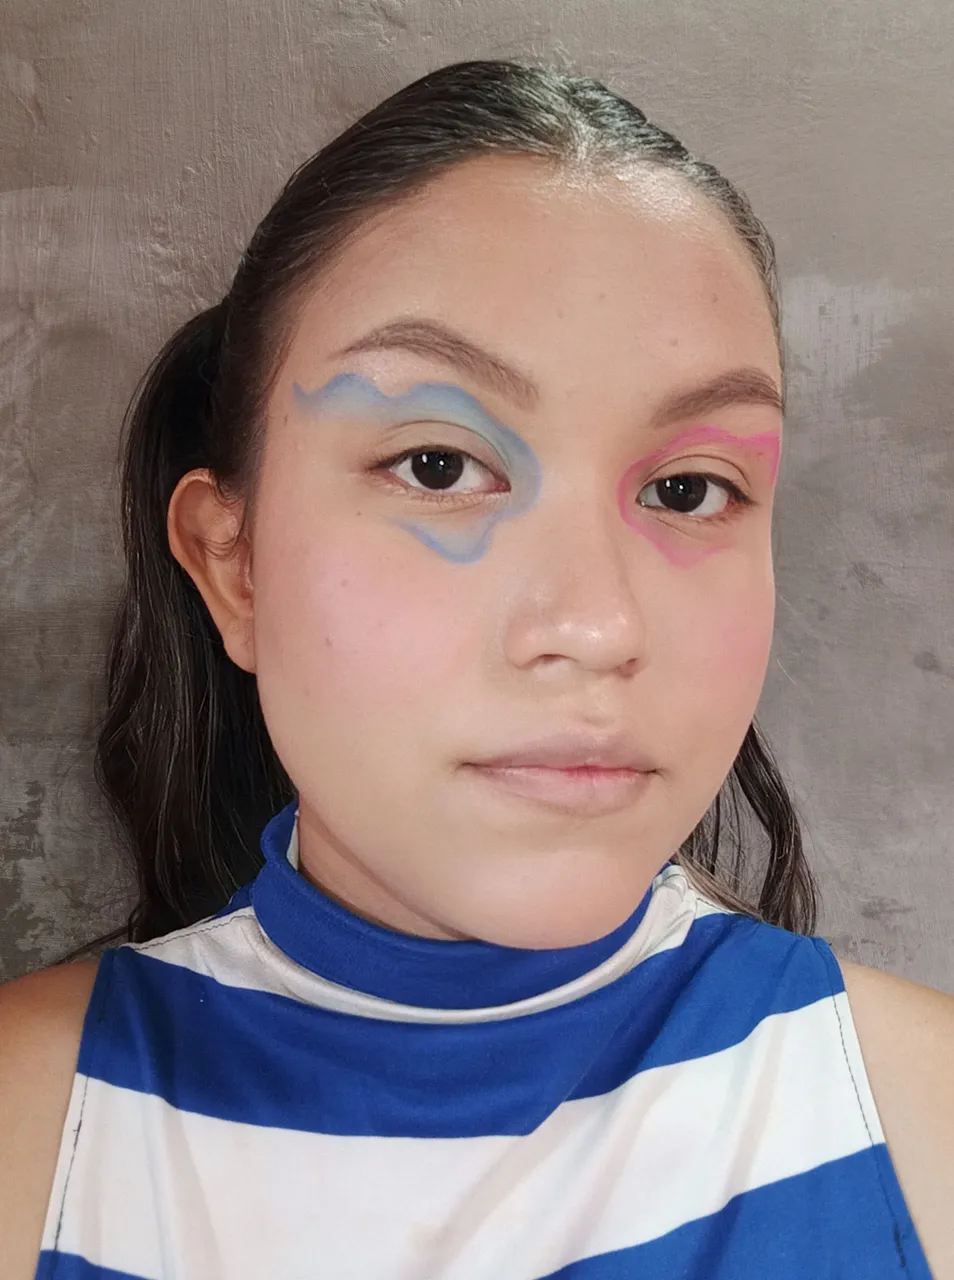
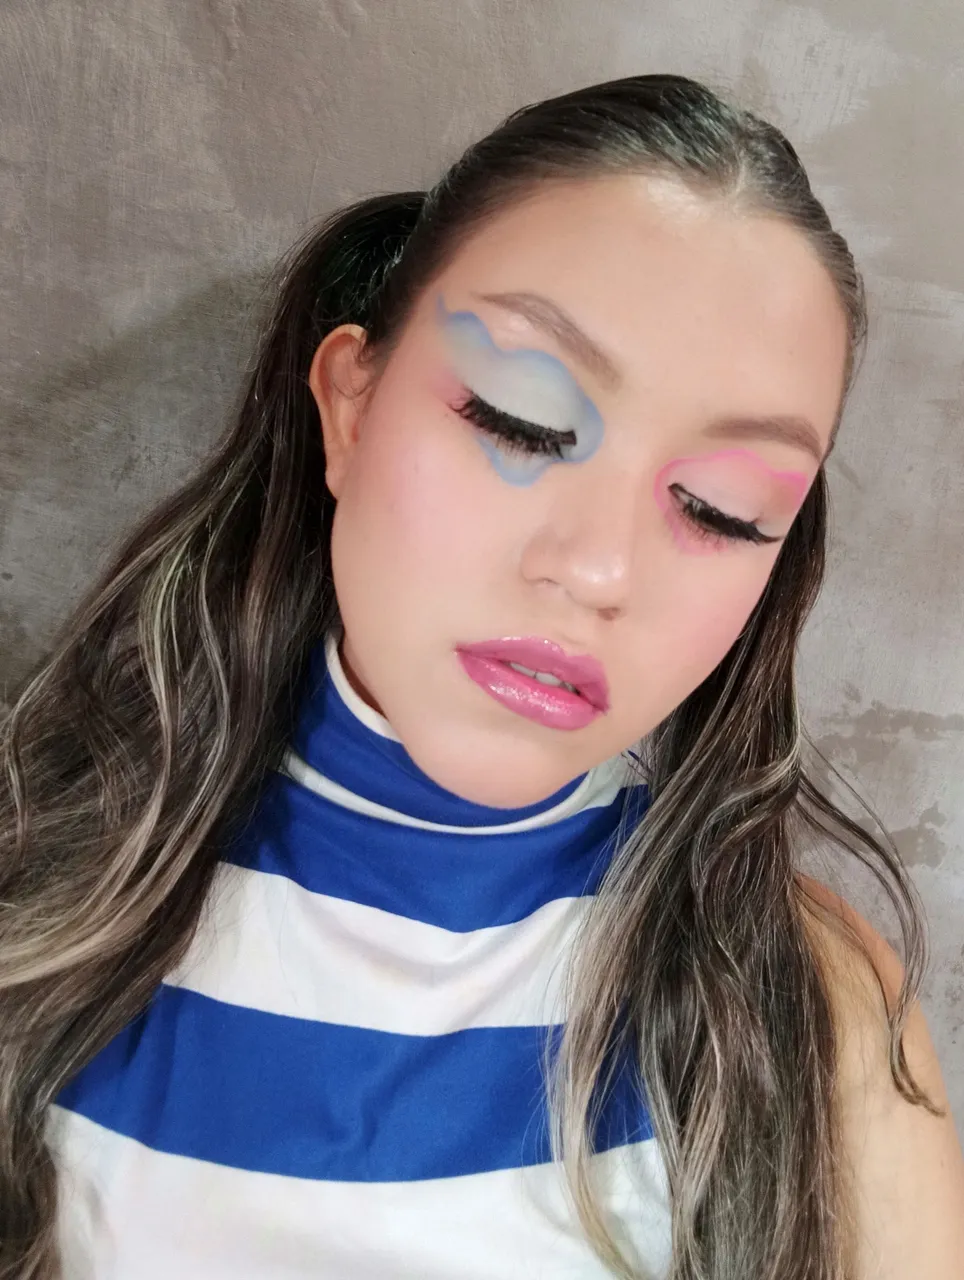
Y aquí es donde viene el producto estrella de toda la compra que hice, el polvo suelto de Salomé 😧😧, yo definitivamente no entiendo porque yo no había probado antes ésto, o sea que acabado más hermoso el que me dejó en la piel, de verdad que no podía creer ese nivel de matificacion que conseguí 💕, enamorada quedé y reafirmo mi amor por Salomé. Con el rostro terminado (aunque todavía faltan otras cosas), me pase a dibujar con lápiz blanco las ondas en los ojos y con unas brochas pequeñas remarque estás líneas pero son las respectivas sombras azul y fucsia.
And here comes the star product of the whole purchase I made, the Salomé loose powder 😧😧, I definitely don't understand why I hadn't tried this before, what a beautiful finish it left on my skin, I really couldn't believe the level of mattification I got 💕, I was in love and I reaffirm my love for Salomé. With the face finished (although other things are still missing), I went on to draw with white pencil the waves on the eyes and with small brushes I highlighted these lines but they are the respective blue and fuchsia shadows.
 |  |
|---|
 |  |
|---|
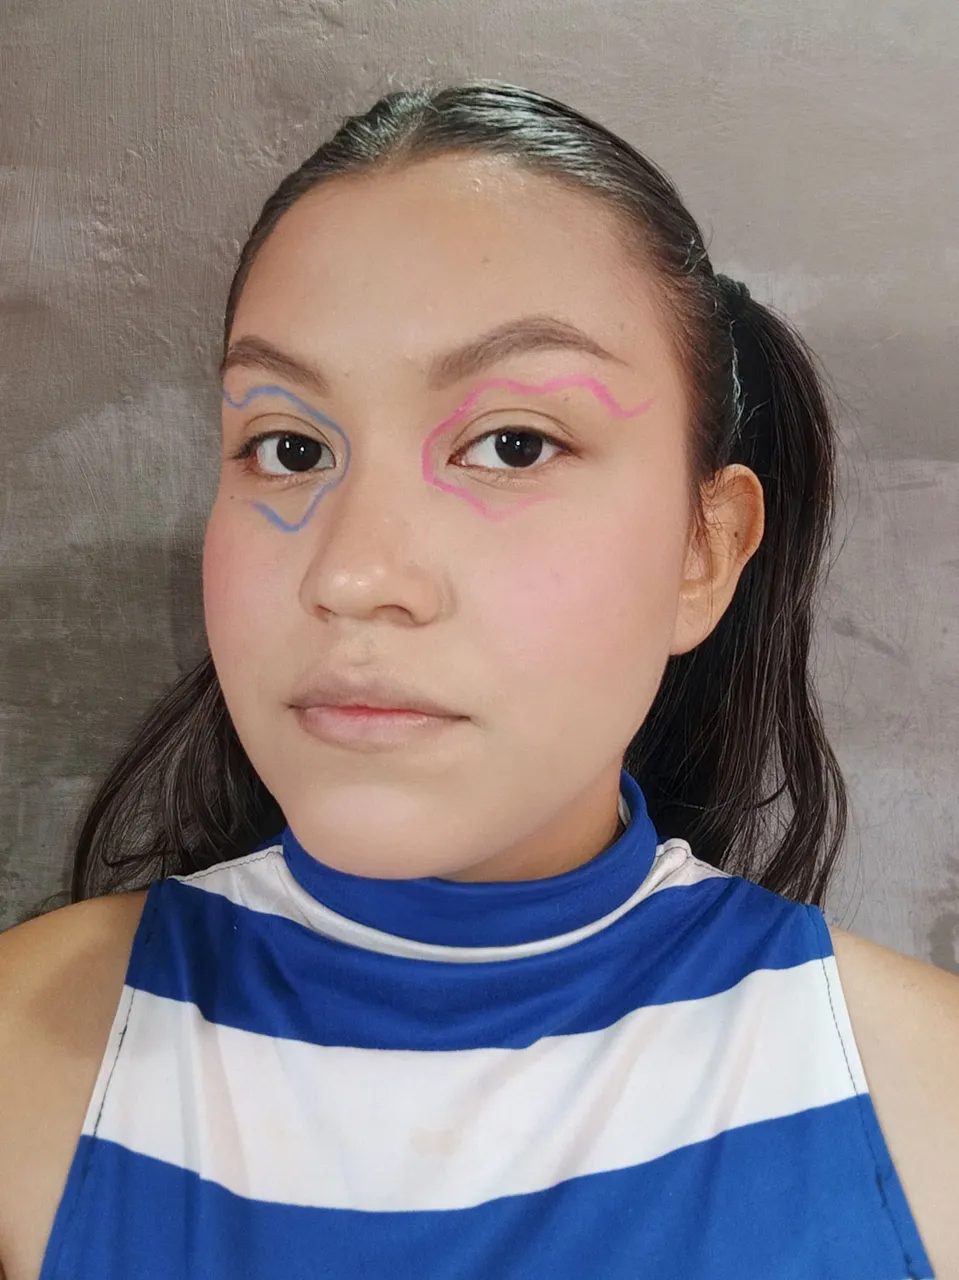
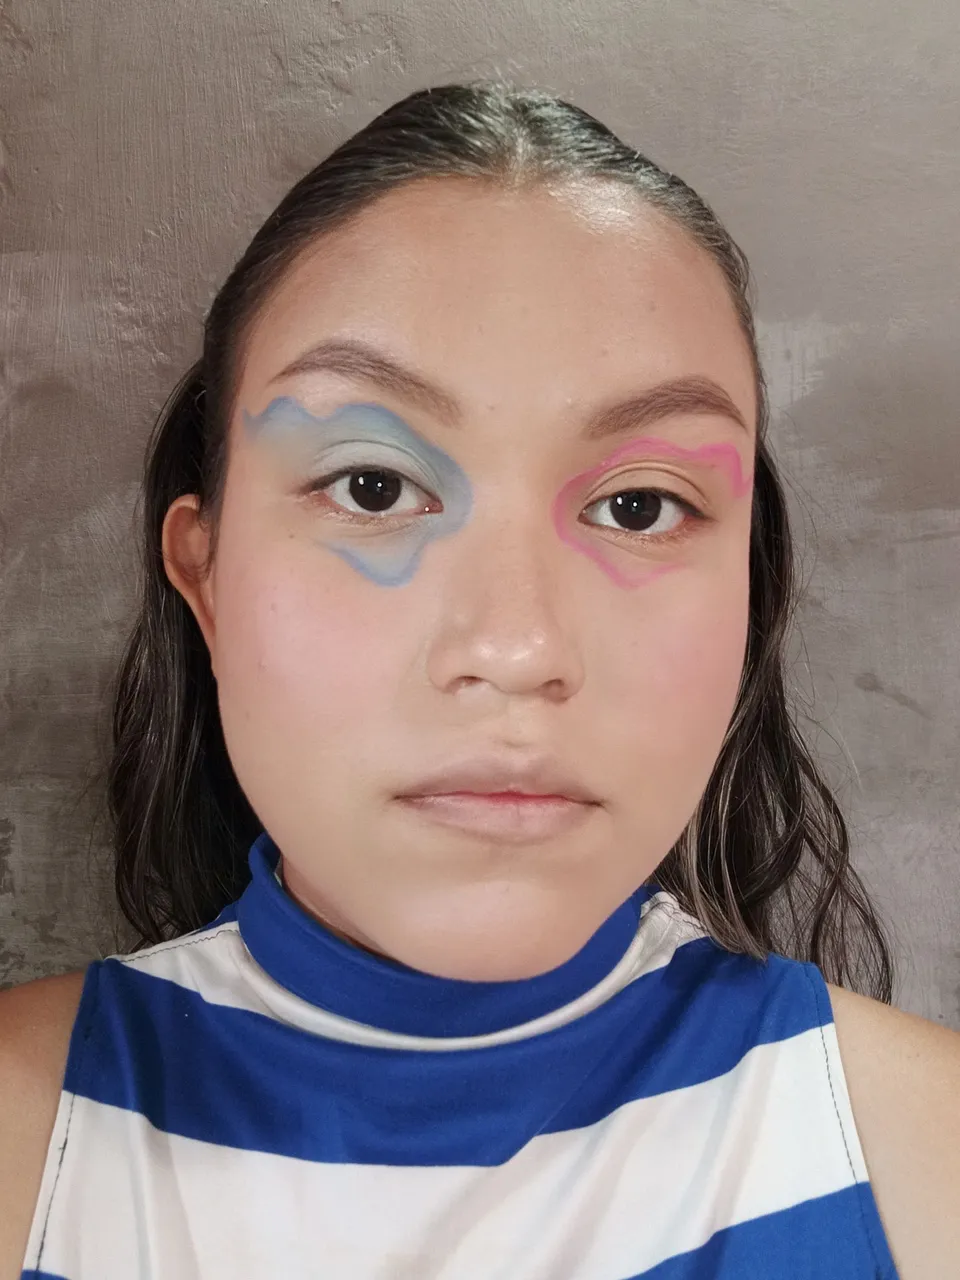
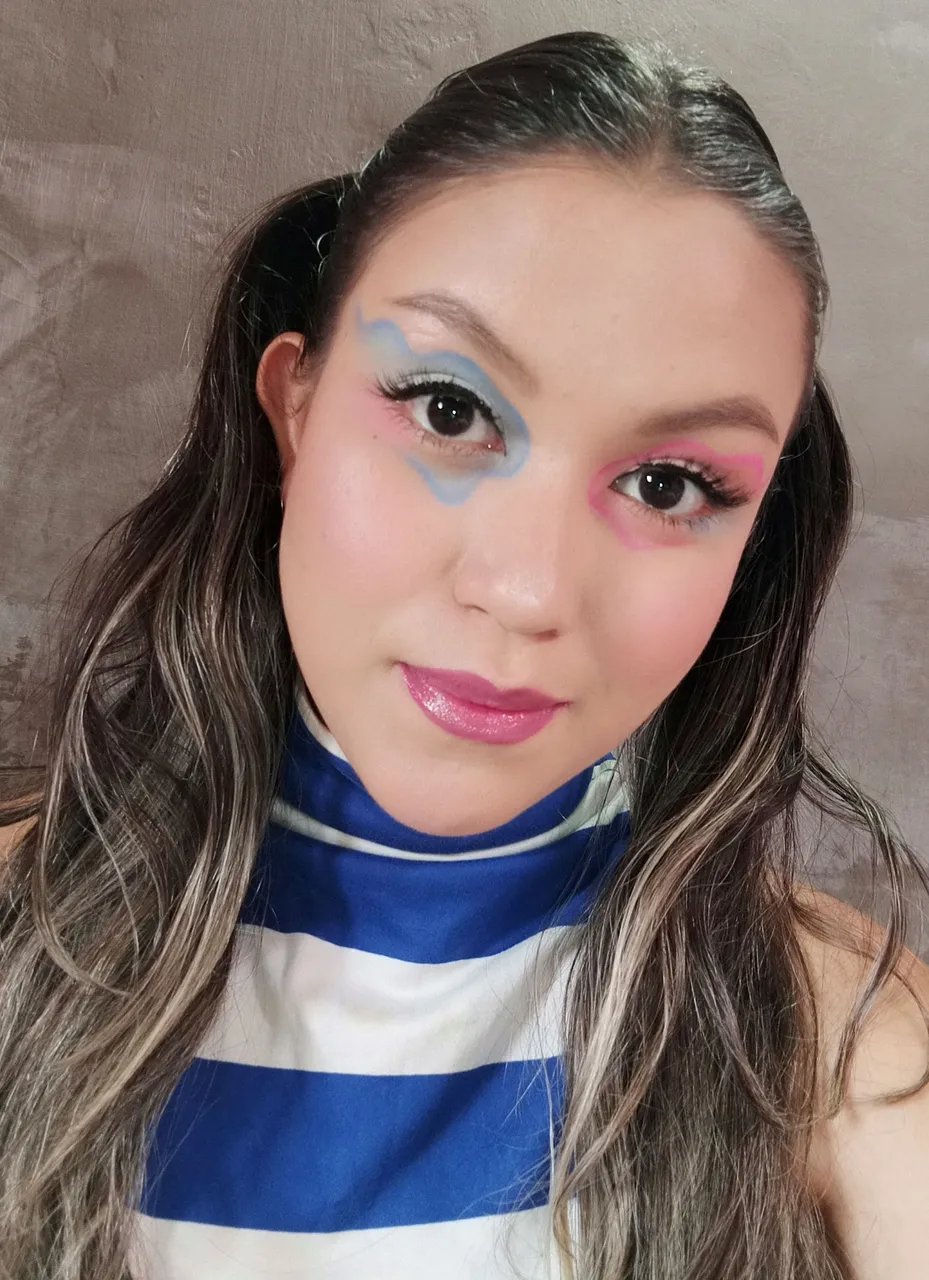
Después me pasé a ir difuminando un poco estos colores, con la misma brocha pero sin más sombra, luego apliqué una sombra del mismo tono pero mas clara, es decir una sombra azul celeste y una sombra rosa pálido, estos colores además los extendí hacia el párpado móvil y justo en el centro aplique un poco de sombra blanca para dar mayor iluminación. Además reaplique un poco de los colores de las líneas para que no perdieran intensidad. Y finalmente añadí éstas sombras claras en la zona externa de la parte inferior de ojo, con la particularidad de hacerlo en forma contraria, es decir en el ojo azul aplicar la sombra rosa y viceversa.
Then I applied a shade of the same tone but lighter, that is to say a light blue and a pale pink shadow, these colours were also extended towards the mobile eyelid and just in the centre I applied a little white shadow to give more illumination. I also reapplied a bit of the line colours so that they didn't lose intensity. And finally I added these light shadows in the external zone of the lower part of the eye, with the particularity of doing it in the opposite way, that is to say, in the blue eye I applied the pink shadow and vice versa.
 |  |  |
|---|
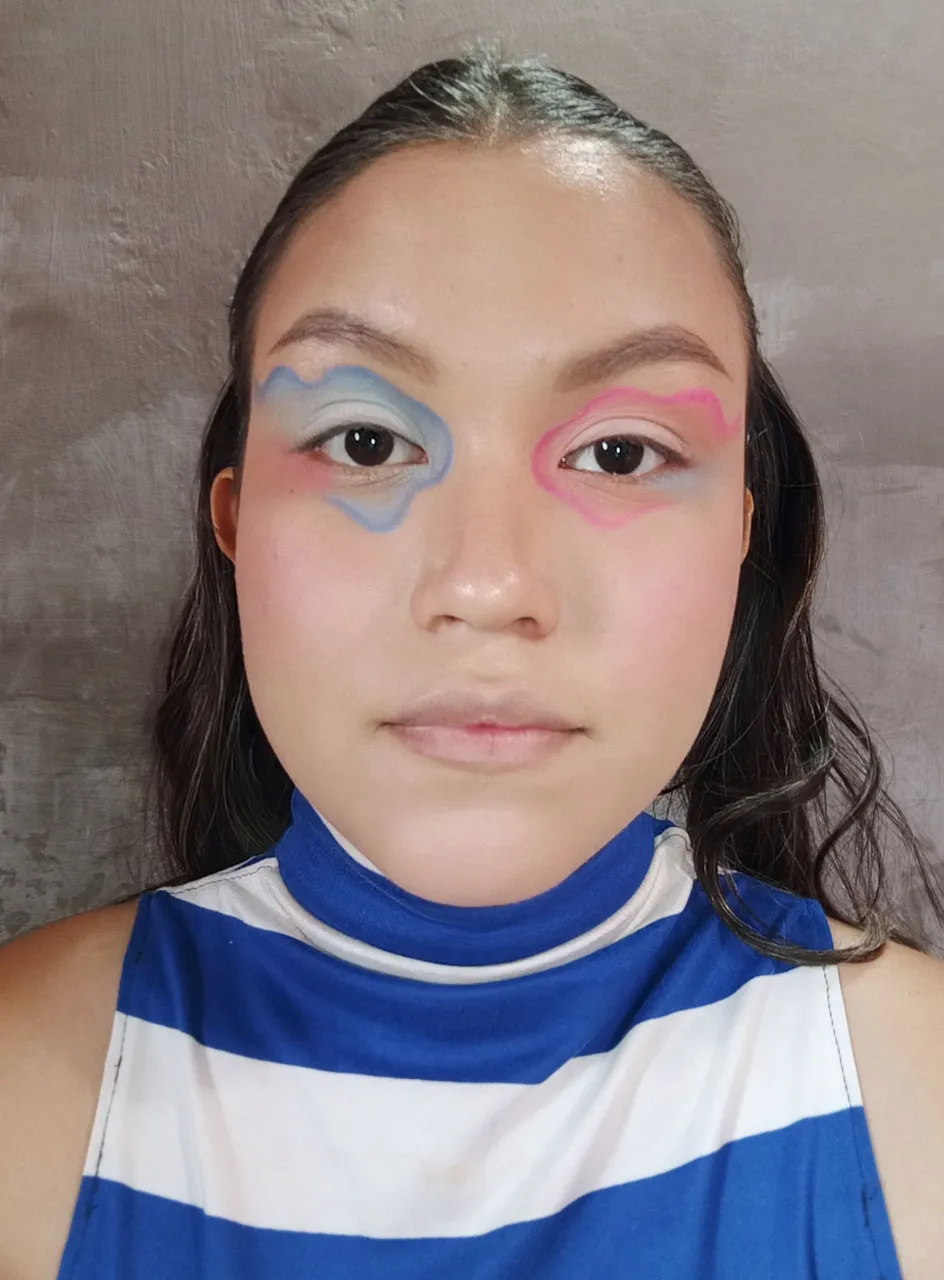
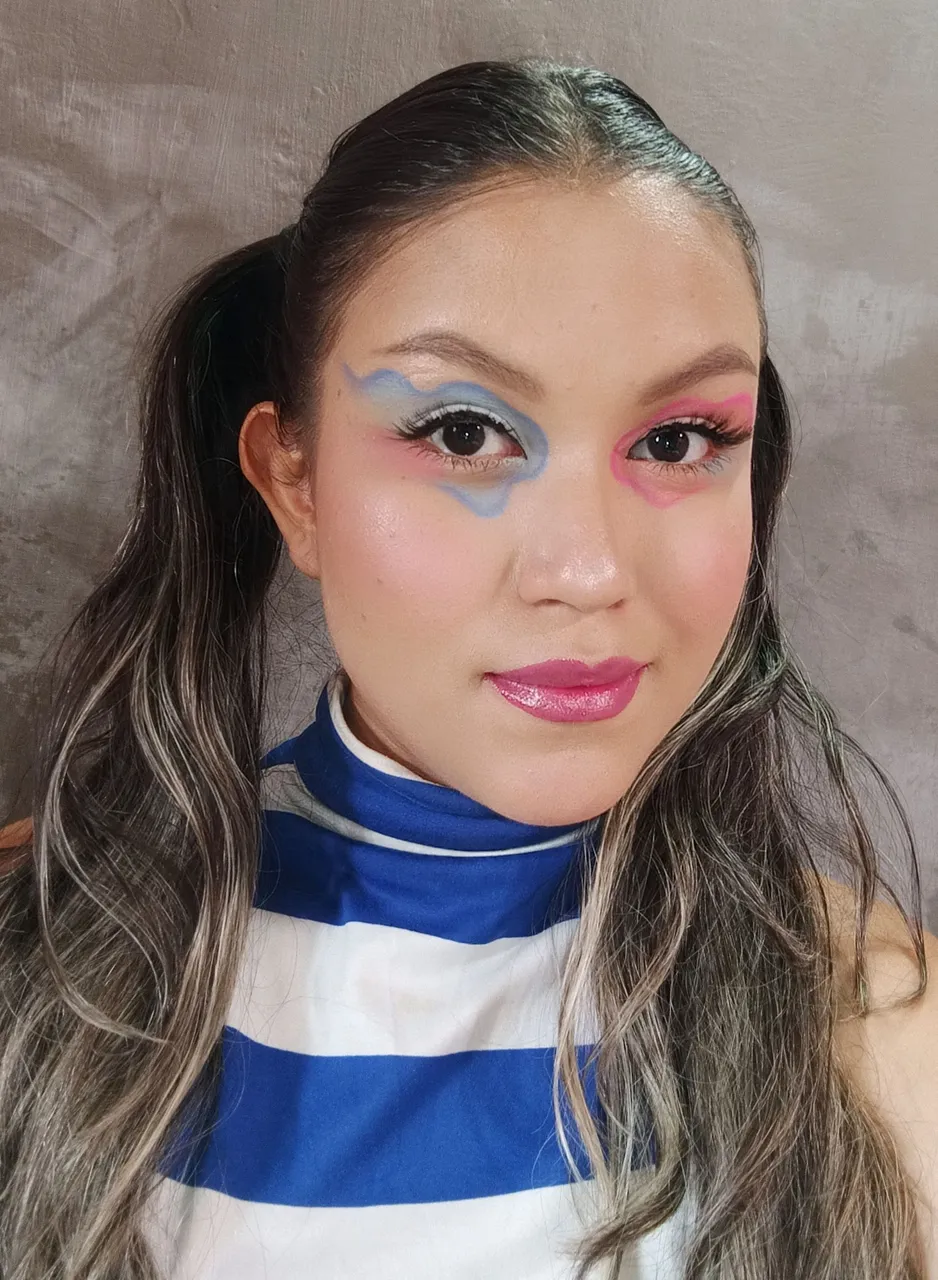
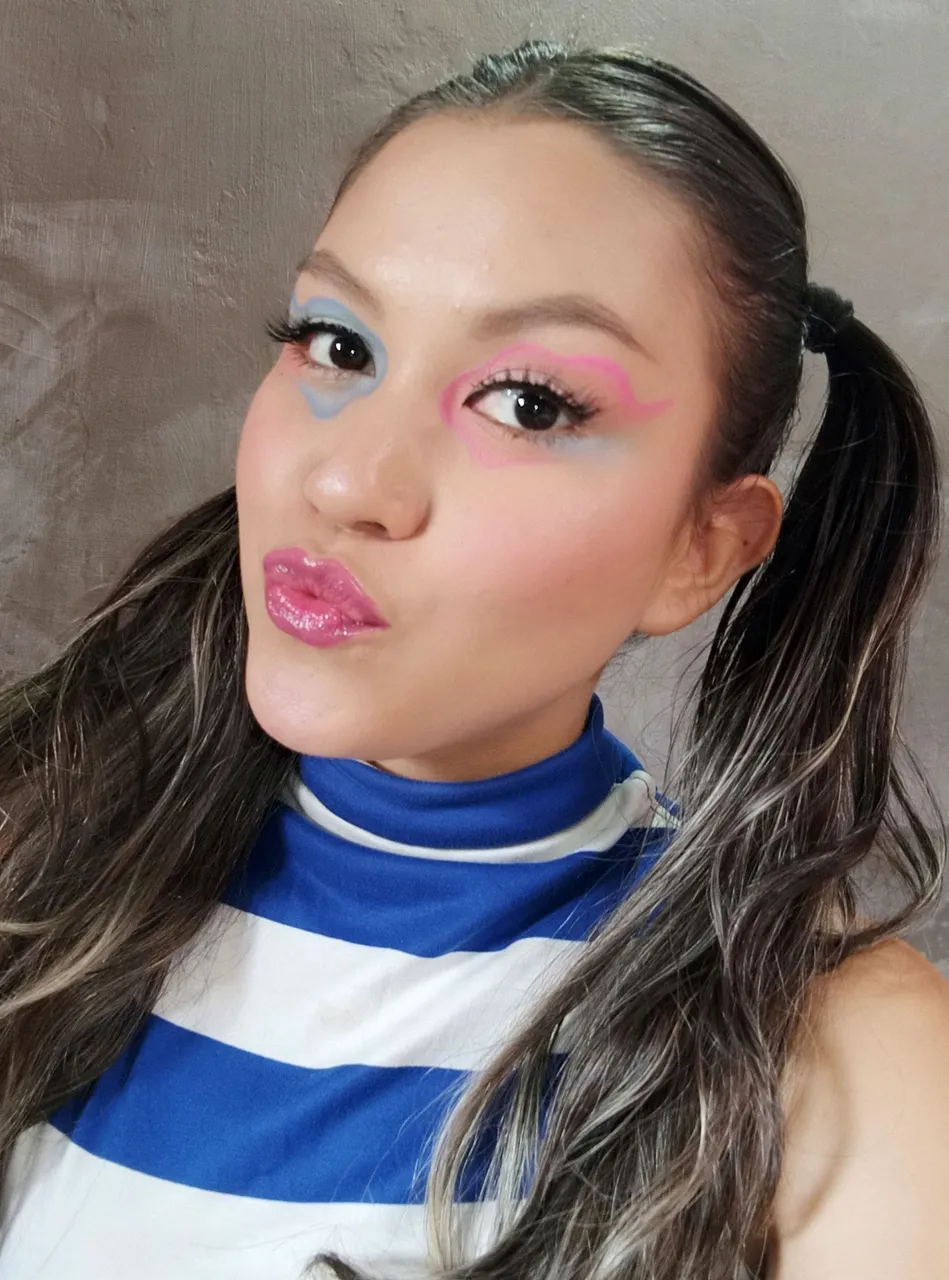
Con ésta parte lista añadí un delineado fino y rímel, en éste caso el rimel era algo que ya había probado anteriormente y debo decir que me gusta bastante, quizás lo que no me termina de enamorar de él es que es a prueba de agua y me cuesta mucho sacarlo, pero eso tiene solución así que por lo demás es un producto que me gusta bastante. En el rostro aplique bronzer, rubor e iluminador, y repito lo mismo que he dicho antes, el rubor y el bronzer me encantaron igual que el resto de productos, se difuminan de maravilla y dejan un acabado super natural, tal y como me gusta 💕, aparte que los colores son preciosos.
With this part ready I added a thin eyeliner and mascara, in this case the mascara was something I had tried before and I must say that I like it a lot, maybe what I don't love about it is that it is waterproof and it's very difficult to remove it, but that has a solution so otherwise it's a product that I like a lot. On the face I applied bronzer, blush and highlighter, and I repeat what I said before, I loved the blush and bronzer just like the rest of the products, they blend beautifully and leave a super natural finish, just as I like 💕, besides the colours are beautiful.
 |  |
|---|
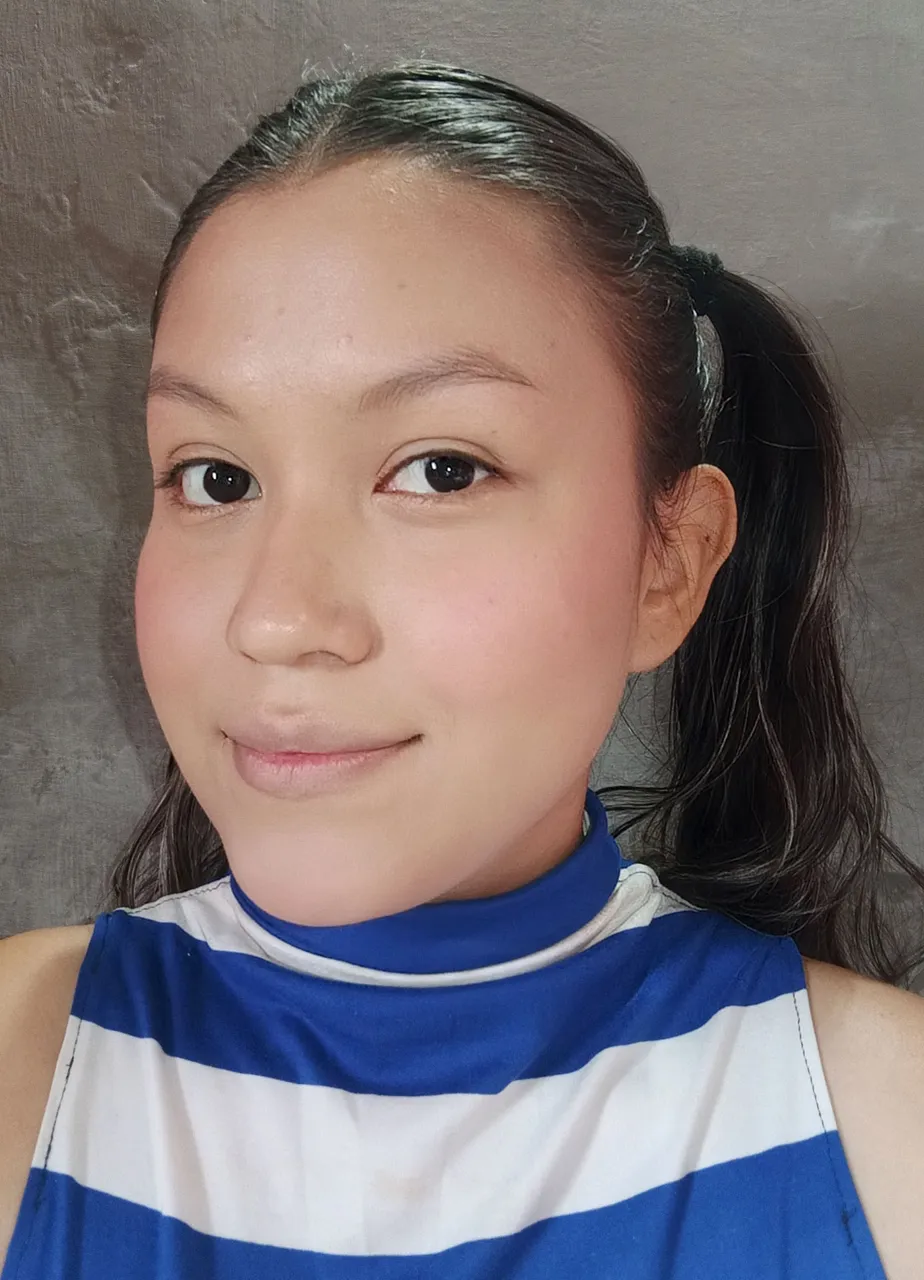
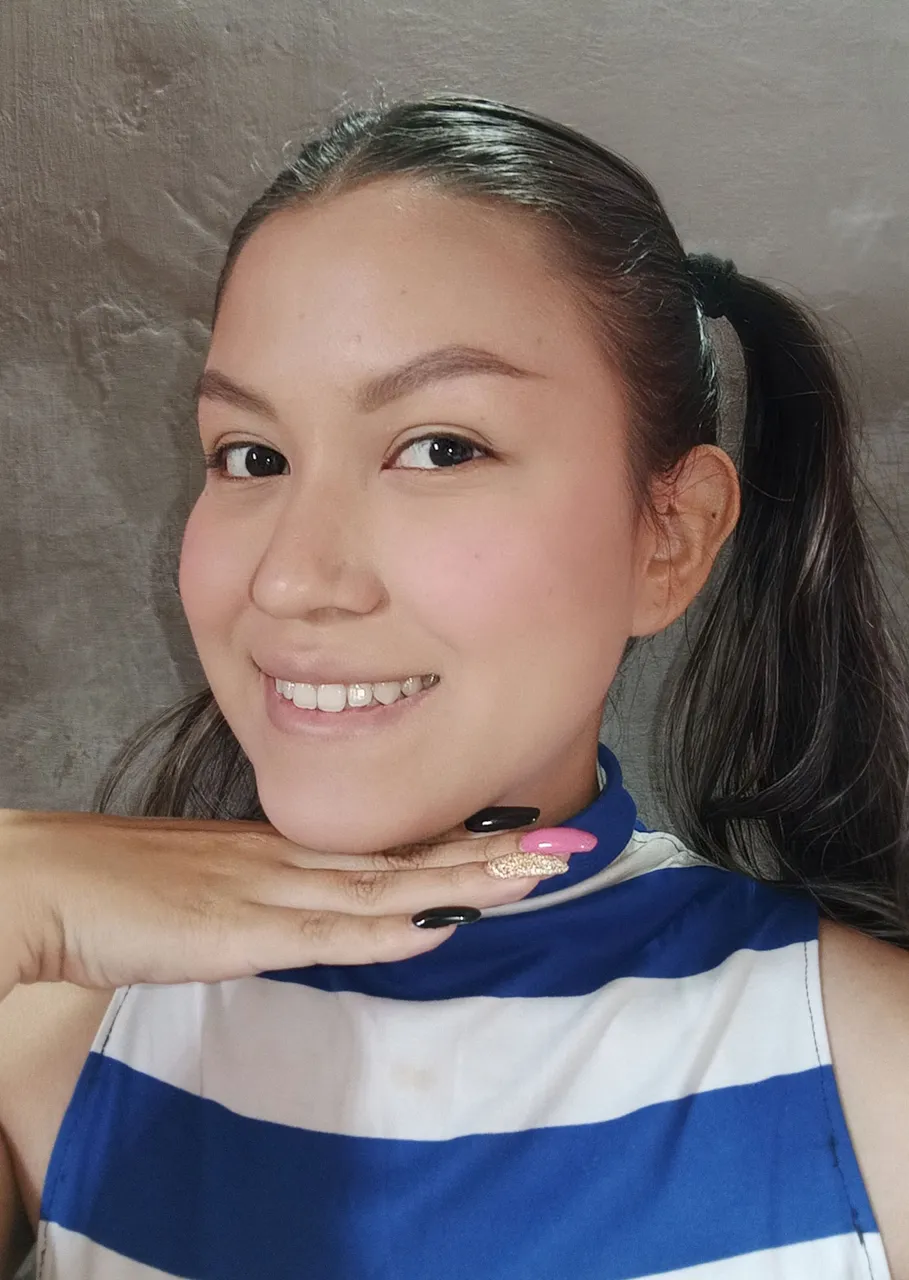
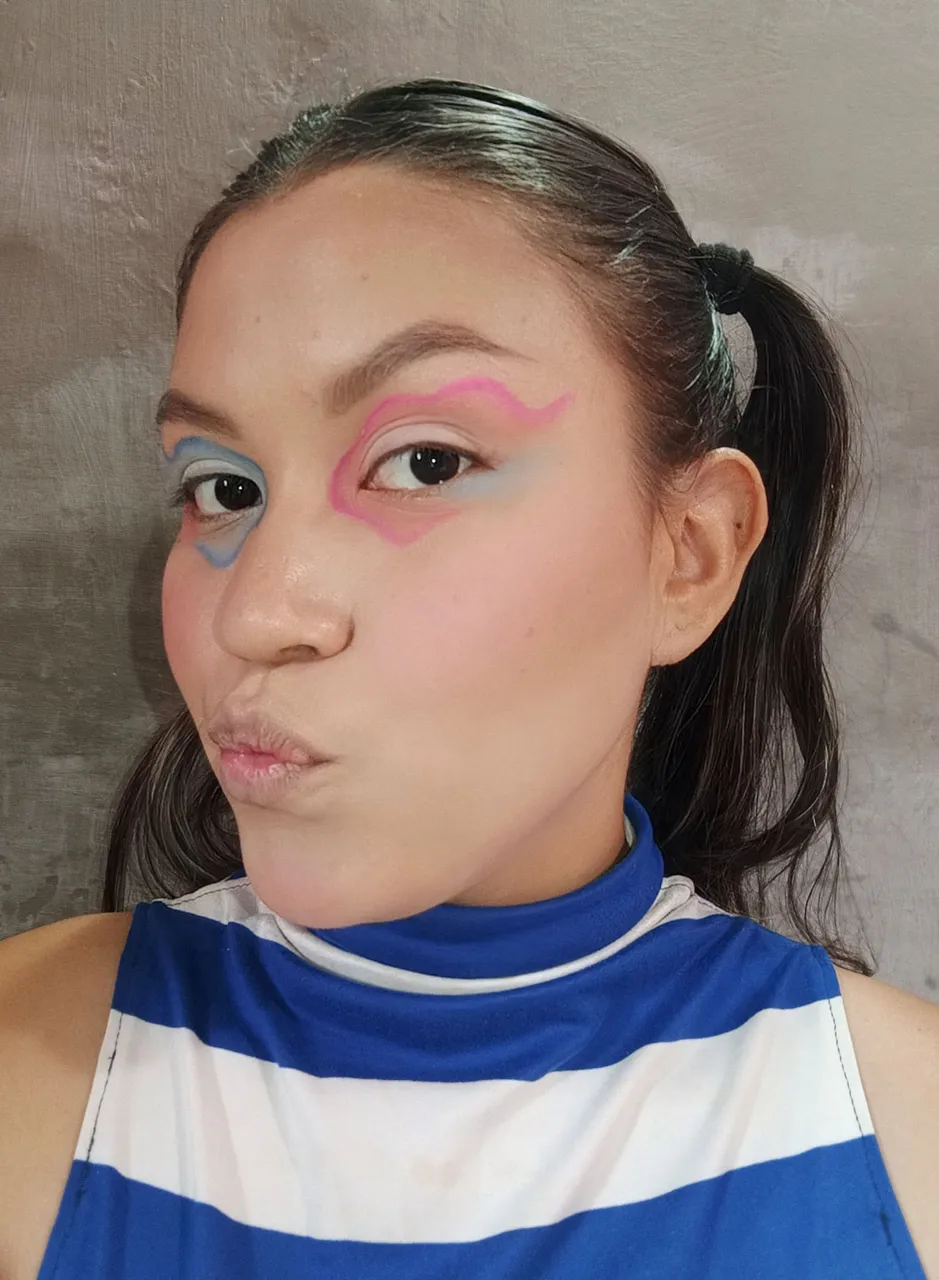
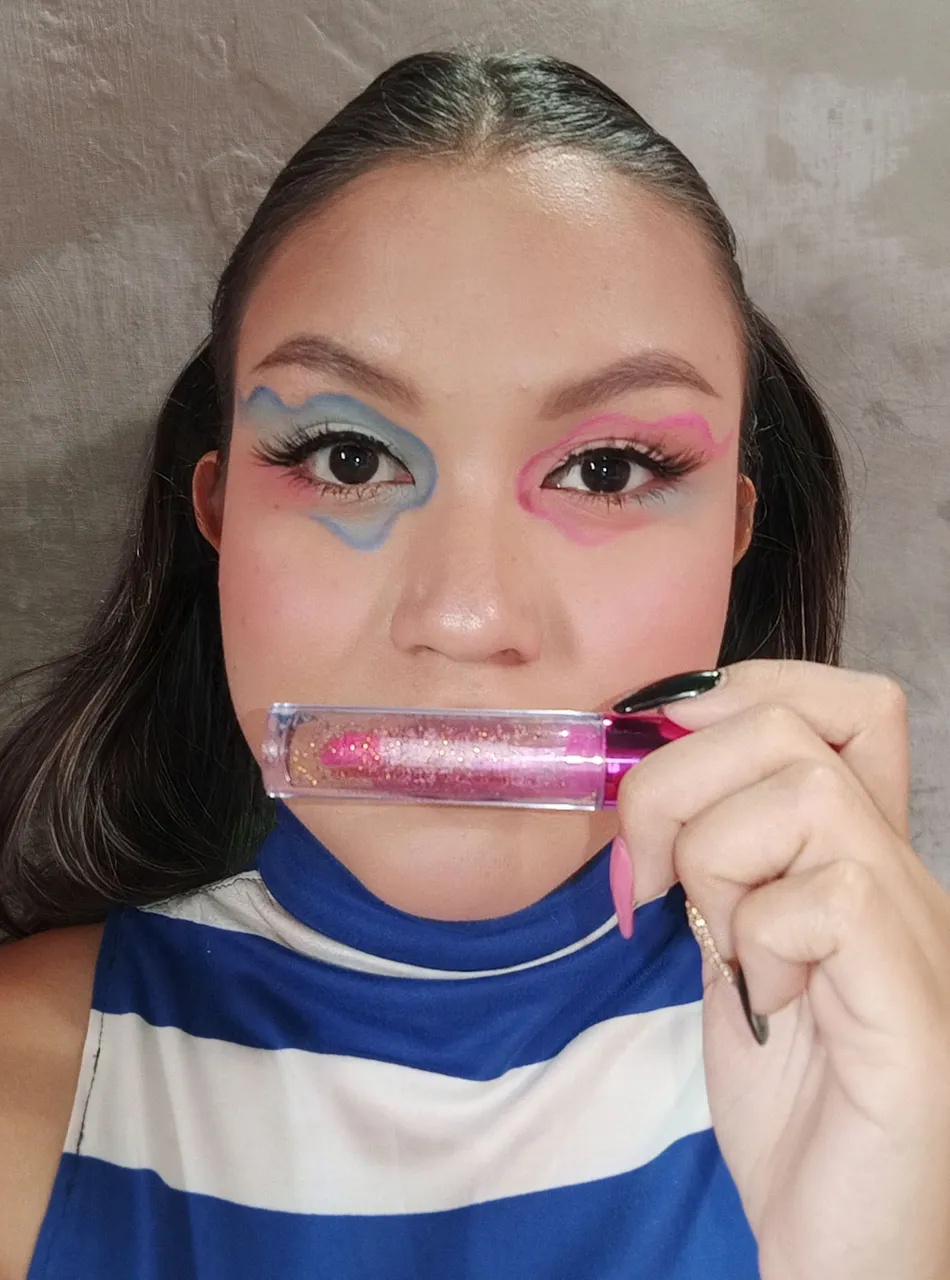
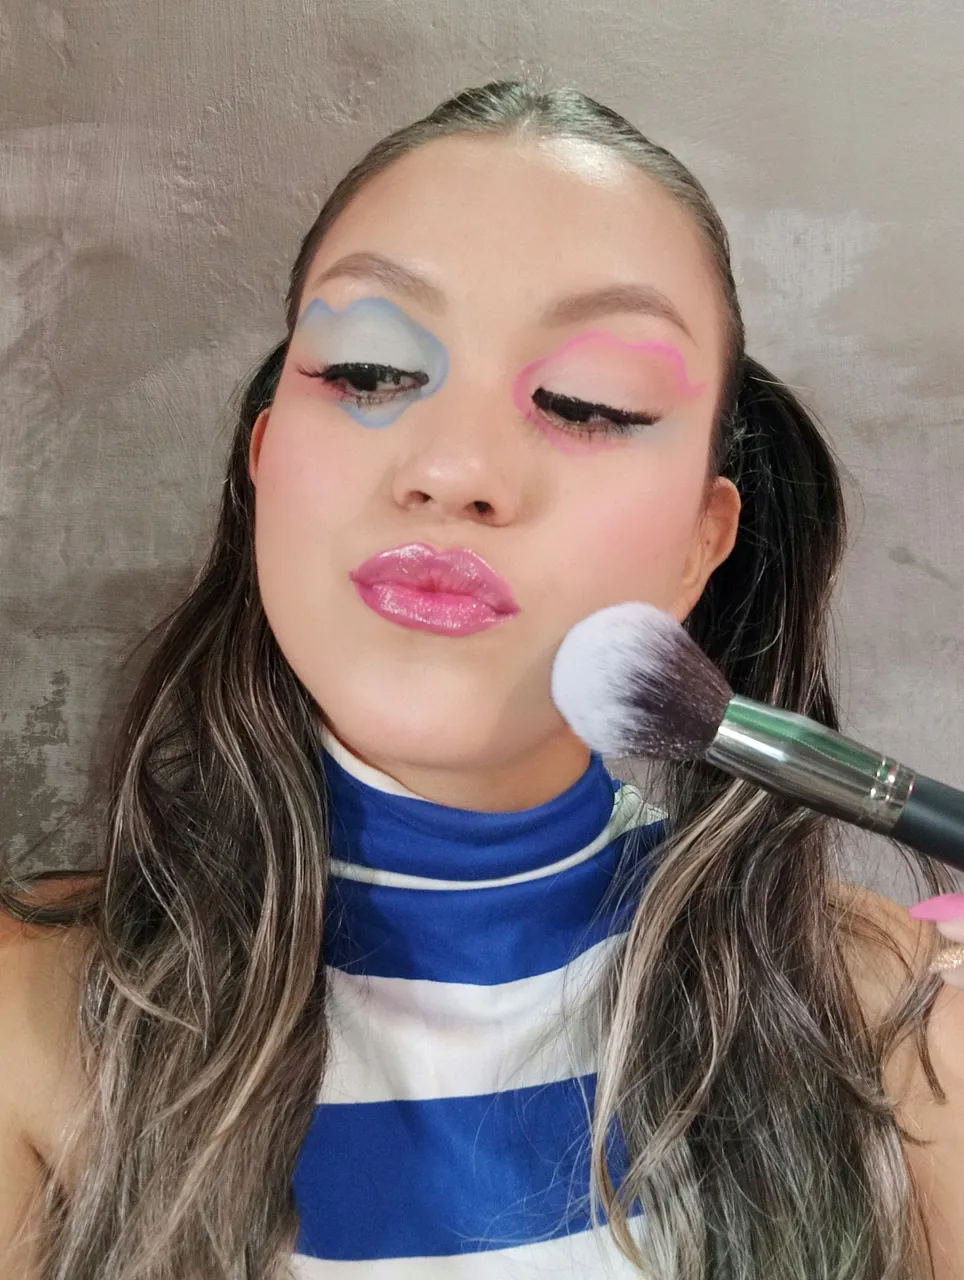
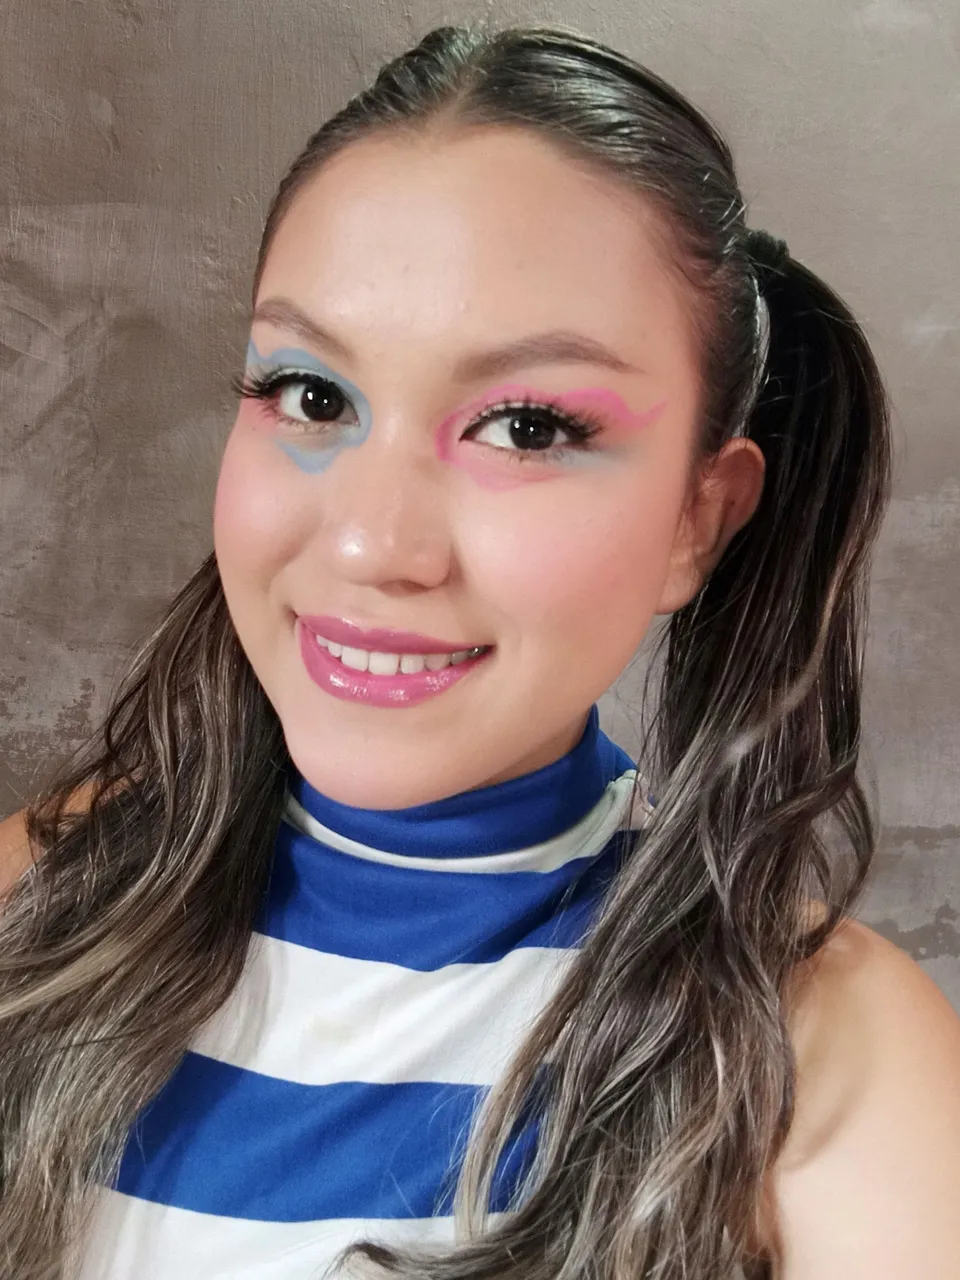
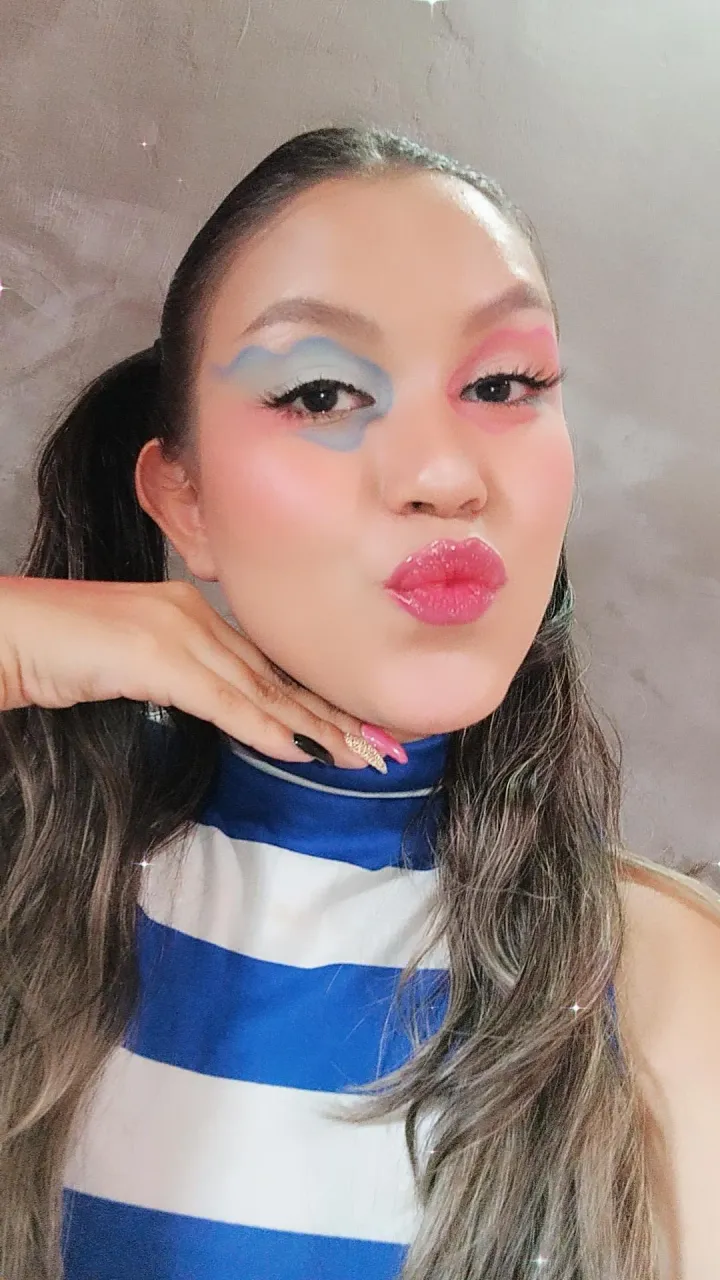
Finalmente use los últimos dos productos de éste maquillaje que fueron las pestañas postizas y el brillo labial de ph, ambos productos una maravilla 💕.
Finally I used the last two products of this make up which were the false eyelashes and the ph lip gloss, both products were a marvel 💕.
 |  |
|---|
 |  |
|---|
 |  |
|---|
 |  |
|---|


Sígueme en mis redes sociales… || Follow me on my social networks…
Instagram:@Susijackeline
Twitter:@Kiut_variedades