Hello friends of Hive! Happy Friday, today I am talking about the contour of the nose.
Hola amigos de Hive! Feliz viernes, el día de hoy les hablo sobre el contorno de nariz.
We all have different types of faces, each nose is different. Some are elongated, others are round, flat, pointed, large, small, etc. And we are not always comfortable with this. In addition, there are some makeup tricks where we can change the appearance of your shape a little without having to go to aesthetic operations.
Todos tenemos distintos tipos de rostro, cada nariz es distinta. Algunas son alargadas otras son redondas, planas, puntiagudas, grandes pequeñas, etc. Y no siempre nos sentimos a gusto con esta. Afortunadamente hay algunos trucos de maquillaje donde podemos cambiar un poco el aspecto de su forma sin necesidad de concurrir a operaciones estéticas.

In my case, the shape of my nose is a bit complicated, it is a bit flat and wide but at the same time it is also a bit rounded. I looked for several tutorials but I couldn't find any that fit the anatomy of my nose, so I had to try and try until I found a way that I liked.
En mi caso, la forma de mi nariz es un poco complicada, es un poco plana y ancha pero a su vez también es un poco redondeada. Busqué varios tutoriales pero no encontraba ninguno que se ajustara a la anatomía de mi nariz, así que tuve que ir probando y probando hasta que encontré una manera con la que me sentí a gusto.
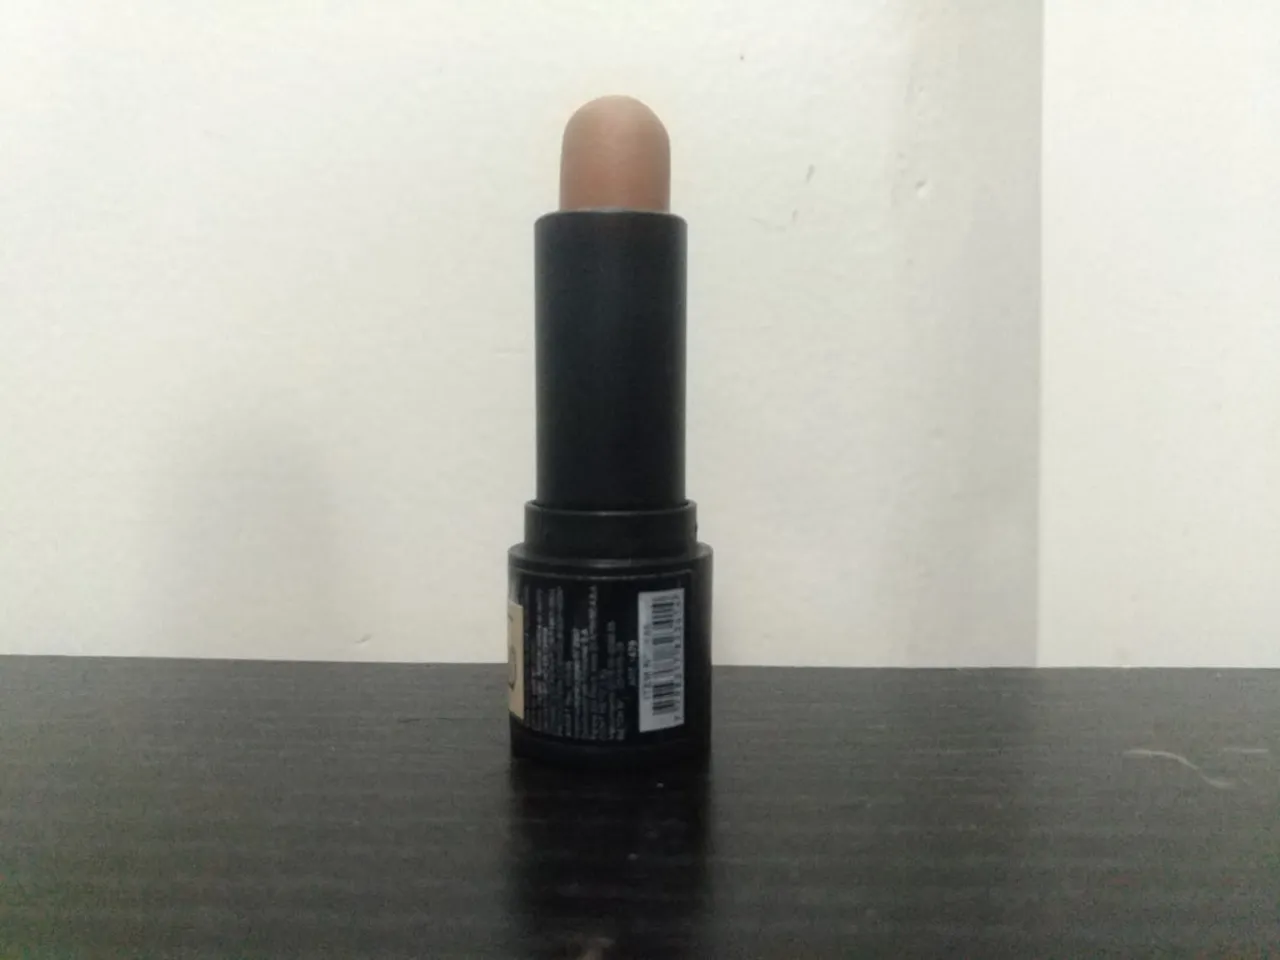
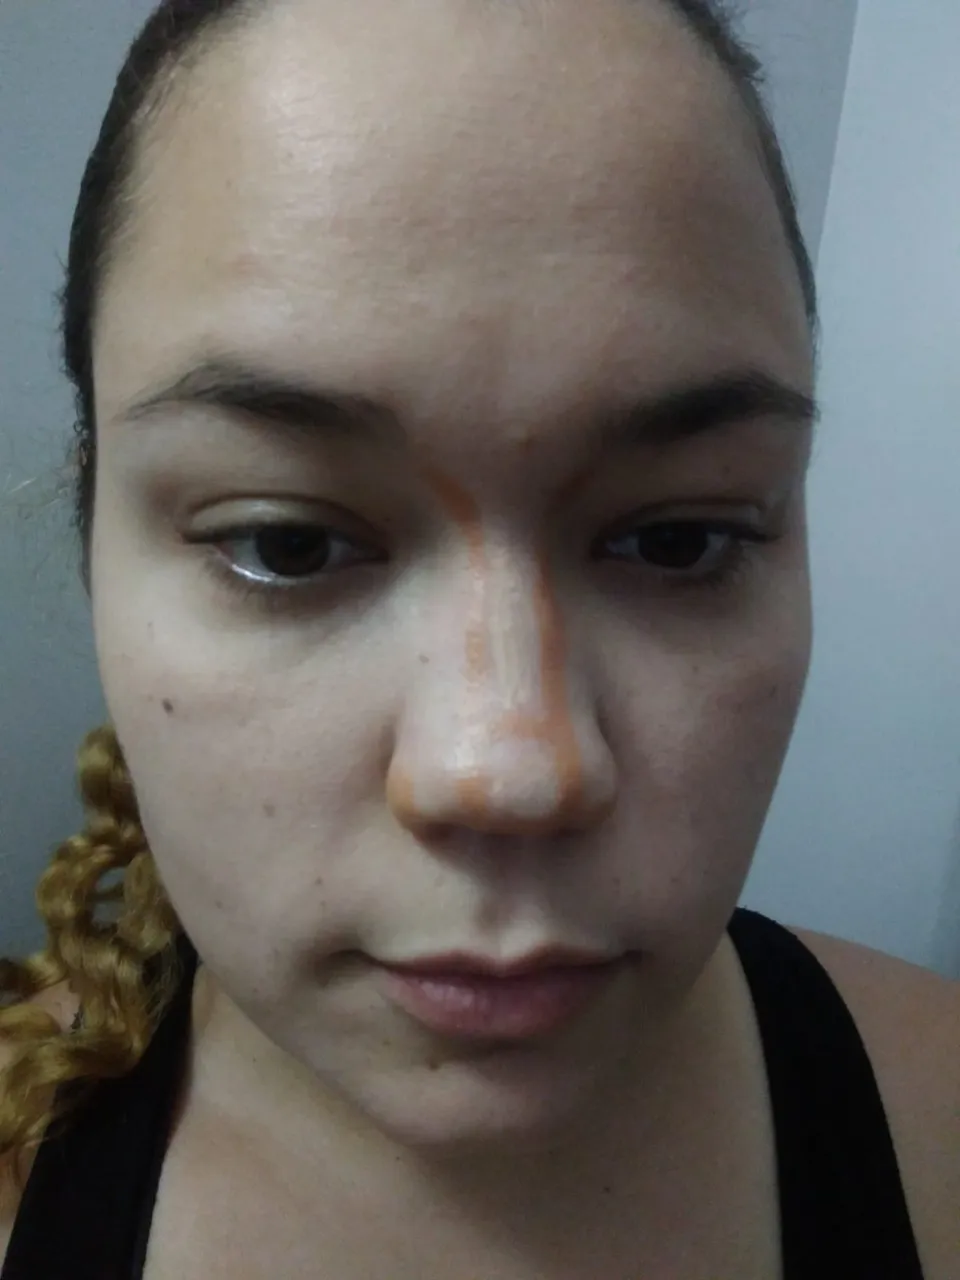
For this I used a stick contour, since it is easier and more practical for me to apply it because it is not necessary to use a brush. First I made a line as straight as possible, starting from my eyebrow to the tip of my nose and then I repeated the same on the other side. Here it is important to highlight that the closer the lines are, the narrower our nose will look. If it is the first time that you do it, the ideal is to do several tests to know how close or separate these two lines should be and that your nose looks its best, without looking exaggerated.
Para esto utilicé un contorno en barra, ya que se me hace más fácil y práctico para aplicarlo porque no es necesario usar brocha. Primero hice una línea lo más derecha posible, partiendo desde mi ceja hasta la punta de la nariz y luego repetí lo mismo del otro lado. Acá es importante resaltar que mientras más pegadas estén las líneas, se verá más angosta nuestra nariz. Si es primera vez que lo haces, lo ideal es hacer varias pruebas para saber qué tan unida o separada deben estar estas dos líneas y que tu nariz luzca lo mejor posible, sin verse exagerado.
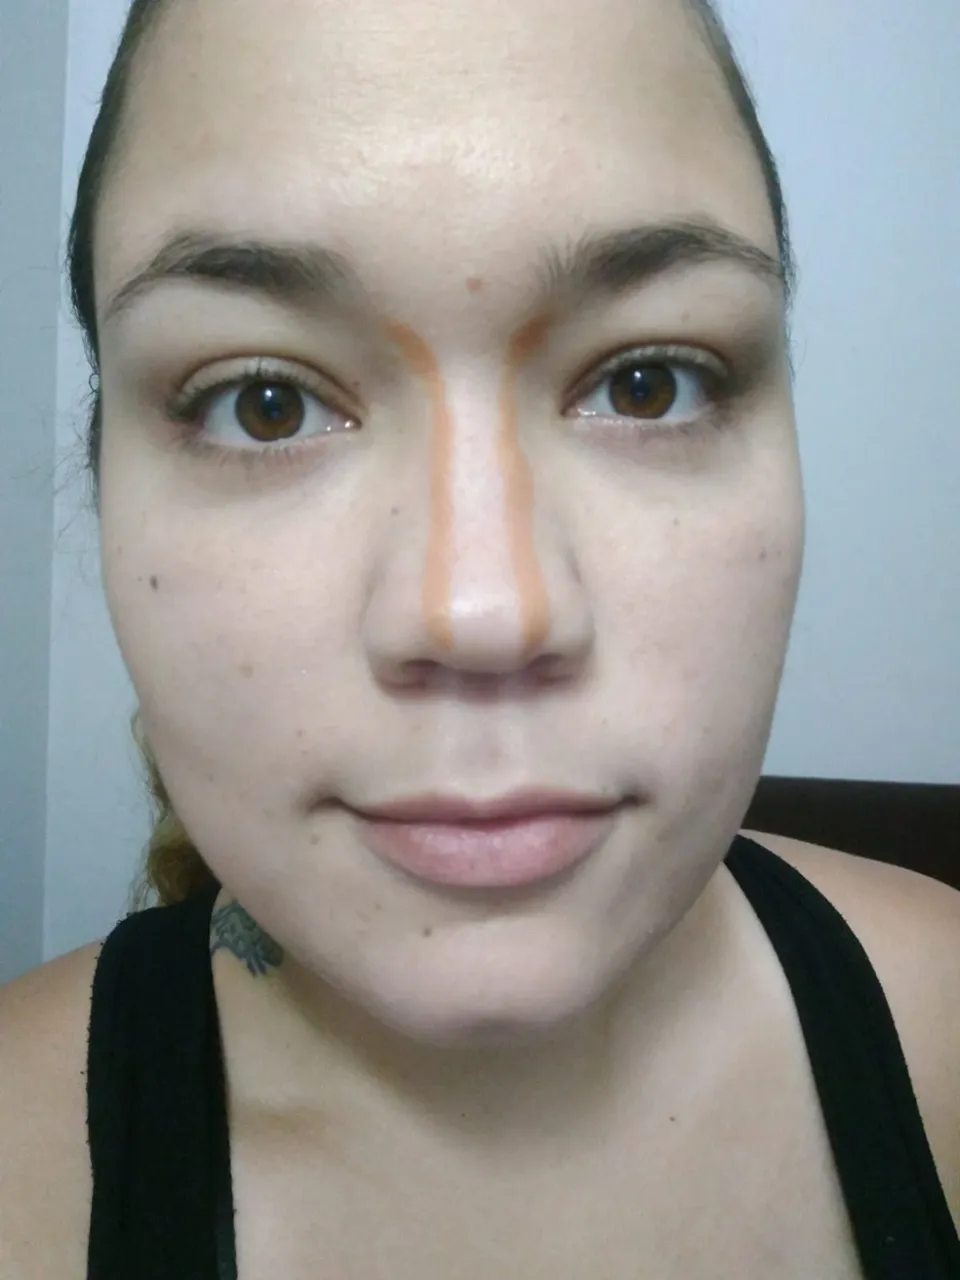
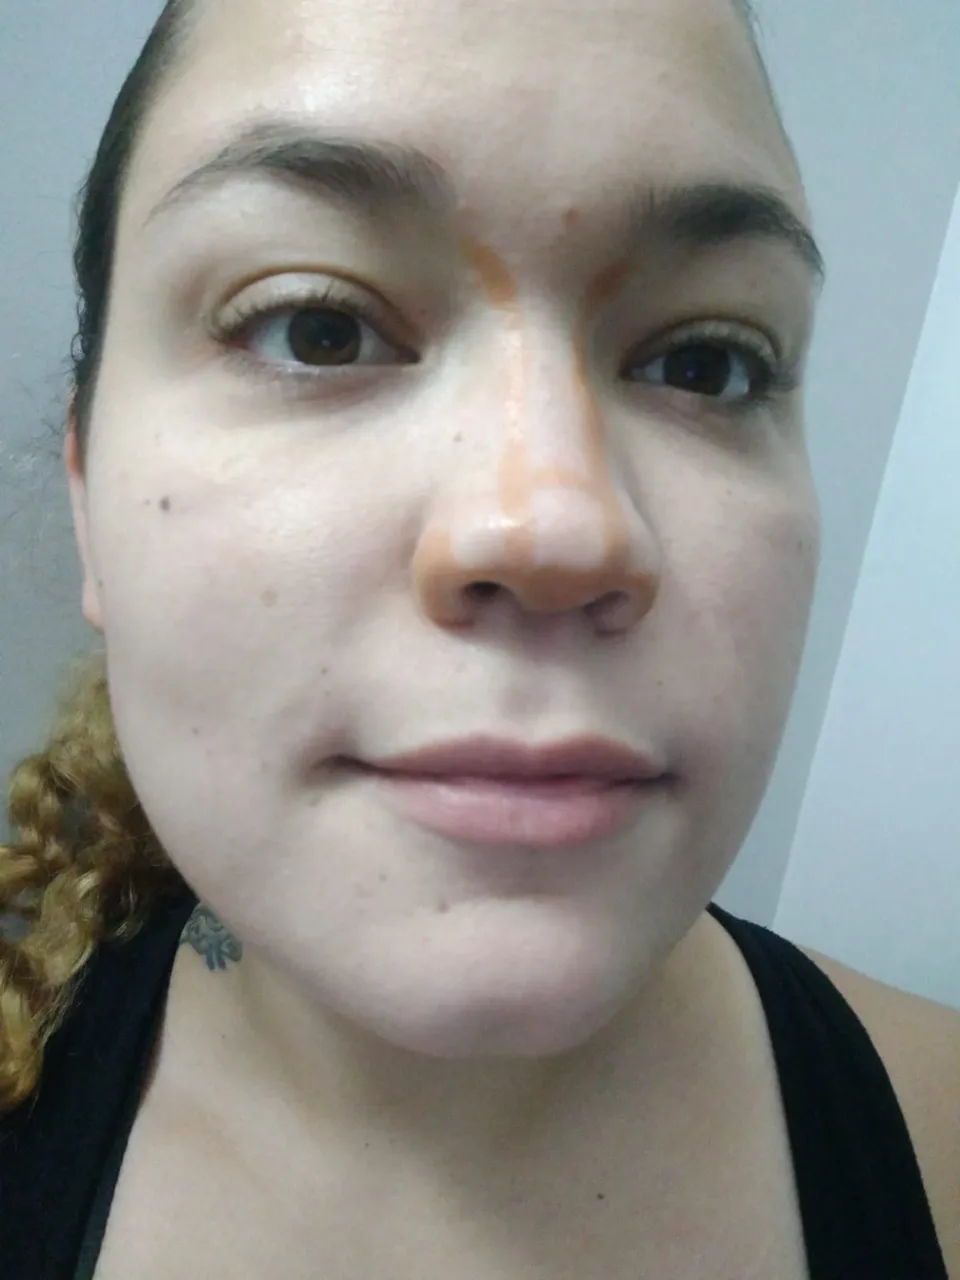
Then, I made a small horizontal line as seen in the photo to give the illusion that it is more pointed and I also placed it at the base of the nose and on the sides to give it a little depth and make it look less wide.
Luego, hice una pequeña línea horizontal como se ve en la foto para dar la ilusión de que es más puntiaguda y también coloqué en la base de la nariz y a los costados para dar un poco de profundidad y se vea menos ancho.
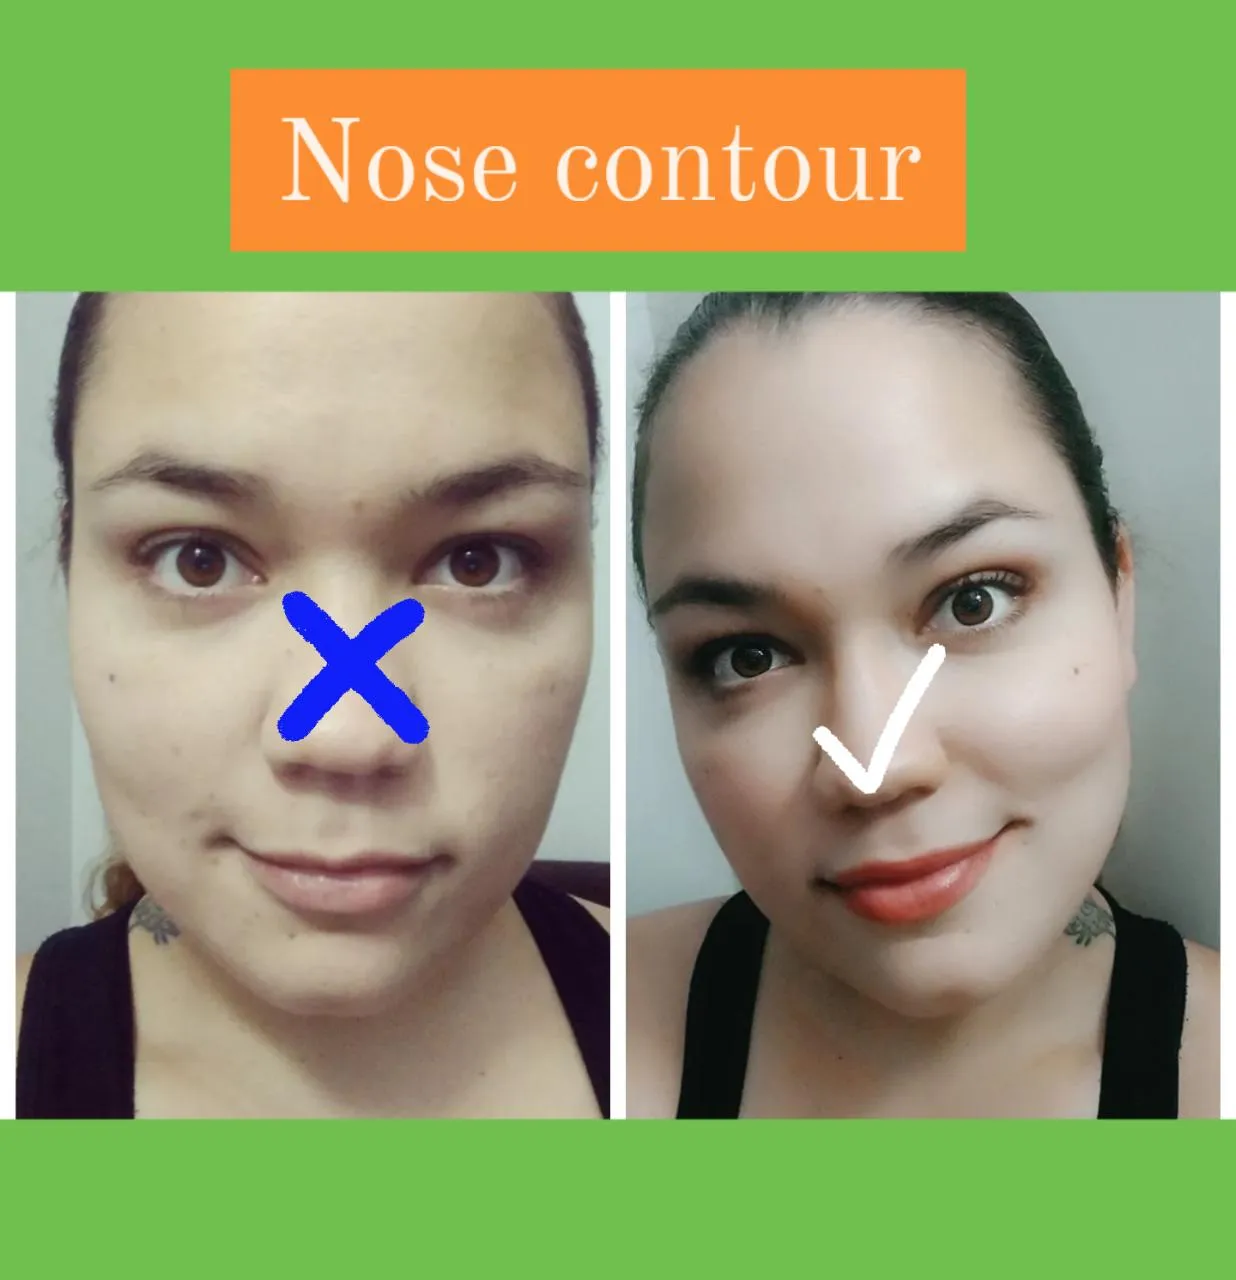
Finally I applied a bit of light concealer to the center of the nose and blended it all out with a sponge. It can also be blended with a brush or fingers. Then to fix everything, I applied loose powder with a brush and that's it, in the last photo I had already made up what was missing from the rest of the face and you can see the difference.
Finalmente apliqué un poco de corrector claro en el centro de la nariz y difuminé todo con una esponja. También se puede difuminar con una brocha o sino con los dedos. Luego para fijar todo, apliqué polvo suelto con una brocha y listo, en la última foto ya me había maquillado lo que faltaba del resto del rostro y se puede apreciar la diferencia.