
Hello #MakeUpPower friends I hope and you are having a wonderful week, I had days wanting to be able to bring for you this short tutorial for a simple and practical makeup that will help us at the time of an unexpected outing or when we do not have much time left and we want to look good, for this simple makeup we do not need many things I think most of us have it in our makeup bag, well without further ado let's get to what we came ☺️.
Hola amigos de #MakeUpPower Espero y estén pasando una maravillosa semana, tenía días con ganas de poder traer para ustedes este corto tutorial para un maquillaje sencillo y práctico que nos ayudará al momento de una salida inesperada o cuando no nos quede mucho tiempo y queremos vernos bien, para este maquillaje sencillo no necesitamos muchas cosas creo que la mayoría la tenemos en nuestro bolso de maquillaje, buen sin más preámbulos vamos a lo que vinimos ☺️.
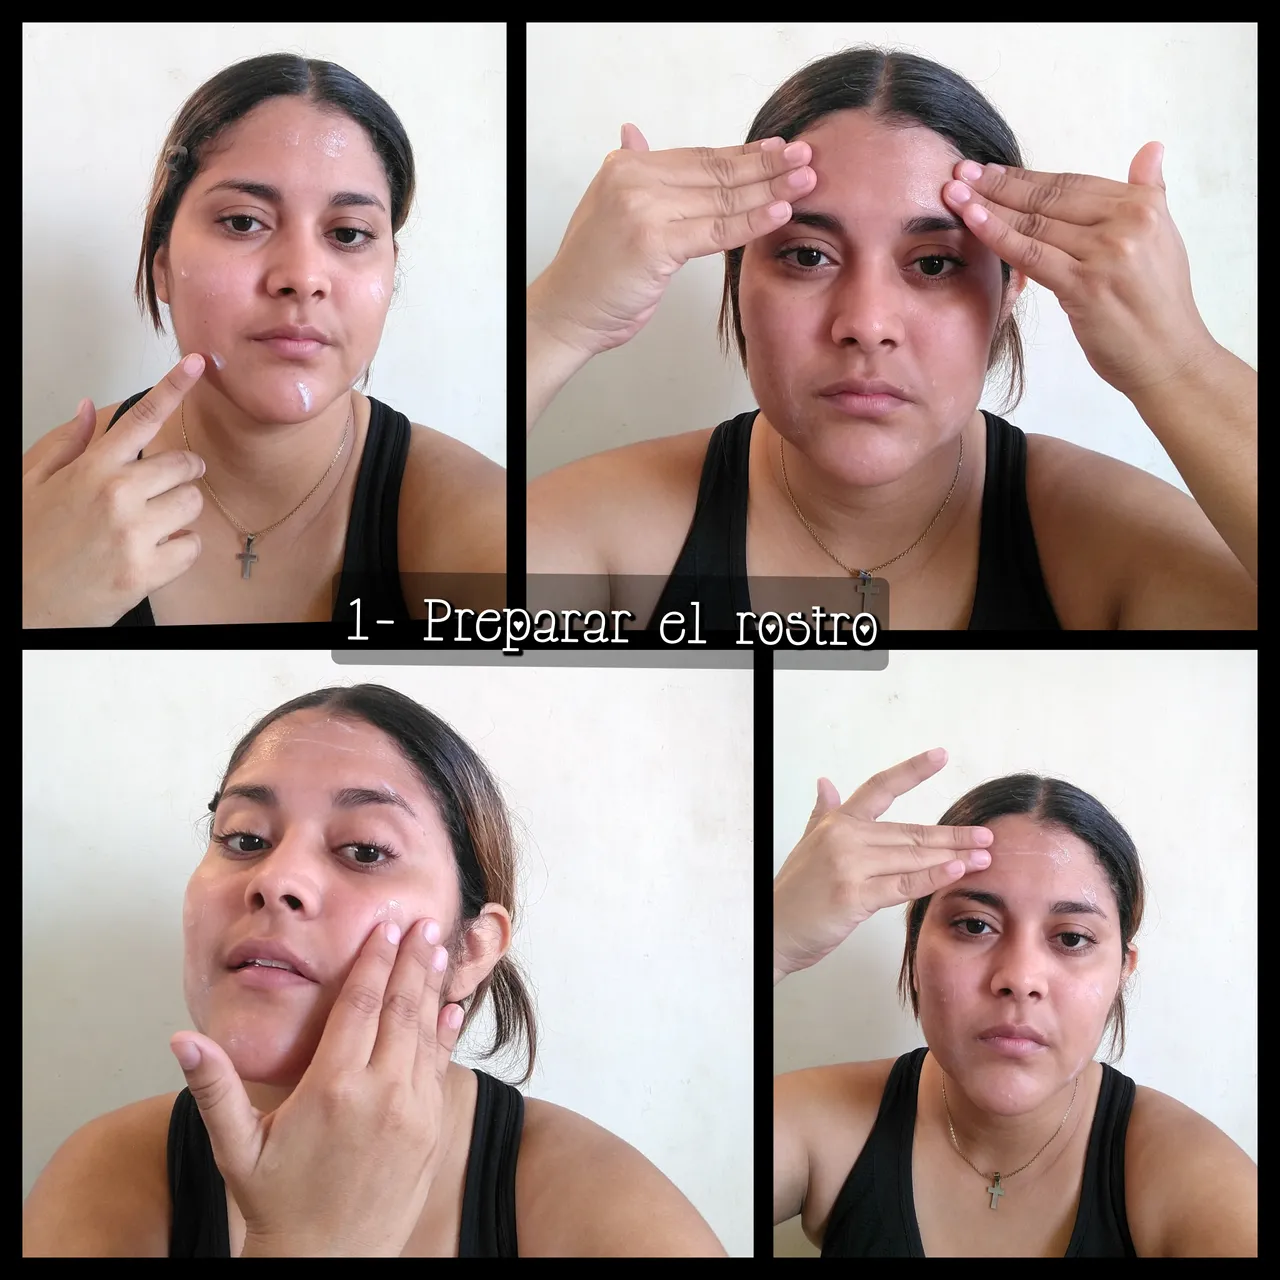
I always like to start by moisturizing my face with a moisturizer that contains sunscreen and that's it, I don't like to put anything else because then my face feels heavy hehehe, as you can see there in the picture just use what I already named you must take into account your skin type when doing this to buy the elements that correspond to our face and not ruin the makeup, when applying the cream we must do it from the inside out not stretching our face to not frame our expression lines more.
A mi siempre me gusta comenzar hidratando mi cara con una crema humectante que contenga bloqueador solar y ya, no me gusta colocar más nada porque luego me siento la cara como pesada jejeje, como pueden apreciar allí en la foto solo use lo que ya les nombre deben tener en cuenta si tipo de piel al momento de hacer esto para así comprar los elementos que correspondan a nuestra cara y no arruinar el maquillaje, al momento de aplicar la crema lo debemos hacer de adentro hacia fuera no estirando nuestra cara para no enmarcar más nuestra líneas de expresión.
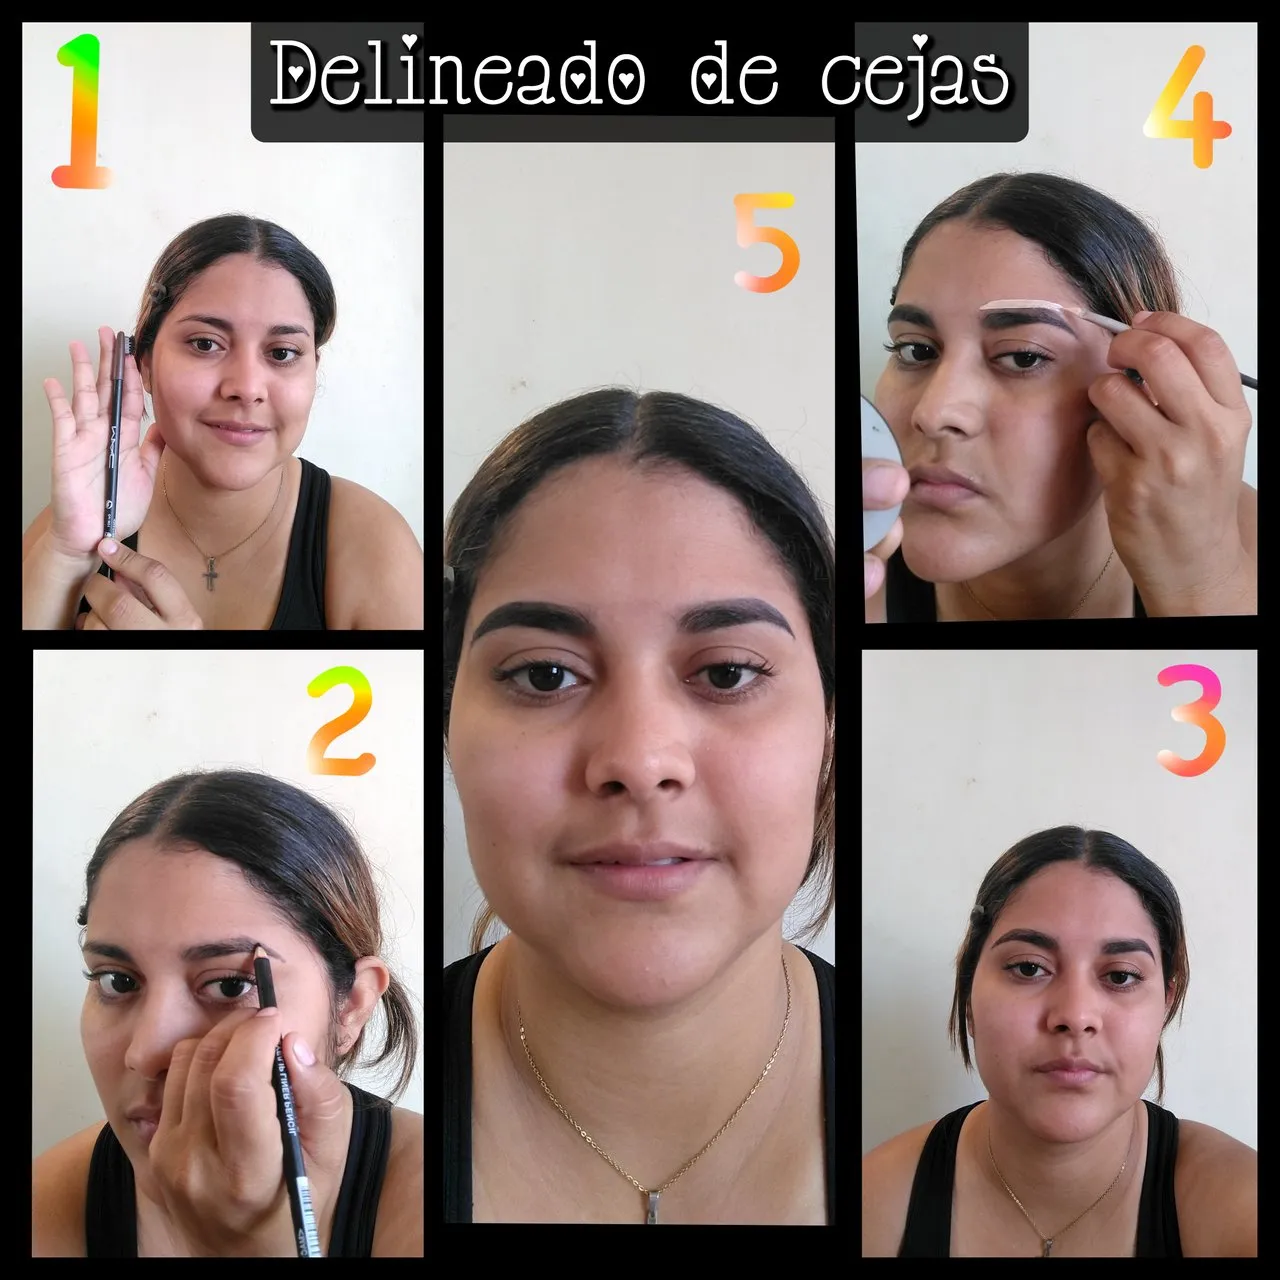
Once the face is prepared, we go to the eyebrows and frame remembering that we start from the tip of the eyebrow making a darker shading, to the thickest part making a shading as light as possible, when we get the thickness and shape we want we take care of fixing any flaws with concealer or foundation this makes the framing is perfect.
Ya con el rostro preparado, nos vamos a las cejas y enmarcamos recordando que comenzamos desde la punta de la ceja haciendo un sombreado más oscura, hasta la parte más gruesa haciendo un sombreado lo más claro posible, al obtener el grosor y la forma que deseamos nos encargamos de arreglar cualquier falla con corrector o base esto hace que el enmarcado quede perfecto.
For the eyebrows, we apply foundation and concealer in the necessary areas to cover any imperfections, for the contour we must do it in the areas that mark our profile such as the nose, I call this rhinoplasty without pain hehe, I use brown eyebrow pencil and yes I know that for you it could be less ideal but I like to work with what I have on hand and I still get it right.
Lista las cejas, nos colocamos base y corrector en las áreas necesarias para cubrir cualquier imperfección, para el contorno debemos hacerlo en las zonas que marquen nuestro perfil como por ejemplo la nariz a esto yo le llamo la rinoplastia sin dolor jeje, yo uso lápiz de ceja marrón y sí ya se que para ustedes podría ser lo menos ideal pero a mí me gusta trabajar con lo que tengo a la mano de igual forma me sale bien.

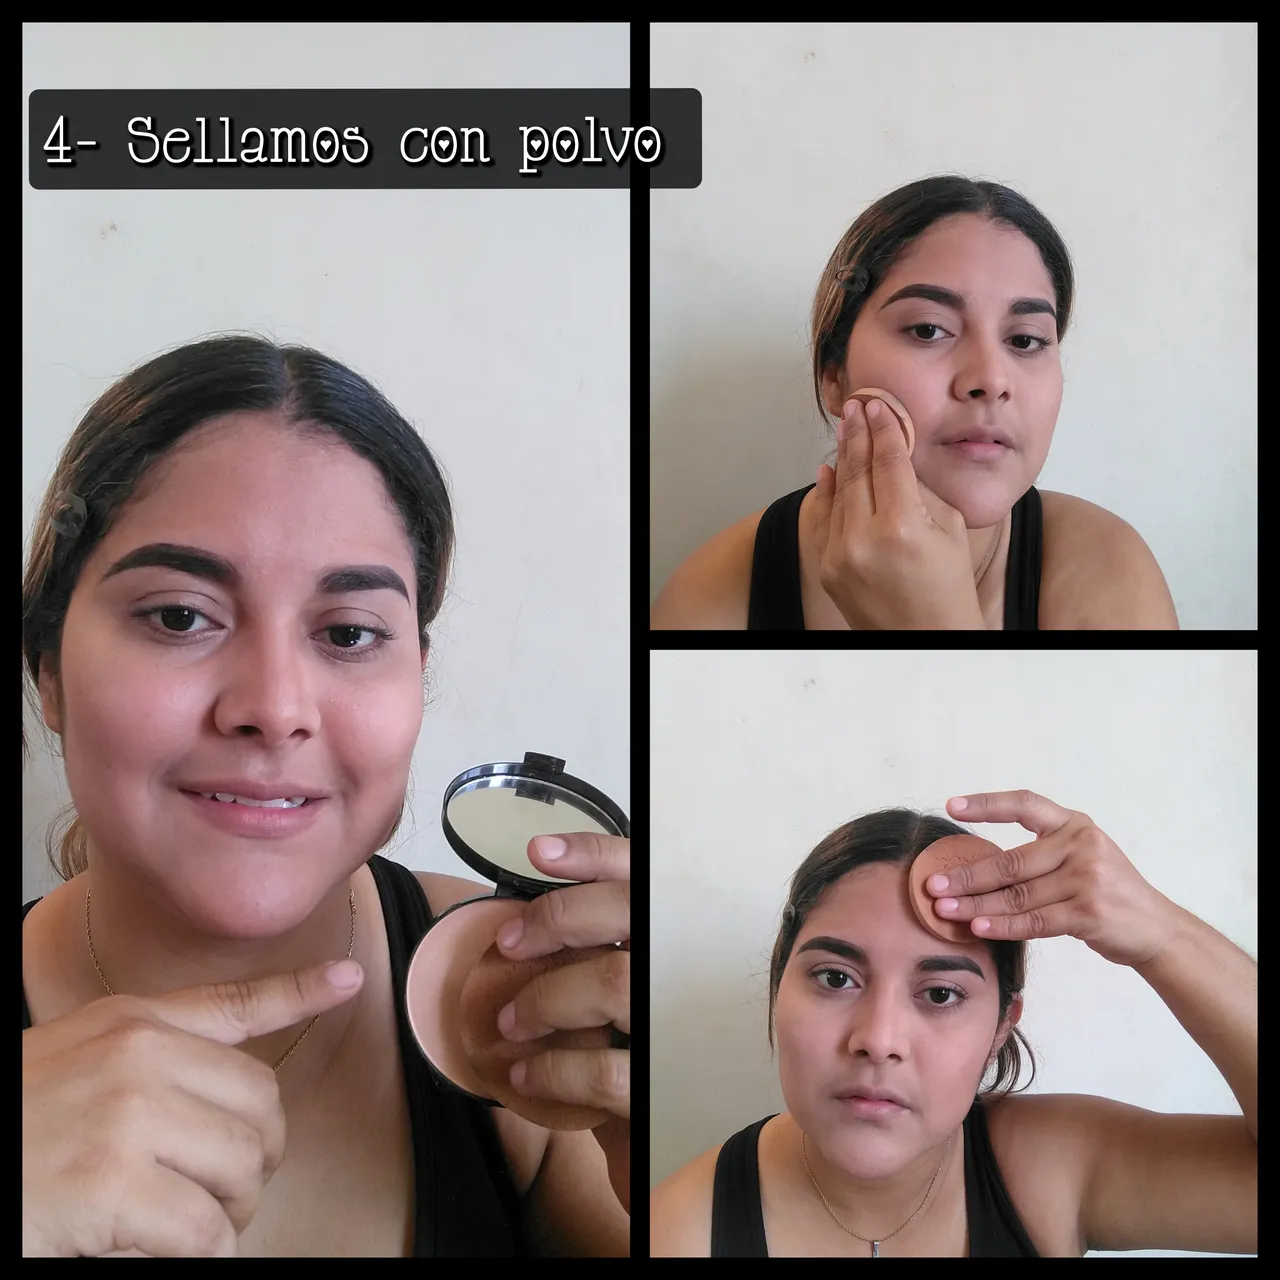
We seal everything with powder so that everything is neat in a single tone.
Sellamos todo con polvo para que todo esté prolijo en un solo tono.
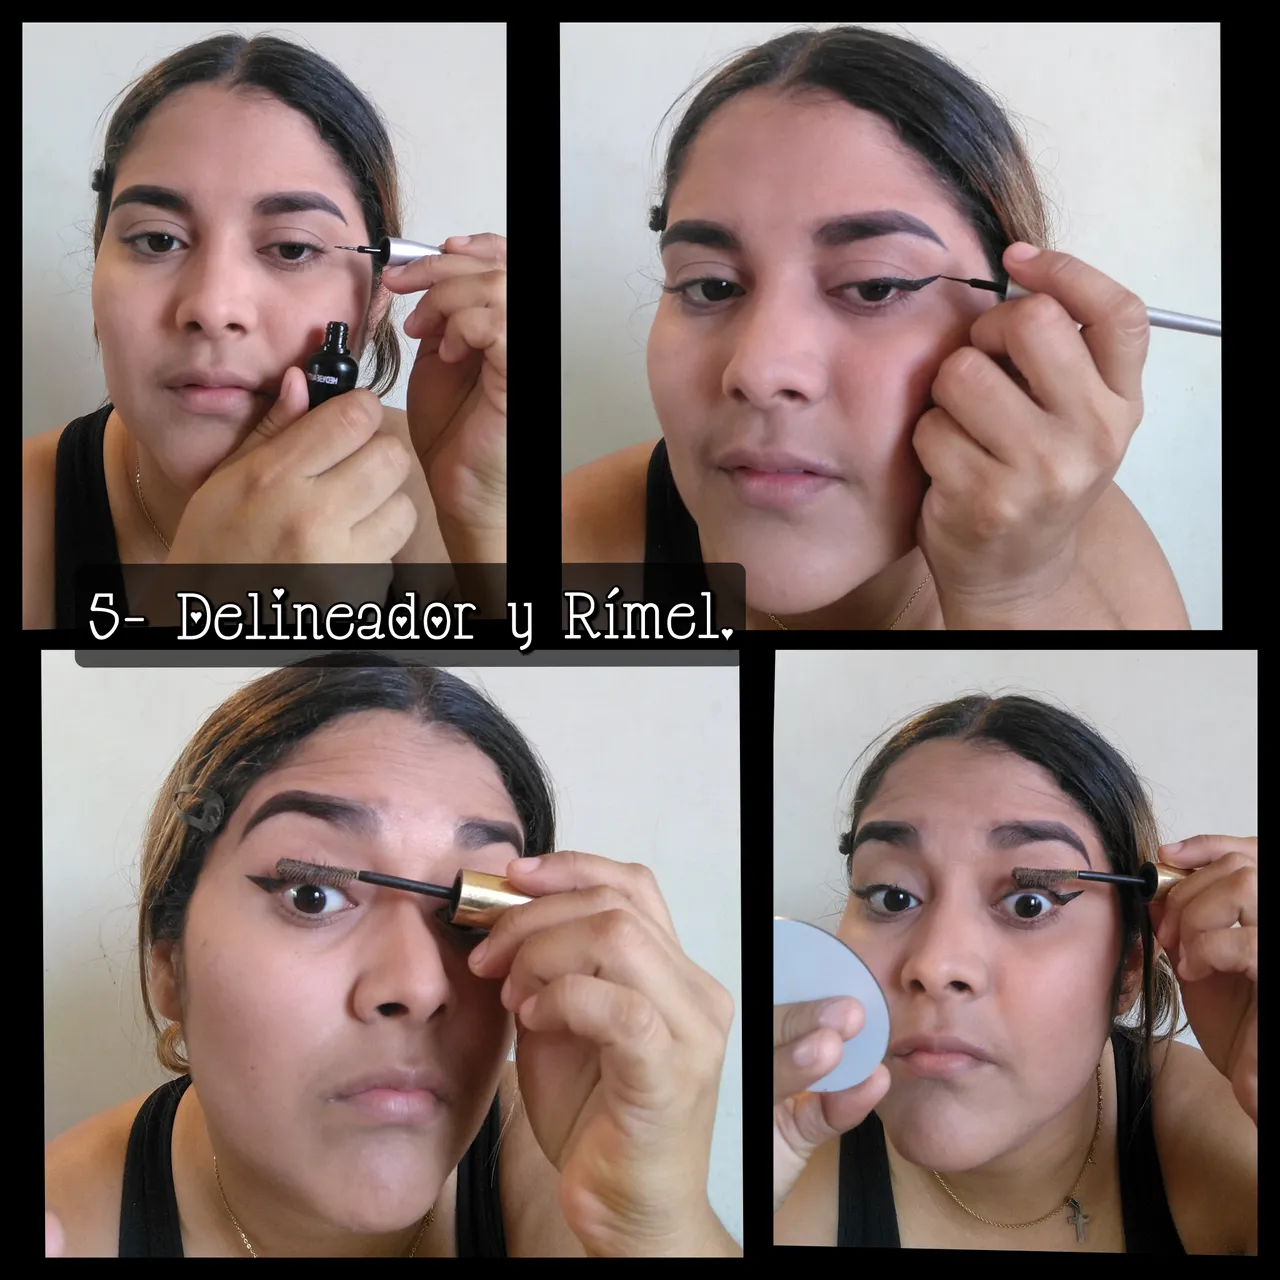
To finish framing the eyes we start with the eyeliner, I always start with the eye that is more difficult for me to know how it will look and do the other side.
Para terminar de enmarcar los ojos comenzamos con el delineado de ojos, yo siempre comienzo por el ojo que me cuesta más para saber cómo nos va a quedar y hacer el otro lado.
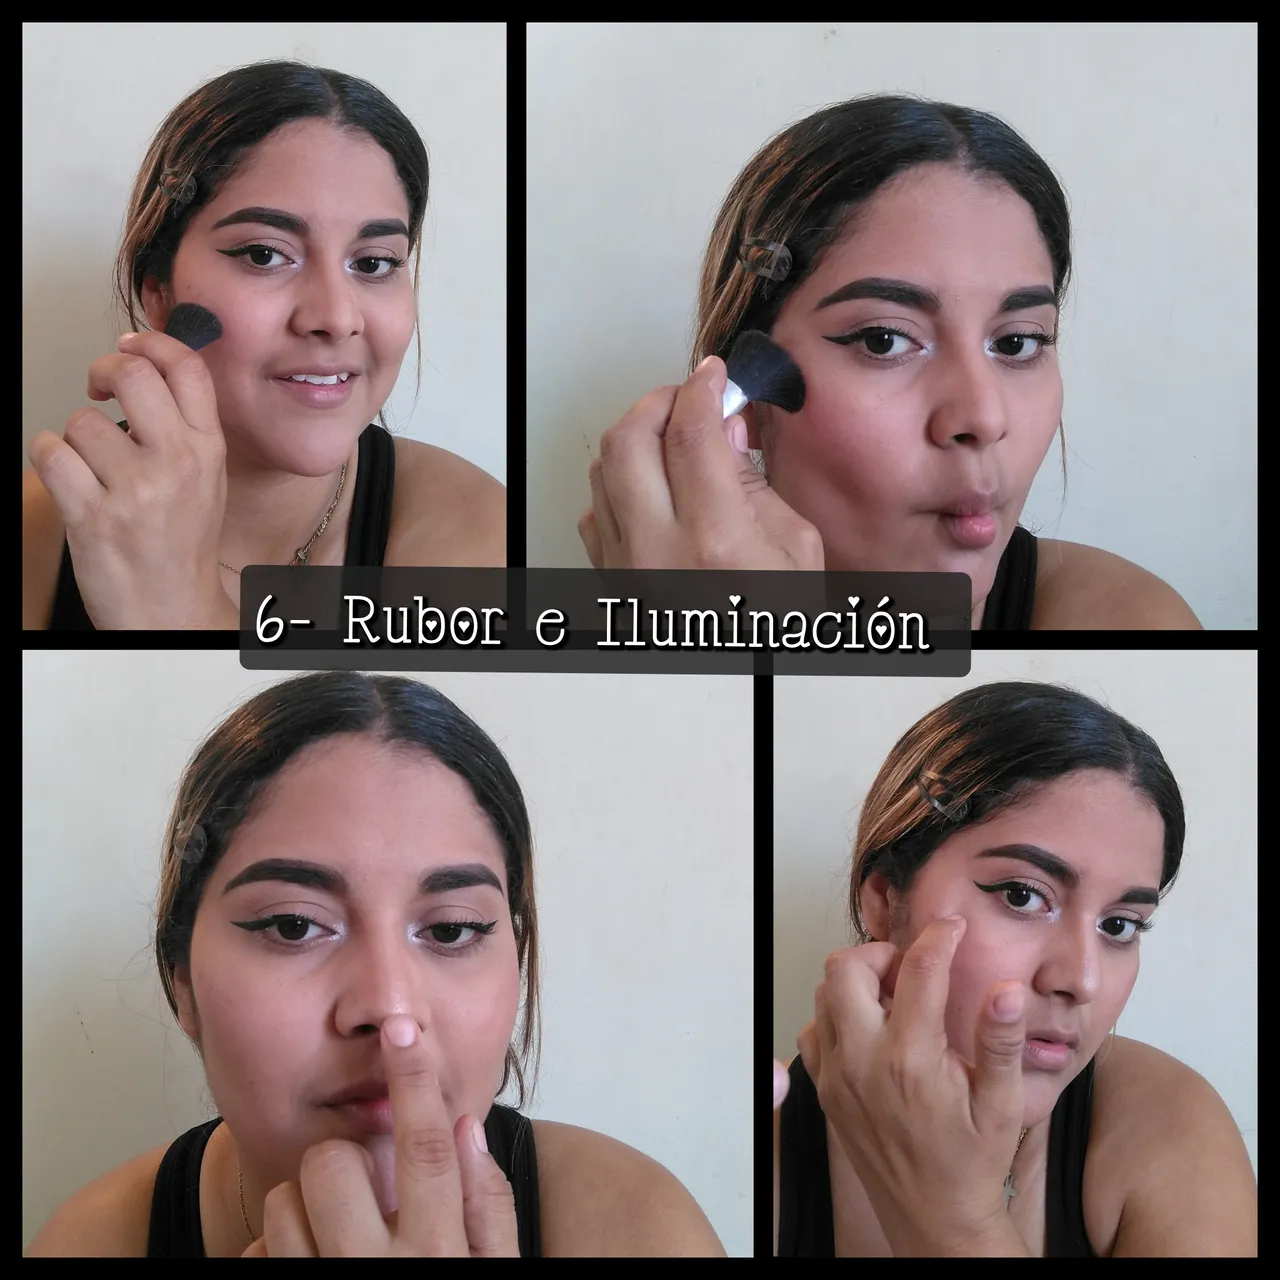
I love this part of the process because it is to illuminate those parts of our face that we want to highlight, I do this with some bright shadows that I have and I take the opportunity to illuminate the tear trough as well, whenever I apply blush my daughter tells her that I put a fish face and she laughs, but for me it is the best way to apply it and I do it from the inside out.
Está parte del proceso me encantan porque es iluminar esas partes de nuestro rostro que queremos resaltar, yo esto lo hago con unas sombras brillantes que tengo y aprovecho de iluminar el lagrimal también, siempre que me coloco el rubor mi hija le dice que coloco cara de pez y se ríe, pero para mí es la mejor forma de colocarlo y lo hago de adentro hacia afuera.
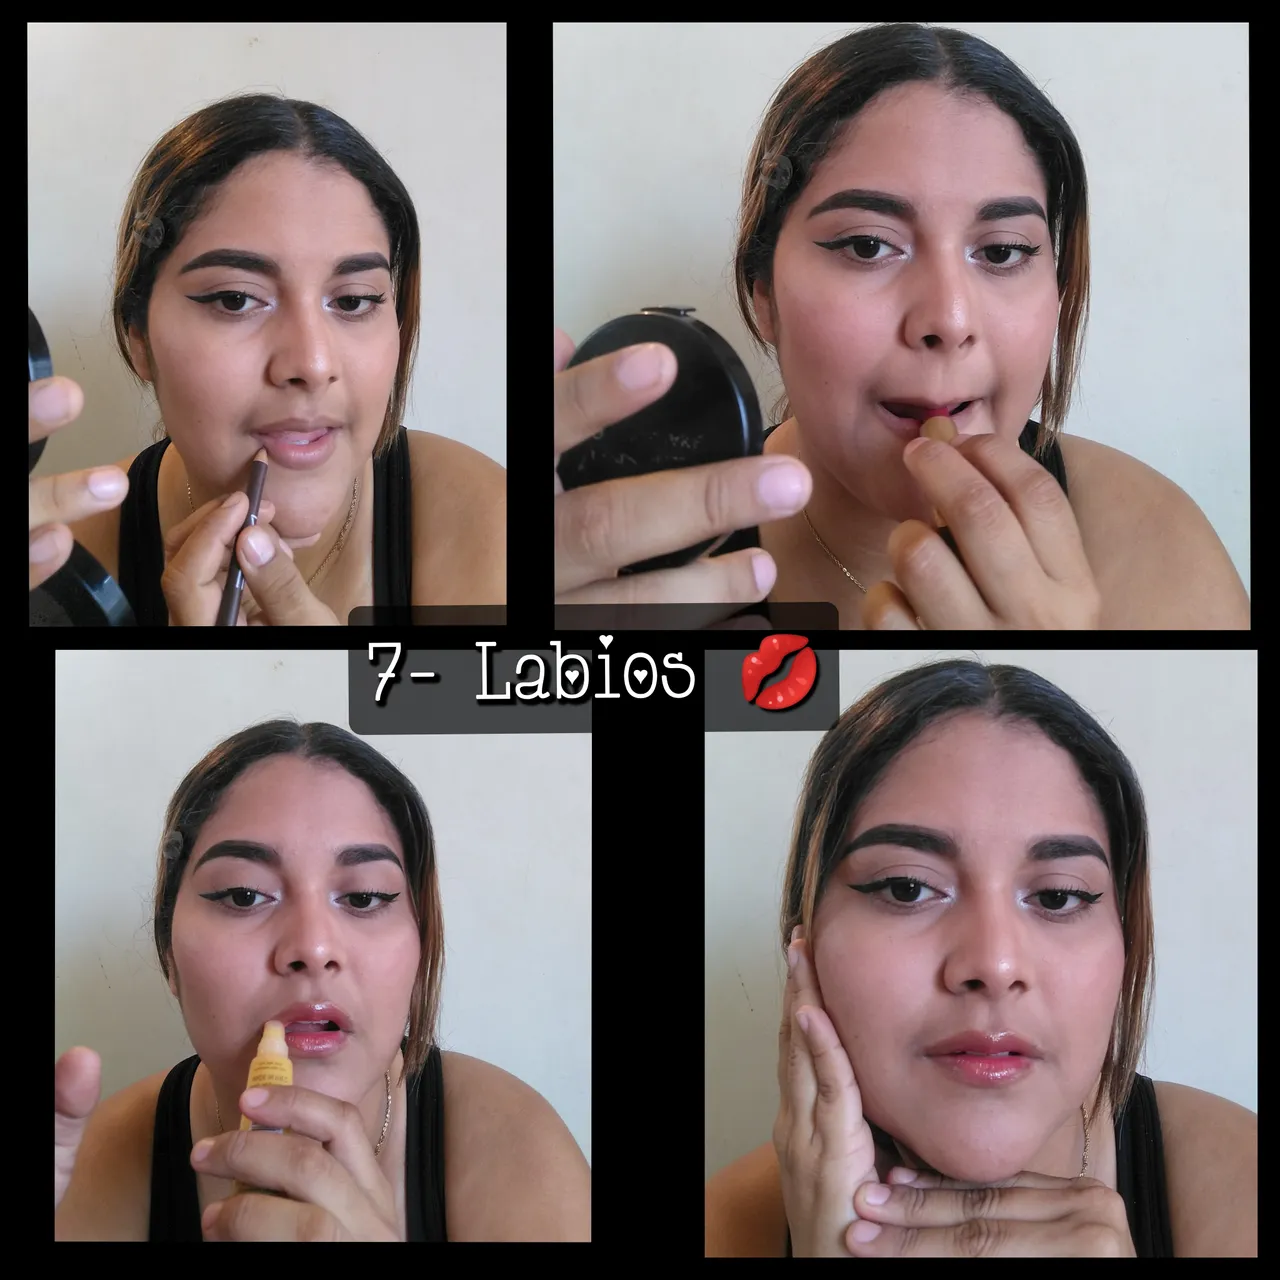
To close with a flourish, the lips this time to make it easier I used an outline with a similar tone to my lips and blurred them inward, then apply the Japanese technique to give a touch of color and finally the glitter, it was uffs too good hehe I hope you like it!
Para cerrar con broche de oro, los labios esta vez para hacerlo más fácil use un delineado con tono similar al de mis labios y los difumine hacia adentro, luego aplique la técnica japonés para darle un toque de color y por último el glitter, quedó uffs demasiado bien jeje espero y les guste!
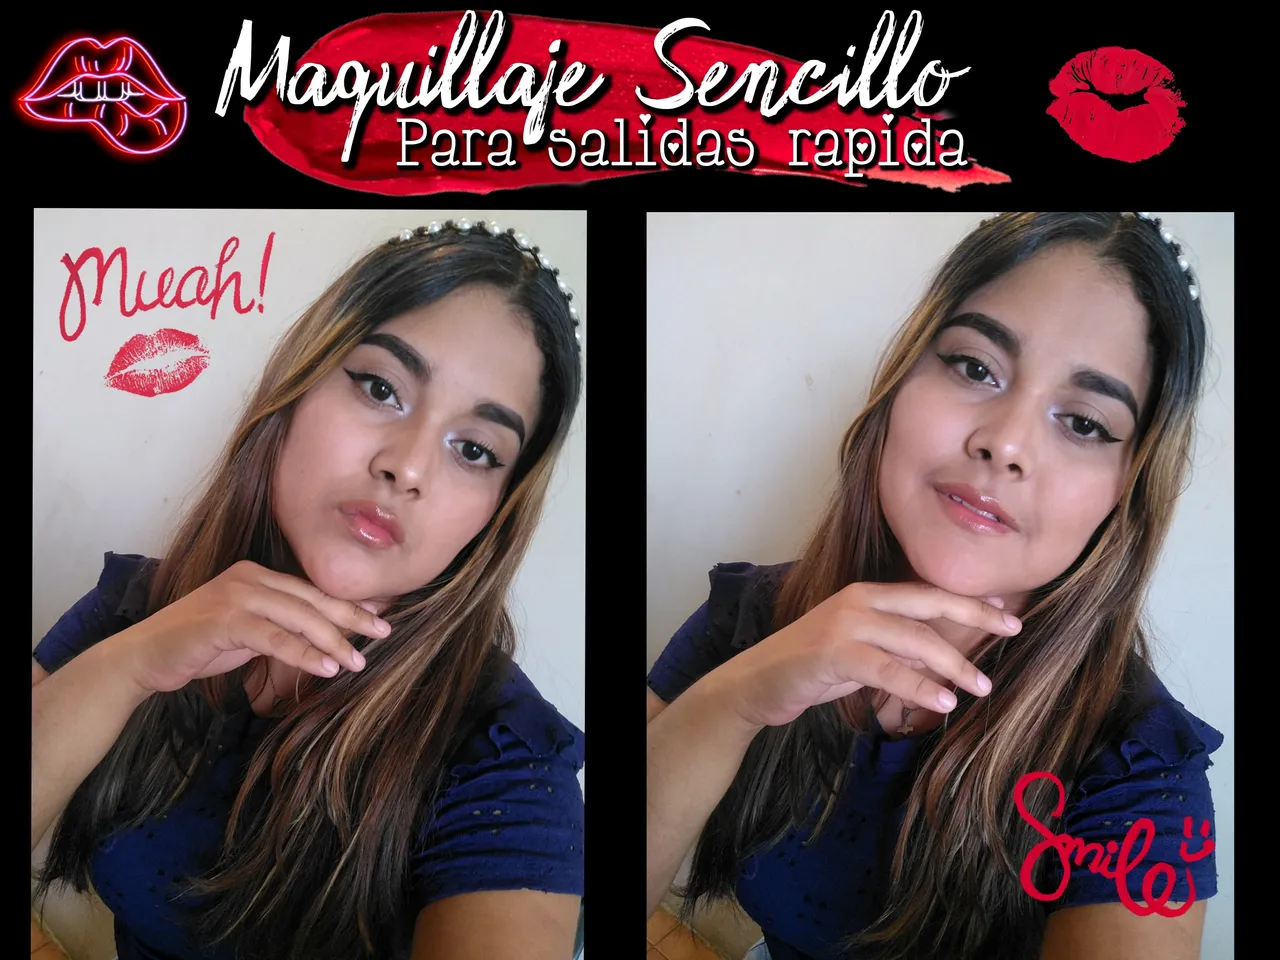
To show the Makeup and the complete look here is a mini photo shoot I did for myself.
Para mostrar el el Makeup y el look completo aquí les dejo una mini sesión de fotos que me hice.


¡¡¡ Estoy super agradecida de estar aquí en la familia de hive !!! .
Si tienes alguna sugerencia que me ayude a mejorar mi blog no dudes en escribir en los comentarios.
Traductor usado: Deepl
Imágenes editadas en: Canva
Fotos tomado con mi teléfono Motorolo G8 plus

I'm super grateful to be here in the Hive family !!! .
*If you have any suggestions that will help me improve my blog feel free to write in the comments .
Translator used: Deepl
Images edited in: Canva
Photo taken with my Motorola G8 plus phone.
