HOLAAA HERMOSA COMUNIDAD DE HIVE!💗✨✨
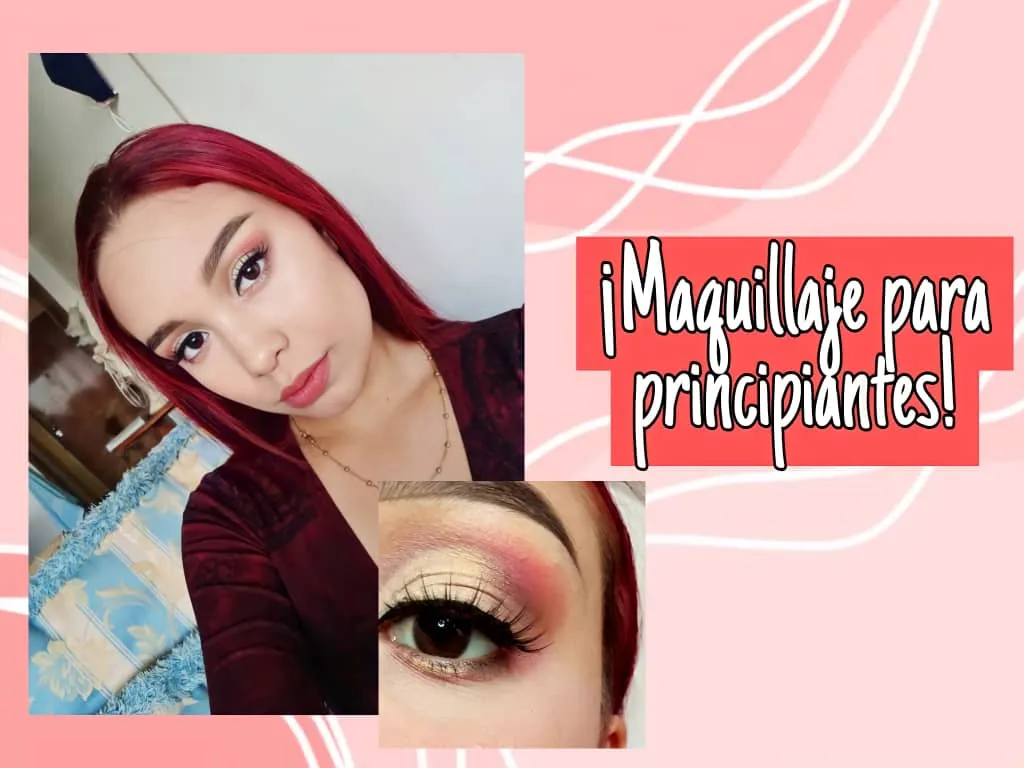
Hola linda comunidad de hive hoy vengo a enseñarles un look de maquillaje sencillo para principiantes, este look lo puedes usar para una fiesta de noche, cumpleaños etc.
Este estilo de maquillaje me representa mucho, para aquellos que apenas estén comenzando en el mundo del maquillaje este estilo de maquillaje se llama Glam ya que es bastante elegante y con un acabado pulcro.
Hello beautiful hive community today I come to show you a simple makeup look for beginners, this look you can use it for an evening party, birthday etc.
This makeup style represents me a lot, for those who are just starting in the world of makeup this makeup style is called Glam as it is quite elegant and with a neat finish.

Primero debemos prepara nuestro parpado aplicamos pre base para sobras o el corrector que usamos normalmente, yo lo aplico con esponja, no recomiendo sellarlo con polvo ya que si lo sellamos las sombras no se podrán adherir bien y las sombras durarán menos en el parpado
First we must prepare our eyelid we apply pre base for leftovers or the concealer that we normally use, I apply it with sponge, I do not recommend sealing it with powder because if we seal it the shadows will not adhere well and the shadows will last less on the eyelid.

Nuestra primera tonalidad es una sombra café con tonalidad fría la aplicamos de manera concentrada y con movimientos circulares al final de nuestro parpado y luego lo esparcimos por toda la cuenca.
Our first shade is a brown shadow with a cool shade, we apply it in a concentrated way and with circular movements at the end of our eyelid and then we spread it all over the socket.

La siguiente sombra será una color Salmon con tonalidad fría esta la aplicaremos específicamente en el huesito de la ceja arriba de la sombra anterior y luego lo esparcimos por la cuenca de manera que se vea una transición entre ambas sombras.
The next shade will be a cool-toned Salmon shade that we will apply specifically on the brow bone above the previous shade and then spread it around the socket so that there is a transition between the two shades.
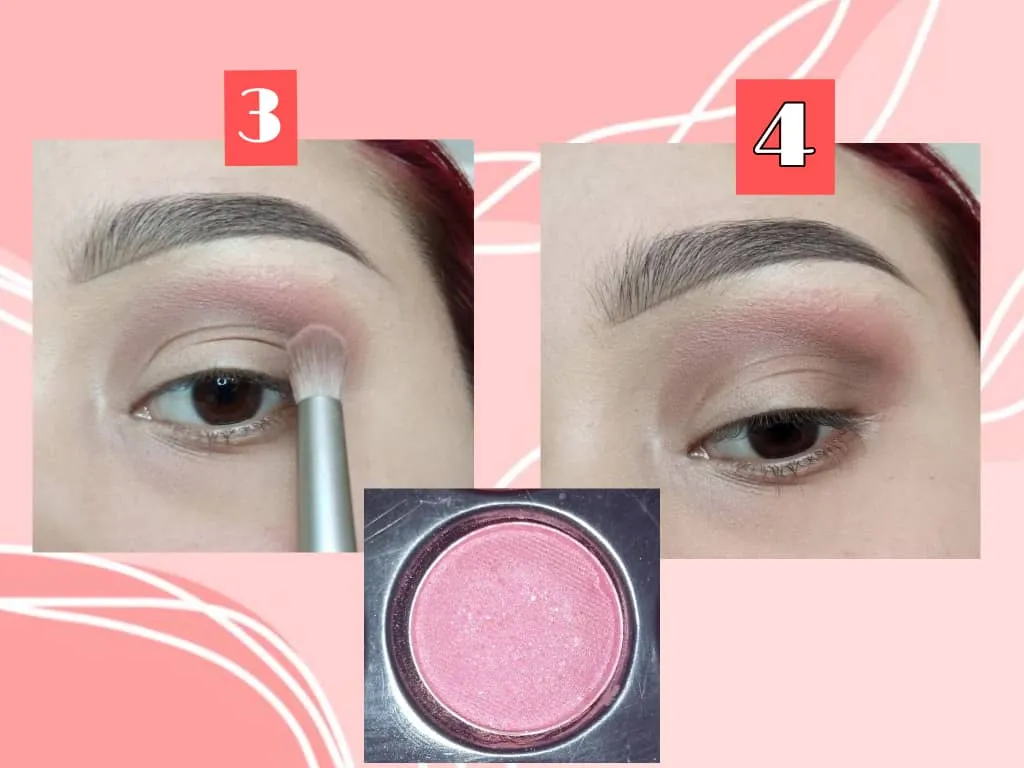
Luego de tener nuestra base haremos un corte de cuenca, pero sin llegar al final de nuestro ojo (mi parpado es caído así que tengo que usar una técnica distinta si gustan puedo hacer tutorial de esto) luego de tener nuestro corte listo sellamos nuestro corrector o prebase de sombras (acá si es necesario) con una sombra que se parezca a nuestro color de piel en mi caso utilizo esta sombra con tonalidad beige
After we have our base we will make a basin cut, but without reaching the end of our eye (my eyelid is droopy so I have to use a different technique if you like I can do a tutorial on this) after we have our cut ready we seal our concealer or shadow primer (here if necessary) with a shadow that looks like our skin color in my case I use this shadow with a beige tone.
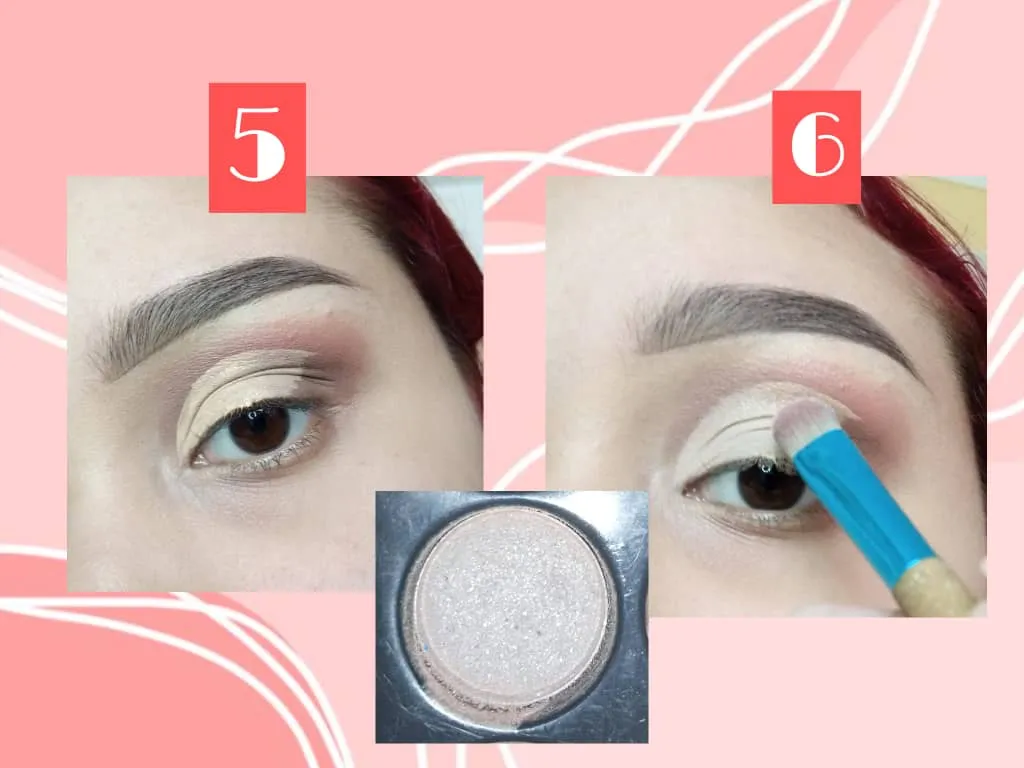
Debemos difuminar el final de nuestro corte de cuenca o también llamado cut crease con la tonalidad café que ya usamos y también la tonalidad Salmon (como se ve en la imagen) esto se hace para integrar todo el maquillaje y fluya más.
We must blend the end of our basin cut or also called cut crease with the brown shade we already used and also the Salmon shade (as seen in the image) this is done to integrate all the makeup and make it flow more.
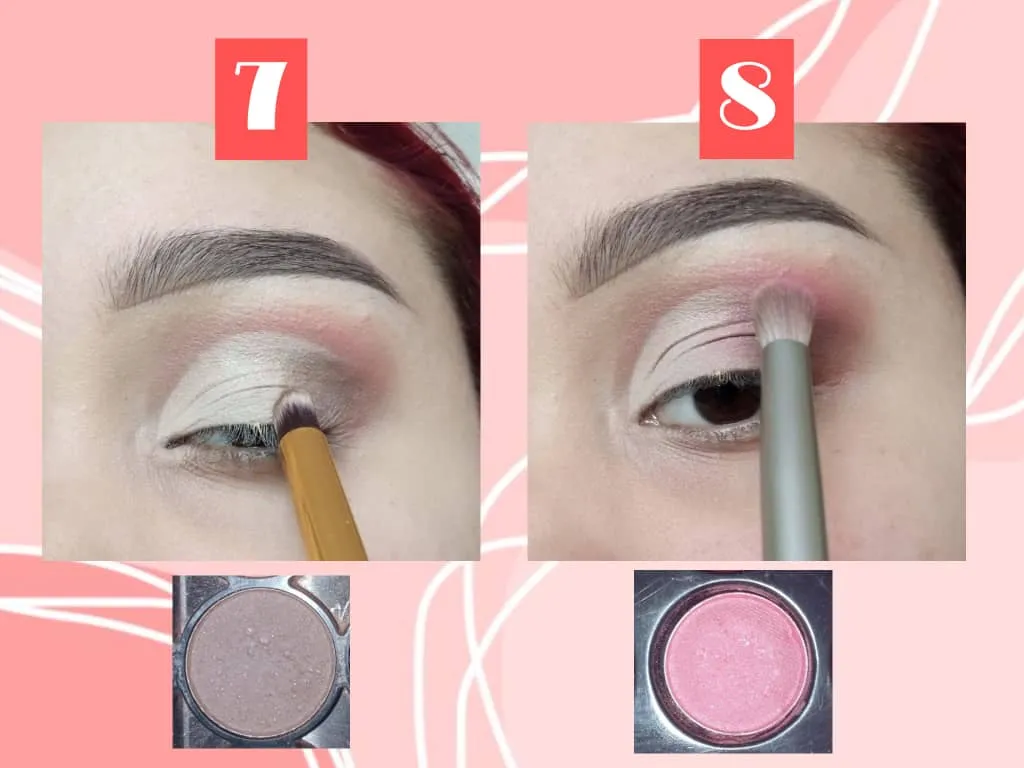
De ultimo podemos agregar alguna sombra con glitter o diamantina prensada donde hicimos el corte de cuenca. Y si quieres puedes llevar las mismas tonalidades en el mismo orden en la parte inferior del ojo (primero el café luego el Salmón y de ultimo color el beige)
Lastly we can add some glitter or diamond pressed shadow where we did the eye socket cut. And if you want you can wear the same shades in the same order on the lower part of the eye (first the brown, then the salmon and last the beige).

💗💗💗💗💗💗💗💗💗

🌸 Makeup for the face 🌸
Para la piel me gustaría compartirles la manera en la que yo lo hago o mi aplicación usual
Primero preparo bien mi piel con mi rutina de skincare, aplicamos primero primer y arriba de esta la base demuestra preferencia.
For the skin I would like to share with you the way I do it or my usual application
First I prepare my skin well with my skincare routine, we first apply primer and on top of this the foundation shows preference.

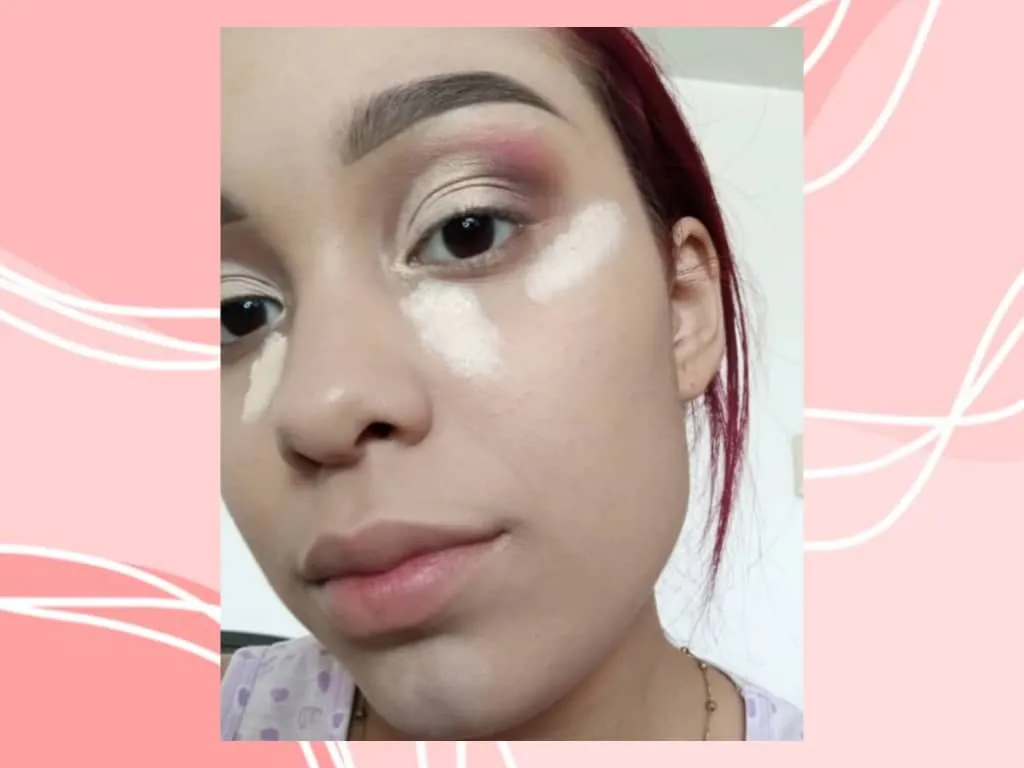
El corrector lo usaremos para iluminar lar áreas que deseemos (nariz, ojeras etc.)
The concealer will be used to illuminate the desired areas (nose, dark circles, etc.).
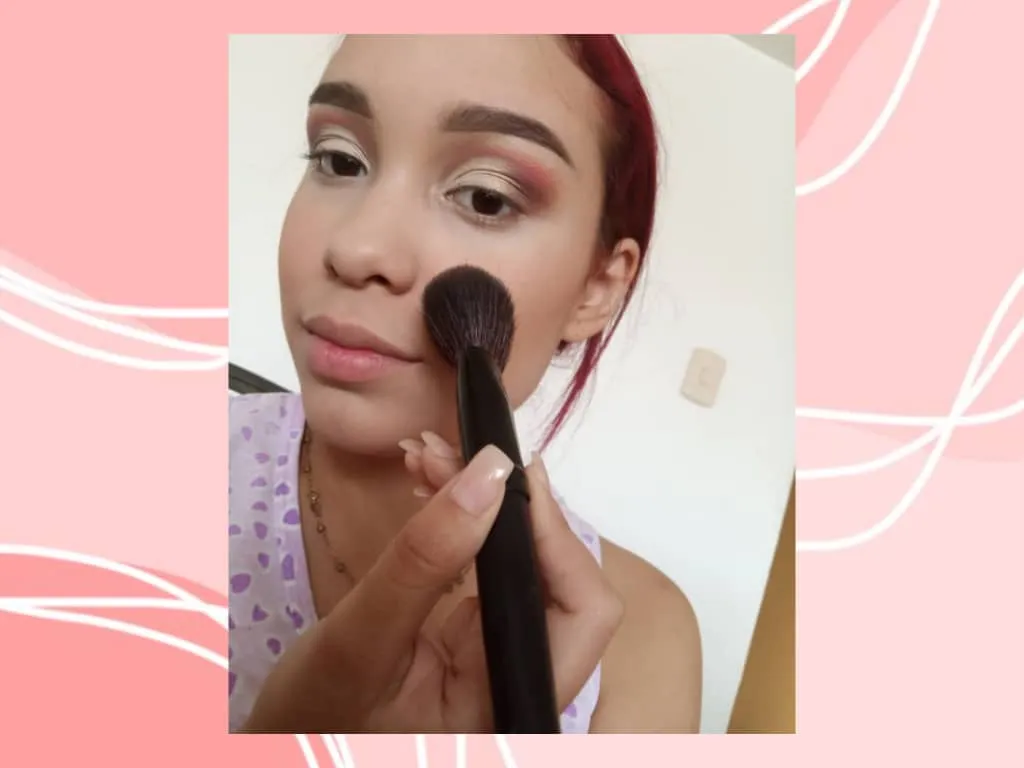
Luego hice mis contornos, yo amo utilizar contornos en polvo son más fáciles de trabajar perfectos para principiantes.
Me aplique rubor solo en las mejillas el rubor que utilice es un rubor con tonalidad durazno y subtono cálido.
Then I did my contouring, I love to use powder contouring, it's easier to work with, perfect for beginners.
I applied blush only on my cheeks the blush I used is a peachy blush with a warm undertone.
Para finalizar aplique mascara de pestañas, luego aplique mis pestañas postizas,¡las pestañas hacen la diferencia!
To finish I applied mascara, then I applied my false eyelashes, eyelashes make the difference!

🌸✨ ¡Y lista!🌸✨
🌸✨ And ready!🌸✨

Así quedaría el look de hoy, muy sencillo pero lindo, perfecto para aquellos que quieren comenzar en el mundo del maquillaje, espero les haya gustado y ¡nos vemos muy pronto en esta hermosa comunidad!
This is what today's look looks like, very simple but cute, perfect for those who want to start in the world of makeup, I hope you liked it and see you soon in this beautiful community!
¡NOS VEMOS LUEGOO!🌸✨✨✨✨
SEE YOU LATER!🌸✨✨✨✨