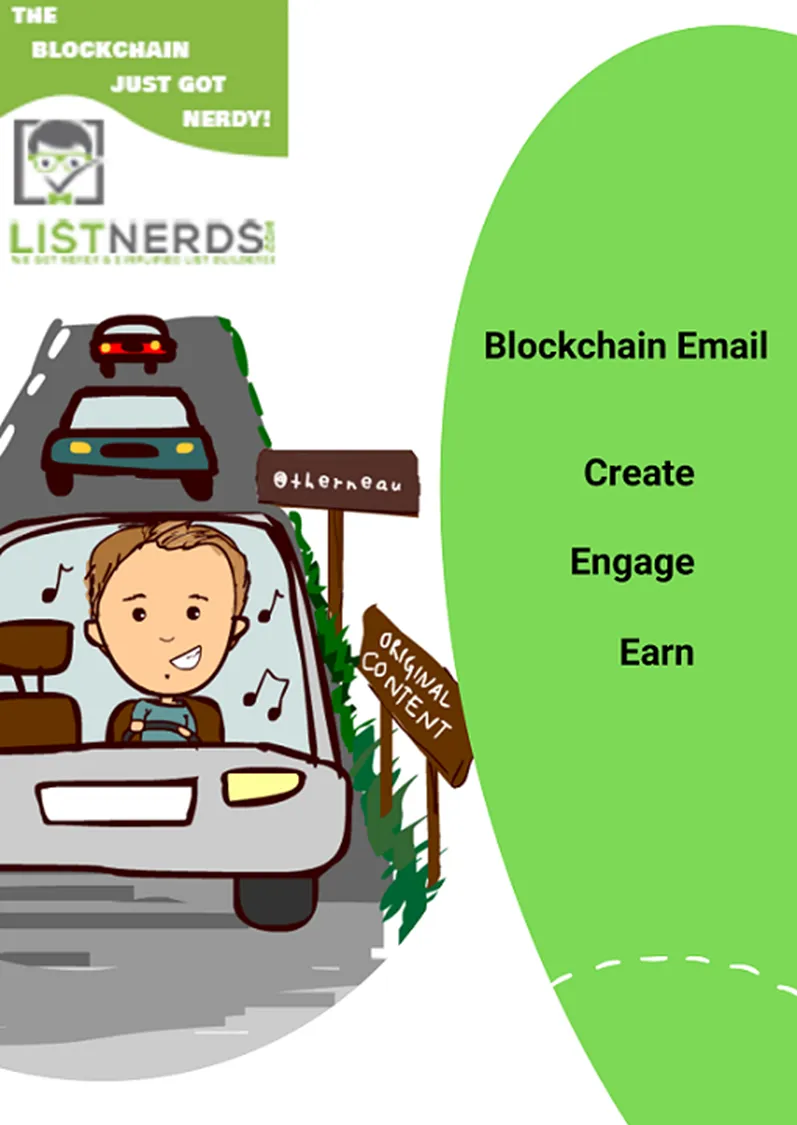
So, some members of the Silverbloggers Community asked me for a step-by-step guide for newbies wanting to try out the ListNerds Email Marketing Platform.
Well, here you go! A simple step-by-step guide on getting started with ListNerds.
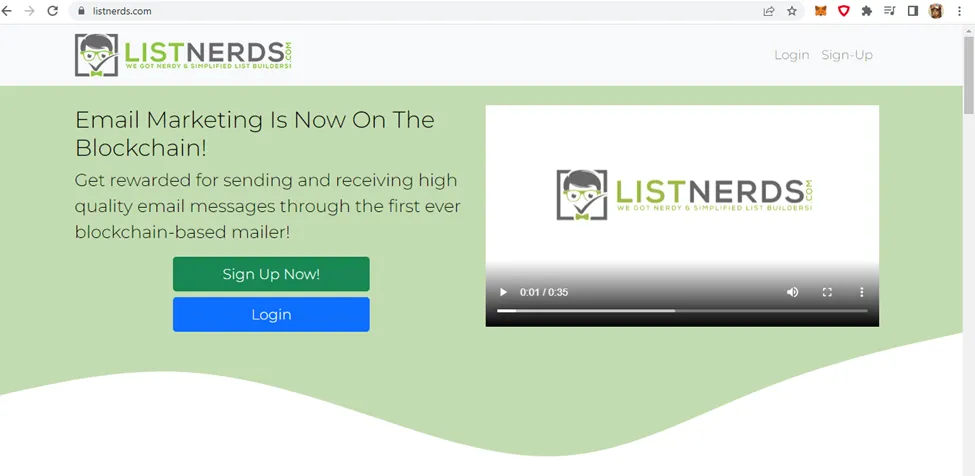
Here’s the landing page, that will go through a little introduction video. I'll have the links available at the end of the post.
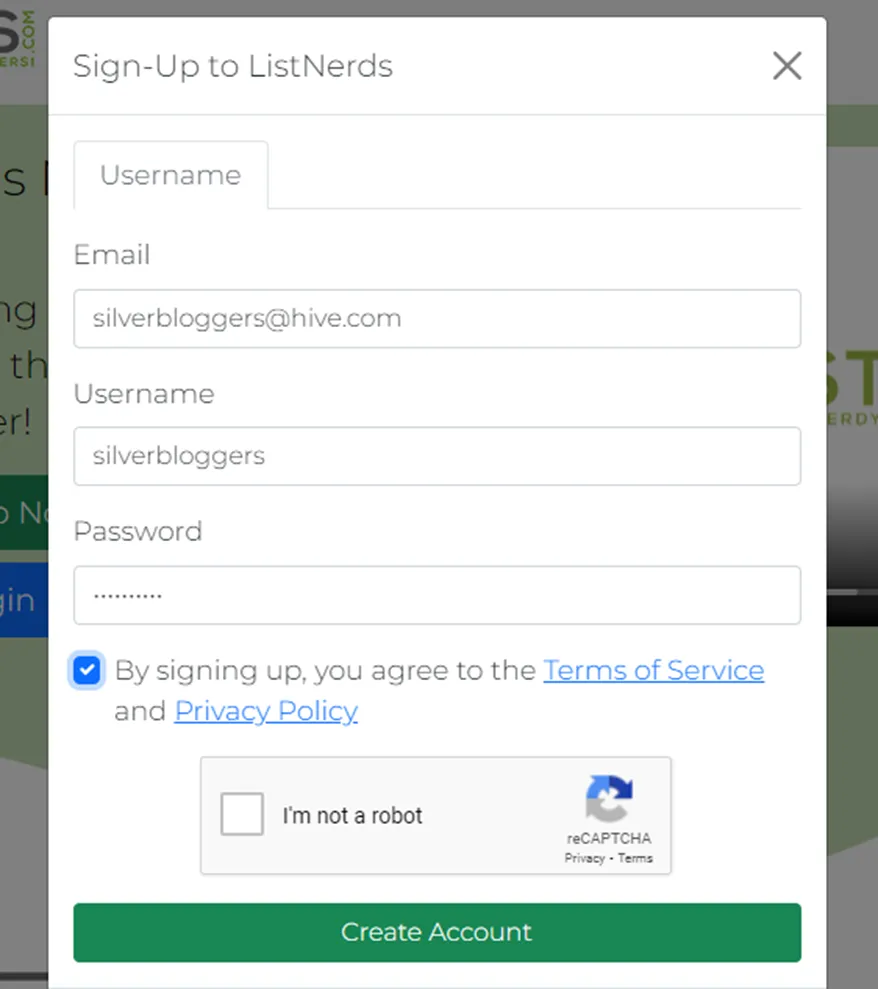
Next, enter a valid email, your HIVE username, and create a ListNerds password. Don't worry, you're not going to be using your personal email for clicking through ListNerd emails. Those will all happen on the platform.
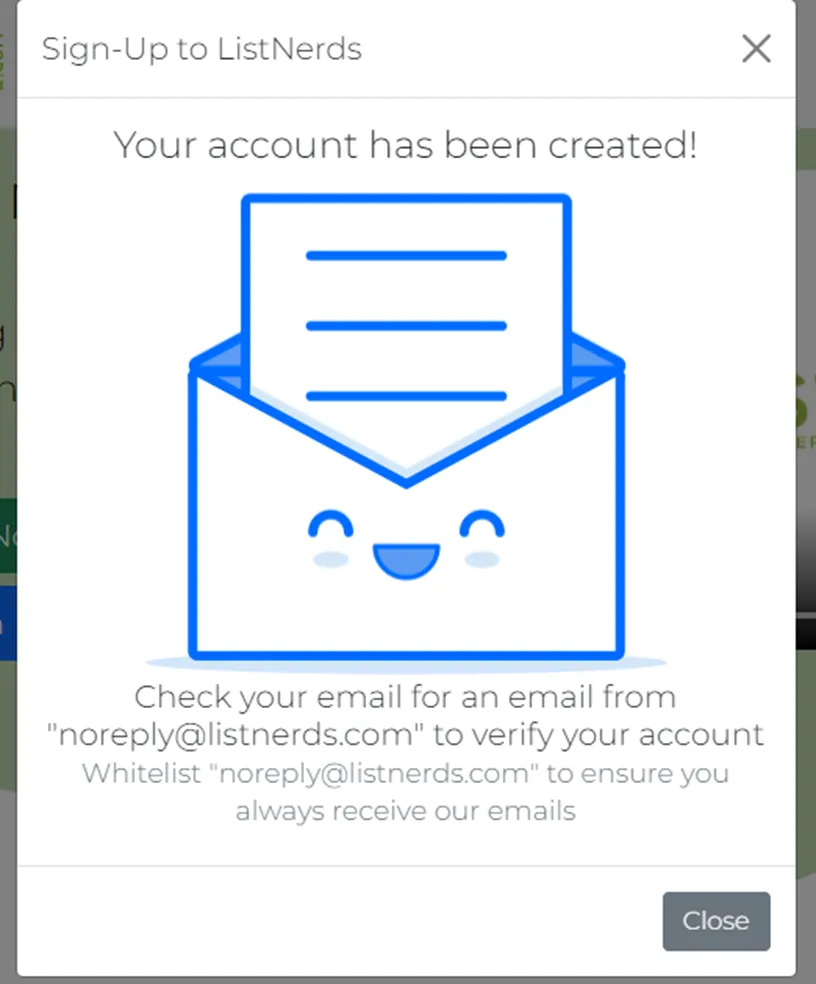
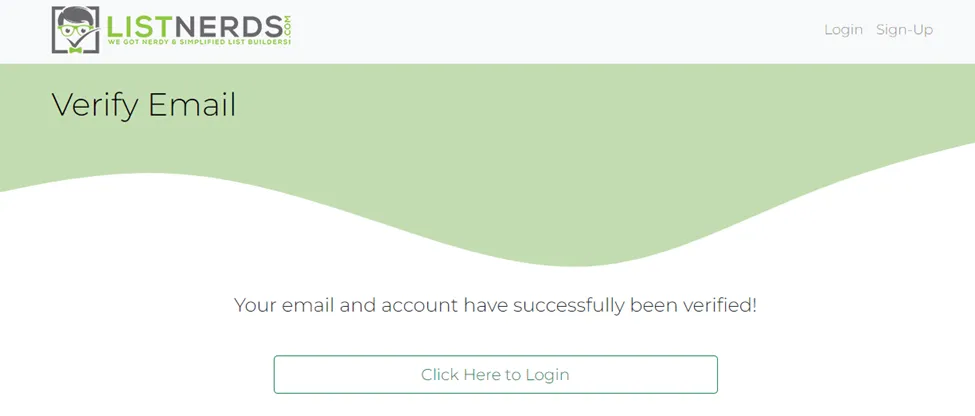
You’ll receive an email, which you need to head to, so you can verify the email provided.
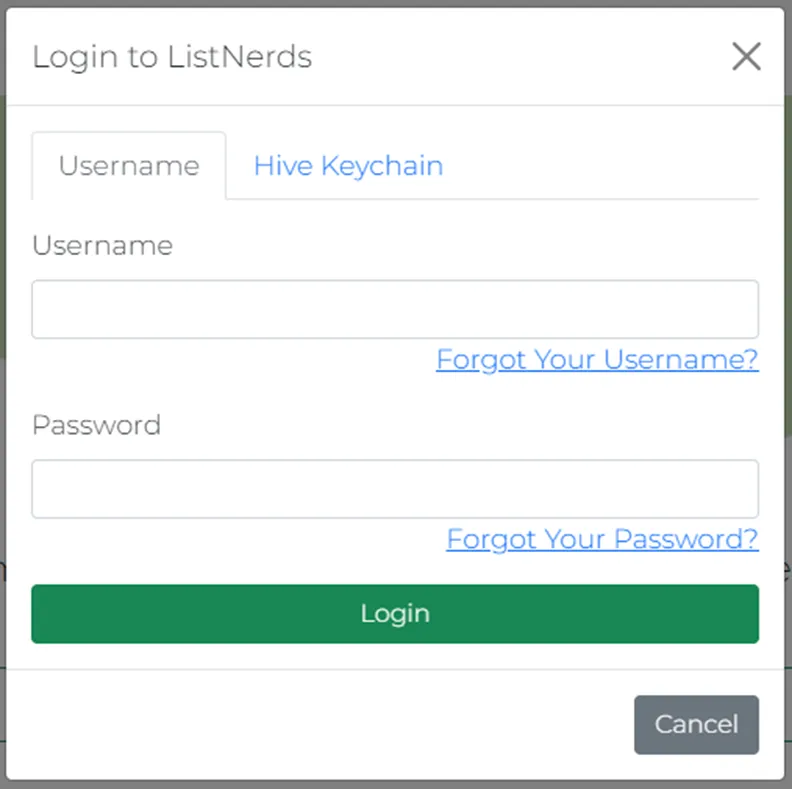
Now you’re ready to log into ListNerds for the first time.
You can log in with your username and password, or use your Hive keychain.
You’ll be met with a screen that offers you a huge once-off discount on the Enterprise Package.
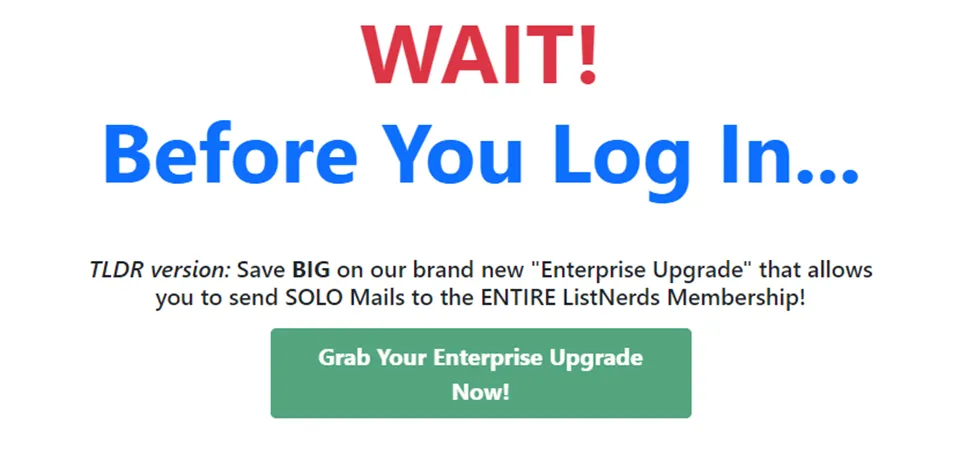
If you’ve made up your mind and wanted to go all-in, this will give you a great initial discount. If not, scroll down to the bottom of the page and select No thanks, I just want to log in, which brings up the offer one last time. Again, scroll to No thanks, I just want to log in.
If I’d known how quickly I would have switched from the free package to a paid-for version, I would have taken that one-time offer.
Now, you’ll see your home screen. For the sake of this exercise, I used my son’s Hive account. Btw, go pop in and say “Hi” to Soren/@rexydayz. He’s 12 years old and recently started blogging.

It looks like a lot to take in, but you’ll get accustomed to it pretty quickly.
At the bottom center, there are a few brief tutorial videos, explaining things like Mail Tokens, CTP Tokens, LISTNERDS Tokens, Sending an email, and buying Tokens. There are also two others relating to creating a Hive account and setting up your Hive keychain.
On the bottom left, there’s the Affiliates icon above your username. Once you click there, the following will pop up.

Under CTP Commission Integration, they mention that all commissions are paid via ClickTrackProfit, so you need to join by clicking the Join Here link.
This will take you to ClickTrackProfit.
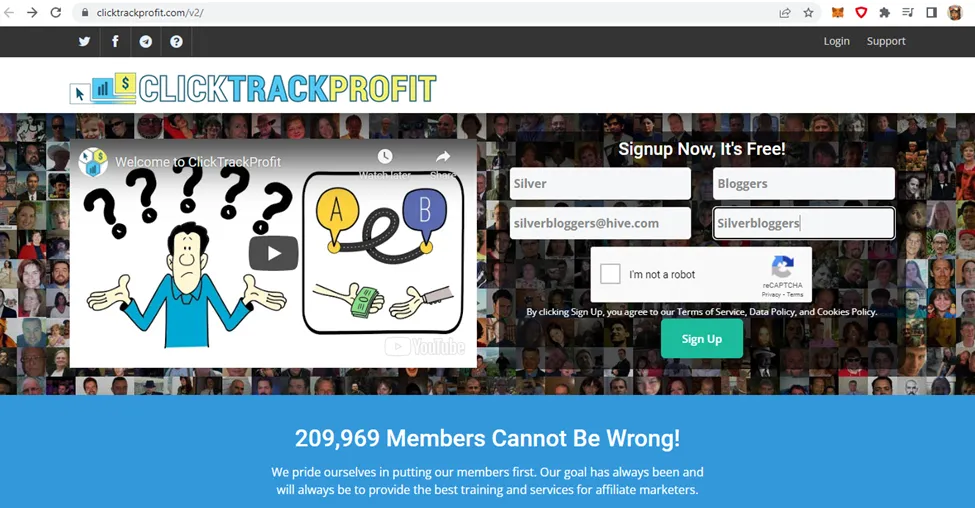
Once you’ve signed up you’ll go through an introduction video. From there, you should land on your CTP Dashboard, as per the below.

Since I’ve already gone through some of the training videos, I’ve earned some XP, however, you’ll start at 0.
Now, let’s click on Training, which will bring you to this screen.
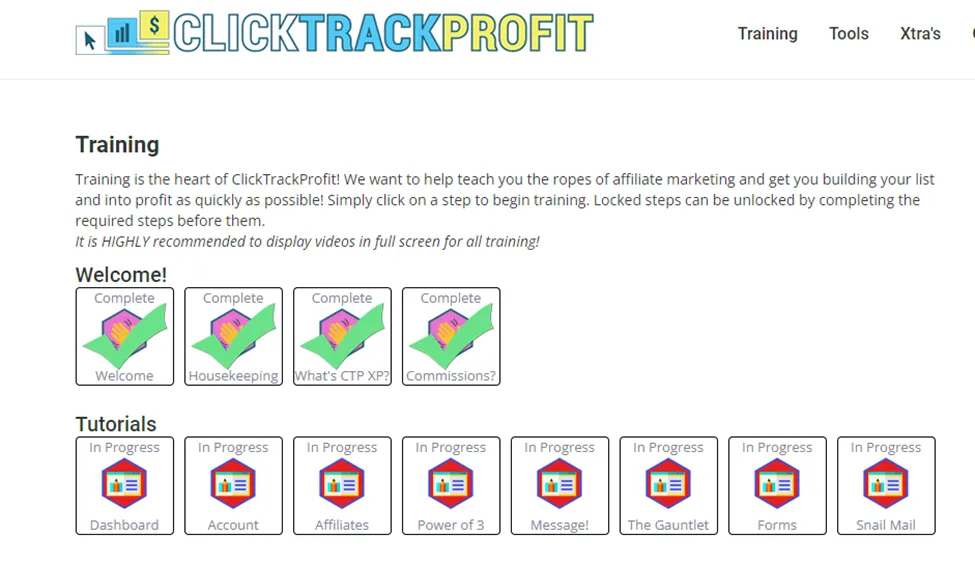
You can see that I’ve clicked through some of the training videos in the alt account. There are bits of useful information here and I’m not sure if you must go through these, but I did with my initial account set-up. I don’t think it’s a necessity, so you can just hover over Affiliates, and click on Settings, which will bring up the following screen.
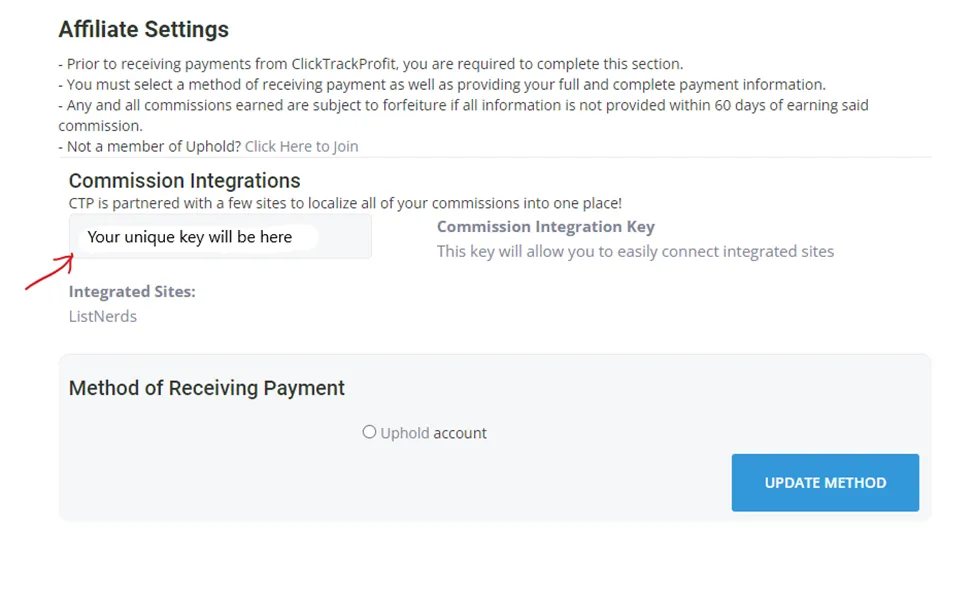
There are two things you need to be aware of here.
1- By the red arrow you’ll receive your Commission Integrations key. This key you’ll need to copy and paste into your ListNerds account as per the below screenshot.
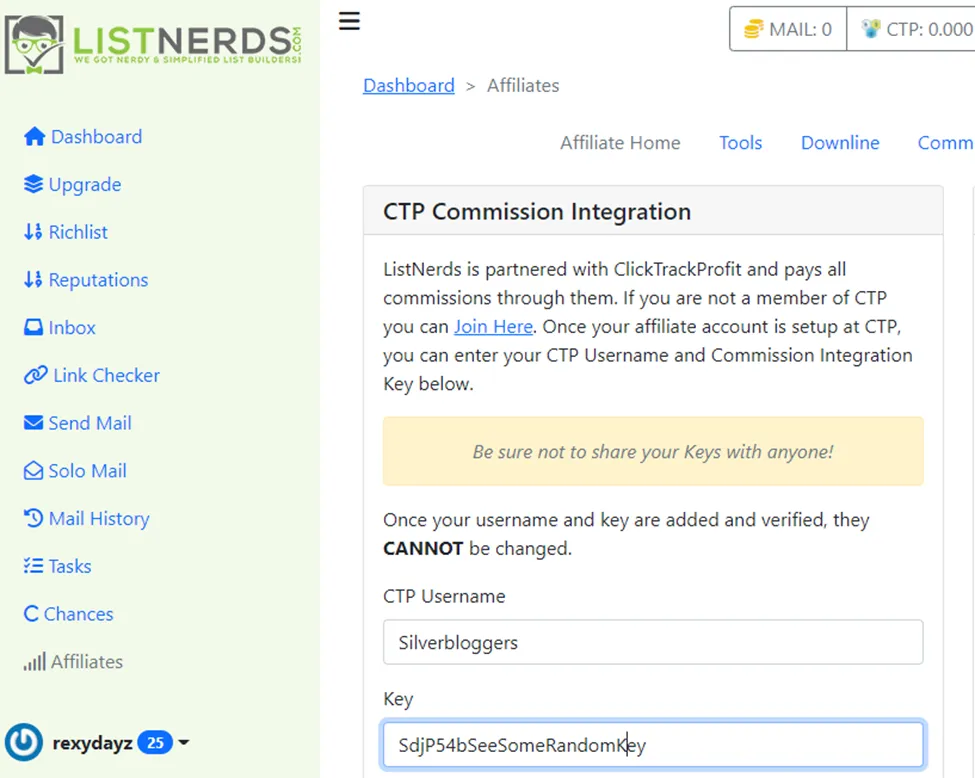
You’ll enter your CTP Username and paste the key to get commissions integrated as per the above.
2- Method of Receiving Payment
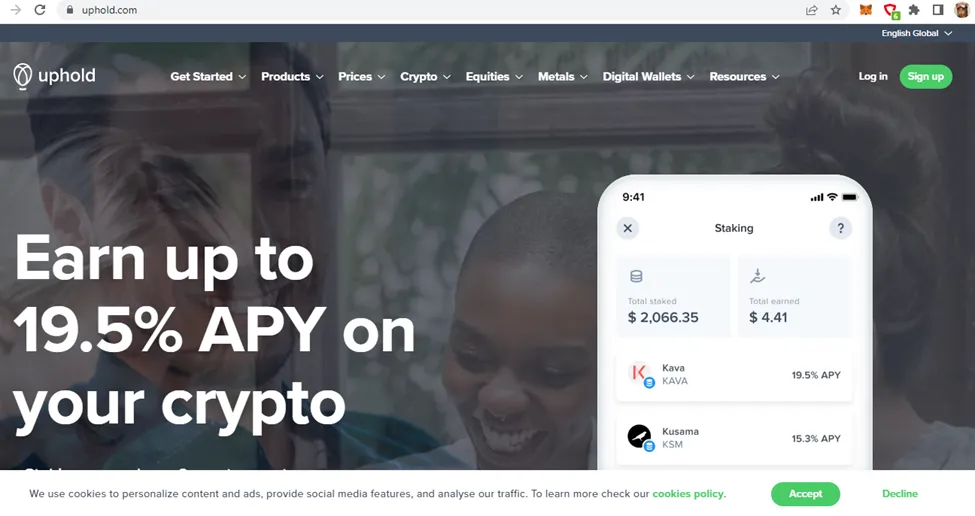
Now you’re going to have to create an Uphold account. It appears to be the only method to receive payment. I’m not 100% sure if this is necessary, but a friend of mine skipped this step, and when he sent an email, it bombed out, leaving half of the text in his email missing, as well as not displaying the link required in order for people to be able to click through to his post.
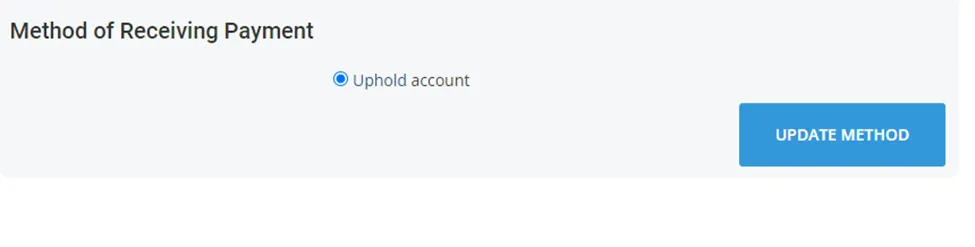
Click Uphold account, then Update Method, which will take you here.
I personally believe LsitNerds and ClickTrackProfit do it this way to ensure the business runs above board when it comes to ‘commission’ payments.
I’m not going to go into details about creating your Uphold wallet. Most of us have done these types of things before, so I’m sure you can find your way around it. If you do get stuck though, let me know in the comments section and I’ll help you out.
Now, by this time, most of the gruntwork is done! It’s time to start clicking through some emails on ListNerds.
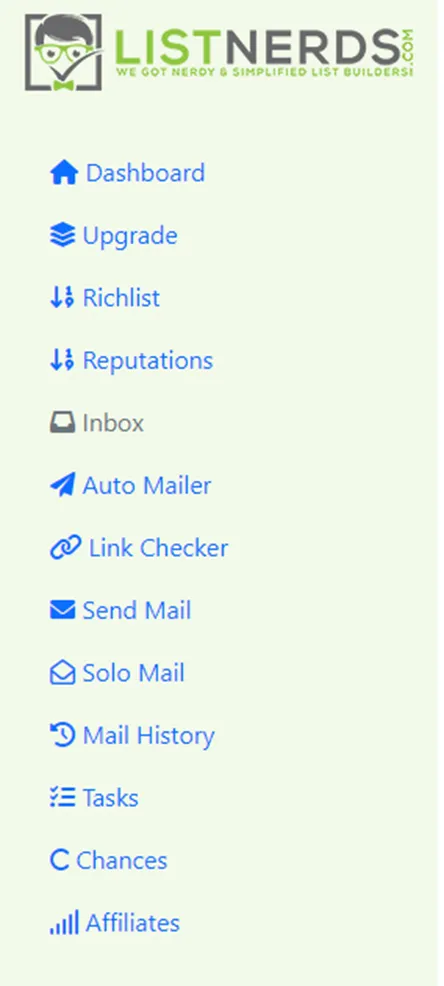
Back on ListNerds, in the Dashboard on the left, you’ll see Inbox. Simply click on there as per the image below.
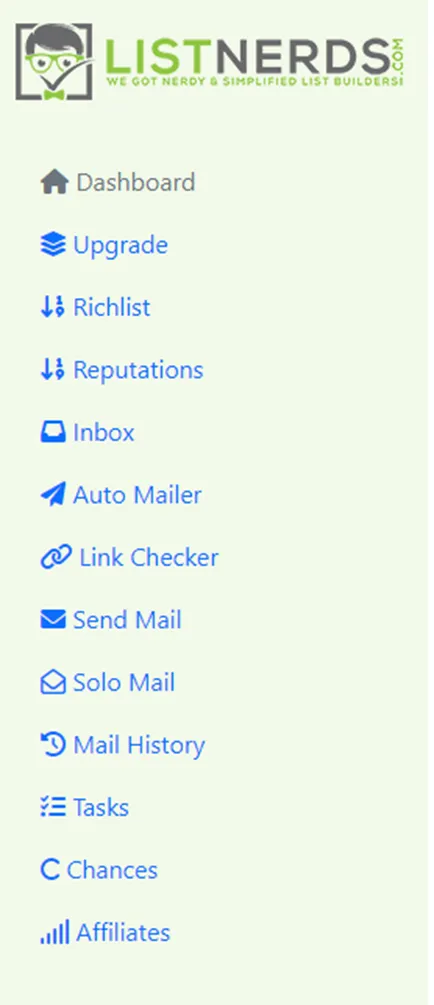
Now, active emails from other ListNerd members will populate.

At the top you’ll see your different tokens. Mail Tokens let you send emails. For every Mail Token you have, 1 email will be sent to a fellow ListNerd’s user.
CTP Tokens give you votes on ListNerds, so the more CTP Tokens you have, the more votes you can cast to other fellow users. You can either buy them, swap them, or earn them by using #ctp in your tags.
LISTNERD Tokens are what you’ll be earning from sending out emails on the platform. You will need a score of 20 or more for an email to be verified, to earn LISTNERD Tokens. The more LISTNERD Tokens you have staked, the more your voting power is. The formula is - Your Stake / #1 LISTNERD Holders Stake * 10.
I’m going to click on @kemmyb’s email which is the 1st one in the screenshot above.
“Hi @kemmyb, from the Silverbloggers Community, lol.”
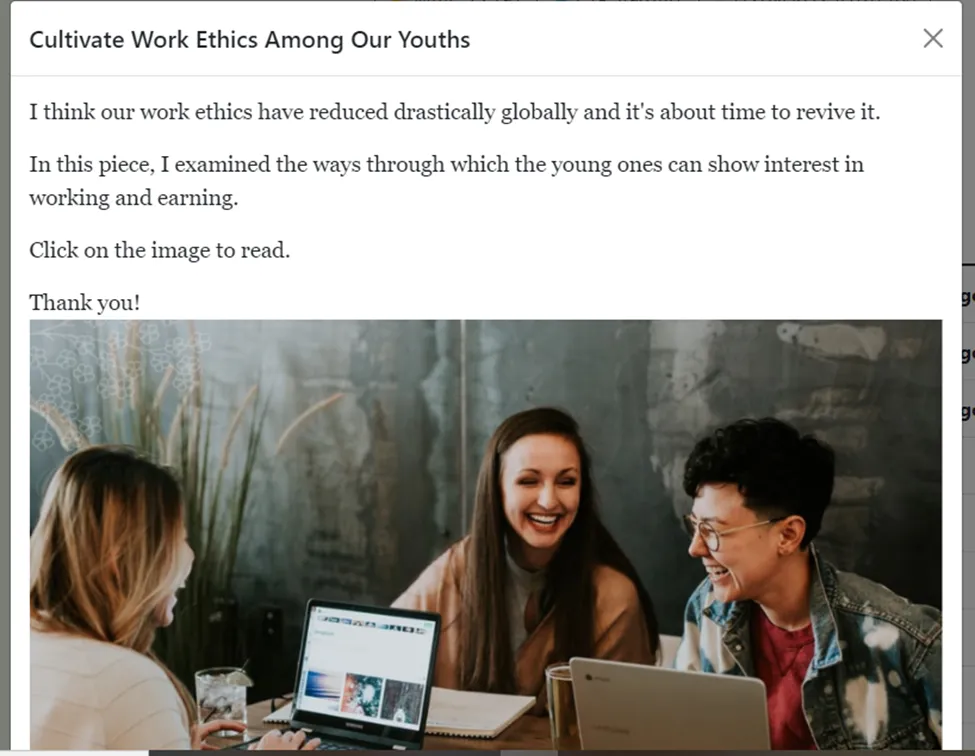
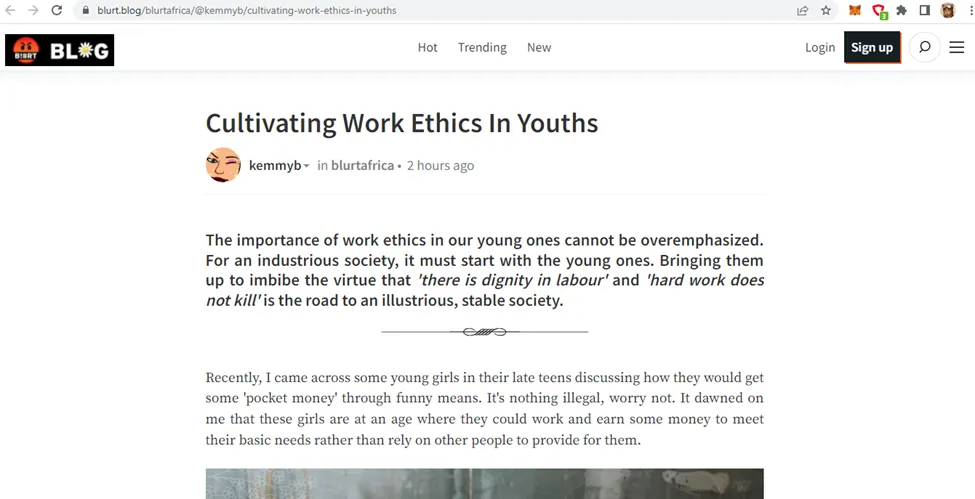
Here’s her email, with a clickable image link. To earn Mail Tokens, you need to click through on the link. If I click through, it takes me to her post here.
You can obviously interact with the content where applicable and link the email through to pretty much anything you’d like. Heck, if you want it to go to Bob’s Backyard Barbershop’s Facebook page, you could do that. I just don’t know if that will work too well, haha.
In the next image, you ‘ll see I’ve clicked through on the first 3 emails, which then highlights the little up or downvote icon.

I can either up or downvote those, or simply continue clicking through the emails and continue earning more Mail Tokens.
Once you have around 1000 Mail Tokens, then you can send out an email. I’m specifically talking about the Free Package here. 1000 Mail Tokens is the suggested minimum.
Let’s go on to sending out an email.
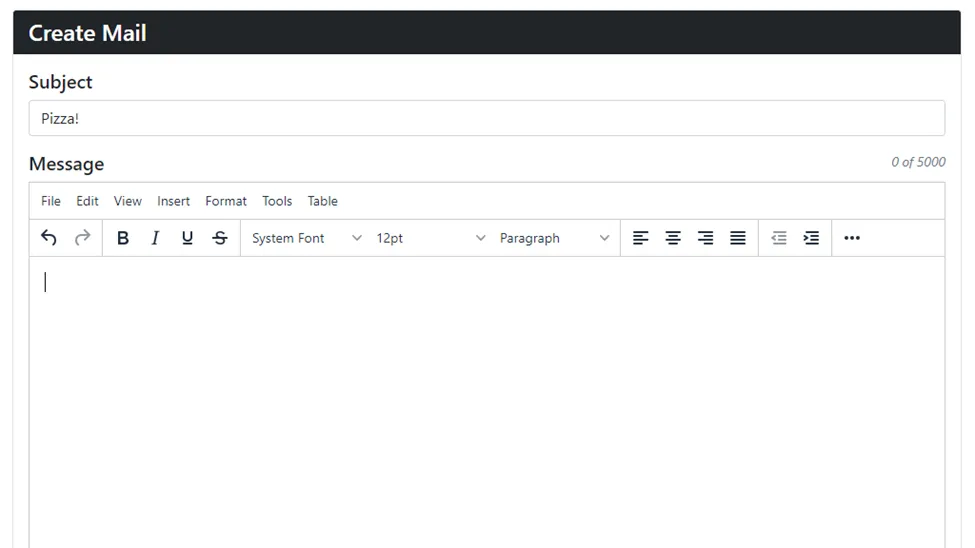
Above you can see Send Mail and Solo Mail. Solo Mail is when you have 15000 Mail Tokens stacked up, so we’ll be looking at the first one, which is Send Mail. This is where you’ll go to create your email. After you’ve clicked it, you’ll see this simple email interface here.
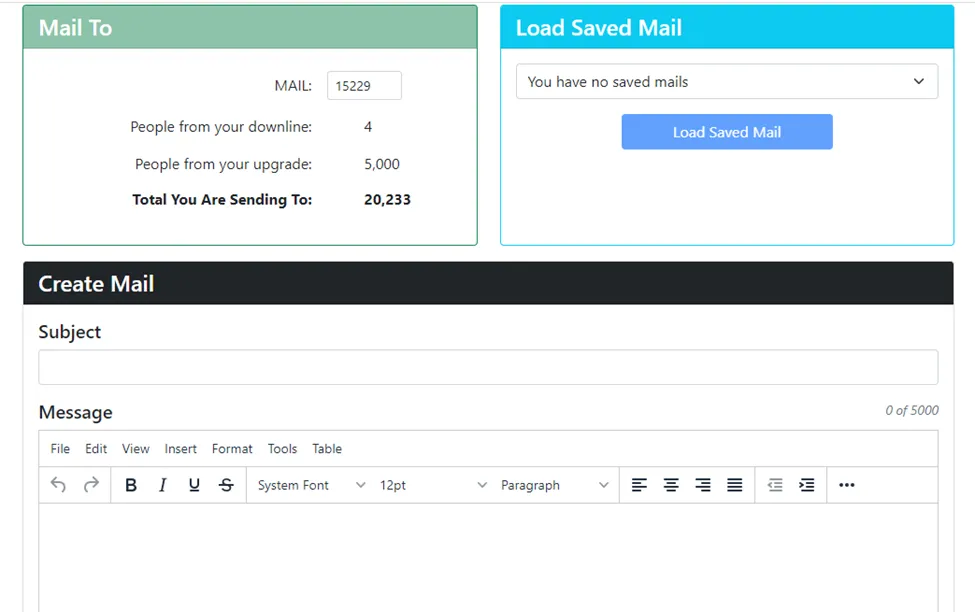
Like with a normal email, you’ll add your subject title and message with a link to the content.
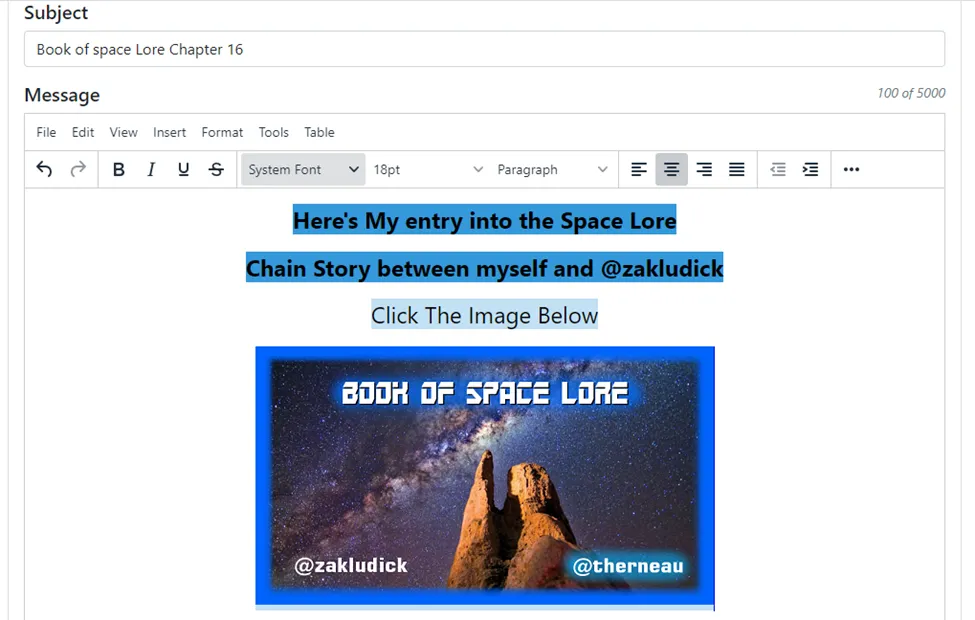
You can adjust your text by font, size, and layout. Here, I worked with 18pt and centered the text. You can change the text or background colors by clicking on format, which brings down the dropdown menu for various edits.
How did I get the image in there?
I signed up with imgbb.com, which creates an Html code you can add to your email as an image.
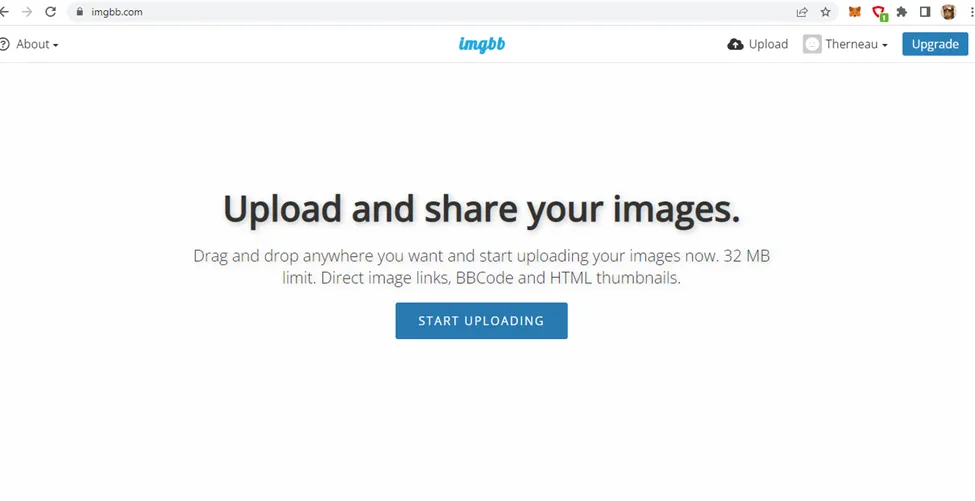
After you’ve registered, select Upload, then simply drag and drop the image you want there, then upload.
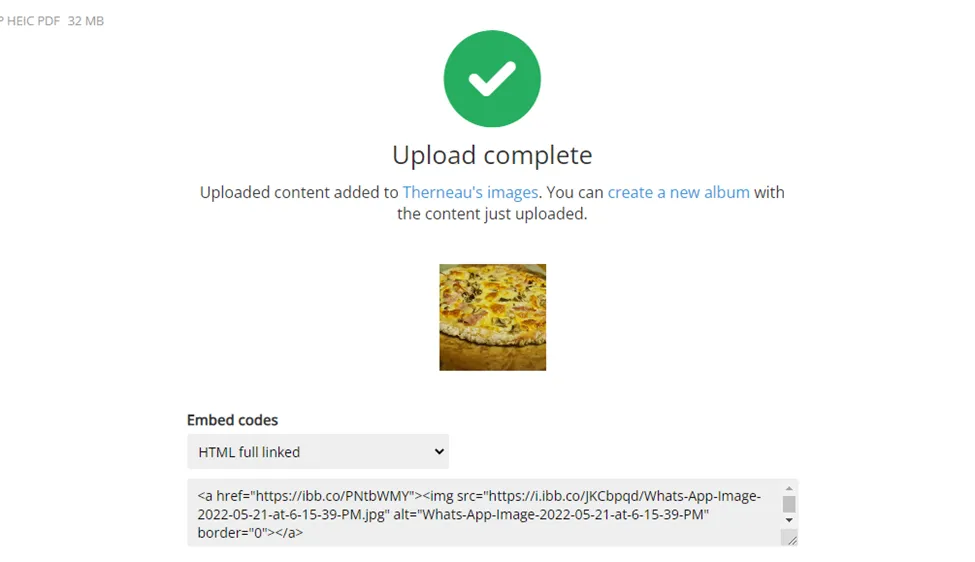
Make sure the code is HTML, full linked, as above. When you hover over the code, there’ll be a copy tab that pops up at the top, right, which you can use to copy the code, as opposed to trying to highlight it and copying.
Back on the ListNerds email, you’ll click on Insert, Media, and Embed. This is where you’ll paste the image code.
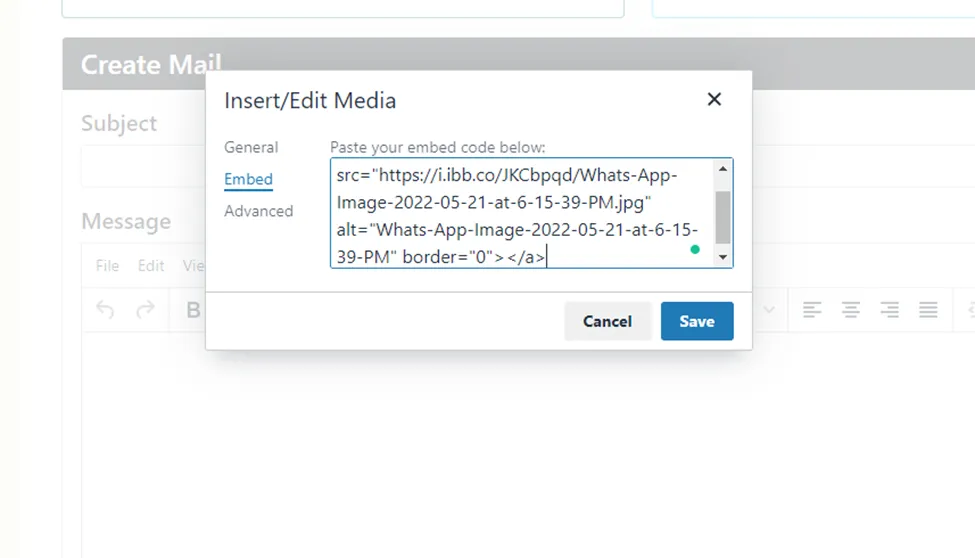
Click save, then you’ll have your image in the email. Make sure to click on preview at the bottom of the email, to see if the image fits.

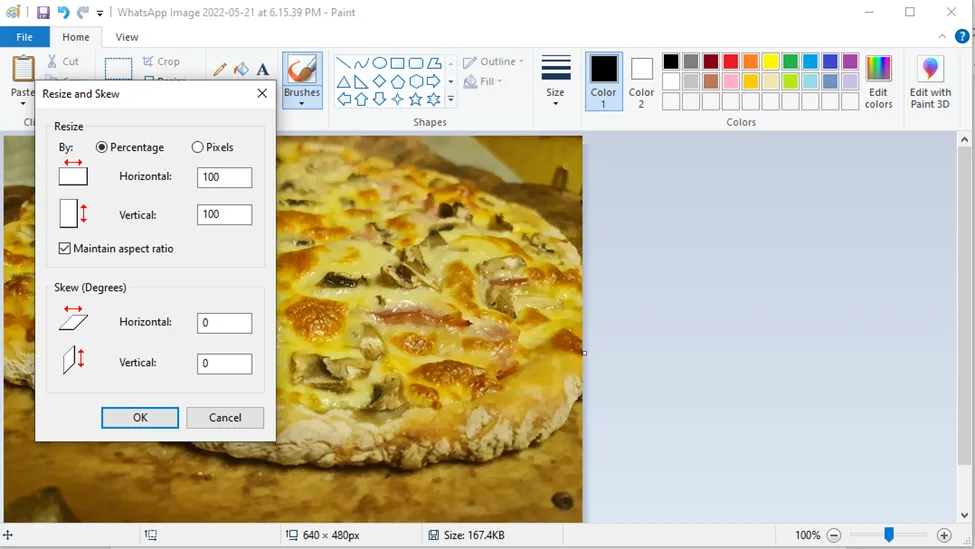
As you can see, the image is too big and goes completely outside of the email. I just use paint to resize my images, but there are a host of ways to do this. Remember, if your image size wasn’t correct, you’re going to have to upload the corrected one on imgbb.com. In your email, you can just backspace the image to remove it.
Now, let’s correct the image size.
Here’s the original
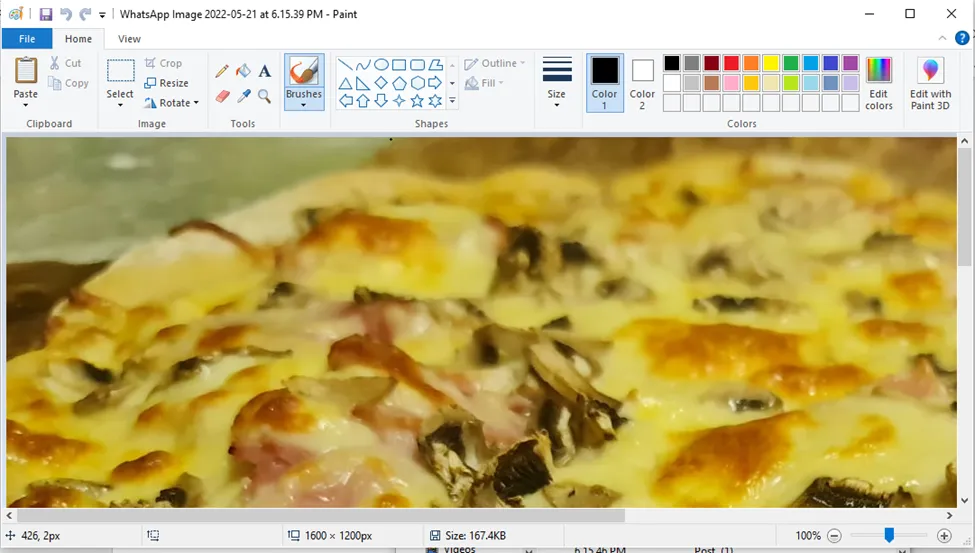
I adjusted this image by 40% in Microsoft Paint, and the size looks like it will be a good fit.
Now I’m going to upload the adjusted one to imgbb.com and then embed the link in my email again.
I deleted the previous image, so I don’t get confused about which one is the correct image.
In the preview, you can see it looks much better!
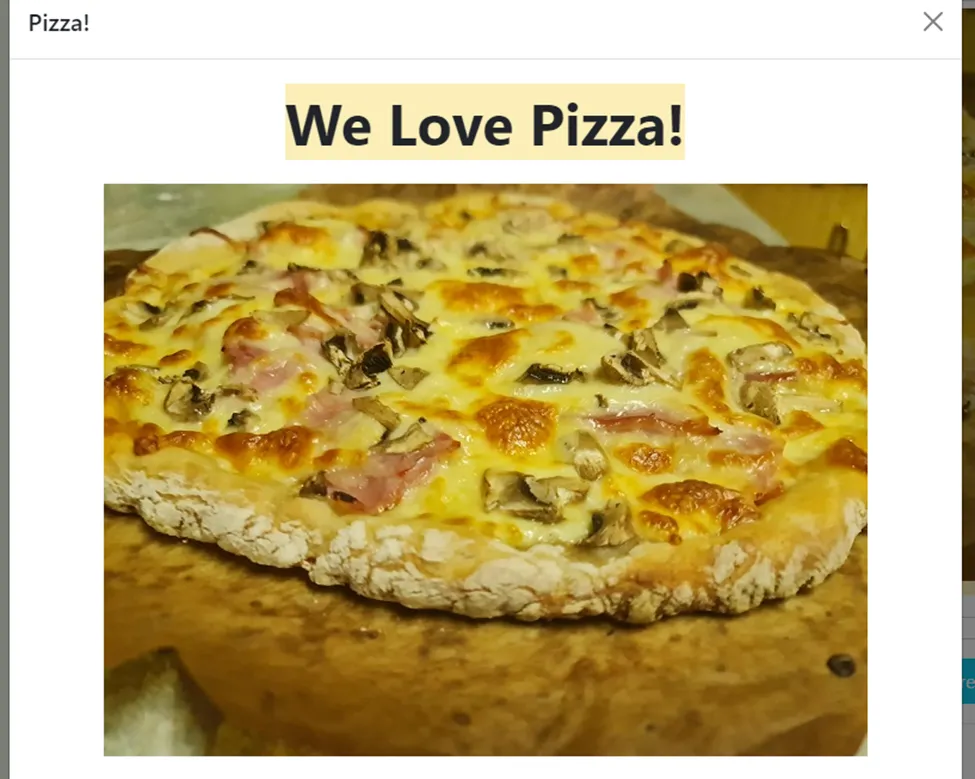
There is an autoscaling option as well, which is pretty straightforward. For this option visit @thisismylife’s post here
The final step is to change the image code. If you leave it as is, it will be linked to where imgbb.com is hosting the image. For example, I’ll link this one to my Sourdough Discard Pizza Recipe.
First, click on the image.
You’ll see a blue box around the image when you’ve clicked on it.

Now you’re going to select insert, link.
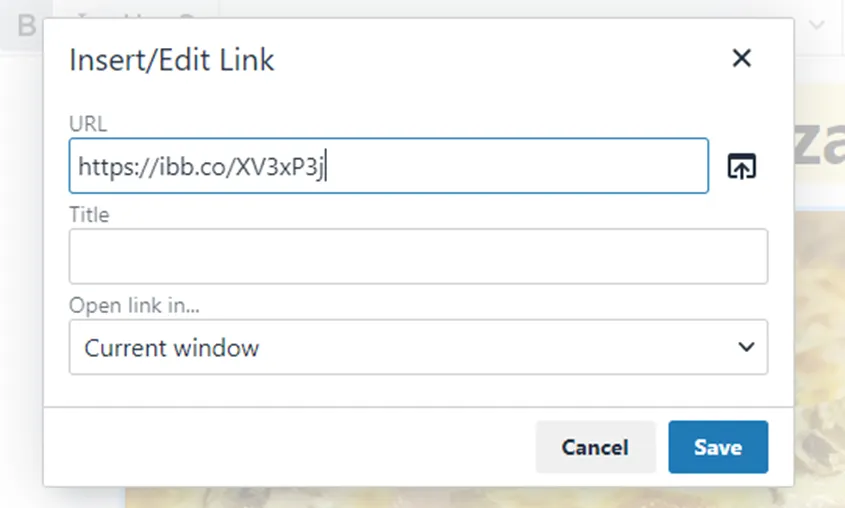
That URL above needs to be changed to the content you want to direct your audience to.
Here’s the adjusted one leading to the Sourdough Discard Pizza Recipe.
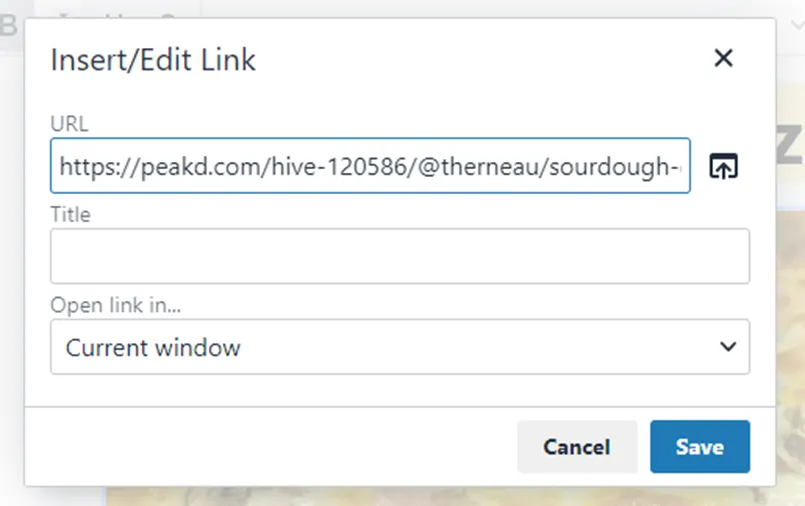
Now I’ll save and if someone clicks on the image, they’ll be directed to my post.
Once you’ve sent out your email, it takes 7 days for it to either become verified or not. Even if you have more than 20 upvotes on your email, you’ll only receive a Yes after 7 days if it's verified.
That’s about it for this getting started guide. I hope it helps and if you have any other questions, don’t hesitate to ask me here or on Discord. If we’re not connected on Discord, hit me up here for my details.
Get ready to start clicking through some emails, drafting your own and engaging with a whole new community!
Here’s a link to sign up via my team or you can go directly to ListNerds:
Affiliate Link - https://listnerds.com/@therneau
Direct Link - https://listnerds.com/

Thanks for stopping by :)
Cheers!