
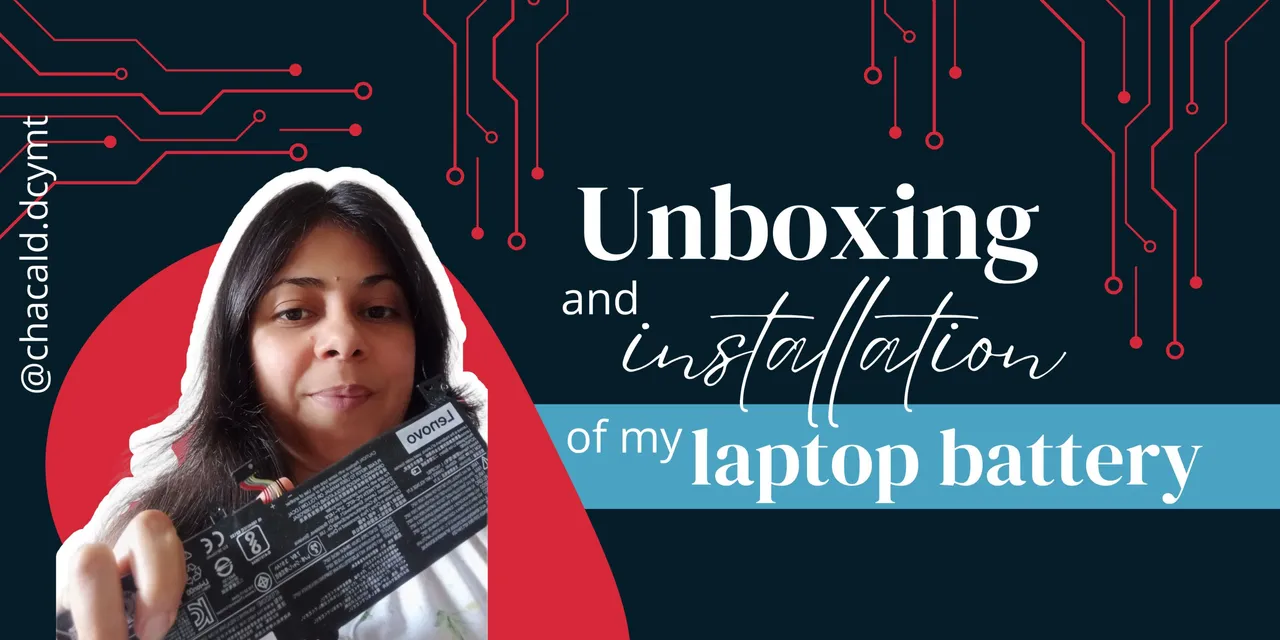
¡Saludos amigos amantes de la tecnología! Una vez más le doy la bienvenida a mi blog esta vez para enseñarles el unboxing de la batería que compré para mi laptop. Era una compra que tenía pendiente ya que es necesario mantener la computadora con una batería de respaldo y aproveché el buen precio del mercado en línea. Acompáñenme y les cuento cómo fue la comprar y la instalación de la batería de mi laptop.
Hace ya unos meses que tenía mi laptop conectada a la corriente y estaba trabajando, cuando un bajón de voltaje hizo que se desconectara todo el fluido eléctrico de la casa por unos minutos. La computadora por algún motivo se apagó y no prendió más. Cuando se restableció la electricidad la conecté y al encender la luz indicadora de la batería aparecía en rojo y decía error.
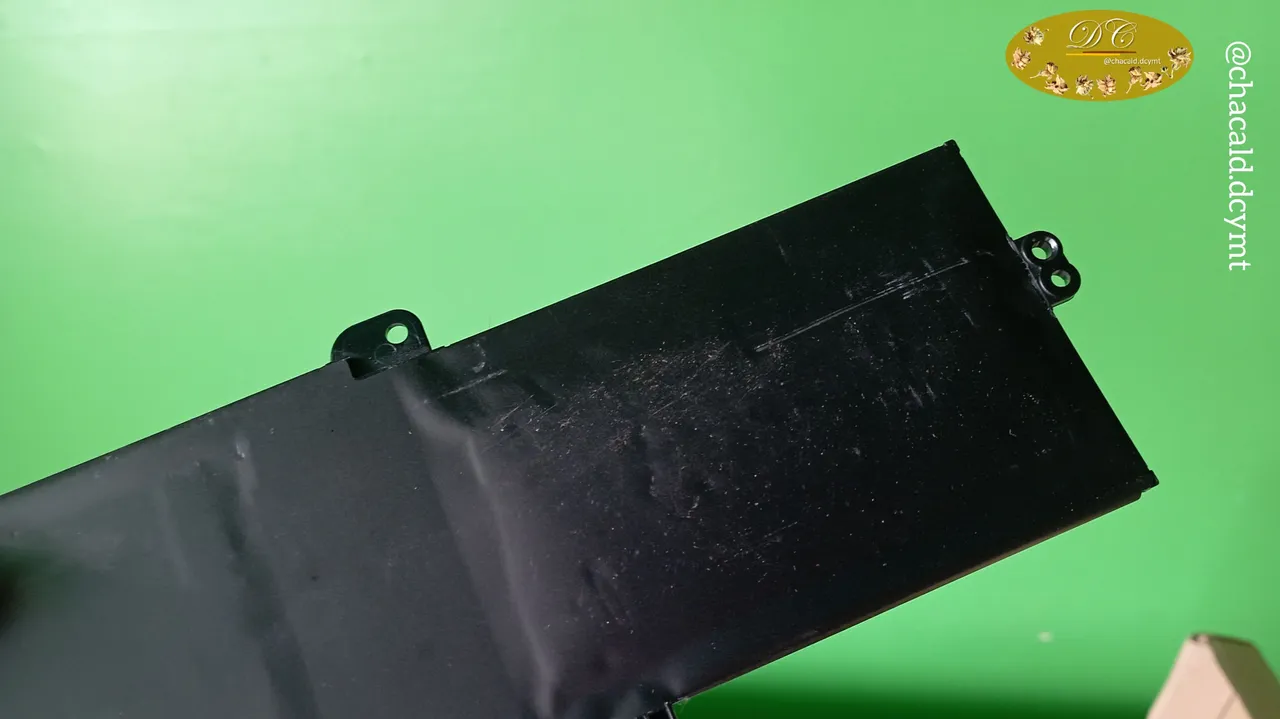
Se quemó la batería. La retiré de la computadora para evitar que se explotara, ya que se infló mucho y parecía que explotaría con solamente tocarla.
Poder trabajar y usar la computadora sin su batería es imposible. Comencé a buscar la mejor opción.
Todas las que averigüé en MercadoLibre y me parecía que el precio era muy costoso porque eran baterías genericas. No pude encontrar ninguna batería de calidad compatible con mi laptop, así que tuve que acudir a mi contacto en Estados Unidos para que me ayudara a comprarla por Amazon.
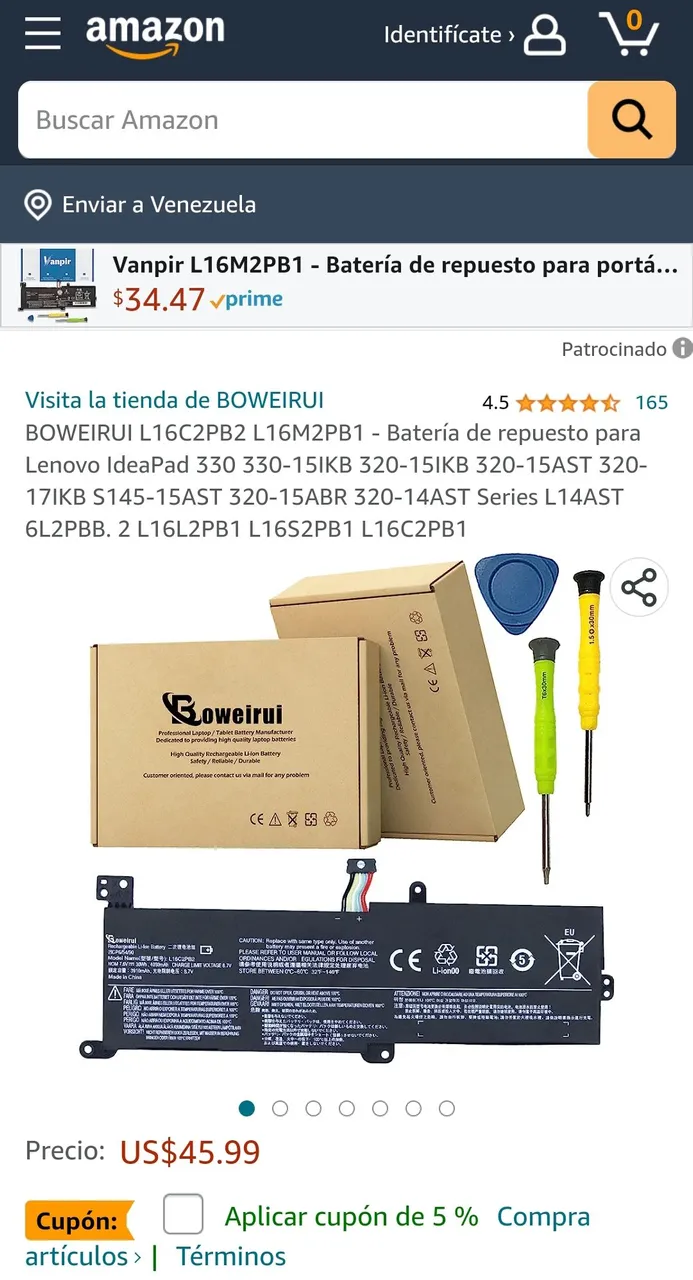
El precio promedio de oferta en Amazon era de 45$ y traía un par destornilladores y una uña de plástico para extraer la batería.
La verdad es que tengo mis propias herramientas y no me interesaba ese combo. Pudimos conseguir una batería que venía sola en 43$
Una vez que me enviaron la batería a mi casa (el costo del envío no se incluyó en la compra porque me hicieron el favor de traerla) entonces procedí a instalar la nueva batería.
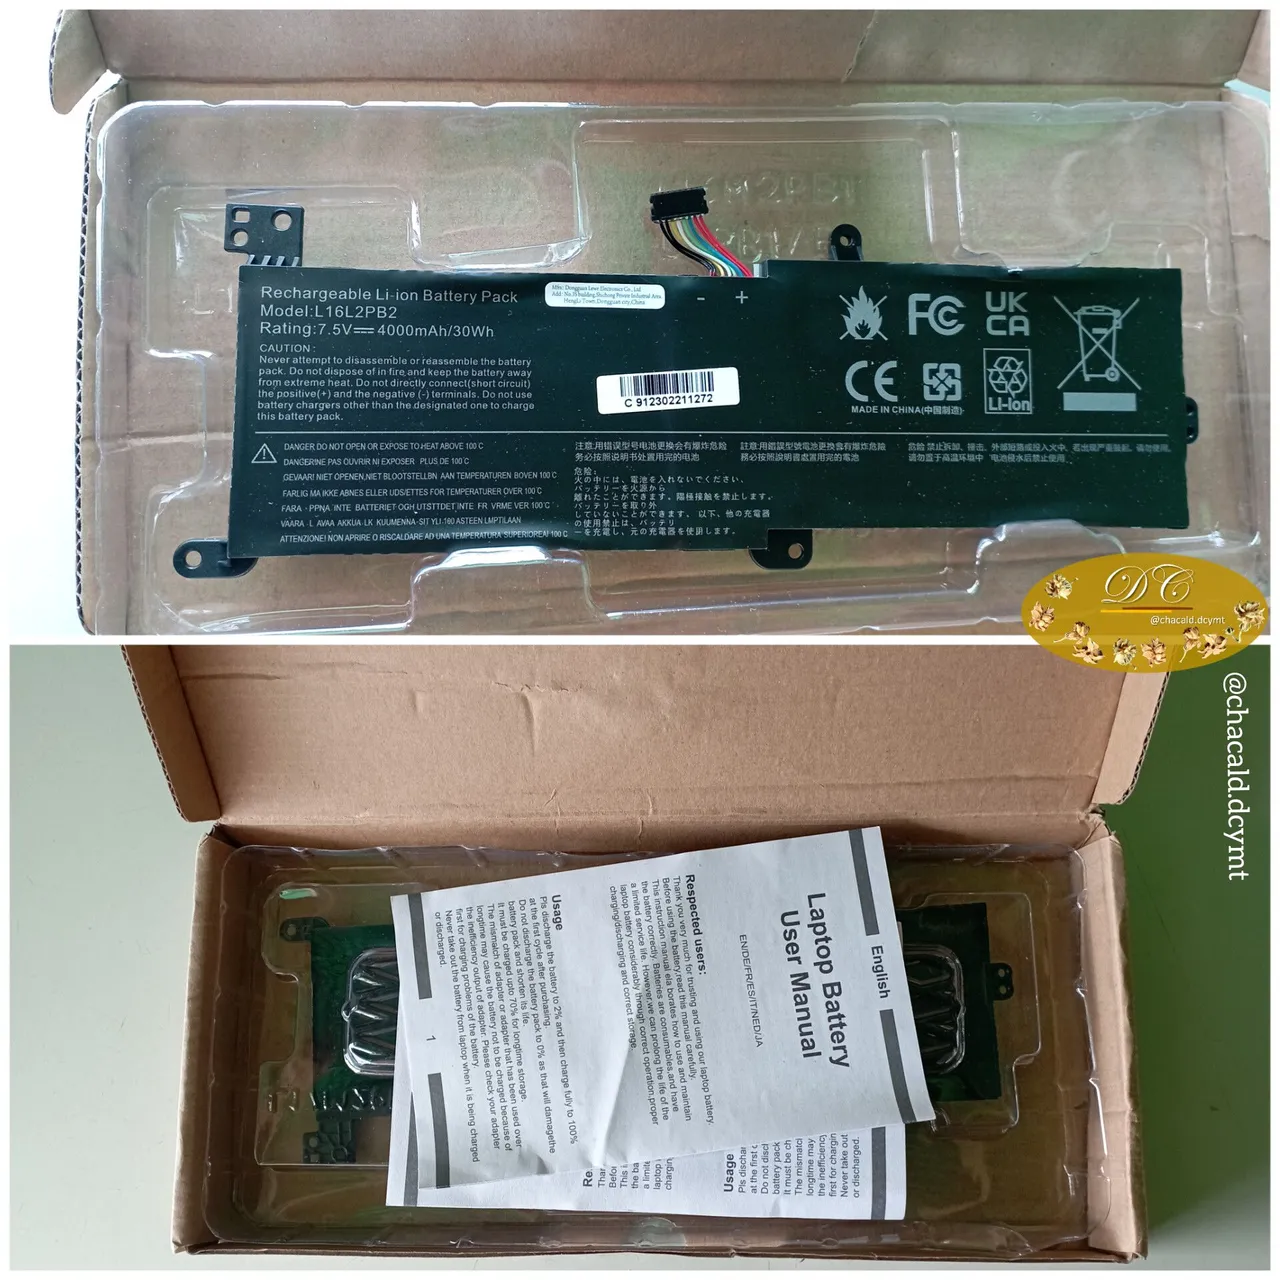
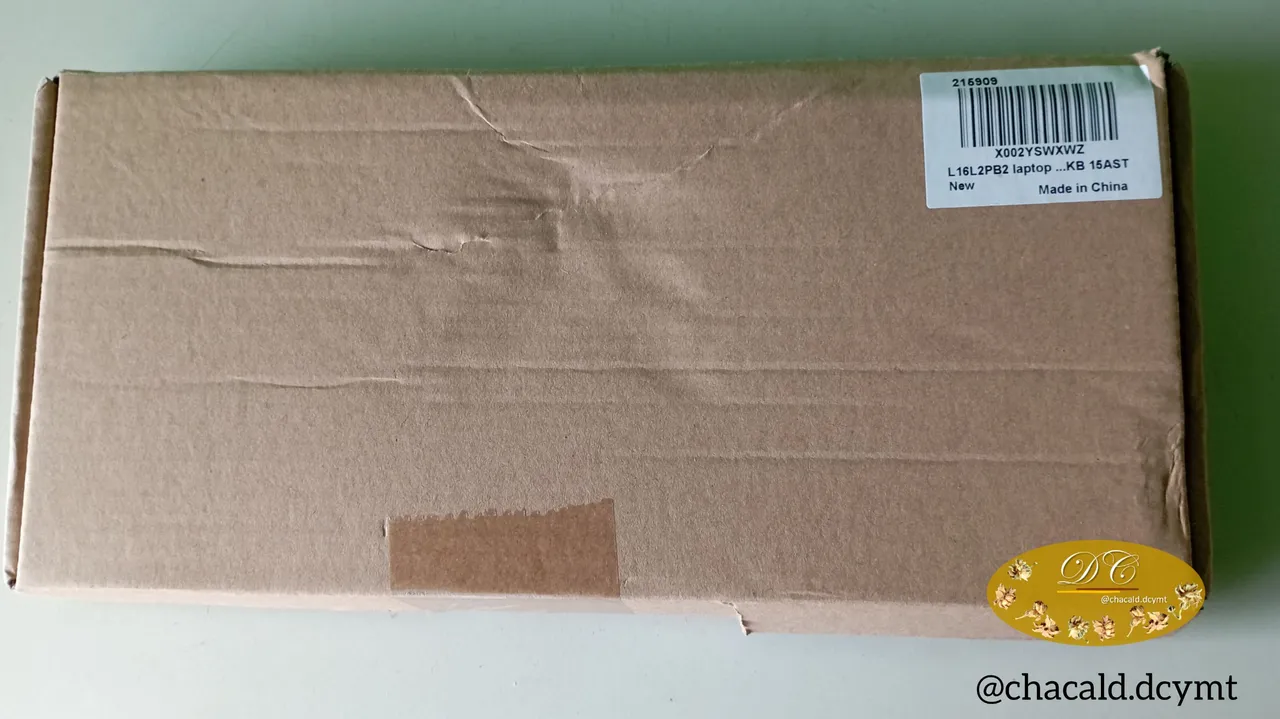
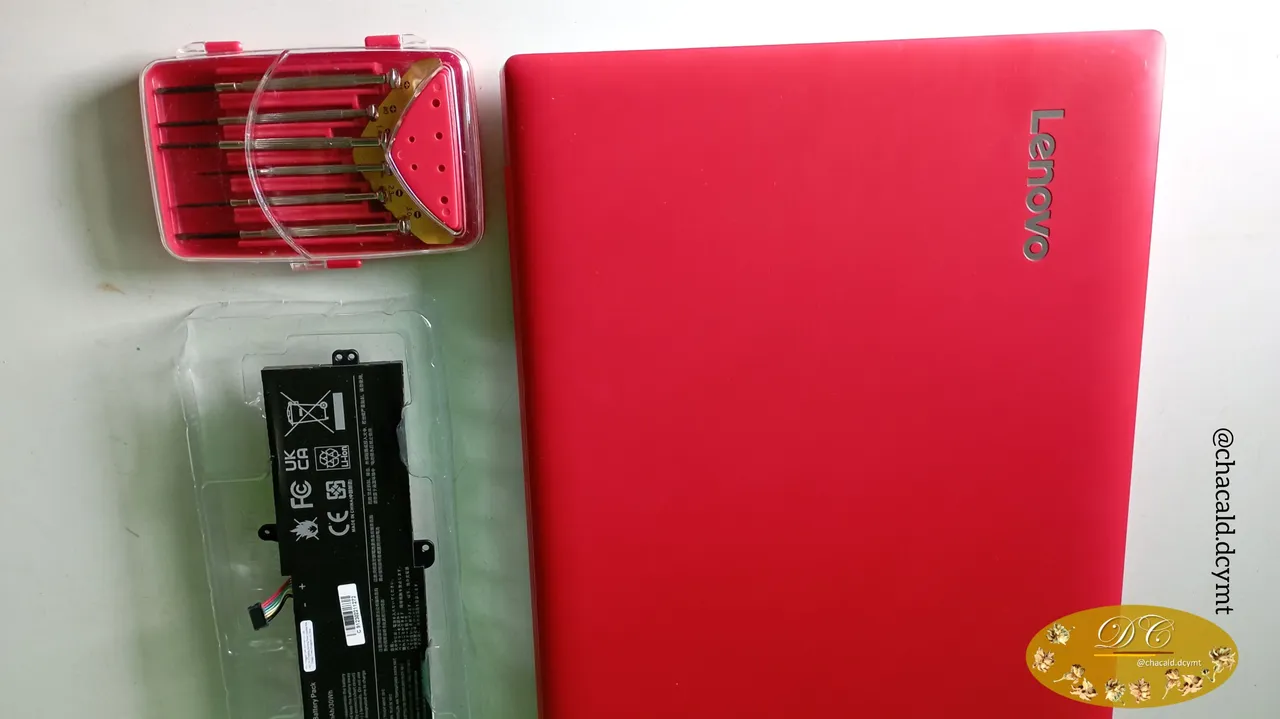
Venía en una caja un poco más grande que la batería misma. La caja estaba sellada. Al abrirla encontré los manuales de uso y recomendaciones. Y estaba debajo la batería.
Busqué mis destornilladores y puse manos a la obra. Fue muy sencillo este proceso de instalación. Tardé unos 15 minutos en instalar la batería que venía con 60% de carga.
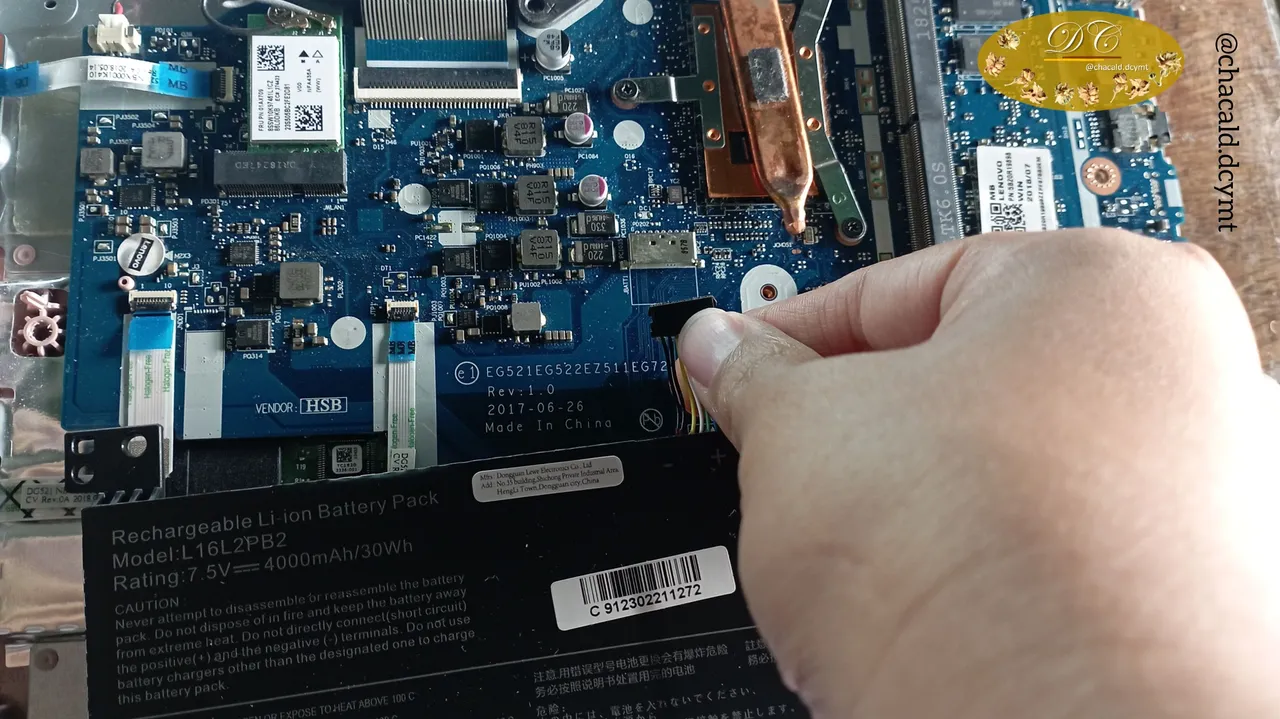
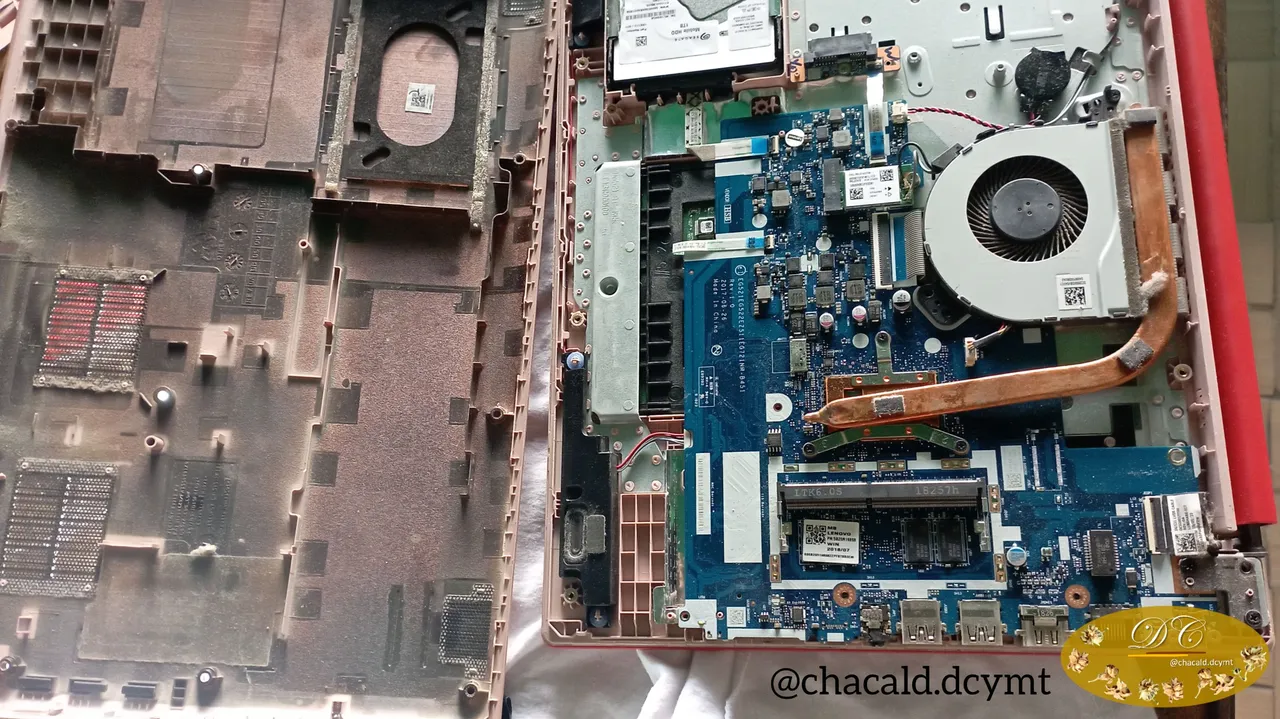
Lo primero que hice fue limpiar muy bien todo el polvo que tenía adentro la computadora, especialmente el fan. Y luego inserté la batería en su lugar primero conectando en el pin de conección y luego calzando cada orificio donde iba para proceder a colocar los tornillos.
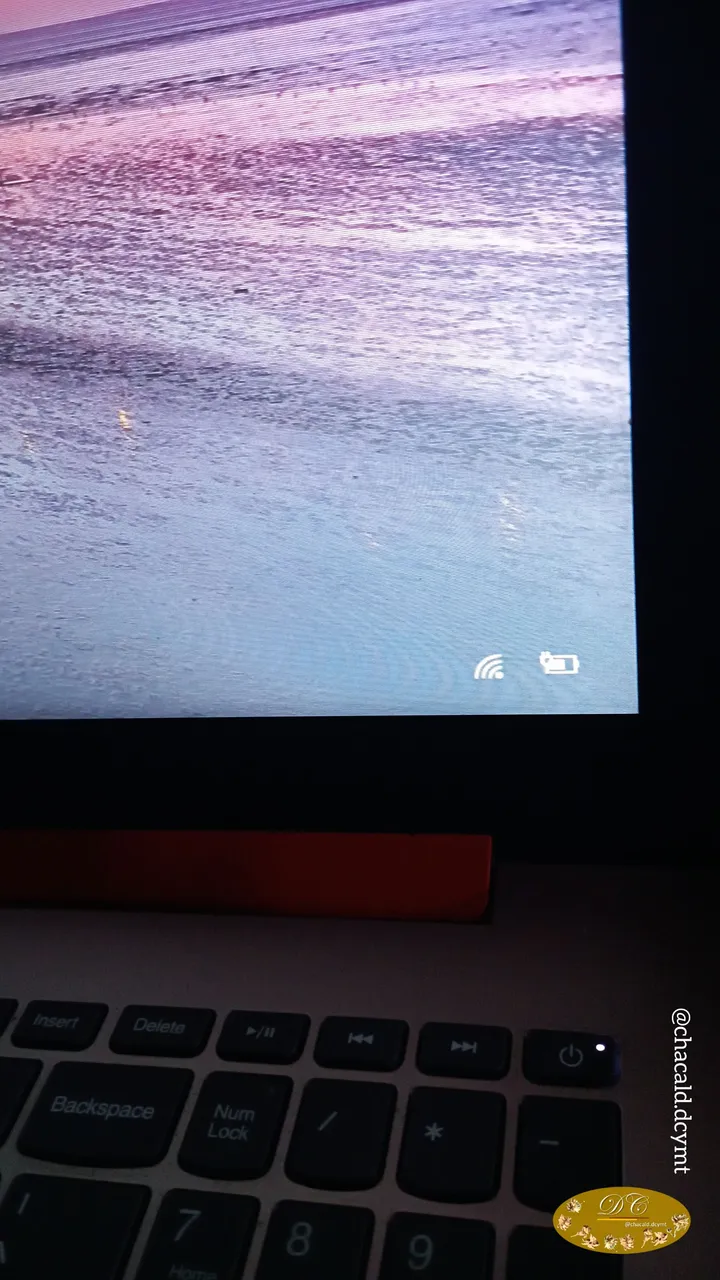
Y listo. Una vez que la coloqué la tapa de atrás de la computadora, la encendí y tenía el 60% de batería de indicaba. Las indicaciones del manual decía que debía dejarla conectada cargando unas horas y así lo hice. La batería funciona perfectamente.
Estoy muy feliz por mi nueva batería, he probado su rendimiento de aproximadamente 4 horas trabajando activamente así que fue un éxito y por eso quise venir a contarles. Gracias por visitar mi publicación y nos vemos en una próxima oportunidad. Chao!

! [Click here to read in english]
Unboxing and installation of my laptop battery
Greetings fellow technology lovers! Once again I welcome you to my blog this time to show you the unboxing of the battery I bought for my laptop. It was a purchase I had pending since it is necessary to keep the computer with a backup battery and I took advantage of the good price of the online market. Join me and I will tell you how was the purchase and installation of my laptop battery.
A few months ago I had my laptop connected to the power supply and was working, when a voltage drop caused all the electricity in the house to be disconnected for a few minutes. The computer for some reason turned off and did not turn on again. When the power was restored I plugged it in and when I turned it on the battery indicator light was red and said error.
The battery was burned. I removed it from the computer to prevent it from exploding, as it was very inflated and looked like it would explode just by touching it.
Being able to work and use the computer without its battery is impossible. I started looking for the best option.
All the ones I found on MercadoLibre and it seemed to me that the price was too expensive because they were generic batteries. I could not find any quality battery compatible with my laptop, so I had to go to my contact in the United States to help me to buy it through Amazon.
The average bargain price on Amazon was $45 and it came with a pair of screwdrivers and a plastic nail to remove the battery.
I actually have my own tools and wasn't interested in that combo. We were able to get a battery that came alone for $43.
Once the battery was shipped to my home (the shipping cost was not included in the purchase because they did me the favor of bringing it to me) I then proceeded to install the new battery.
It came in a box slightly larger than the battery itself. The box was sealed. When I opened it I found the user manuals and recommendations. And underneath was the battery.
I got my screwdrivers and got to work. It was a very simple installation process. It took about 15 minutes to install the battery that came with 60% charge.
The first thing I did was to clean very well all the dust inside the computer, especially the fan. And then I inserted the battery in its place by first connecting it to the connection pin and then wedging each hole where it was going to proceed to place the screws.
And that was it. Once I put the cover on the back of the computer, I turned it on and it had the 60% battery indicated. The instructions in the manual said that I should leave it plugged in charging for a few hours and I did. The battery works perfectly.
I am very happy for my new battery, I have tested its performance for about 4 hours working actively so it was a success and that is why I wanted to come and tell you about it. Thanks for visiting my publication and see you next time. Bye!


Original content by the author.
Resources: App: Canva / Giphy / Inshot
📷 Redmi 10 Smartphone
Translation done with Deepl.com
✿ All Rights Reserved || © @chacald.dcymt 2023 ✿
💌 Discord: chacald.dcymt#3549
Twitter @chacald1
_
Contenido original del autor.
Recursos: App: Canva / Giphy / Inshot
📷 Redmi 10 Smartphone
Traducido con Deepl.com
✿ Todos los Derechos Reservados || © @chacald.dcymt 2023 ✿
💌 Discord: chacald.dcymt#3549
Twitter @chacald1