content sources
.deepl translation
gift:
facebook logo
instagram logo
logo beehive
logo zone of the week
English
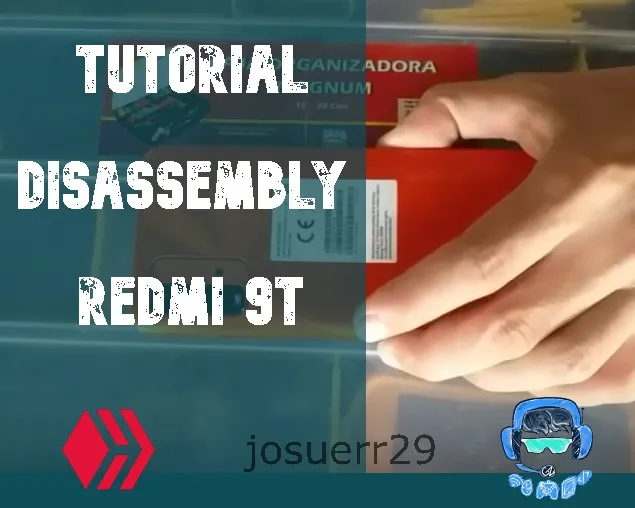
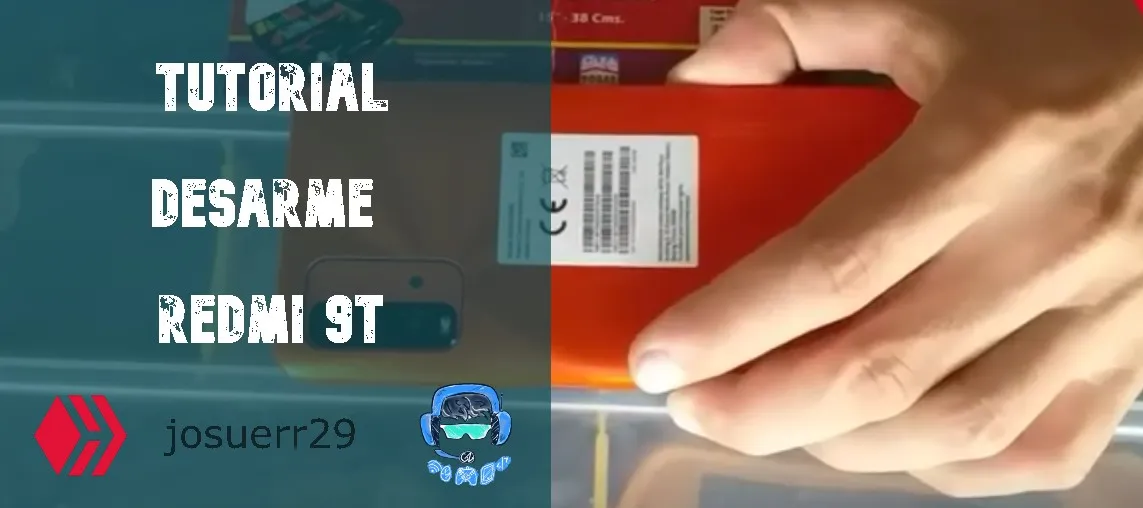
Hello friends of Hive how are you and very good friends of week zone. Today I want to bring you a very interesting content about a disarming I did for a team, but I do not want to do it without first explaining the reason why I did it.
It was an ordinary day in my workshop where it is customary to work repairing phones and a customer came with the problem that the phone would not turn on, just left it completely unloaded and would not turn on, then I talked to him giving the possible faults. What usually happens when this happens is that the phone has a bad battery or the power button or the charging pin as this phone is relatively new in the market, I doubt that the power button is bad, I think it could be that the battery has been damaged or the charging pin, so I told the customer what to do and started with the repair.
What will we need?
To begin with we will need very few things, we will need a plastic x-ray plate paddle, we will also need a number 5 slotted screwdriver, and a small spatula, we will need this nothing else and with this we can simply start to disassemble the equipment.
.
Process
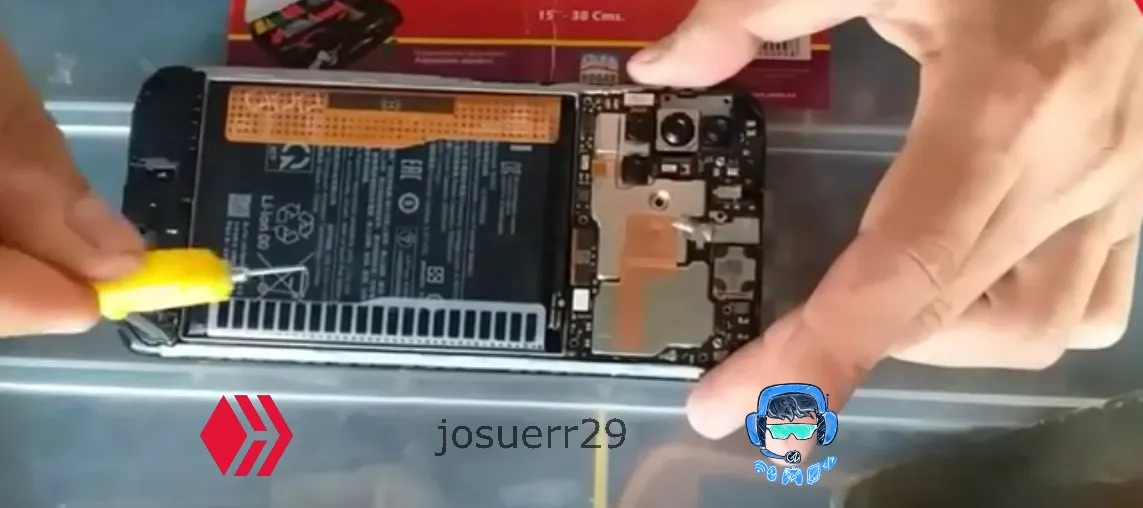
To begin we will use the x-ray paddle and with it we will begin to introduce it inside the bezel of the equipment, this will make the back cover of the equipment, the one that protects the battery, come out, however, it will not be enough, since it has glue and very carefully and slowly we have to introduce the paddle observing very carefully, because on the left side we have the fingerprint Flex so as not to break it. This process is done very patiently and very slowly so as not to destroy the cover of the equipment or damage the Flex of the fingerprint.
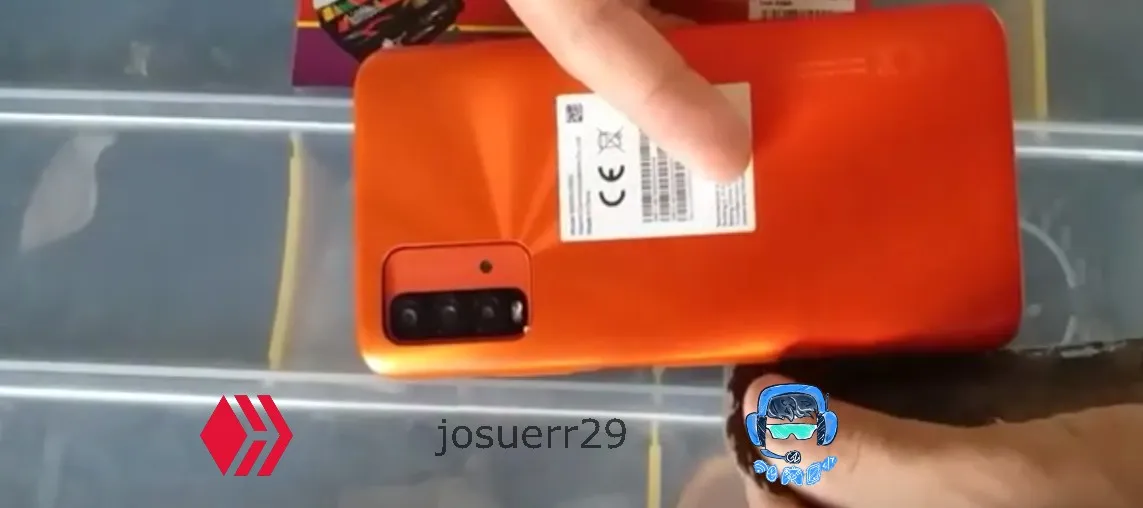
Once disassembled the team we can see clearly the flex of the footprint and we realize that we can not remove it until we remove the screws, all this lifting the lid must be done carefully, you can not pull the lid with force because you would break the Flex.
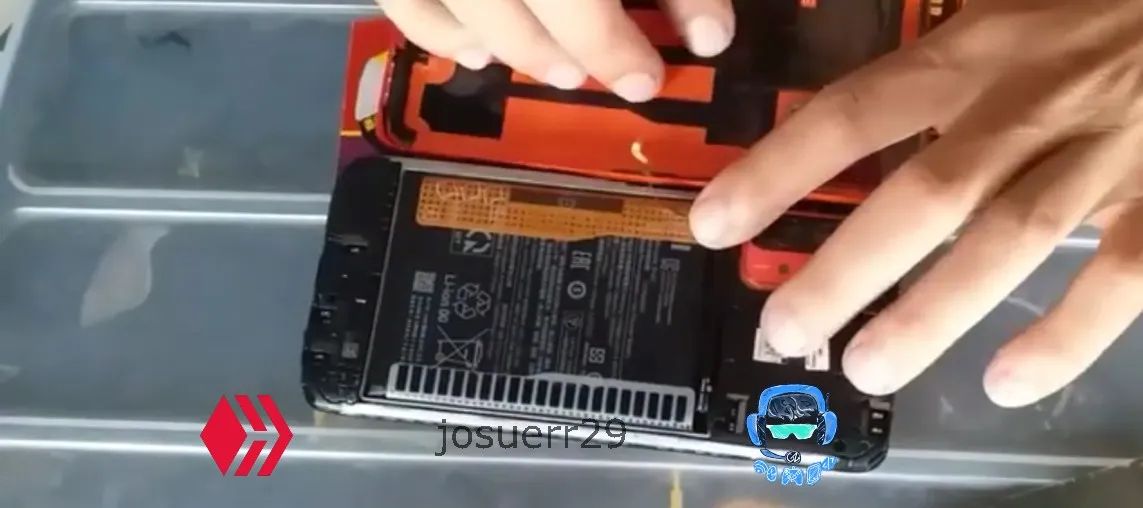
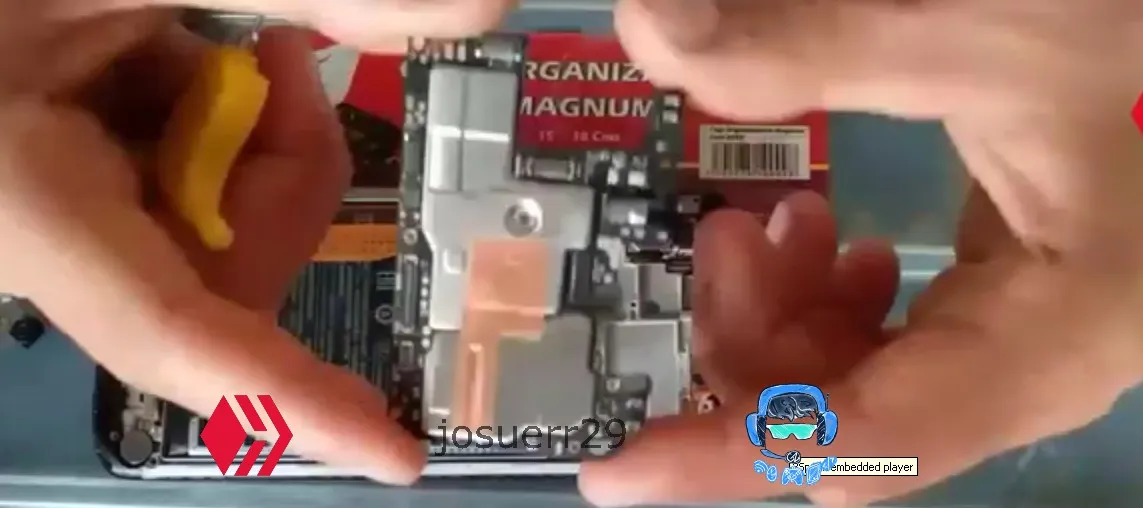
Already after this, with total tranquility we will use the screwdriver and begin to remove all the screws that protect the top plate, which is the main plate and the charging plate. When we have loosened all these screws with a very small tension clamp, we will pull them out to be able to disassemble the equipment.
After this we will lift the protector of the plate which is the same protector of the camera and this avoids that it gets dirty and protects it enough, the plate will be completely uncovered.
We will also lift the plate protector of the charging pin very carefully, this will make our charging plate will be completely uncovered at this time, and we would have the three main components uncovered What are the main board, the battery and the charging plate.
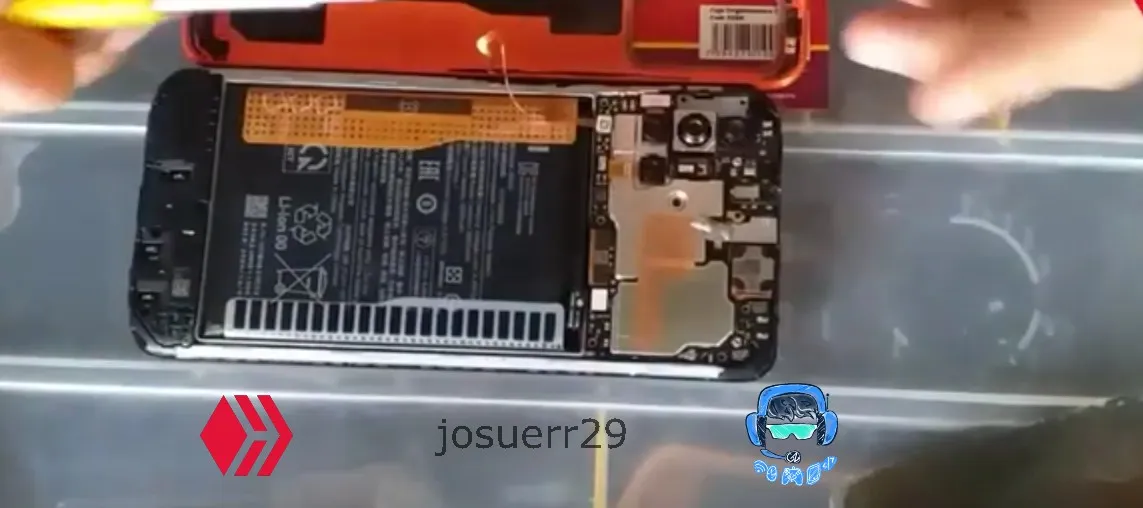
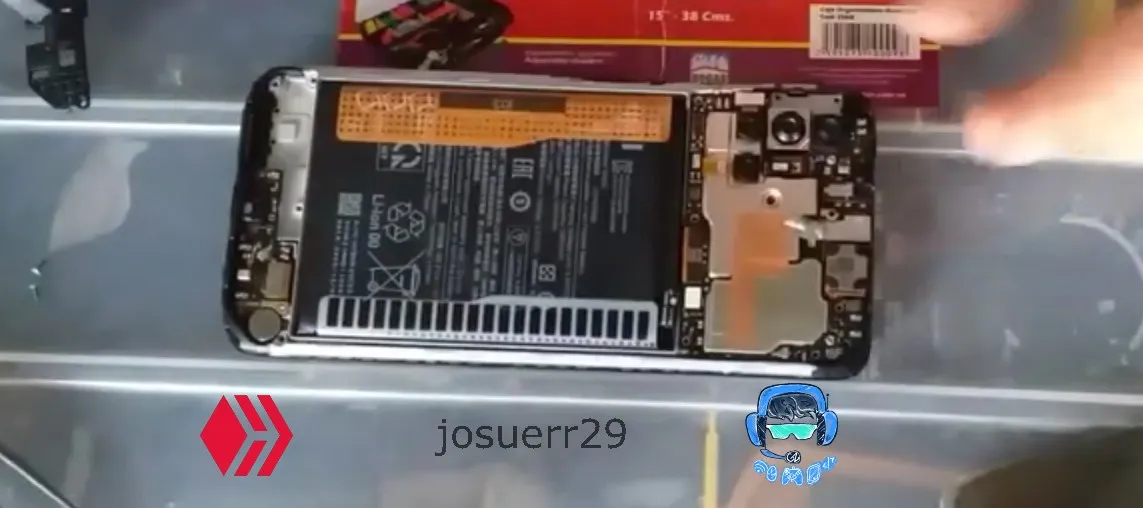
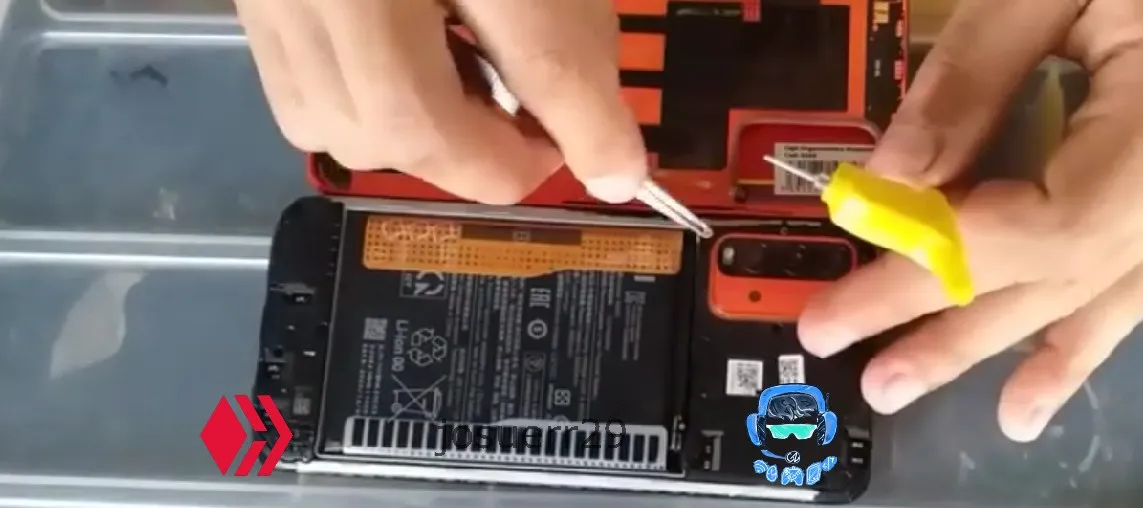
After having all these components uncovered we have to remove each of the camera flex, also the battery flex, display flex and also the antenna cable along with the flex that are attached to the charging plate to be able to lift it up.
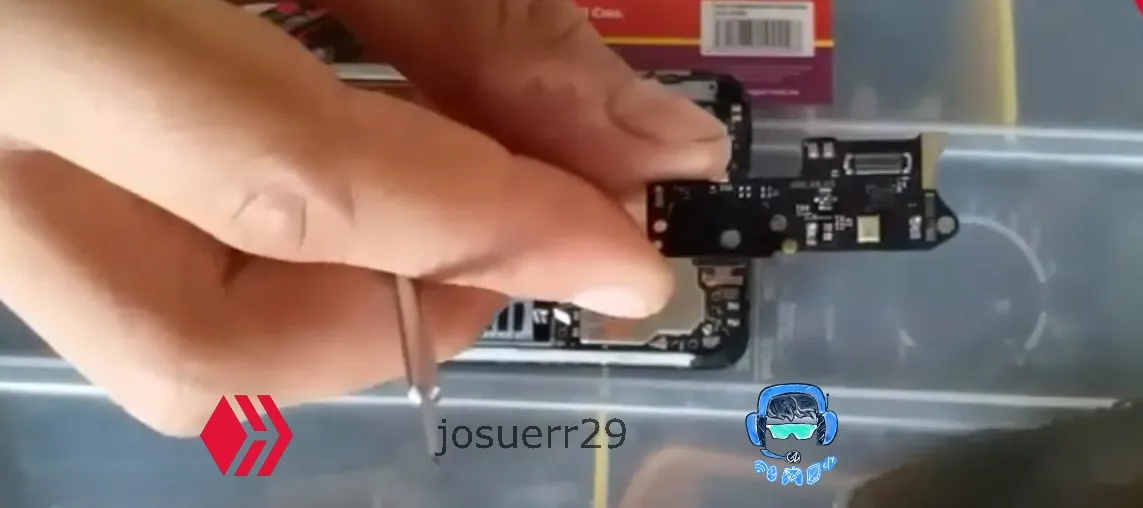
Now we can also remove the main board, it is for our team to be well disassembled and without plates, there we can fully and carefully review each electronic component of the team.
Español
Hola amigos de Hive qué tal y amigos muy buenos de week zone. Hoy te quiero traer un contenido bastante interesante sobre un desarme que hice para un equipo, pero no quiero hacerlo sin antes explicarle la razón por la que lo hice.
Fue un día común y corriente en mi taller donde se acostumbra a trabajar reparando teléfonos y llegó un cliente con el problema de que el teléfono no quería prender, simplemente lo dejó Descargar por completo y no quiso prender, entonces yo hablé con él dándole las posibles fallas. Lo que normalmente pasa cuando ocurre esto es que el teléfono tiene batería mala o el botón de encendido o el pin de carga como este teléfono es relativamente nuevo en el mercado, dudo que el botón de encendido este malo, creo más que puede ser que la batería se haya dañado o el pin de carga Así que le dije al cliente lo que debía hacer y comencé con la reparación.
¿Qué necesitaremos?
Para empezar necesitaremos muy pocas cosas, necesitaremos una paleta de plástico de placa de rayos x, también necesitaremos un destornillador de estría número 5, y una espátula pequeña, necesitaremos esto nada más y con esto simplemente podemos comenzar a desarmar el equipo.
.
Proceso
Para comenzar utilizaremos la paleta de rayos x y con ella comenzaremos a introducirla dentro del bisel del equipo, esto hará que la tapa trasera del equipo, la que protege la batería, salga, sin embargo, no será suficiente, ya que ella posee pega y con mucho cuidado y lentamente tenemos que ir introduciendo la paleta observando con mucho cuidado, porque de lado izquierdo tenemos el Flex de huella para no romperlo. Este proceso se realiza con mucha paciencia y muy lento para no destrozar la tapa del equipo ni dañar el Flex de la huella.
Una vez desarmado el equipo podemos observar con Claridad El flex de la huella y nos damos cuenta de que no podemos sacarlo sino hasta que quitemos los tornillos, todo esto de levantar la tapa Hay que hacerlo con cuidado, no puedes halar la tapa con fuerza porque romperías el Flex.
Ya después de esto, con total tranquilidad utilizaremos el destornillador y comenzaremos a quitar todos los tornillos que protegen la placa superior, qué es la placa principal y la placa de carga. Cuando hayamos aflojado todos estos tornillos con una pinza de tensión muy pequeña, los jalaremos hacia afuera para poder desarmar el equipo.
Después de esto levantaremos el protector de la placa Qué es el mismo protector de la cámara y esto evita que se ensucie y lo protege bastante, quedara la placa totalmente descubierta.
También levantaremos el protector de la placa del pin de carga con mucho cuidado, esto hará que nuestra placa de carga quedará totalmente descubierta en este momento, ya tendríamos los tres componentes principales descubiertos Qué son la placa principal, la batería y la placa de carga.
Luego de tener todos estos componentes descubiertos tenemos que quitar cada uno de los Flex de cámara, también el Flex de la batería, Flex de pantalla y también el cable de la antena junto a los flex que van Unidos al la placa de carga para poder levantarla.
Ya podemos sacar también la placa principal, es para que nuestro equipo quedé bien desarmado y sin placas, allí podemos revisar totalmente y con mucho cuidado cada componente electrónico del equipo.
fuentes del contenido
Traducción deepl
gift:
Logo facebook
logo instagram
Logo hive
Logo week zone
Ganar algunios pequeños tokens por buscar en google. Registrare aqui
presearch
 Instagram