Hola chicos y chicas de #hive, ¿Cómo están?, espero que bien.
Hoy estamos de vuelta con algo un poco distinto a lo usual y así tener algo de variedad, mas allá de solamente publicar contenido de juegos 😅, ya muchos en la comunidad me conocen, pero para los que no, a la par de que me gusta jugar videojuegos como todos aquí presentes, también soy aficionado al modelado 3D y algún día me gustaría trabajar como también vivir de esto en un futuro..

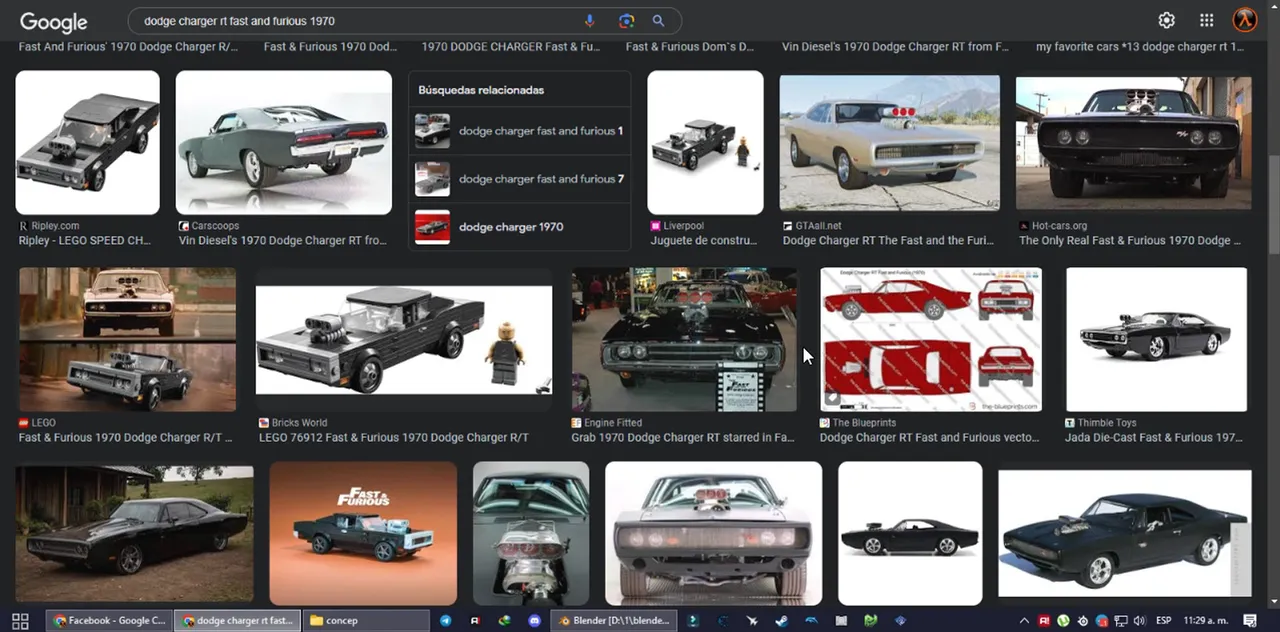
Yo uso un programa de modelado 3D llamado Blender que posiblemente ya conozcan y hoy les traigo el proceso que tuve haciendo para crear un modelo 3D de un auto de una de mis marcas favorita y es un Dodge Charger de los años 70s específicamente uno usado en las películas de rápidos y furiosos en el cual intentaré no ser muy técnico para que me puedan entender con mas facilidad.
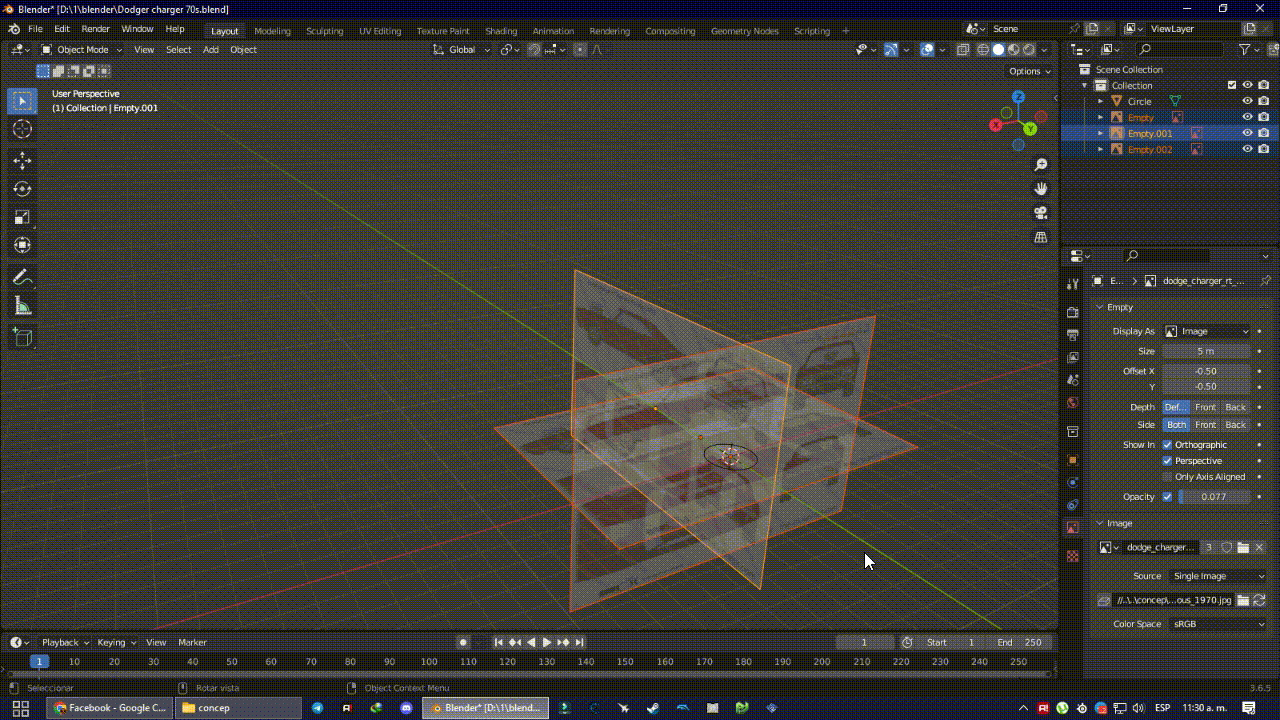
Ya que bueno, en mi búsqueda de los planos del auto me costó encontrar uno que me animase a la par de que no fuese tan difícil de recrear, así que mi búsqueda terminó con este auto y empezando con ordenar el cómo se verían los planos antes de empezar.
Todo a la par de que iba viendo un video en el que me ayudaba un poco sobre como posicionar las fotos e ir haciendo el modelo con el tema de las medidas y perspectiva, una vez hecho todo eso, ya por fin pude empezar.
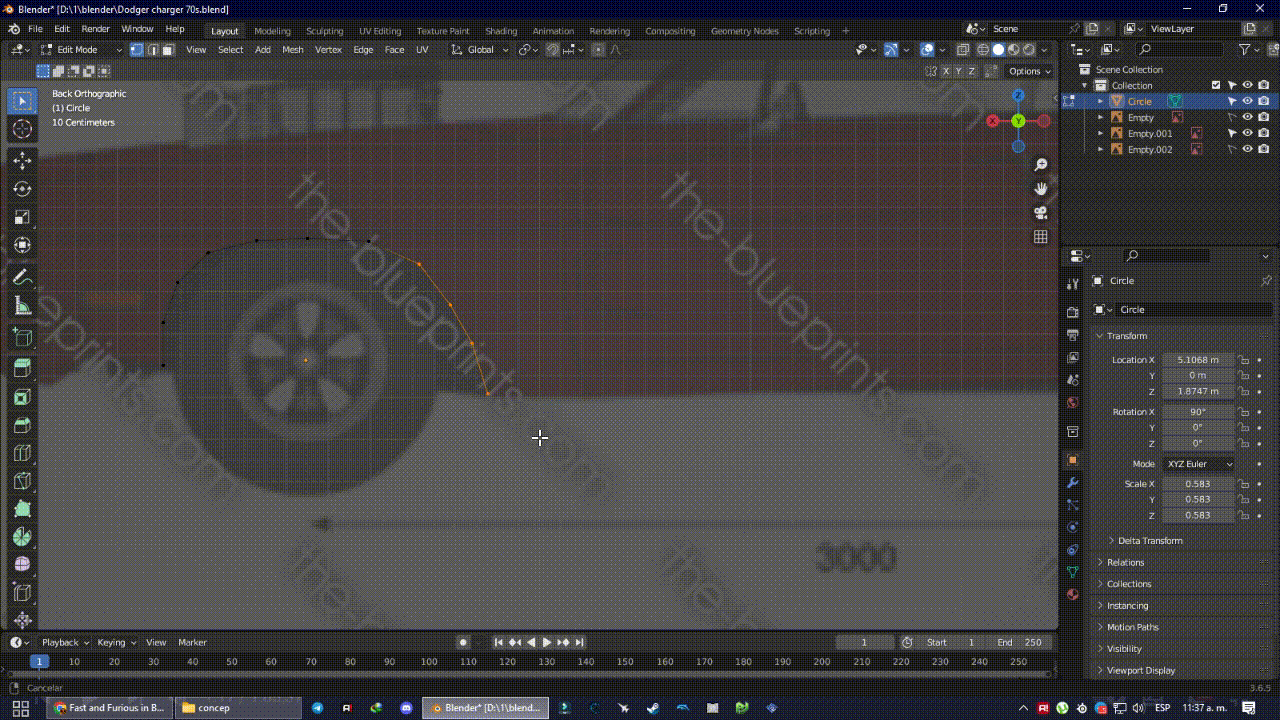
Lo primero que hice fue colocar un cilindro el cual fui deformando un poco y empecé a extender una de las caras del cilindro para ir haciendo la parte lateral del auto.
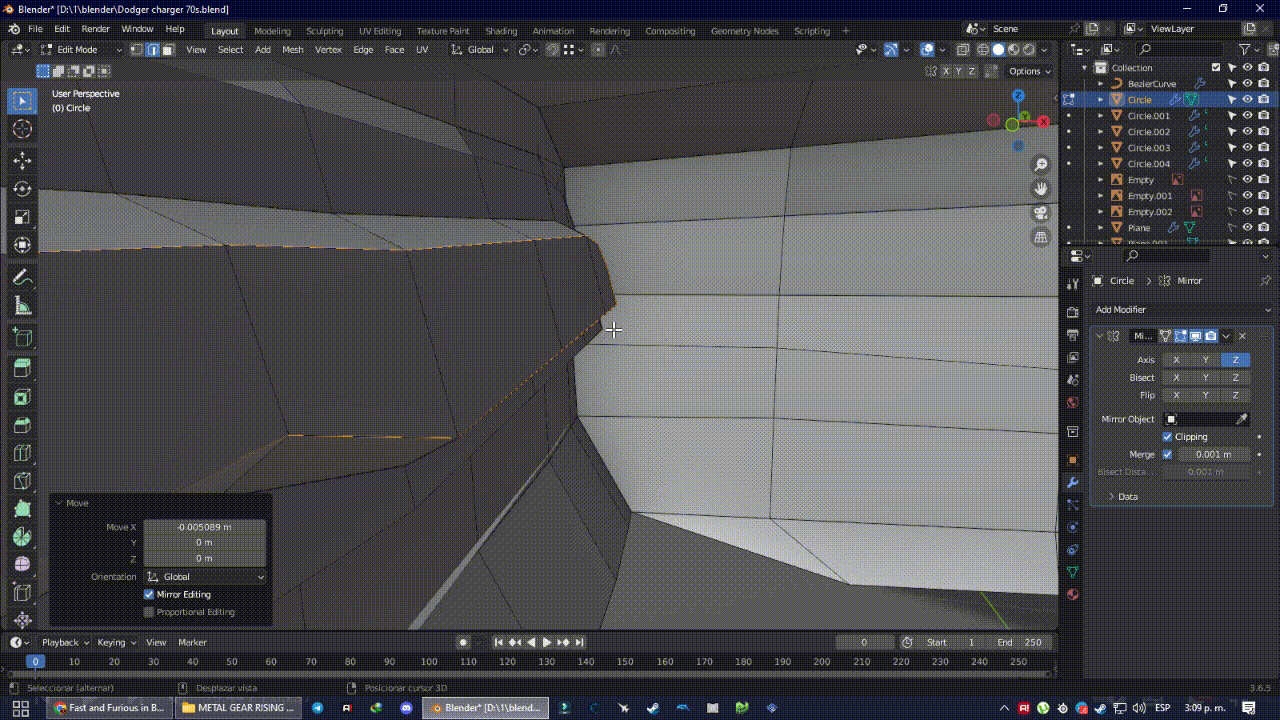
Como también iba haciendo para la parte delantera y trasera y sin olvidarme del otro lado del coche y a medida que iba progresando me iba percatando de algunos problemas con la malla, lo cual estaba algo desorganizada.
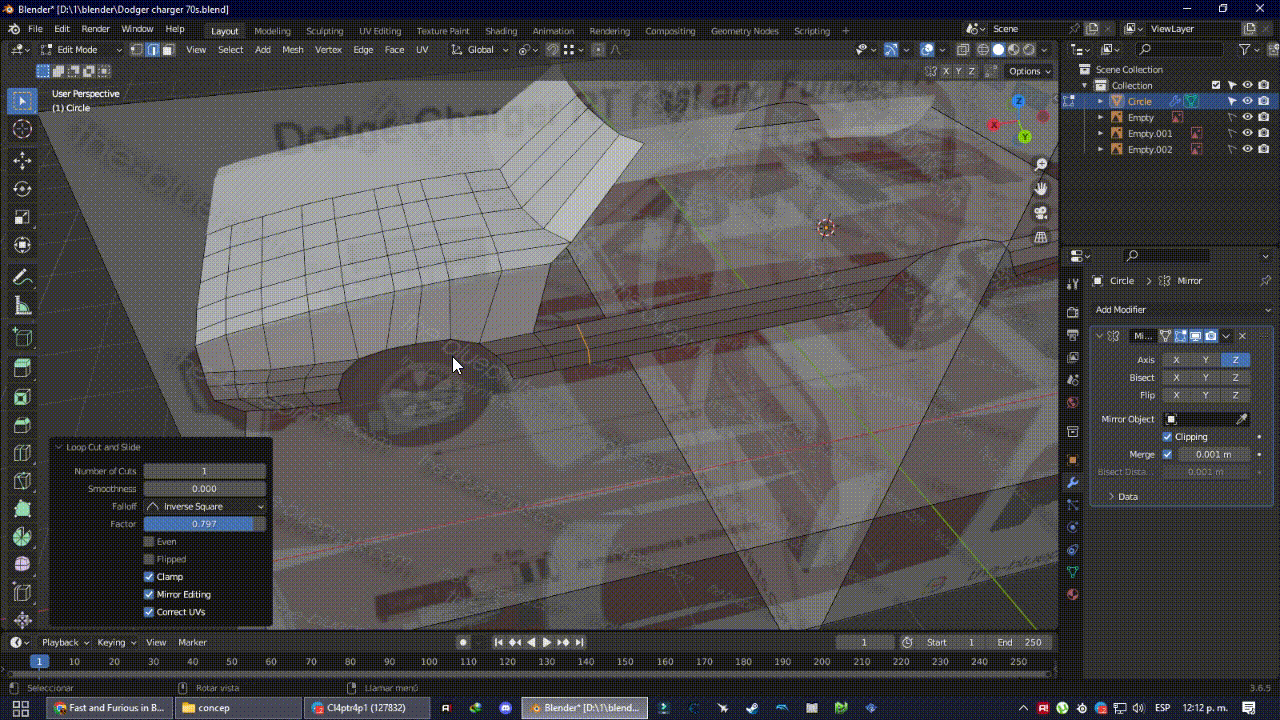
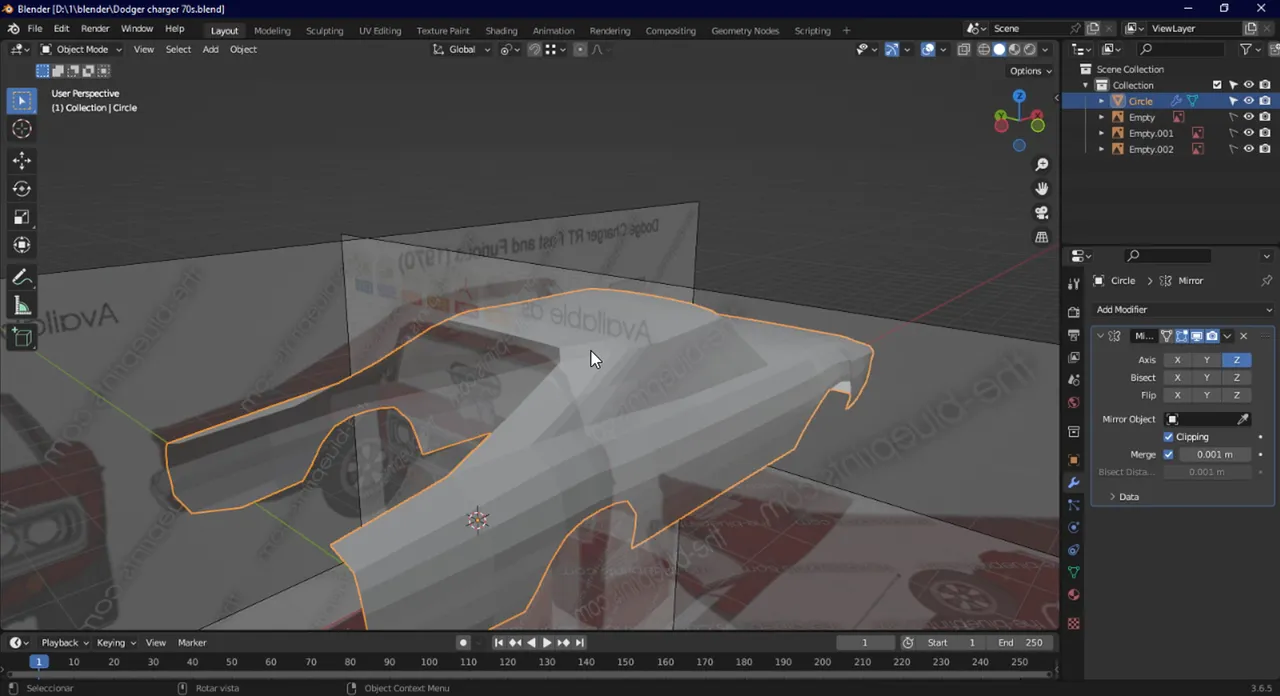
Lo cual tenía que cada cierto detenerme y ordenarla, ya que sé que mientras que voy progresando voy a necesitar hacer cambios pequeños o grandes a la malla y un pequeño error puede causar que tenga que volver a hacer toda esa parte mal echa. Por si no saben que es la topología, de forma simple es esa telaraña que ven sobre el modelo y un buen modelo siempre tiene que tener una malla bien organizada.
Pero luego de todo ese pequeño trabajo seguí con la parte trasera (la cual me costó un poco porque no sabía como hacerla correctamente 😅), pero lo mas importante era que ya iba tomando forma.
Aunque hasta este punto si lo mirabas desde un ángulo en especifico por la parte trasera me recordaba un poco a la Chevrolet el camino 🤣.
Sinceramente, aunque el auto no estaba terminado, me estaba gustando el cómo iba quedando, así que pasé a una parte que me costó un poco de hacer y era el neumático jajaja, por alguna razón de entre 10 minutos a casi media hora jaja, pero por lo menos lo terminé y pude seguir con lo que todavía faltaba por hacer.
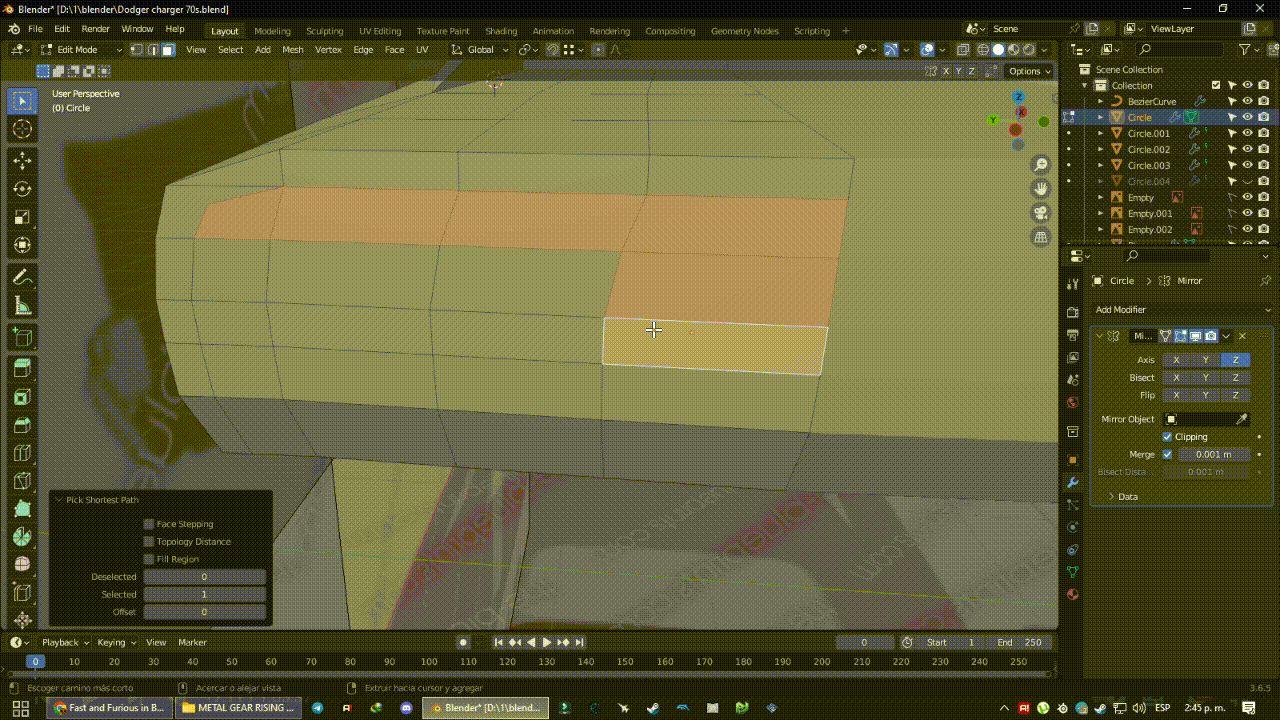
Y ahora que eso estaba terminado, por fin pude empezar a detallar un poco mas el auto y así no parezca un bloque mal hecho jaja, le agregue unos retrovisores, le coloqué las luces traseras, como también le hice un parachoques y una placa
 |  |  |
|---|
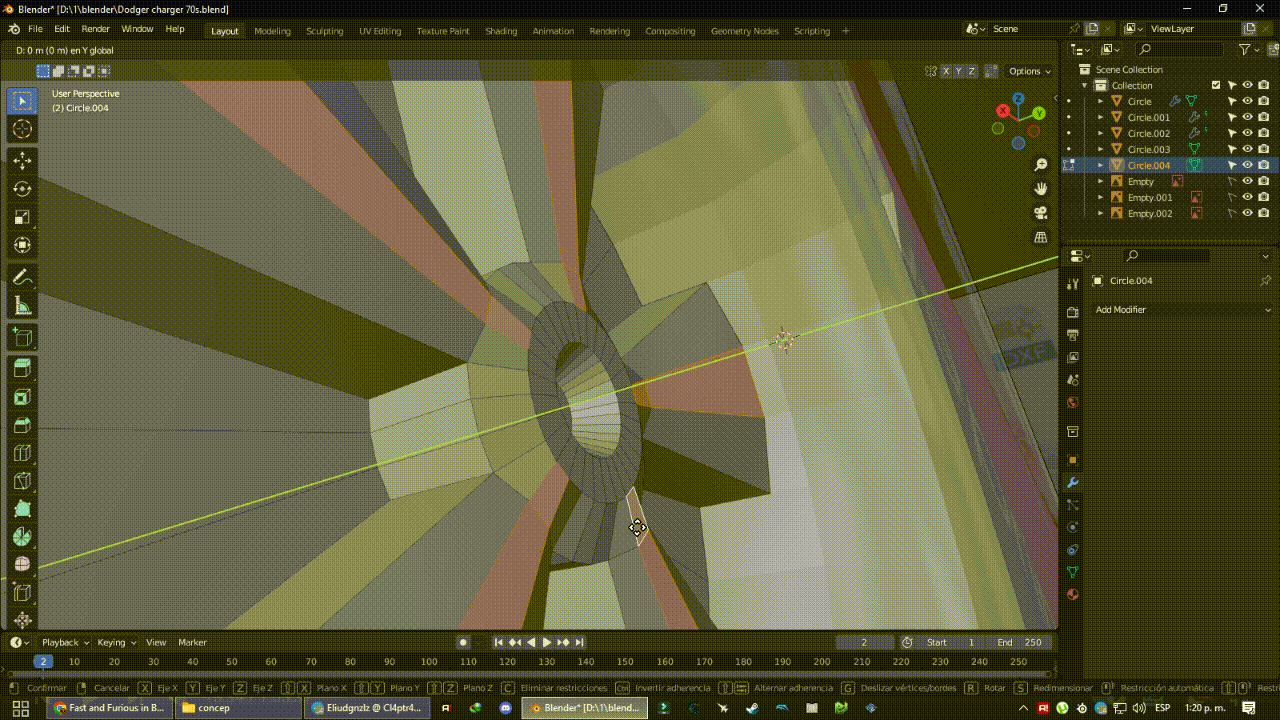
A partir de aquí empecé a acomodar la malla y ver si dejé algún desastre, por allí jaja cosa que de verdad sí pasó, porque al querer suavizar los bordes de la malla para que se vea mas “bonito”, pero resultó que con ello me pude percatar de que había un problema con la malla, ya que se veía rara y era obvio que algo estaba mal.
Aquí fue donde me puse a investigar y preguntando en una comunidad de Blender en Telegram me lograron ayudar y corregir el error, cosa que resultó ser que algunas partes de la malla estaban invertidas 😅.
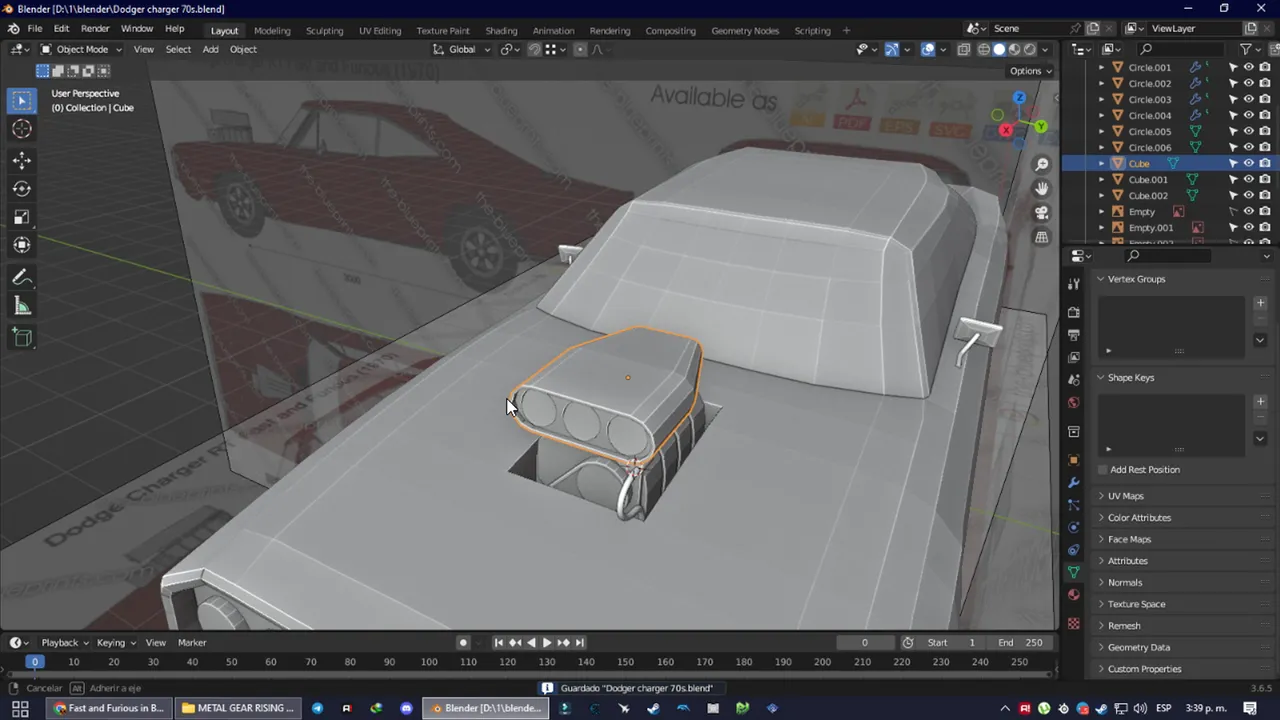
Una vez solucionado pude pasar ya a casi lo último que me falta por hacer y era el motor, cosa que terminé rápidamente para por fin pasar a preparar una escena sencilla para así renderizar una foto con mi carro :3
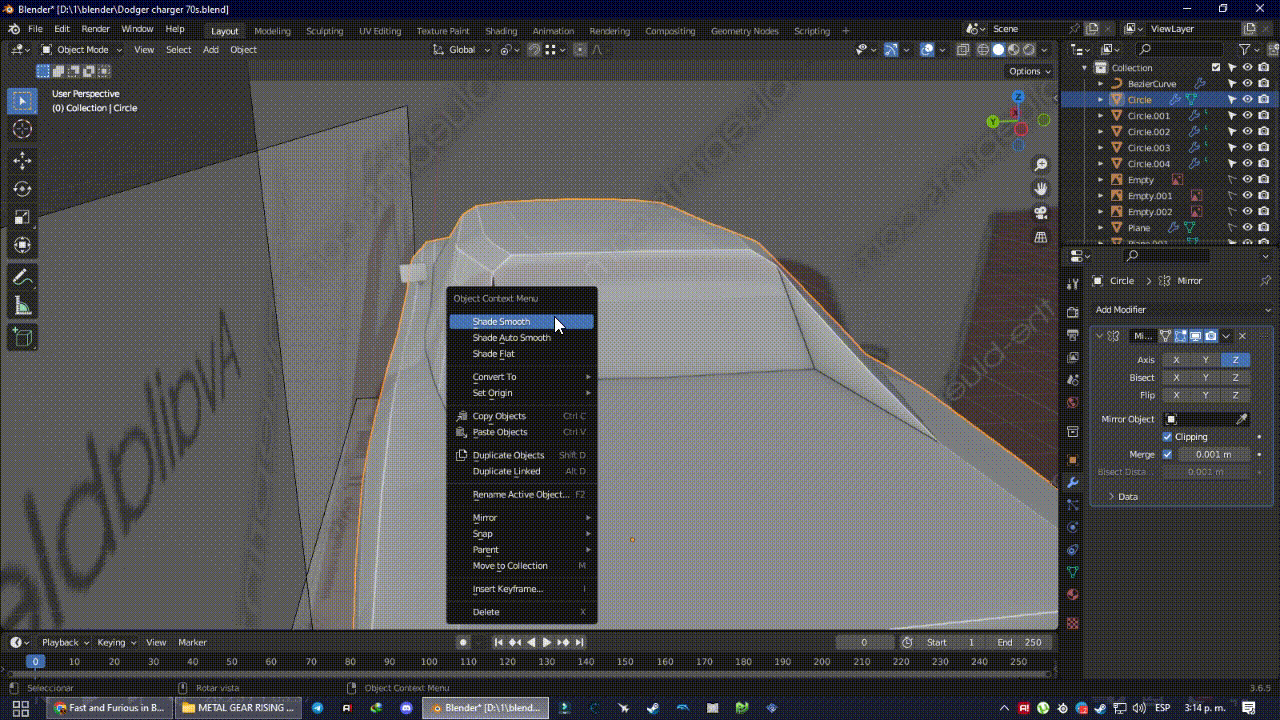
Así que cuando ya por fin, luego de agregar unos cuantos detalles por aquí y por allá el auto ya estaba listo, nada mas de pintarlo y prepararlo para una foto.
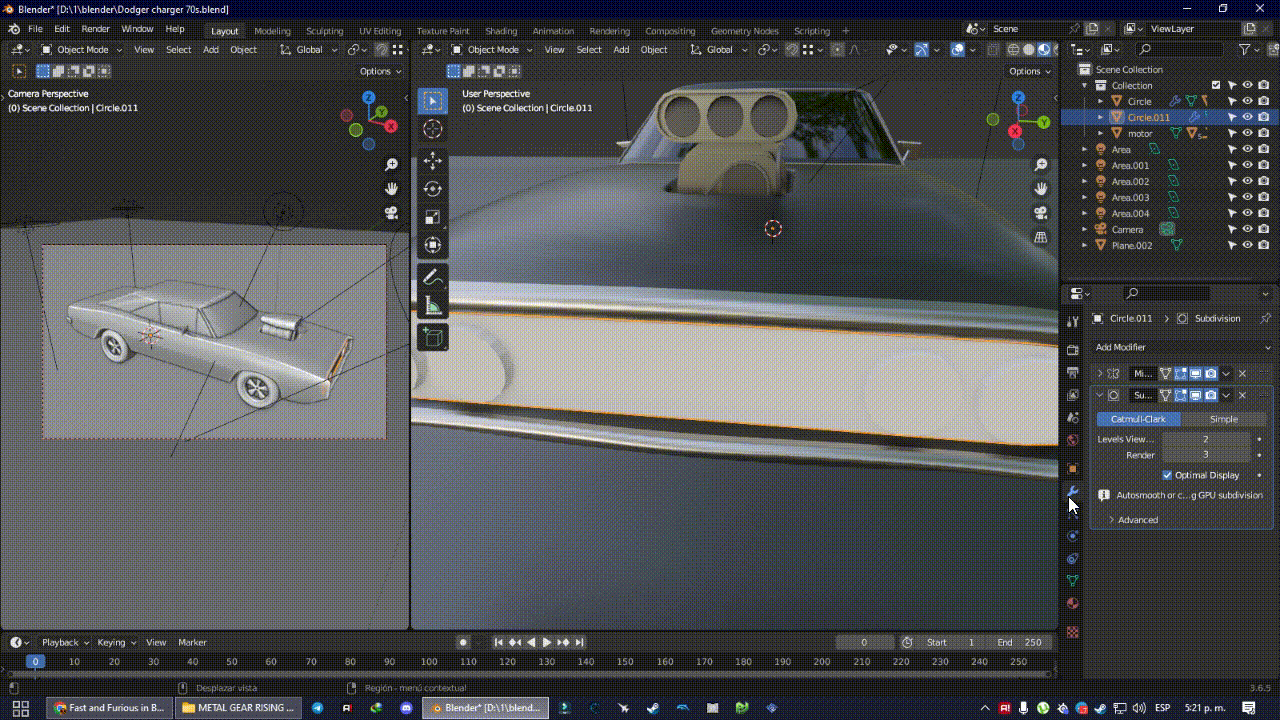
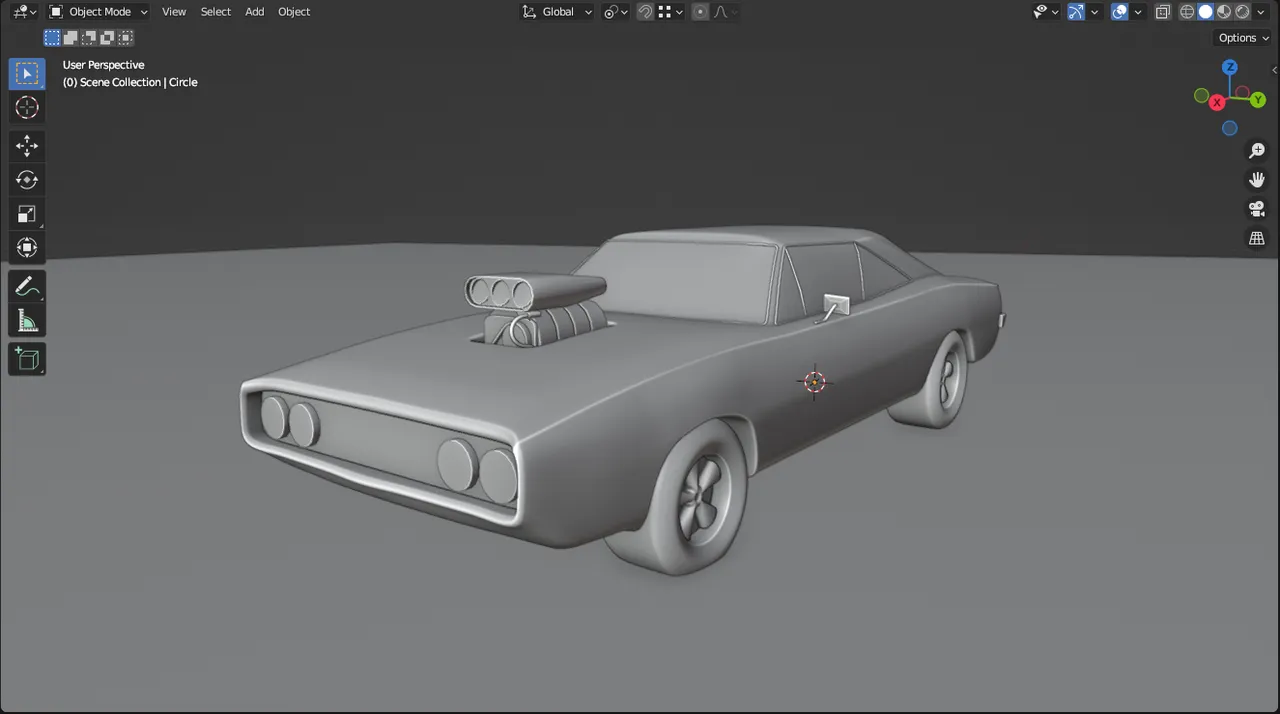
Así se ve el modelo 3D.
Y así se ve el render final.

Espero que ustedes hayan disfrutado tanto como yo al leer lo que les he traído hoy, tambien les dejaré un link a Sketchfab que es una plataforma donde he subido el modelo y podrán verlo mas de cerca y desde otros angulos.
Les invito a comentar que les pareció y si tienen algún reto para mí, siempre y cuando estén al alcance de mi capacidad, puede que les haga un video y lo traiga próximamente, les mando un abrazo a todos y hasta la ¡Próxima!

Hi #hive guys and gals, how are you, I hope you're doing well.
Today we are back with something a little different than usual and thus have some variety, beyond just posting game content 😅, already many in the community know me, but for those who do not, as well as I like to play video games like everyone here, I am also fond of 3D modeling and someday I would like to work as well as live from this in the future.
I use a 3D modeling program called Blender that you may already know and today I bring you the process I had to do to create a 3D model of a car of one of my favorite brands and it is a Dodge Charger from the 70s specifically one used in the Fast and Furious movies in which I will try not to be very technical so you can understand me more easily.
Well, in my search for the plans of the car I struggled to find one that encouraged me at the same time that was not so difficult to recreate, so my search ended with this car and starting with ordering how the plans would look like before starting.
All at the same time I was watching a video that helped me a little on how to position the photos and go making the model with the theme of measurements and perspective, once all that was done, I could finally start.
The first thing I did was to place a cylinder which I was deforming a little and began to extend one of the faces of the cylinder to make the side of the car.
As I was also doing for the front and rear and without forgetting the other side of the car and as I was progressing I was noticing some problems with the mesh, which was somewhat disorganized.
Which I had to stop every so often and tidy it up, because I know that as I progress I will need to make small or big changes to the mesh and a small mistake can cause me to have to redo that whole messed up part. In case you don't know what the topology is, in a simple way it is that spider web that you see on the model and a good model always has to have a well organized mesh.
But after all that little work I continued with the back part (which cost me a little bit because I didn't know how to do it correctly 😅), but the most important thing was that it was already taking shape.
Although up to this point if you looked at it from a specific angle from the rear it reminded me a bit of the Chevrolet el camino 🤣.
Honestly, even though the car wasn't finished, I was liking how it was coming along, so I moved on to a part that took me a bit to do and that was the tire hahaha, for some reason anywhere from between 10 minutes to almost half an hour haha, but at least I finished it and could get on with what still needed to be done.
And now that that was finished, I could finally start to detail the car a little more and so it doesn?t look like a bad block haha, I added some mirrors, I put the taillights, as well as I made a bumper and a license plate.
| | |
|---|
From here I started to arrange the mesh and see if I left any mess, haha which really did happen, because I wanted to smooth the edges of the mesh to make it look more "pretty", but it turned out that with this I could realize that there was a problem with the mesh, as it looked weird and it was obvious that something was wrong.
Here was where I started to investigate and asking in a Blender community in Telegram they managed to help me and correct the error, which turned out to be that some parts of the mesh were inverted 😅.
Once fixed I could move on to almost the last thing I needed to do and that was the engine, which I finished quickly to finally go to prepare a simple scene to render a photo with my car :3
So when finally, after adding a few details here and there the car was ready, just paint it and prepare it for a photo.
This is what the 3D model looks like.
And this is what the final render looks like.
I hope you enjoyed as much as I did reading what I have brought you today, I will also leave you a link to Sketchfab which is a platform where I have uploaded the model and you can see it more closely and from other angles.
I invite you to comment what you thought and if you have any challenge for me, as long as they are within my capacity, I may make a video and bring it soon, I send you all a hug and see you next time!
Translated
Todas las imágenes y GIf usados son de mi propiedad y tomadas de mi partida personal.
Gif editados utilizando Filmora.