
Hello Hivers!
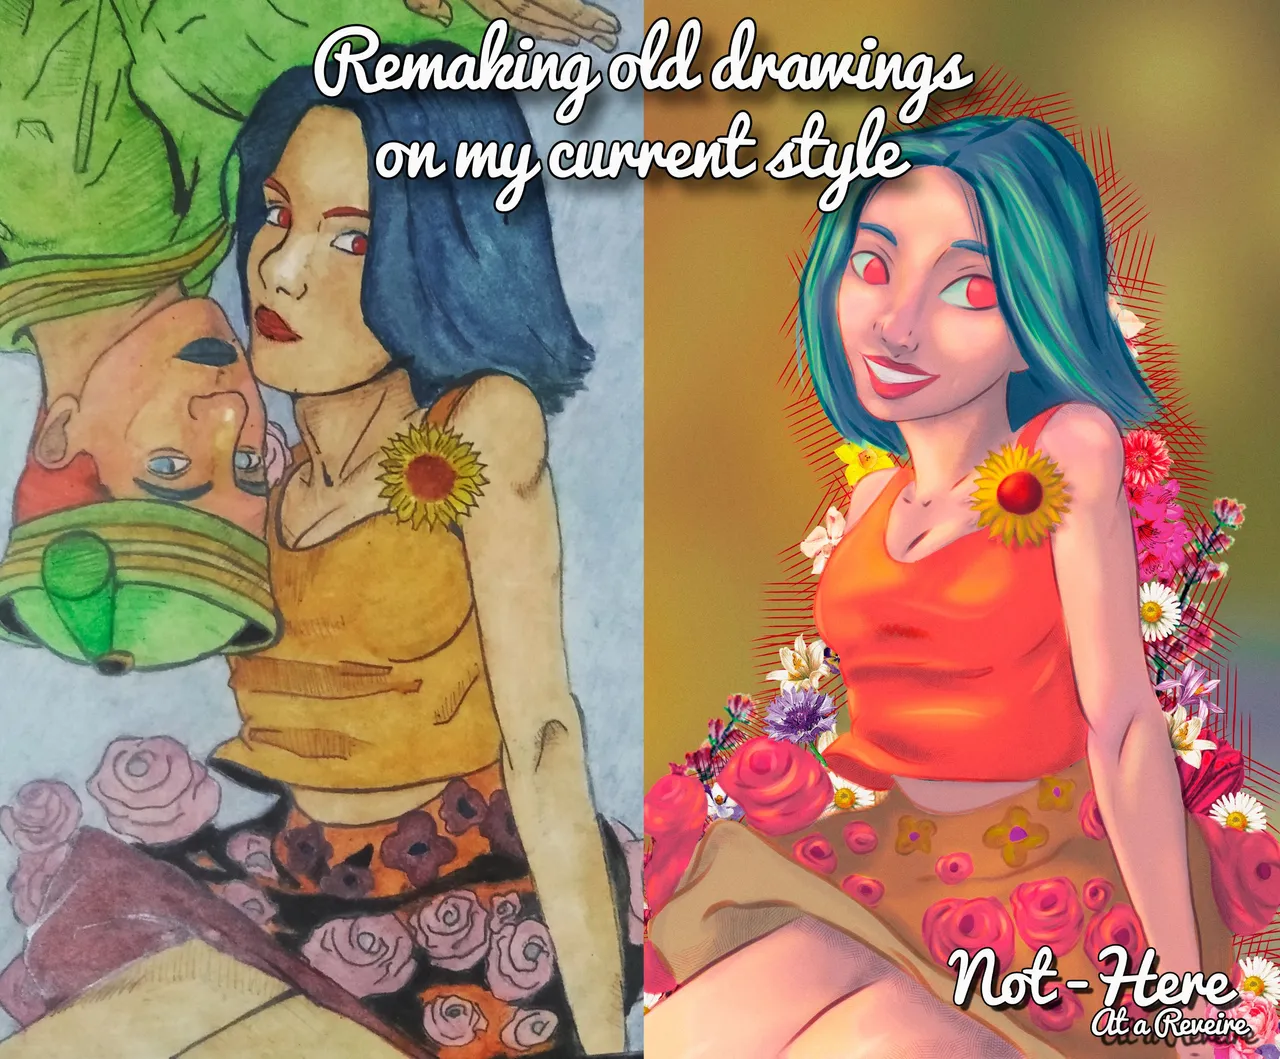
I hope you are well, Welcome to this new post about my illustration practices, today I want to show you an illustration that I made recovering one of my old drawings, that I had around saved, besides being able to show you a little more of my drawing process, and that thanks to the application I use I can show you the history of strokes!
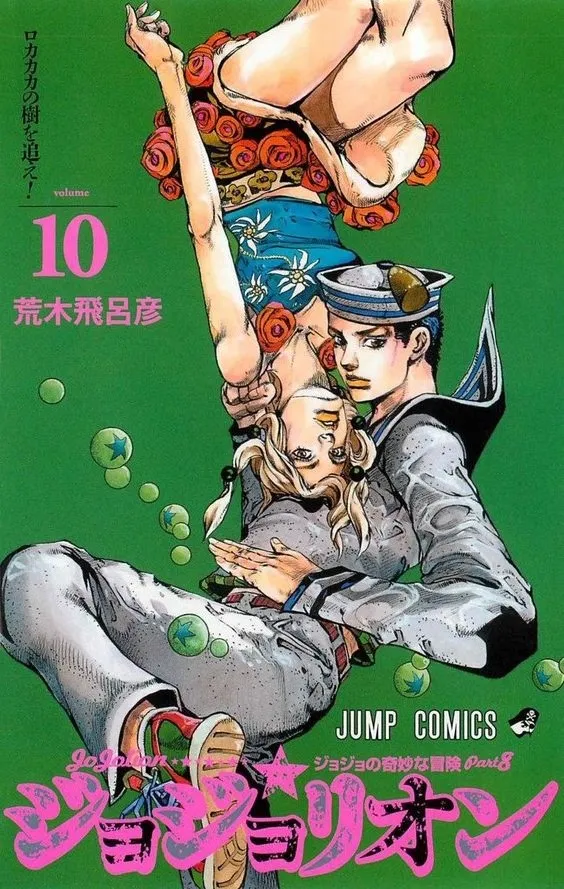
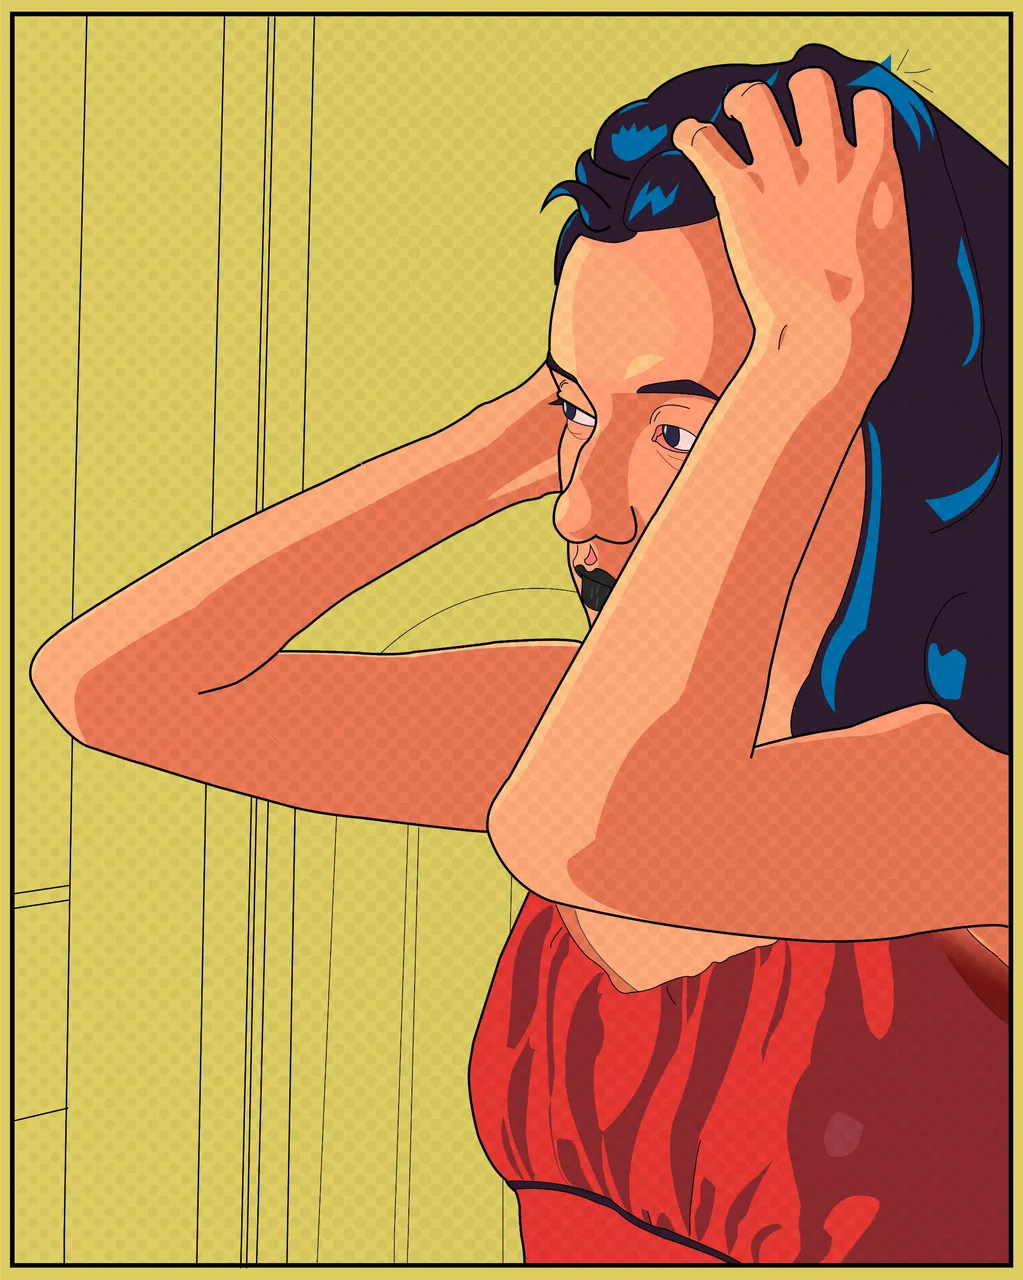
This illustration is quite old, and is directly influenced by a cover art. from the Jojos manga.
¡Hola Hivers! ¡Espero estén bien!, Bienvenidos a este nuevo post sobre mis prácticas de ilustración, hoy les quiero mostrar una ilustración que hice recuperando uno de mis dibujos viejos, que tenía por ahí guardado, además de poder mostrarles un poco más de mi proceso de dibujo, y que gracias a la aplicación que uso puedo mostrarles el historial de trazos!
Esta ilustración tiene ya bastante tiempo, y está influenciada directamente en un cover art. del manga de Jojos.
Original reference, Cover of part 8 of Jojos Bizarre Adventure.
Referencia original, Portada de la parte 8 de Jojos Bizarre Adventure
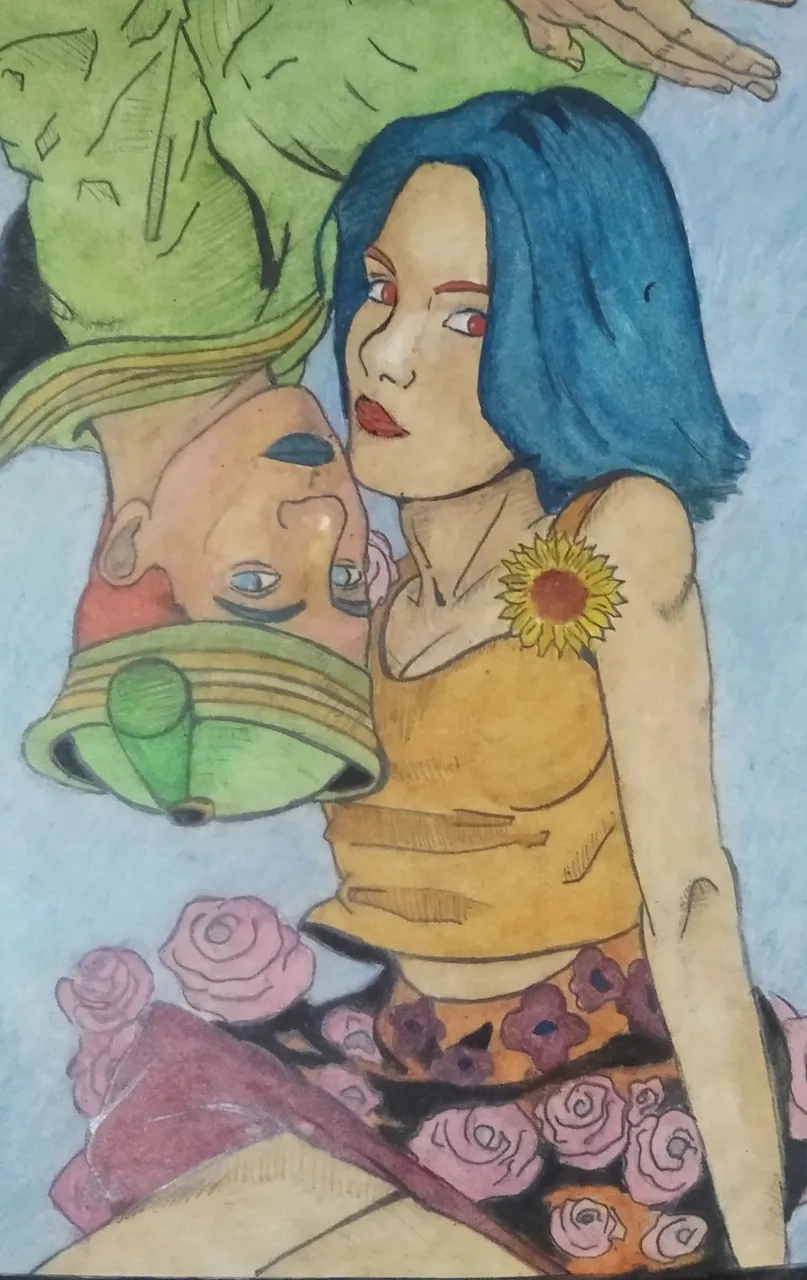
Seeing it again, over there on my shelf, I started to notice certain things I liked and other things I didn't, so I decided to redo it, a while to practice digital, and see how I would solve it with the tools I own and handle now.
So I redrew it and started painting it, in the video you can see the painting process, but here I explain what it is!
Al verlo de nuevo, por ahí en mi estantería, empece a notar ciertas cosas que me gustaron y otras cosas que no, así que decidí rehacerlo, un rato para practicar digital, y ver como lo resolvería con las herramientas que poseo y manejo ahorita.
¡Así que lo redibuje y me puse a pintarlo!, en el video puedes ver el proceso de pintado, pero aquí te explico en que consiste!
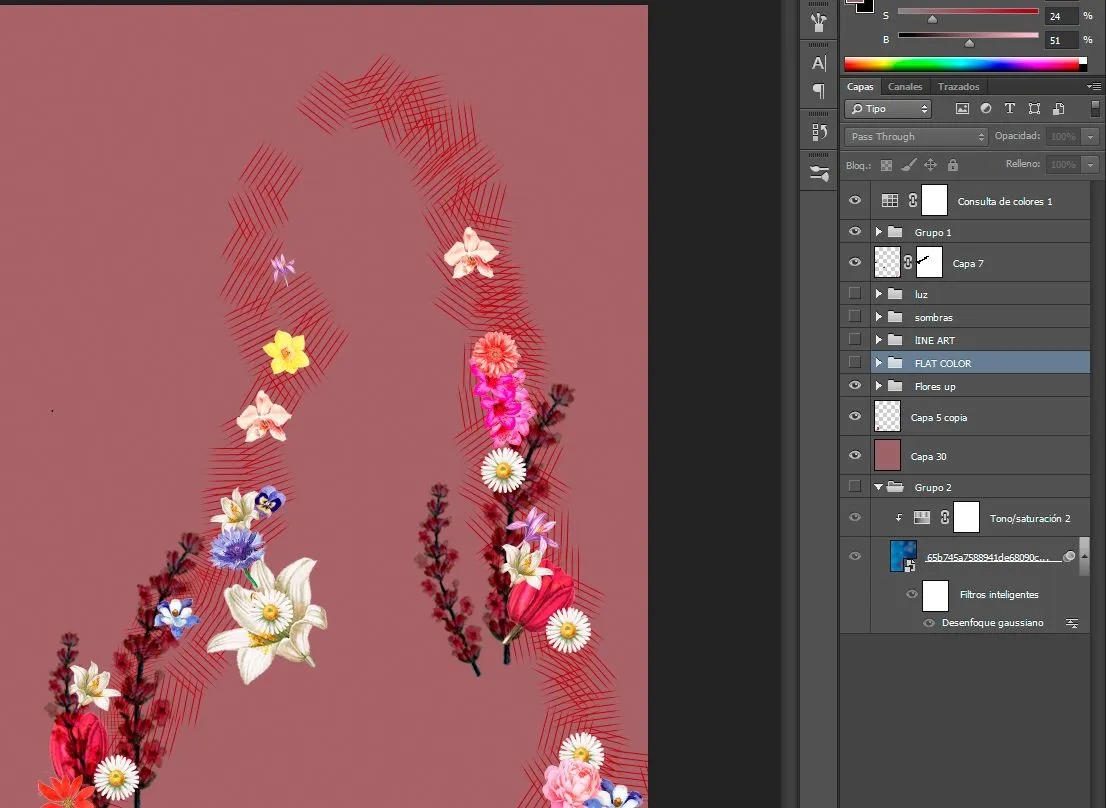
The first thing would be to solve the lineart and the spot colors, which is the first thing to take into account when we start painting
Lo primero sería resolver el lineart y los colores planos, que es lo primero a tomar en cuenta cuando comencemos a pintar
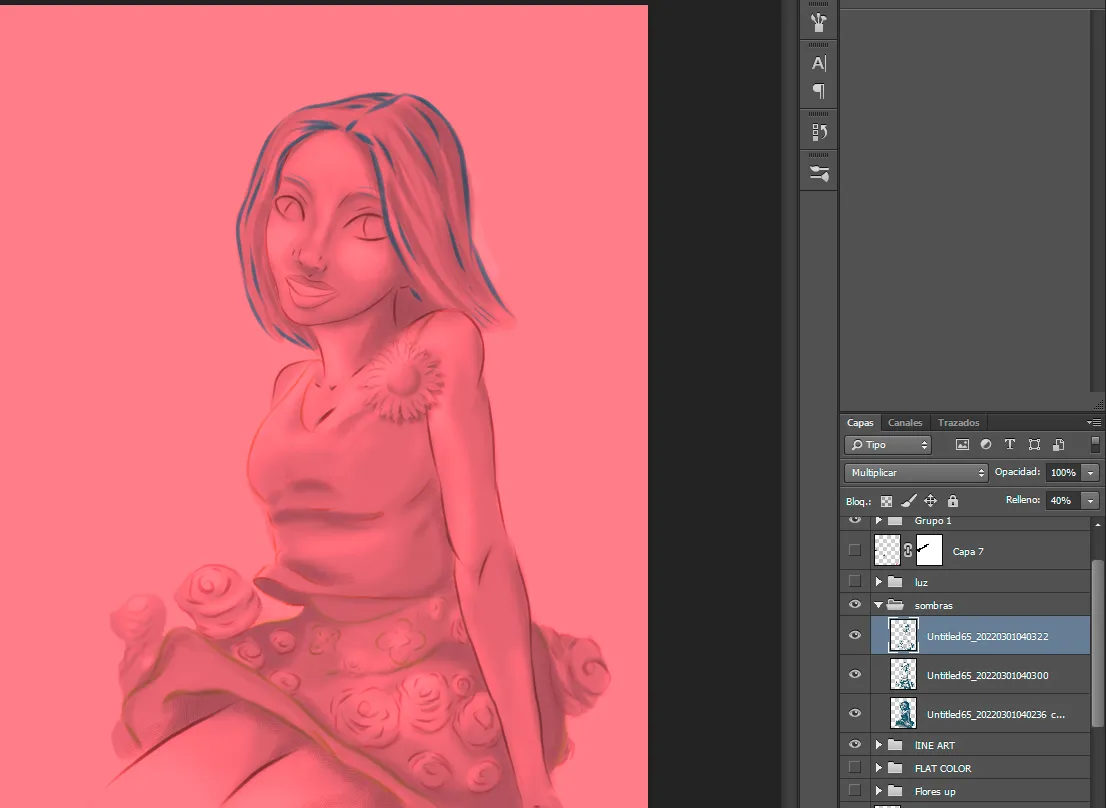
After this, I start shading with a dark blue color thinking about the shadows, but I divide it into layers, in the "multiply" blend mode, which only considers the shades that are above 50%, in this I develop the shadows and I am lowering and raising the opacity depending on what I need
Después de esto, empiezo a sombrear con un oscuro color azul pensando en las sombras, pero lo divido en capas, en el modo de mezcla "multiplicar", el cual solo considera los tonos que estén por encima de 50%, en este desarrollo las sombras y les voy bajando y subiendo la opacidad dependiendo de lo que necesite
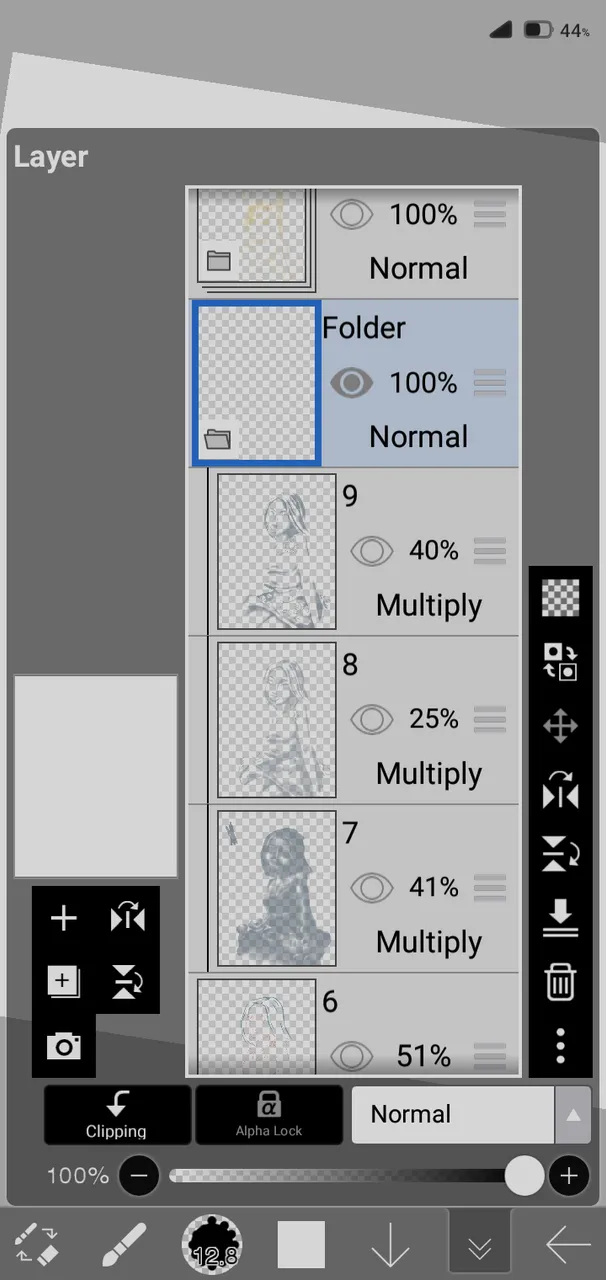
The lights follow the same concept as the shadows, I also separate them into layers to get various values, the difference is that the layer blending mode I set it to "overlay"
Las luces siguen el mismo concepto que las sombras, también las separo en capas para obtener varios valores, la diferencia es que el modo de mezcla de la capa la pongo en "superponer"
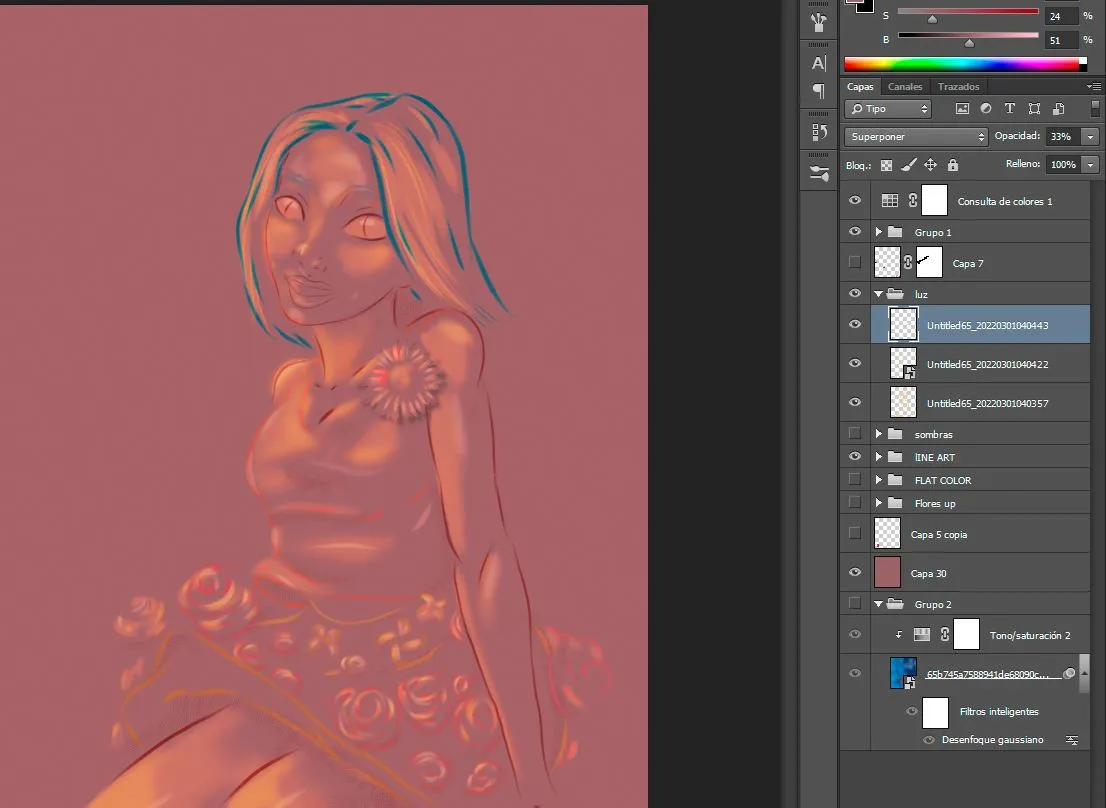
With this technique, you can get a more complex perception of volume, and the good thing is that since it's divided into layers, you can keep tweaking until you're satisfied or keep adding layers for specific areas.
Con esta técnica, puedes obtener una percepción más compleja del volumen, y lo bueno es que como está dividido en capas, puedes seguir retocando hasta que estés satisfecho o seguir agregando capas para zonas específicas.

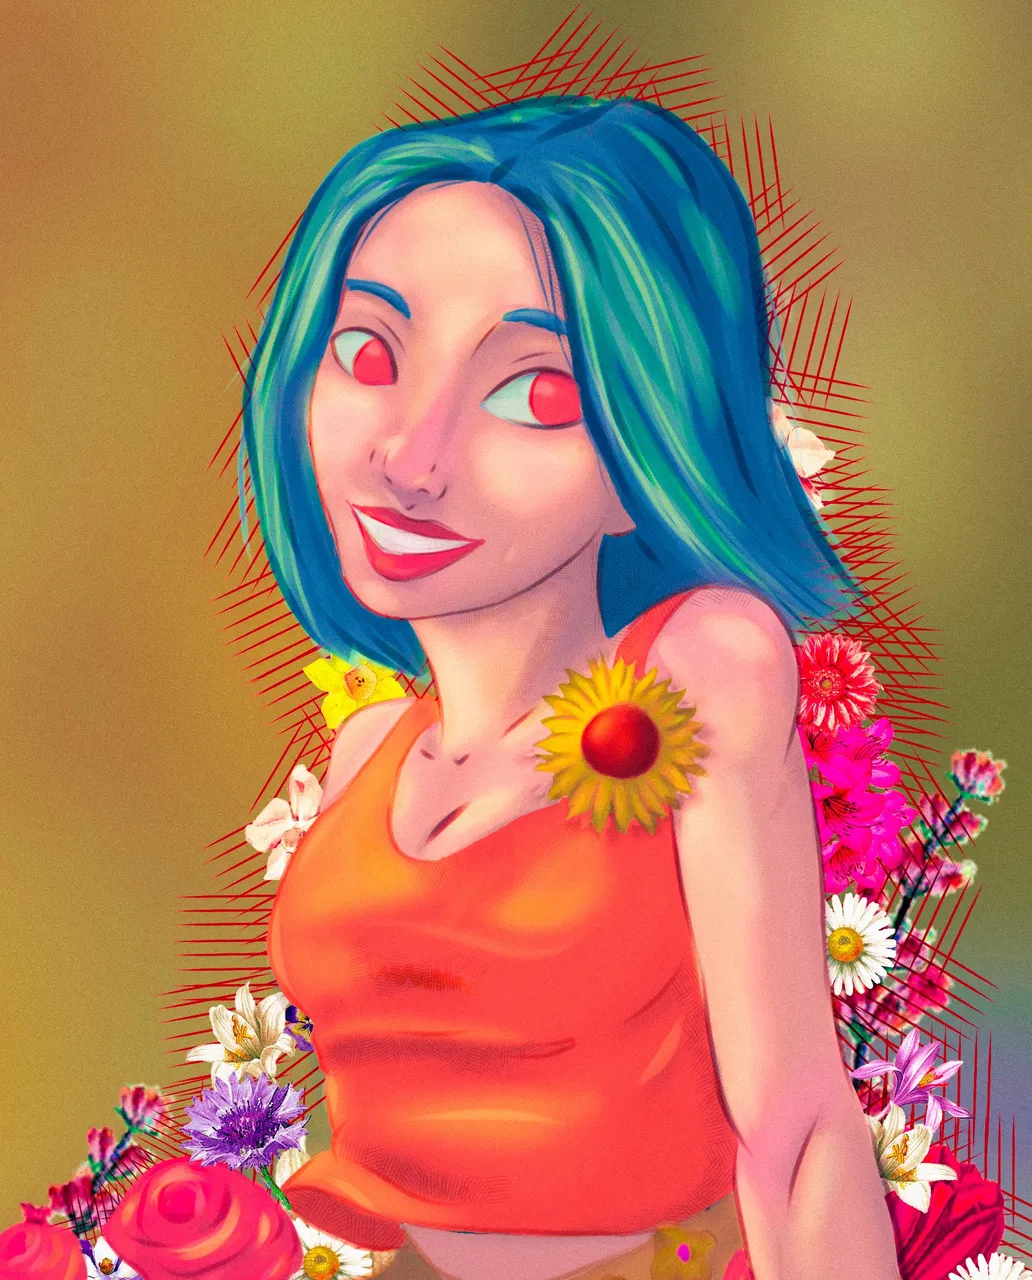
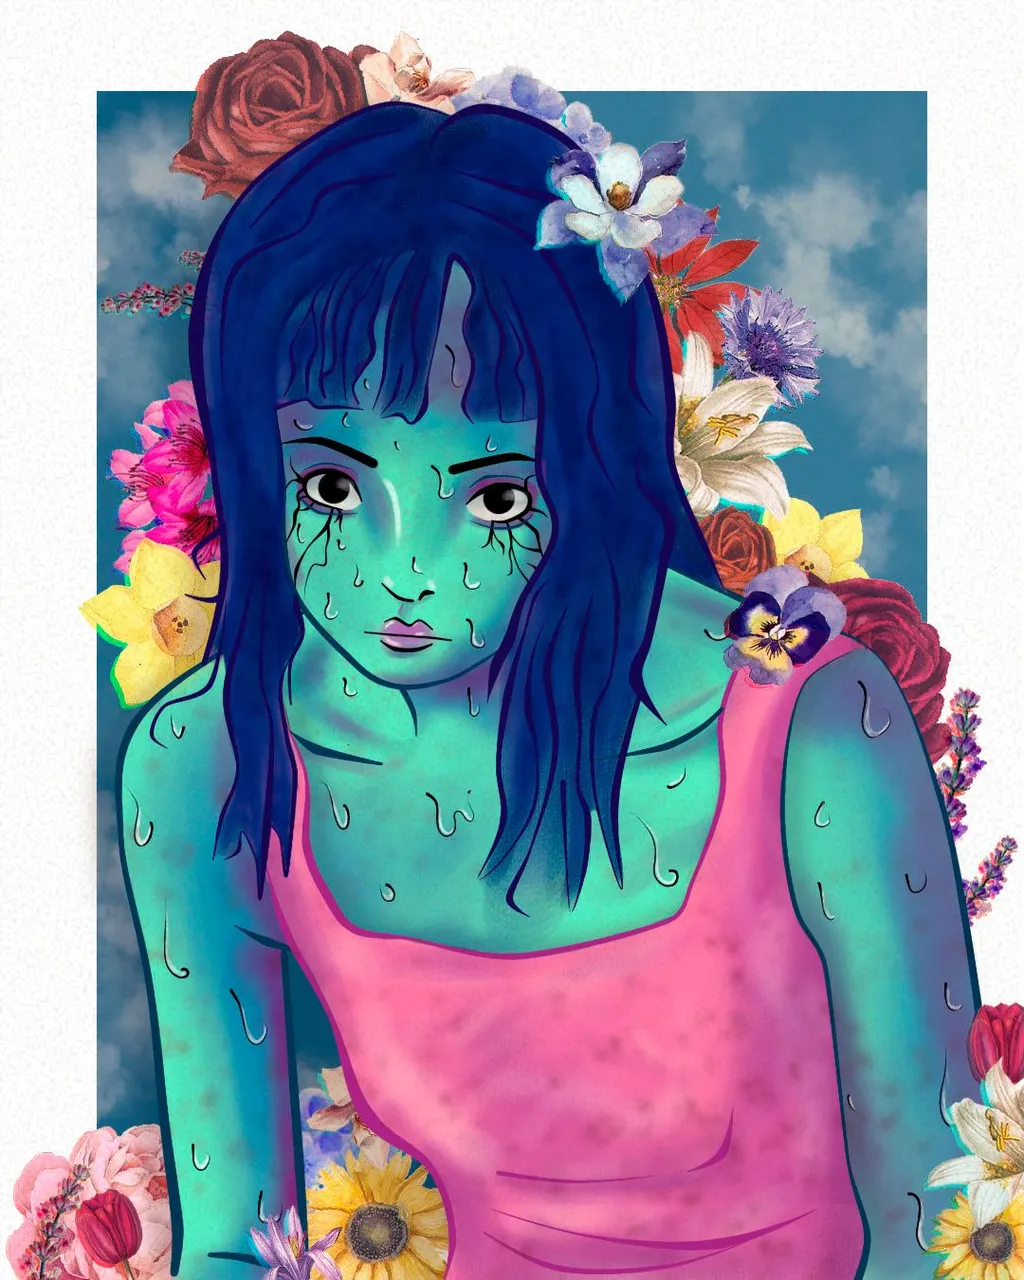
In the Ibispaint application and together with Photoshop I composed the background so that it would not float in space, I took a random image and blurred it a lot to create those blurs of colors and then I changed the hue to some yellows, I reused elements that I used for the illustration of Blue Child, which below I leave you the link in case you want to go check it out!, although, I didn't do the big deal either, for being a simple exercise, focused more on the practice of painting.
Translated with www.DeepL.com/Translator (free version)
En la aplicación de Ibispaint y junto con Photoshop compuse el fondo para que no flotara en el espacio, tome una imagen cualquiera y la desenfoque mucho para crear esos desenfoques de colores y luego le cambie el matiz a unos amarillos, reutilice elementos que emplee para la ilustración de Blue Child, que más abajo te dejo el link por si quieres ir a chequearlo!, aunque, tampoco hice la gran cosa, por ser un ejercicio simple, enfocado más en la práctica de la pintura.
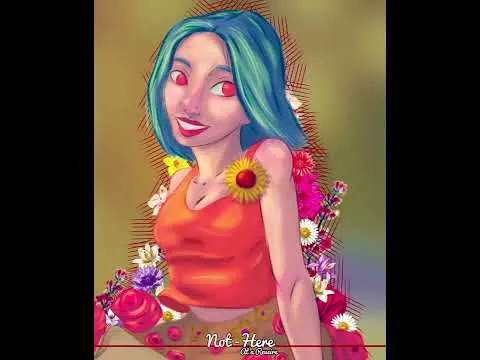
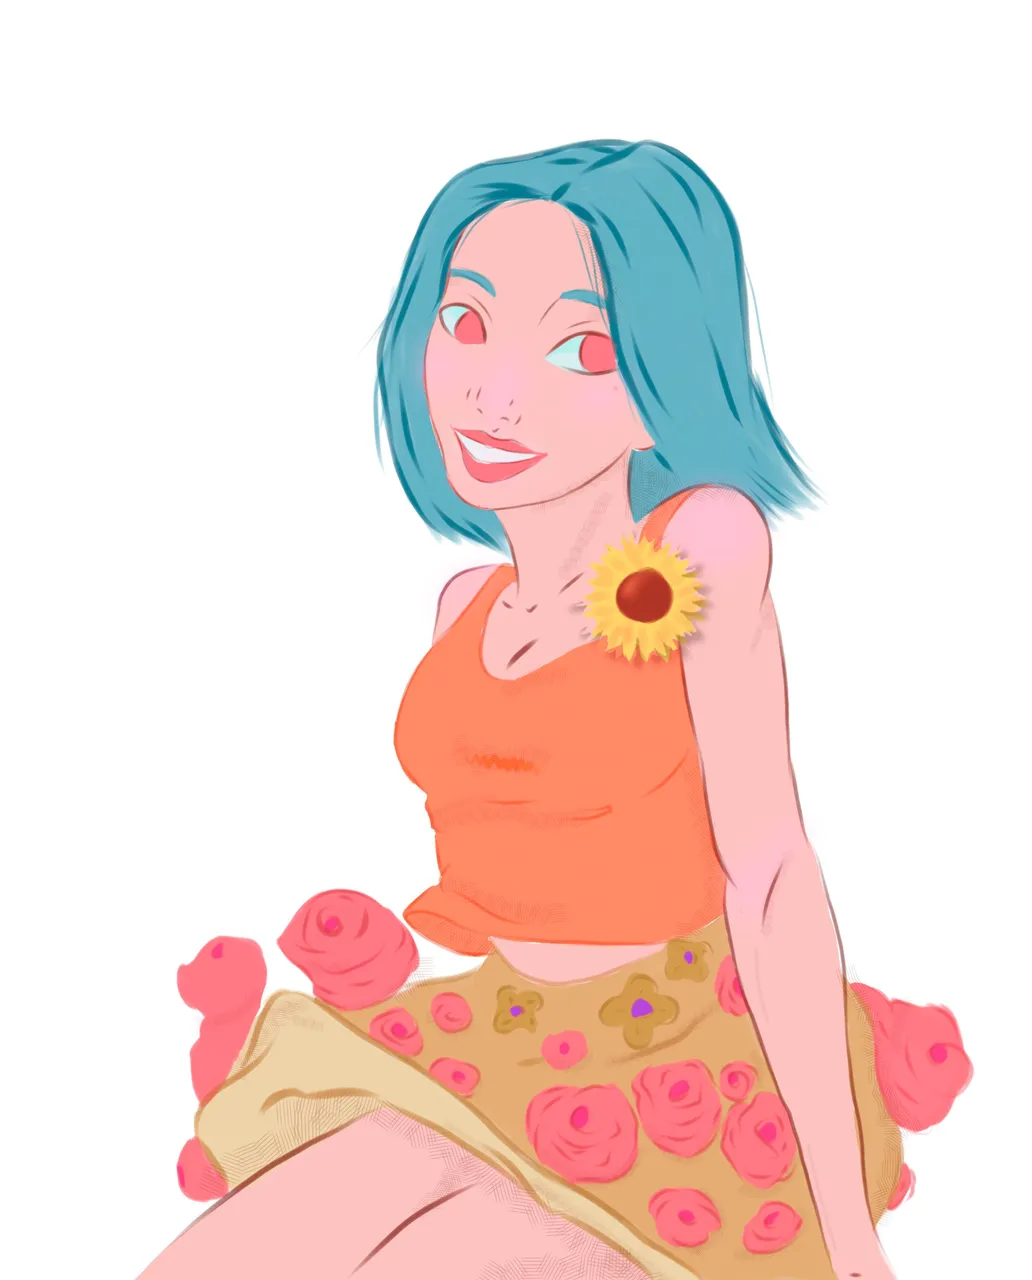
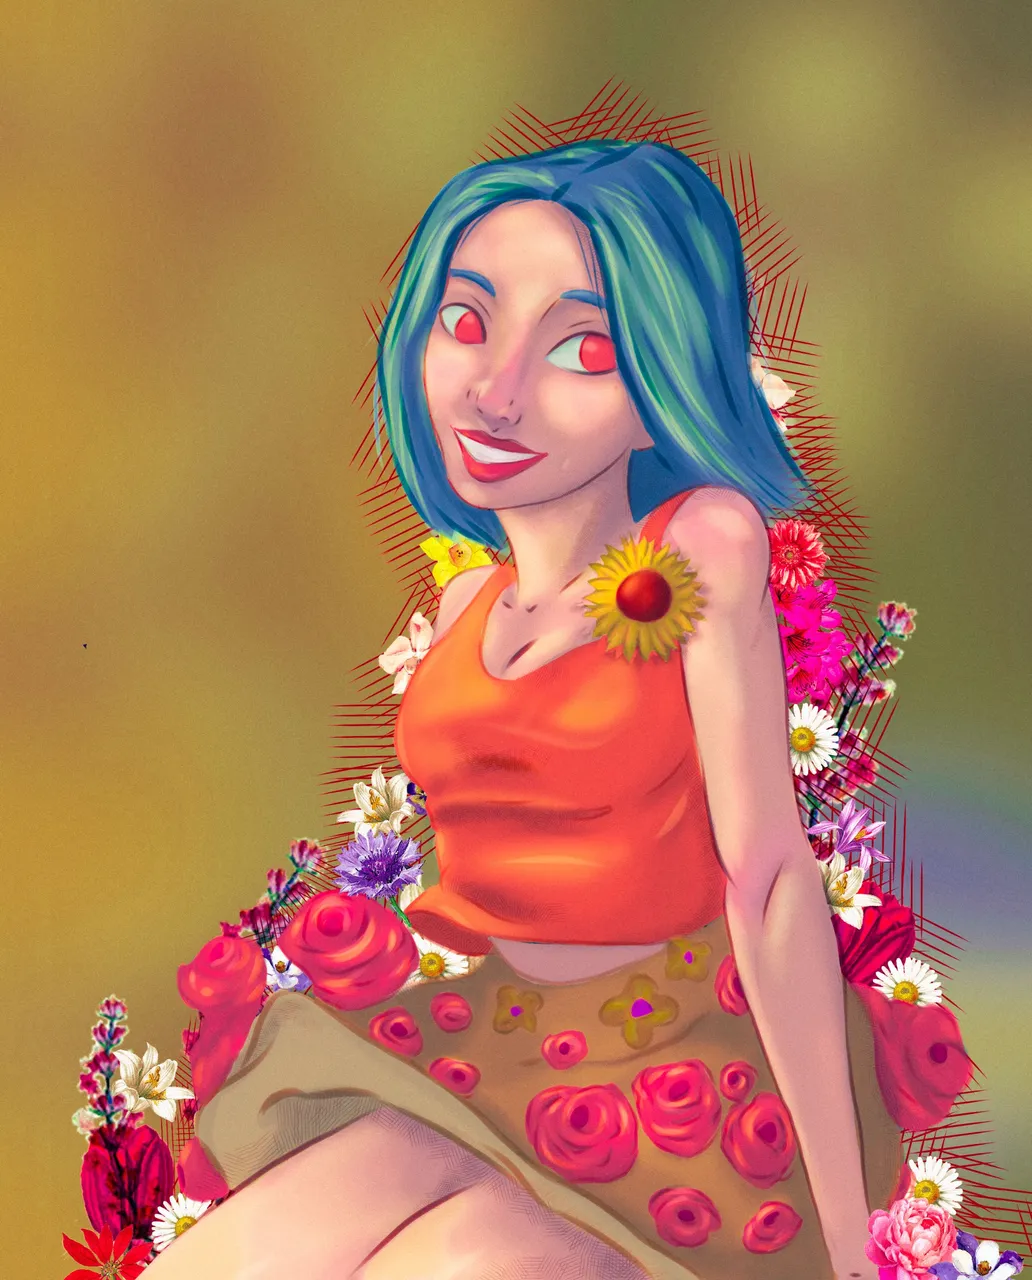
Resultado final:
That's all for today's post! I hope you liked it or at least found something interesting in it!
If you have any opinions or suggestions!!! comment, it's always good to have some feedback!
¡Eso es todo por el post de hoy! espero que te haya gustado o que al menos encontraras algo interesante en él!
¡Si tienes alguna opinión o sugerencia!, coméntalo, siempre es bueno tener algo de feedback!
P.D: También puedes consultar algunos de mis otros posts sobre ilustración digital:
See you soon Hiver!
¡Hasta pronto Hiver!
Music of the video:
HOPEX - Into The Clouds