Flatbreads are probably some of the oldest types of bread. It has stood the test of time; we are still making them in 2023 without stopping soon. The reasons for this popularity are manifold, but it surely has to do with the ease of making them.
Everyone can make flatbreads!
Online, one can find a tonne of recipes. Yogurt, yeast, sourdough, milk, chia seeds, ghee, garlic, butter, oil, and so on and so on...
And like Italian recipes, one is sure to find those who would die on a hill for a certain recipe and method.
But baking is about experimenting and finding what works best for you. Baking bread is different from cakes and confectionaries; recipes are not that important. You can tweak the "recipe" to fit your needs and skills. Sometimes you are just craving a piece of flatbread without the need to reinvent the wheel or do something difficult. You just want some flatbread with your food.
In this recipe and method, I will show you how I make flatbreads in (what I find) the most simple way. It is basically mixing and waiting. Nothing in between. So please follow along, as I show you exactly how I make this delicious flatbread.
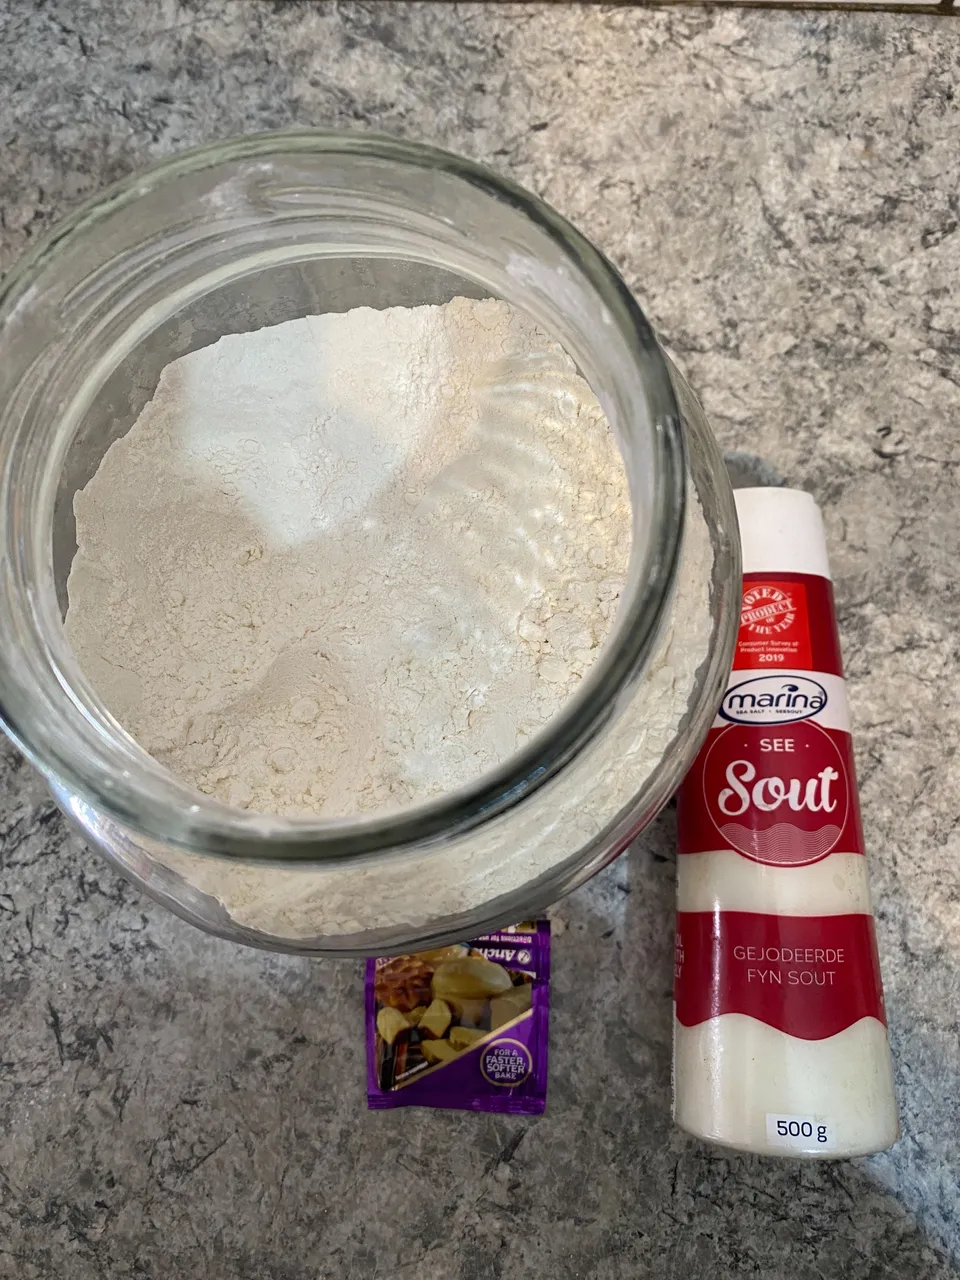
Ingredients/Recipe
Most flatbread recipes will give you the amount in grams. But being a baker, I prefer baker's percentages. (Below, I will give the recipe in grams as well.) This is a very simple dough and I do not want it too wet, so I opted for 65% hydration. Here are my percentages:
- 100% white flour,
- 65% water,
- 2.3% salt, and
- 1% yeast.
Each flatbread is about 100g (about 60g flour and 40g water), so you can easily adapt this recipe.
But if you want to make this recipe I followed, I made 8 portions or flatbreads. The ingredient amounts for 8 flatbreads are roughly:
- 400g flour,
- 260g water,
- 10g salt, and
- 5g instant yeast.
Method
Making these flatbreads are really simple and consist of two steps: fermenting and baking.
Fermentation Stage
The first step is to ferment the dough a bit. Some recipes call for fermentation others do not. This is up to you. Fermentation obviously imparts some flavor, and sourdough is best because it makes for the tastiest. But sourdough flatbreads take time and are not ideal for a weeknight meal if you want to chill a bit.
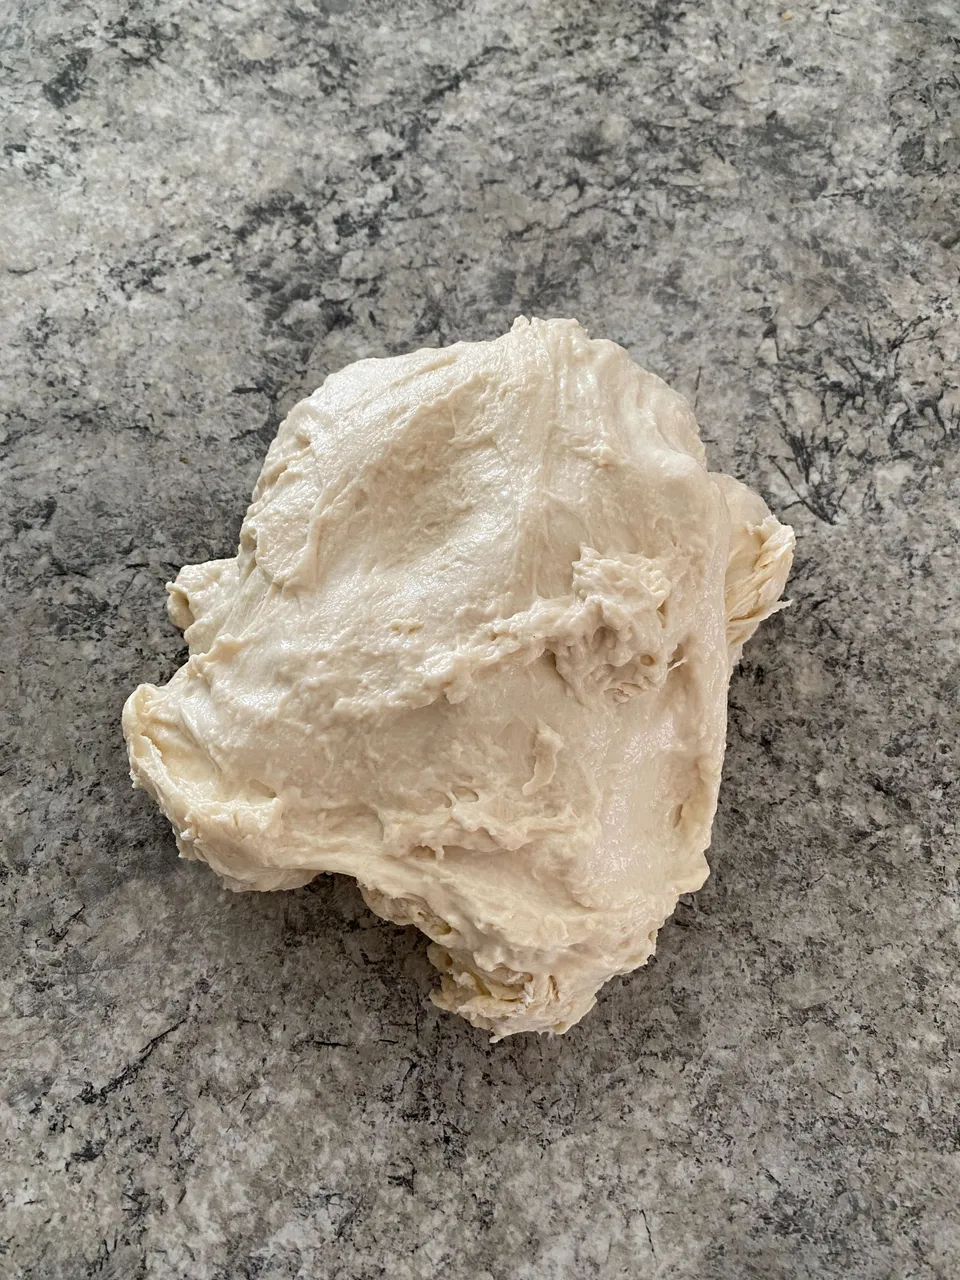
In any case, and TIP 1 is to mix just your flour and water. This step is called autolyze and it is basically the kneading process without actually kneading the dough. Mix the flour and water until you get this shaggy dough, do not knead. Leave it for about 30 minutes.
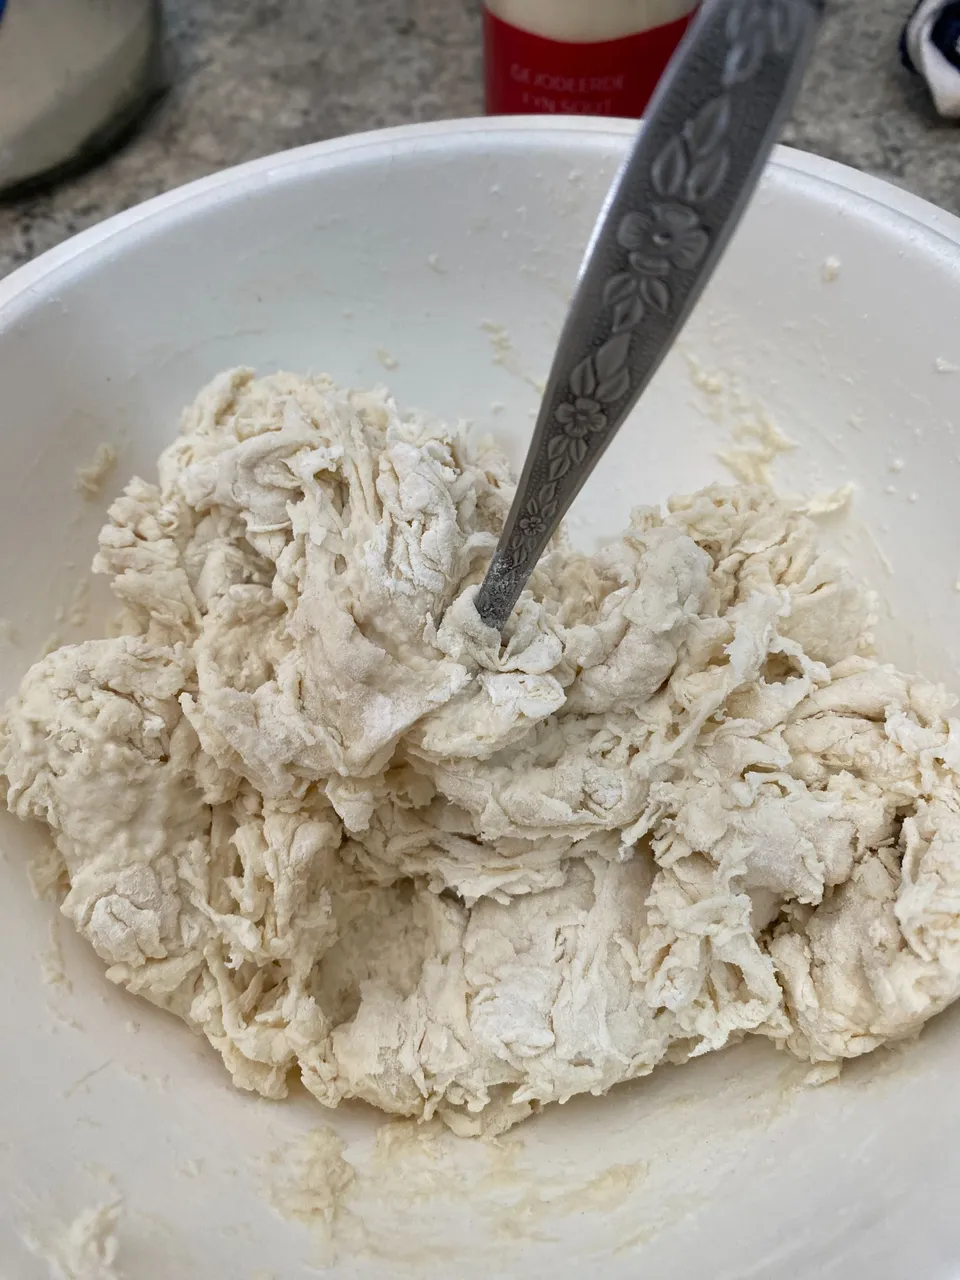
As you can see below, the dough has developed a lot of gluten from just fully hydrating. You can hand knead a bit more if you prefer.
I added the salt and yeast separately, I could do it in the bowl but I forgot.
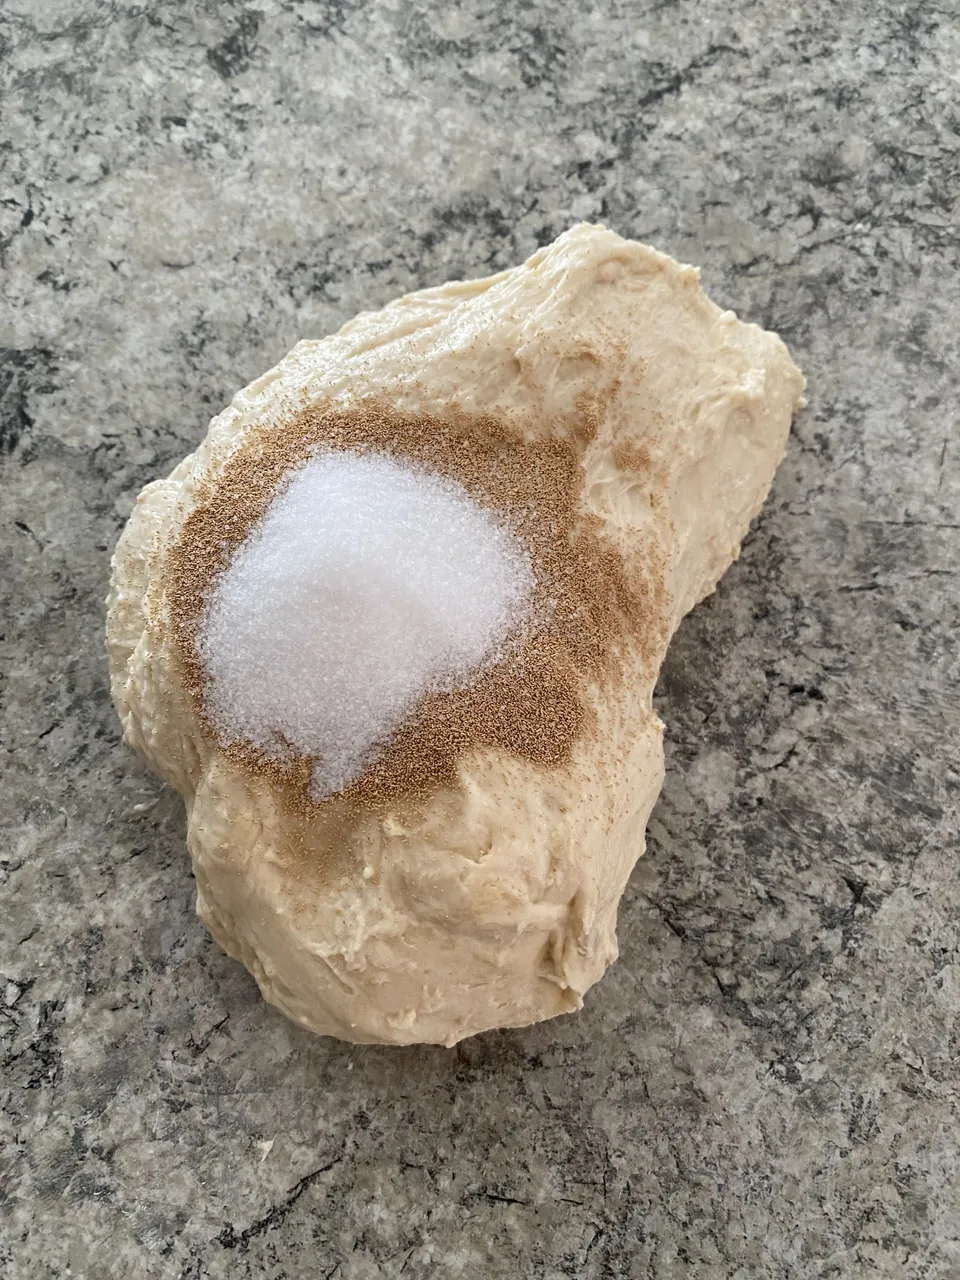
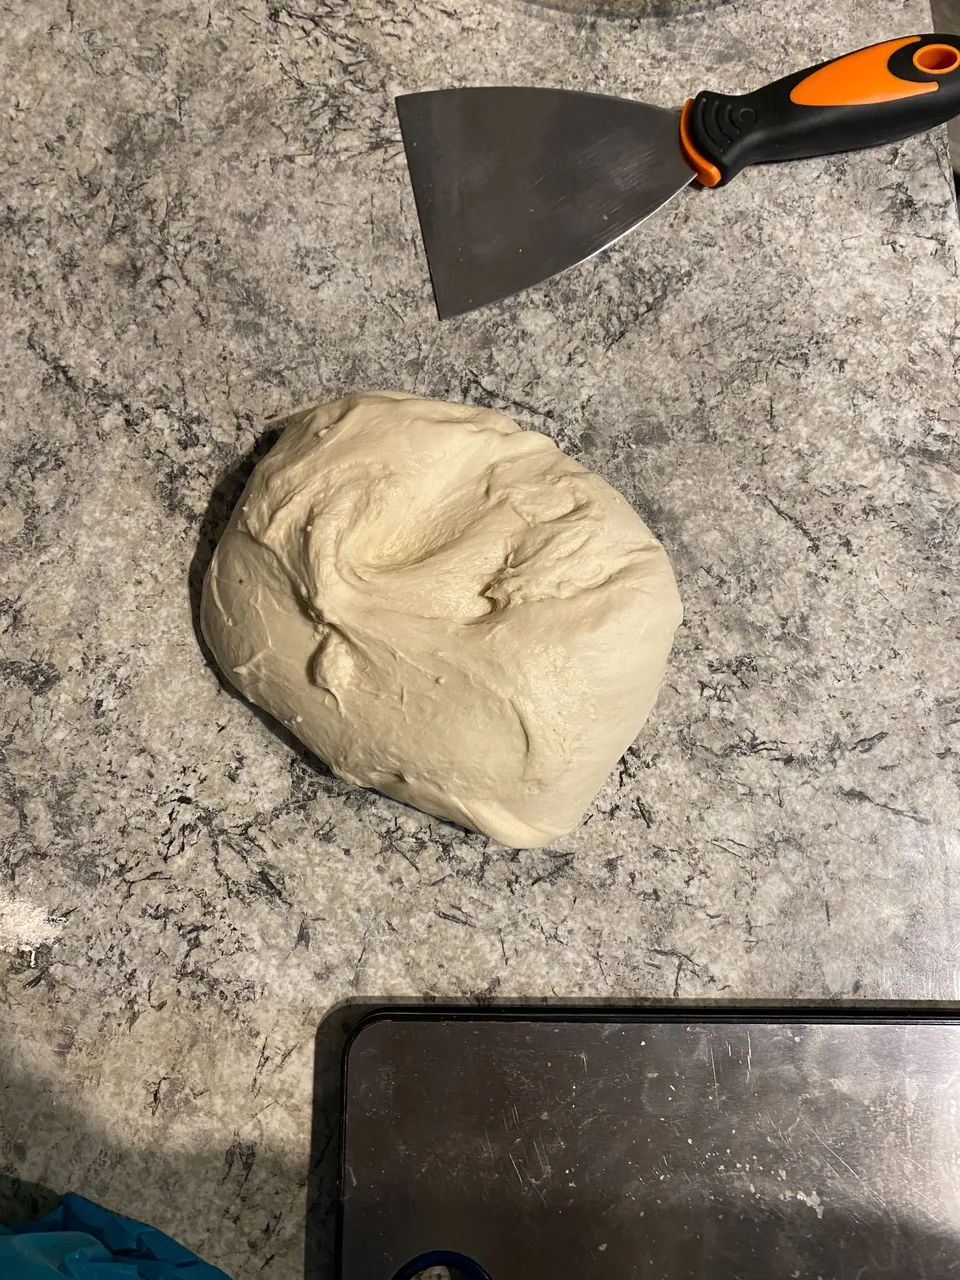
I kneaded a bit just until the salt and yeast were fully incorporated. As you can see below, this resulted in a smooth dough without much kneading.

Put this back into your bowl and ferment for an hour or so (depending on the ambient temperature - winter, that is, colder temperatures, will slow down fermentation). But the usual visual key is that the dough needs to be twice the size of the original dough. Punch it down and lay it on top of your working surface.
Divide the dough into your desired amount of dough balls. I wanted about 8 flatbreads. This will depend on how big of a cooking vessel you have as well.
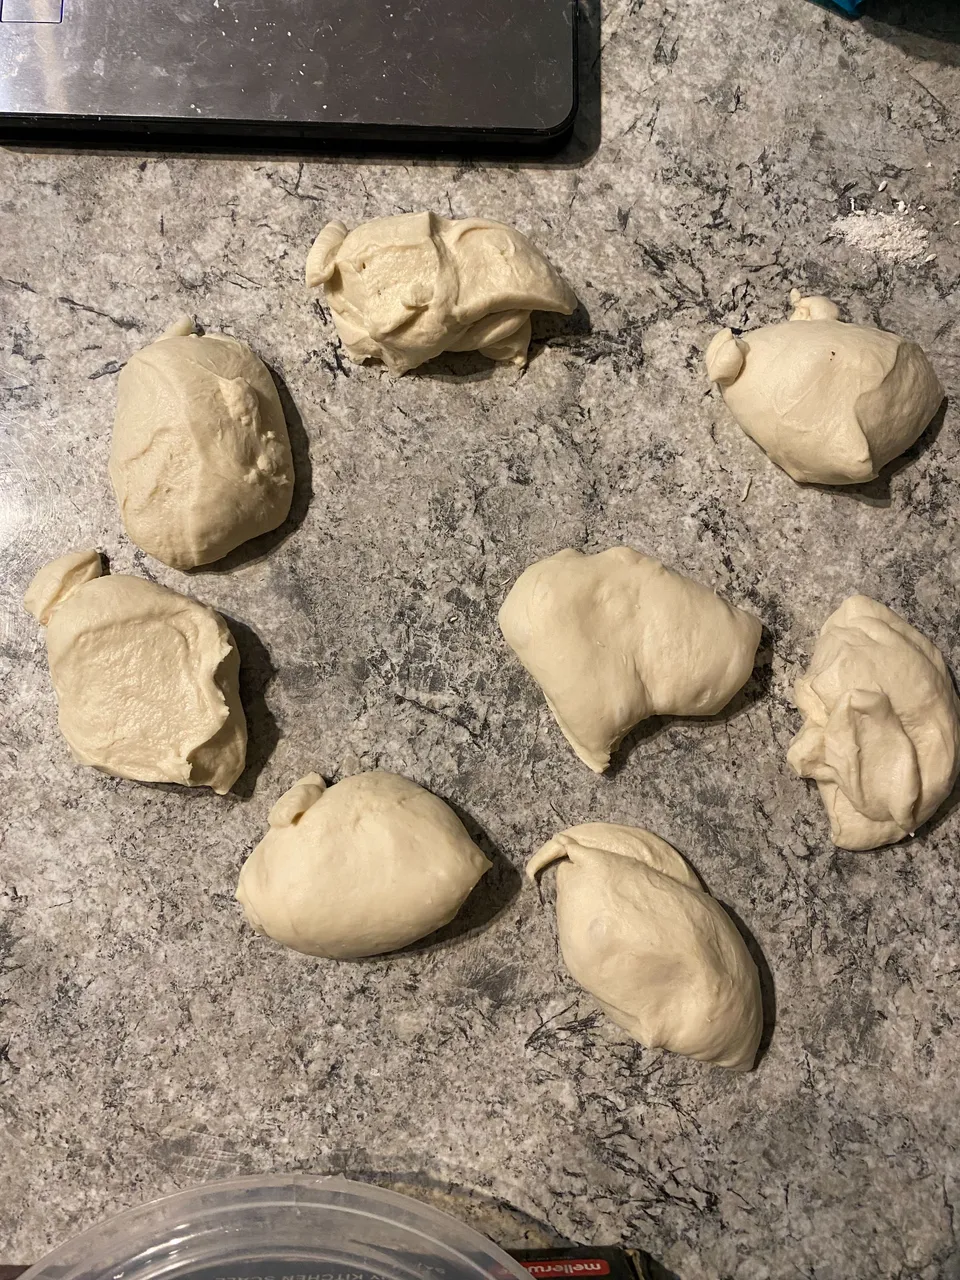
Roll them into smooth round dough balls.
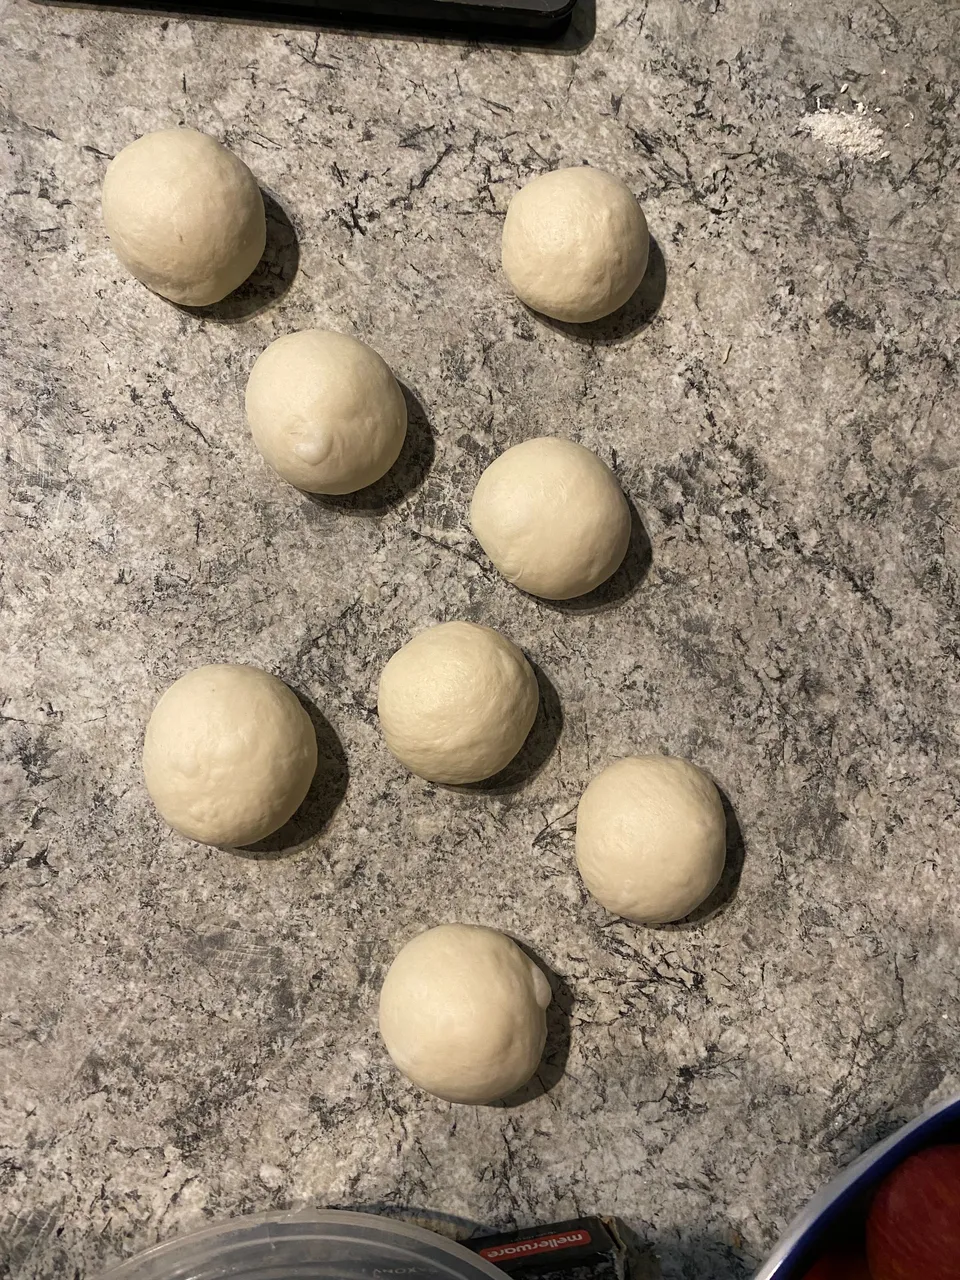
TIP 2 is to leave them alone for another 15 minutes or so before trying to roll them out. The dough will be tough to work with because we just rolled them into balls. Give the gluten a bit of time to rest.
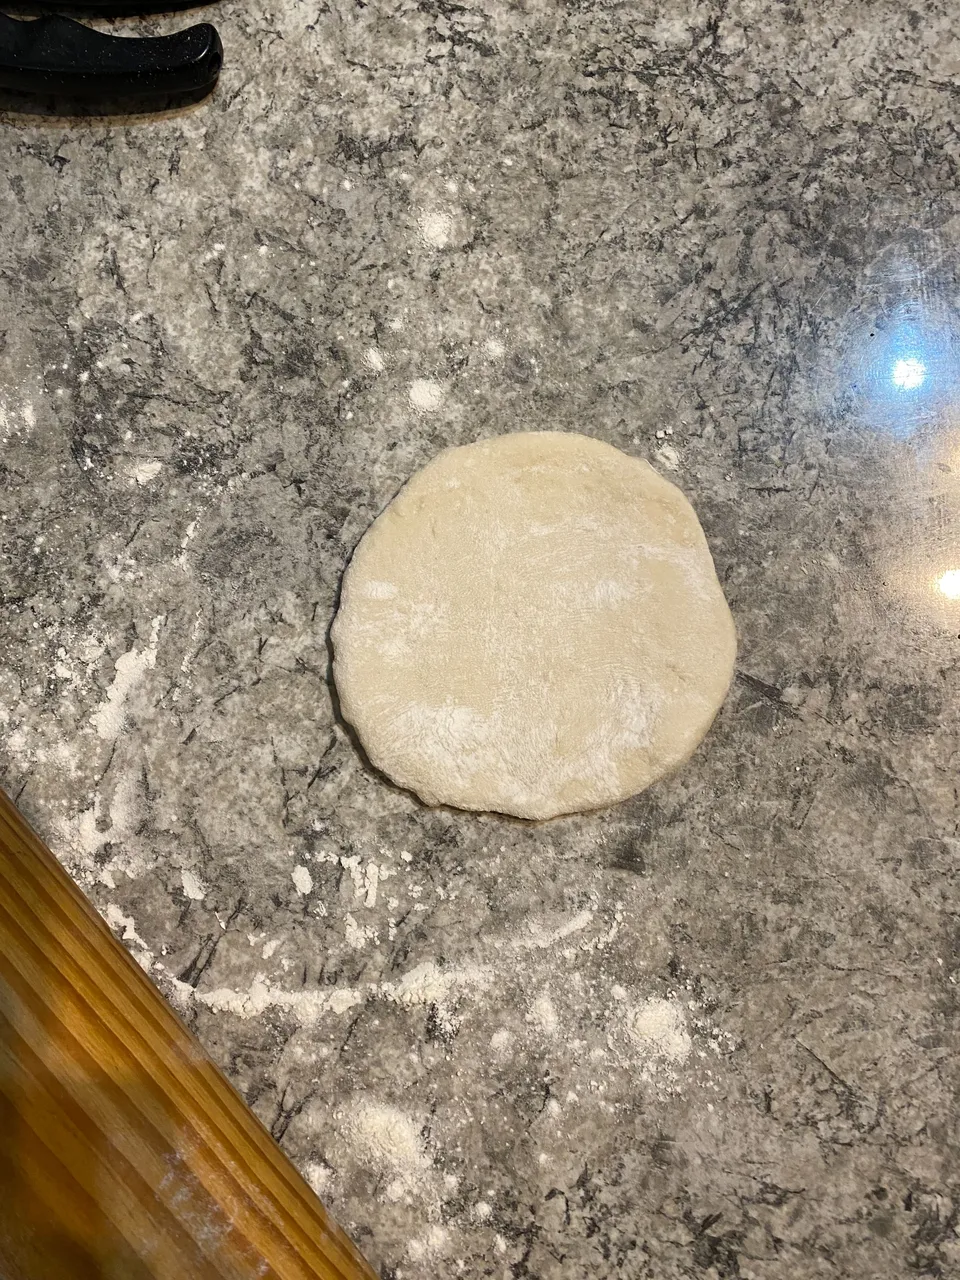
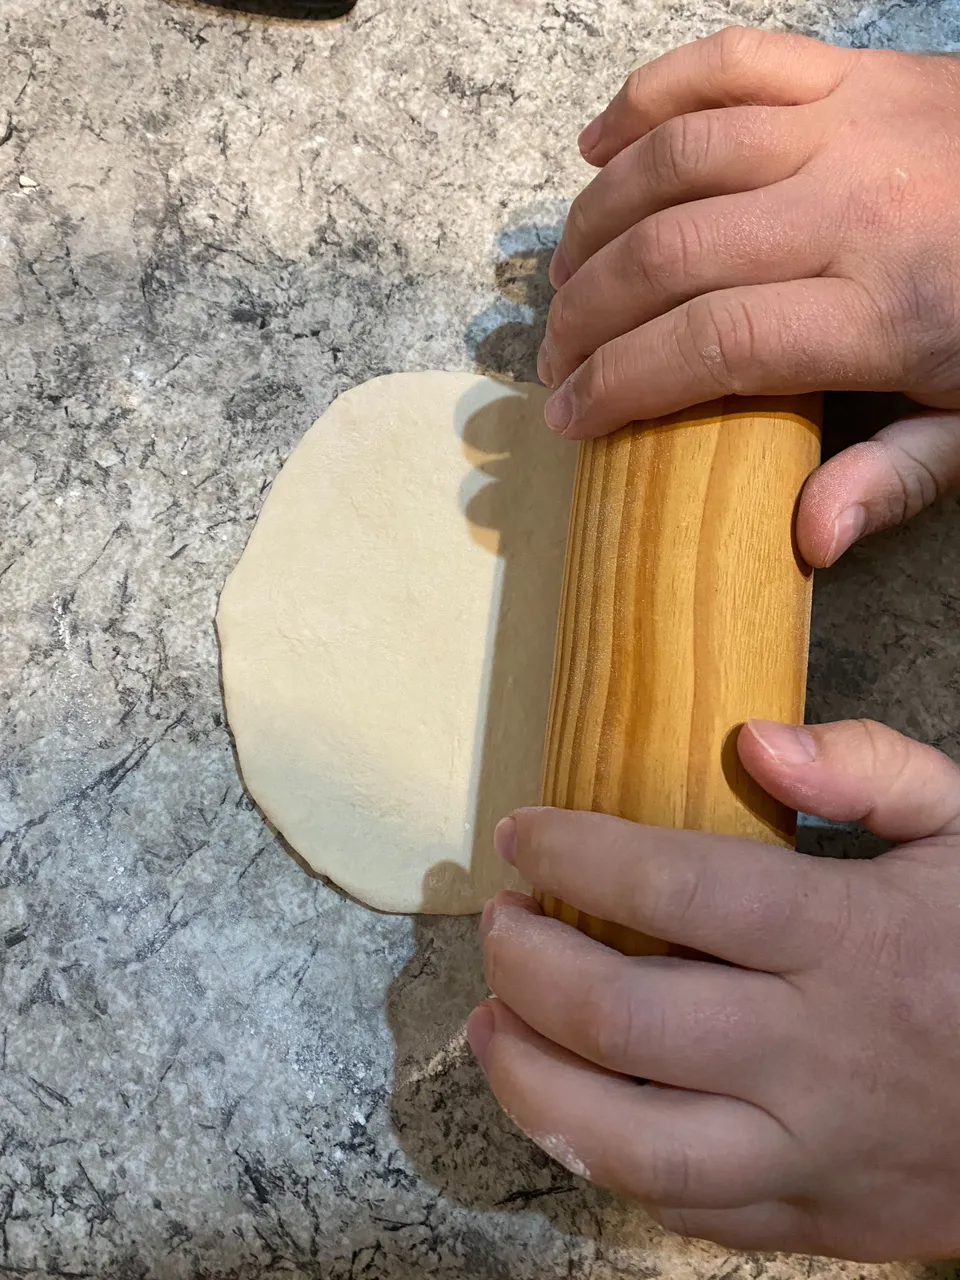
I then rolled them into flattish flatbreads. A lot of people roll it out too thick, and I do not like this. I prefer relatively flat ones. But TIP 3 do not roll them out too thin otherwise they will cook into crispy chips and not flatbread texture.
Baking Stage
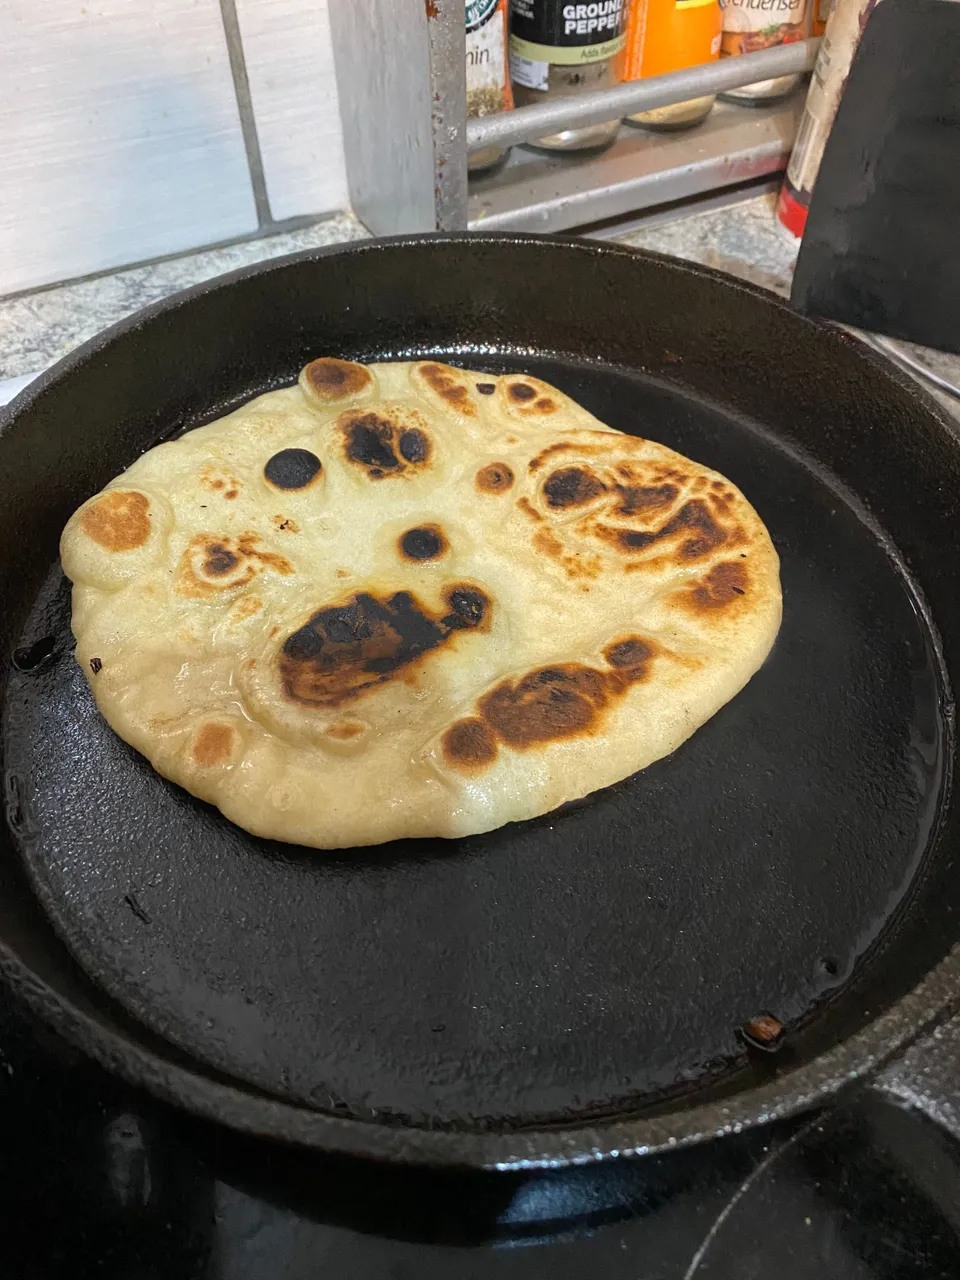
There are also many ways to make/bake these flatbreads. My preferred method is to heat up a cast iron skillet real hot with some oil in the pan and cook them. Per side, I cook them for about 1 minute. They bubble up quickly and there are some signs that the side is cooked. Watch out to not burn them though as this might happen very quickly.
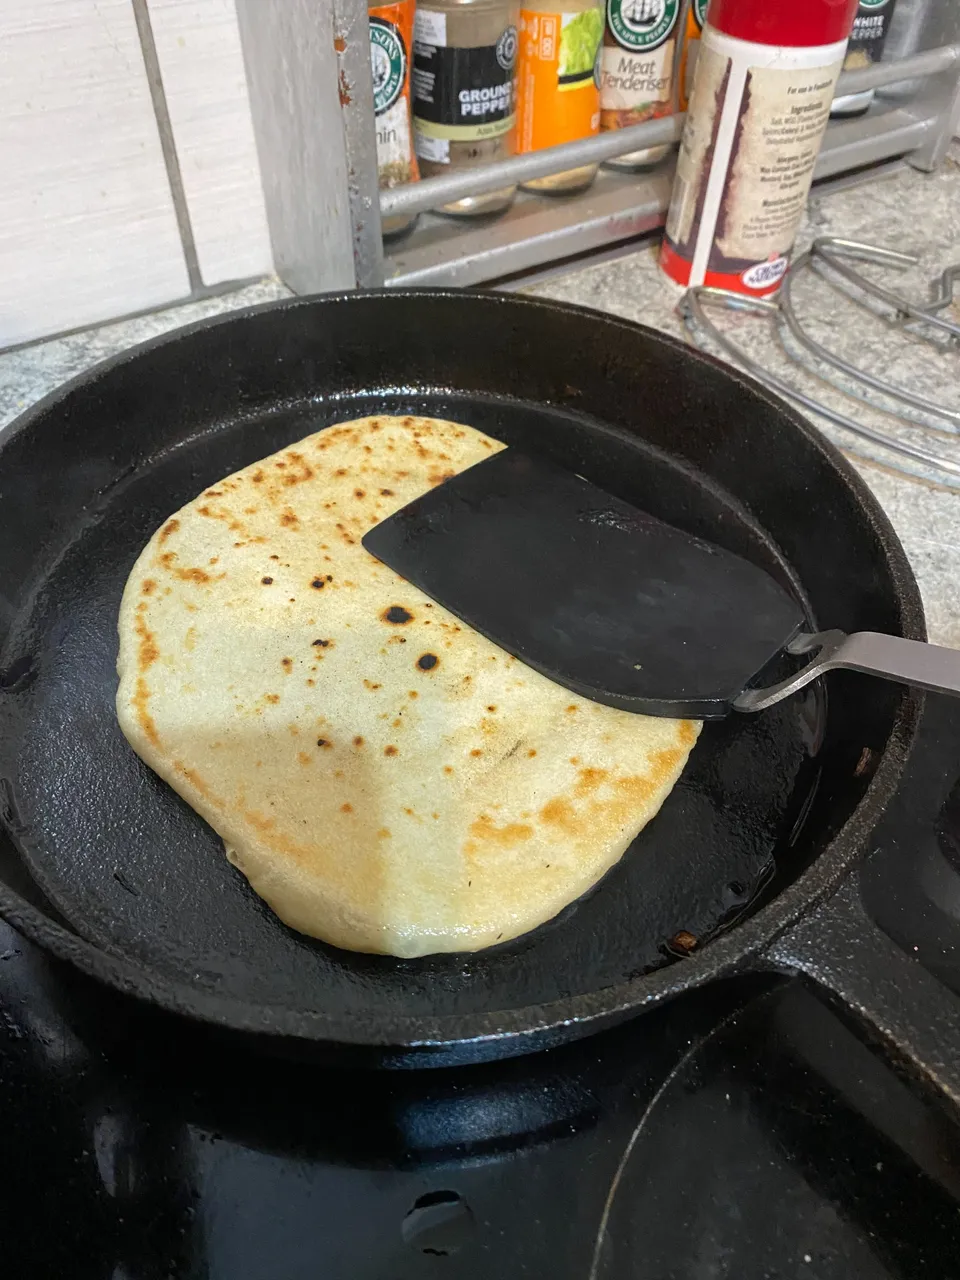
Some charring is good, as I like the flavor. Because we did not add any sugar, this burning will taste good. It is not sugar per se that is burning but rather the flour itself.
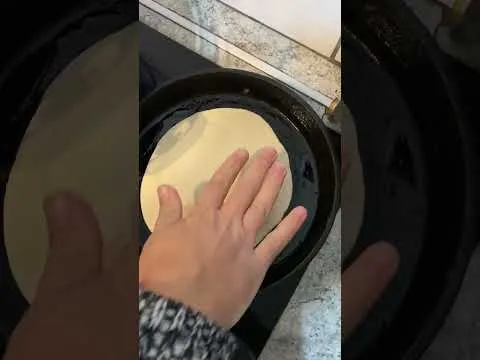
Here is a short video I took of the process:
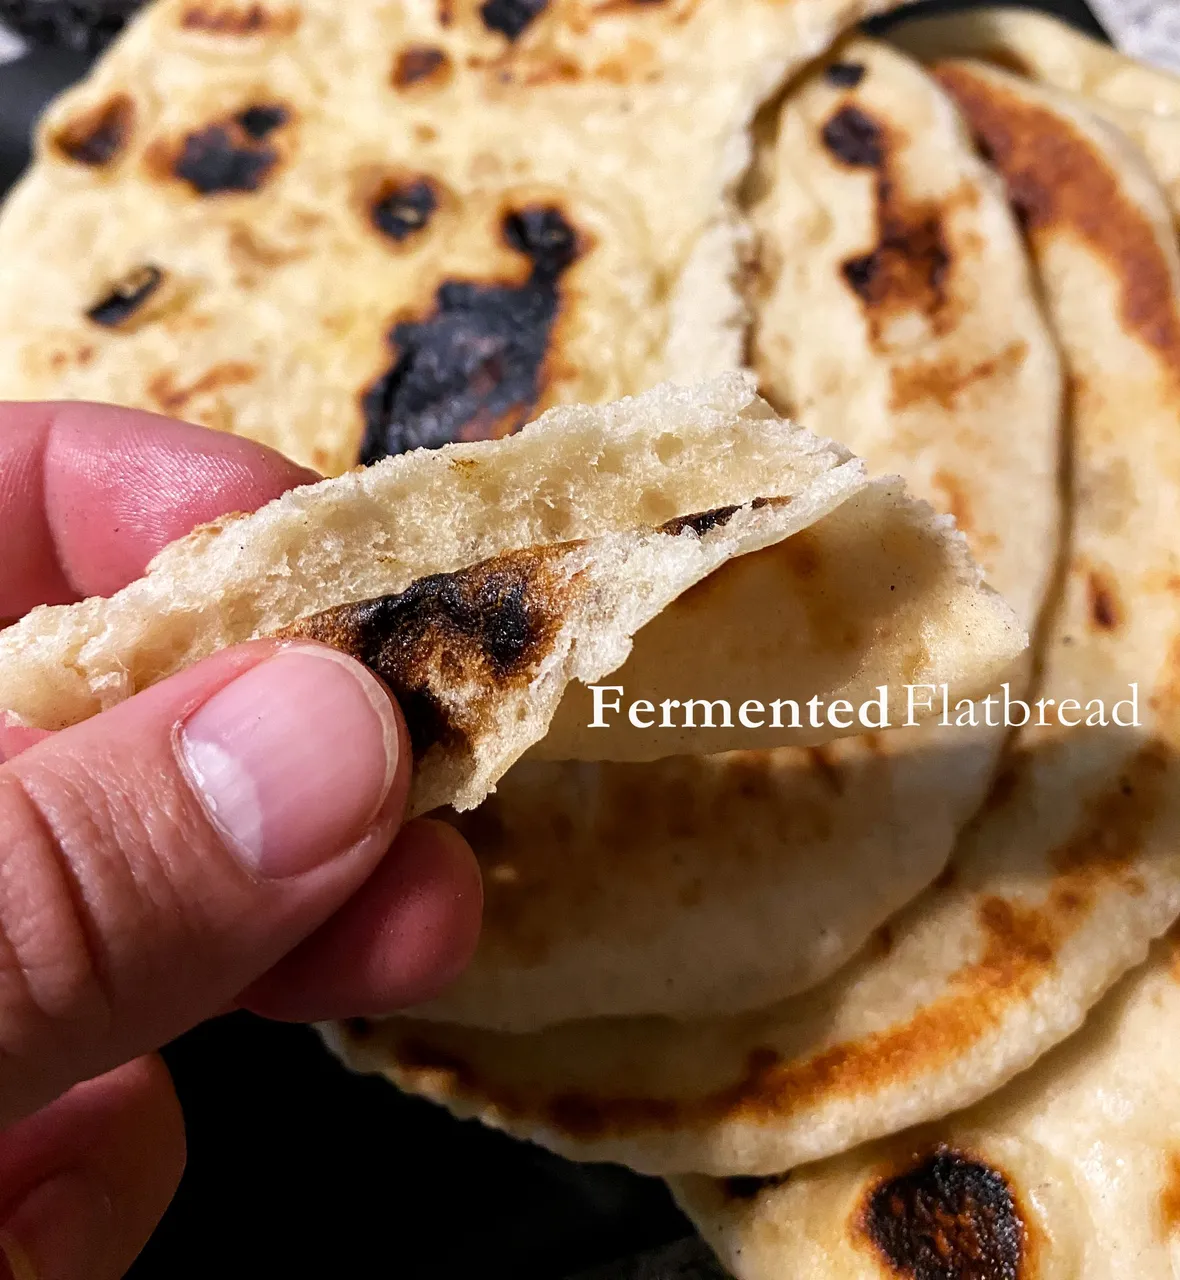
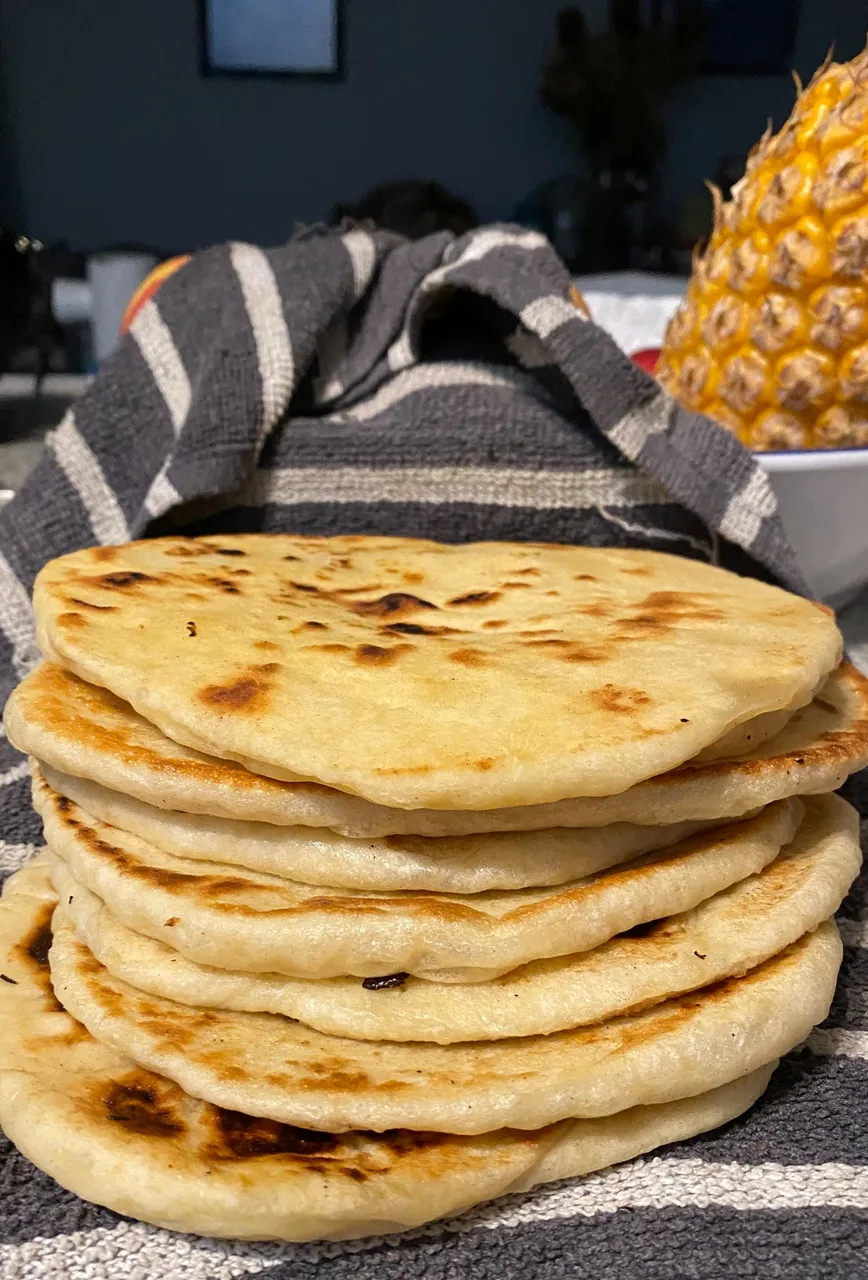
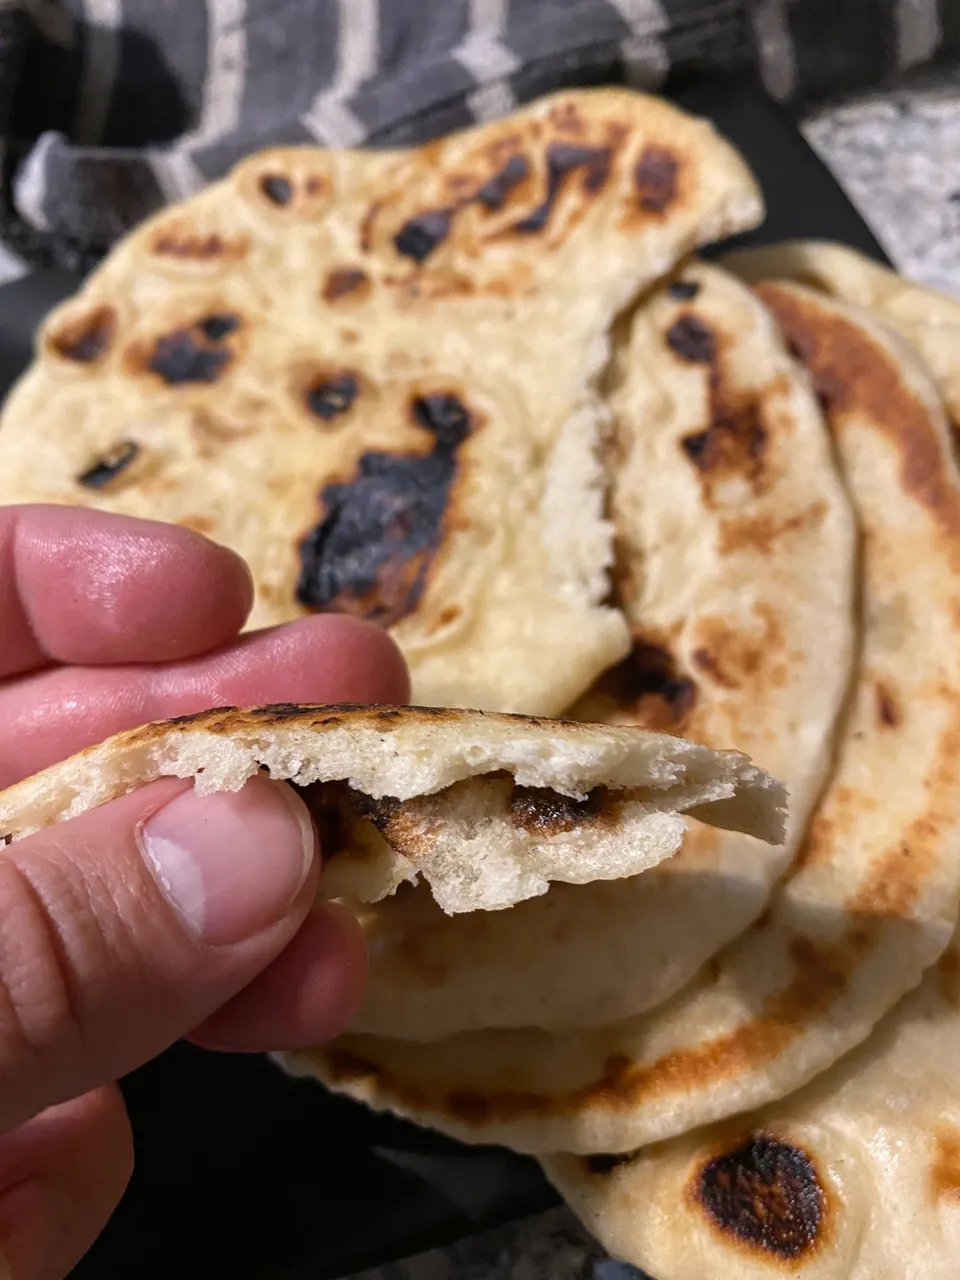
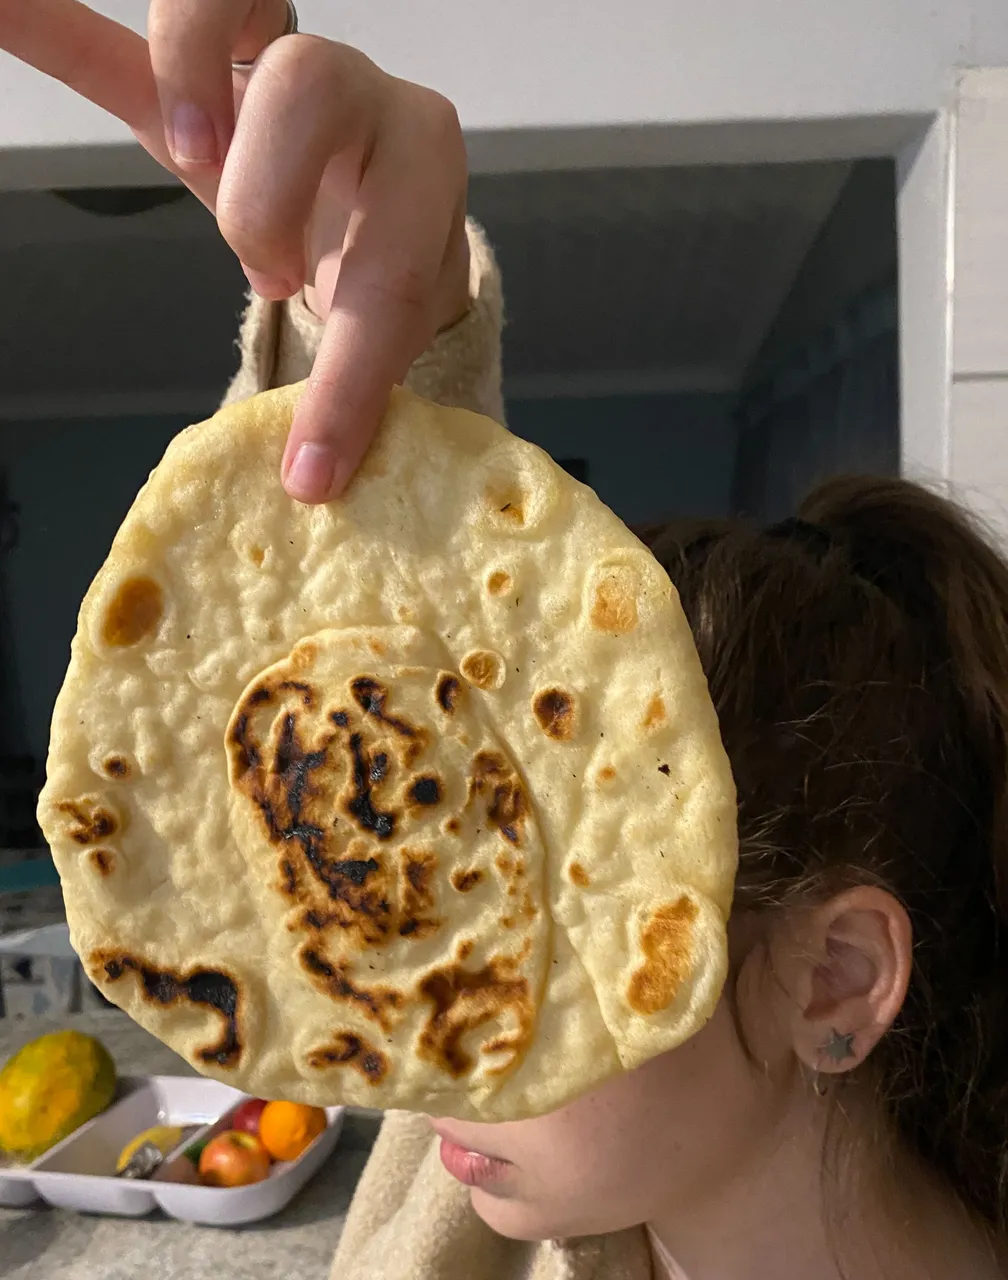
When everything goes according to plan, this is the end result:

It is chewy and rips into perfect pieces to grab food with.
We had some shredded chicken curry, and the flatbreads were the perfect vehicle to transfer the food with.
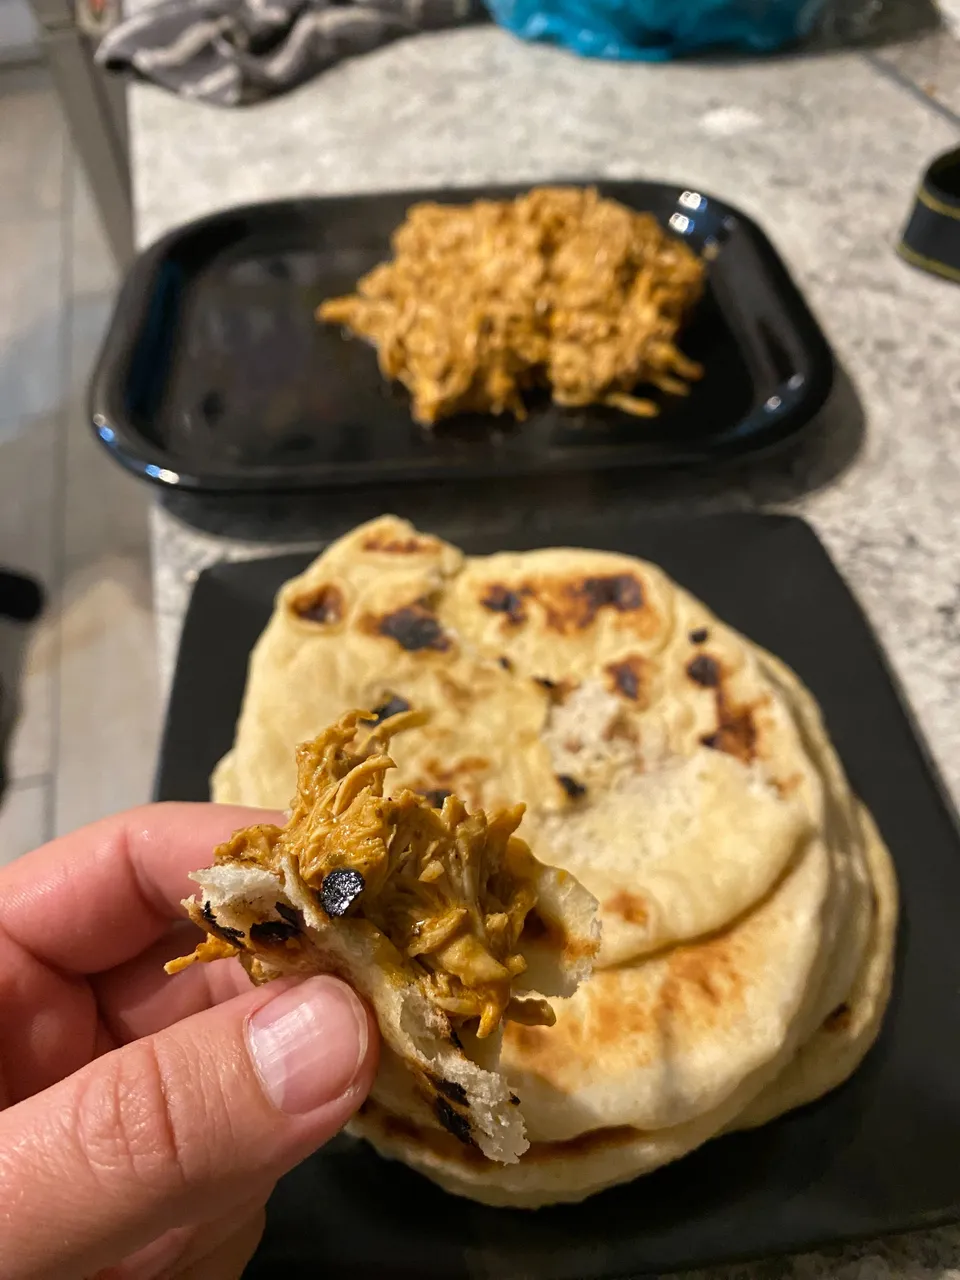
@urban.scout requested that we make them with the curry. I think she devoured three of them. She just loved them. And I have to say, in their simplicity, they are the best.
I hope that you will try this recipe soon and make some for yourself. It is really easy and so quick. All in all, it took about 2-3 hours to make. And most of this time is waiting for the bread to ferment. To take them to the next level, smear garlic butter on them while they are hot. But eat them just as and find out why these flatbreads have been made for so long in human history!
Happy baking, and keep well.
All of the photographs are my own, taken with my iPhone. The musings and writings are also my own. The recipe is also my own, one that I have been making and tweaking for many years.