🎨✨ ¡Hola a todos! ✨🎨
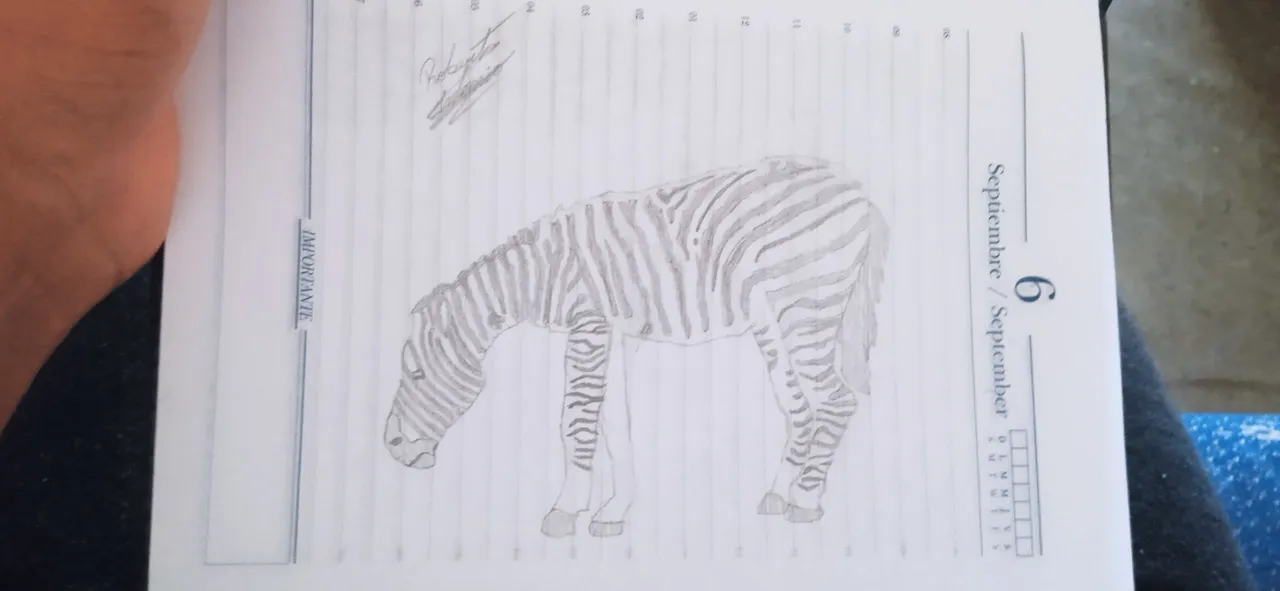
Hoy quiero compartirles algo que me hizo pasar un buen rato y me sacó más de una sonrisa. Se trata de un dibujo a lápiz que hice de una cebra, y en esta publicación les mostraré el paso a paso de cómo lo fui creando.
Me encanta tomarme un tiempo tranquilo para dibujar, relajarme y dejar que las líneas vayan tomando forma. Espero que les guste este pequeño recorrido y que se animen también a dejar volar su creatividad.
¡Vamos a ello! 🚀
📝 Paso a Paso: Cómo dibujé mi cebra 🦓
Paso 1. ✏️
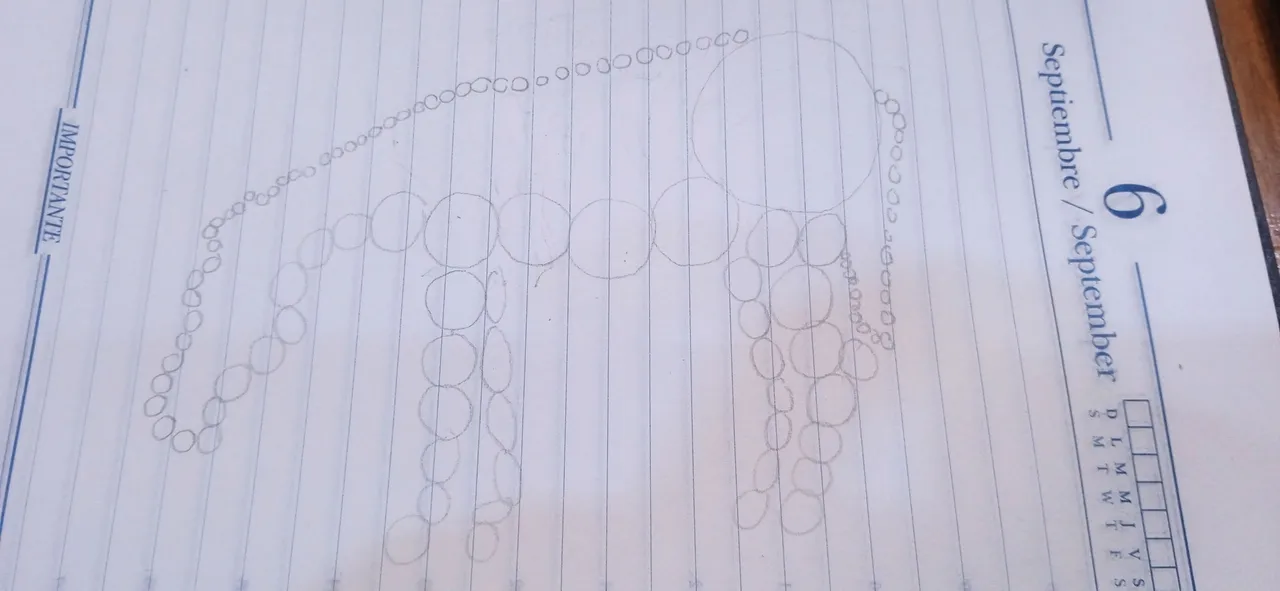
Usa tu lápiz, puede ser uno de dibujo o uno de escribir, para hacer unos círculos pequeños, medianos y uno grande para crear la base del cuerpo de la cebra.
Paso 2. ✏️
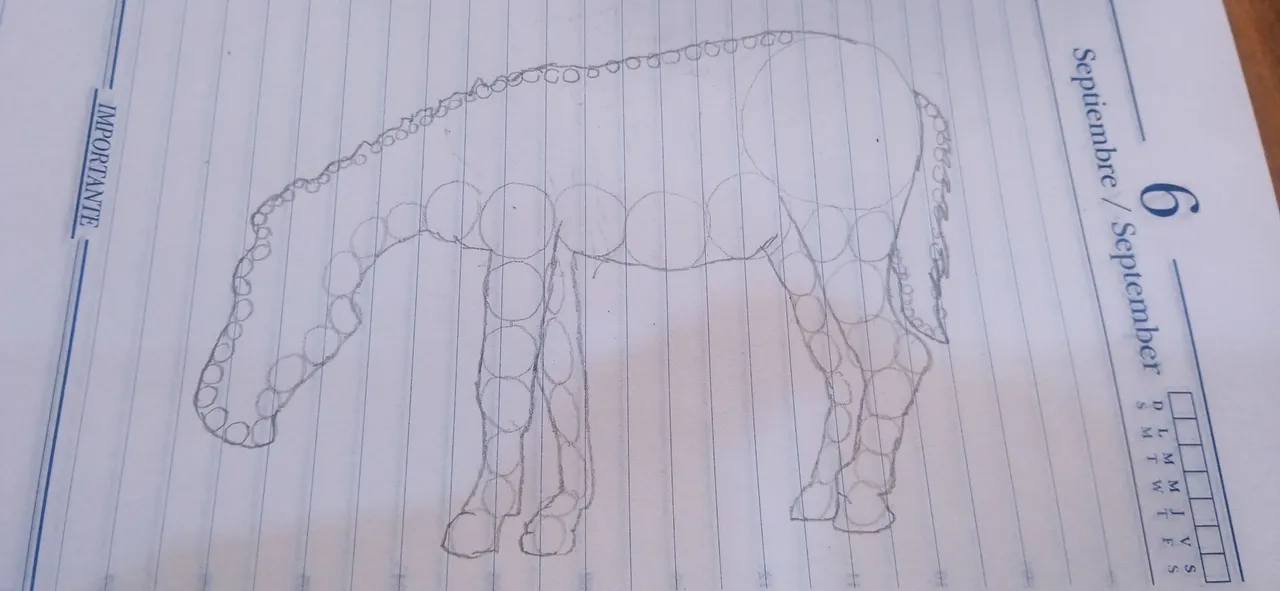
Dibuja la línea que forma la verdadera silueta del cuerpo de la cebra.
Paso 3. 🧽
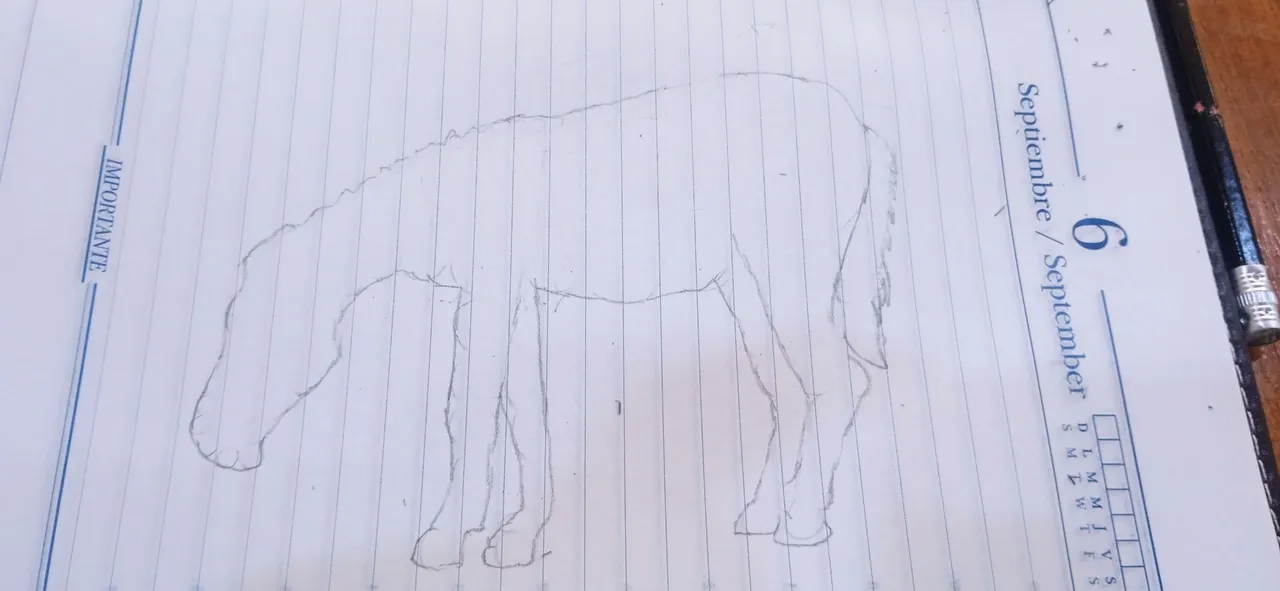
Con una goma de borrar, borra los círculos base que habías hecho para la estructura.
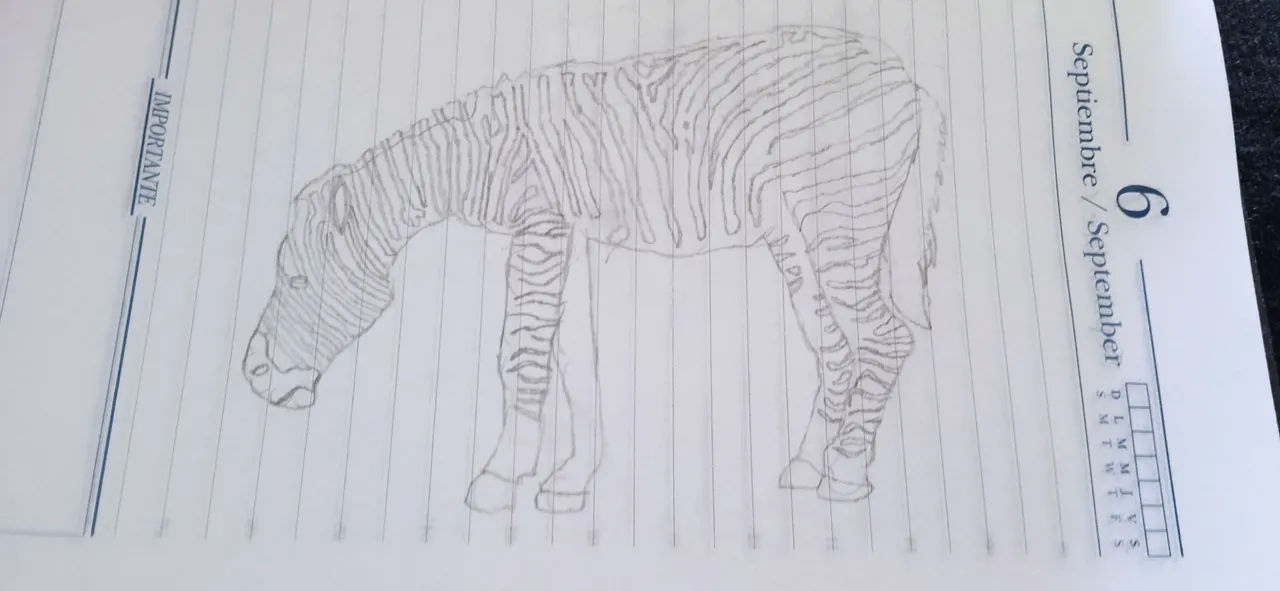
Paso 4. ✏️
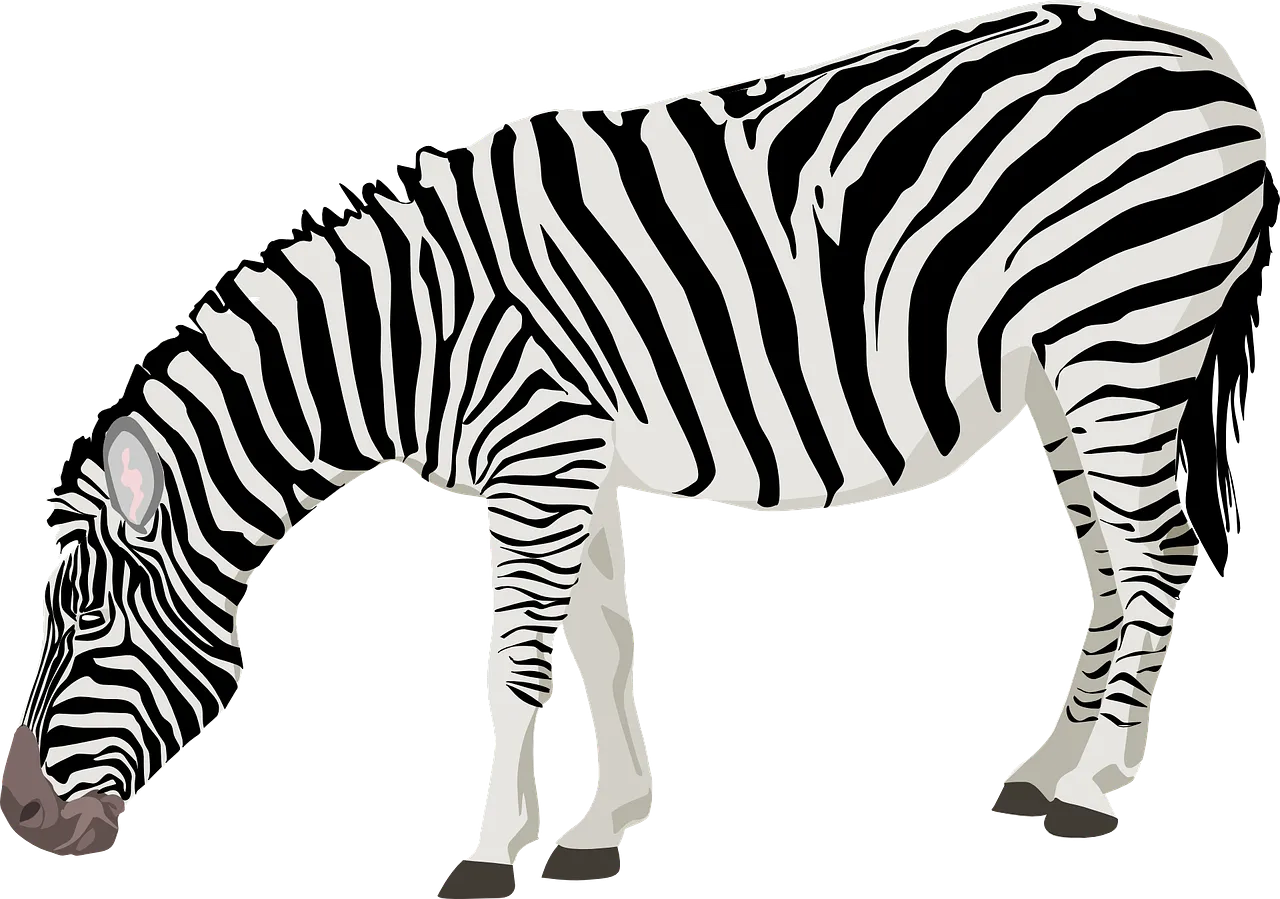
Haz las rayas de la cebra. Las mías no me quedaron iguales a la imagen real 🤭. Cuando vean la imagen, notarán la diferencia porque cuando las hice no estaba tranquilo y calmado.
Luego dibuja:
- Las pezuñas (o pies, no sé si se les puede llamar pies como los nuestros 🐾).
- La oreja (o oído 🤔).
- El ojo, la nariz y la boca.
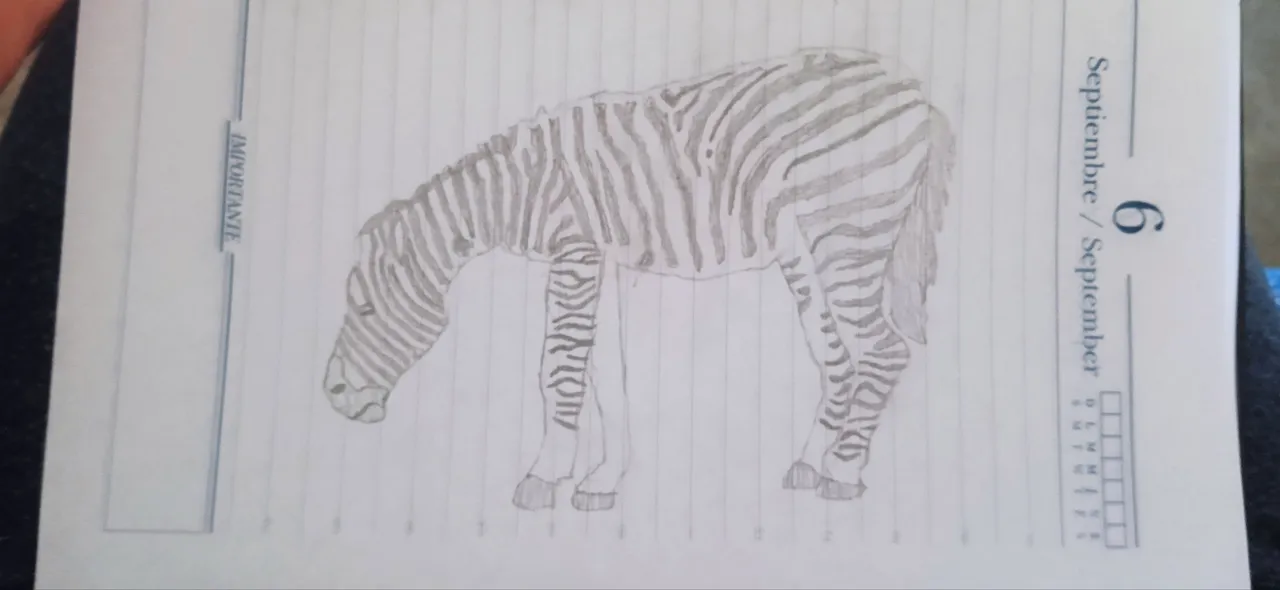
Paso 5. ✏️
Con el lápiz, oscurece las rayas, las pezuñas, la cola, la oreja, el poco de pelo que tiene en el cuello, el ojo, la nariz y la boca.
Paso 6. 🖊️
Finalmente, firma tu dibujo con el lápiz.

🖼️ Imagen de referencia
Esta es la imagen real y su enlace de su página:
🔗 Imagen en Pixabay
🎉 ¡Y listo!
Así fue como poco a poco fui dando forma a esta simpática cebra.
Espero que hayan disfrutado de este pequeño recorrido tanto como yo al hacerlo.
Si les gustó, me encantaría leer sus comentarios o ver sus propios dibujos.
¡Gracias por acompañarme y hasta la próxima creación! 🎨✨
🇬🇧 English Translation
Hello everyone! Today I want to share something that gave me a good time and made me smile more than once. It's a pencil drawing I made of a zebra, and in this post, I'll show you step by step how I created it.

I love taking some quiet time to draw, relax, and let the lines take shape. I hope you enjoy this little tour and that you'll also be encouraged to let your creativity run wild.
Let's get to it! 🚀
📝 Step by Step: How I drew my zebra 🦓
Step 1. ✏️
Use your pencil—it can be a drawing pencil or a writing pencil—to draw small, medium, and one large circle to form the base of the zebra's entire body.

Step 2. ✏️
Next, use the pencil to draw the line that forms the true shape of the zebra's body.

Step 3. 🧽
Use the eraser to erase the circles that form the base of the zebra.

Step 4. ✏️
Use the pencil to draw the zebra's stripes. Mine didn't turn out the same as the real picture 🤭. When you see the real picture, you'll notice the stripes didn't turn out the same because I wasn't calm when I drew them.
Then draw:
- The hooves (I don't know if animal feet can also be called feet like ours, or paws 🐾).
- The ear (or ear 🤔).
- The eye, nose, and mouth.

Step 5. ✏️
Next, use the pencil to darken the stripes, the hooves, the tail, the ear, the little bit of fur on the neck, the eye, the nose, and the mouth.

Step 6. 🖊️
Finally, write your signature with the pencil.

🖼️ Reference image
This is the actual image and the link to its page:
🔗 Image on Pixabay

And that's how I slowly shaped this cute zebra.
I hope you enjoyed this little tour as much as I did making it.
If you liked it, I'd love to read your comments or see your own drawings.
Thanks for joining me, and see you next time! 🎨✨