Not sure how to start renting Splinterlands cards in the PeakMonsters platform? This post is for you! In this post, we will be doing a step by step walkthrough on how you can start renting Splinterlands cards using the PeakMonsters platform.
Note: We won't be covering Auto Rentals in this post.

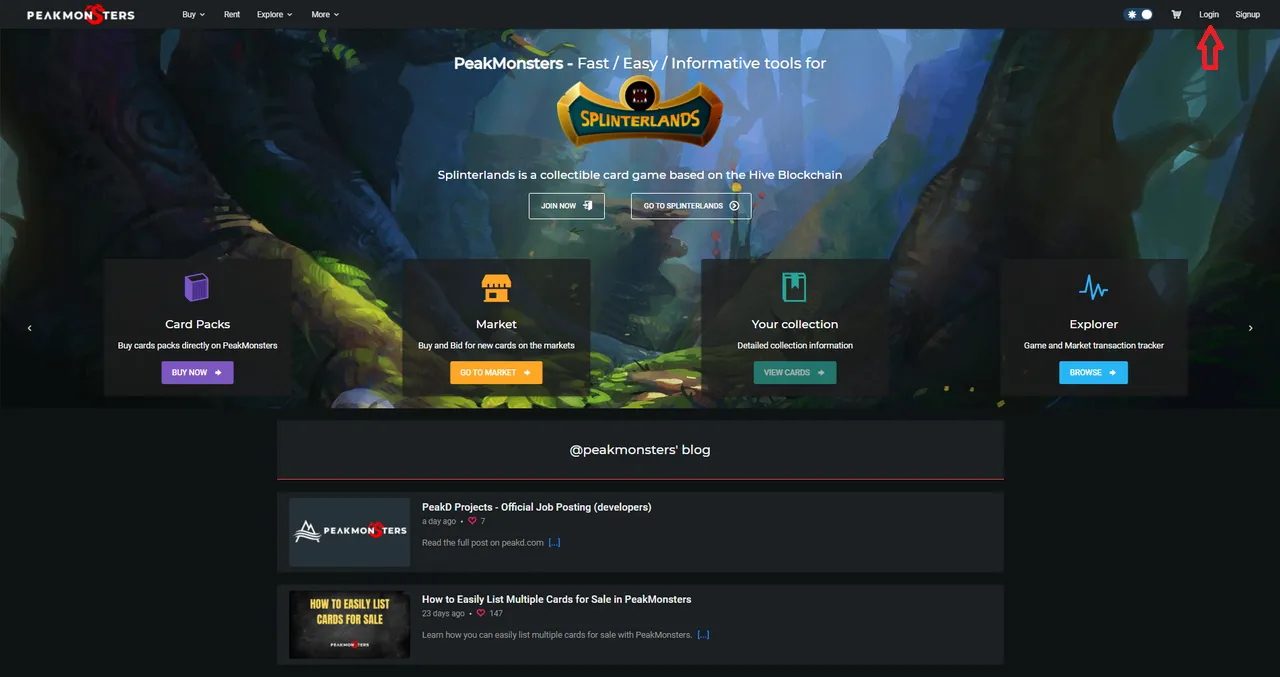
Step 1: Go to PeakMonsters and Login
To start, go to the PeakMonsters website, and click on the Login button that can be found on the top-right corner of the screen.
After that, a pop-up similar to the one below will show.
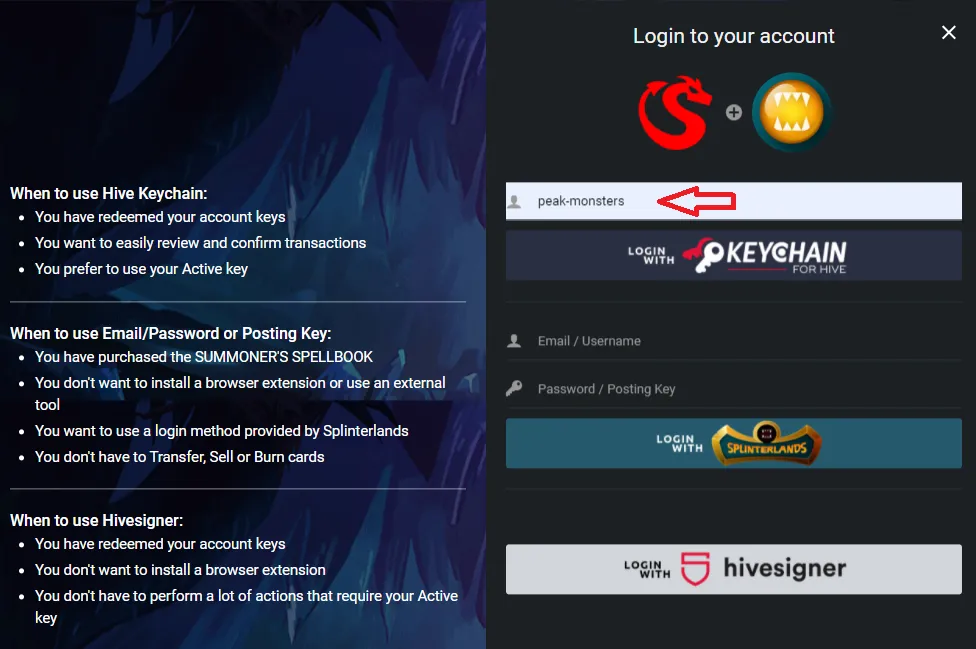
Read the notes on the left side, and then choose the most appropriate login method for you. In this example, we will be using the Hive Keychain login method.
Since we already have a Hive Keychain properly setup in our browser, we now just have to input our username on the field and click on "Login With Keychain for Hive".
Step 2: Click on RENT tab
Now that we are already logged in the PeakMonsters platform, the next step is to click on the RENT tab that can be found in the top-left corner.

After clicking on the RENT tab, we will now be redirected to the Renter's Board as shown in the image below.
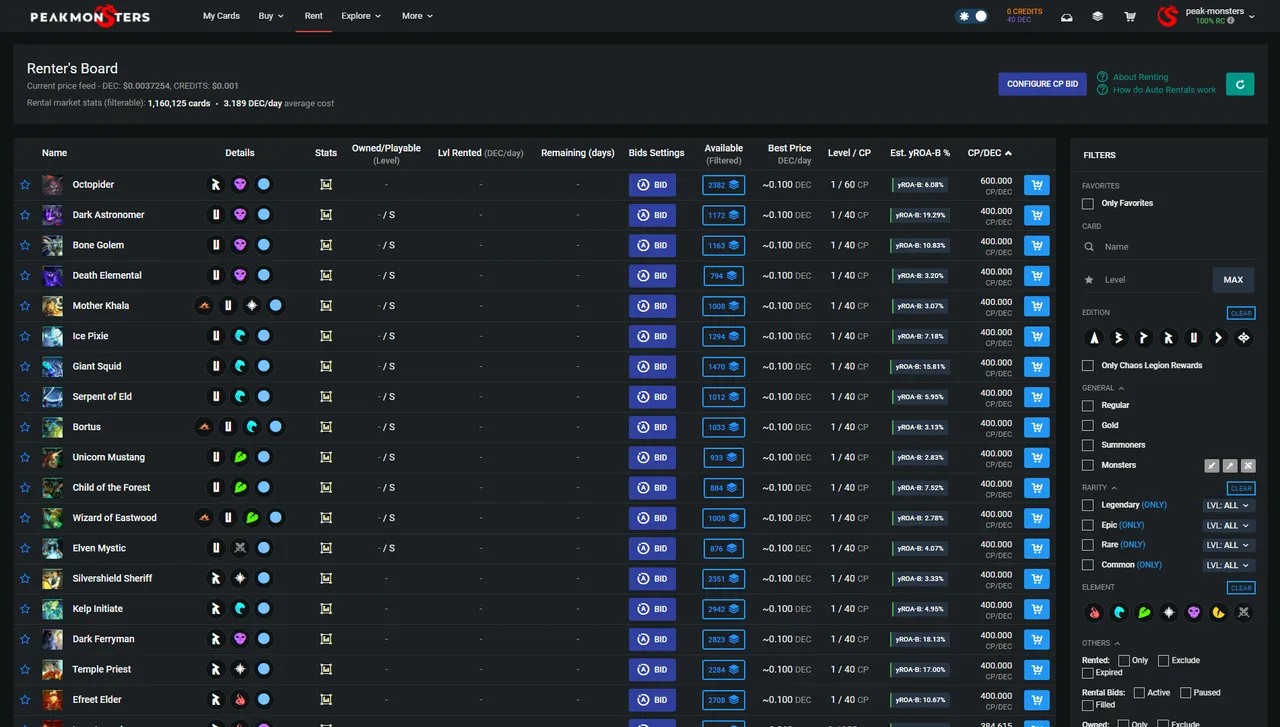
In the Renter's Board, we can see the all the different cards available for rent. This is where we will be looking for cards, and doing our rental transactions as will be shown in the succeeding steps.
Step 3: Look for cards to RENT
With PeakMonsters' interface, there are a lot of ways on how you can easily look for cards that you can rent. You can use the Filters, sort using the columns, or simply search directly for the name of the card. You can also combine these options if you want!
For this illustration, we are looking to rent a Legendary card that we can start playing with. To easily look for a list of Legendary cards available for rent, let us click on the tick box beside Legendary so that the non-legendary cards will be filtered out.
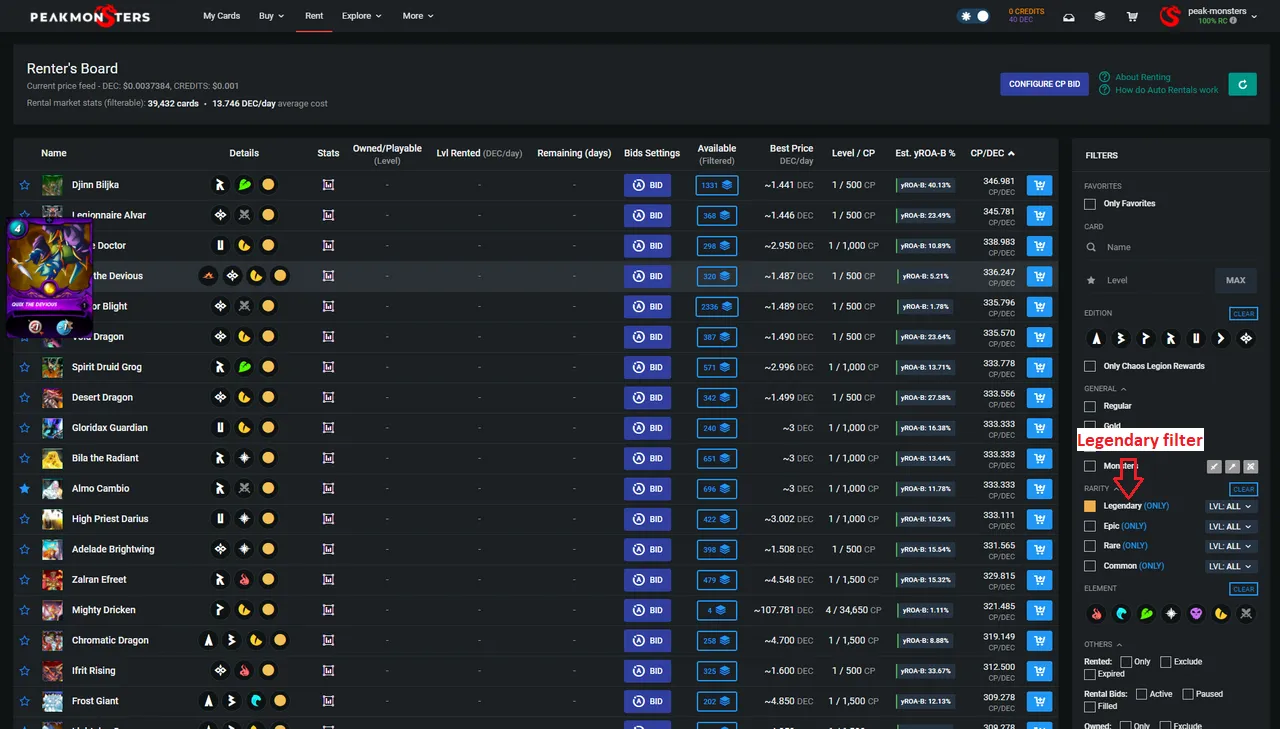
Hmm.. Quix the Devious seems interesting. Let us go and rent that card.
Tip: You may hover above the card image to see more details of the card. If you want to view the stats, you may do so by clicking on the corresponding icon under the Stats tab.
Step 4: Add to Cart
After choosing the card that we want to rent, the next step is adding it to our cart.
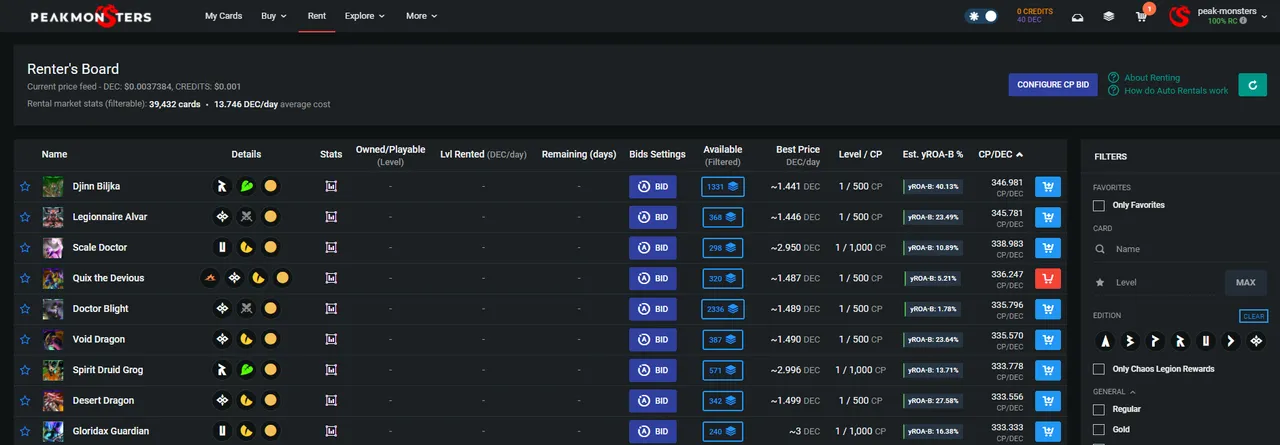
To do this, simply click on the Add to cart icon (right-most column) for the corresponding card. After that, the said cart will turn into red, indicating that you have successfully added it to your cart.
Tip: If you are interested to look for other rental listings of a card, simply click on the Stack icon under Available (Filtered) column
Step 5: Select Payment Method and Check Out
For our last step, all we have to do now is click on the cart icon (top-right corner), adjust the rental duration, and then select the currency (DEC or CREDITS) that we want to pay with.
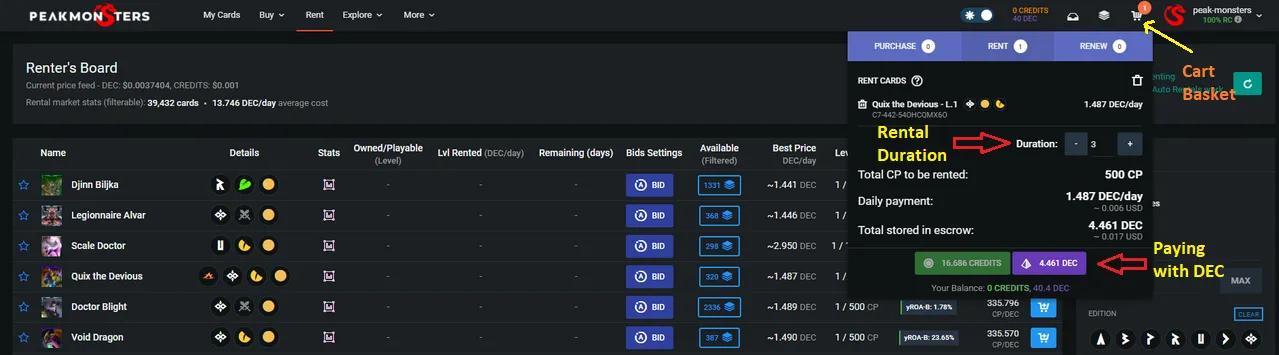
In this example, we are going to pay with DEC. To do that, let us click on the 4.461 DEC purple button indicated by the arrow in the above image.
There you have it! We now have rented a Splinterlands card using PeakMonsters. If you want to check your rented card, you can do so by clicking on the My Cards tab in the PeakMonsters platform or checking it in the Splinterlands interface.
Thank you for reading through this post. We hope that you find this helpful. If you have any questions, feel free to leave a comment down below.
PeakMonsters and Splinterlands links:
- PeakMonsters: https://peakmonsters.com/
- PeakD accounts: PeakMonsters | PeakMonsters blogging account
- PeakD Projects discord: https://discord.gg/QdYg3zUSCD
- Play Splinterlands: https://splinterlands.com?ref=peakmonsters
Other Social Media accounts: