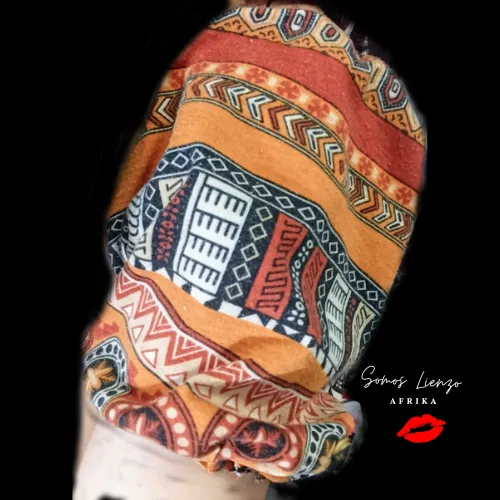
Hola hivers y amantes de las costuras, hoy vengo con un tutorial mas avanzado pero igual de práctico que los anteriores, es el paso a paso para hacer una manga globo, lo estuve intentando hasta que salió, vamos desde el patrón en papel hasta la tela con la manga globo hecha. Necesitas papel, tijera, lápiz, cinta métrica, tela, hilo y aguja.
Hello hivers and sewing lovers, today I come with a more advanced DIY but just as practical as the previous ones, step by step to make a balloon sleeve, I was trying until it came out, we go from the pattern on paper to the fabric with the balloon sleeve made. You need paper, scissors, pencil, measuring tape, fabric, thread and needle.
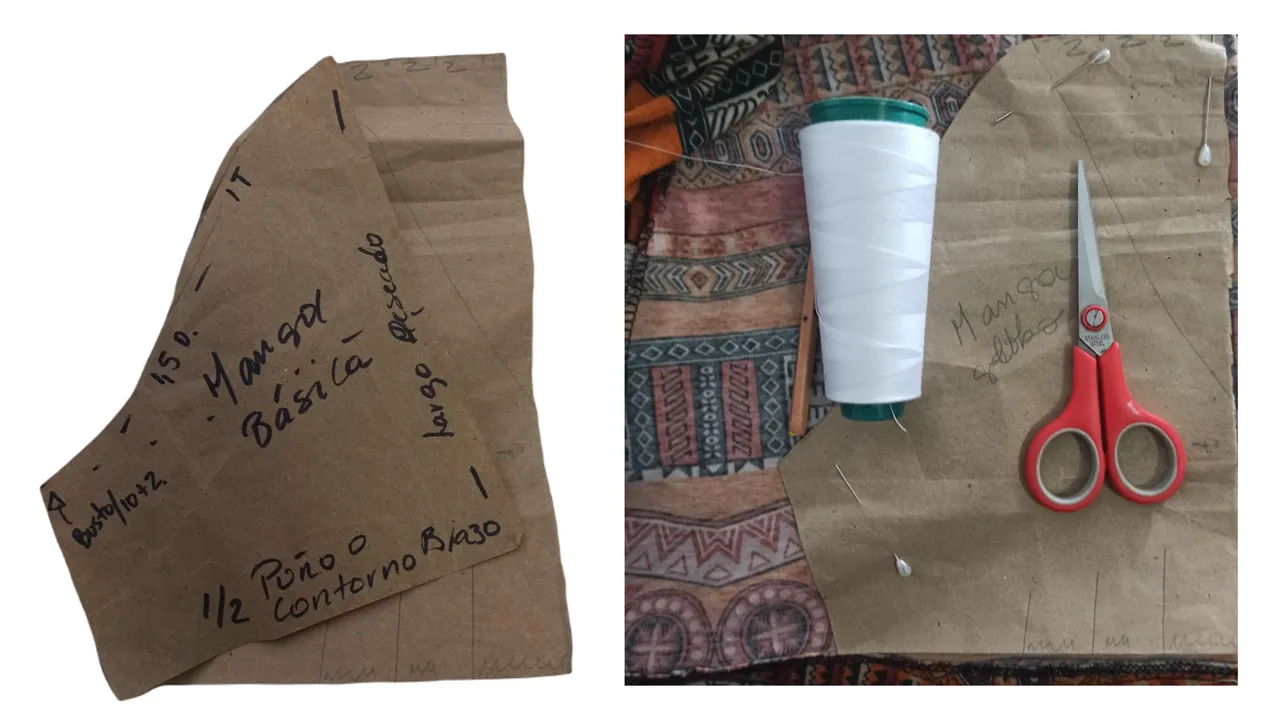
Para el patrón necesitas el básico, con las medidas mitad de espalda, mitad de busto mas 2cm, mitad contorno del brazo haces una curva como indica en la foto, de 1, cm en su máxima profundidad para el delantero, en el trasero es de 1 cm hacia la altura, ambos en el centro. Si quieres también puedes hacer el patrón de alguna blusa y modificarlo. Ahora vamos con el patrón de la manga globo, tal como indica la imagen inclinaras el patrón base tanto como fruncido quieras, en la altura del hombro como al final del largo de tu blusa y marcas los cms.
For the pattern you need the basic one, with the measurements half back, half bust plus 2cm, half arm contour make a curve as indicated in the photo, of 1 cm in its maximum depth for the front, in the back is 1 cm towards the height, both in the center. If you want you can also make the pattern of a blouse and modify it. Now let's go with the balloon sleeve pattern, as indicated in the picture you will tilt the base pattern as much as you want gathered, at the height of the shoulder and at the end of the length of your blouse and mark the cms.
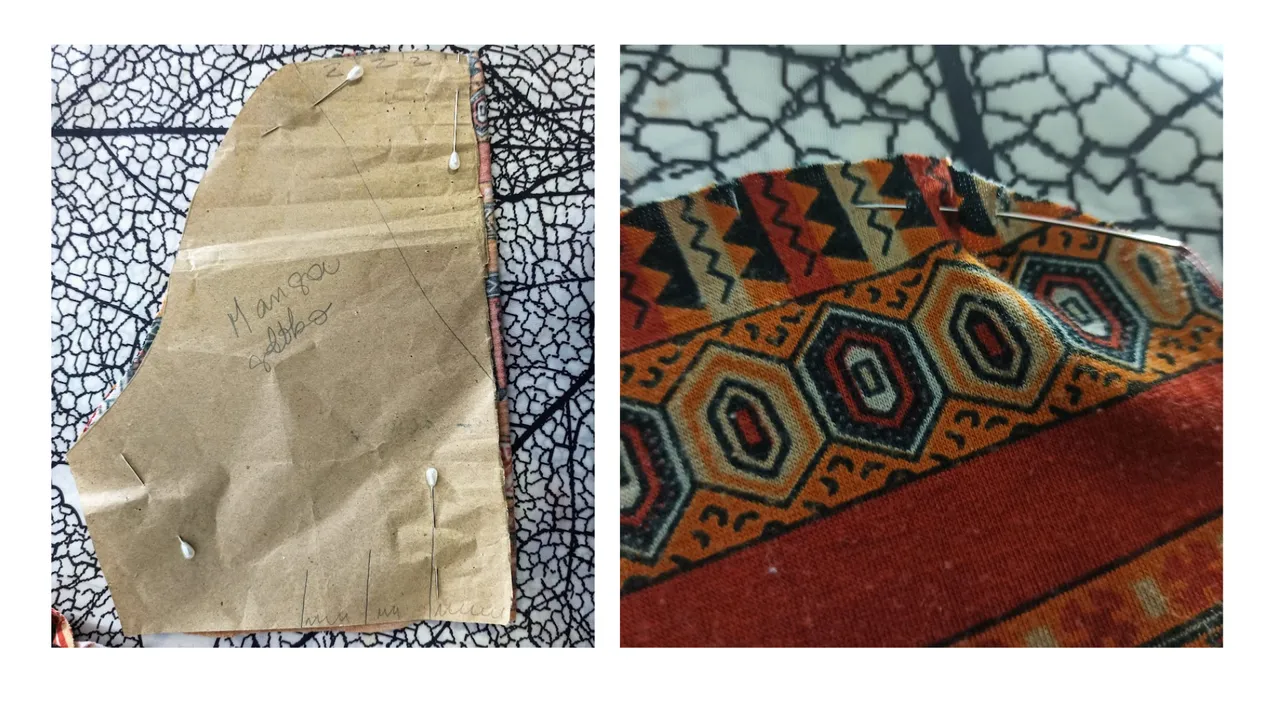
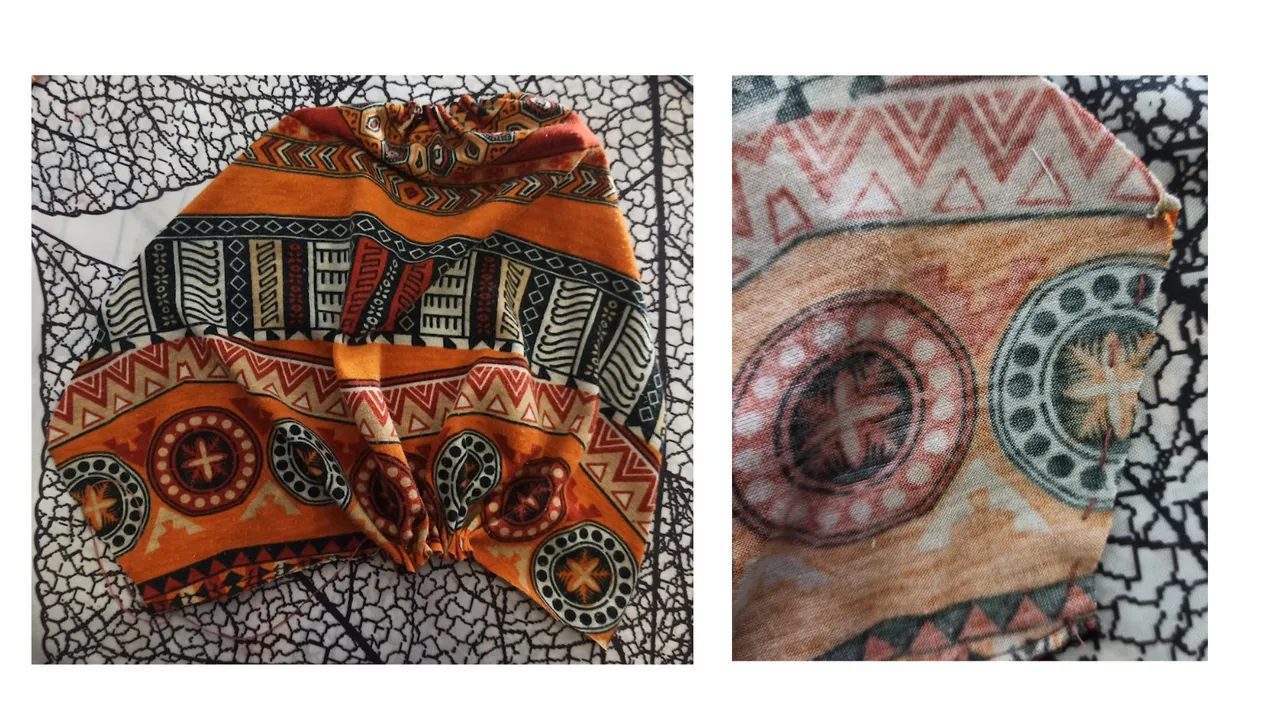
Una vez terminado tu molde de la manga globo, procedemos a colocarlo en la tela (esta vez use una tela para probar, puedes hacer lo mismo) al cortar, haz piquetes alrededor de tu manga donde indica el patrón, es por allí donde vas hacer la costura para lograr el fruncido, recuerda que es tanto arriba como abajo. Luego, doblas la manga y unes por el costado del brazo. Luego le das la vuelta y tienes lista tu manga para la blusa que quieras.
Once you have finished your balloon sleeve mold, proceed to place it on the fabric (this time use a fabric to test, you can do the same) when cutting, make peaks around your sleeve where the pattern indicates, it is there where you are going to make the seam to achieve the gathering, remember that it is both above and below. Then, fold the sleeve and join along the side of the arm. Then turn it over and you have your sleeve ready for the blouse you want.
Espero que les guste y puedan hacerlo. Si se animan me etiquetan para verlo, para más inspiración paseen por el timeline de @needleworkmonday, comunidad increíble donde nos apoyamos y motivamos. Las fotos son registro personal hechas con un Redmi note 9.Hasta la próxima muestra hivers. Si tienes dudas o sugerencias son bienvenidas en los comentarios, gracias hivers por el apoyo y compañía.
I hope you like it and can do it. If you are up for it, tag me to see it. For more inspiration take a look at the timeline of @needleworkmonday, an amazing community where we support and motivate each other. The photos are personal record made with a Redmi note 9.Until the next show hivers. If you have questions or suggestions are welcome in the comments, thanks hivers for the support and partnership.