
Hola hola a todos feliz noche 🥰 queridos amigos #needlewokers ♥️🪡.
Hello hello everyone, happy night 🥰 dear friends #needlewokers ♥️🪡.

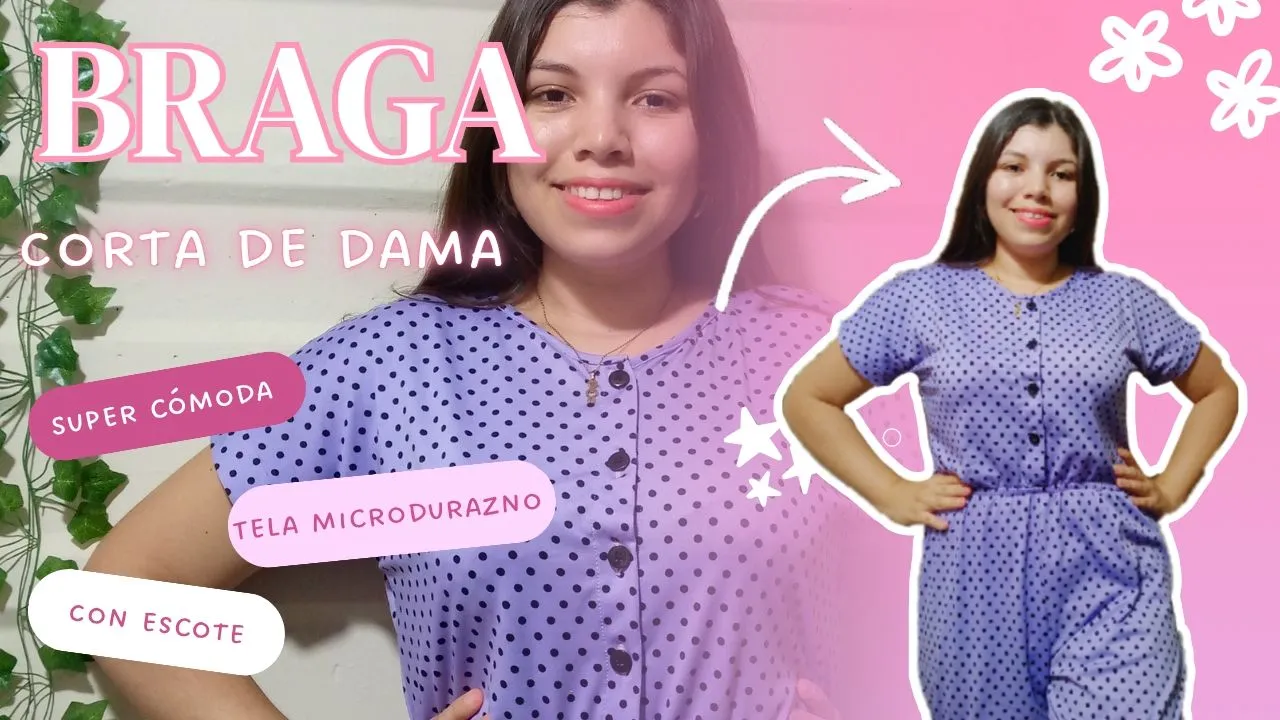
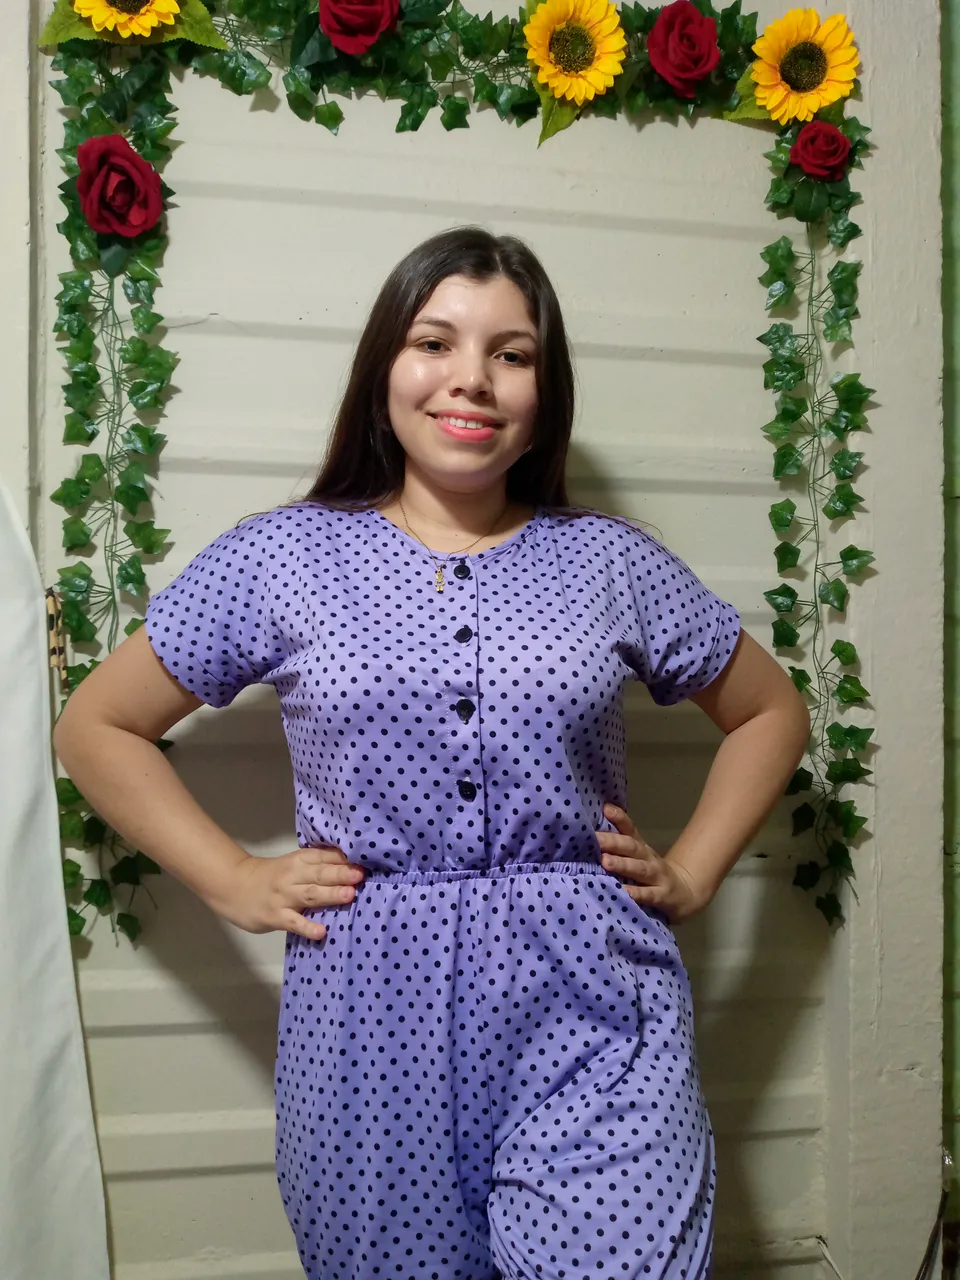
A few days ago, friends, I showed you that I was making a long jumpsuit, and since I had another fabric to make a slightly shorter one, I didn't pass up the opportunity to show you a little of the process 🥰.
To make this model I wanted to add buttons on the front waist like the other jumpsuit, I have seen many models where the buttons are on the bottom of the garment, that is, on the back, but since I love comfortable clothes, I wanted to place my buttons on the front, it makes it much easier for me to put the jumpsuit on from the front if we plan to take it off quickly, as a detail I also wanted to add an elastic on each leg of the jumpsuit and already make a delicate seam on the edge with a simple overlock seam, do not miss each step by step here in my tutorial, I hope you like it a lot and enjoy it, I also hope you can learn how to make your own jumpsuits and make them for someone else 🥰🥺☺️
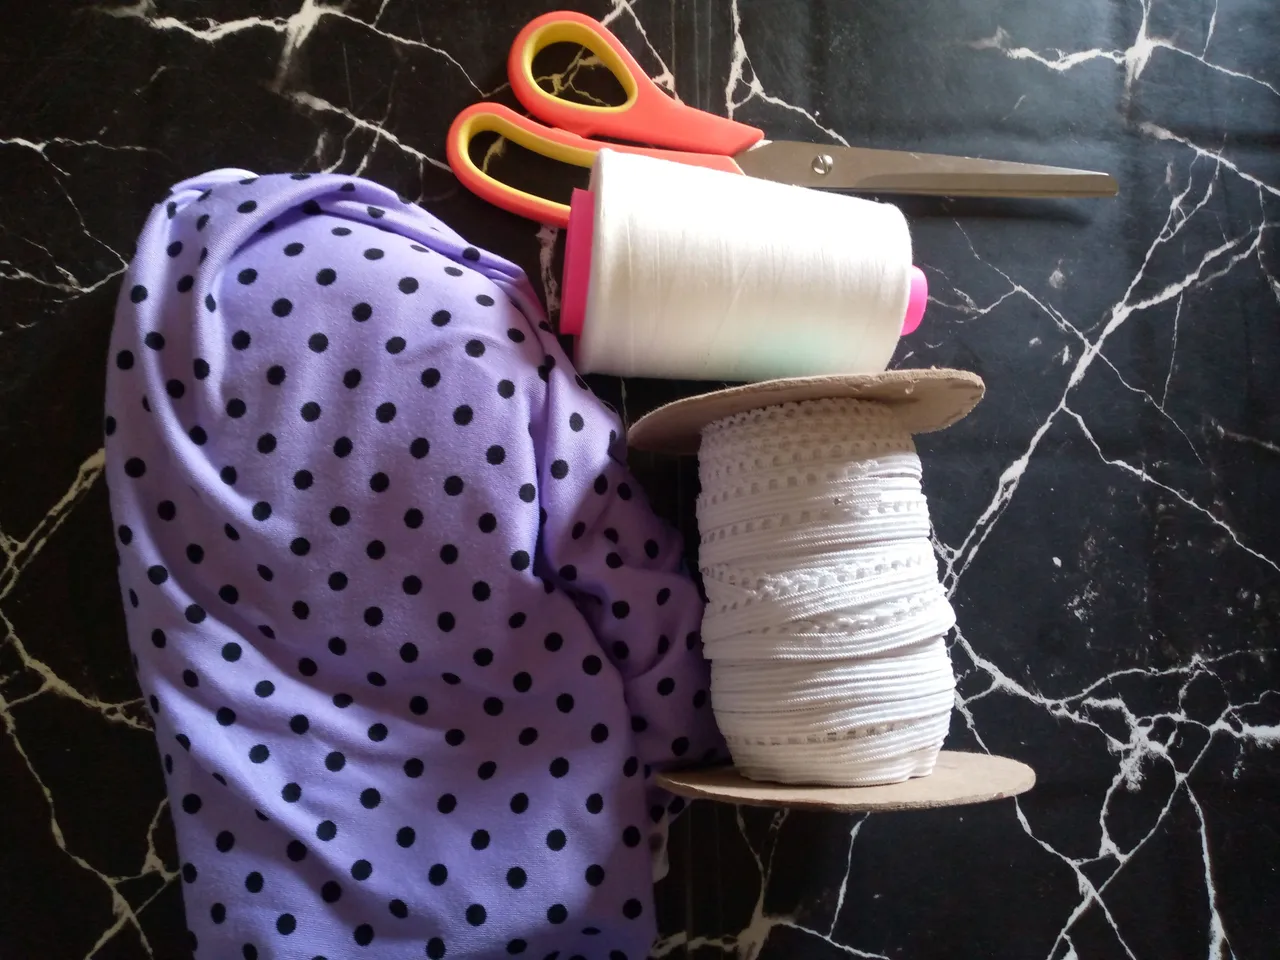
Materiales:// Materials:
- Máquina de coser
- Tijera
- Patrones
- 1 metro de tela microdurazno
- 4 botones
- Elastico de 1 cm de ancho x 70 de largo
- Sewing Machine
- Scissors
- Patterns
- 1 meter of micro peach fabric
- 4 buttons
- Elastic 1 cm wide x 70 cm long
Pasos a seguir://Steps to follow:

Paso 01
Step 01
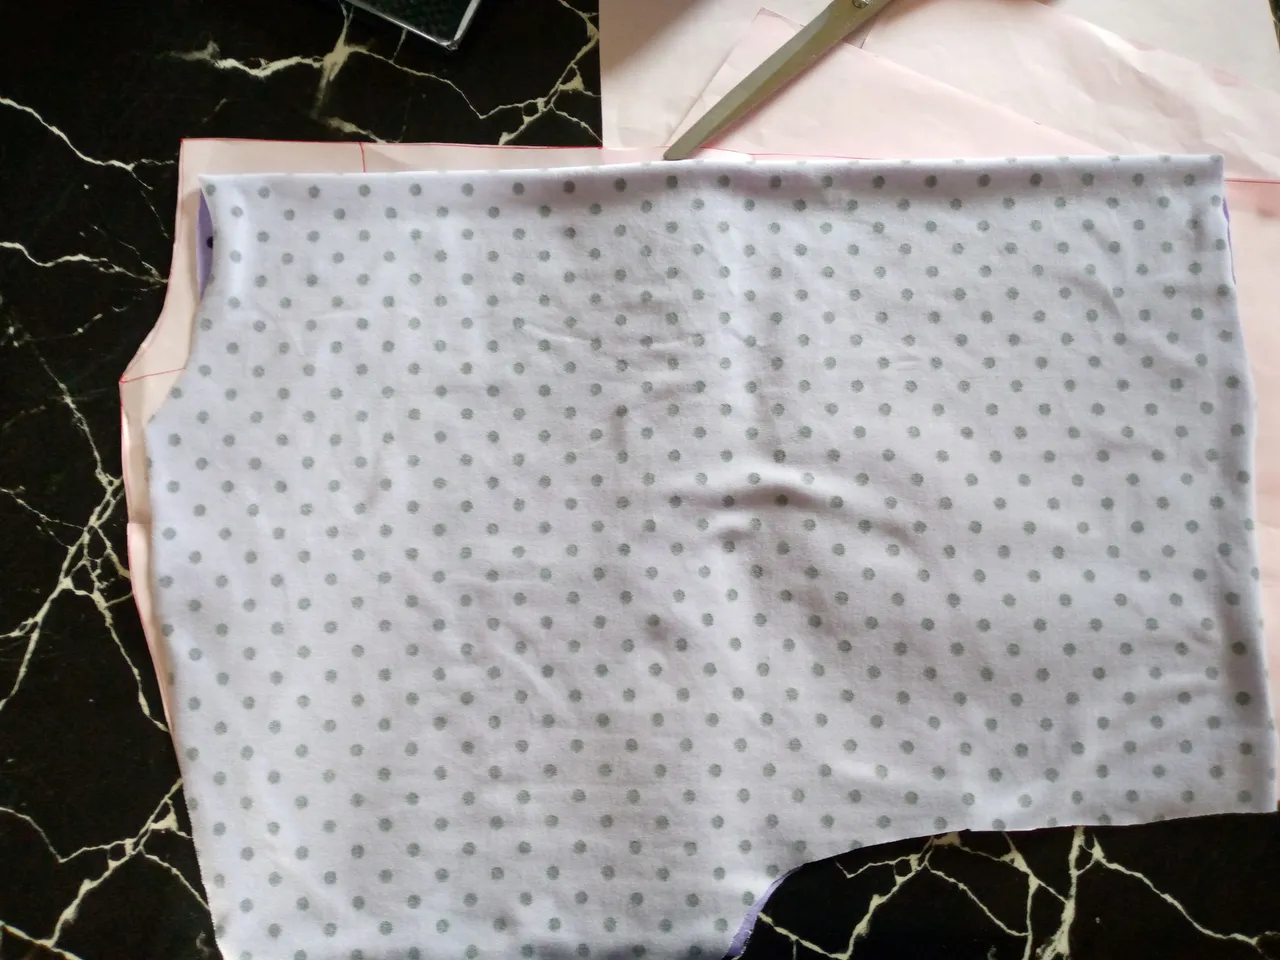
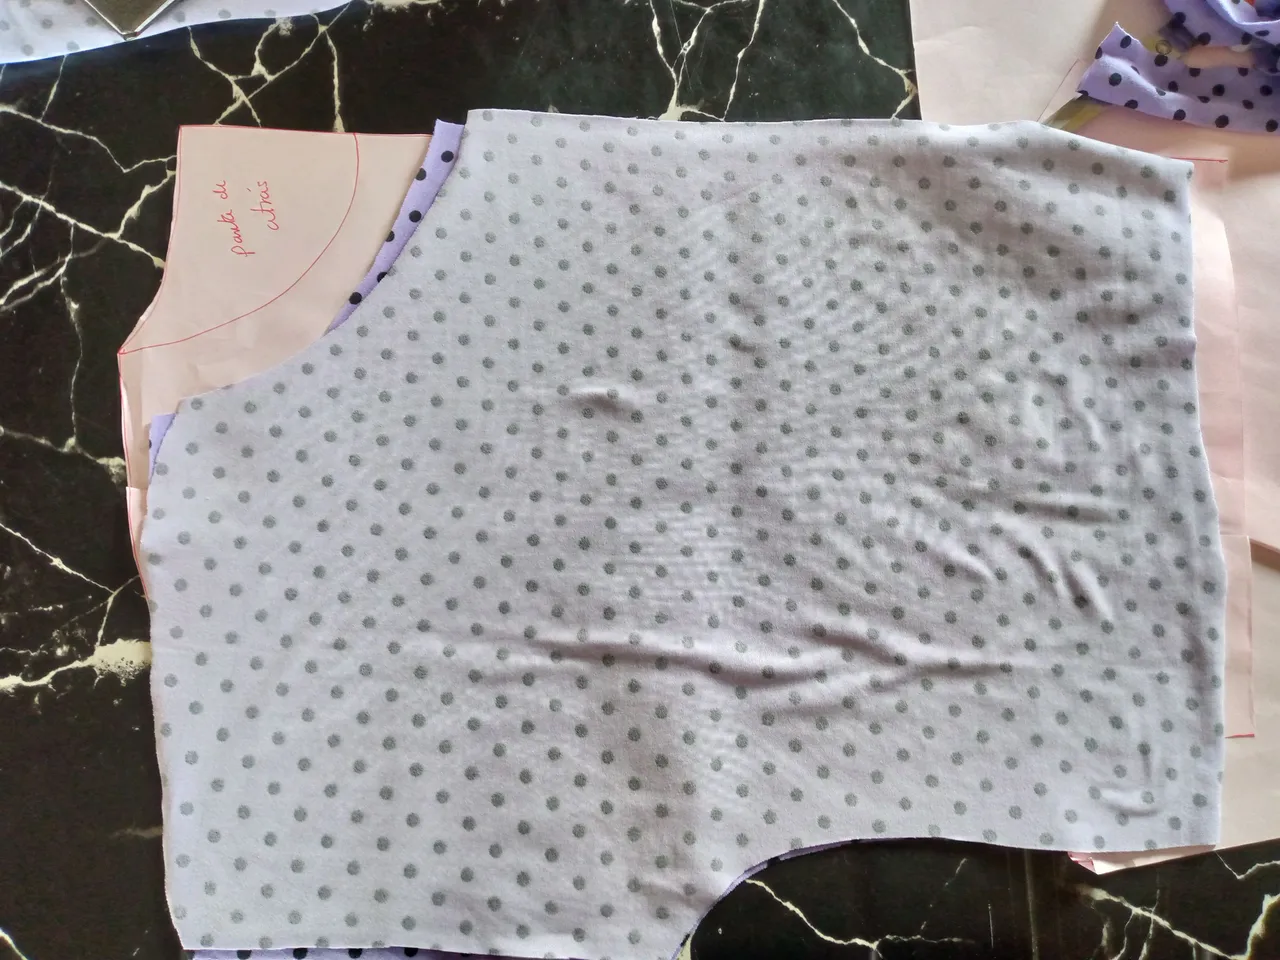
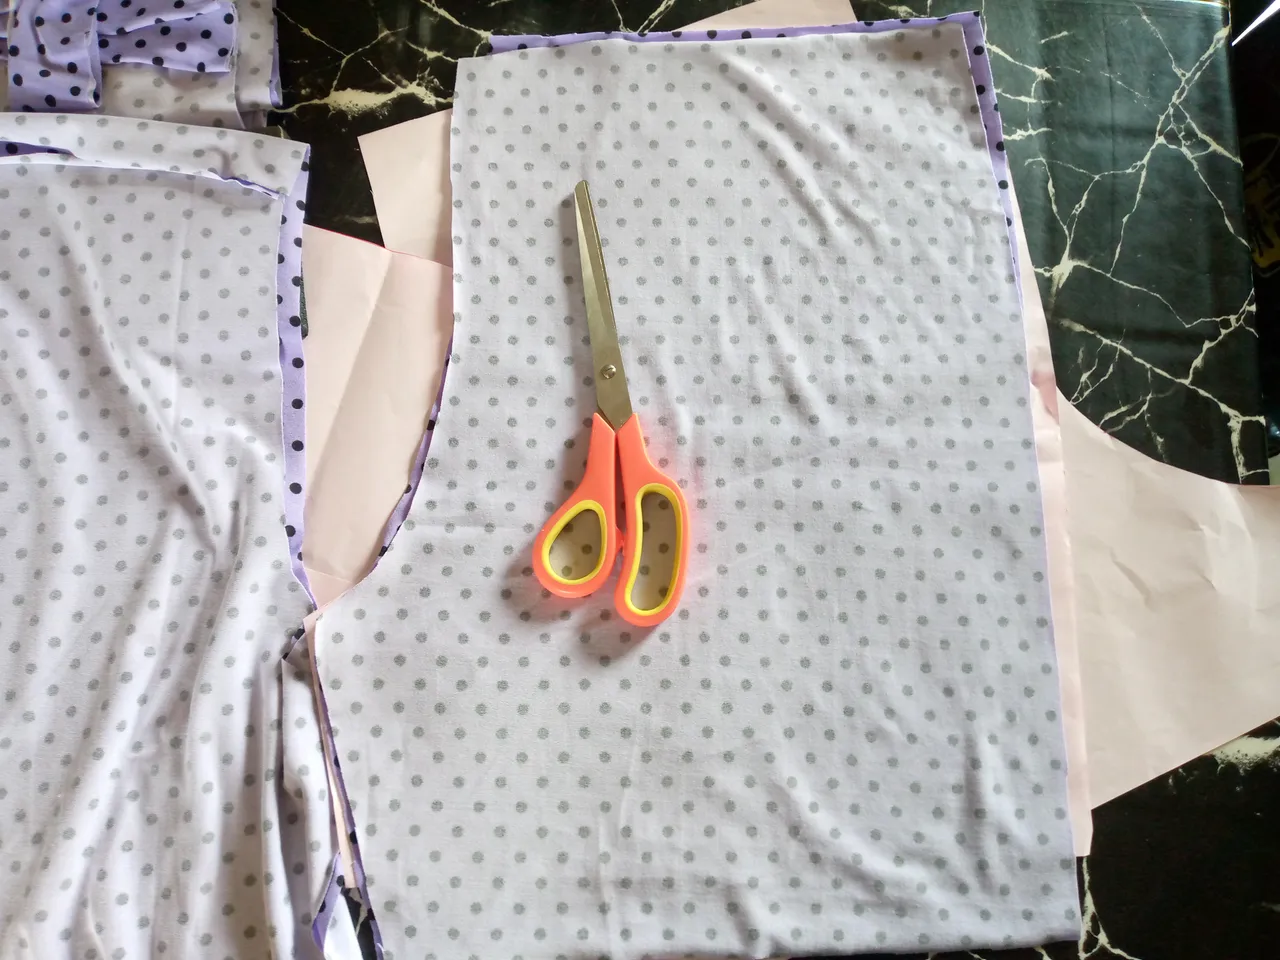
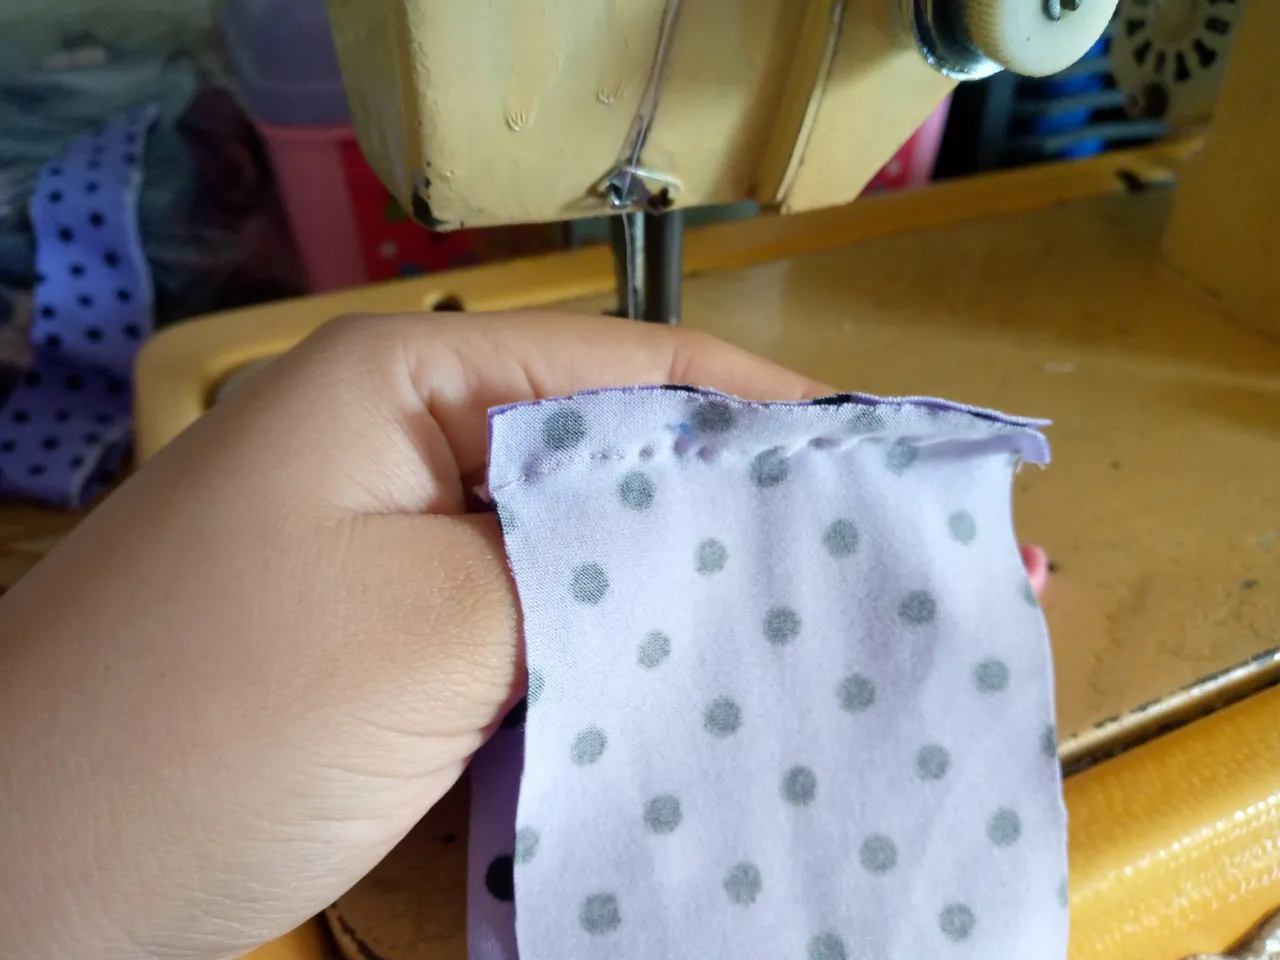
I started by placing my corresponding patterns on a wide surface like the table, for the panties the base patterns, that is, the shorts or pants always have the rise (or crotch) a little longer than the normal size, this is to avoid the garment being pressed and bothering us in the future, for the part of the front waist piece I only made the sleeves with a low neck and back I left it the same, the front piece if I selected it in two, that is, I cut it in half to make the part of the buttons and buttonholes, I cut the bias and also the bias pieces of the sleeves, those are the pieces that I will use to make or sew our panties.
Paso 02
Step 02
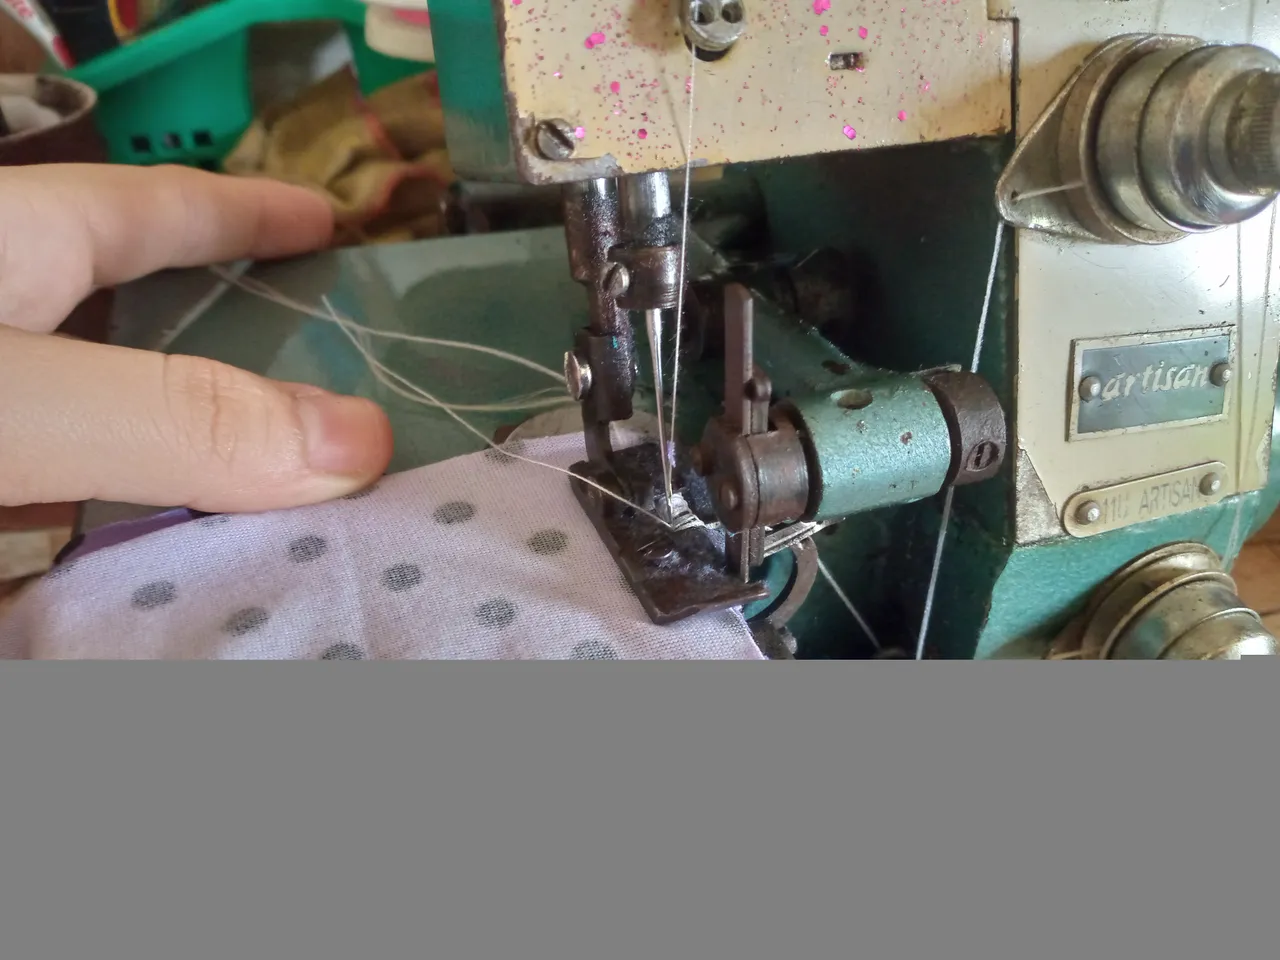
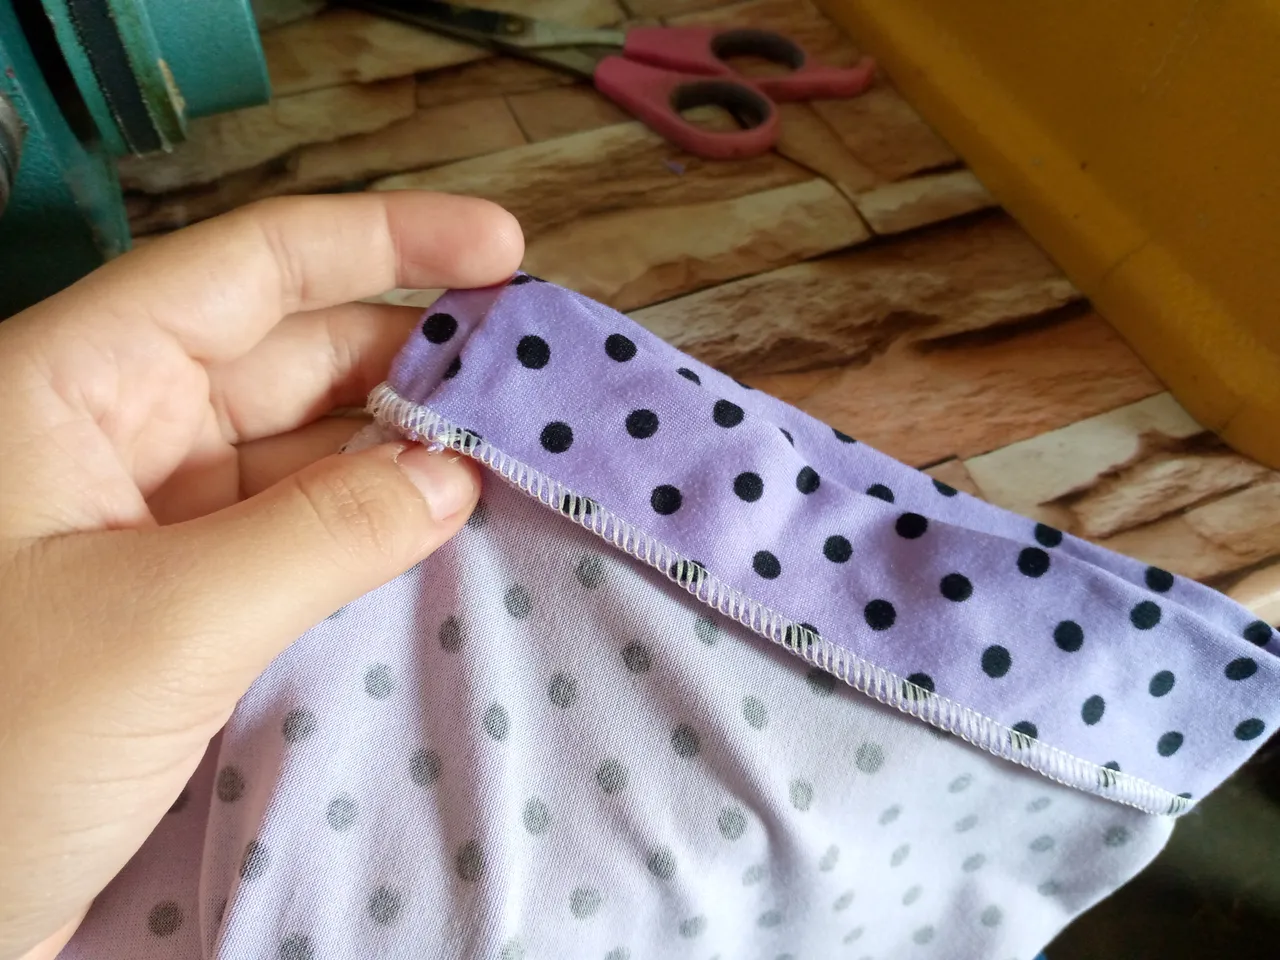
Then I proceed to sew the shoulder piece of the blouse of the panty to then sew the part of the sides, as our sleeve is continuous, I will simply sew it on the sides, then we finish with our machine in straight stitch and avoid the thread of the overlock seam from coming loose.
Paso 03
Step 03
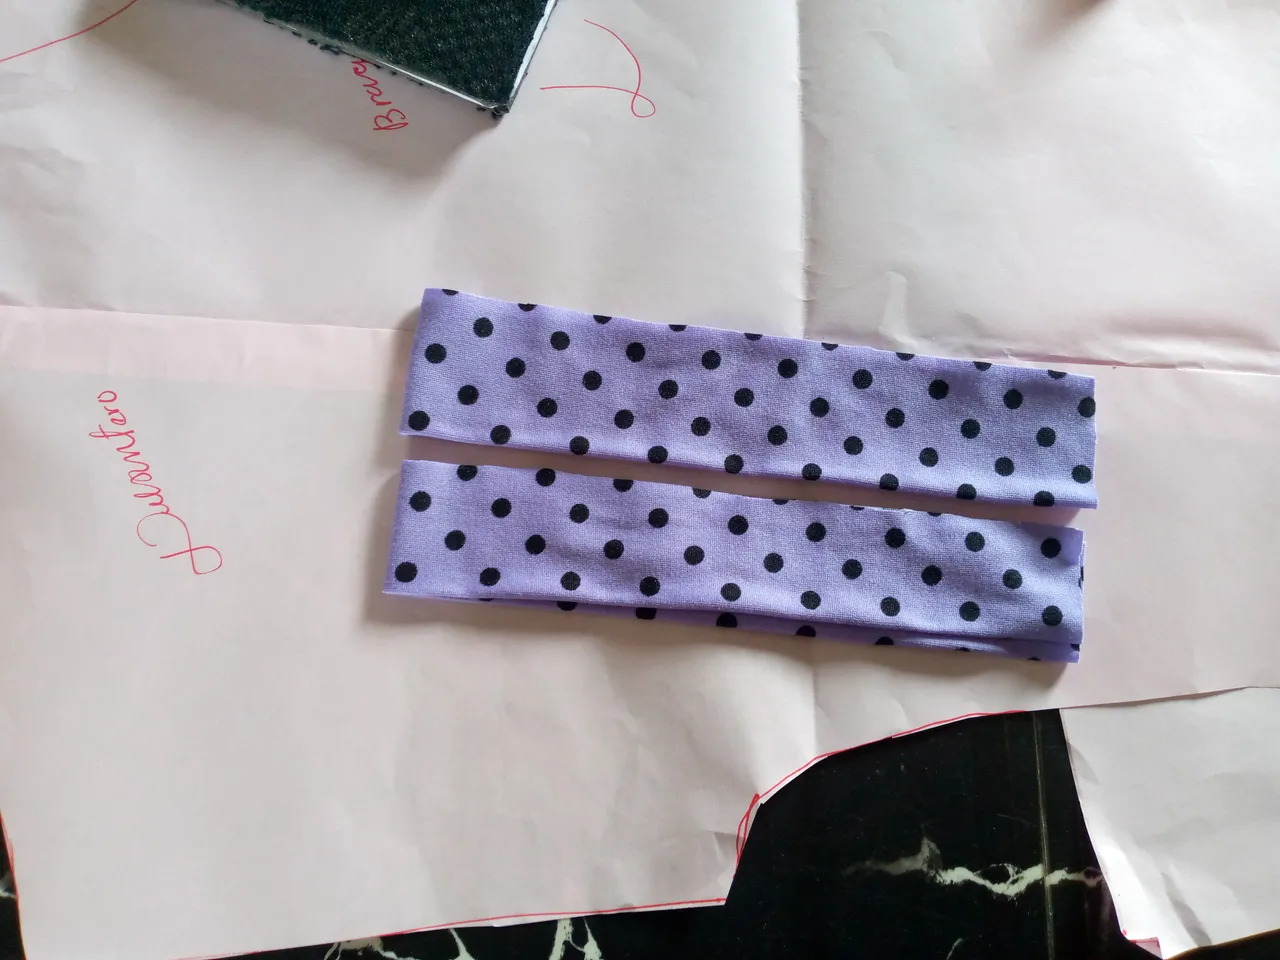
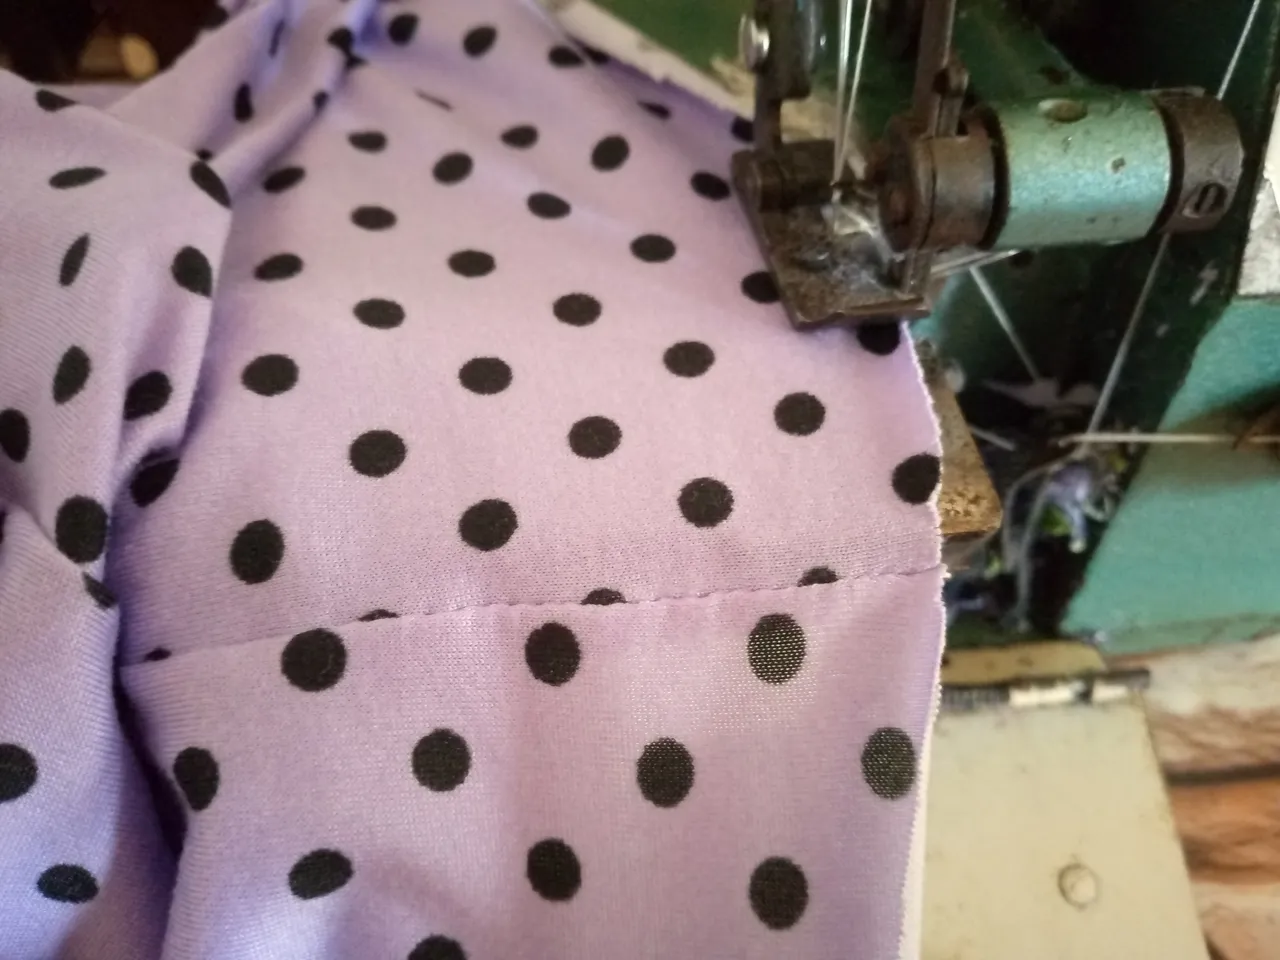
We will then be sewing part of the blouse in the buttonholes and buttons. I always put a space of 2 cm inwards from both the buttonholes and the part where the buttons will go. We will sew the bias pieces and the cuff of the sleeves. We sew each piece at the tip, fold it and sew around the entire outline of each sleeve.
Paso 04
Step 04
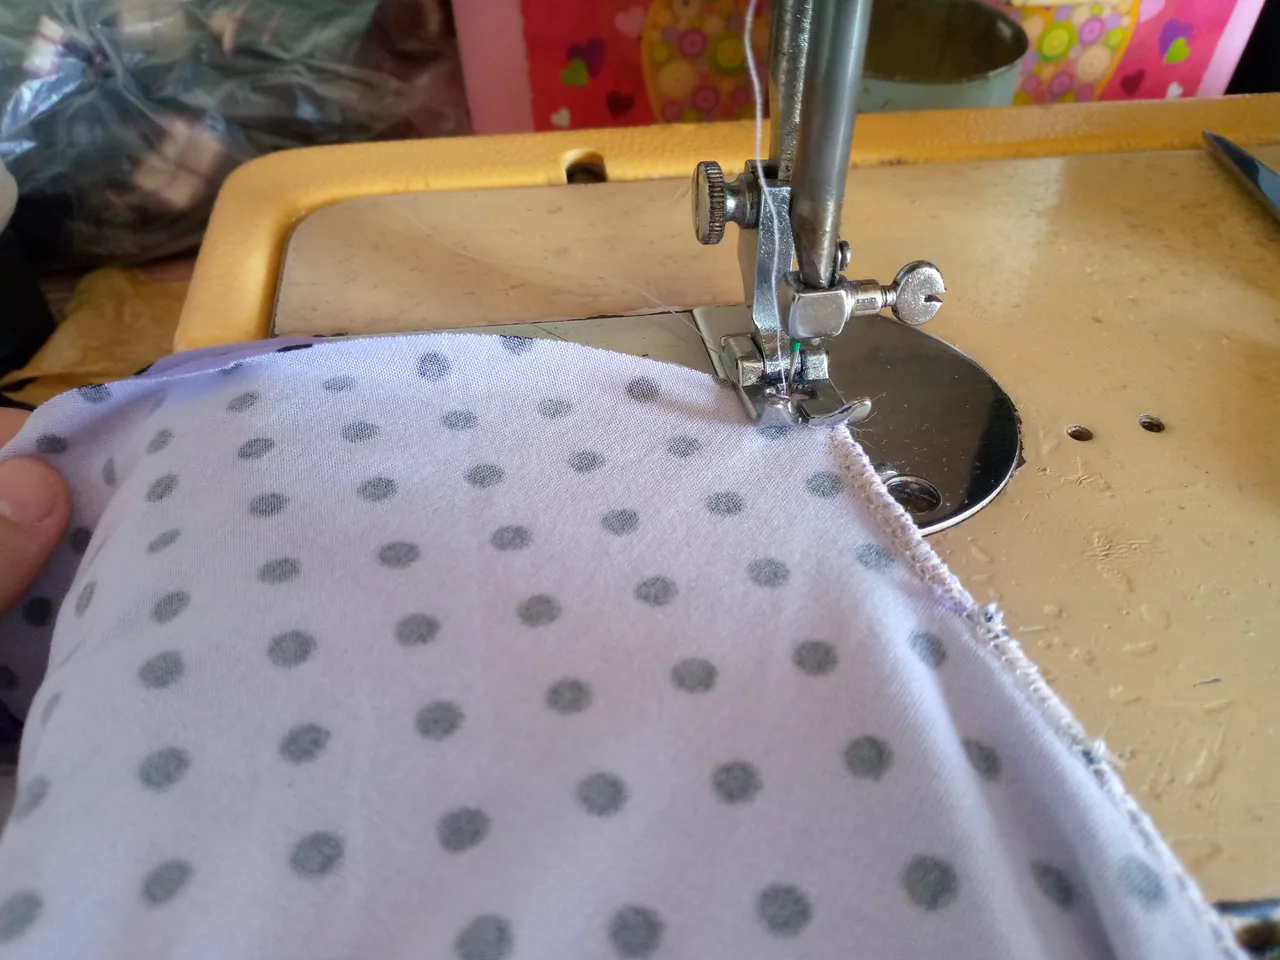
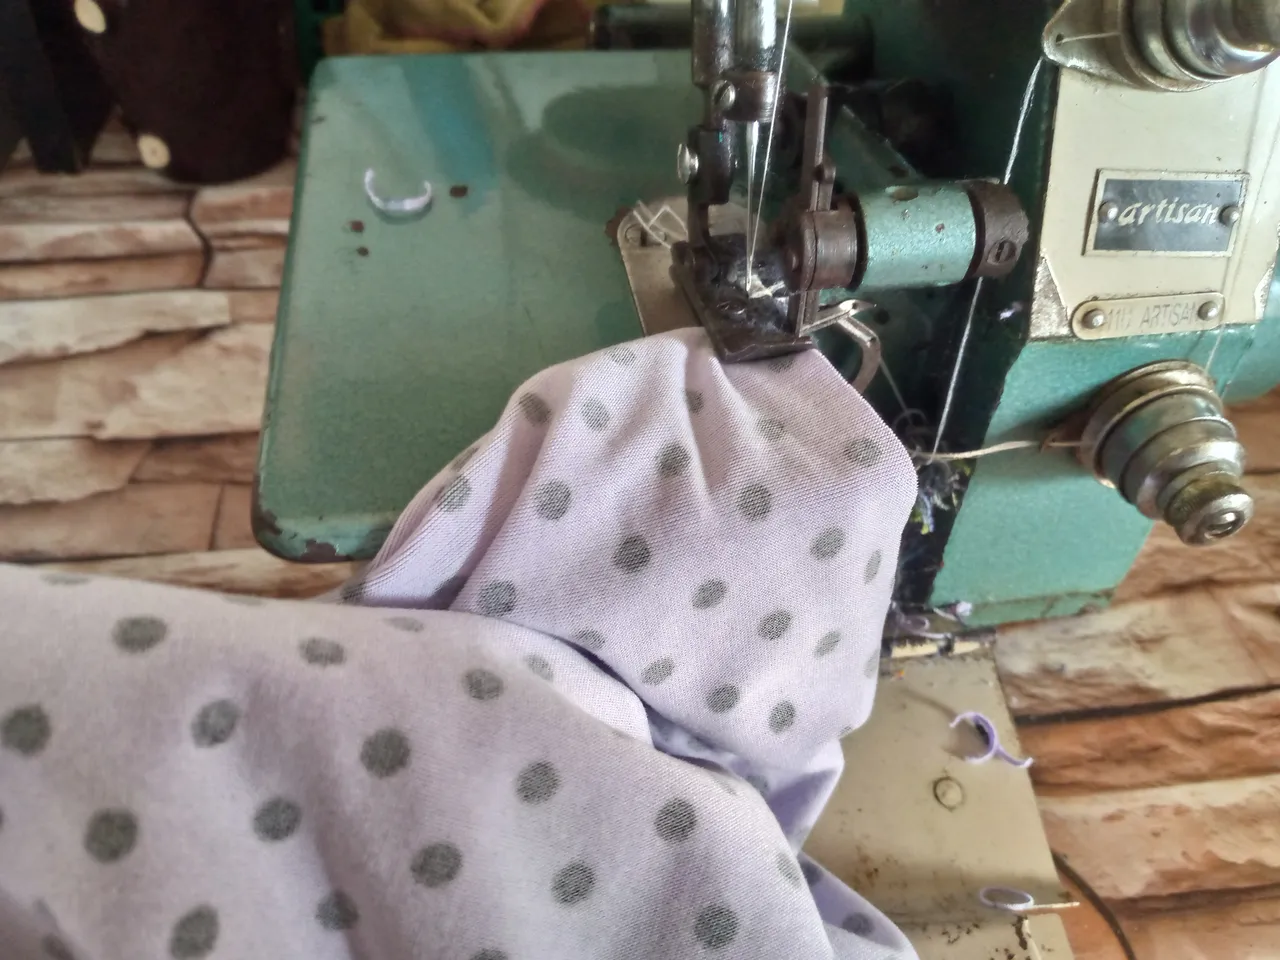
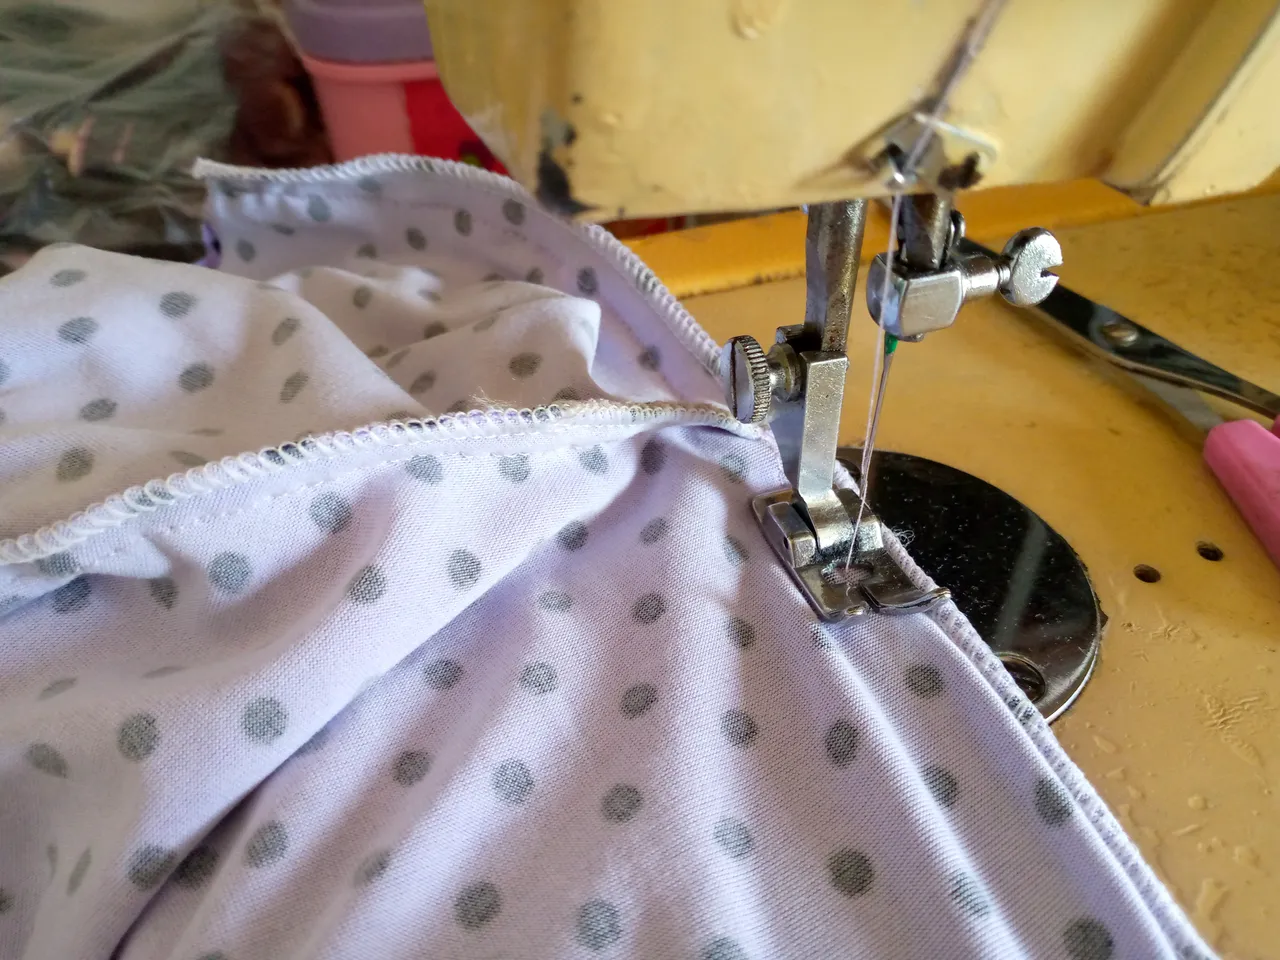
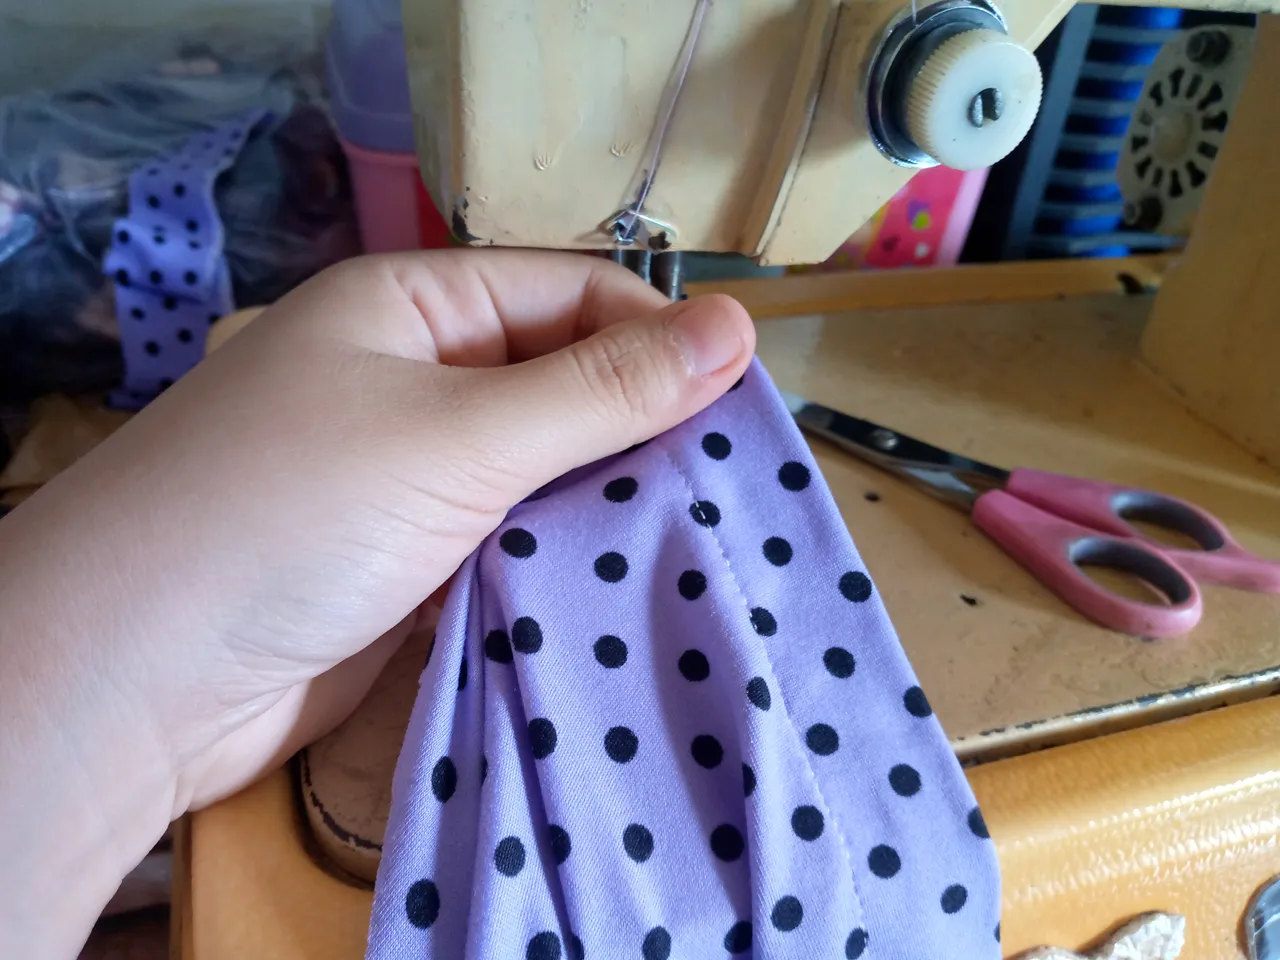
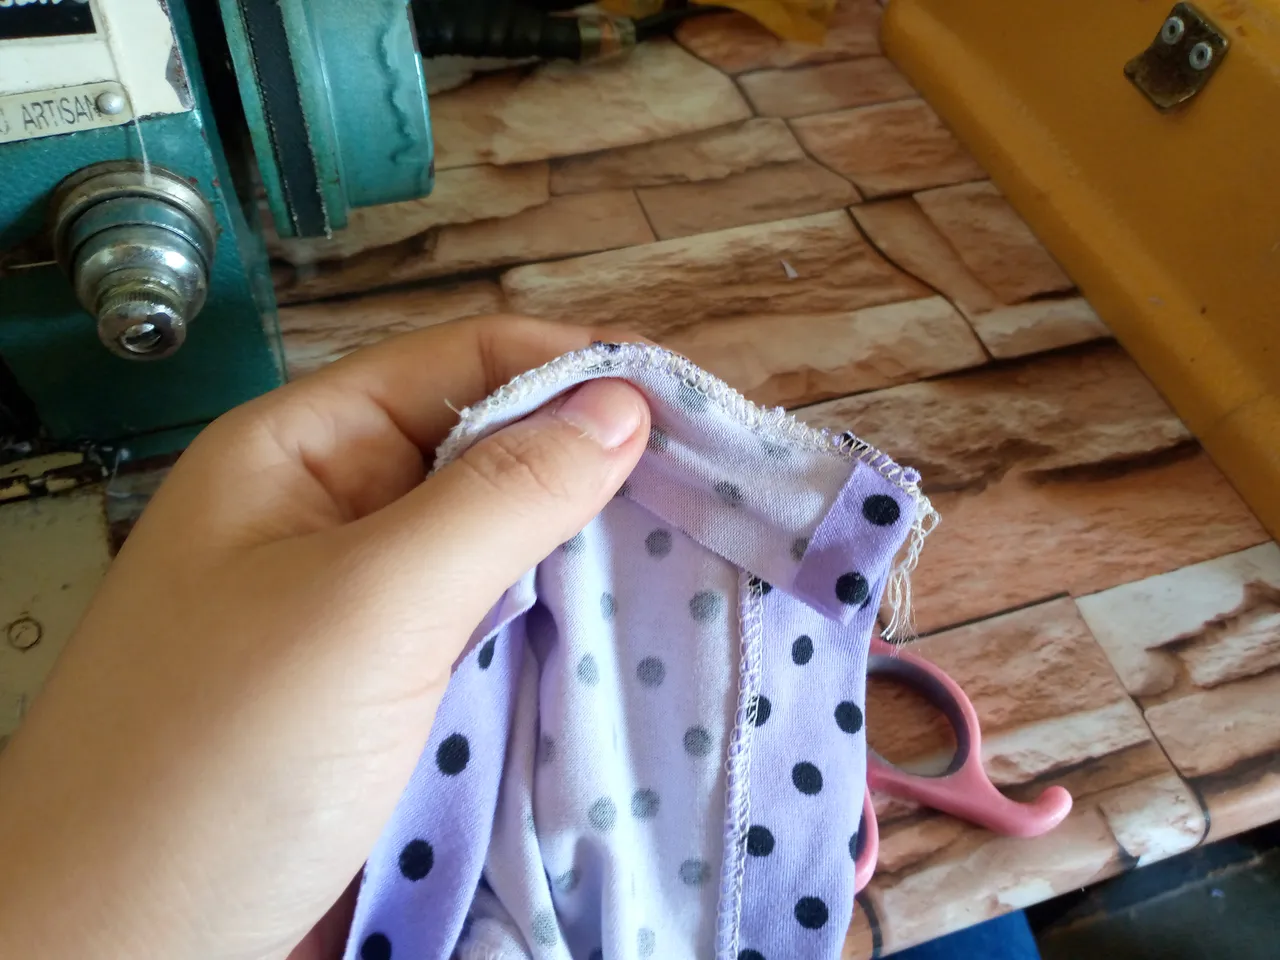
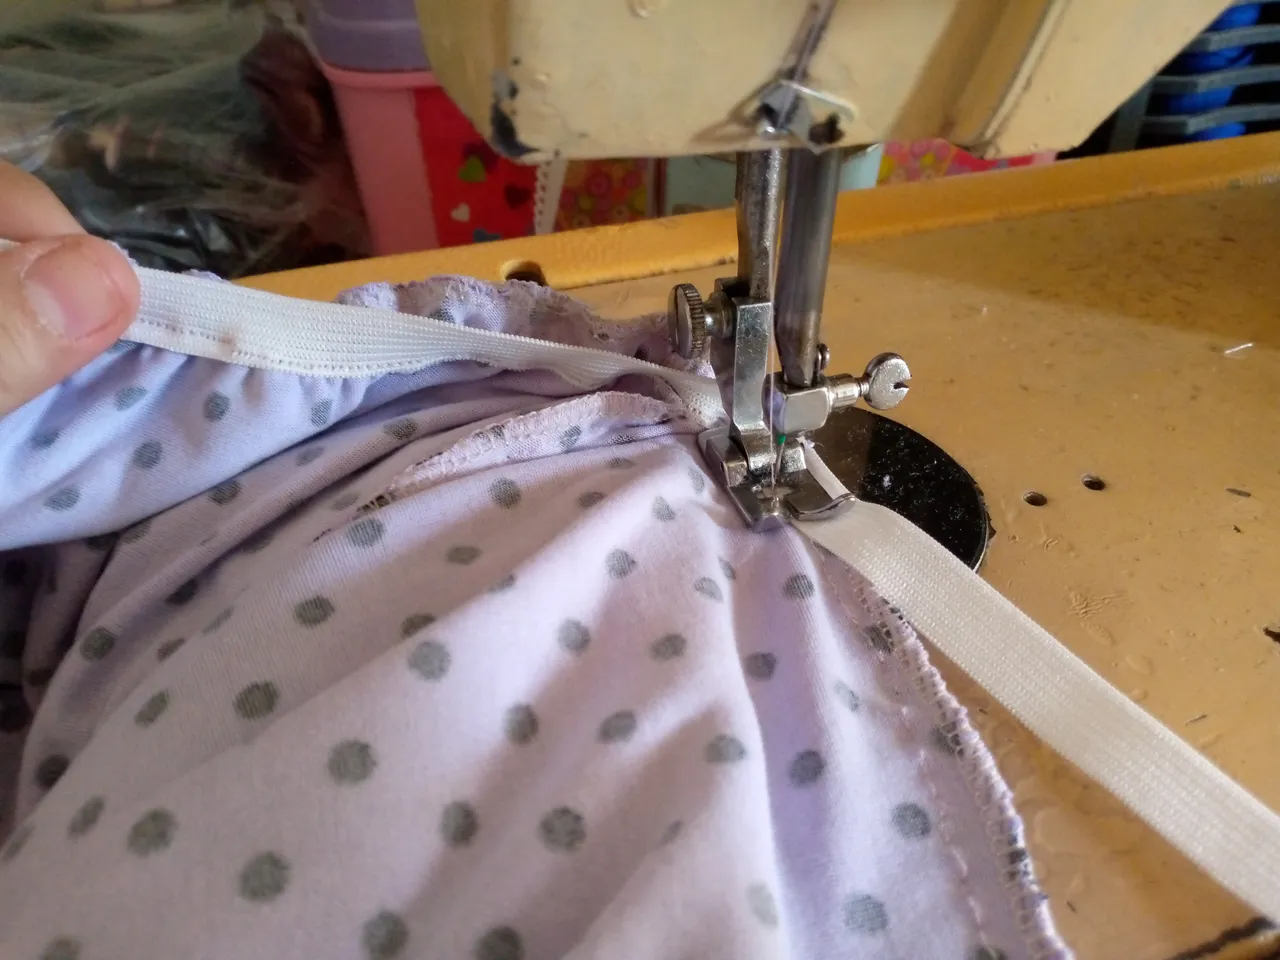
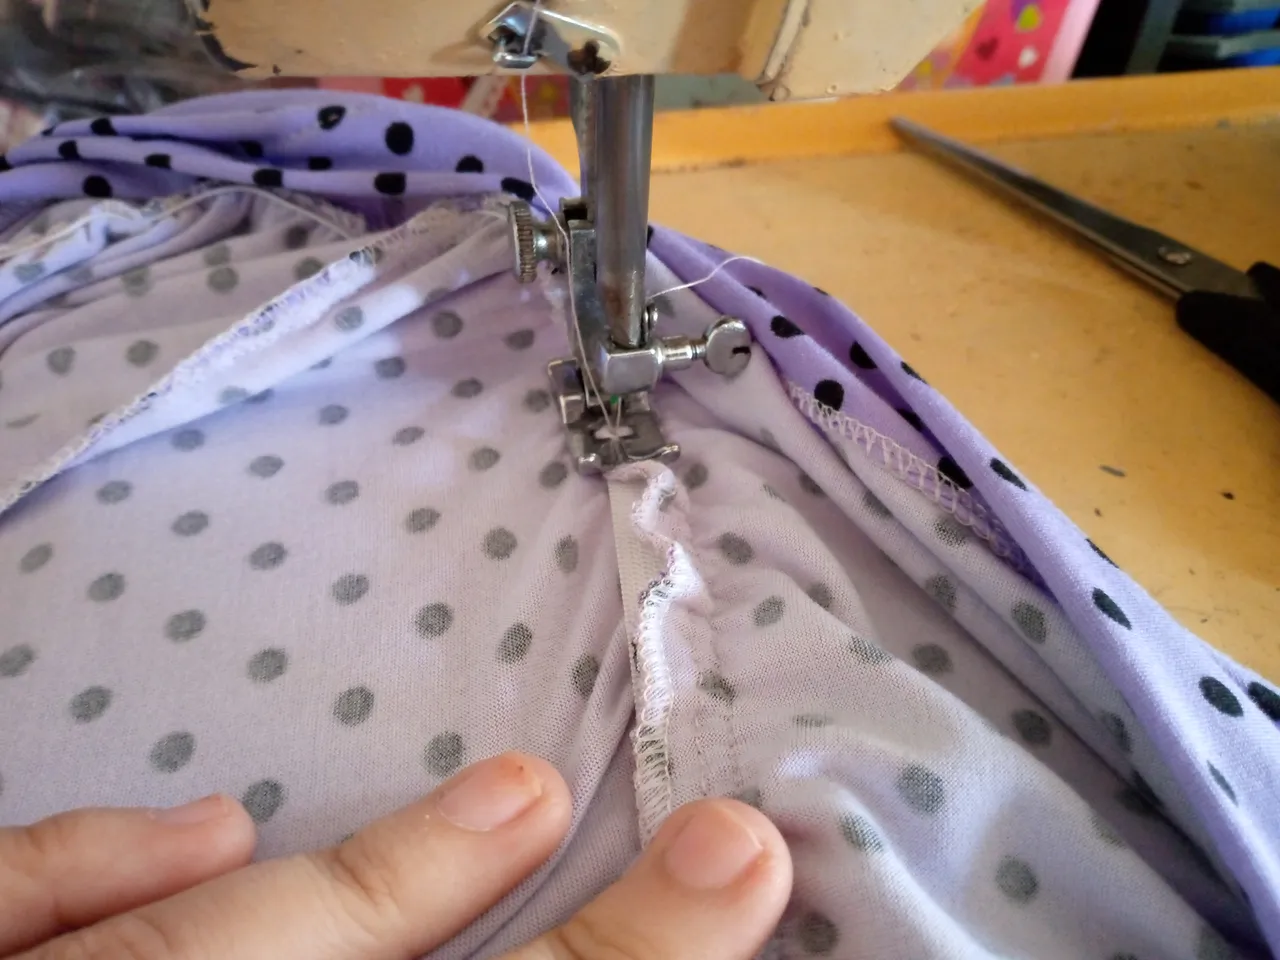
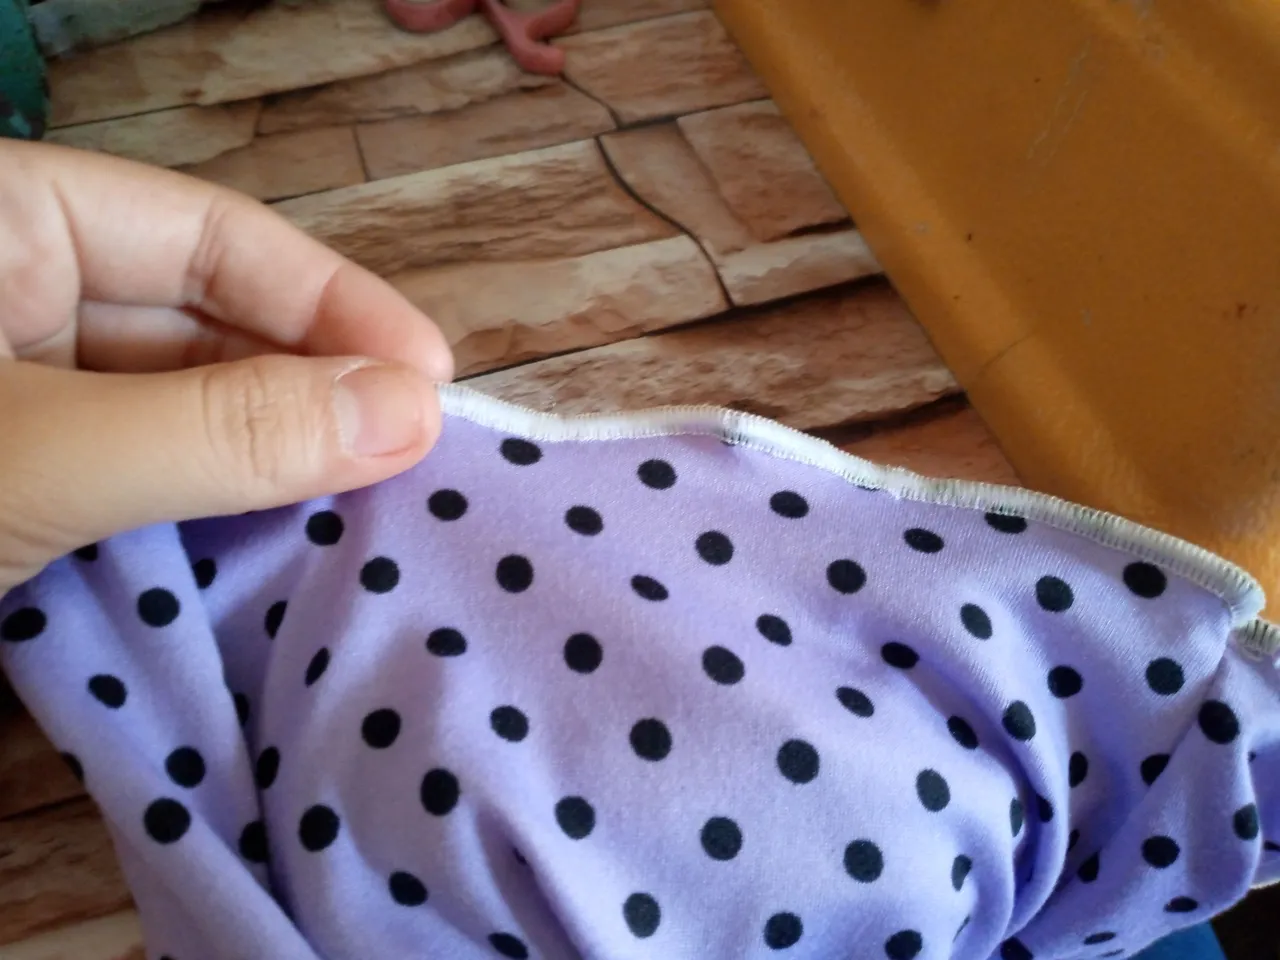
This is how the bias sewn on the neck area looks now we simply sew it along the top with a straight seam then we are going to sew or close the shorts on the sides and the rise and we are going to join it to the blouse around the entire outline we sew, then we sew along the inside union our elastic that goes on the waist to hold the panties and we sew on the outside to sew the elastic well and prevent it from coming loose.

Paso 05
Step 05
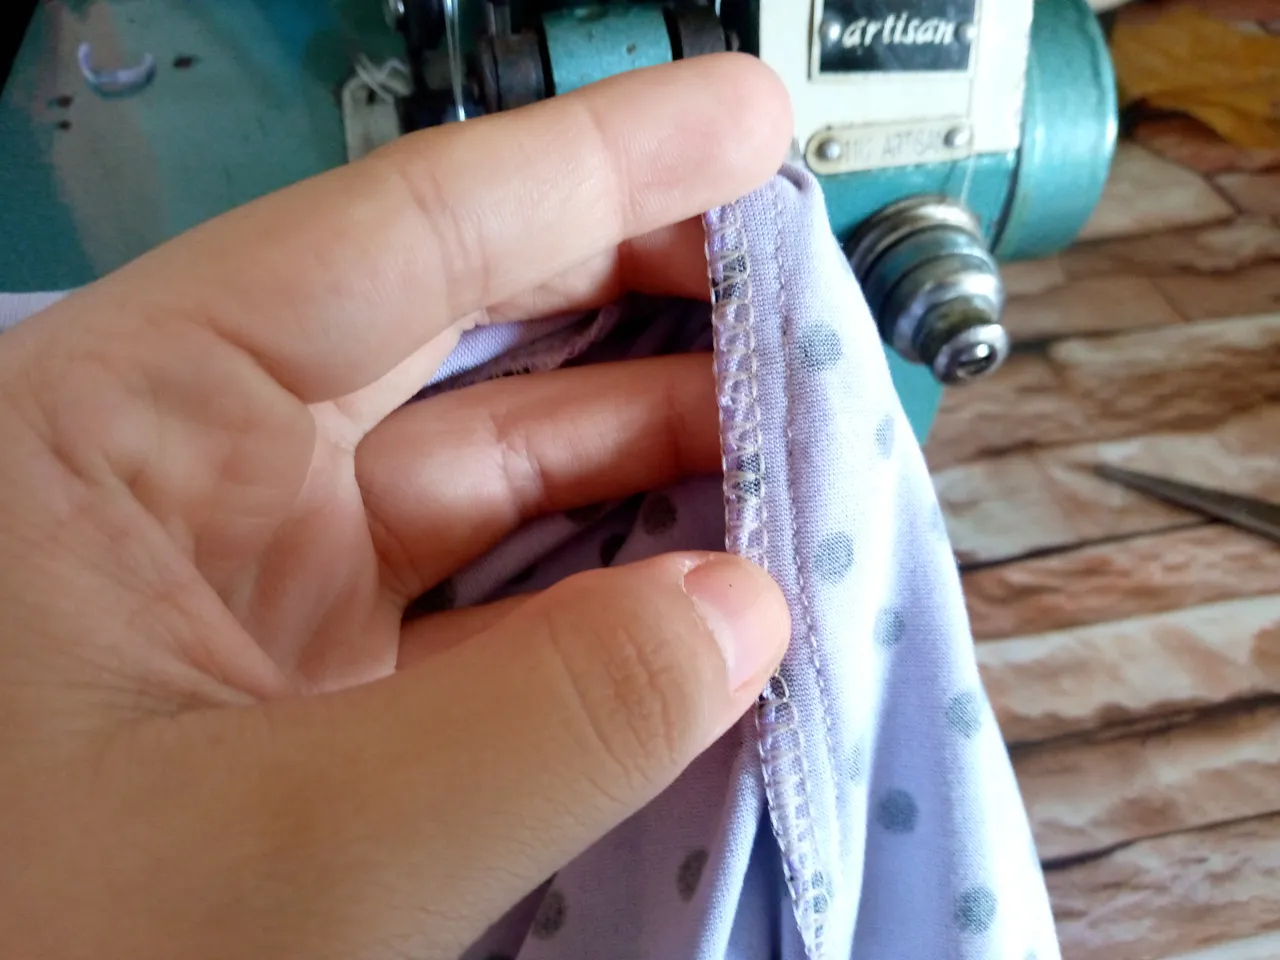
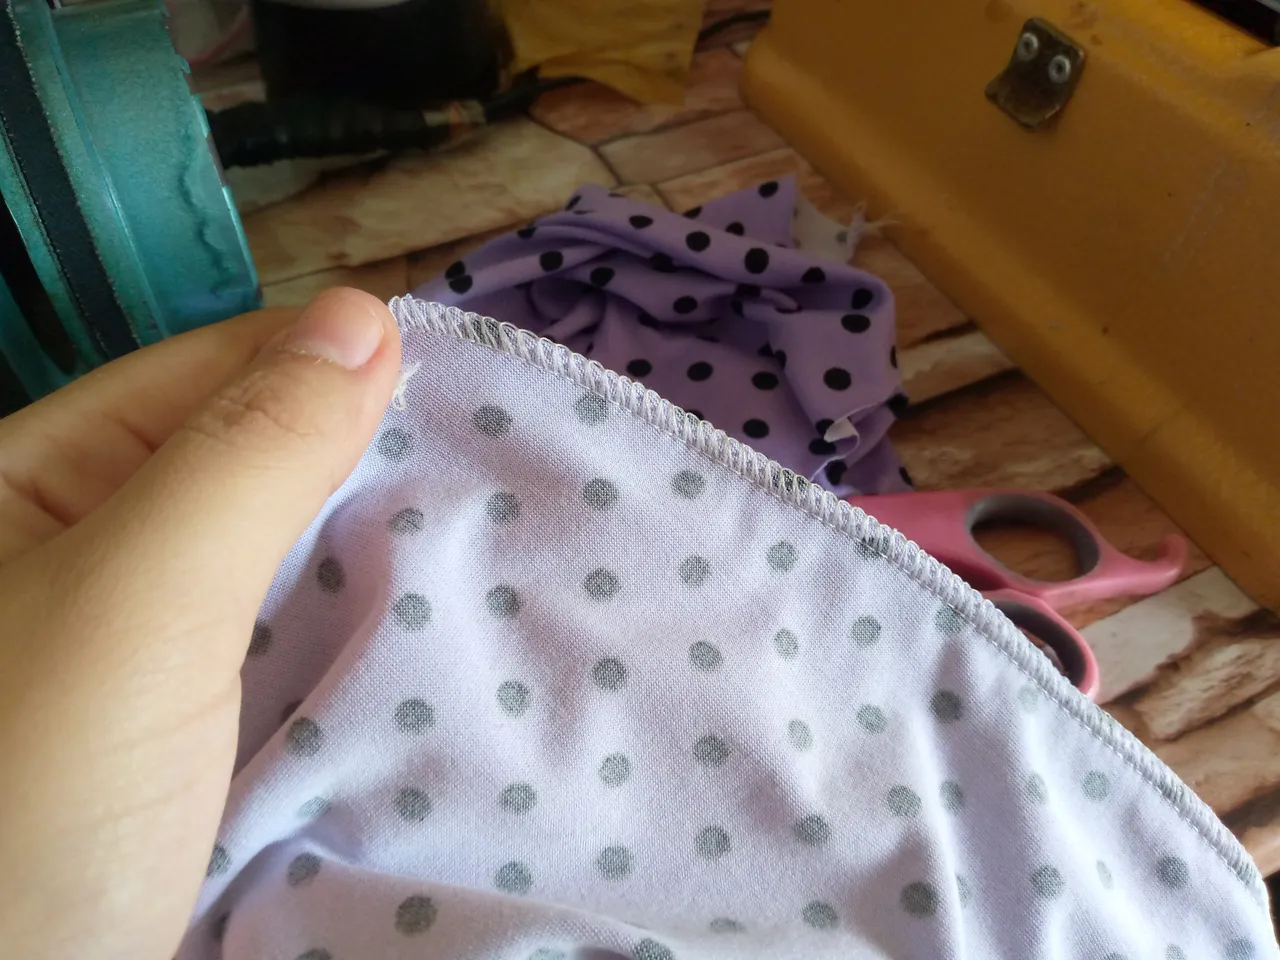
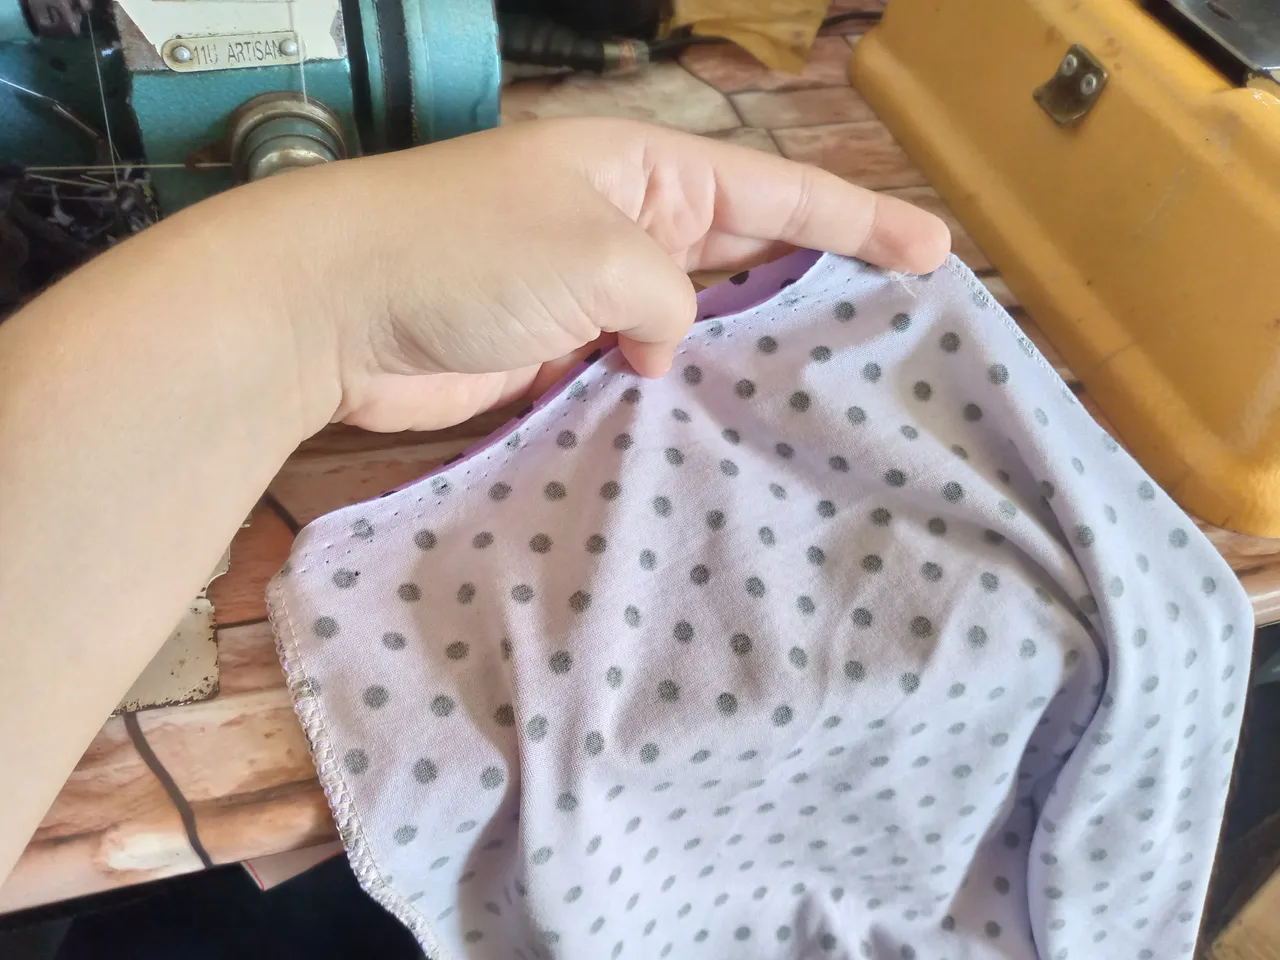
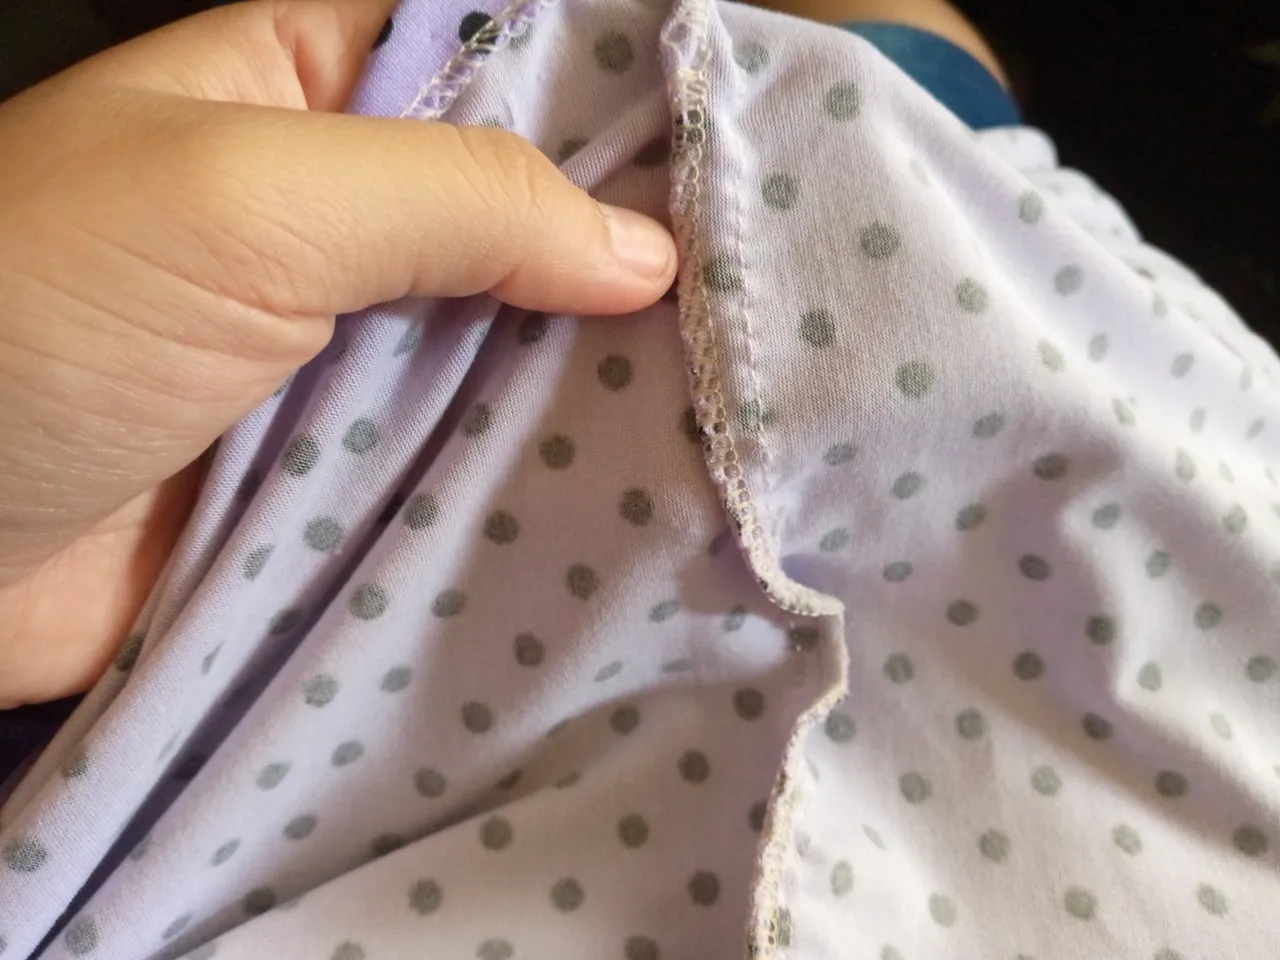
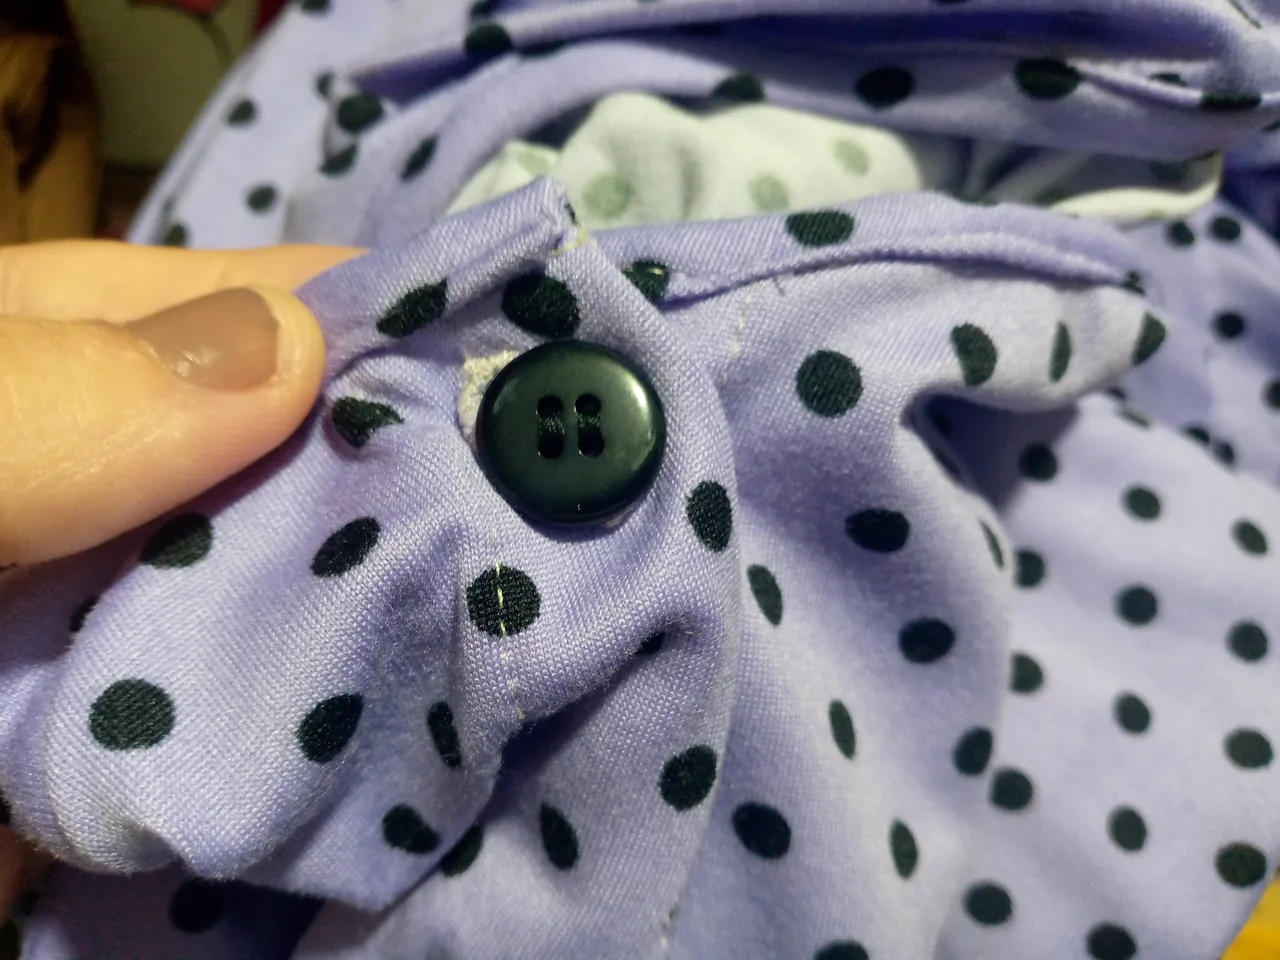
I finish by sewing the edge of my panties on each side of the leg of the shorts and I will also sew the elastic on each leg two centimeters inwards, I wanted to put this elastic of course the same one that I have used for the waistband because I felt that the shorts were a bit wide for me but if you want them to be that wide you can leave them as you have cut them or simply reduce it a little in the patterns, everything as you want to place it, in my case I sewed the elastic so the shorts are gathered a little. Then I sewed the buttonholes marking with a sewing chalk where I wanted to place them then I sewed the buttons, and that's it we finished the short jumpsuit.
Resultado:// Result:
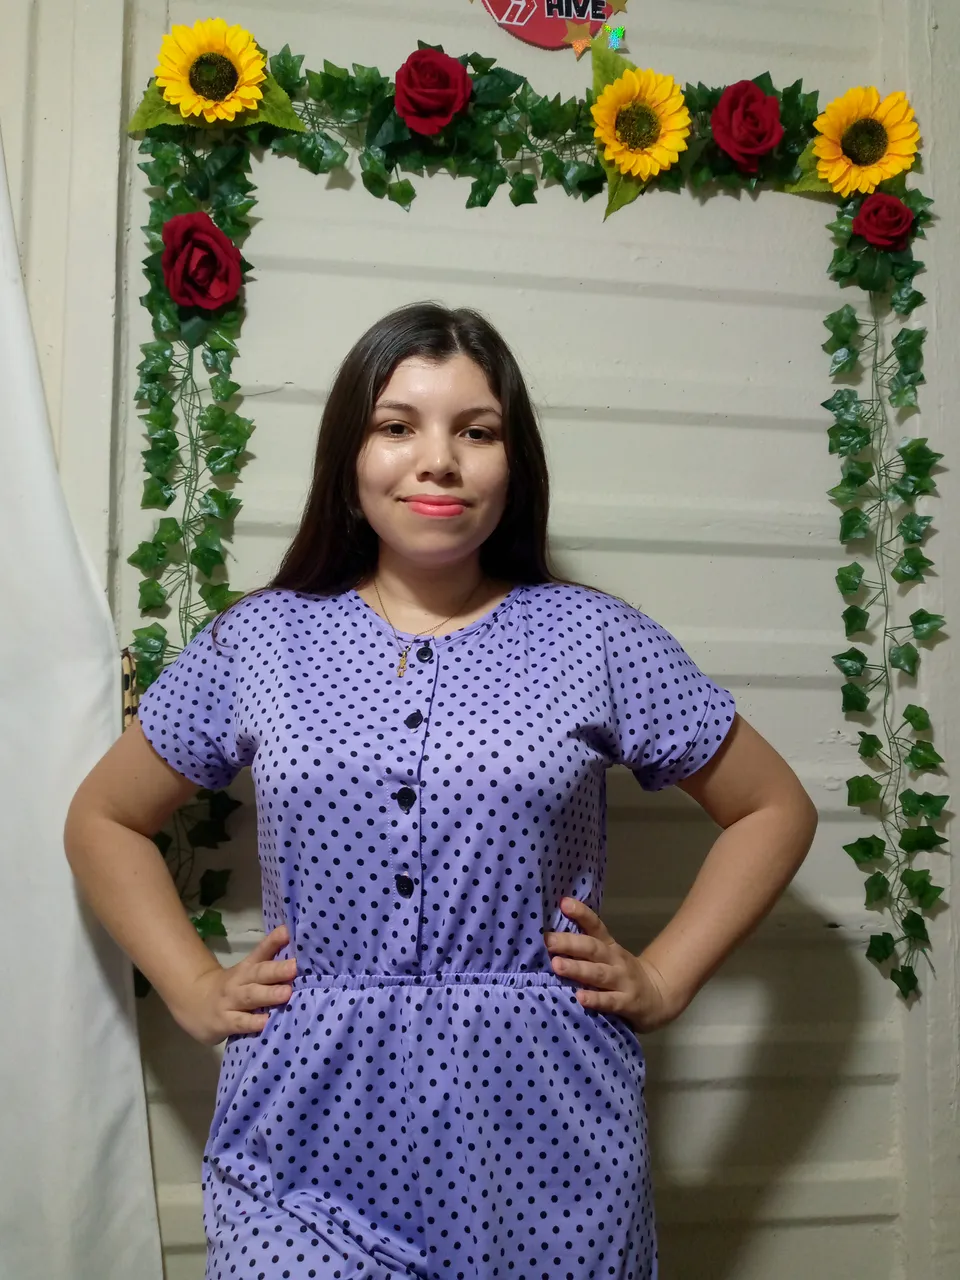
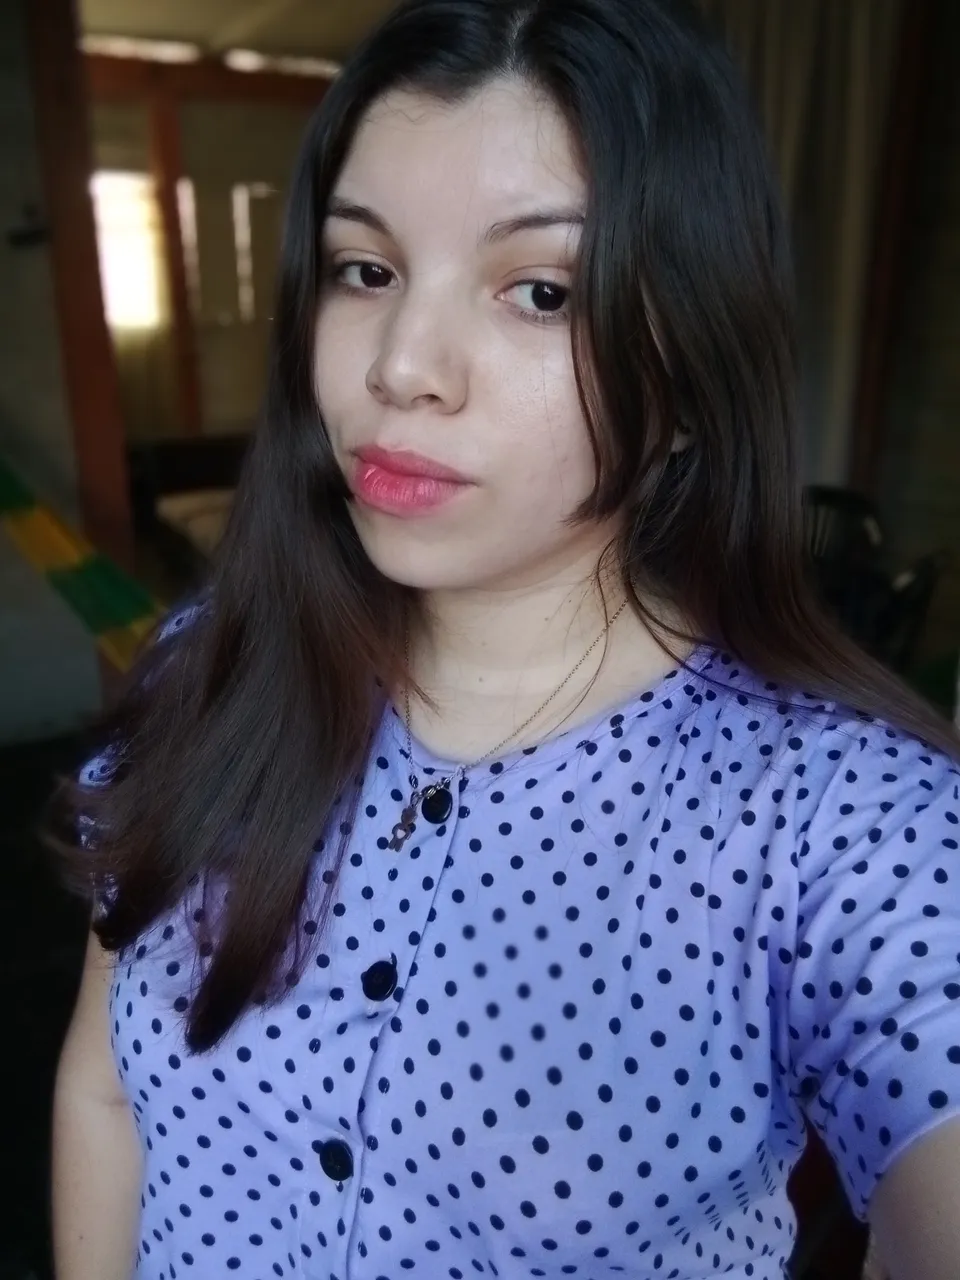
Here I show you the results of how my jumpsuit looks, I really liked it 🤭🥰💜 I hope you do too, remember that if you really like these tutorials let me know here in the comments, also if you have questions regarding the confections I will be answering them and I will see you in another project 😎, with this I say goodbye, greetings and have a beautiful night's rest🌜😘.
Creating things with love 🌷❤️
🦋✨ All the images in this publication are my author ,📱taken with my TecnoSpark8C cell phone |📸Photos edited in PicsArt and Canva. Text translated in Google Translate.