Bienvenidos amigos #needlewokers a un espacio creativo de costura🪡🧵
Welcome, #needlewokers friends, to a creative sewing space.
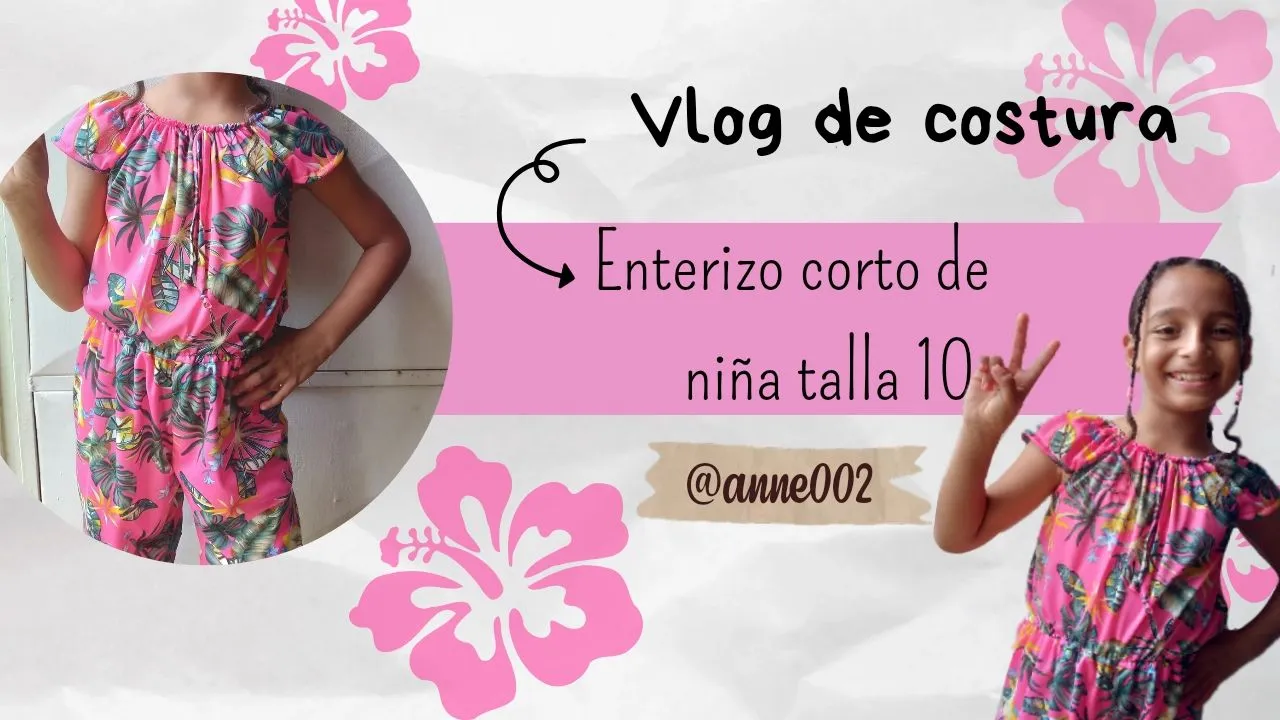
On this beautiful night I would like to share with you a very nice job that I have done for my cousin, a printed muslin fabric jumpsuit size 10/12, I have always thought that these jumpsuits are very practical when it comes to girls using them since they can comfortably put it on and take it off easily from the top because we will be making a peasant style with its elastic obviously so that it can be easily lowered. If you would like to appreciate the process I would be happy to invite you to appreciate this blog and then we will go with the materials.

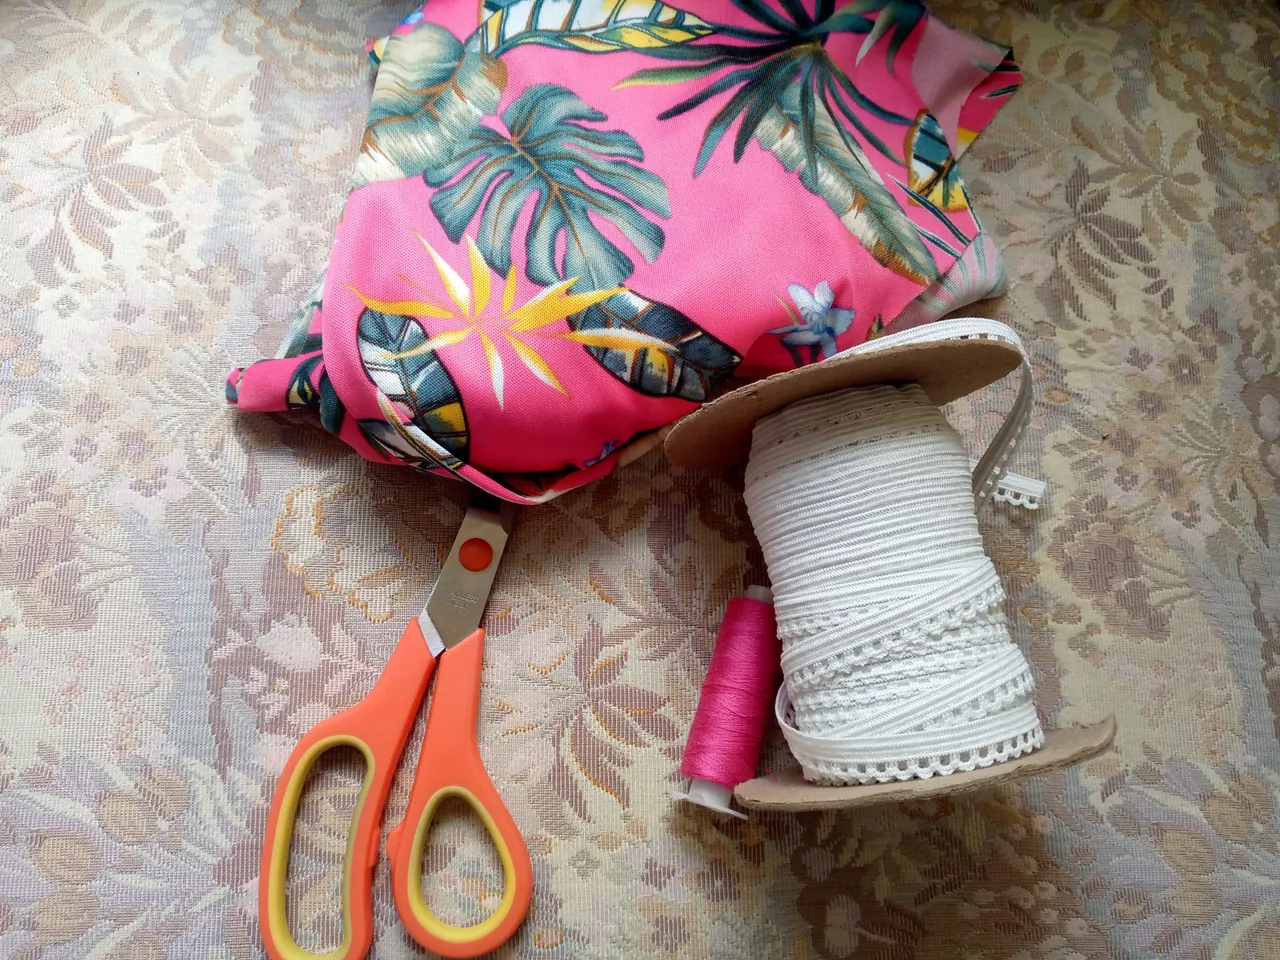
Materiales: | Materials:
- 70 cm de tela muselina estampada
- Hilo
- Máquina de coser [overlock]
- Elastico de 1 cm de ancho x 60
- Tijeras
- 70 cm of printed muslin fabric
- Thread
- Sewing machine [overlock]
- 1 cm wide elastic x 60
- Scissors
Pasos a seguir: | Steps to follow:
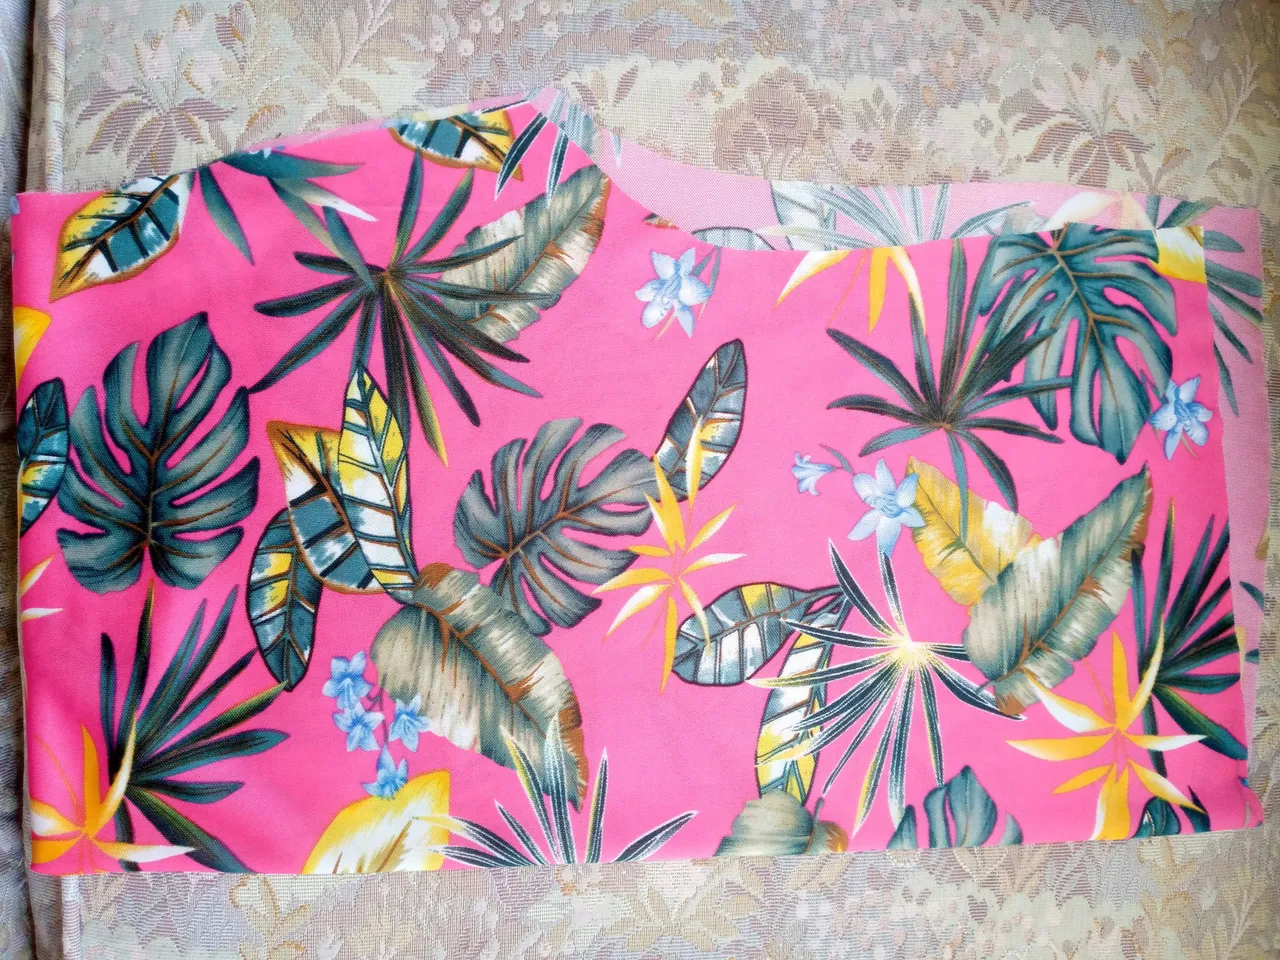
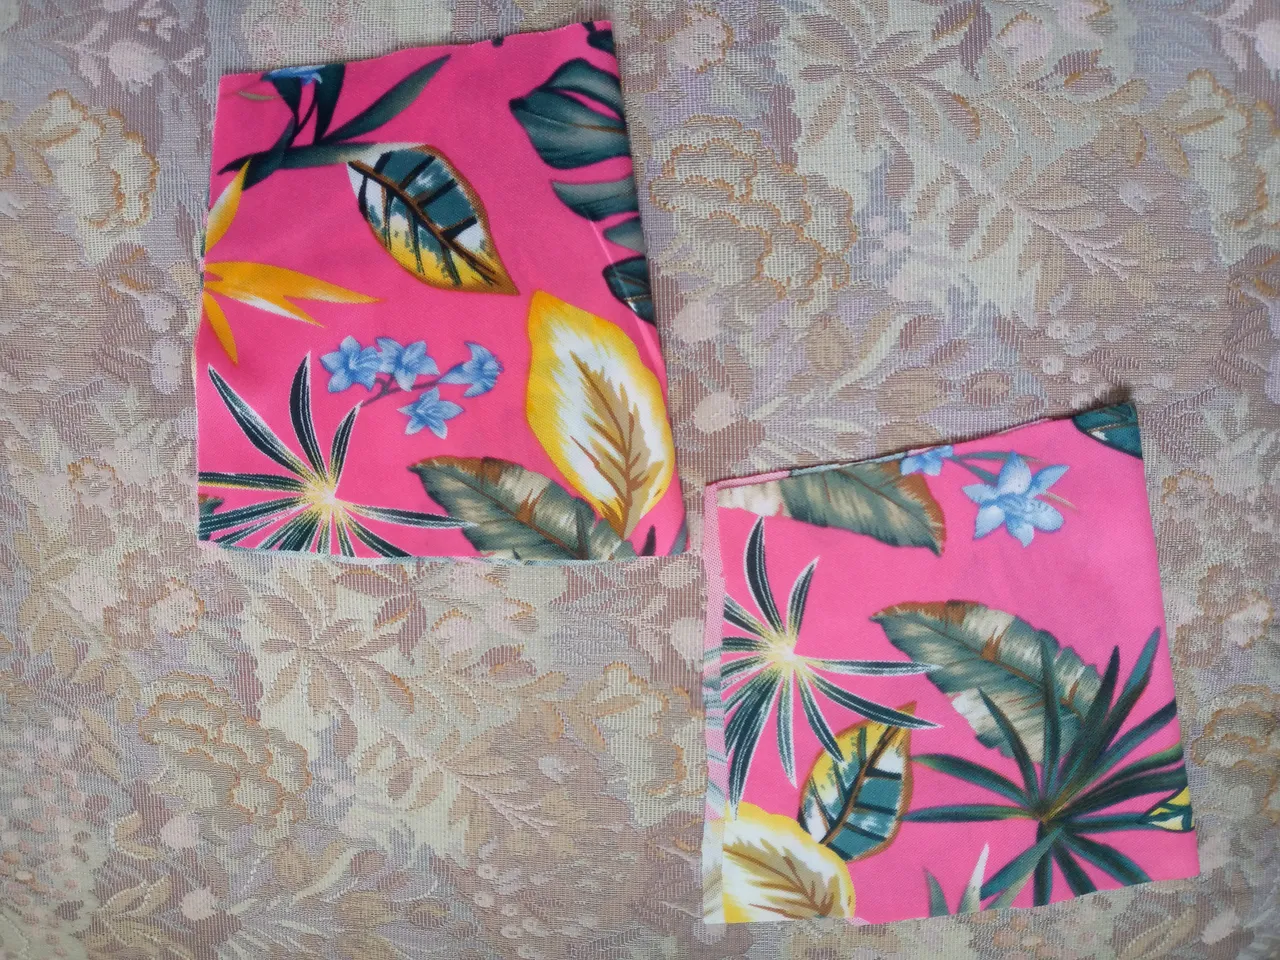
Paso 01
Step 01
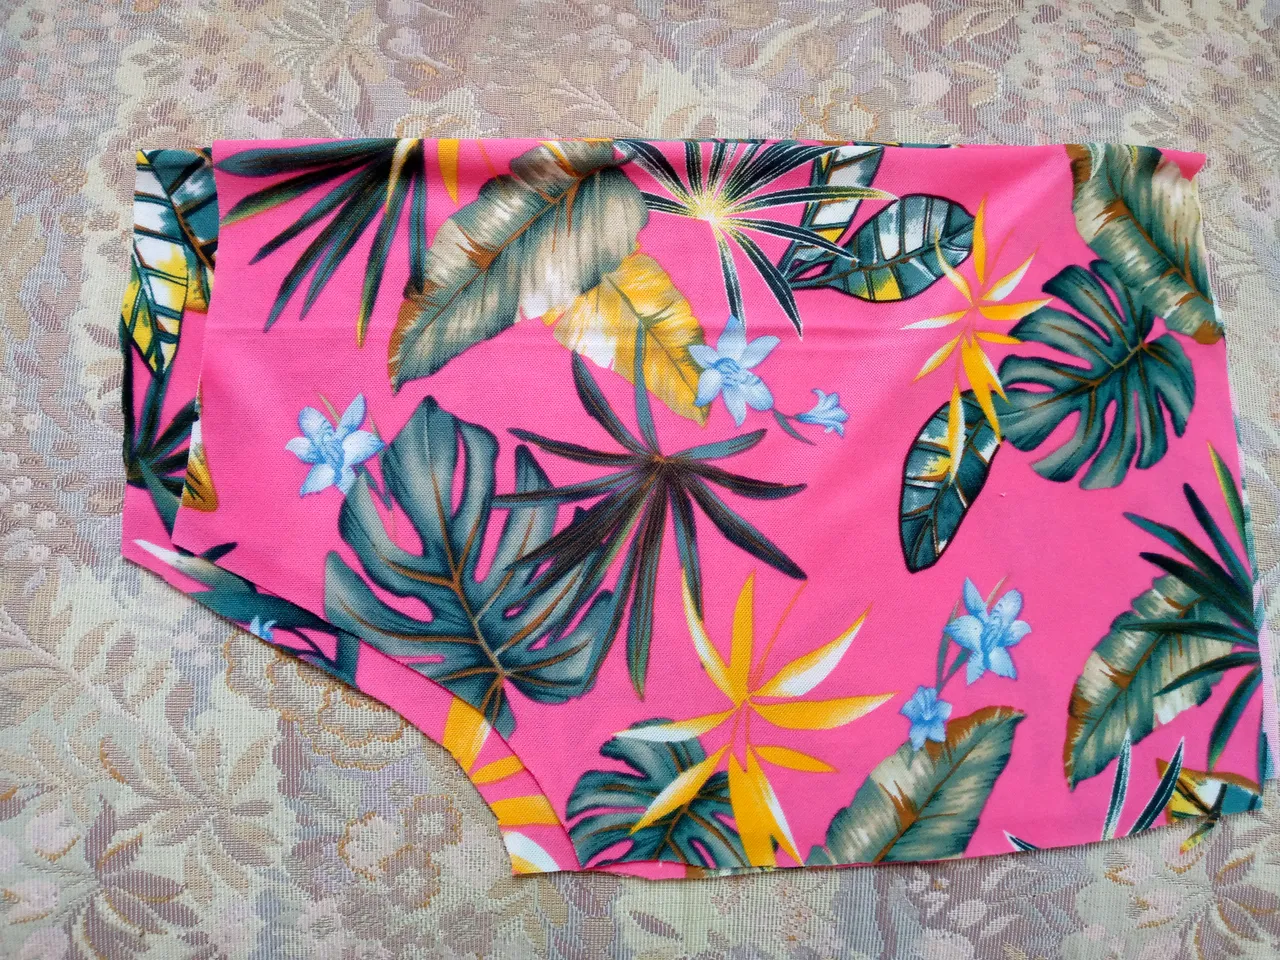
To start, I will be cutting the base pieces of my jumpsuit. In this case, we are going to cut a double piece of the shorts part, 30 cm long, a double piece of the sleeves, and of course a double piece of the front waist part. We will make the back waist piece 2 cm longer. I cut these pieces using a measurement as a reference for the cut.
Paso 02
Step 02
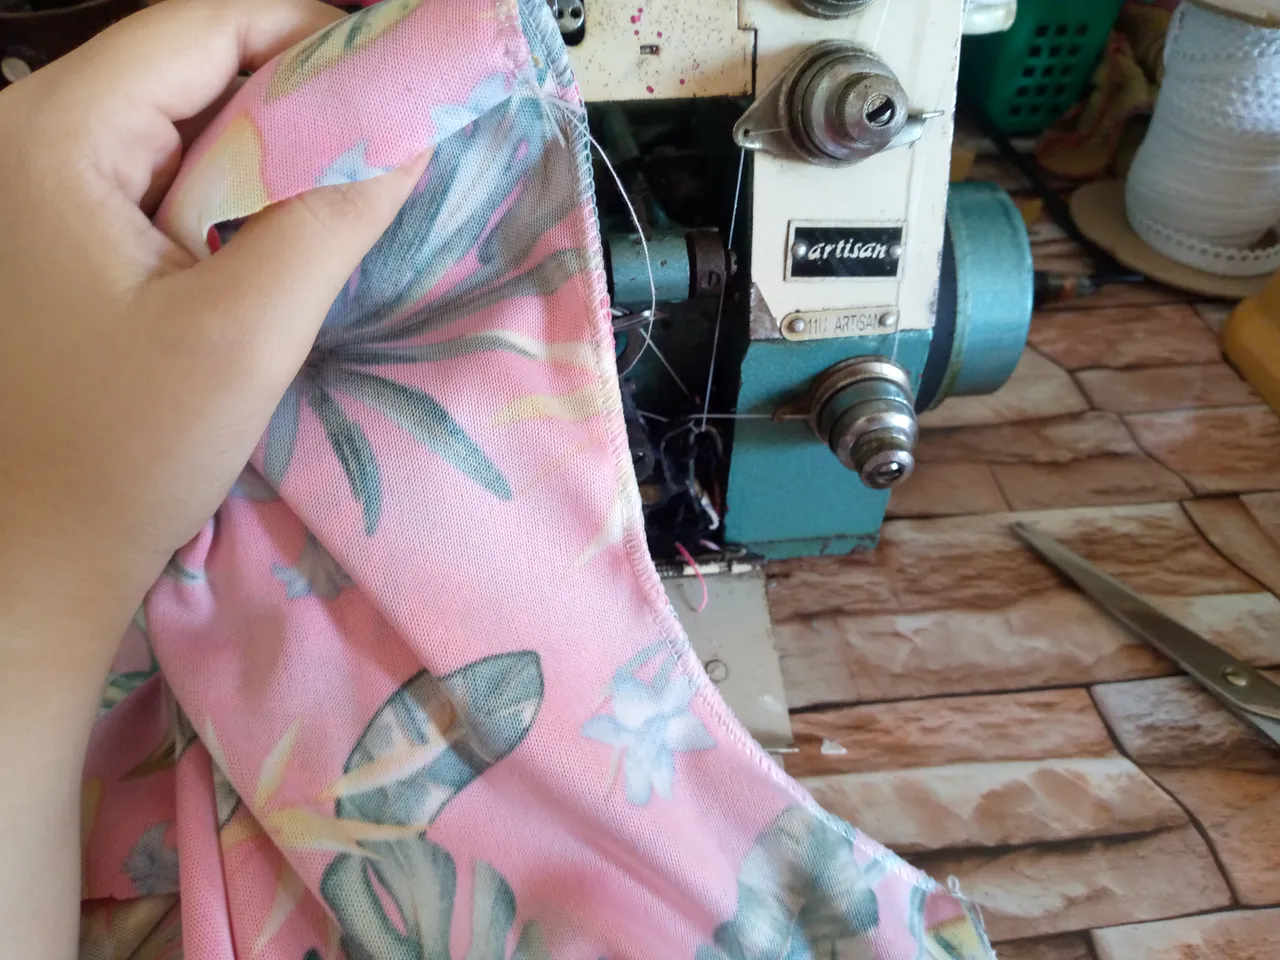
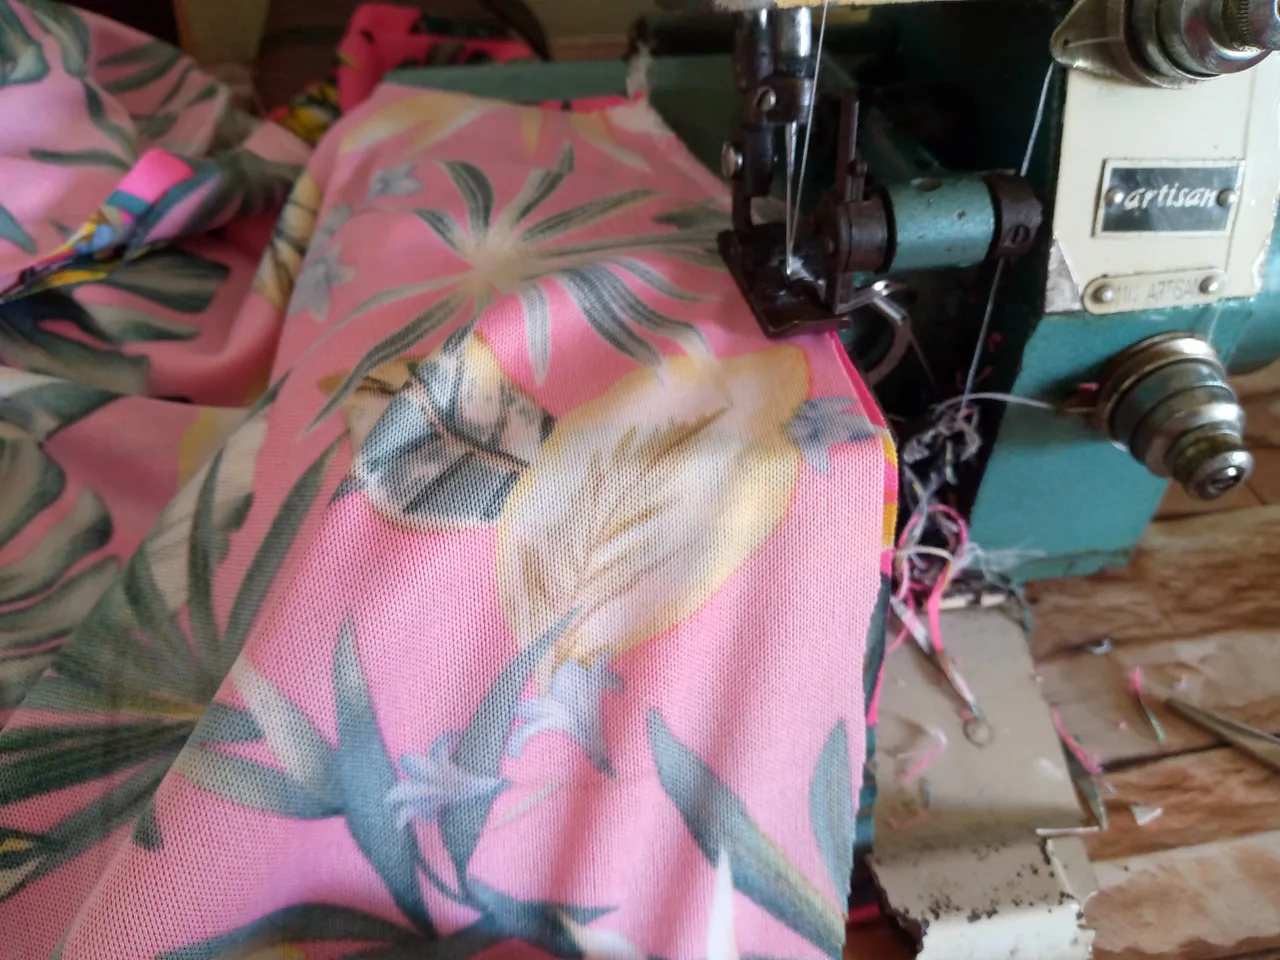
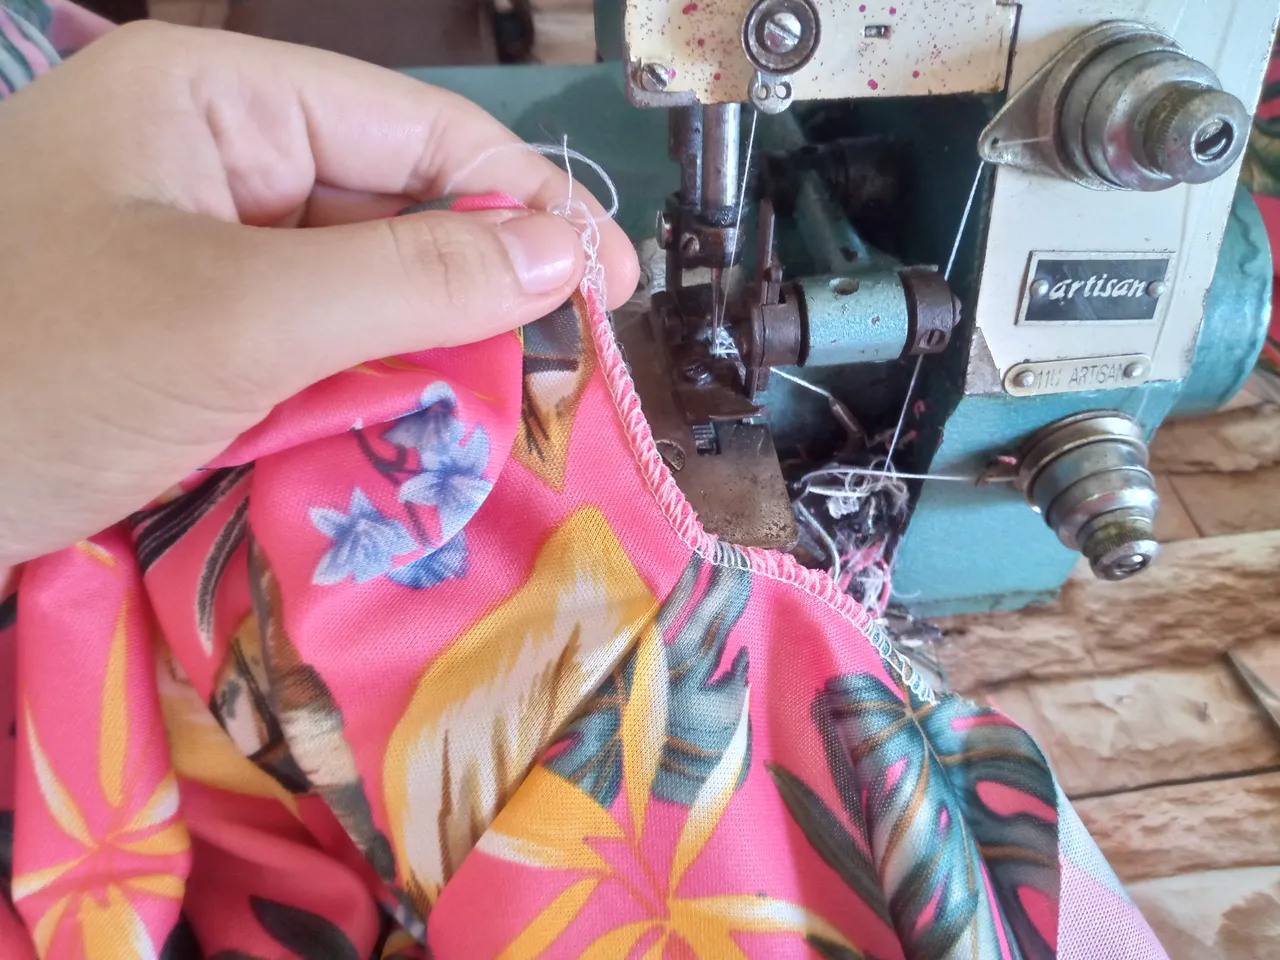
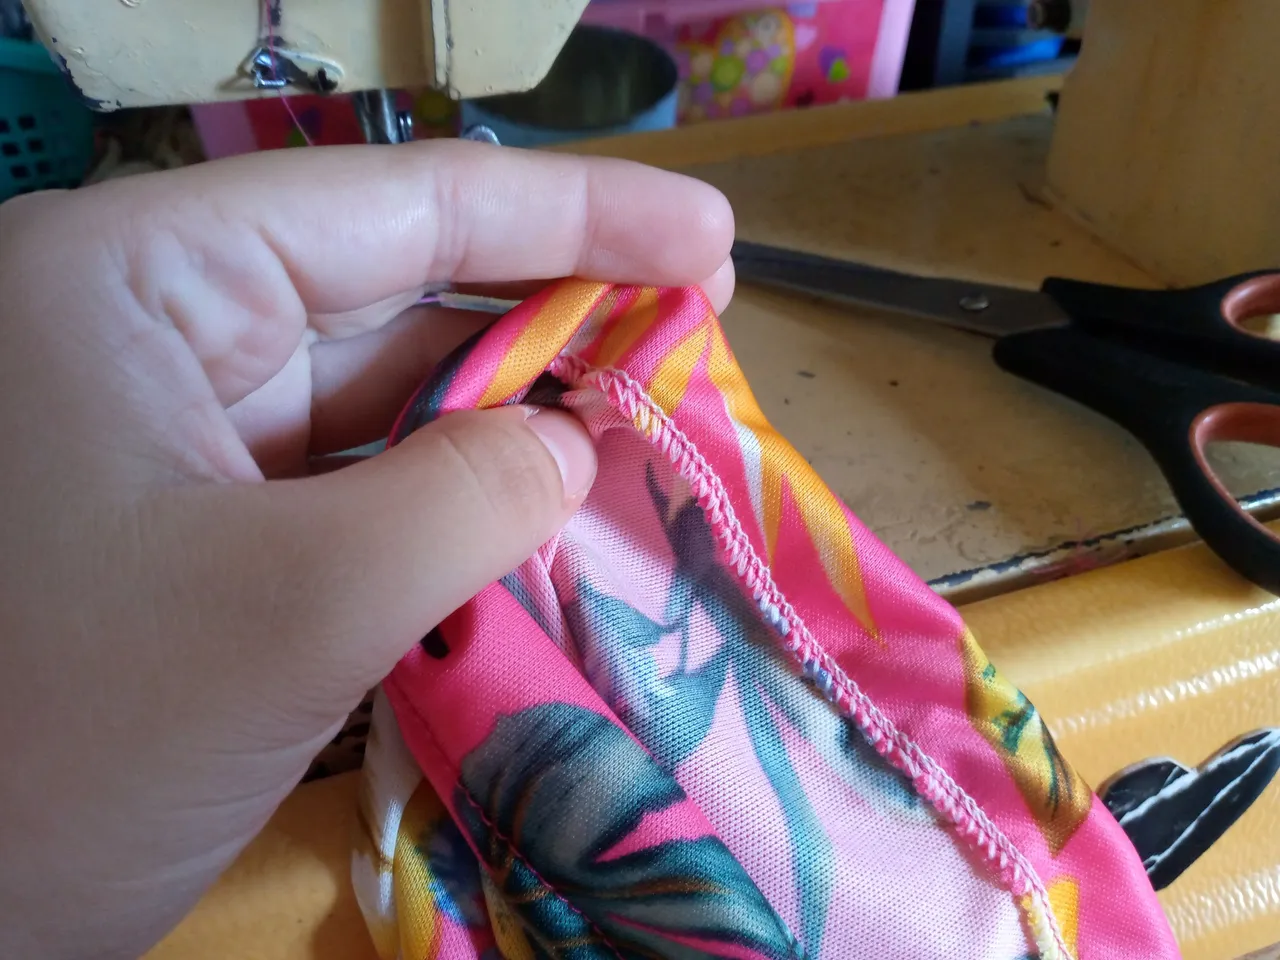
The next thing we will do is start sewing the rise of the short pieces, that is, join the corresponding parts at the rise. We sew with an overlock and always use a straight seam. Once I have joined these pieces, I will then sew the blouse part separately on the sides and then sew the sleeves to the armhole.
Paso 03
Step 03
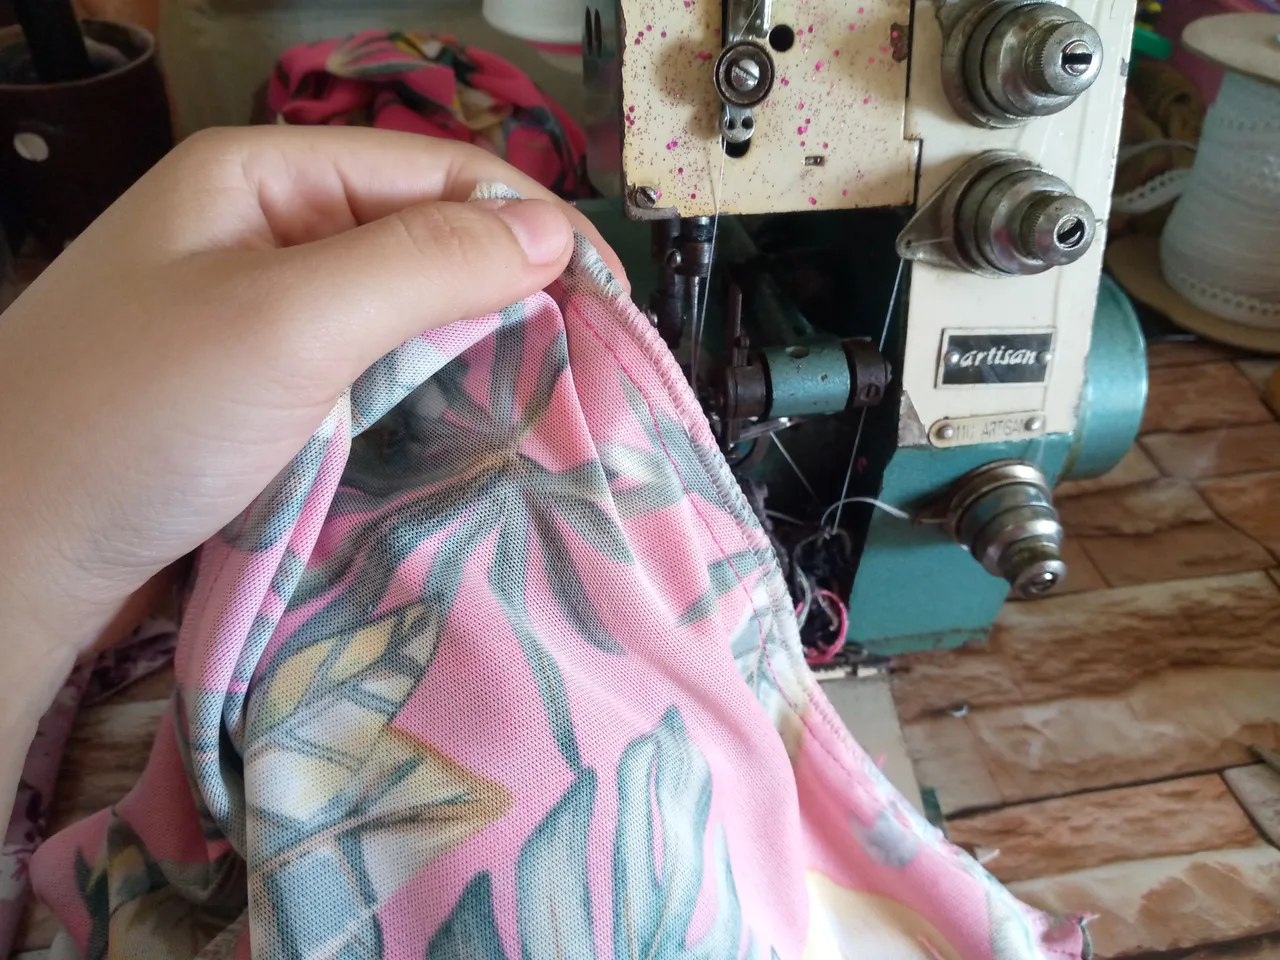
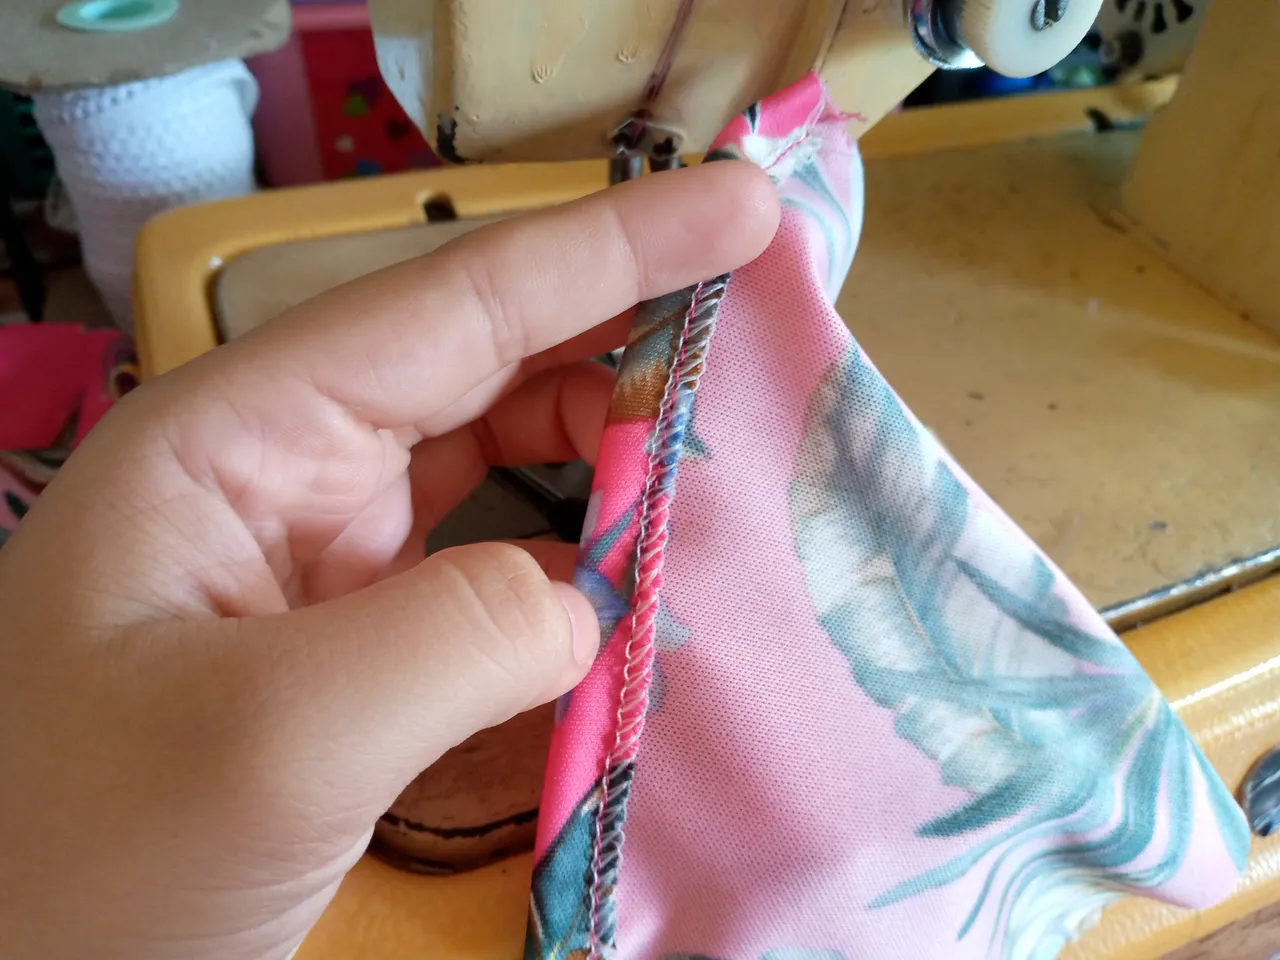
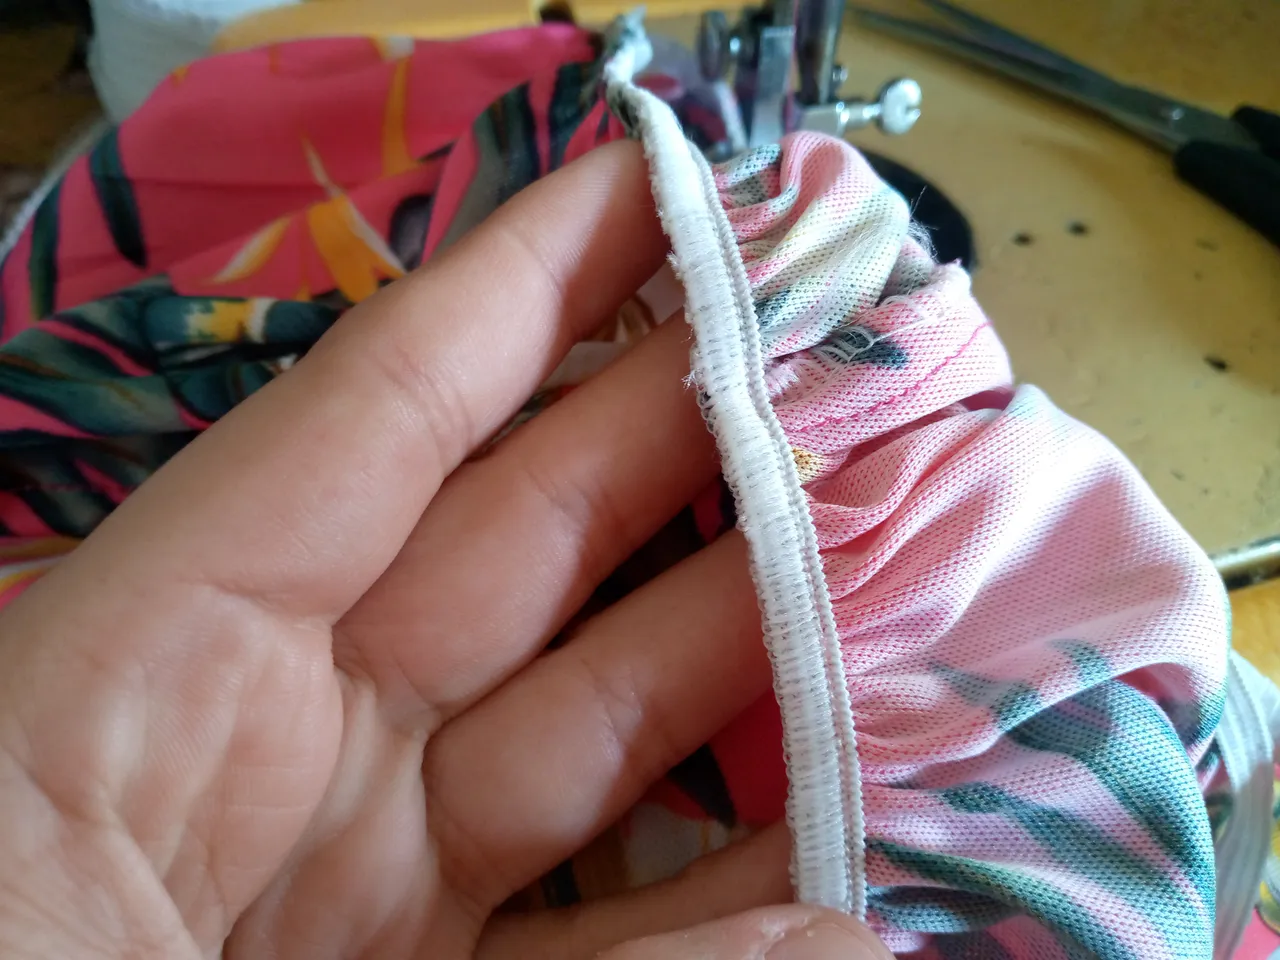
We then sew the hem part of my sleeve, approximately 1 cm long, and what I will do is sew the sleeve to the armhole. Once I have sewn a small edge on the armhole, I will then fold this part inside. I simply sew both sleeves. Once I have finished, I will cut the 30 cm elastic to sew it around the shoulders and the top part of the blouse. I will sew while stretching it little by little.
Paso 04
Step 04
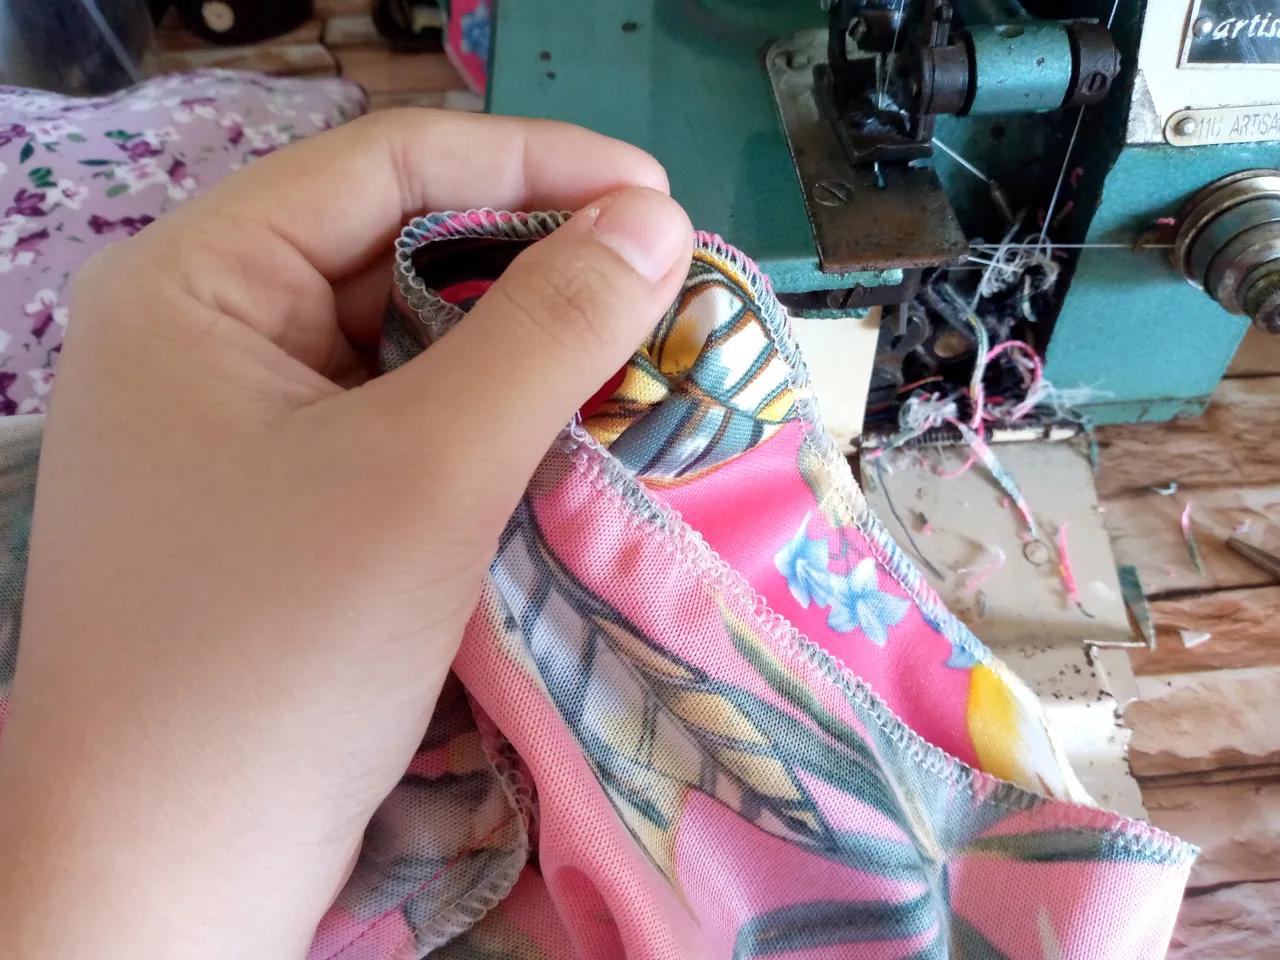
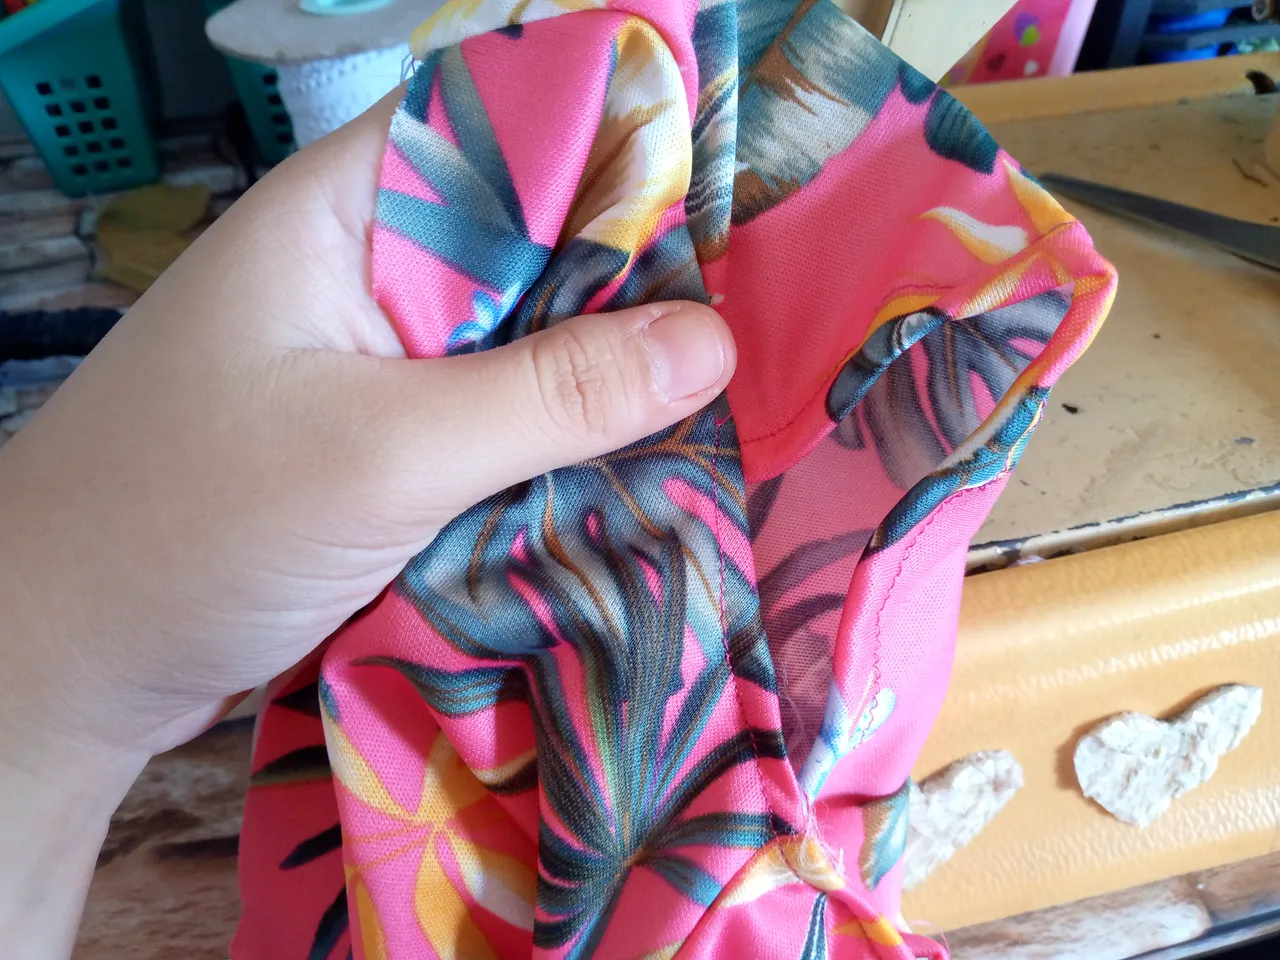
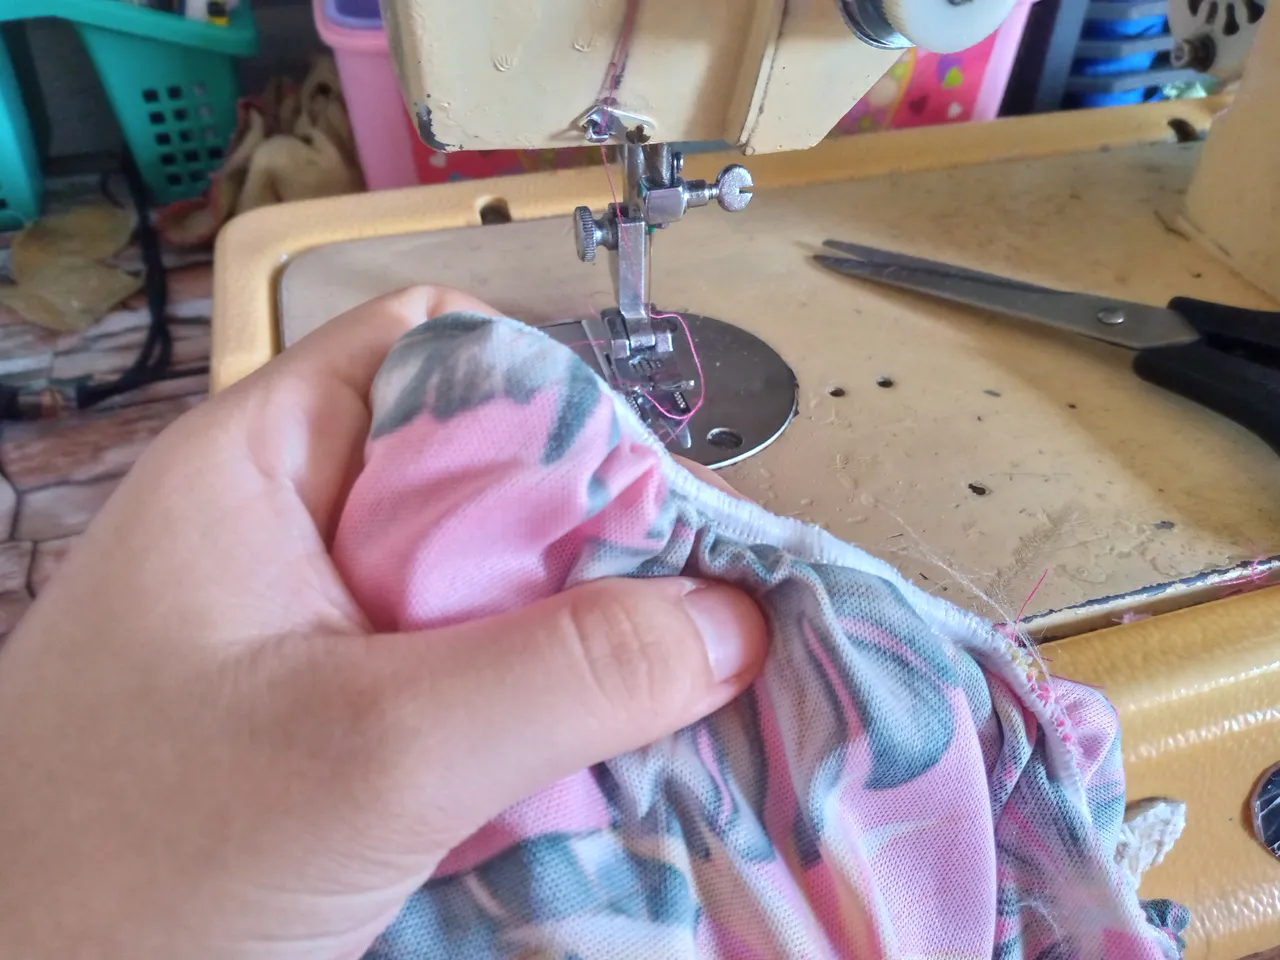
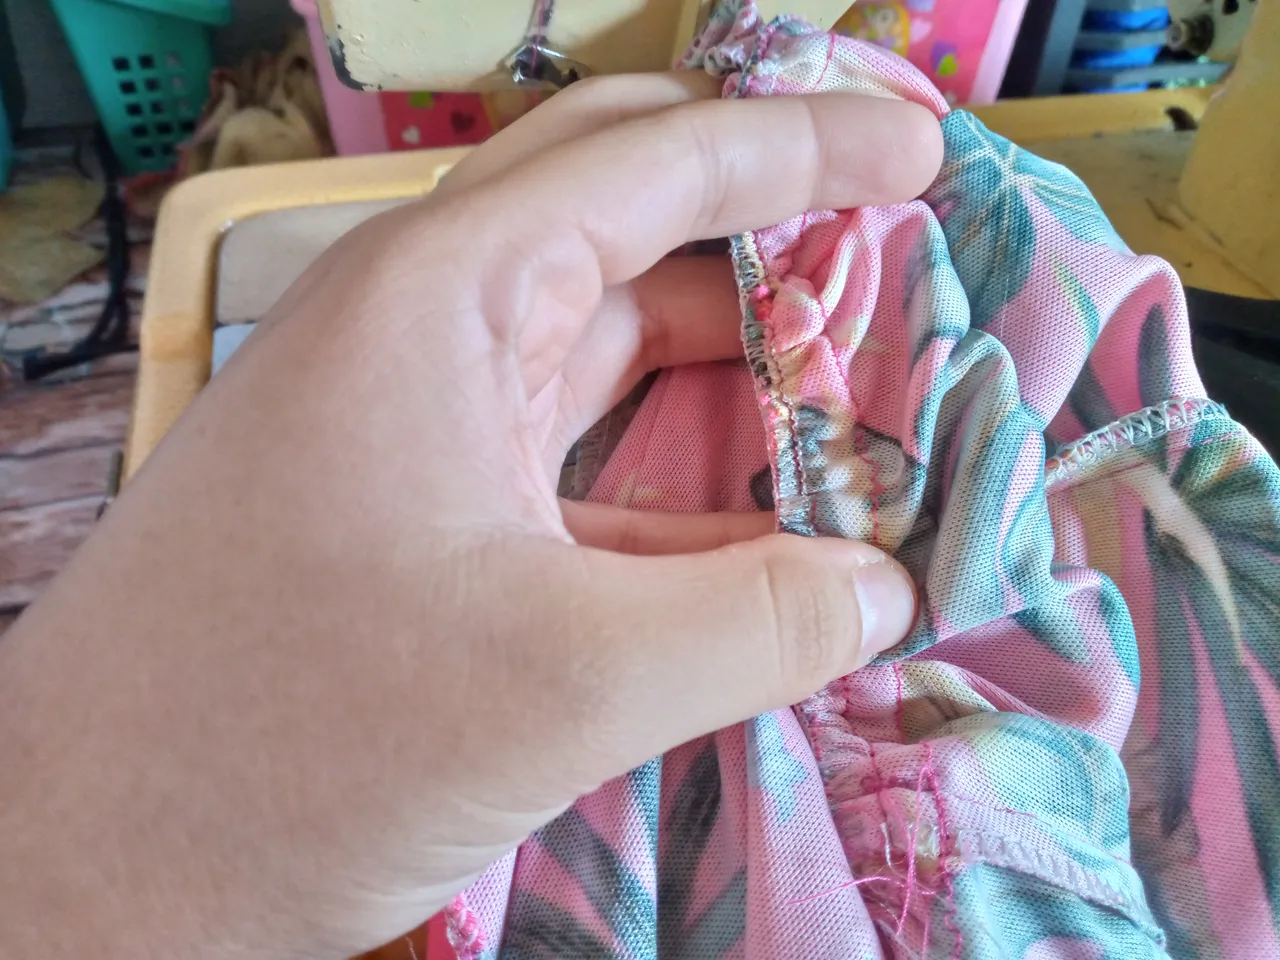
After joining the sleeve pieces now I'm simply going to sew the hem of the jumpsuit shorts and I'll make a 2 cm hem then we will join the front waist piece with the shorts and sew leaving 1.5 wide because in that part we will be sewing the elastic that goes on the waist the other 30 cm of elastic we are going to sew it all around the waist stretching well I did this with overlock but you can do it in zig zag, this is the last step of my panties and I show you the final results.
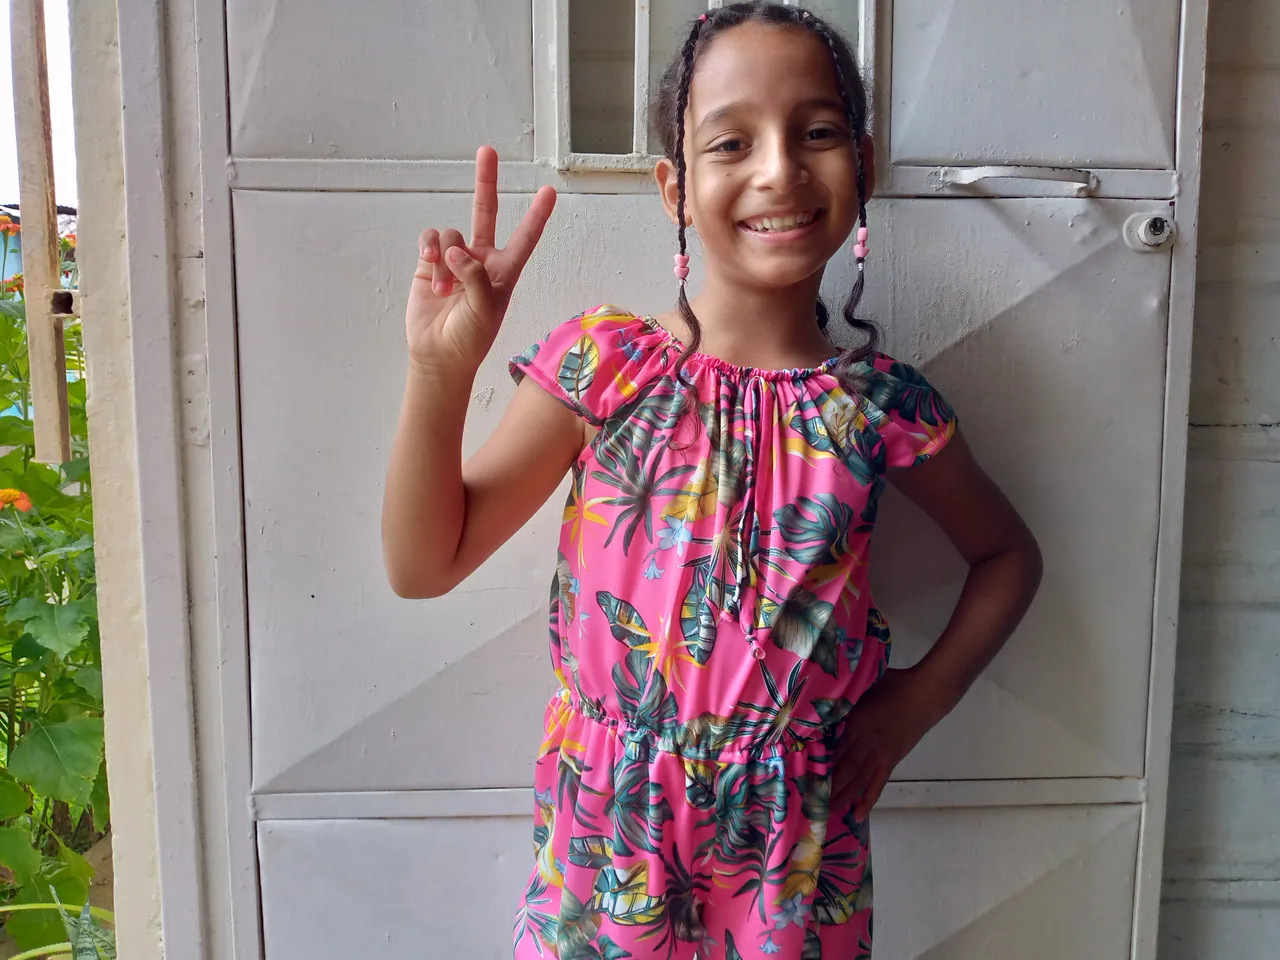
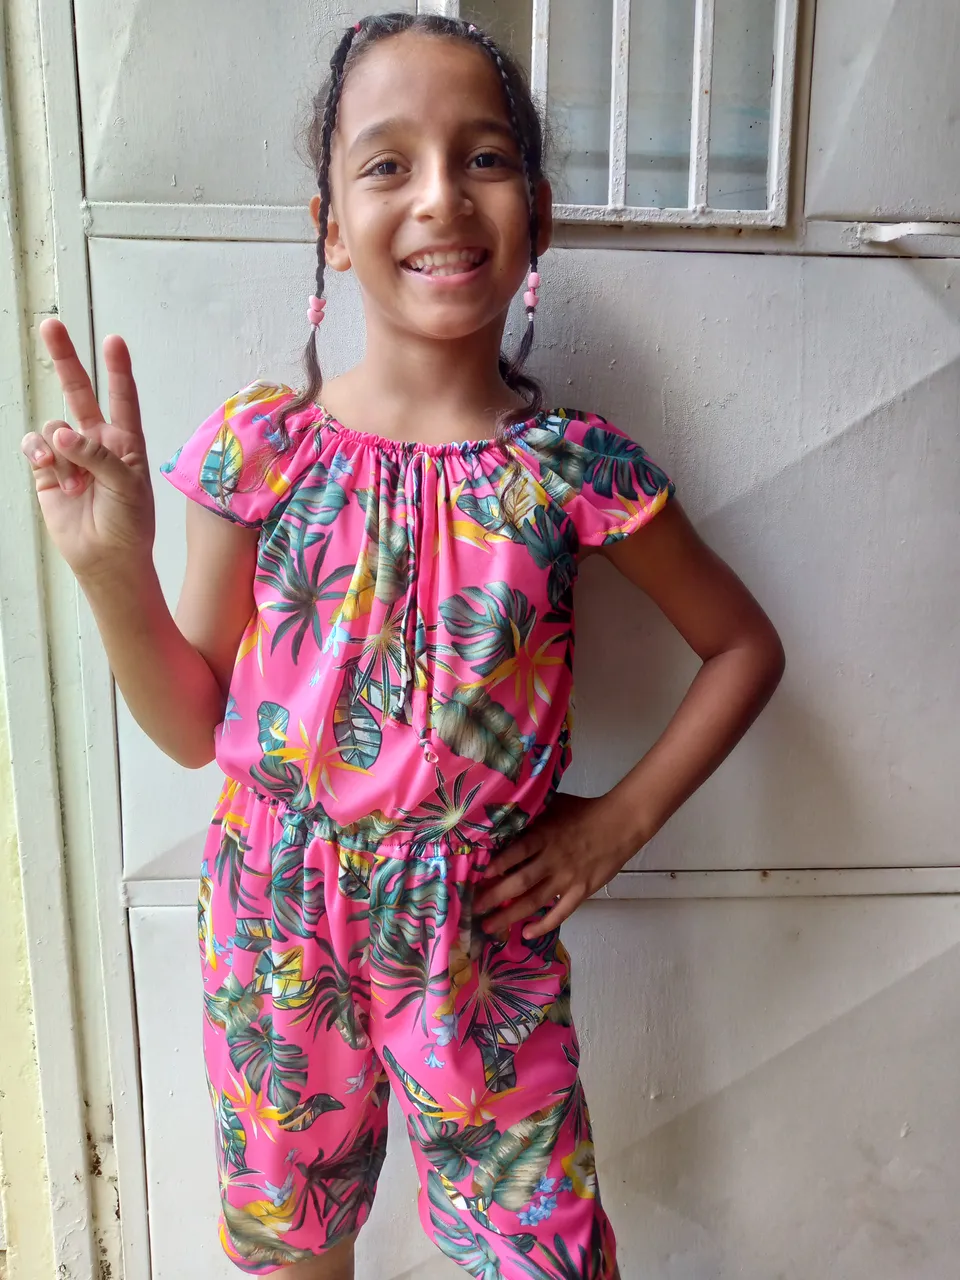
Resultado: | Result:
The jumpsuit looks very pretty and with the print we chose to make it gives it a more tropical touch, it is useful to use it on vacation days at the beach and when it is hot, you can also adapt these measurements and this model for women is super simple, in the front I did not hesitate to put a ribbon of the same fabric to guide us with the front of the jumpsuit. If you liked it, do not forget to comment what you thought, this has been all for today and see you in another next blog 🌺.
Creando las cosas con amor🌷♥️ | Creating things with love🌷♥️
Instagram: @annies_disens
🦋 All the images in this publication are my author✨ ,taken with my TecnoSpark8C cell phone |📸Photos edited in PicsArt and Canva. Text translated in Google Translate.
