
Hello, beautiful day! It's a pleasure to greet you🌞. I hope you are all doing very well, dear and appreciated friends. I warmly welcome you to a new blog where I will be sharing with you the creative process of what we will do here step by step. Feel comfortable and thank you for being here reading this blog.✨💗
In today's tutorial I will be sharing with you how to make a girl's blouse from scratch with elastic details around the edges of each sleeve so as not to make it so simple that it looks simple but has a more feminine style and not like simple girl's blouses, we will also be adding elastic on both sides of it to gather our blouse in this case I did it this way because I was working with a super soft and simple fabric and it tends to stretch a lot so to avoid that happening to me I chose to add just a little elastic from side to side and at the same time make the gathered design.
Antes de comenzar el proceso te dejo acá los materiales que usé 🥰🧵....
Before starting the process, I'll leave you the materials I used here 🥰🧵....
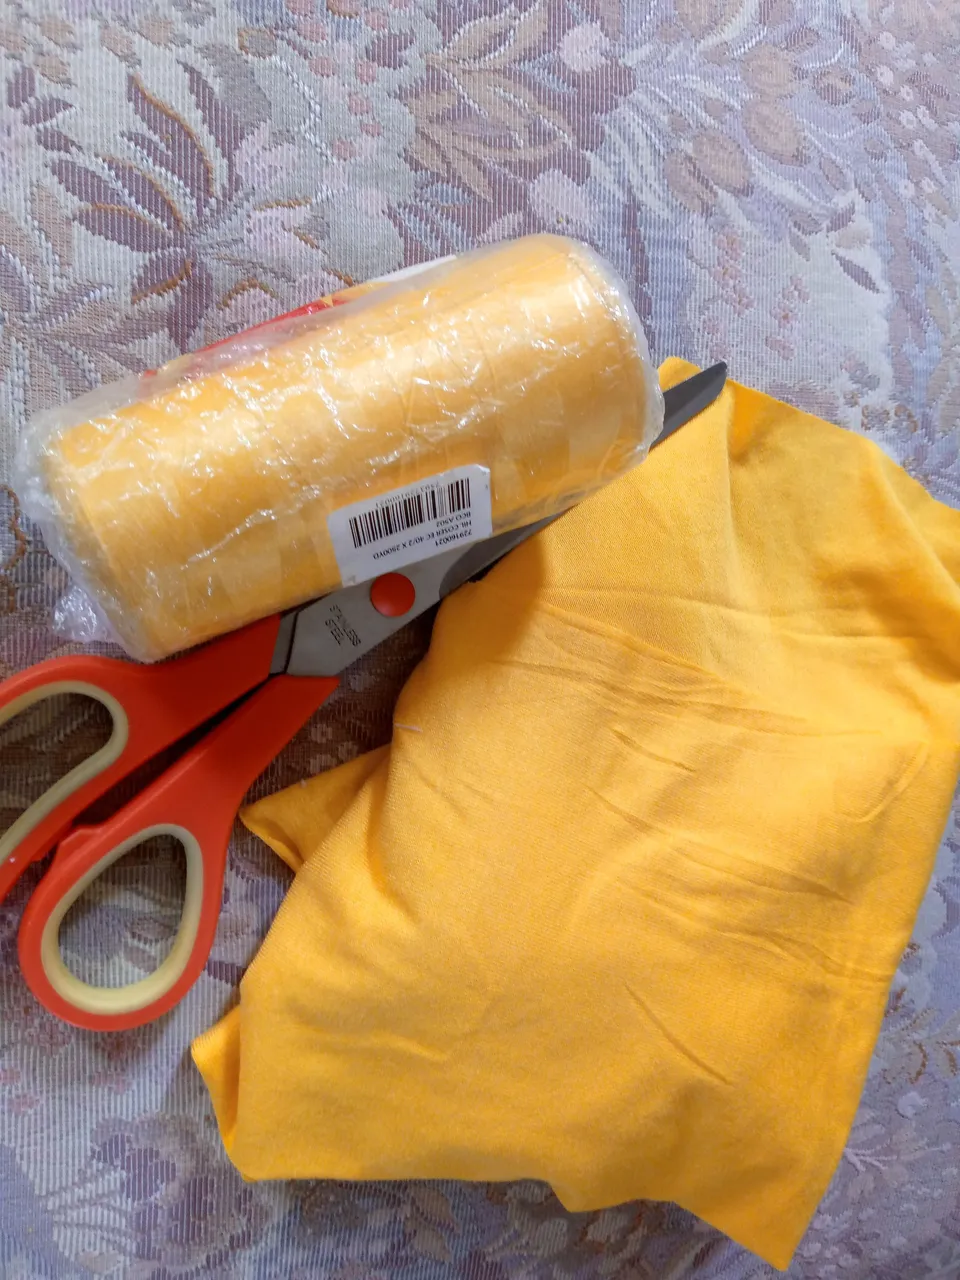
Materiales:// Materials:
50 cm de tela suave de algodón
Elástico de 1 cm de ancho
Máquinas de coser
Hilo
Tijeras
Medida de una prenda como preferencia
50 cm of soft cotton fabric
1 cm wide elastic
Sewing machines
Thread
Scissors
Garment measurement of your choice
Pasos a seguir://Steps to follow:
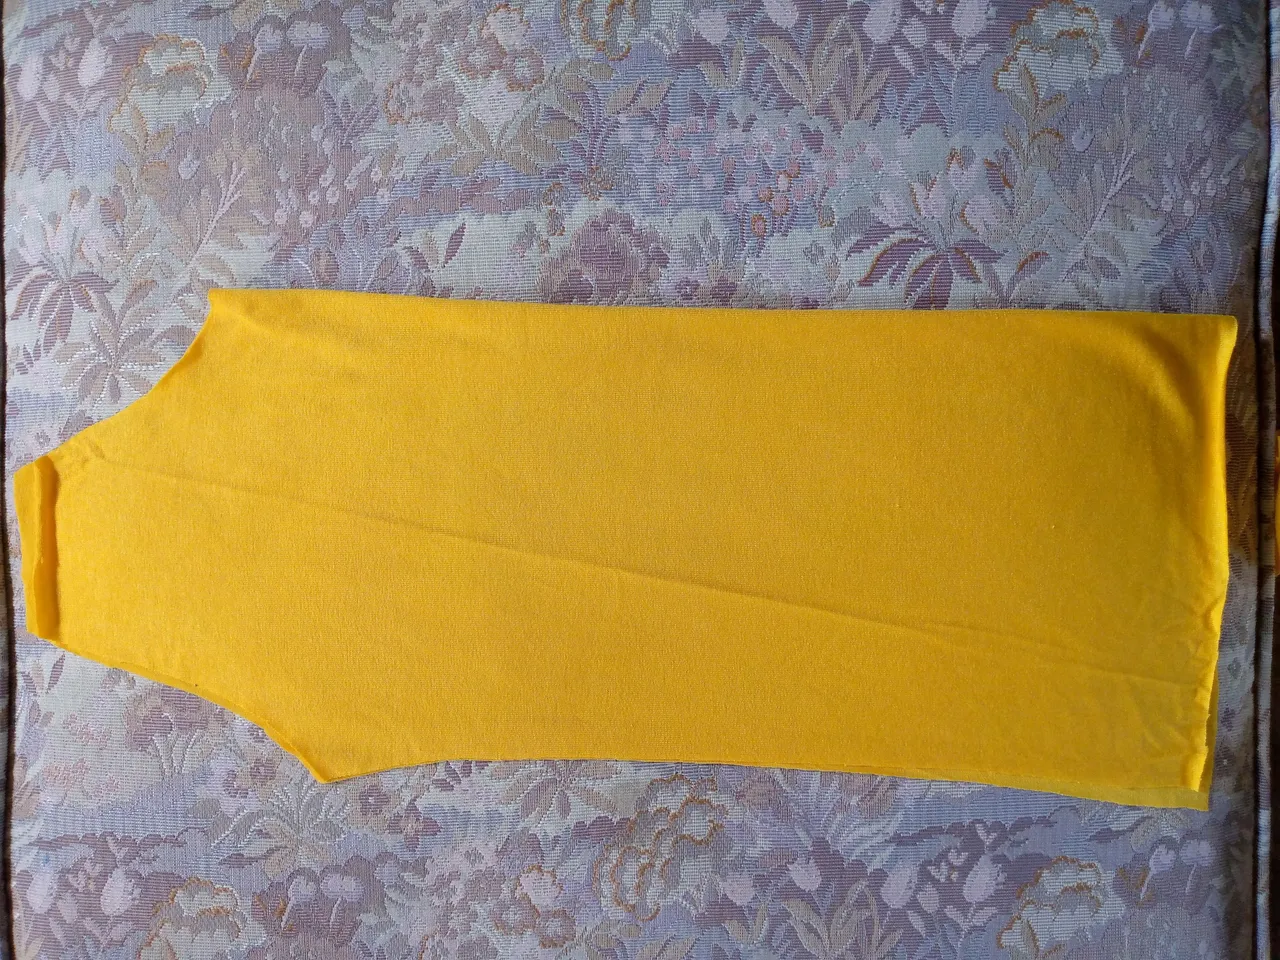
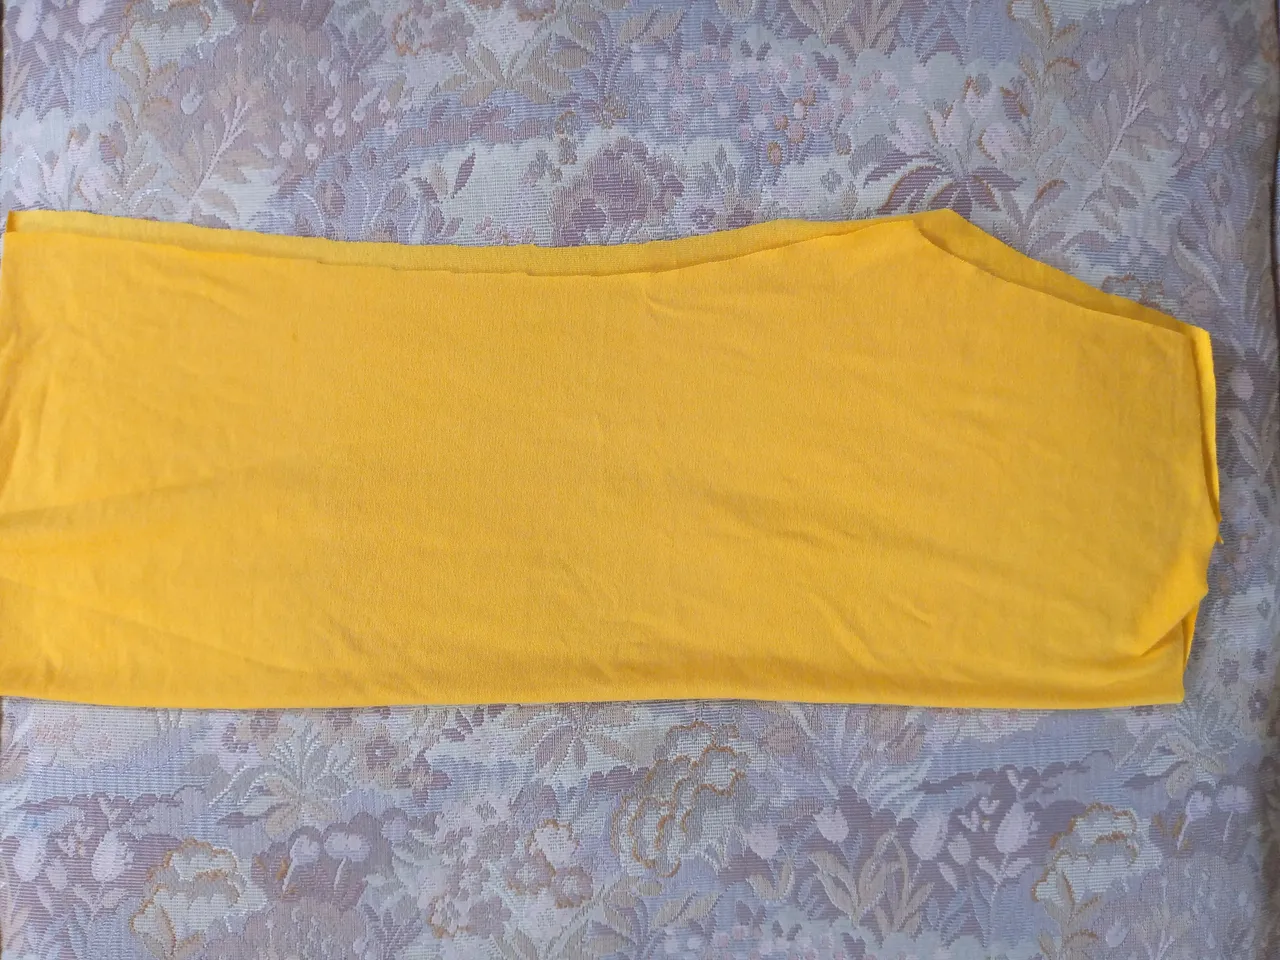
🌼Paso 01
Step 01
I started by cutting the pieces of the blouse such as the front and back pieces, folding the fabric, cutting the neck, armhole and the length of the blouse. How will we sew the hem with overlock? We will only cut the front waist two cm less than our corresponding measurement or the one by which we are cutting the blouse. We cut the two sleeves and the bias 2 cm less than the neck and 3 cm wide.

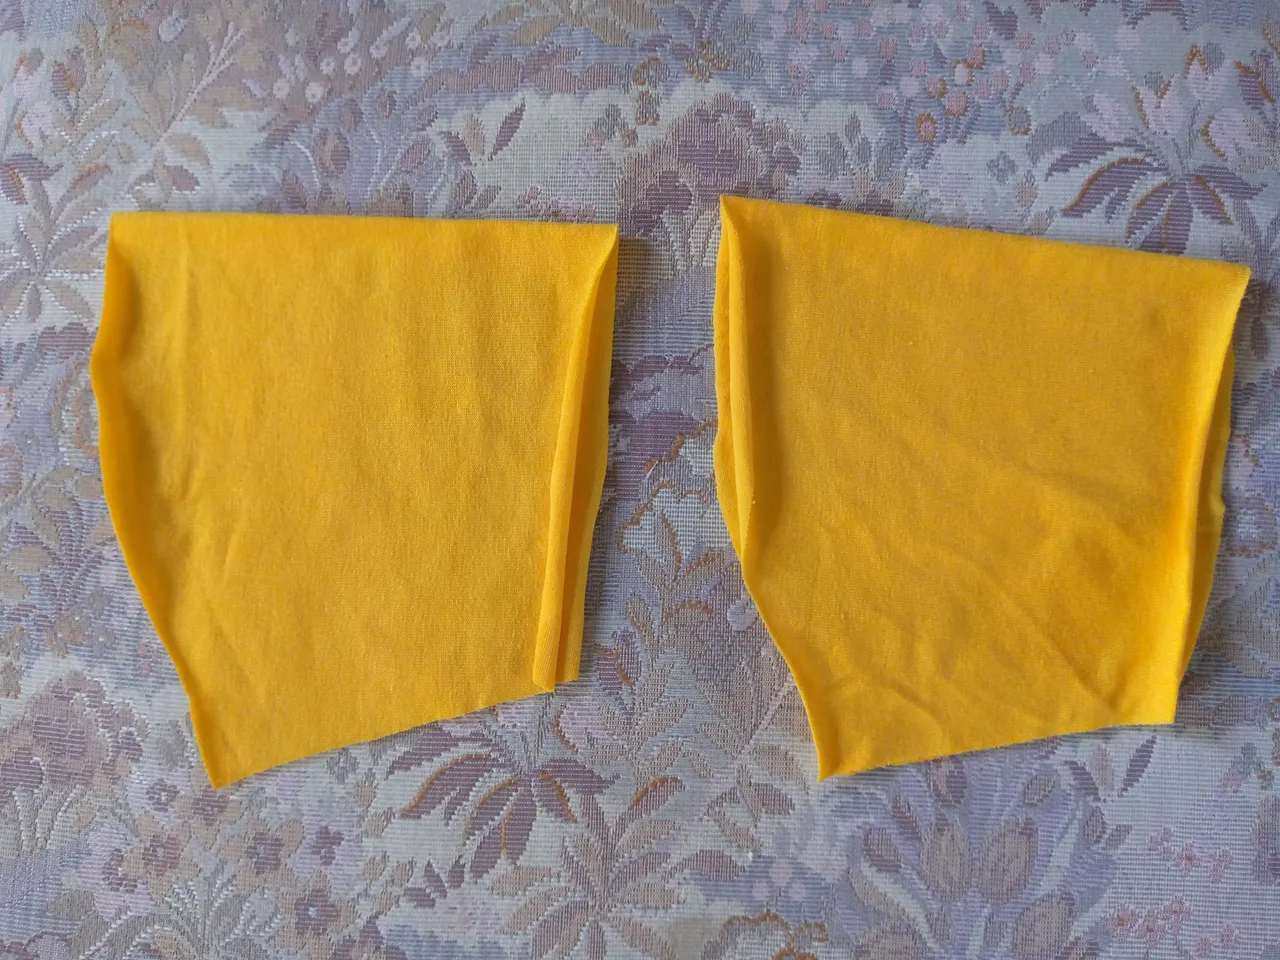
🌼Paso 02
Step 02
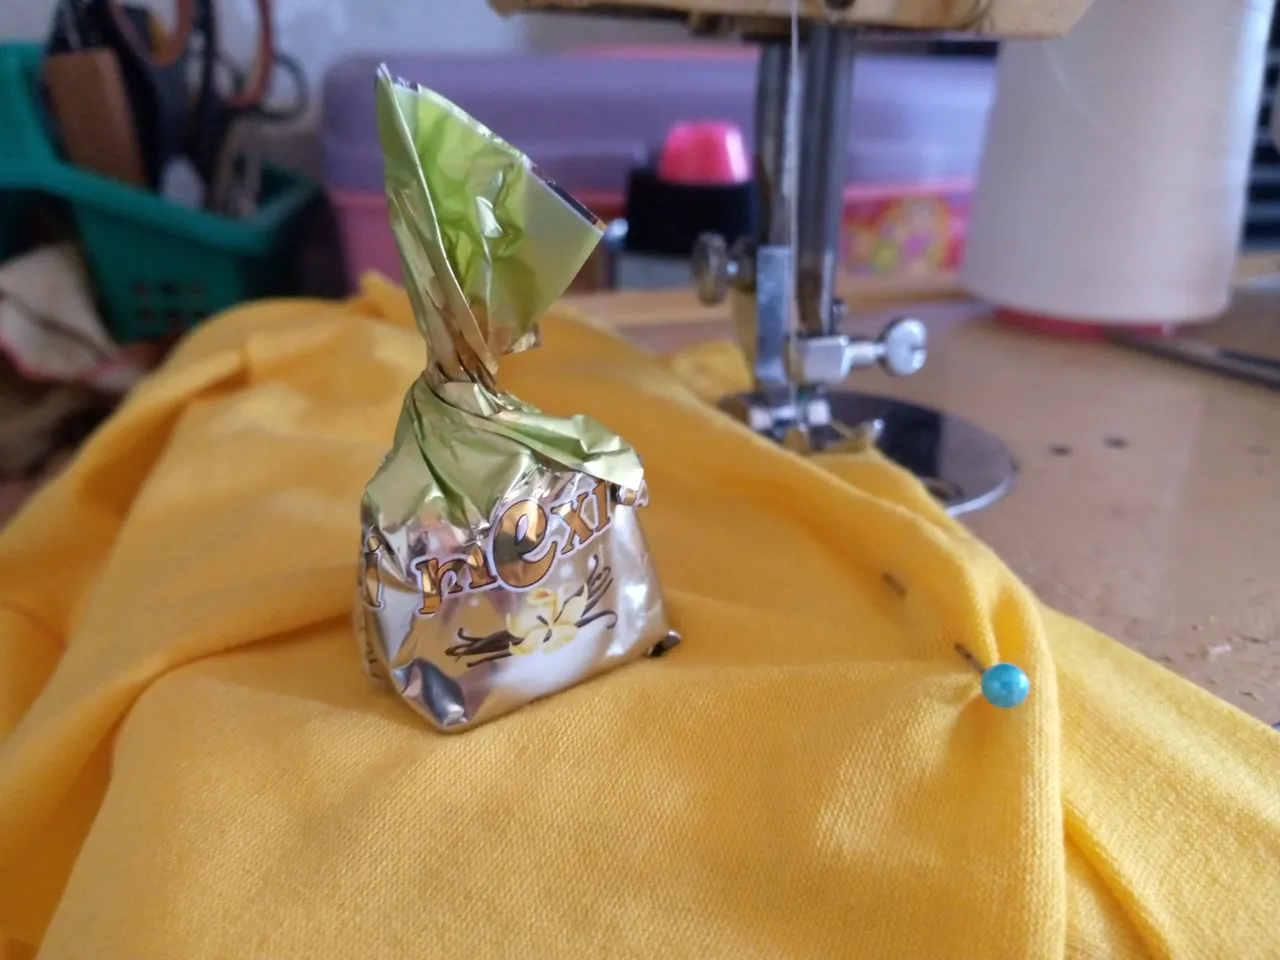
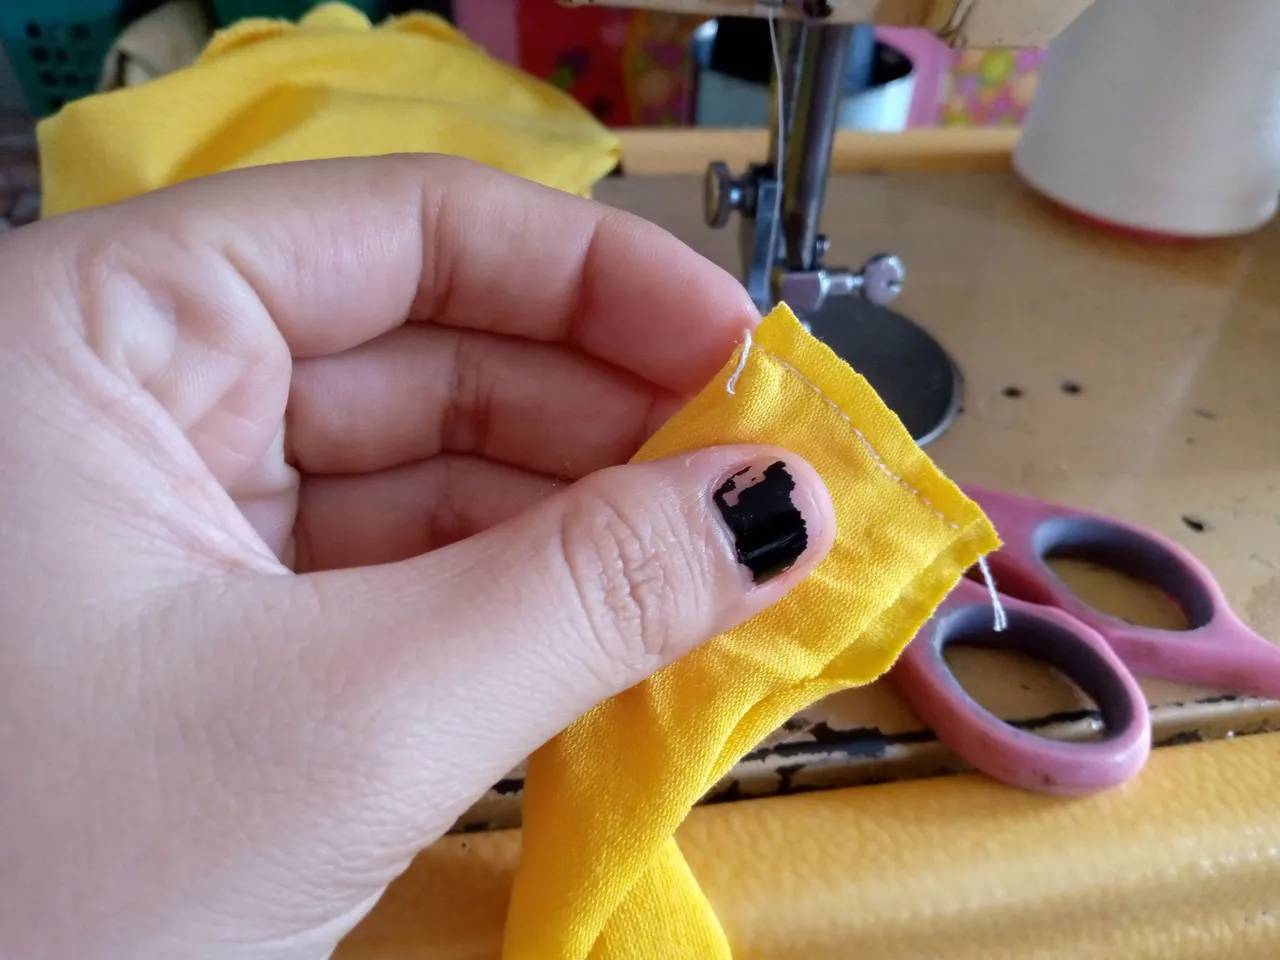
For the next step, we will sew each side of the shoulders, joining the front piece with the back piece and stitching with a straight seam. Here I was eating a delicious chocolate 🤭 to charge my energy more. ...then we will open the armhole piece. In that part, we will sew the sleeve along the edge. In the same way, with the other side of the armhole, we sew the other sleeve.
🌼Paso 03
Step 03
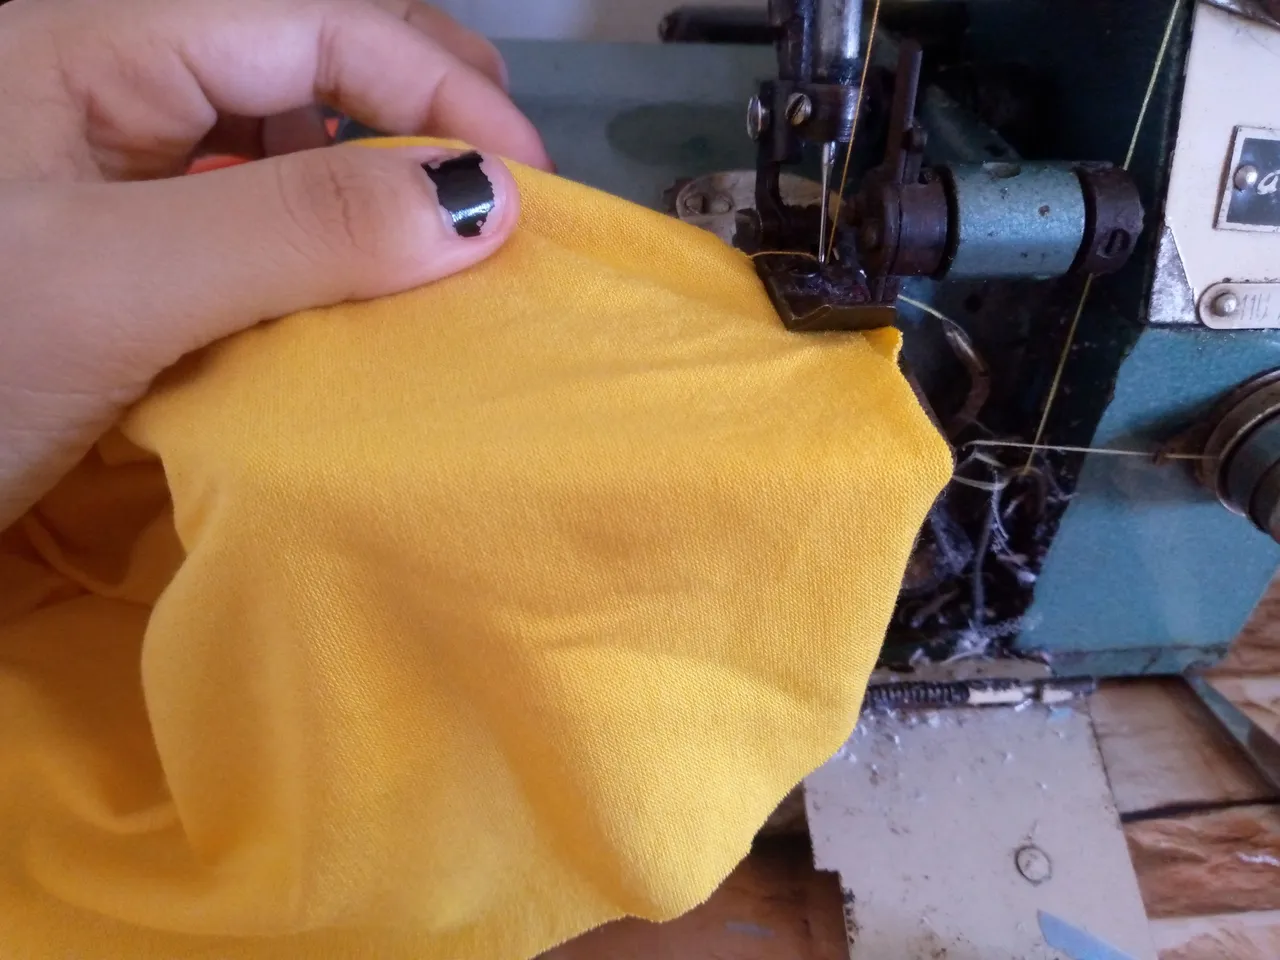
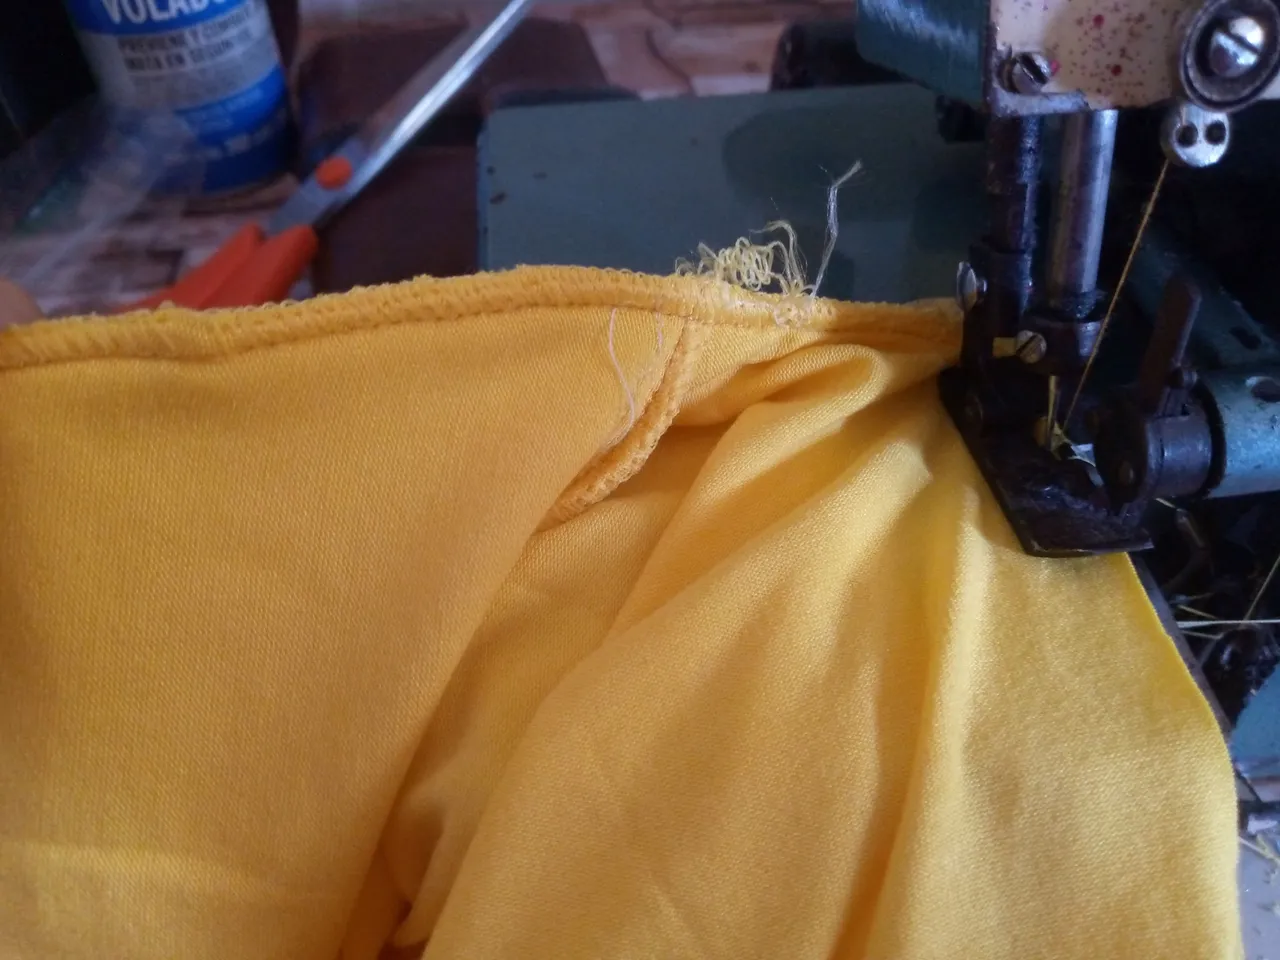
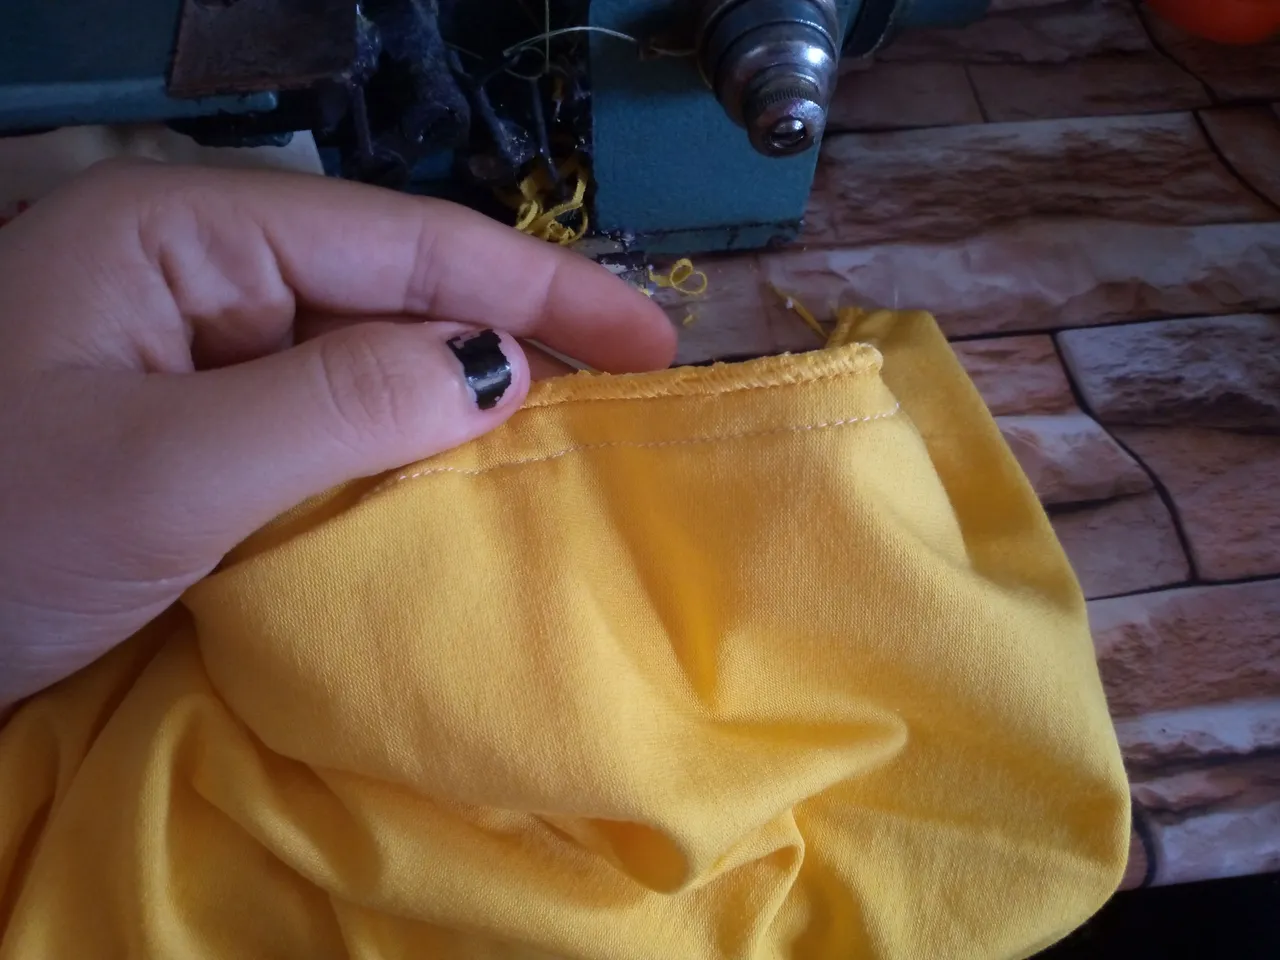
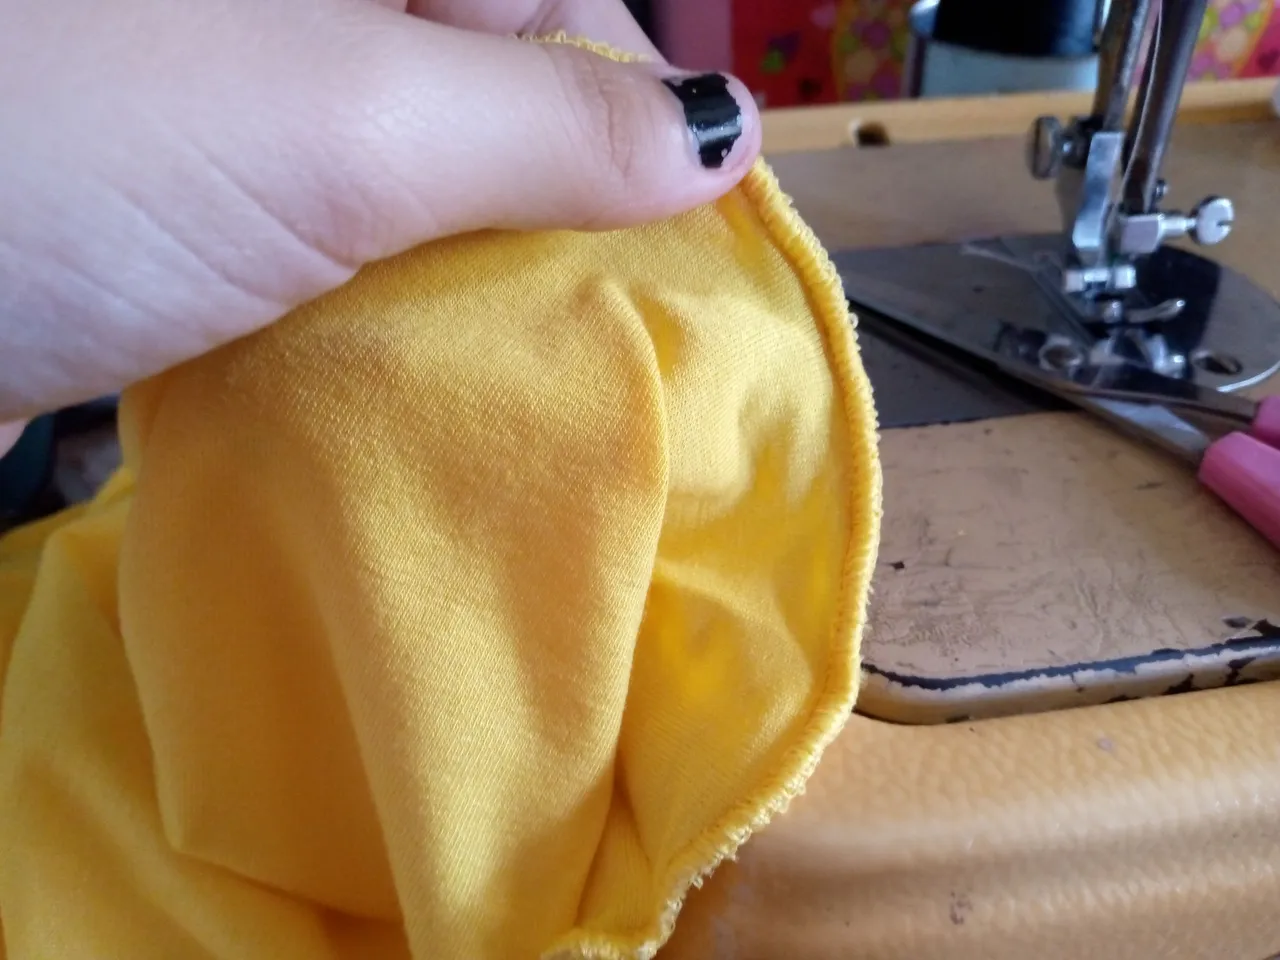
Okay, then we're going to sew the edges of the blouse to seal it and we'll open the sleeves and we're going to be sewing the edge with an overlock seam, stretching the fabric well enough so that we have the seam as we call it a lettuce edge, then we join the bias piece or the neck bias.

🌼Paso 04
Step 04
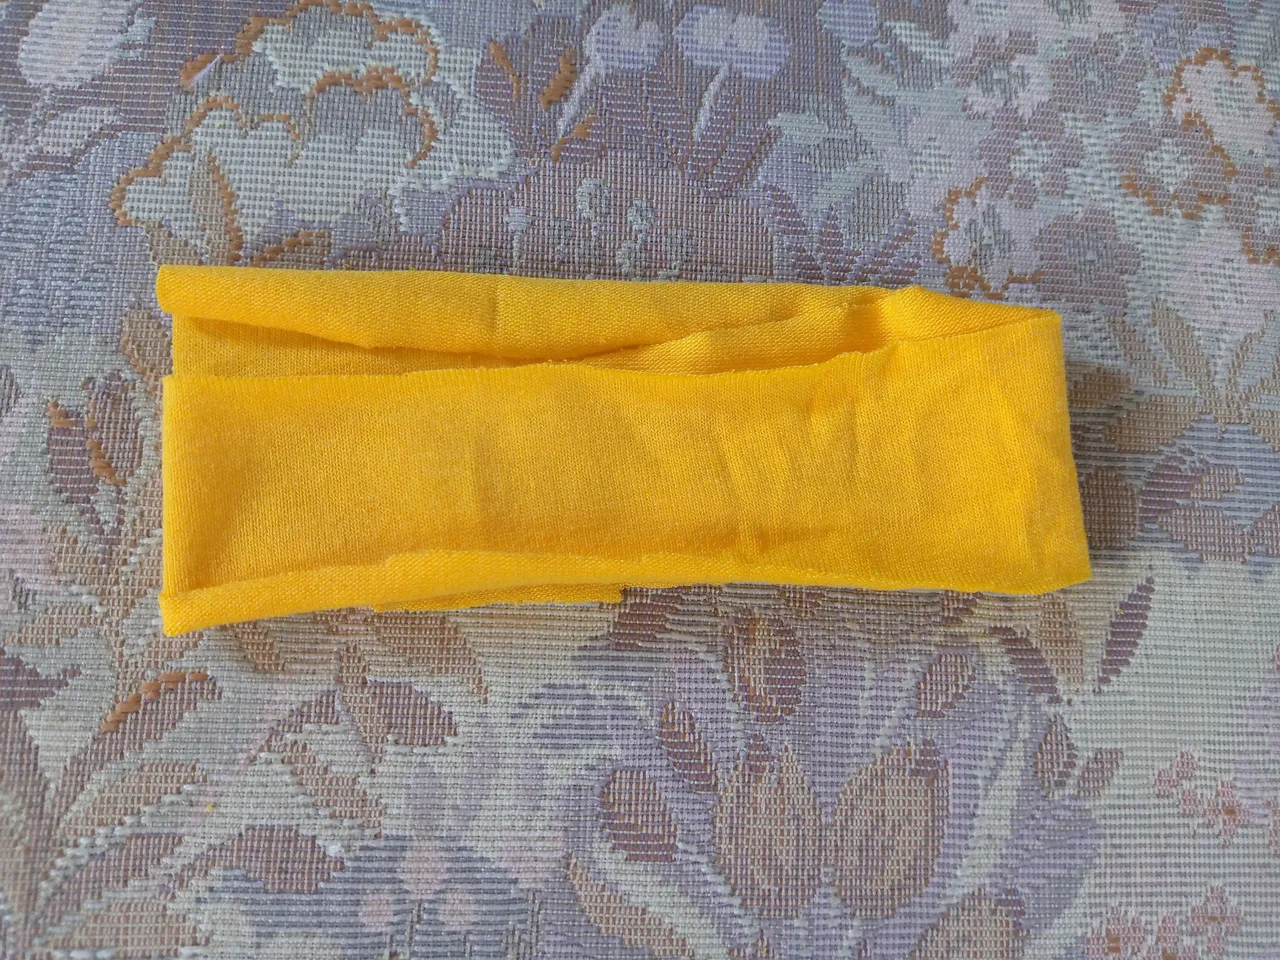
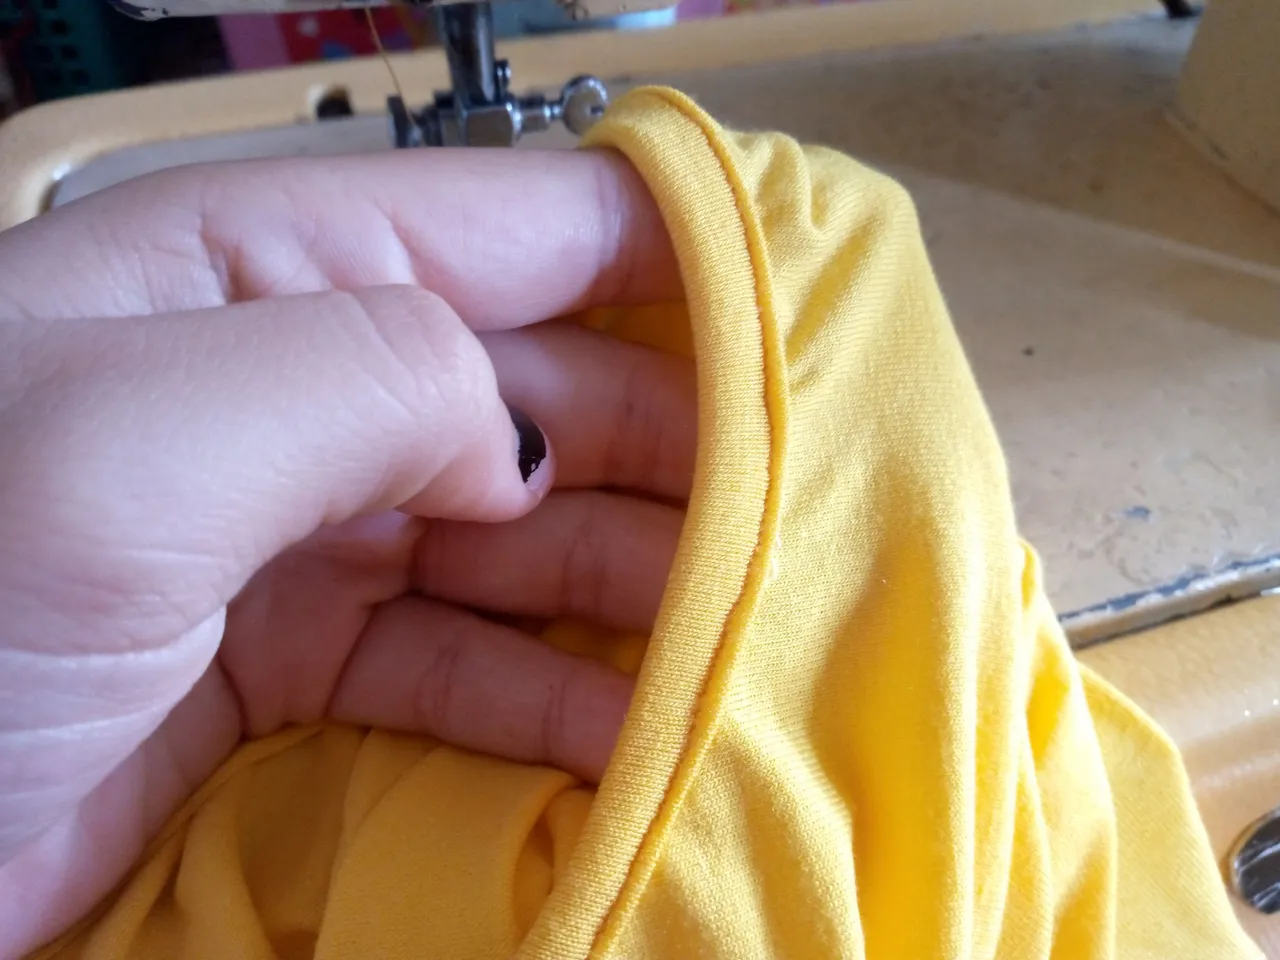
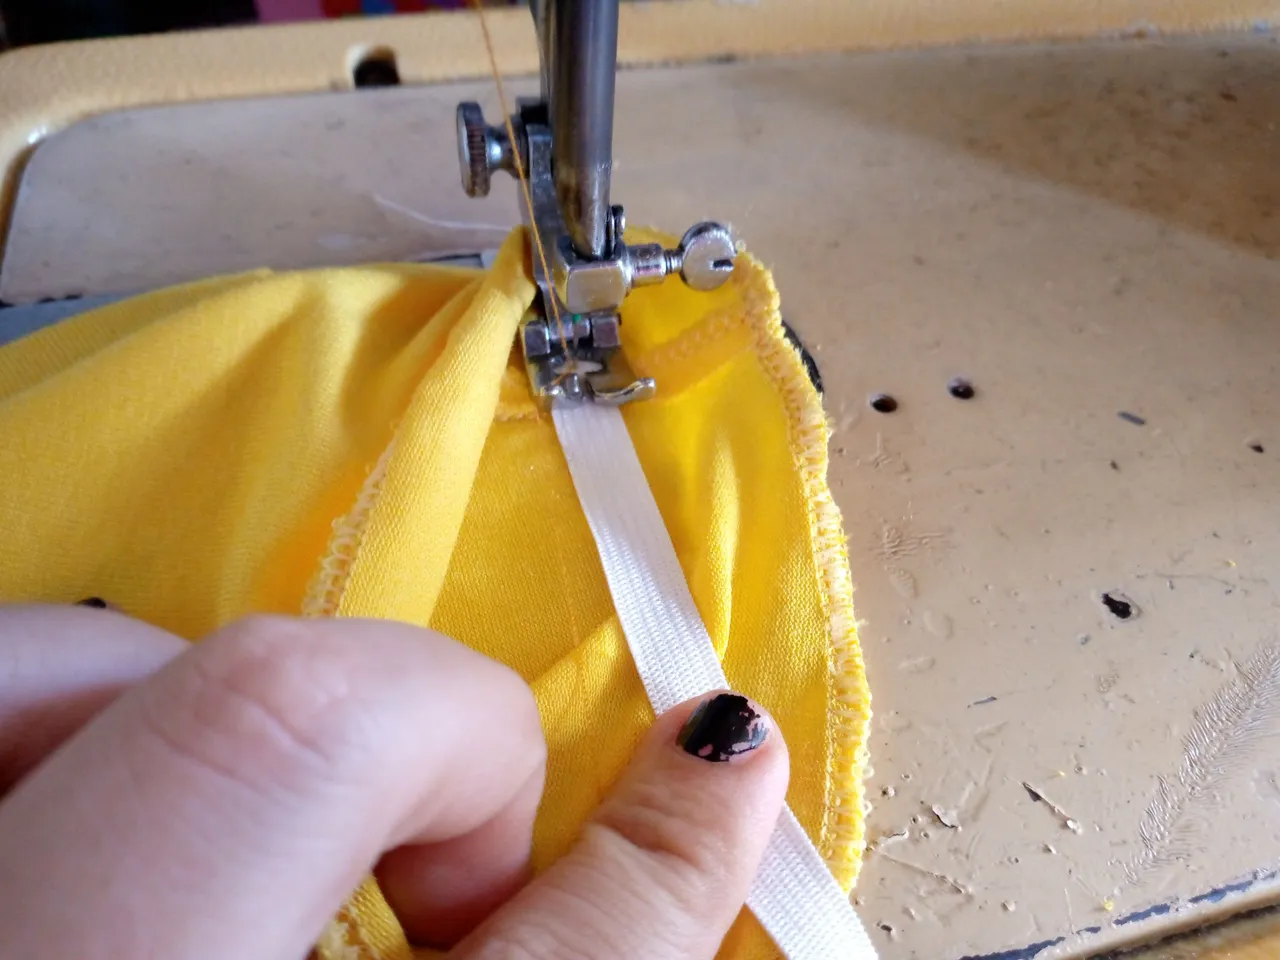
We sew the neck as it is easiest for us in this case after joining the bias I placed it inside the neck of the blouse I proceed to sew it then above it I resew it with a straight seam, I will then sew the elastic in the sleeves for this I will measure the contour of the arm which is almost 20 cm but I will place 16 cm wide because the elastic is very soft and when sewing it it will stretch a lot I sewed it around the contour of my sleeve leaving 2 cm unsewn so that we have a loose edge of the sleeve and sew we do the same with the other side and we are going to sew the elastic to the blouse on both sides by the waist.
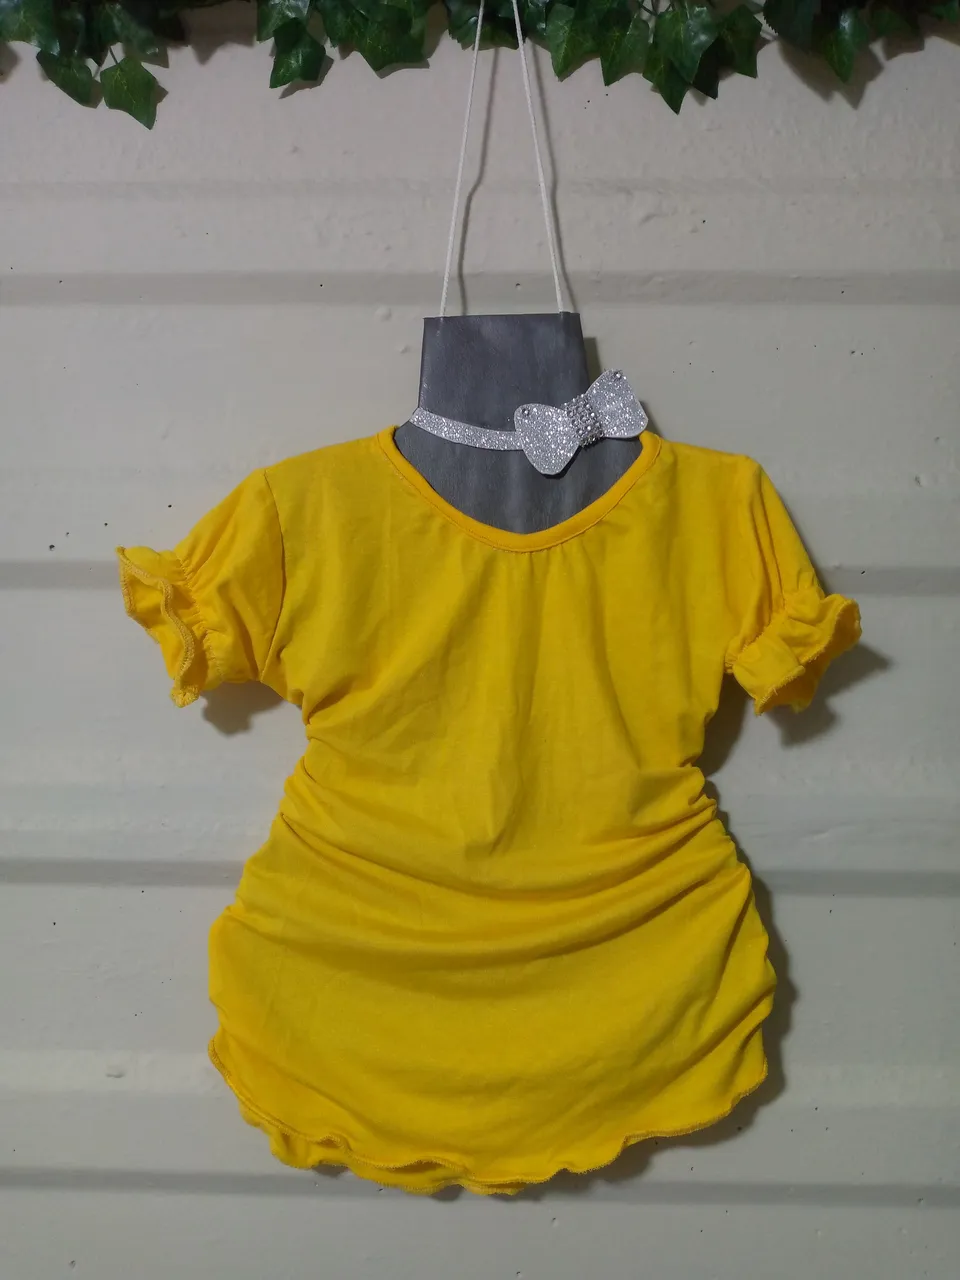
Resultado:// Result:
This way the blouse looks very pretty ✨🥰💛 my sewing friends, I hope you really liked this idea and this tutorial to make simple blouses for girls, if you liked the process tell me what you liked most about the tutorial and if you want to make it for girls or for yourself, save this tutorial that may be useful to you, with this I say goodbye to you wishing you a beautiful afternoon.


Creating things with love 🌷❤️
🦋✨ All the images in this publication are my author ,📱taken with my TecnoSpark8C cell phone |📸Photos edited in PicsArt and Canva. Text translated in Google Translate.
