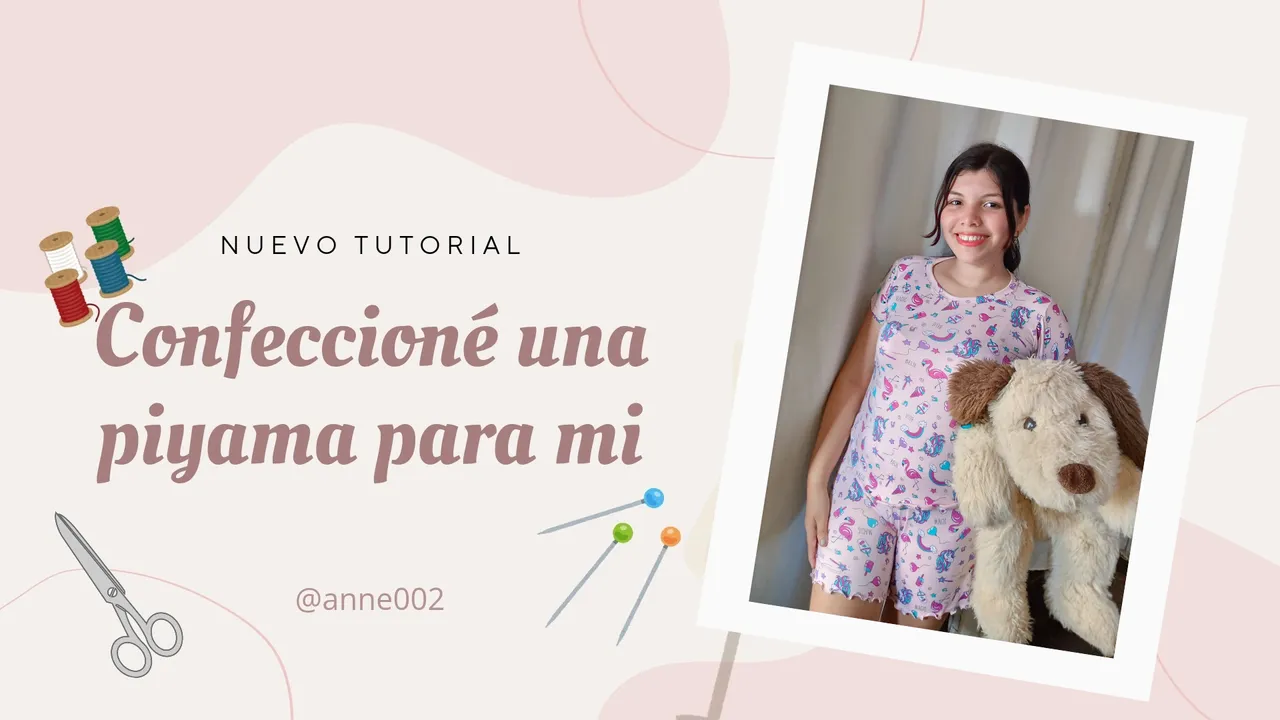

Hello beautiful community @needleworkmonday ❤️✨🪡, Welcome to my creative blog where I will share how to make these cute pajamas, I invite you to stay until the end of this blog.
I know that both you and I love soft clothes when we are going to sleep and the fact is that clothes for sleeping play a very important role in order to be able to rest well since our body stays comfortable when we are sleeping, that is why experts always recommend sleeping with somewhat loose, fresh and soft clothes because this can be very annoying when we sleep during all hours of the night, that is why I love these types of garments that are two pieces to rest, shorts and a blouse, I simply love them and I always choose fabrics that are super soft because I feel more comfortable.
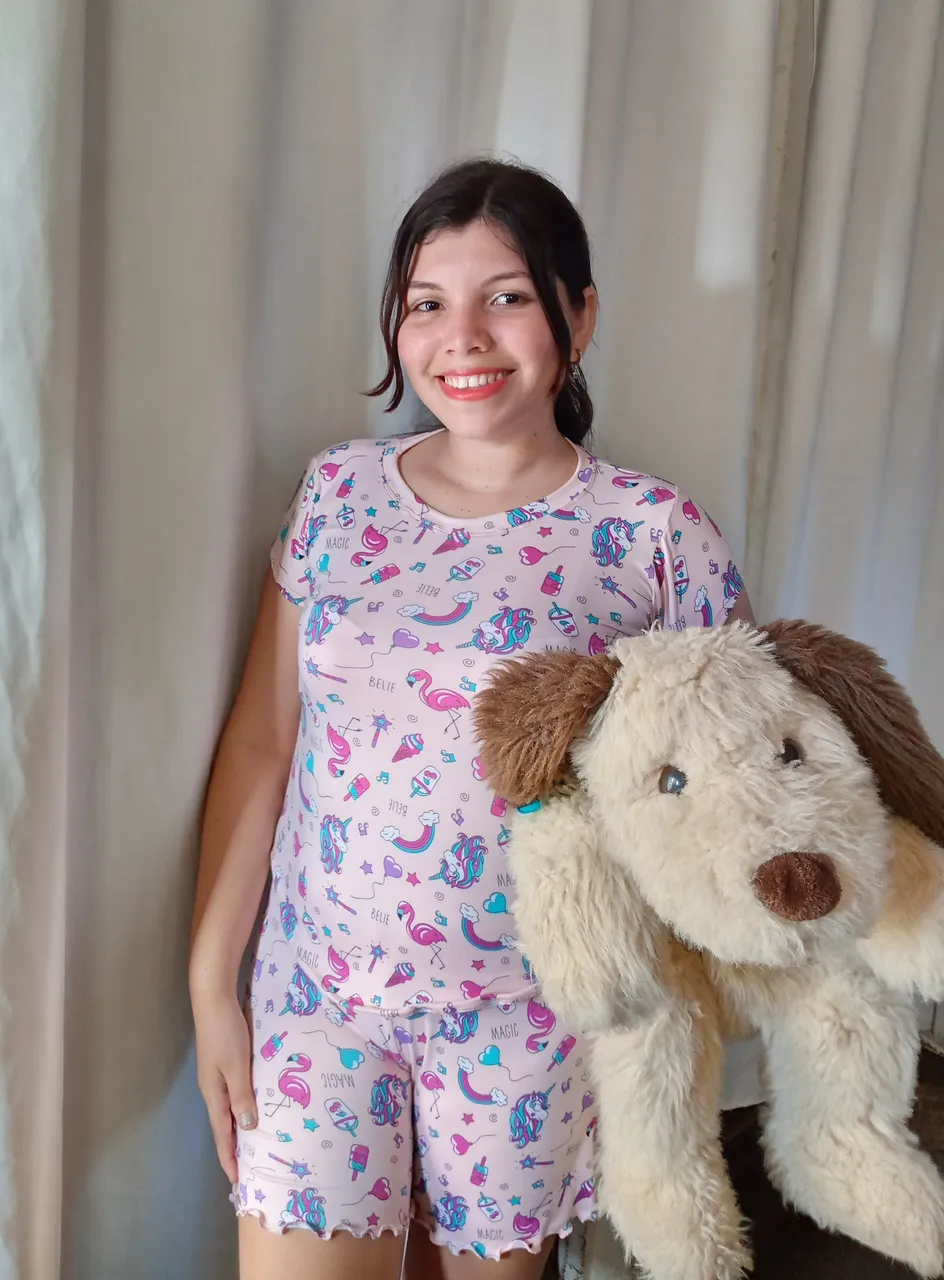
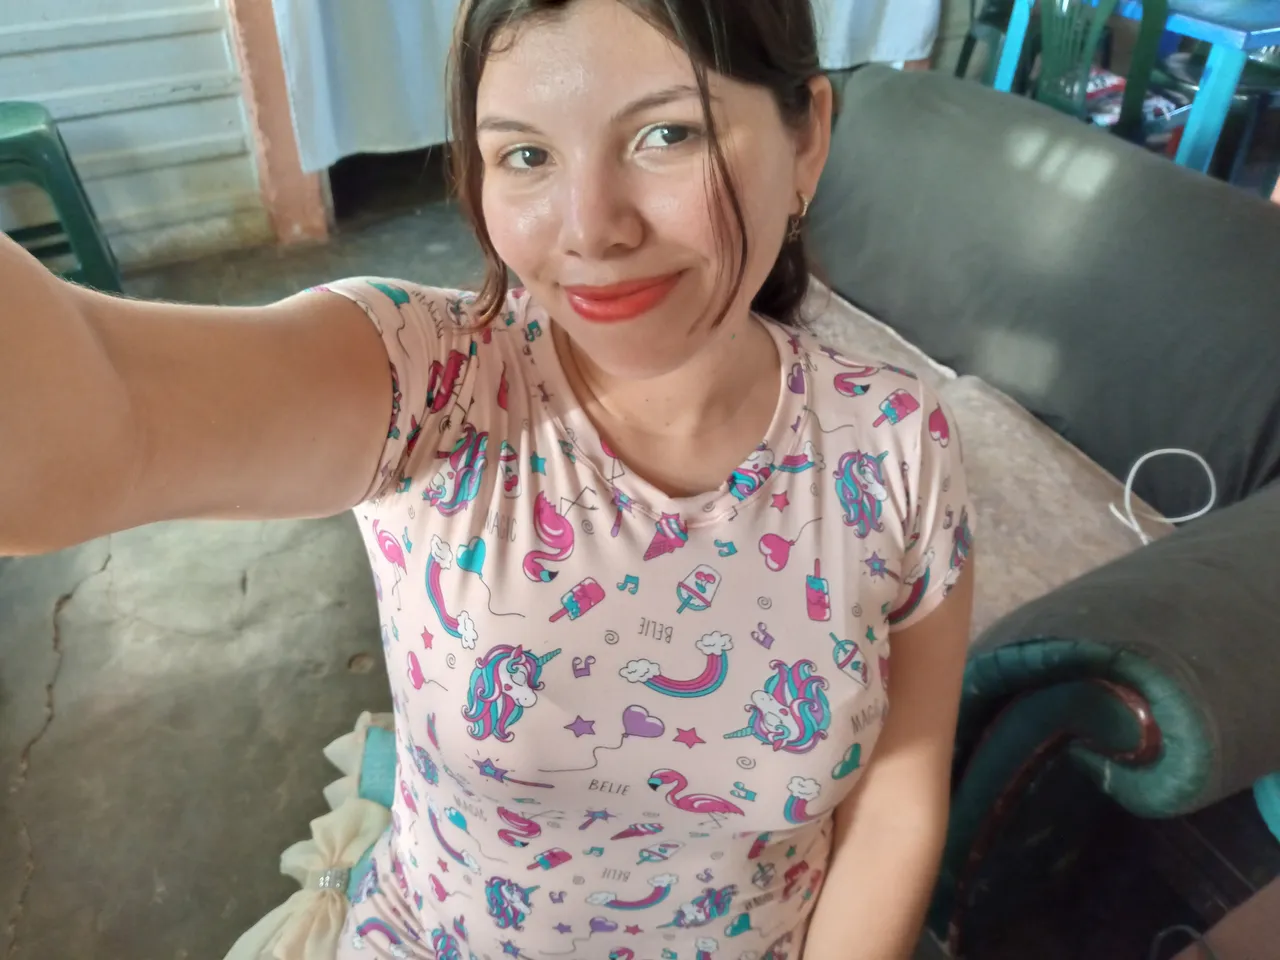
As I already mentioned, this pajama set consists of two pieces: a short-sleeved blouse and a pair of shorts with lettuce-style gathered seams on each leg. I bought this fabric from my aunt since she sells them at an affordable price and I really liked it because I feel like the print is especially for going to sleep and making pajamas. The type of fabric is called peach skin and it stretches a lot. We are going to put elastic around the waist of the shorts. It is very easy to do and here I will show you how to do it. You will love how this pajama set turned out.
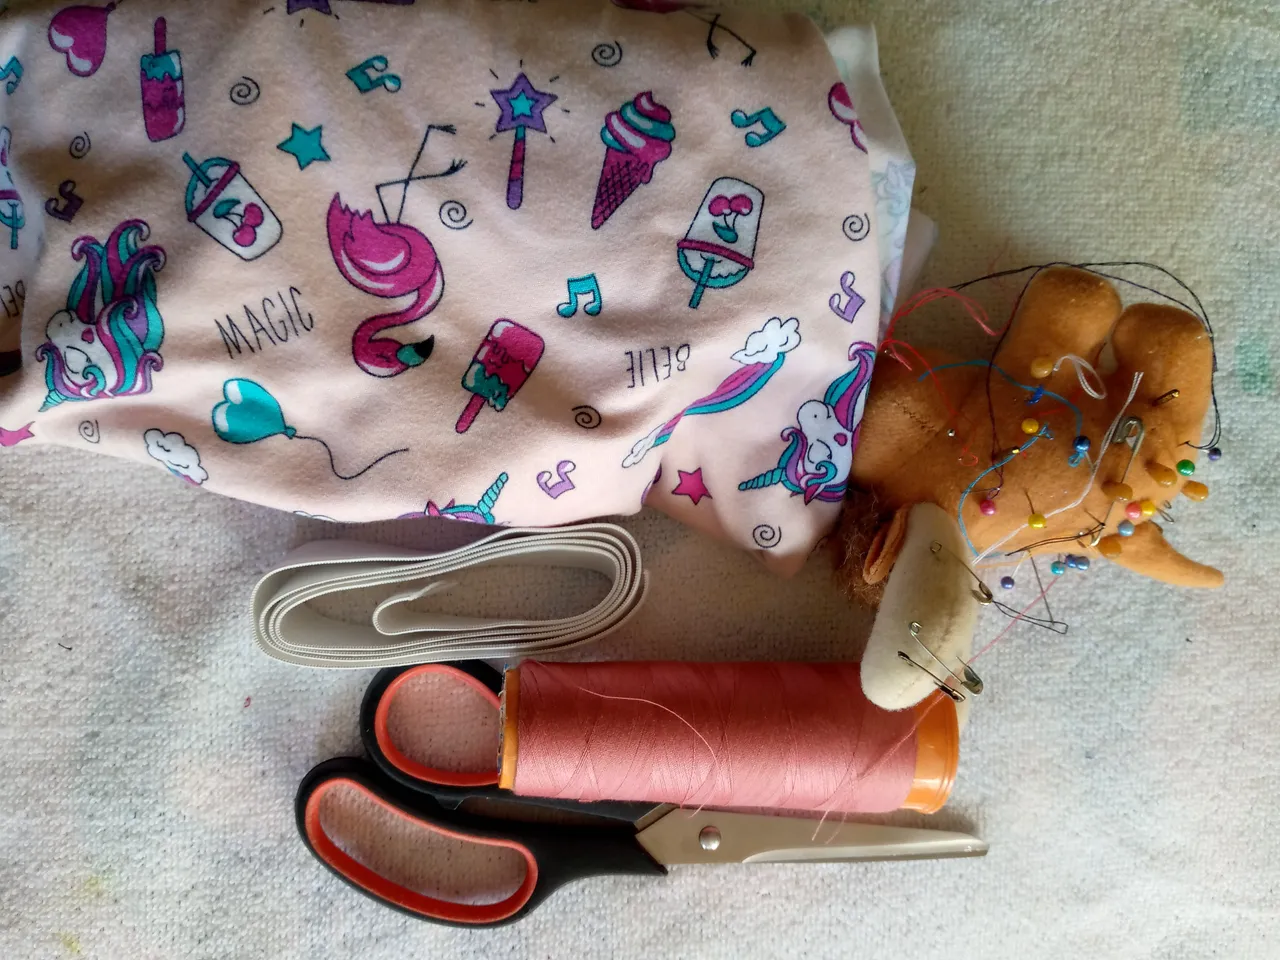
Materiales que usé:
Materials i used:
- 1 metro de tela tipo piel de durazno o el de tu preferencia (te recomiendo usar telas suaves y frescas para piyamas)
- Tijera
- Hilo
- Elástico para pantalón
- Alfileres
- Máquina de coser
- 1 meter of peach skin fabric or the one of your preference (I recommend using soft and cool fabrics for pajamas)
- Scissors
- Thread
- Elastic for pants
- Pins
- Sewing machine
Pasos a seguir:
Steps to follow:
Paso 01
Step 01
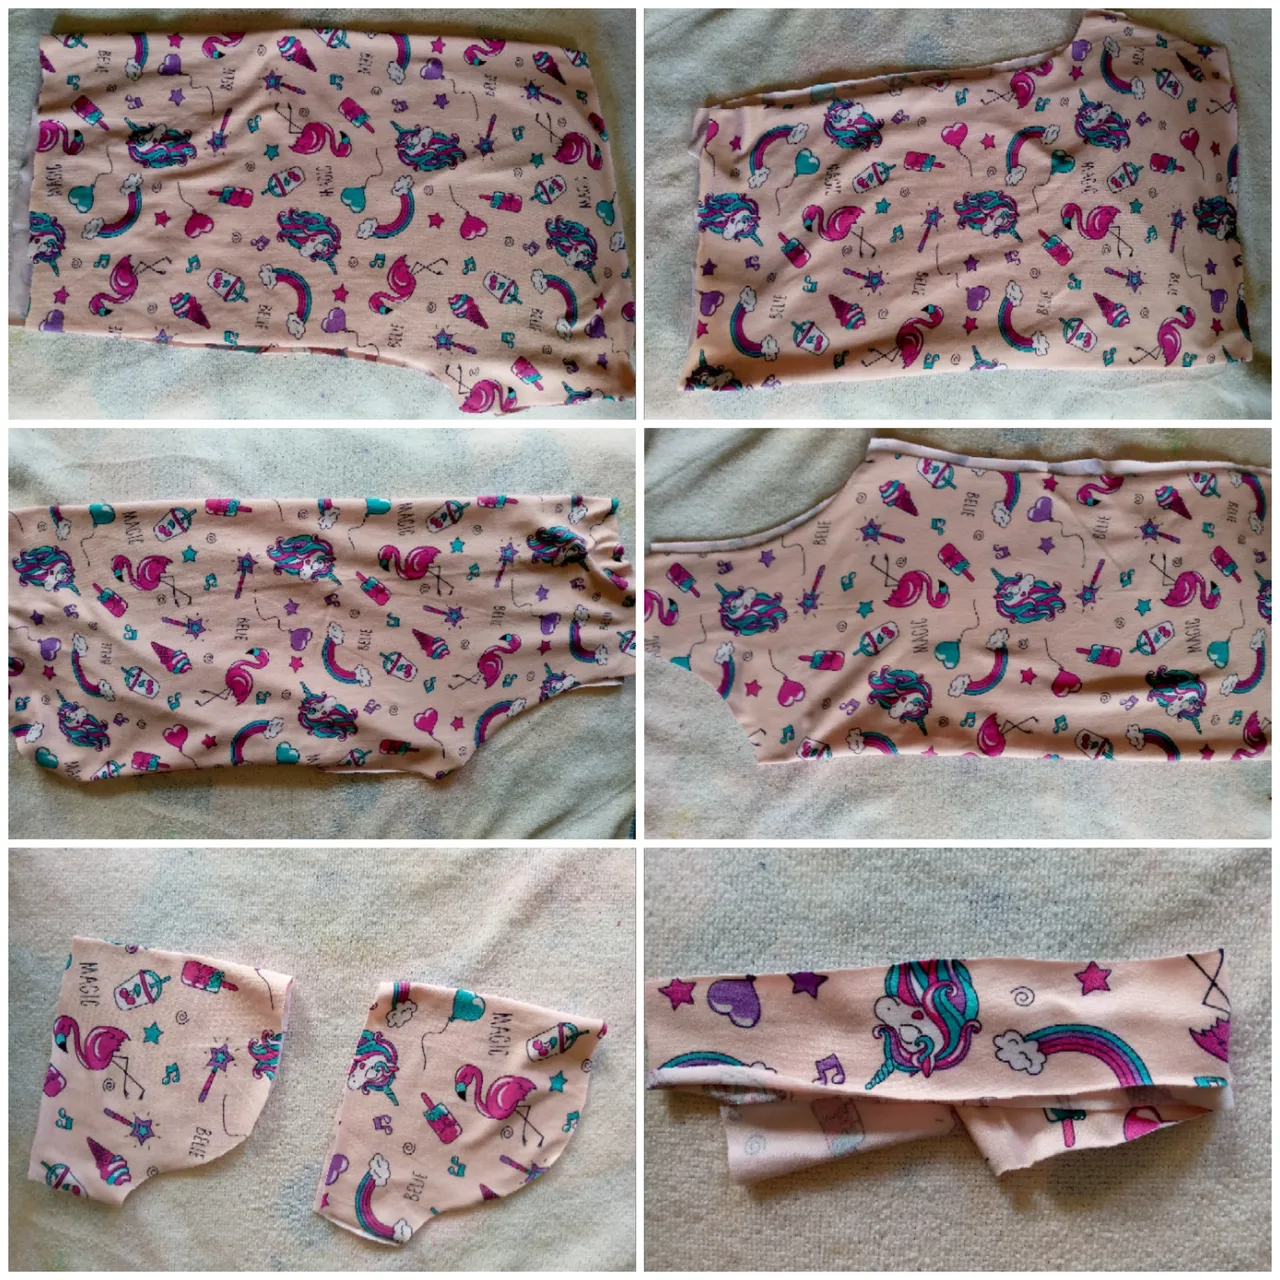
So once we have our materials, we get to work. We will be cutting our pieces. I will use a measurement of my clothing that fits me well to cut my pieces. I will cut the front piece of my blouse and the back piece, the shorts pieces, the ribbon of the same fabric for the neck and the two sleeves of the blouse.
Paso 02
Step 02
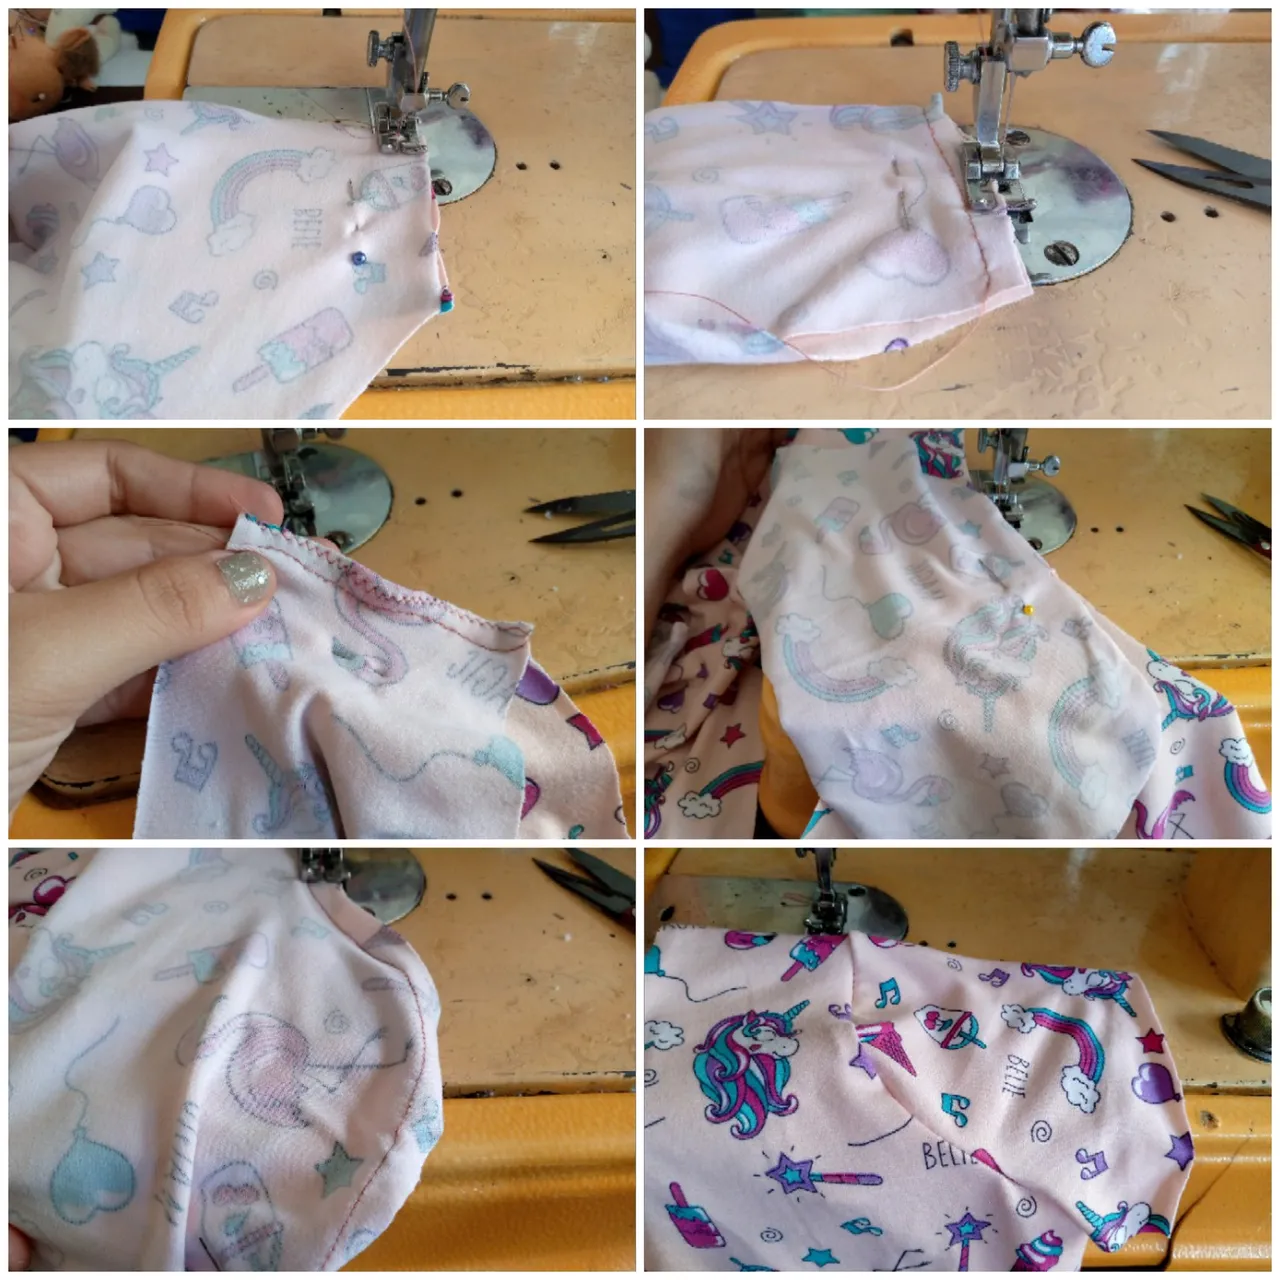
With the help of my pins, I proceed to join the two pieces of the front blouse and the back at the shoulders to sew both parts with a straight stitch and we will finish with a zig zag. We will do this for each part that we sew with a straight stitch to prevent the thread from coming loose and to ensure the seam is good. We finish this part and we are left with our armhole, which is where we will be sewing the two sleeves.
Paso 03
Step 03
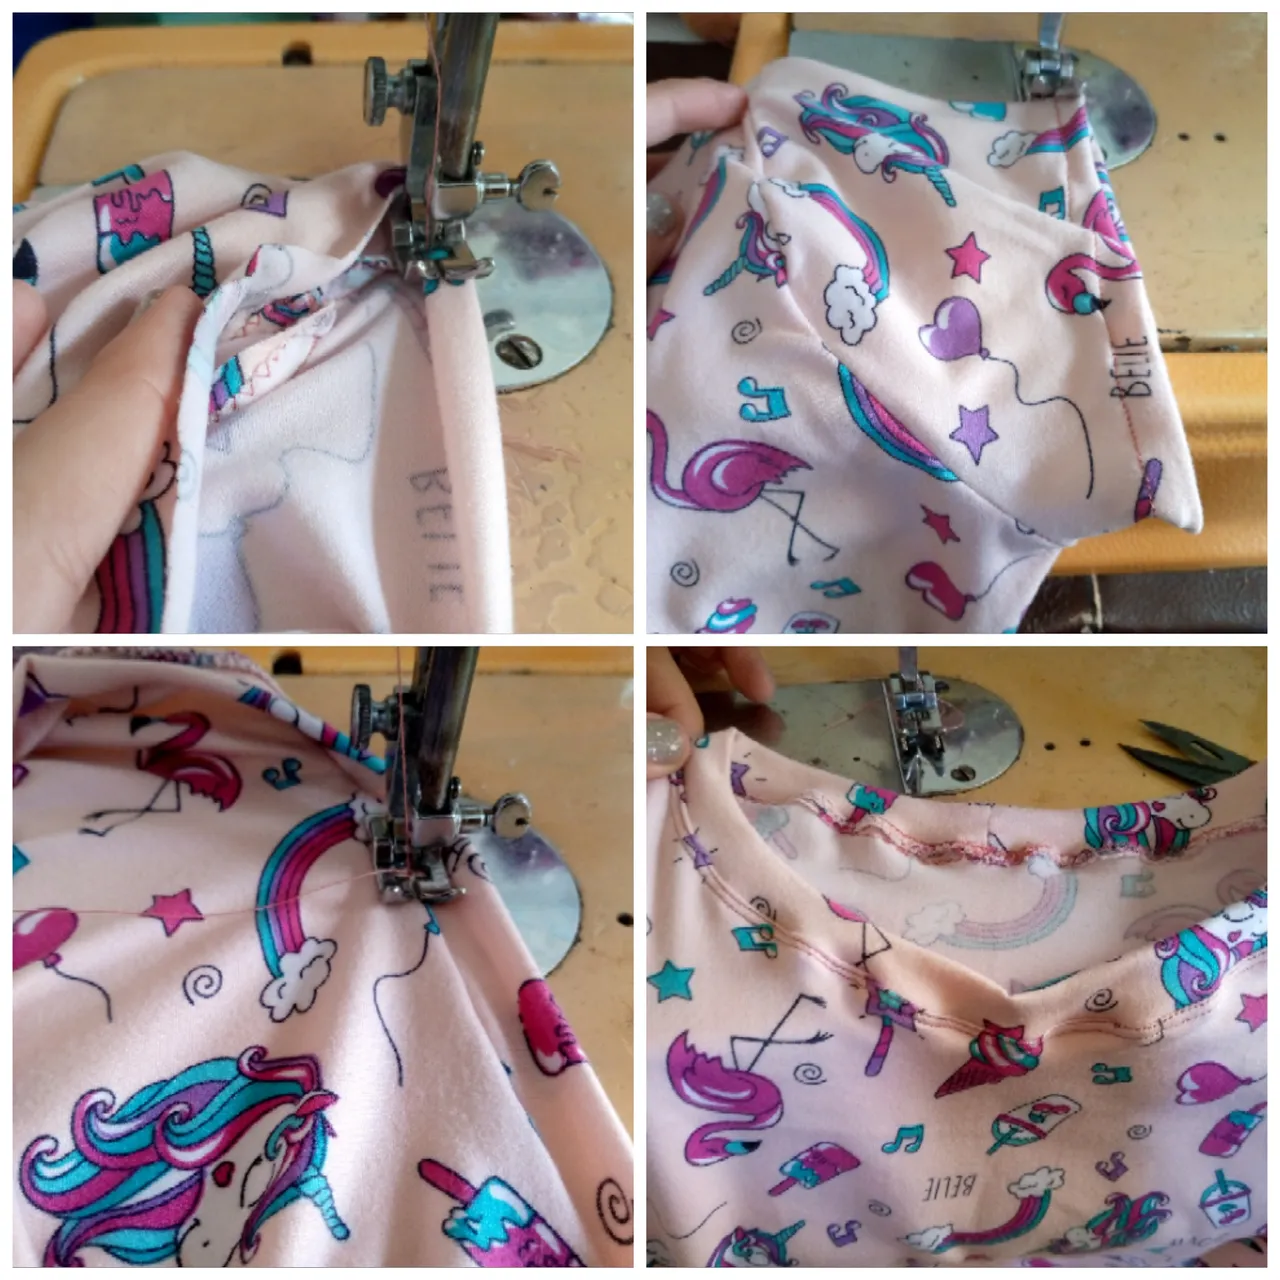
We will move on to seal the sides of the blouse here using the pins, since this fabric tends to roll a lot and since we want to avoid this, we will put pins on it before starting. Once I have sealed both sides, I will join the ribbon that we will use for the neck and we will fold it. Then here I will make a mark that divides the middle of the neck to place the ribbon there. I also made a small cut to join. We will sew along the bottom side and finish off with a zigzag stitch around the entire neckline. After finishing, I will make a small hem on the bottom of the blouse.

Paso 04
Step 04
We will also make a small hem on each sleeve of the blouse and here I thought of sewing another seam above the collar to line it up and keep it from rising. This way I have finished it. Now we are going to make the shorts.
Paso 05
Step 05
Let's start by making the shorts and to do this we are going to join the pieces of the front and back hem with the help of pins. I hold both pieces as I told you and we easily sew both hems. Then we open the shorts and we see that the seam is in the middle, that is, in the center of both the front and the back.

Paso 06
Step 06
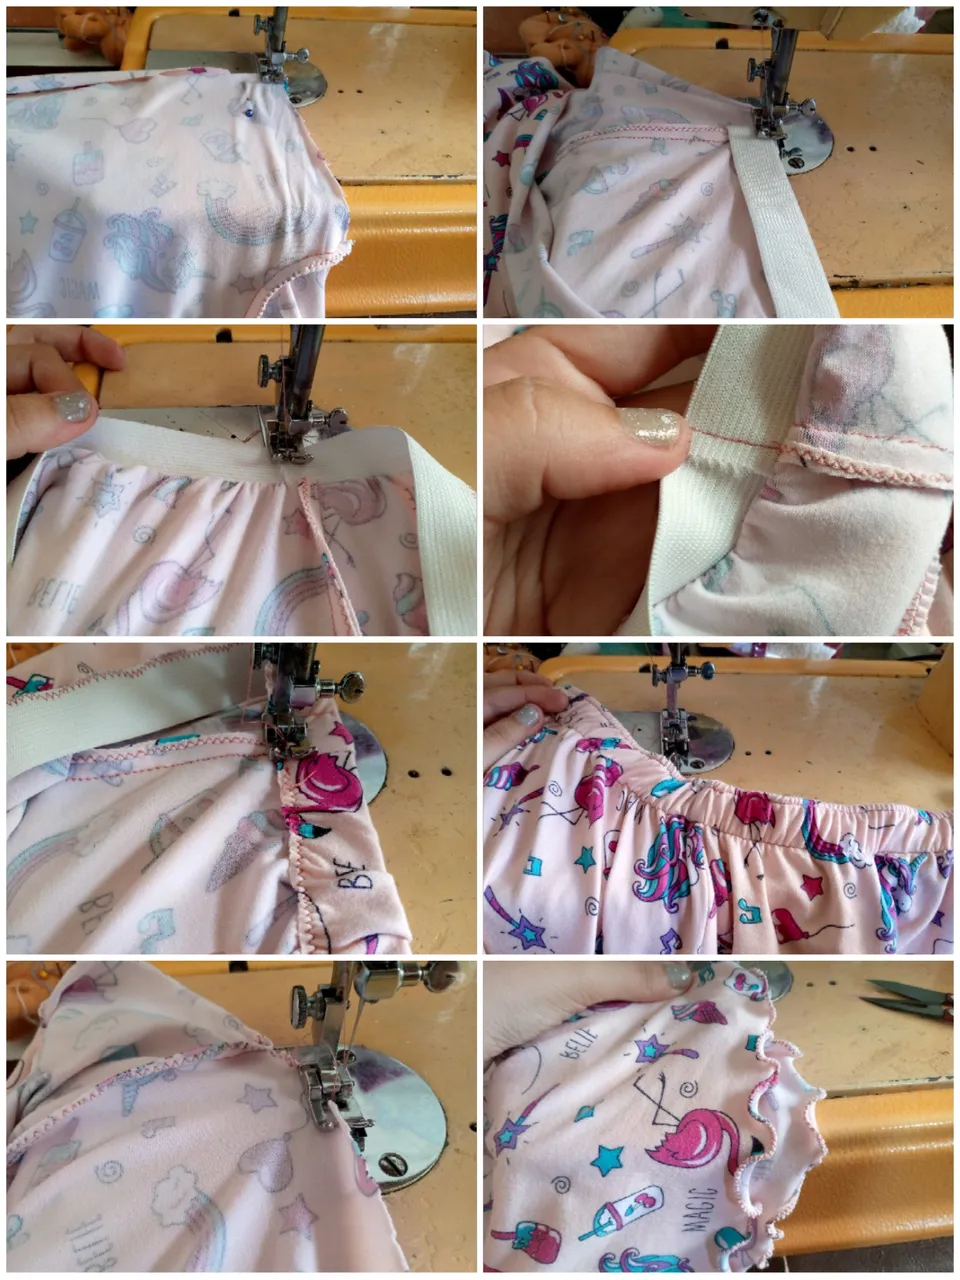
We are going to open our shorts next at the bottom and also there we will join what is the crotch, and we sew the elastic around the entire edge with a zig zag, stretching it a little each time we stop sewing. To finish, I will place the elastic on top of the other end, cut and sew with a straight seam and then flip, stretch it and this time sew over it with a straight seam as well. Then on each leg I will be doing the milkmaid sewing design, which consists of stretching the fabric as much as possible and sewing the zig zag almost found so we sew the entire edge until we get to where we started. I will do the same with the other leg and that's it, we finish the set in this way.
Resultado:
Result:
This is how I finished this pretty pajama that I really like. I hope you girls like this model and are encouraged to make it. Here are the photos of the result and I really appreciate the gesture of reading my blog until the end. I love you and I wish you a nice and happy night, sweet dreams. 🥰✨💤
🦋✨ All the images in this publication are my author ,📱taken with my TecnoSpark8C cell phone |📸Photos edited in PicsArt and Canva. Text translated in Google Translate.