✨🧵Welcome to my blog friends @needleworkmonday, I'm glad you're here appreciating one more tutorial.🪡🧶

I don't know what I would do without the scrunchies that make my life easier when it comes to putting them in my hair. Before, I used to buy those little ponytails or hair elastics that after a week were already super stretched from putting them on so much and they would run out very quickly and sometimes even all of them in a moment ☹️It wasn't until I discovered how to make my own elastics to grab and hold my hair, super soft and made of fabric.
These now called "scrunchies" are not that difficult to make and if you have this type of thin elastic from some leftover seams you can use them to make your own elastics save some money and of course make them in the color of your preference, of course what I will do of course they are not for me, they are to give away but I have also chosen to make them lately so here I leave you this process of how I made one of these scrunchies since there are several ways to make them but here I show you my process, I hope one day you can make them for yourself or even have your own business with them like me.
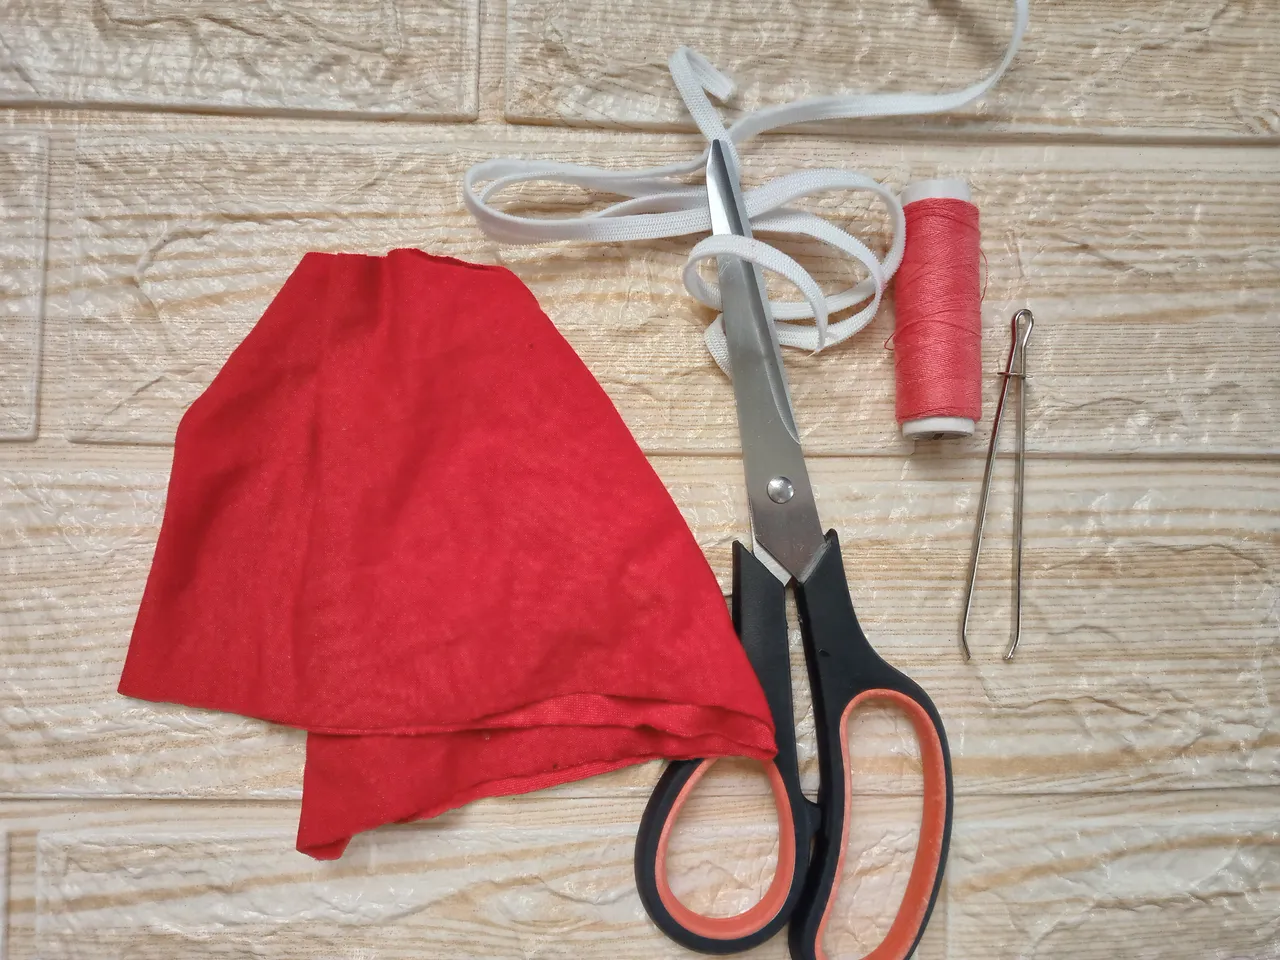
Materiales:// Materials:
| Español | English |
|---|---|
| Trozos de tela suave | Pieces of soft cloth |
| Tijeras | Scissors |
| Elástico delgado | Thin elastic |
| Hilo | Thread |
| Máquina de coser | Sewing machine |
| Herramienta pasa cinta | Tape pass tool |
Pasos a seguir:// Steps to follow:
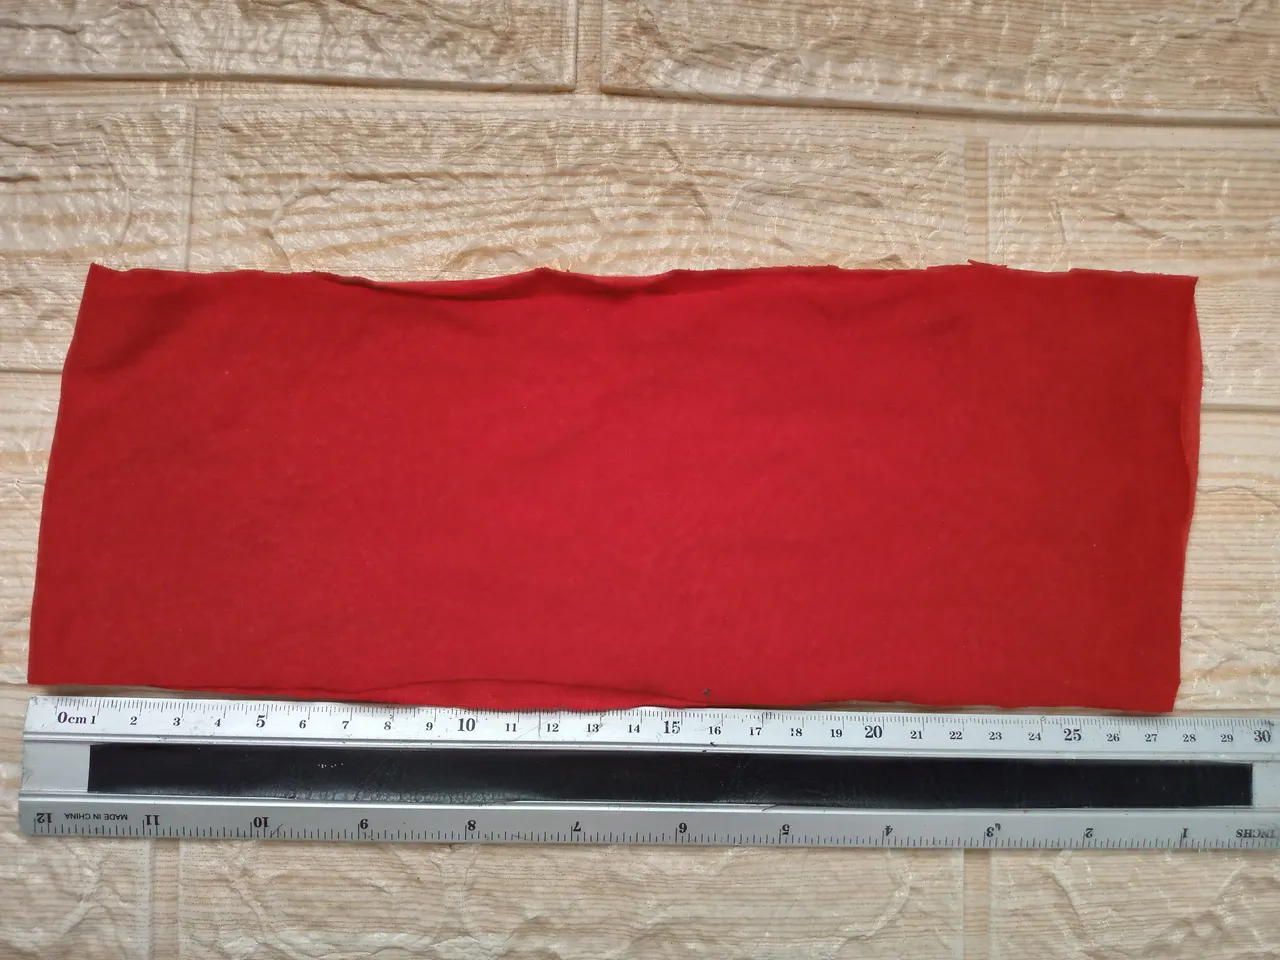
Paso 01
Step 01
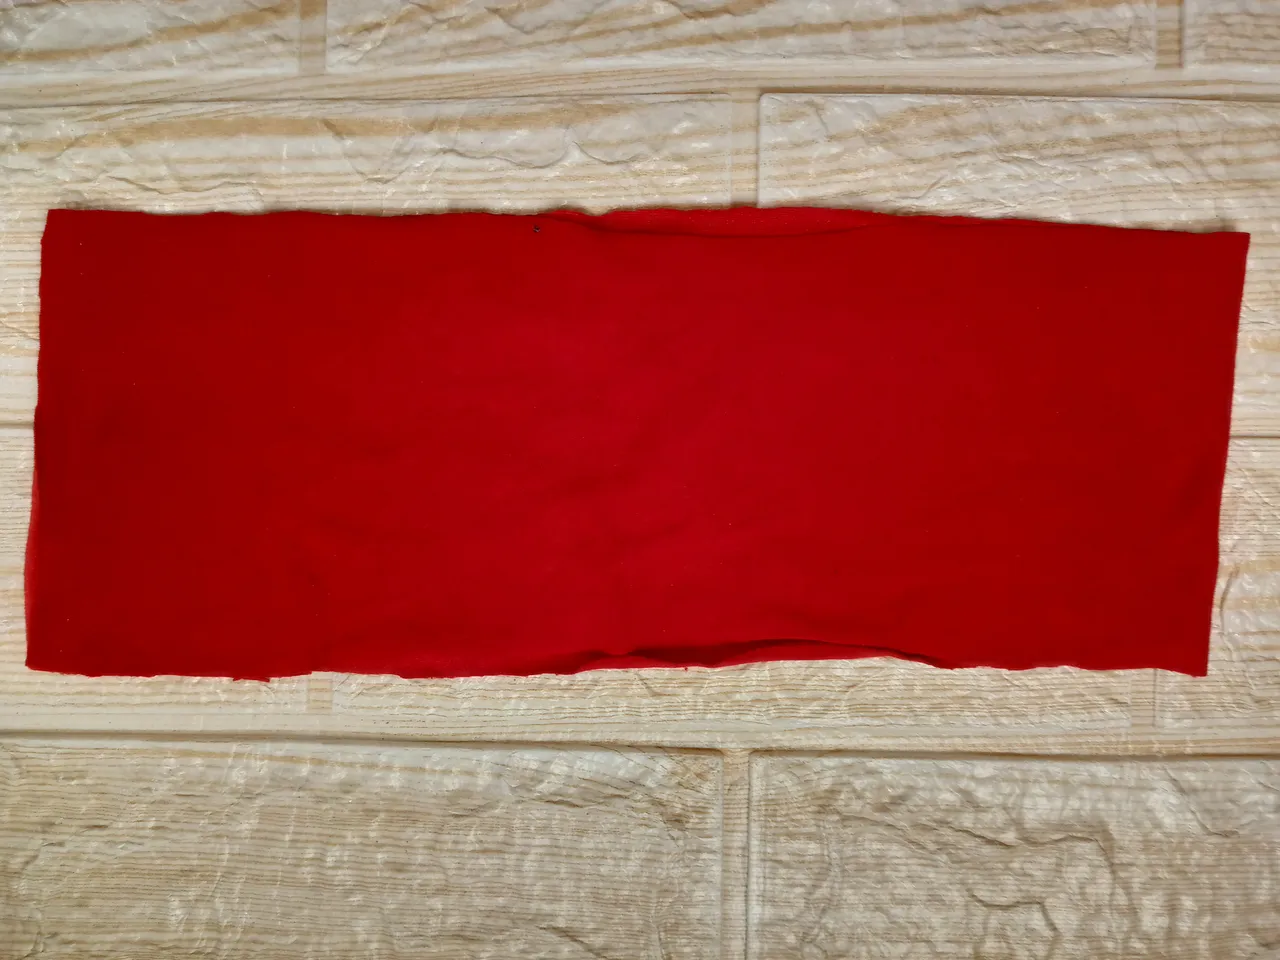
To start, I cut a rectangle of double micropeach fabric measuring 30 cm, well almost 30 cm, it could be 29, but remember that the wider the rectangle, the wider your scrunchie will be. Well, I used the ruler to help me mark the width in centimeters, which is 8 cm.
Paso 02
Step 02
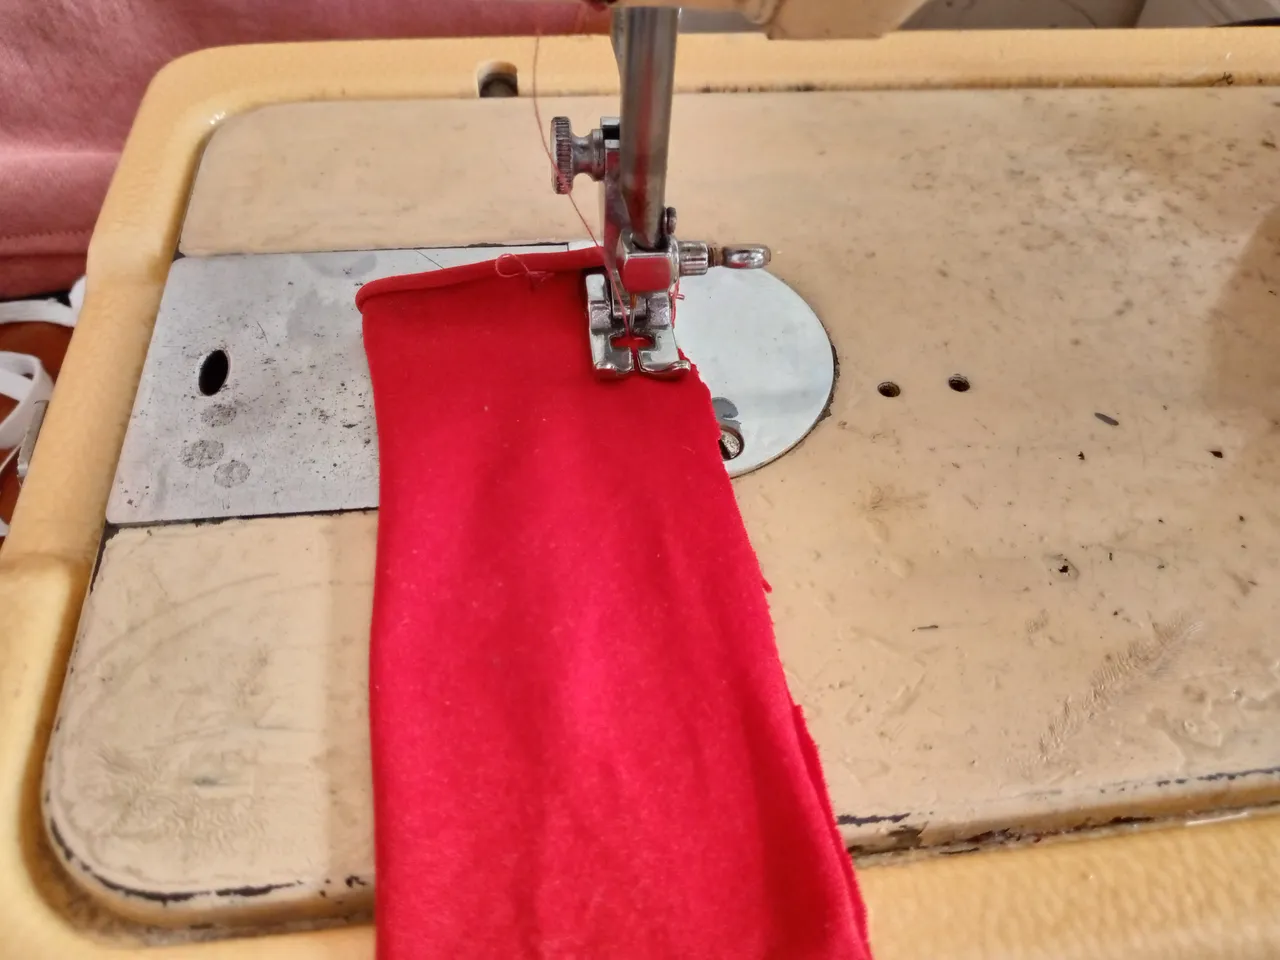
Next I will start sewing the scrunchie, for this I will be stretching my fabric and what I will do is fold it forming a long ribbon or strip, all this ribbon will be sewn with a straight stitch along the entire edge, leaving 1 cm of both ends unsewn at the end.
Paso 03
Step 03
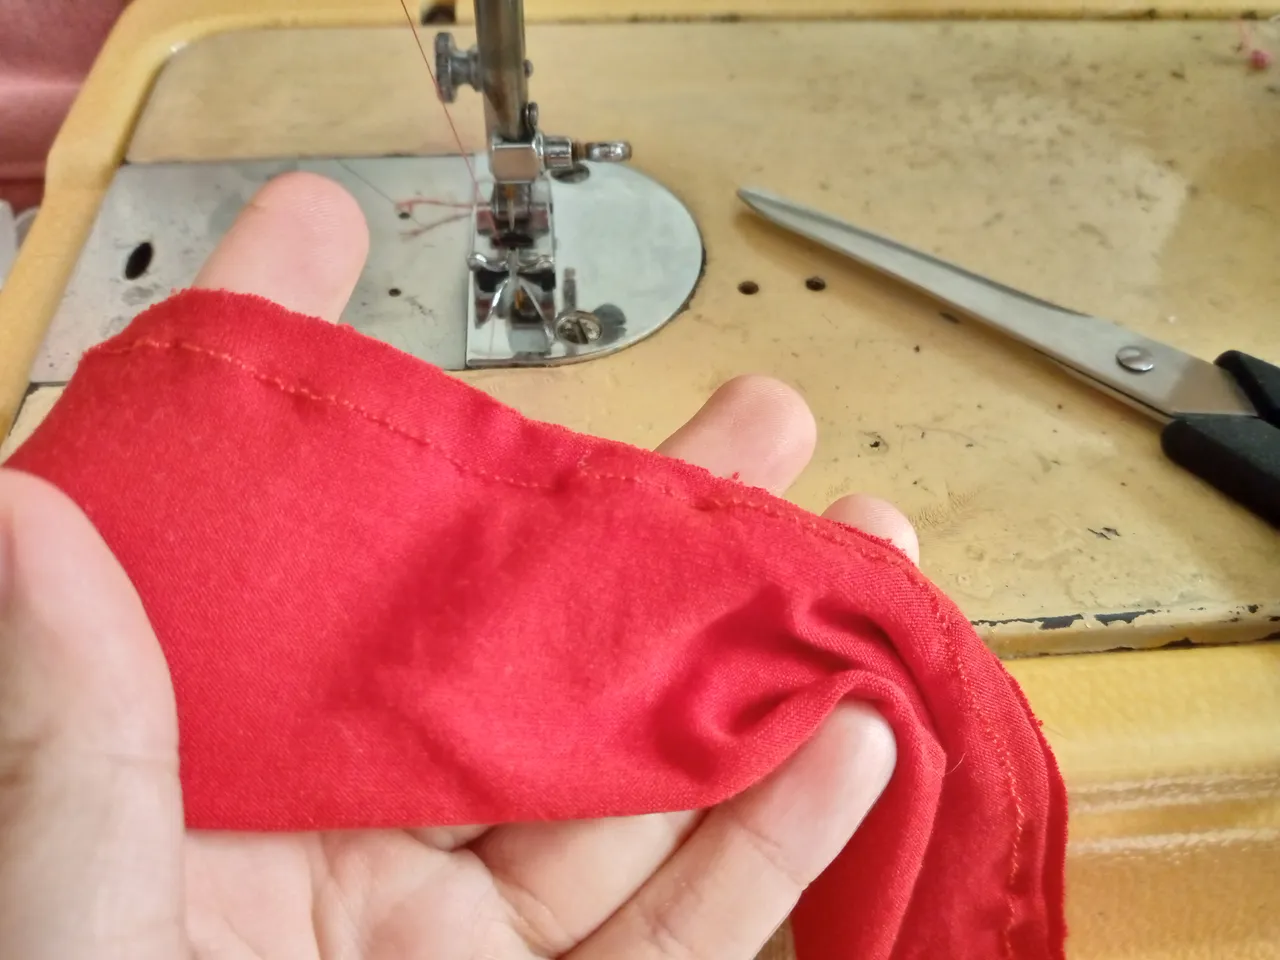
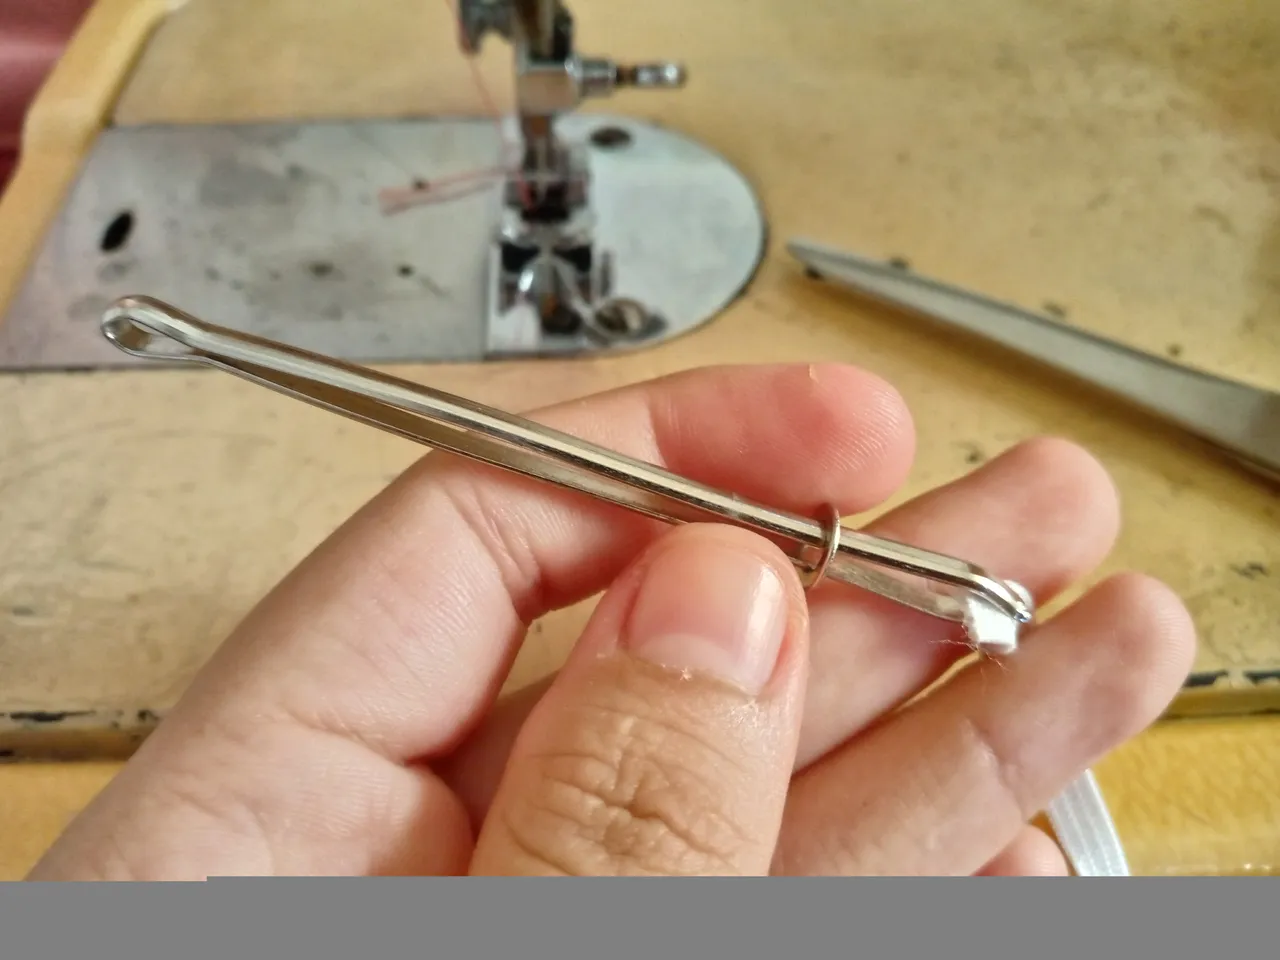
With our tape passer tool I will be holding one end of the fabric and what I will do is turn this strip of fabric that we have sewn over, leaving the seam on the inside and we will use this tool that is special for passing elastic bands and ribbons in the fastest way. You can get it in haberdashery stores.
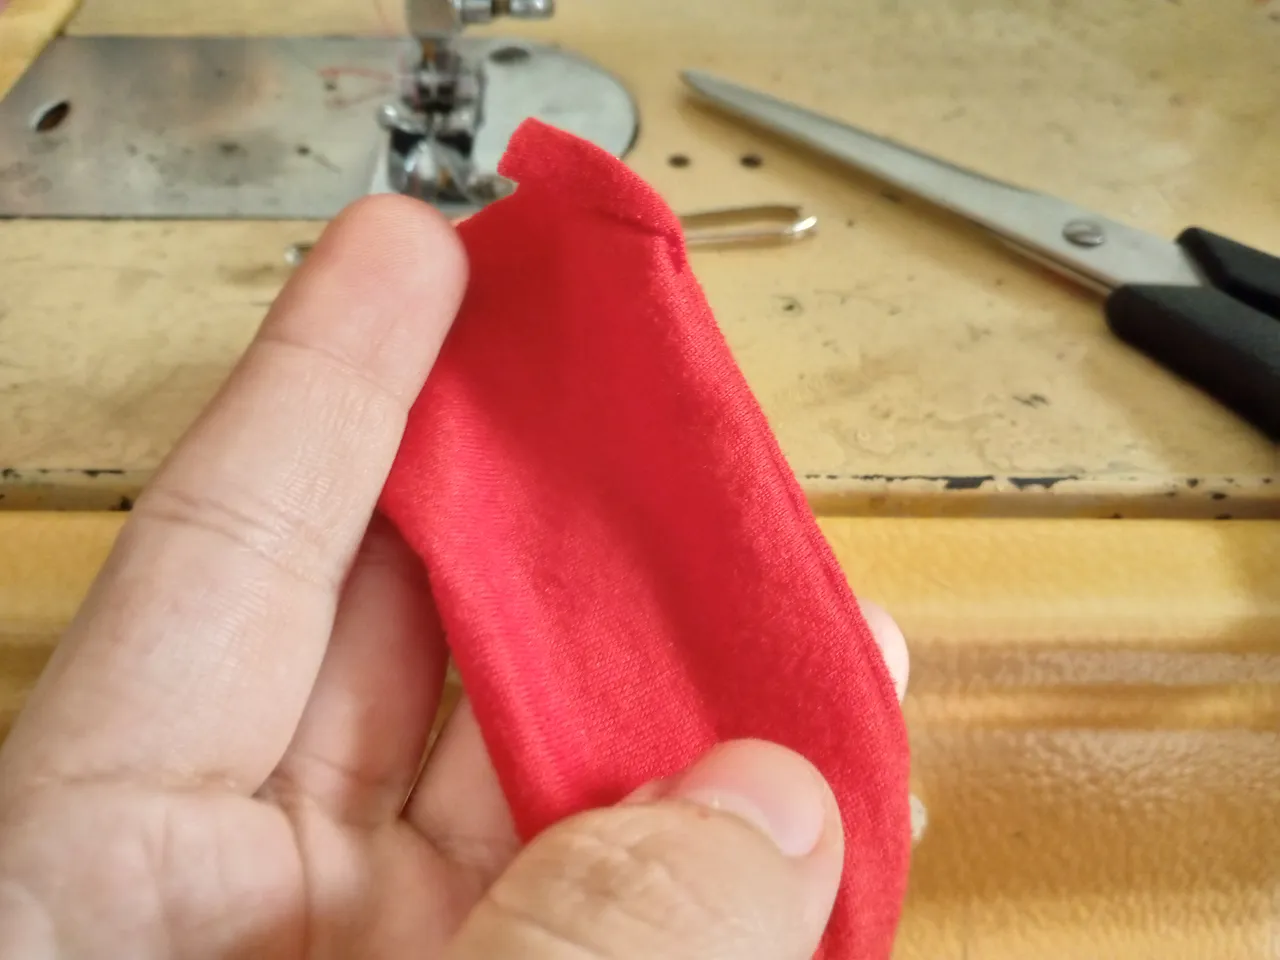
Paso 04
Step 04
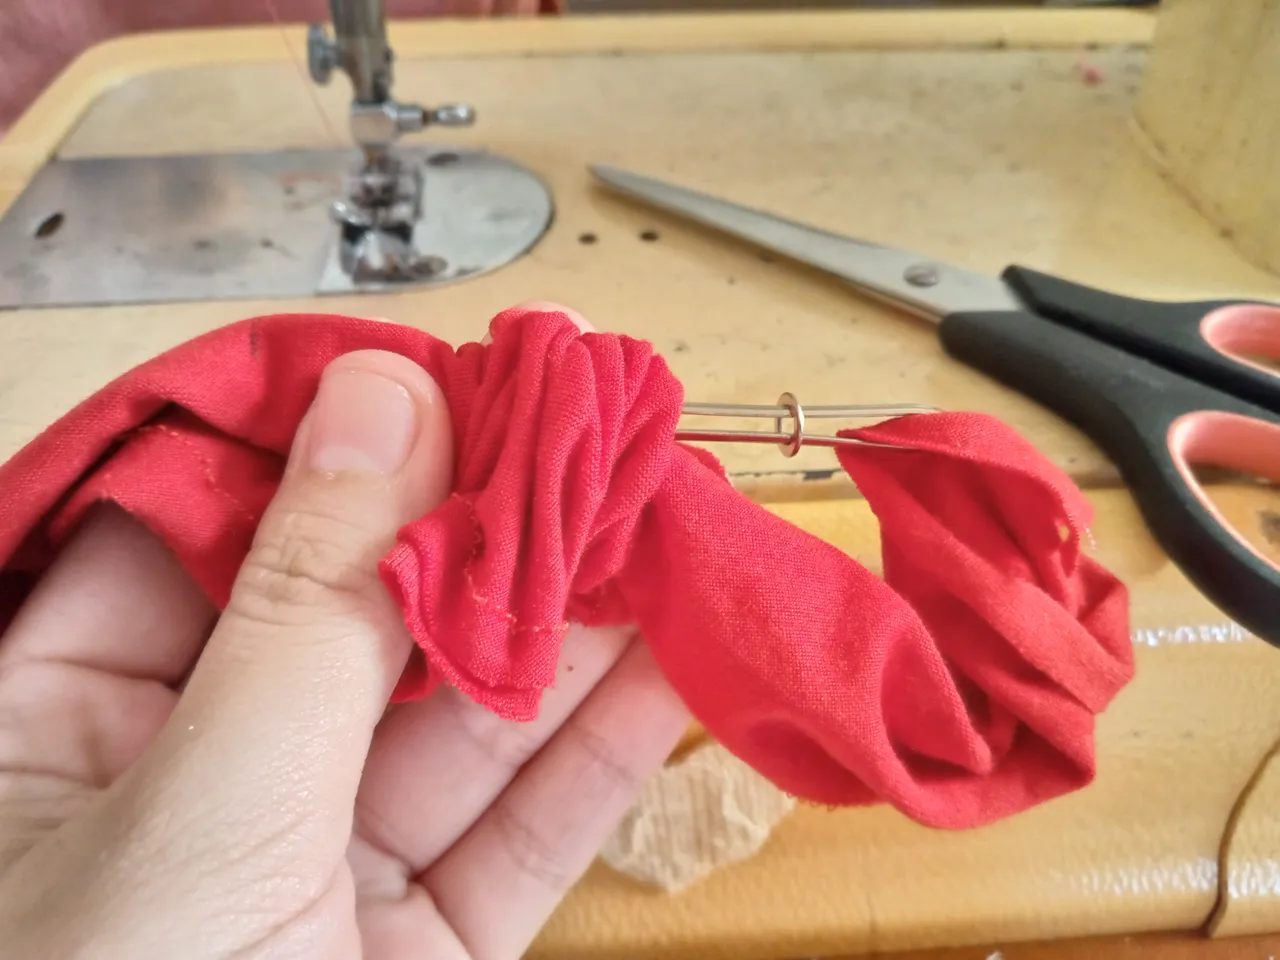
When we have finished passing or turning the fabric ribbon, what we will do is join both ends on the bottom side and we will be sewing with a straight stitch only that part, when we sew this we will realize that we will have a small hole where we will be passing the elastic.
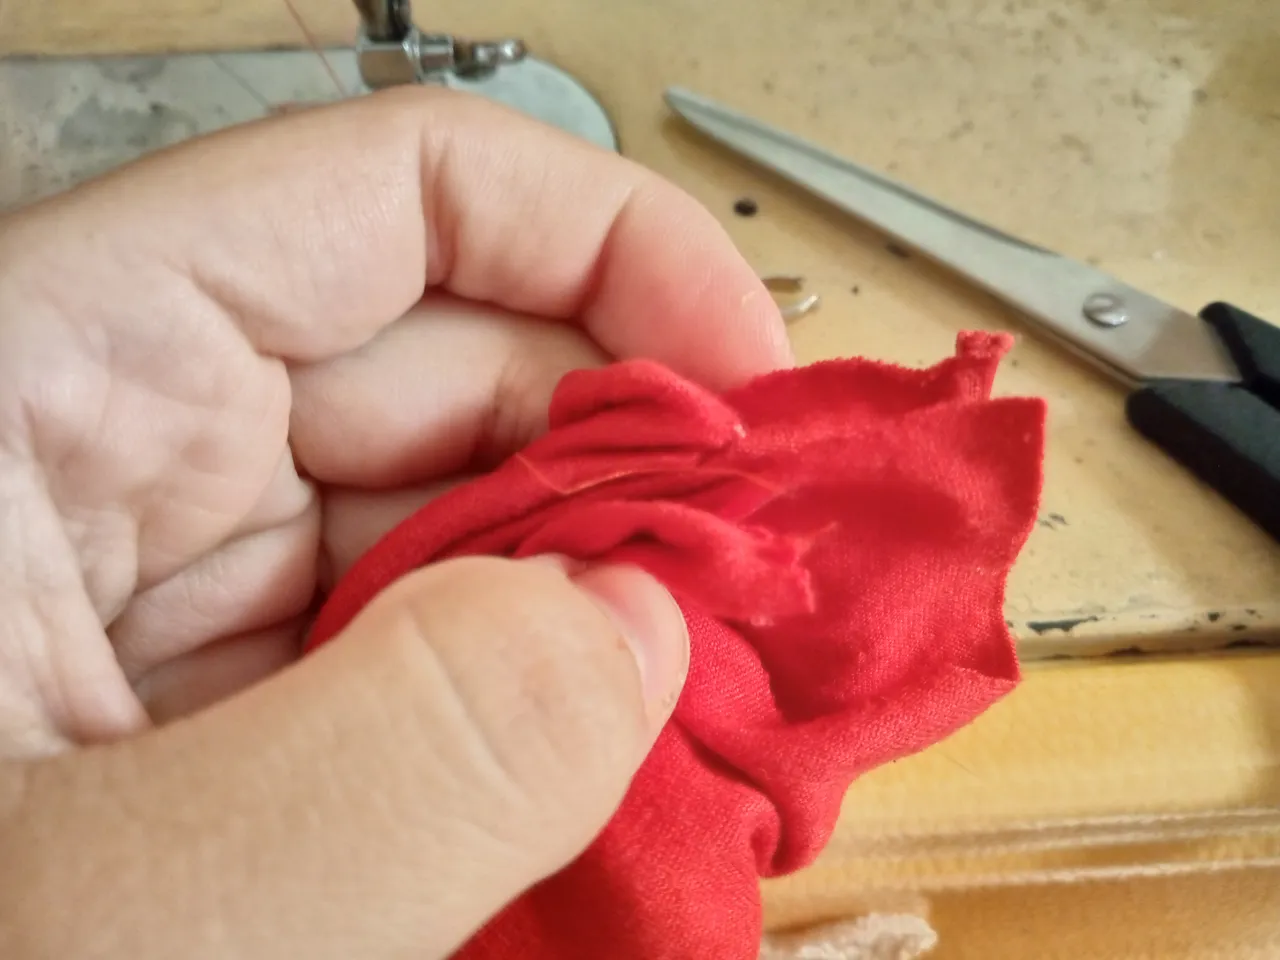
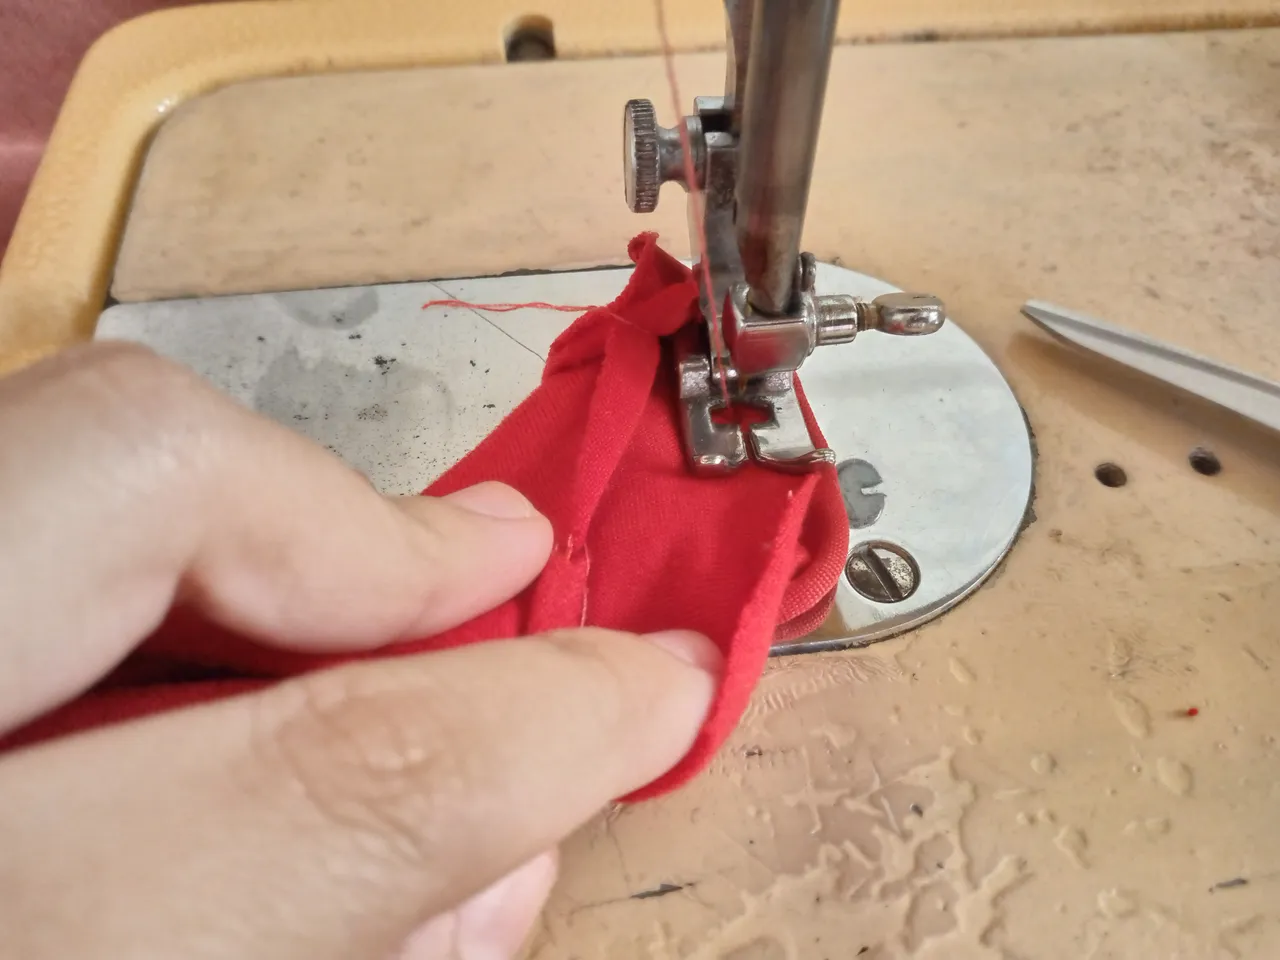

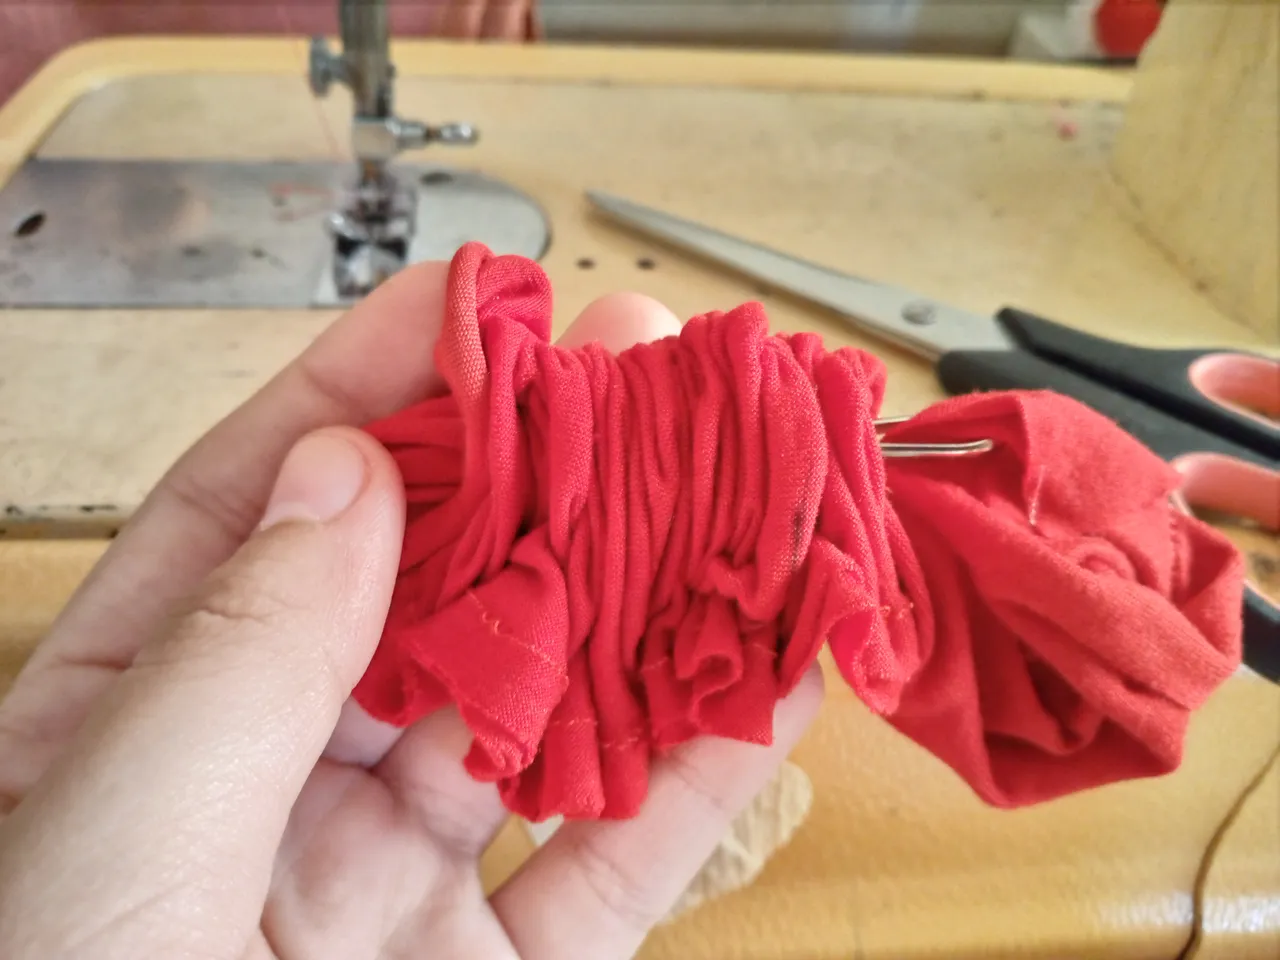
Paso 05
Step 05
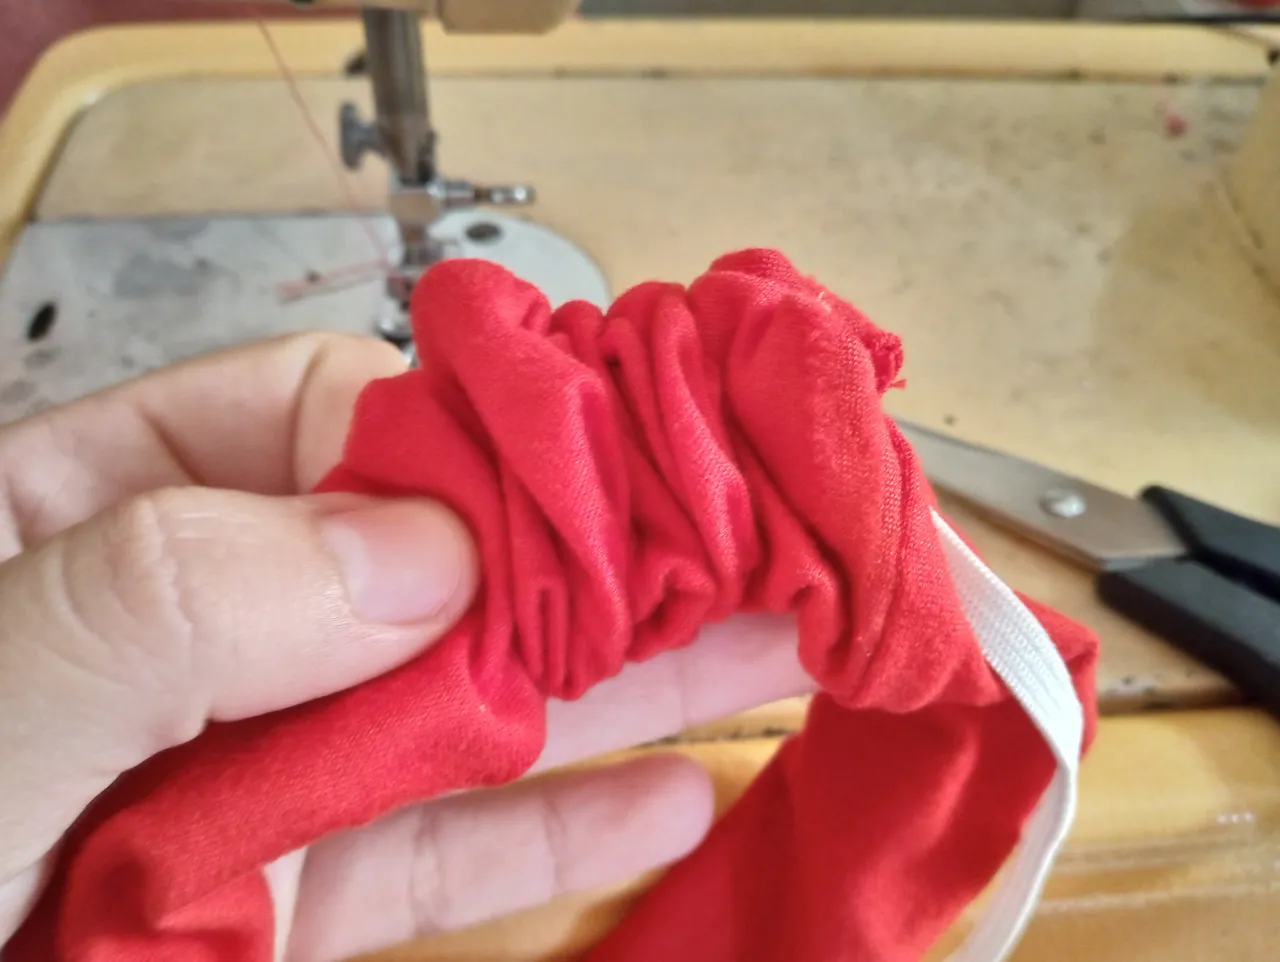
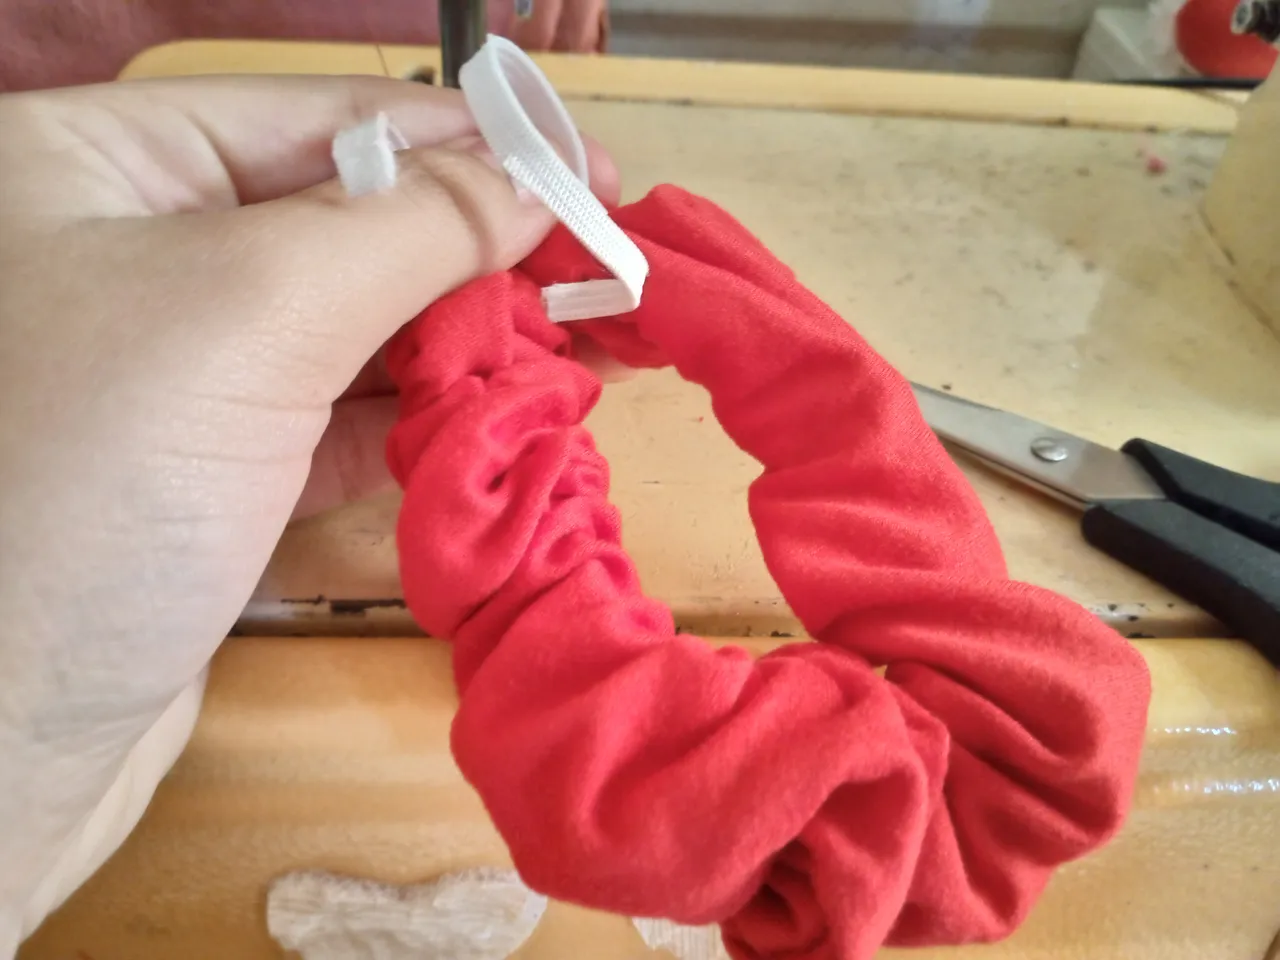
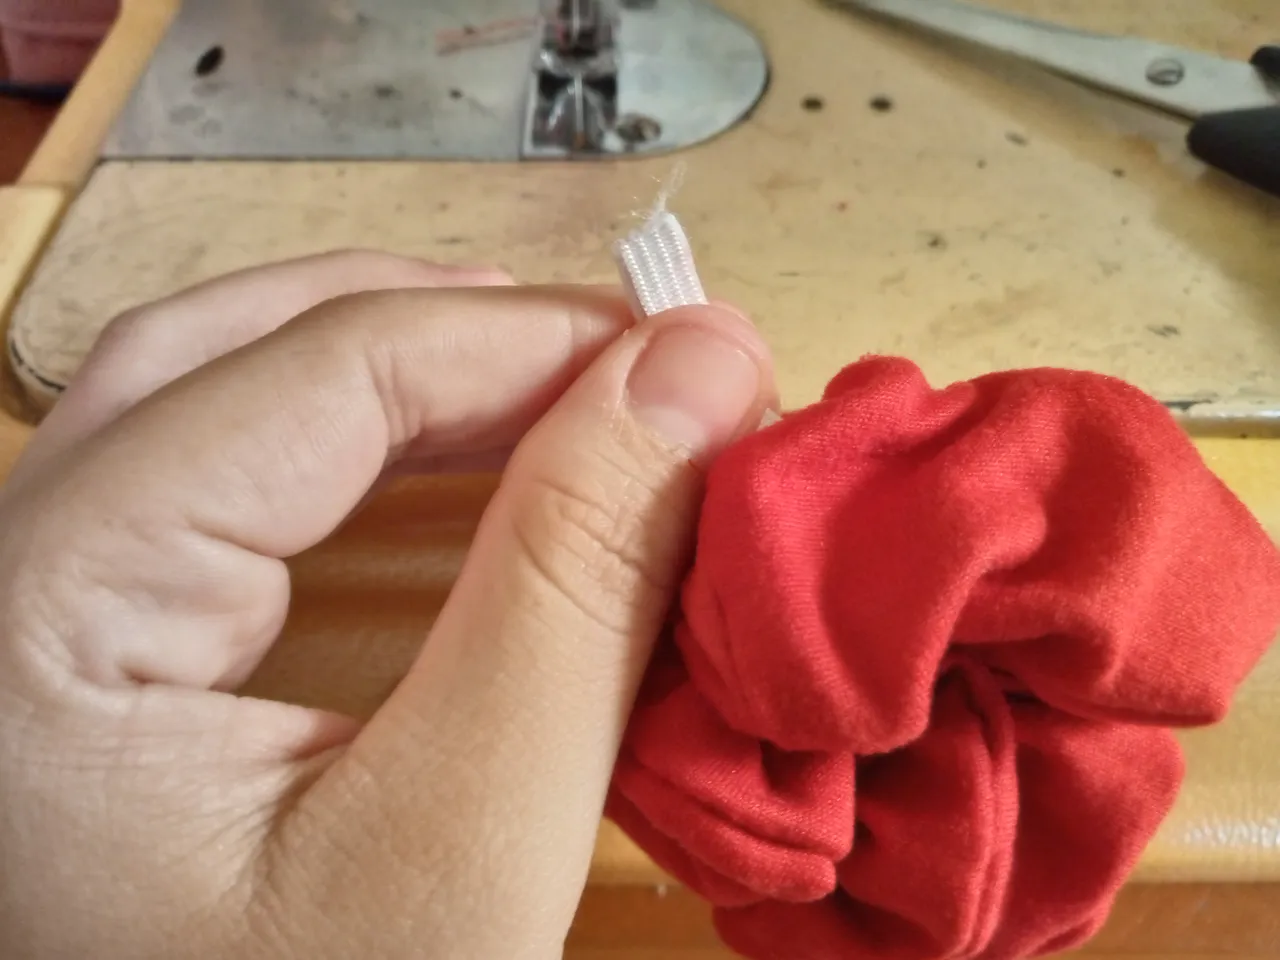
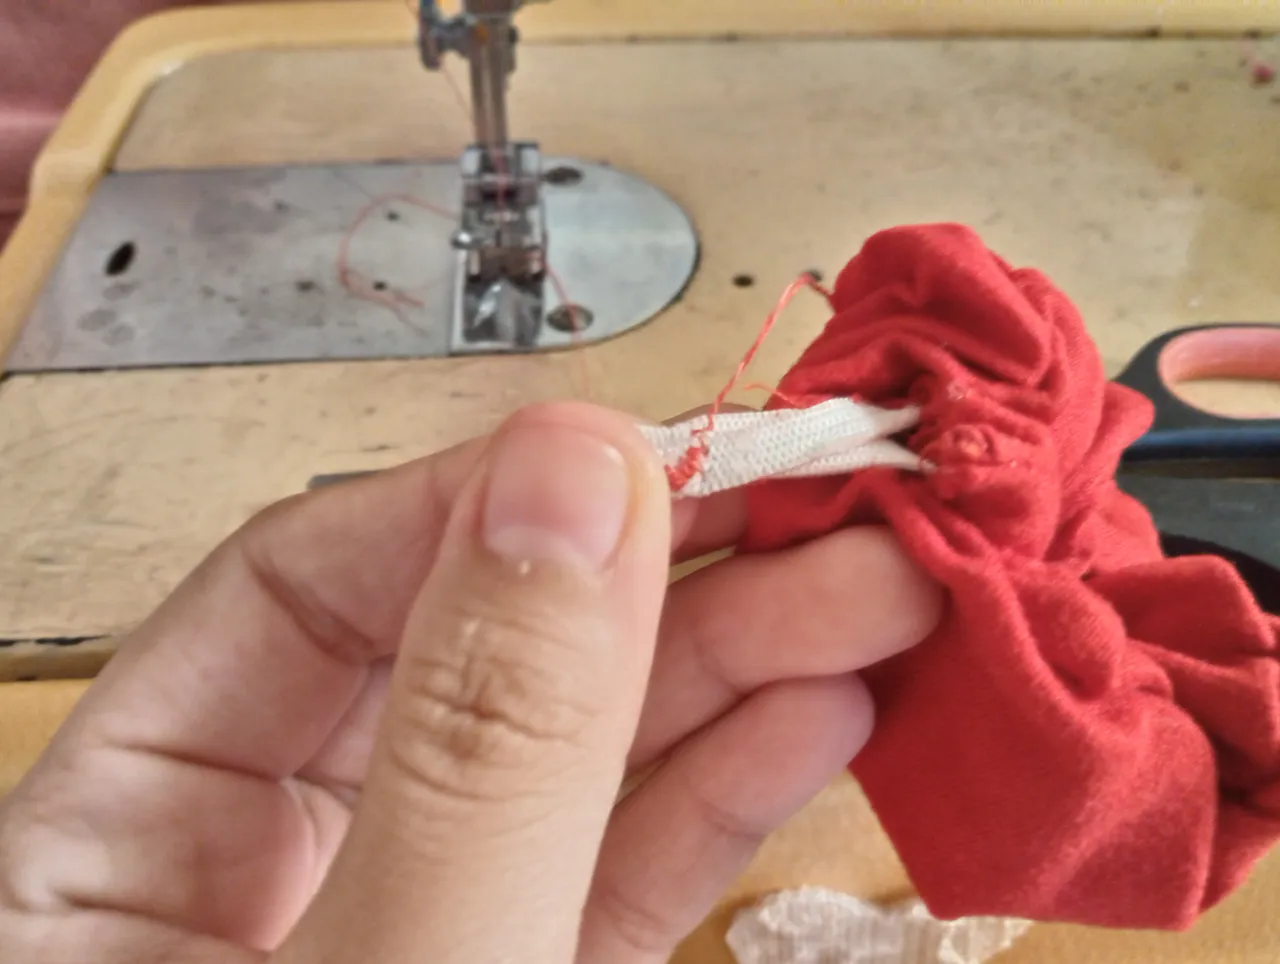
Then with the tape tool we will be grabbing our elastic band that we will use to pass it inside the fabric, we put it in and we will be adjusting this elastic band according to how we want the measurement, if tight or loose, that is already up to your preference, I have not placed it so tight and easily when I take out both ends of the elastic band what I will do is seal the two ends of the elastic band with a zig zag stitch to adjust them well, then in that part where it has remained open what we will do is sew over it, tucking or folding the fabric inwards a little so that the edge cannot be seen, we sew it with a straight stitch and thus we seal the small hole that we had left, that is how we finish this scrunchie.
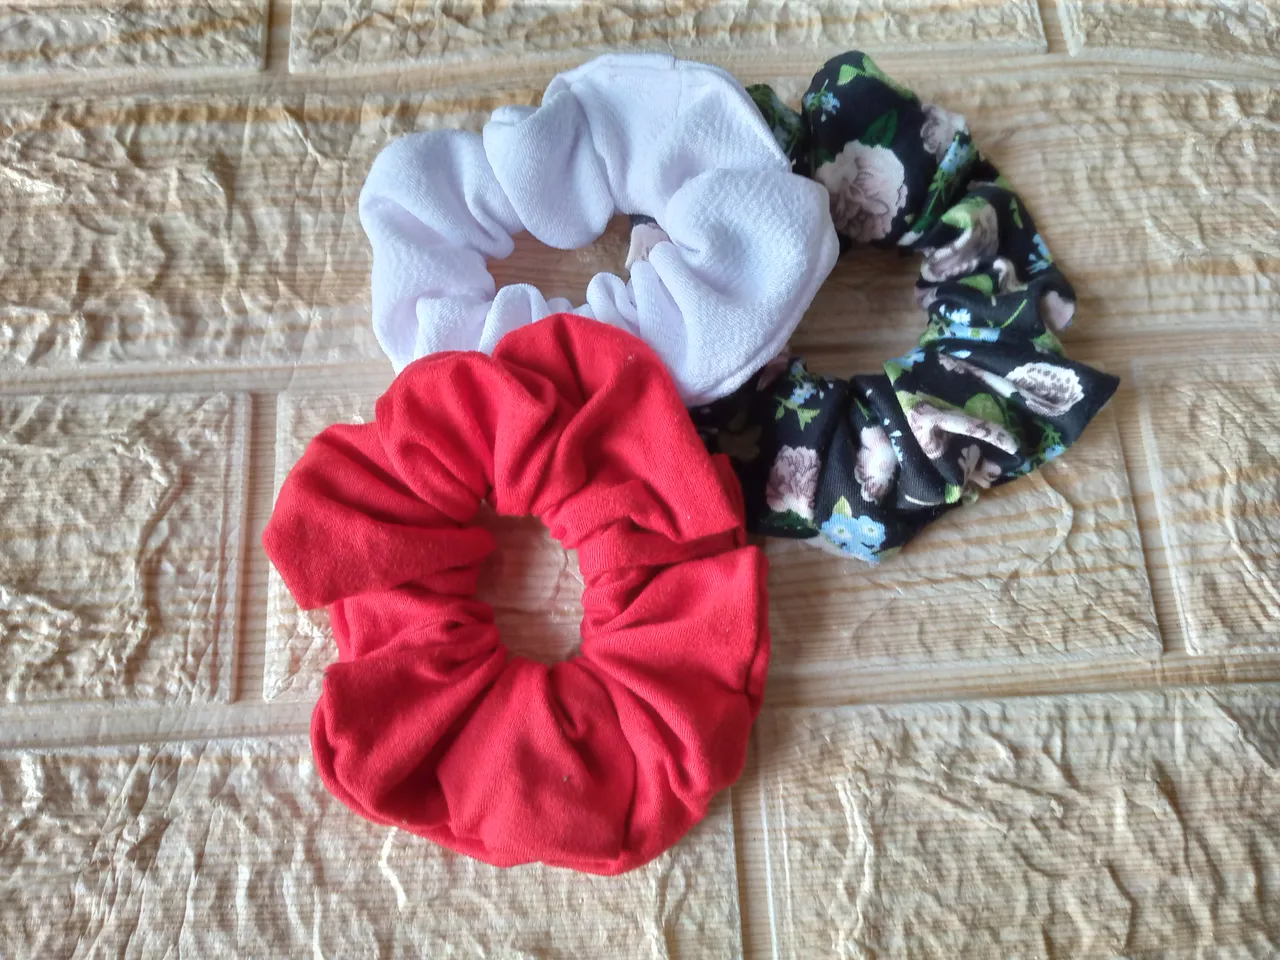
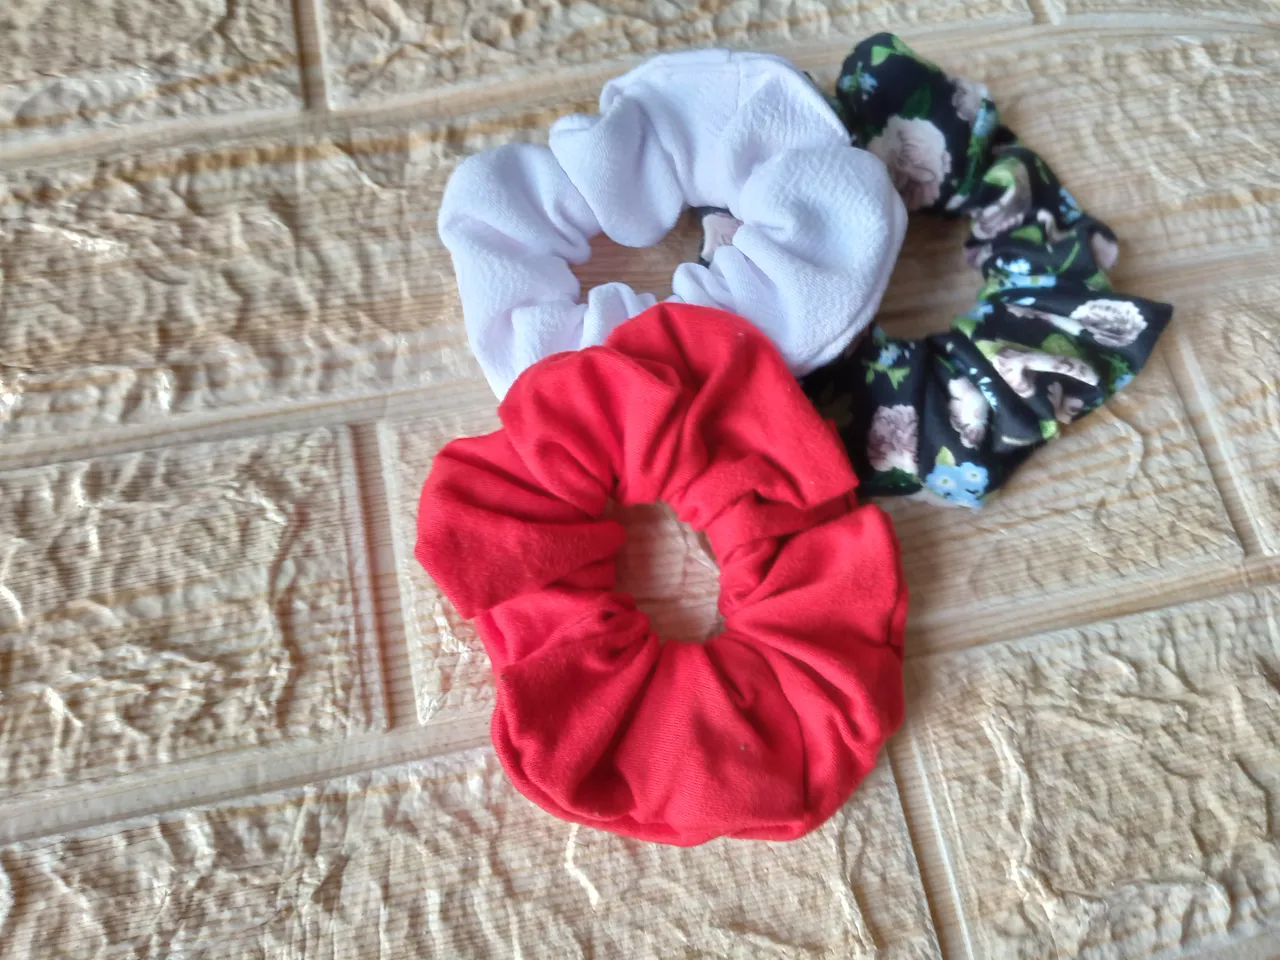
Resultado //Result:
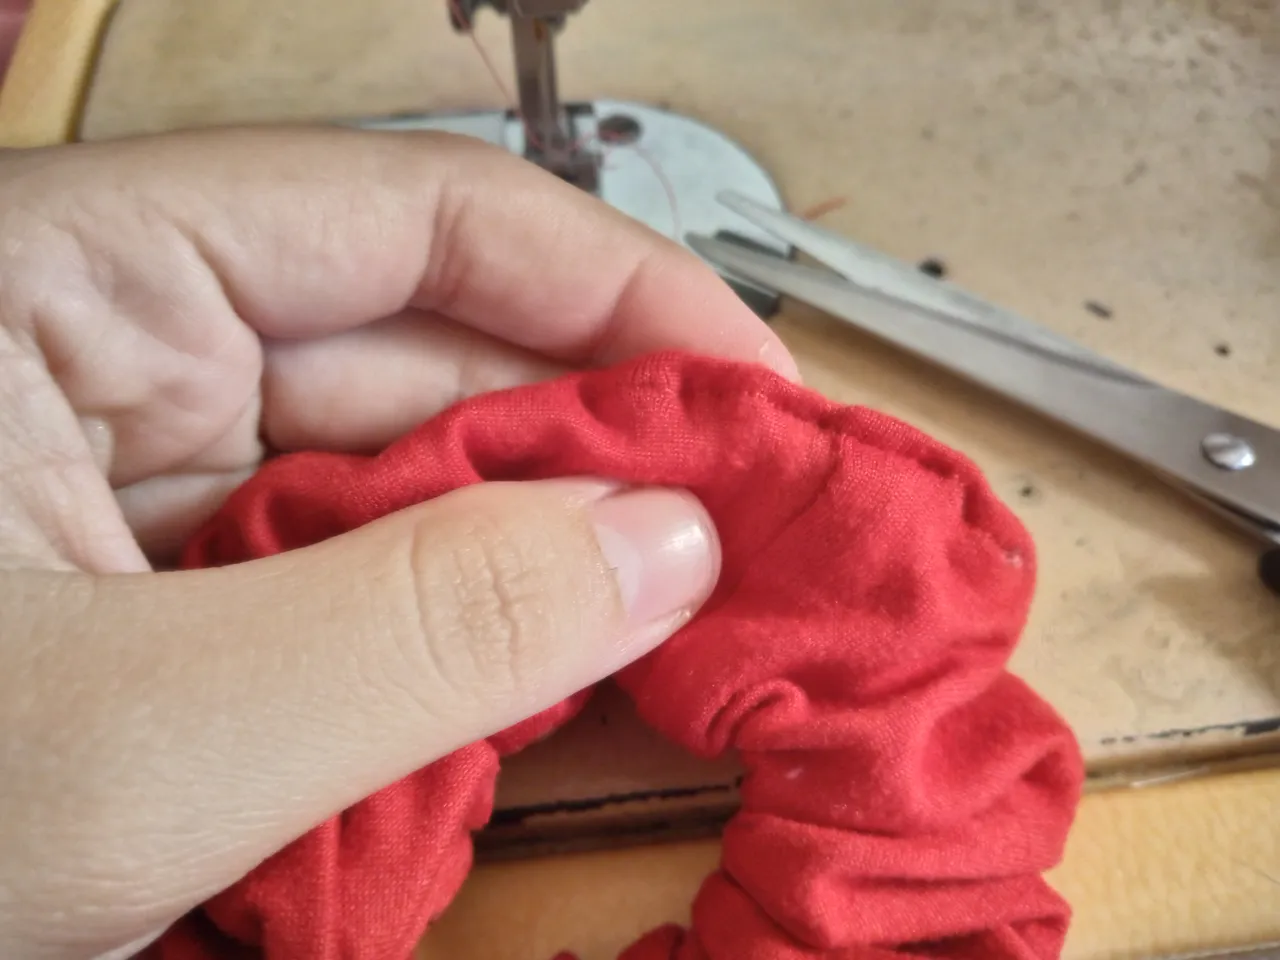
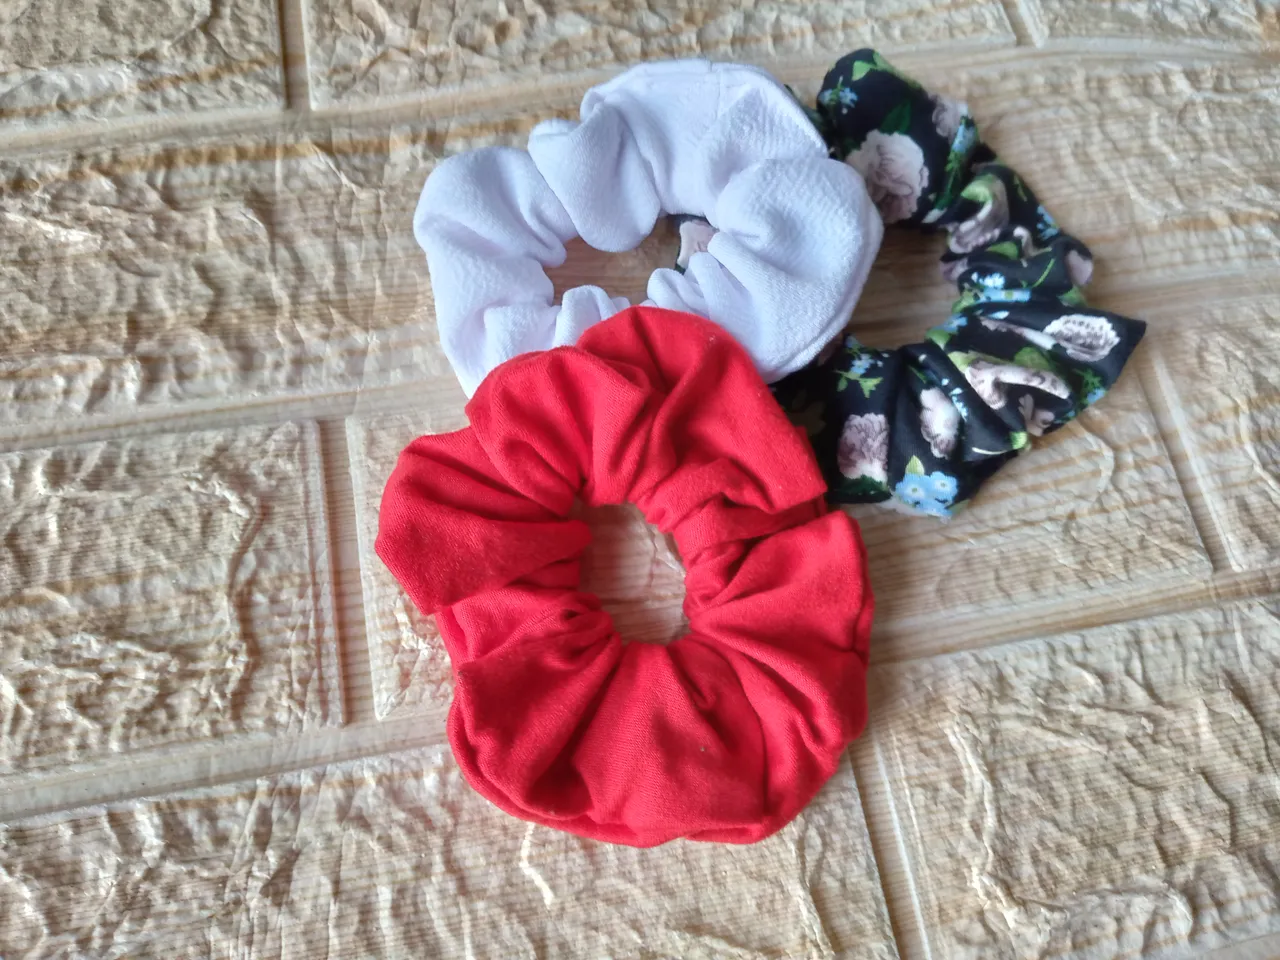
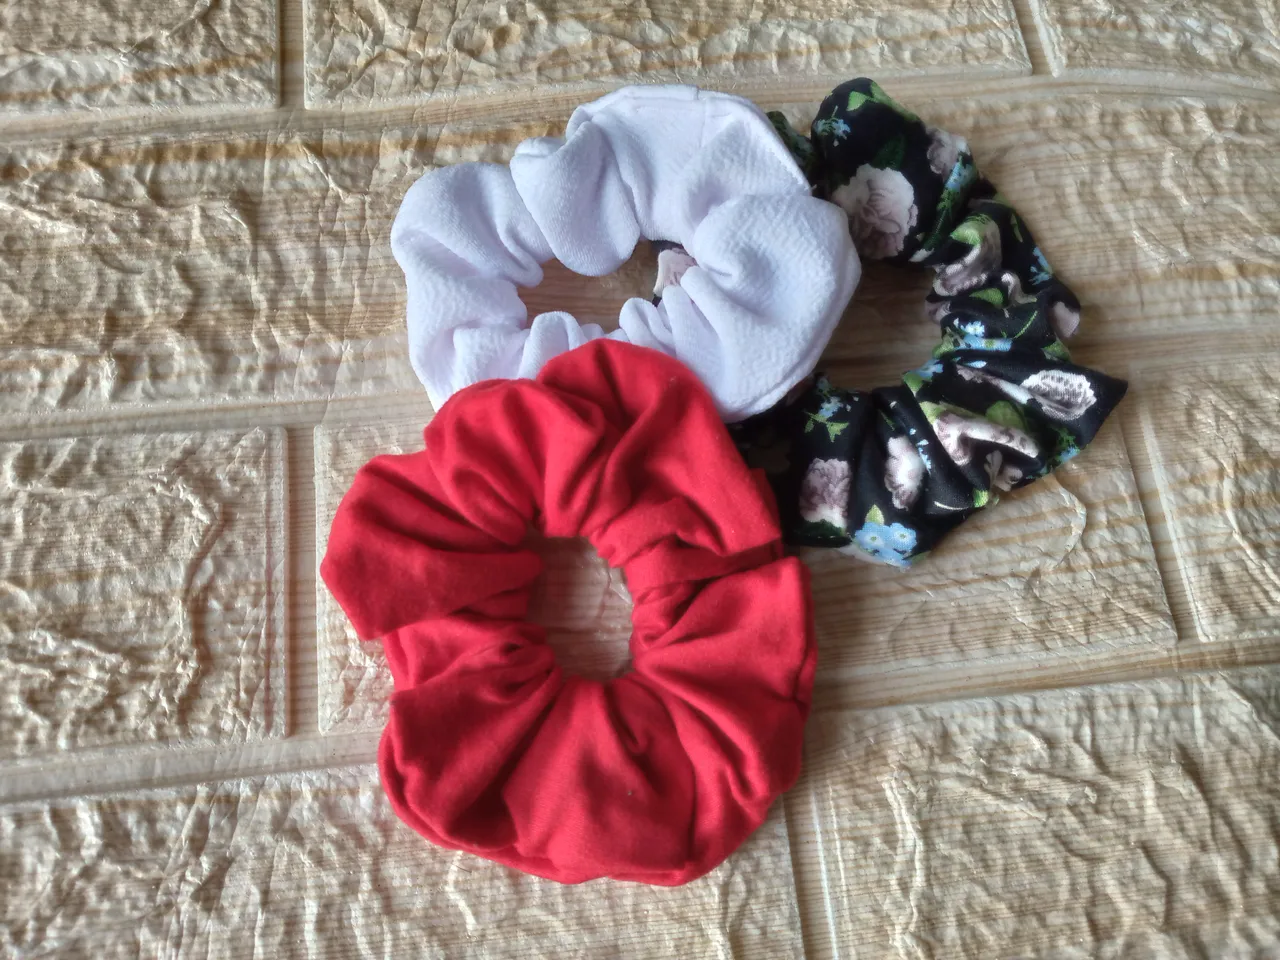
Easily this is how we have turned out this scrunchie super easy and simple to make, they are special when you straighten your hair and you don't want your hair to be marked by the elastic bands because this one is special for those moments and it doesn't ruin your hair, they are very soft that you will feel like you are not wearing them, in the end I wanted to make two more in a flower print and white, this fabric is called Beverly and it is harder, it is used for higher and tighter ponytails, I definitely loved how they look, I hope you liked how I made them and how we can recycle those pieces of fabric that we didn't know we could do something with.
✨🌸I say goodbye to you, friends of this community, I hope you liked my blog, I say goodbye to you, we'll read each other another time, happy and beautiful day 🌞🍄.
Creating things with love 🌷❤️
🦋✨ All the images in this publication are my author ,📱taken with my TecnoSpark8C cell phone |📸Photos edited in PicsArt and Canva. Text translated in Google Translate.
Follow me for more content 📌