Hello, knitting friends of this community, I send greetings to each and every one of you on this day. I hope you are all doing well and enjoying the week.
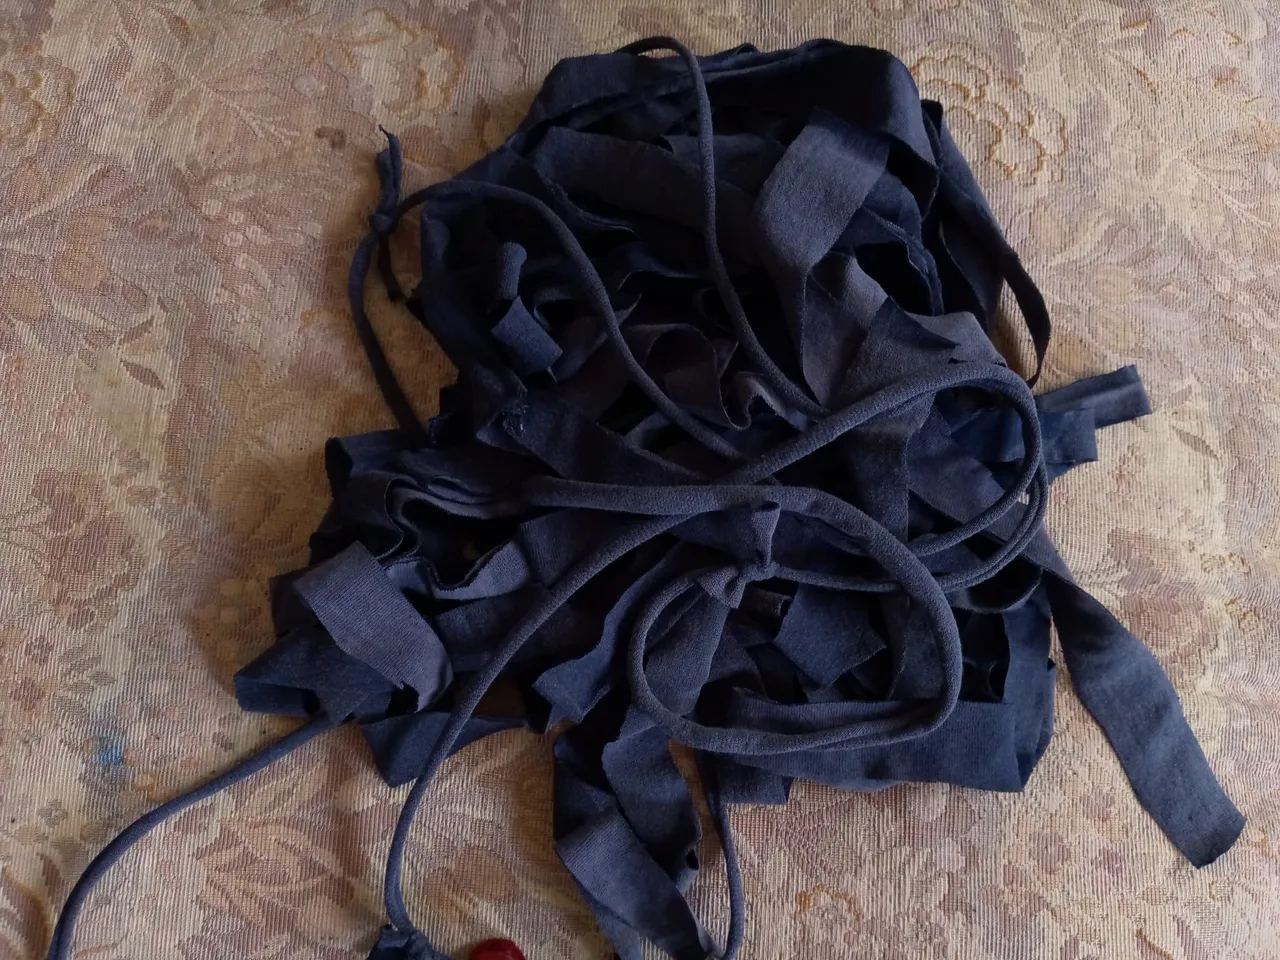
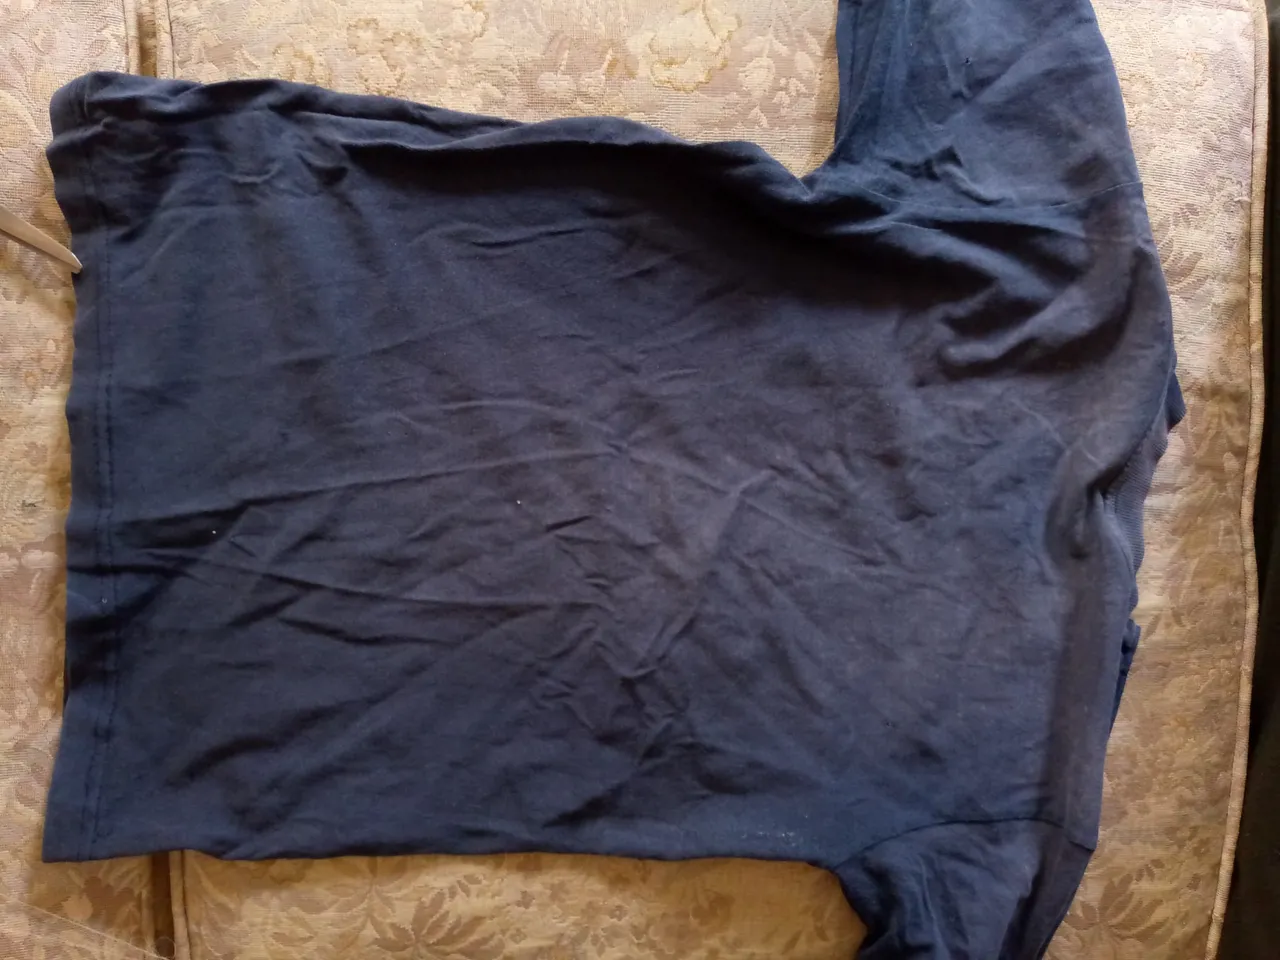
For many days I have wanted to make these little handbags or bags to keep small things in our purse made with trapillo yarn, that is, fabric that stretches a bit. I say that I wanted to make it for many days because inside my fabric basket I kept some old flannel that I no longer needed and I began to take long strips of it to make this trapillo. I rolled it around a small wooden paddle until I had enough trapillo to knit, of course what would fit me the size of the bag I would be knitting.
I tell you that it was not easy for me to do it, I had many challenges and I watched several tutorials to get a clear idea of how to do it, especially to see what the stitches are like in order to have it since it was not easy for me to make stitches with this type of rag, but after a few hours of practicing I was able to do it, I also tell you that I released the thread several times because I did not know how to do it really, I know that I did not share the process with you at the beginning because I did not have time to take photos but when I was just starting, it was easy to do then I say that it is somewhat difficult to start knitting it the rest is simple, I know that you friends who are knitting experts will see this work very simple to do and I know that you can do it even better than me but in the same way I wanted to share in a cheerful way how I did it I hope you like it and give me your support, I appreciate you very much and you are special to me, let's go with the materials.
Materiales:// Materials:
- Hilo de trapillo del color de tu preferencia
- Tijeras
- Aguja de tejer yo usé una de 2.50 mm porque era la más grande que tenía
- Broche
- Decoración en dorado
- Rag yarn of the color of your choice
- Scissors
- Knitting needle I used a 2.50 mm one because it was the biggest one I had
- Brooch
- Gold decoration
Pasos a seguir://Step to follow:
Paso 01
Step 01
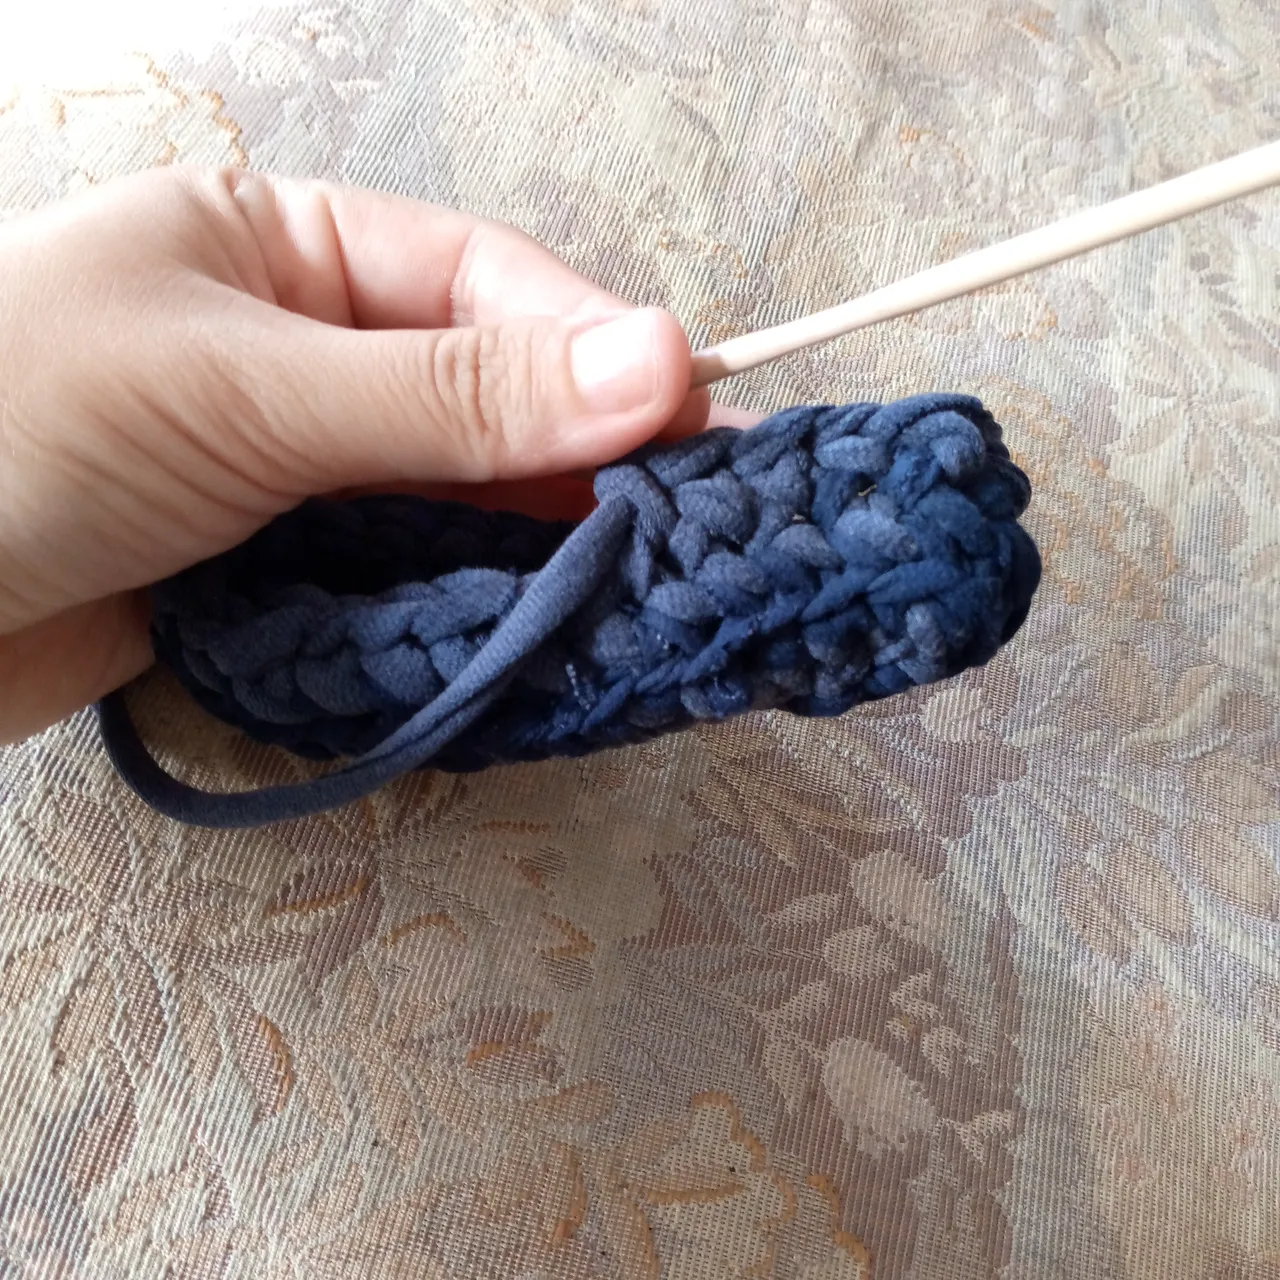
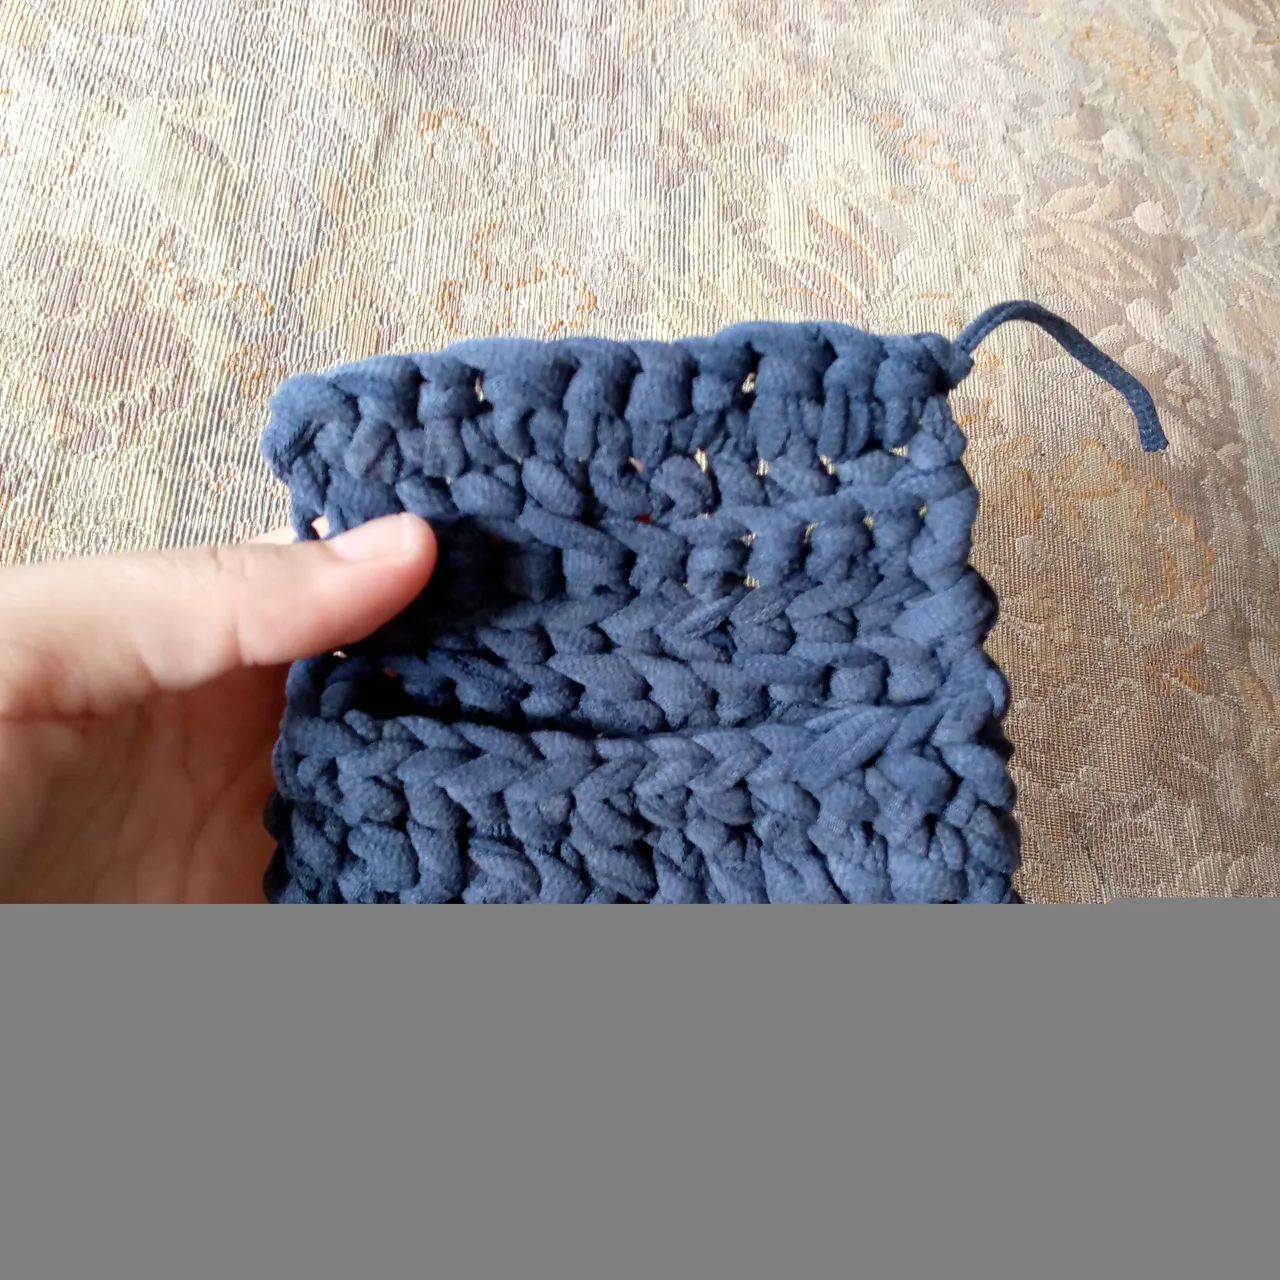
I basically started by making the base of my bag with a chain of 16 stitches. The width of my base is 3 cm at the bottom. I didn't want to put in too much because I knew the thread wouldn't be long enough. So once I made my base with the same single crochet and a loop, I simply moved on to making the sides of the bag. I continued knitting, and between each single crochet I inserted the needle through the center towards a loop and put the thread back in to make the single crochet sequence.
Paso 02
Step 02
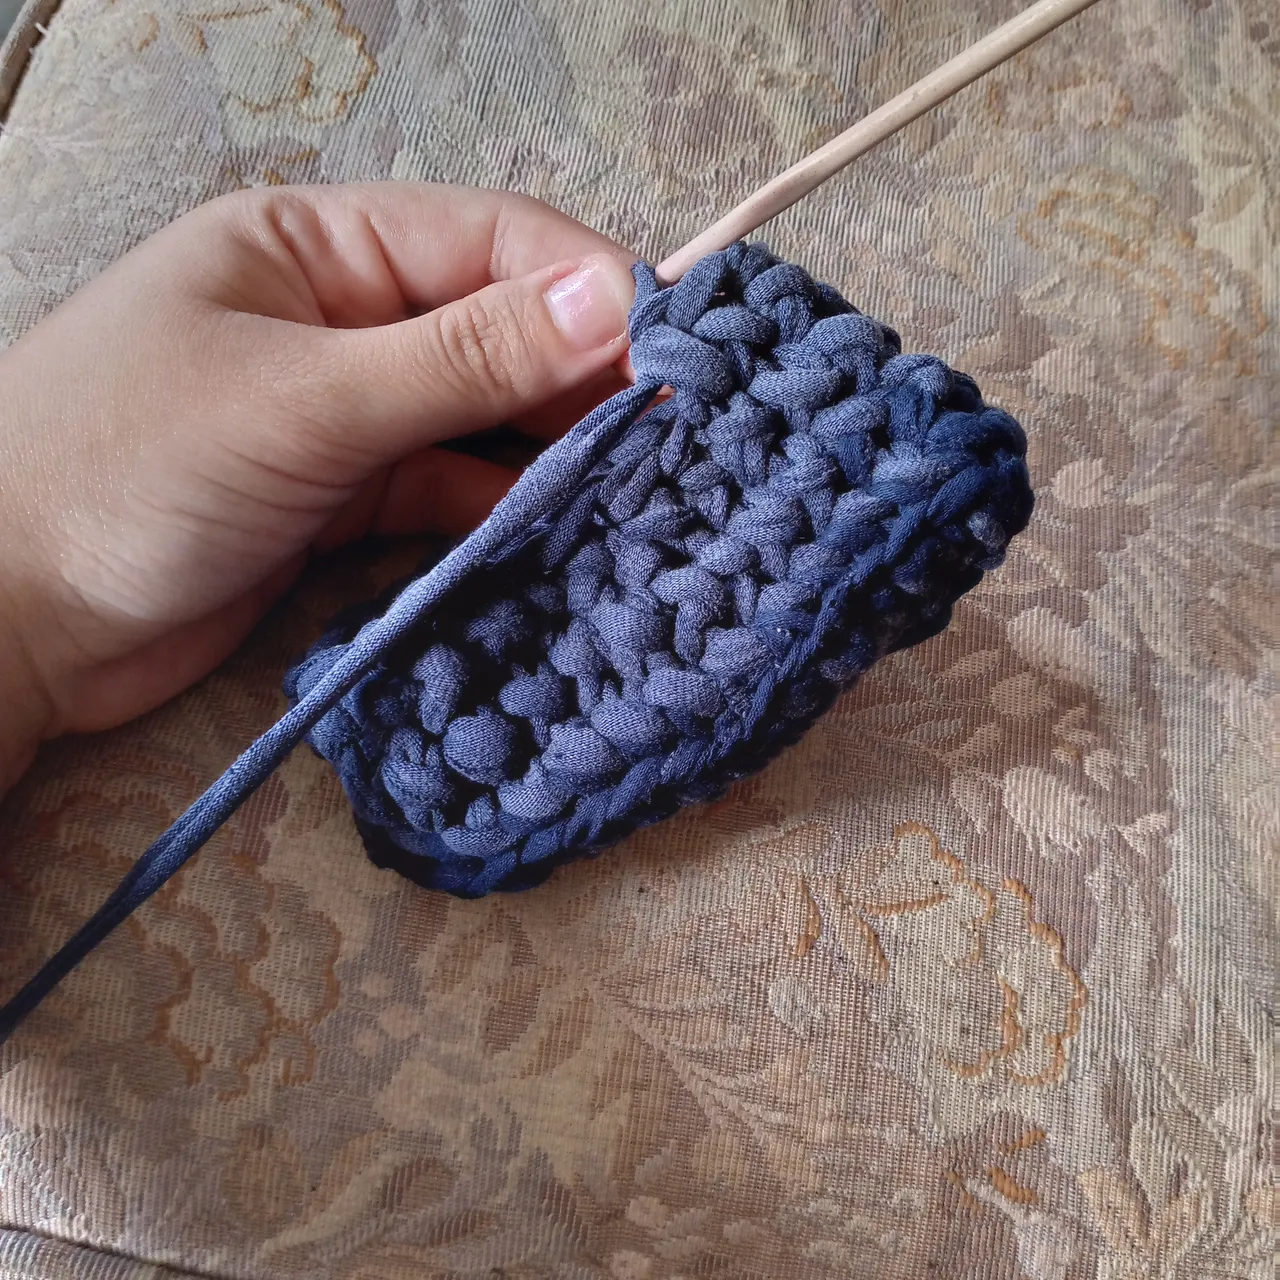
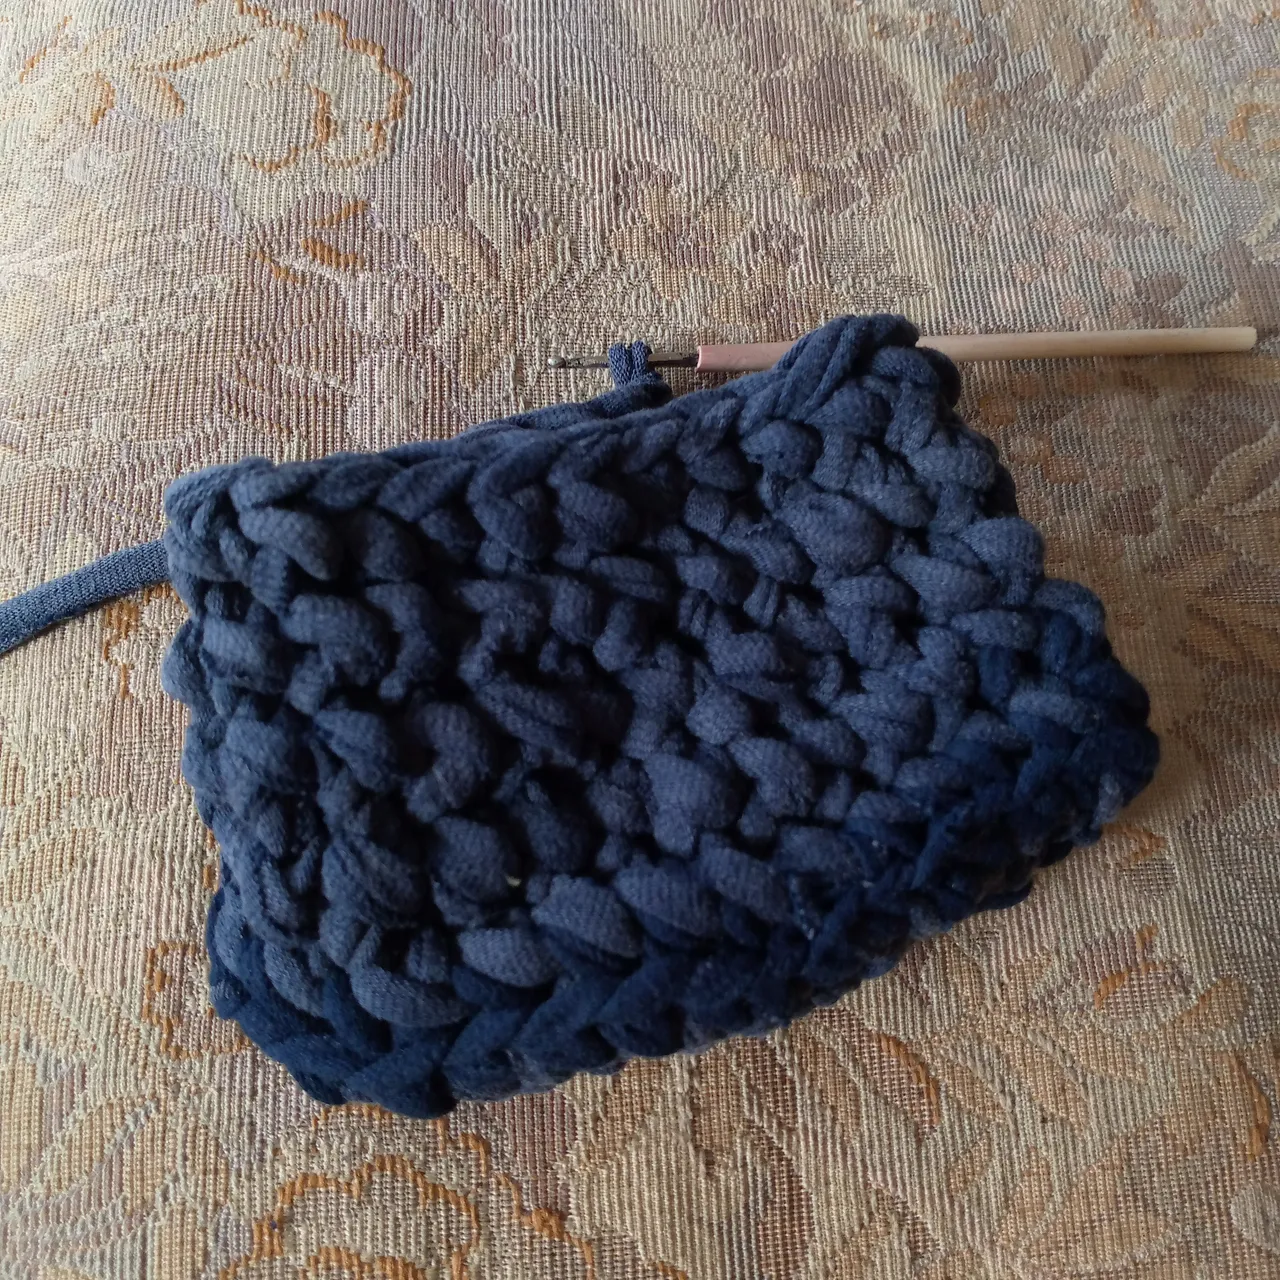
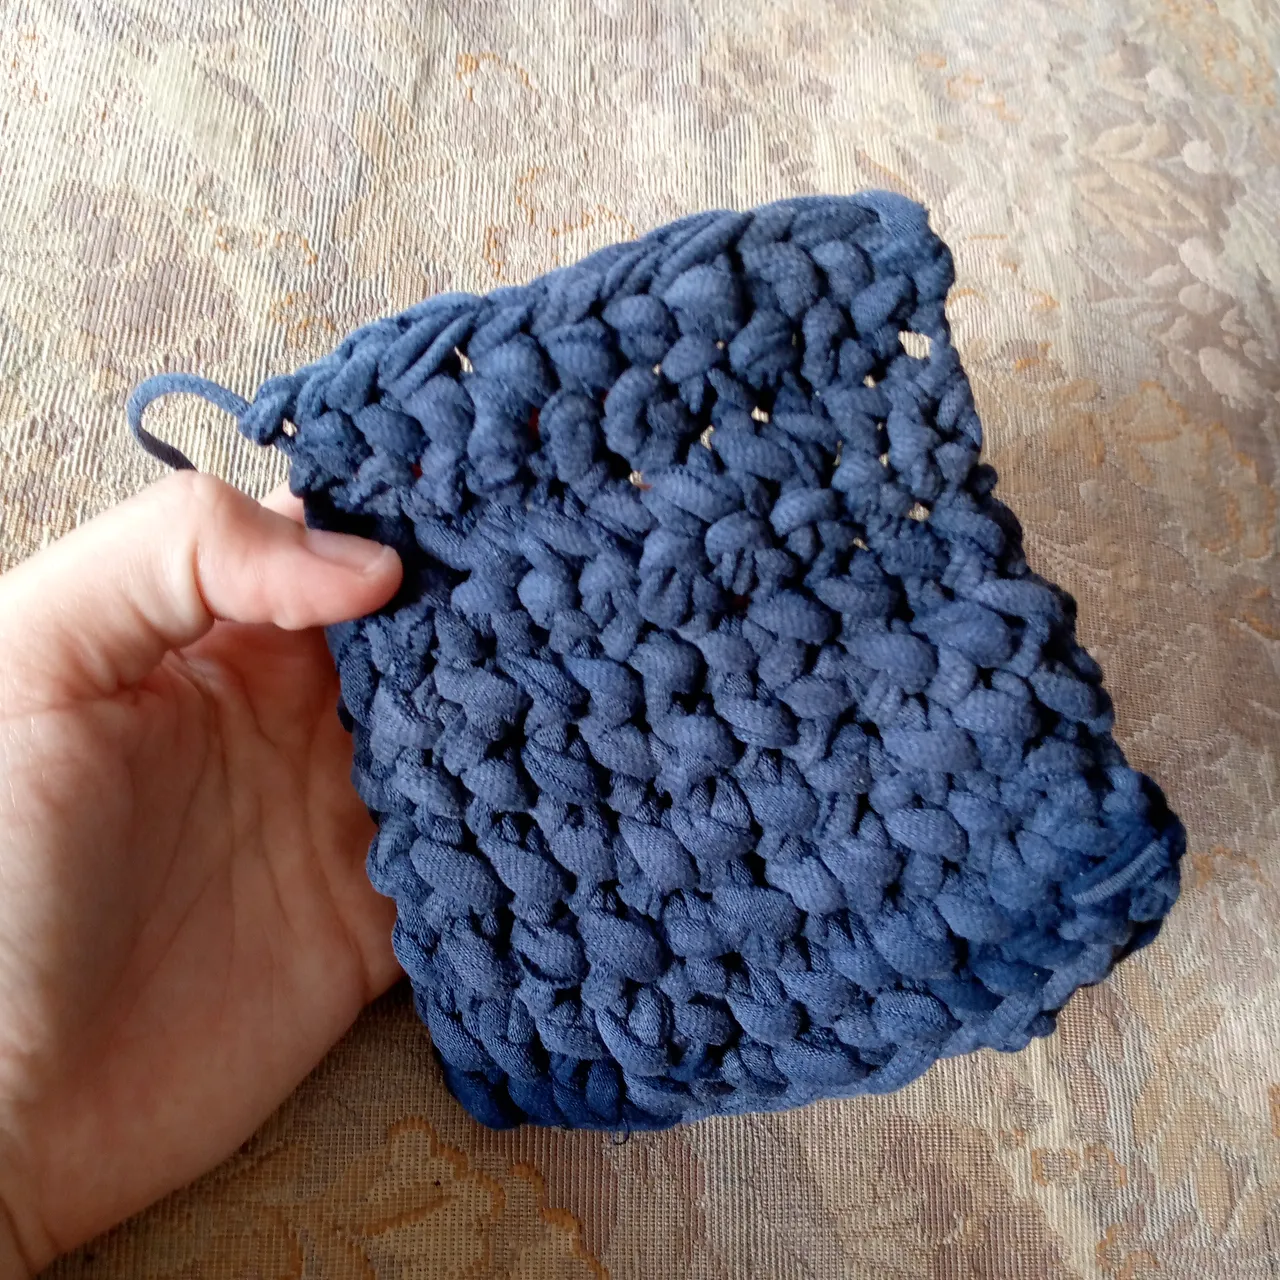
The top of my bag will be made with 6 rows of single crochet, and I will continue knitting up to make the lid of the bag. It has 7 rows of single crochet upwards from where we started below. When we get to the top tip of the lid of the bag, we will make a chain stitch along the edge with only one loop inserted in the middle of each single crochet until we reach the other end and cut the thread. Of course, we will tuck the excess between the crochet stitches we made in order to hide them.
Paso 03
Step 03
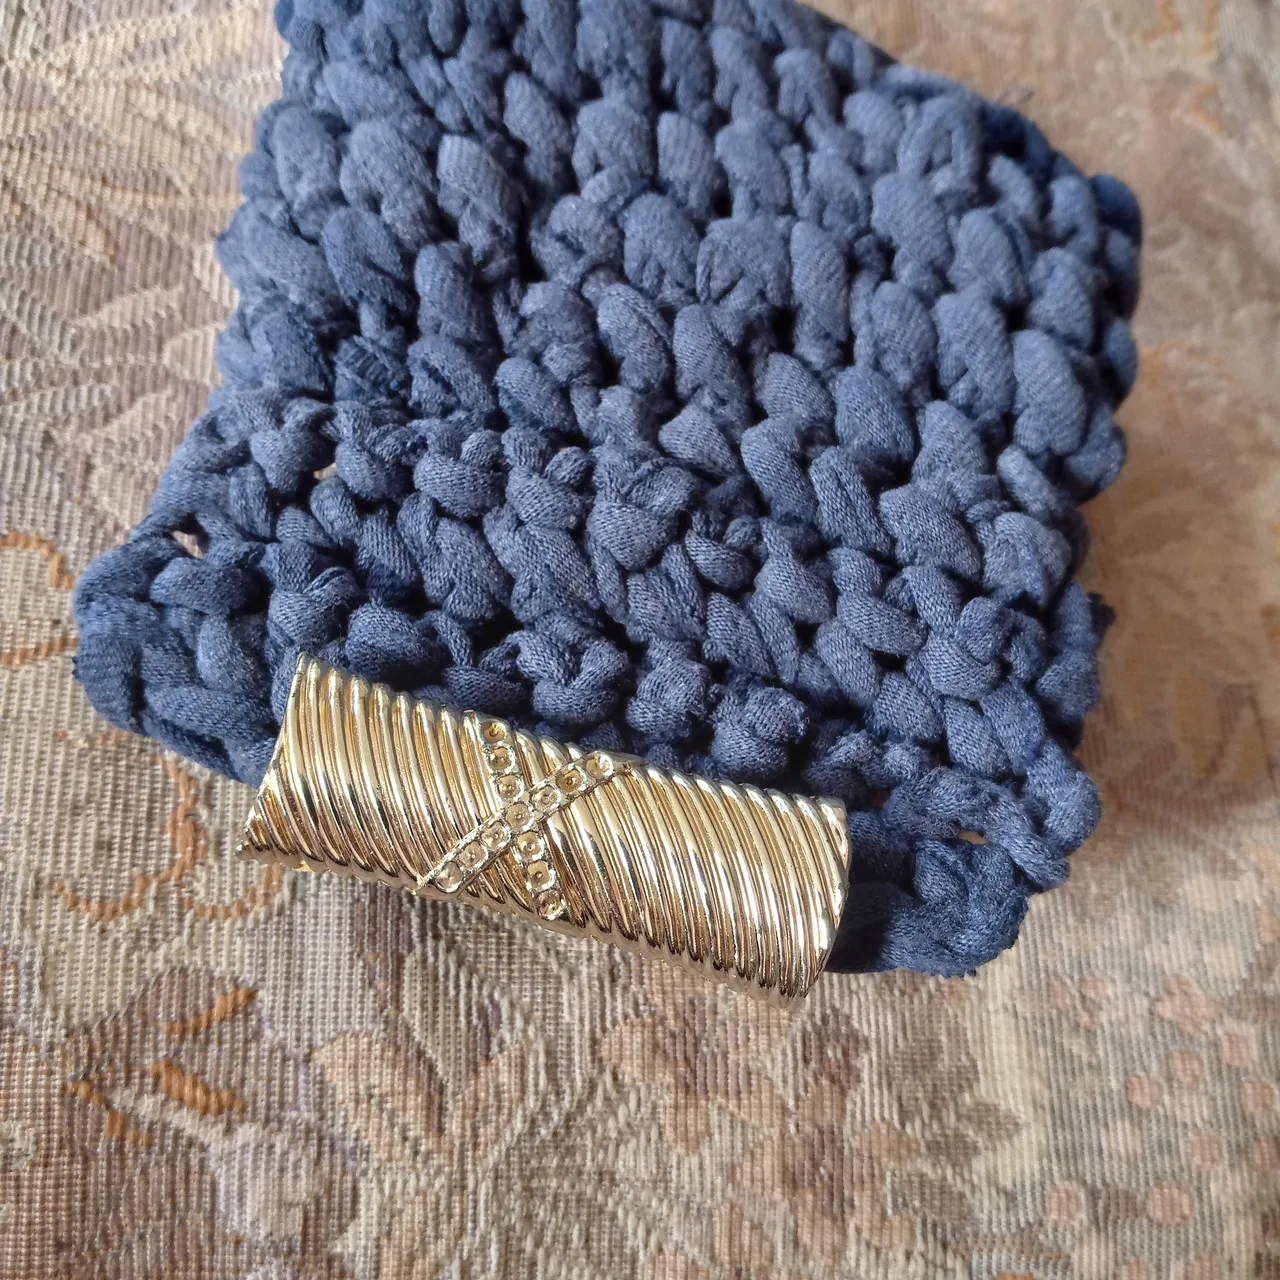
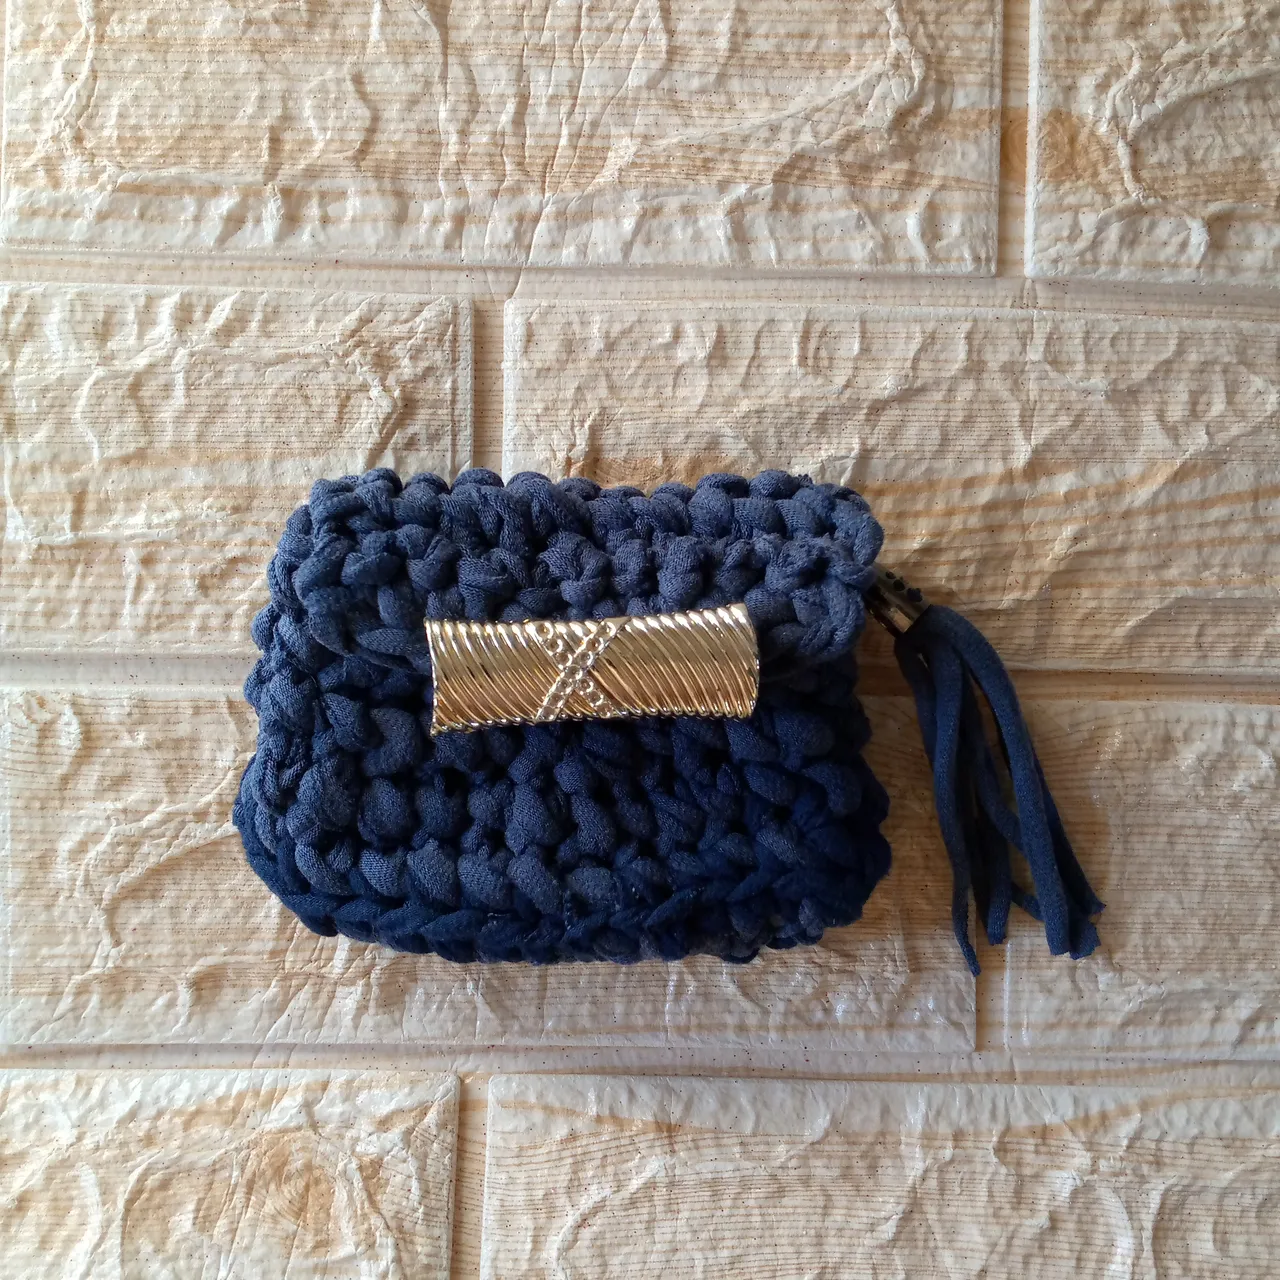
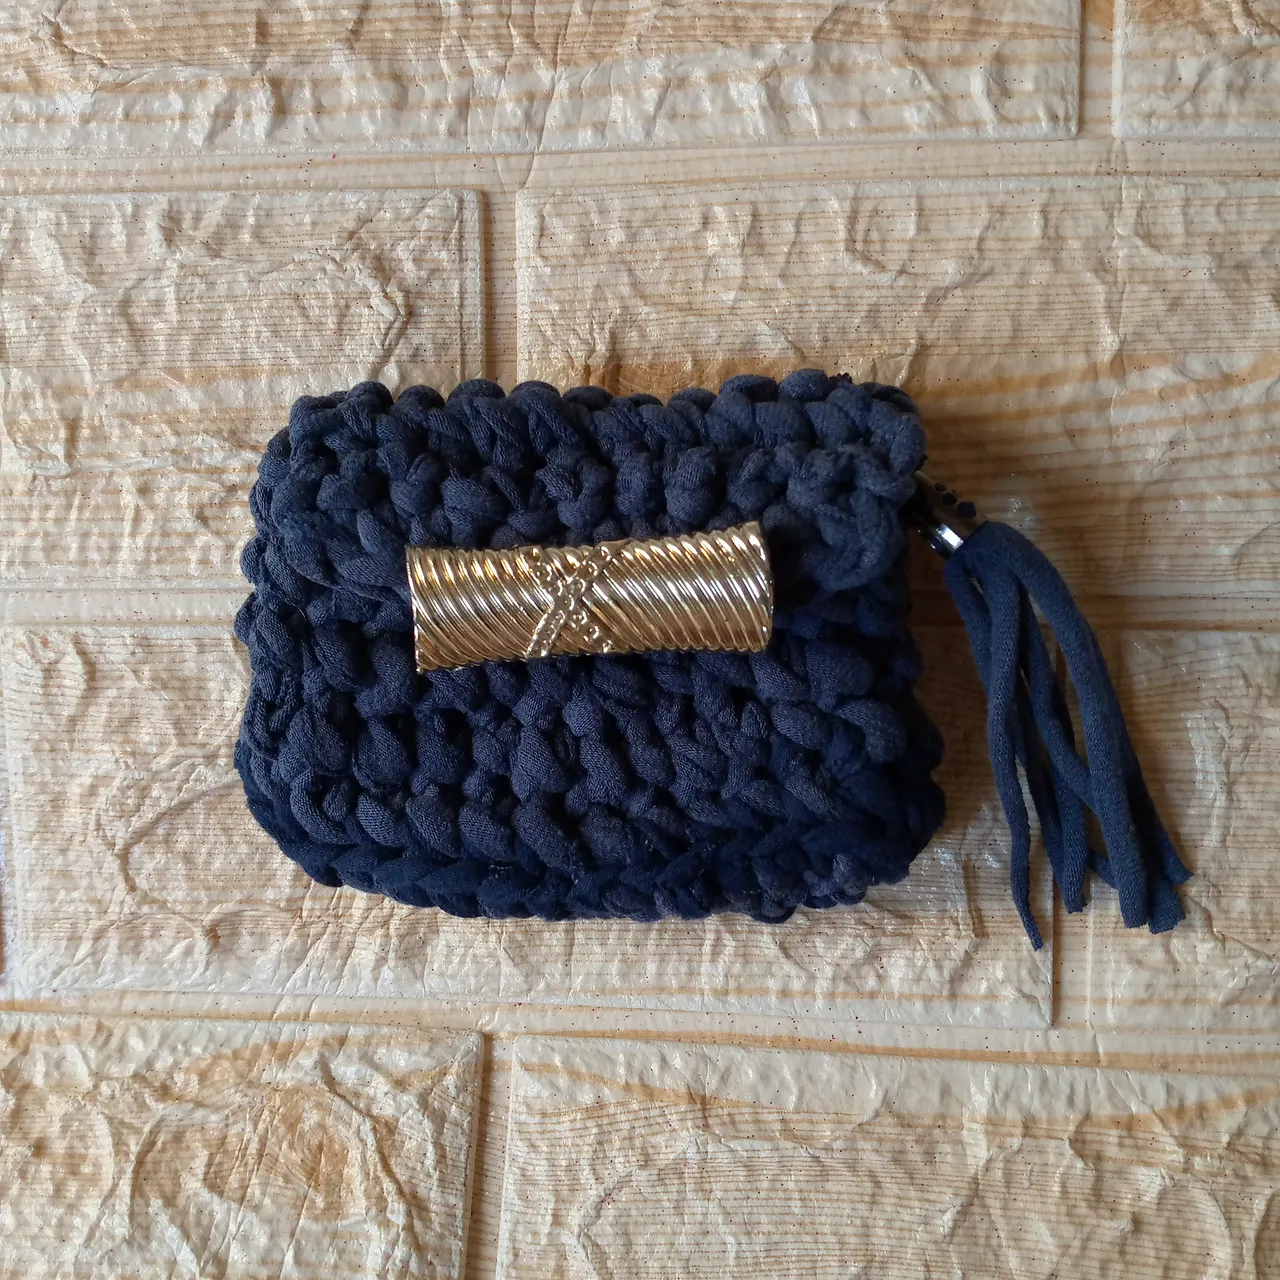
When we have finished making the lid, it is time to add the final details, like this long decoration that I found in
my things that I feel looks very stylish and the color suits it well, gold is a color that goes with everything.
Paso 04
Step 04
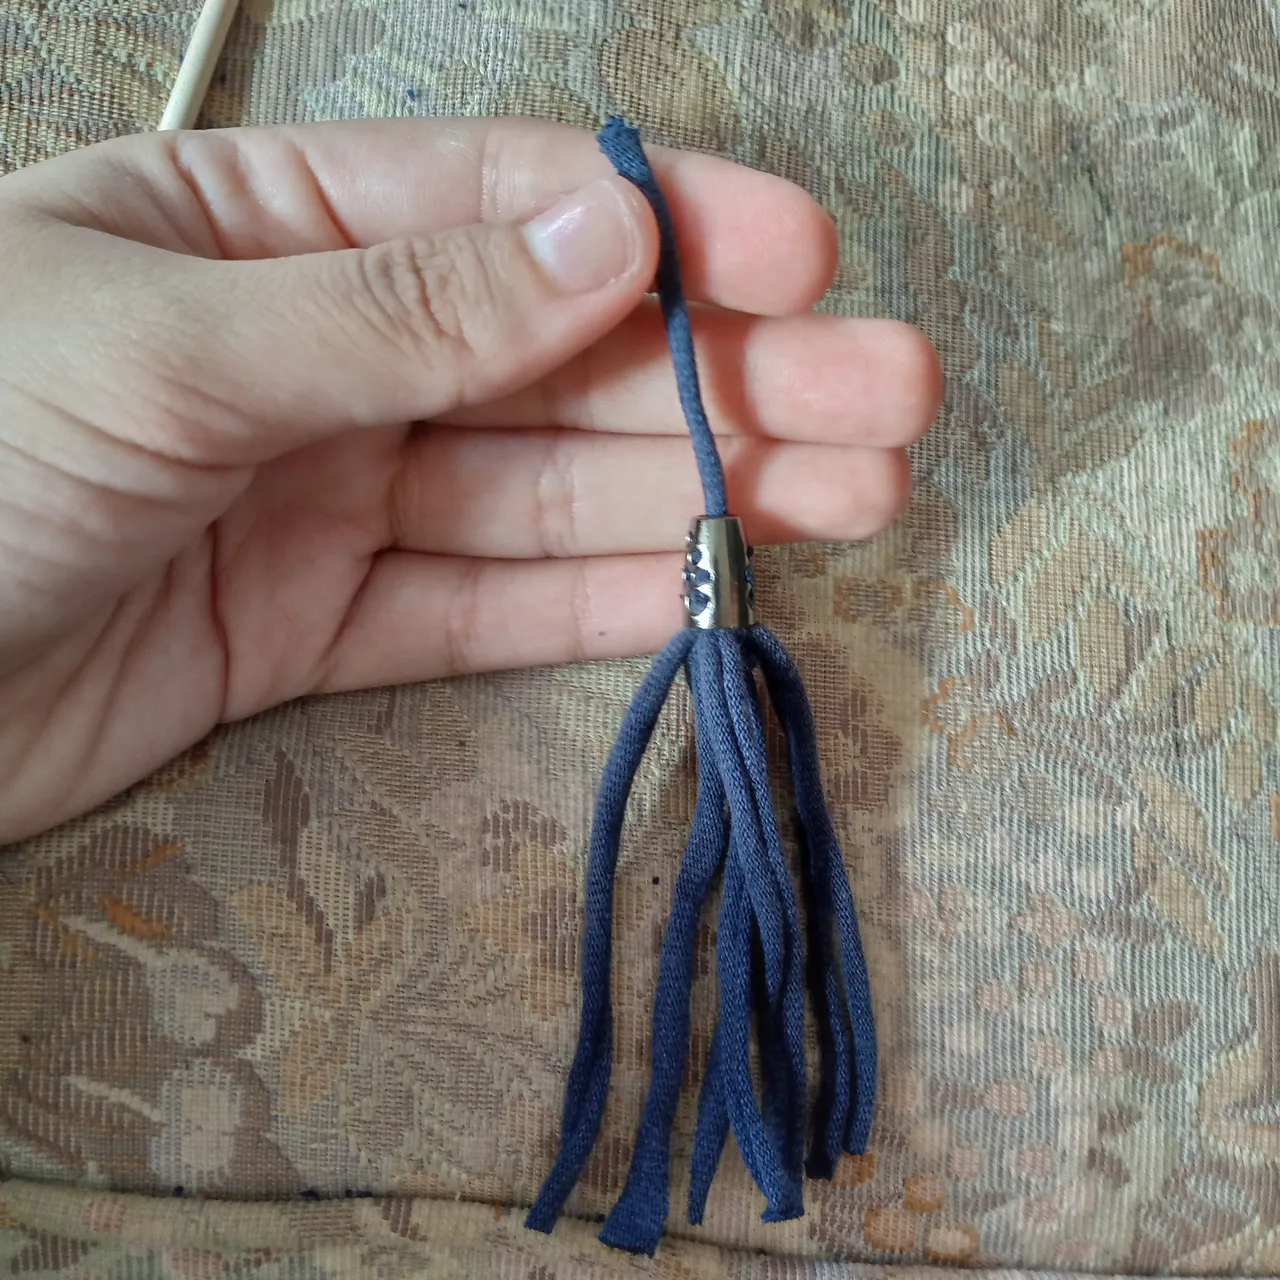
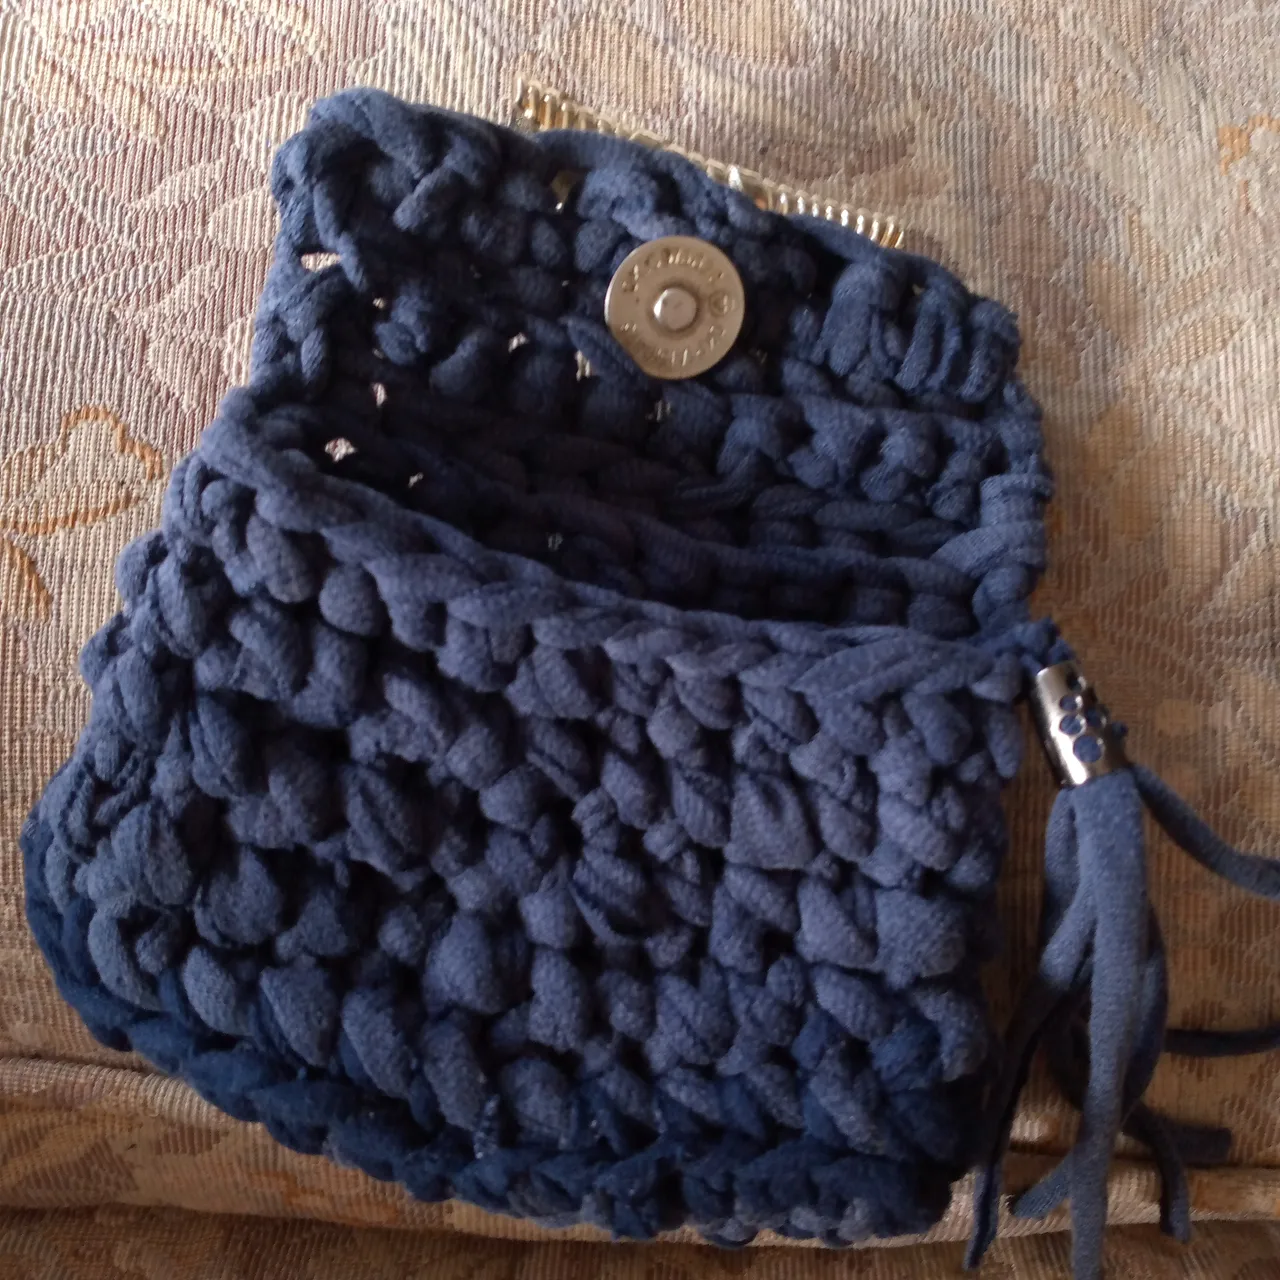
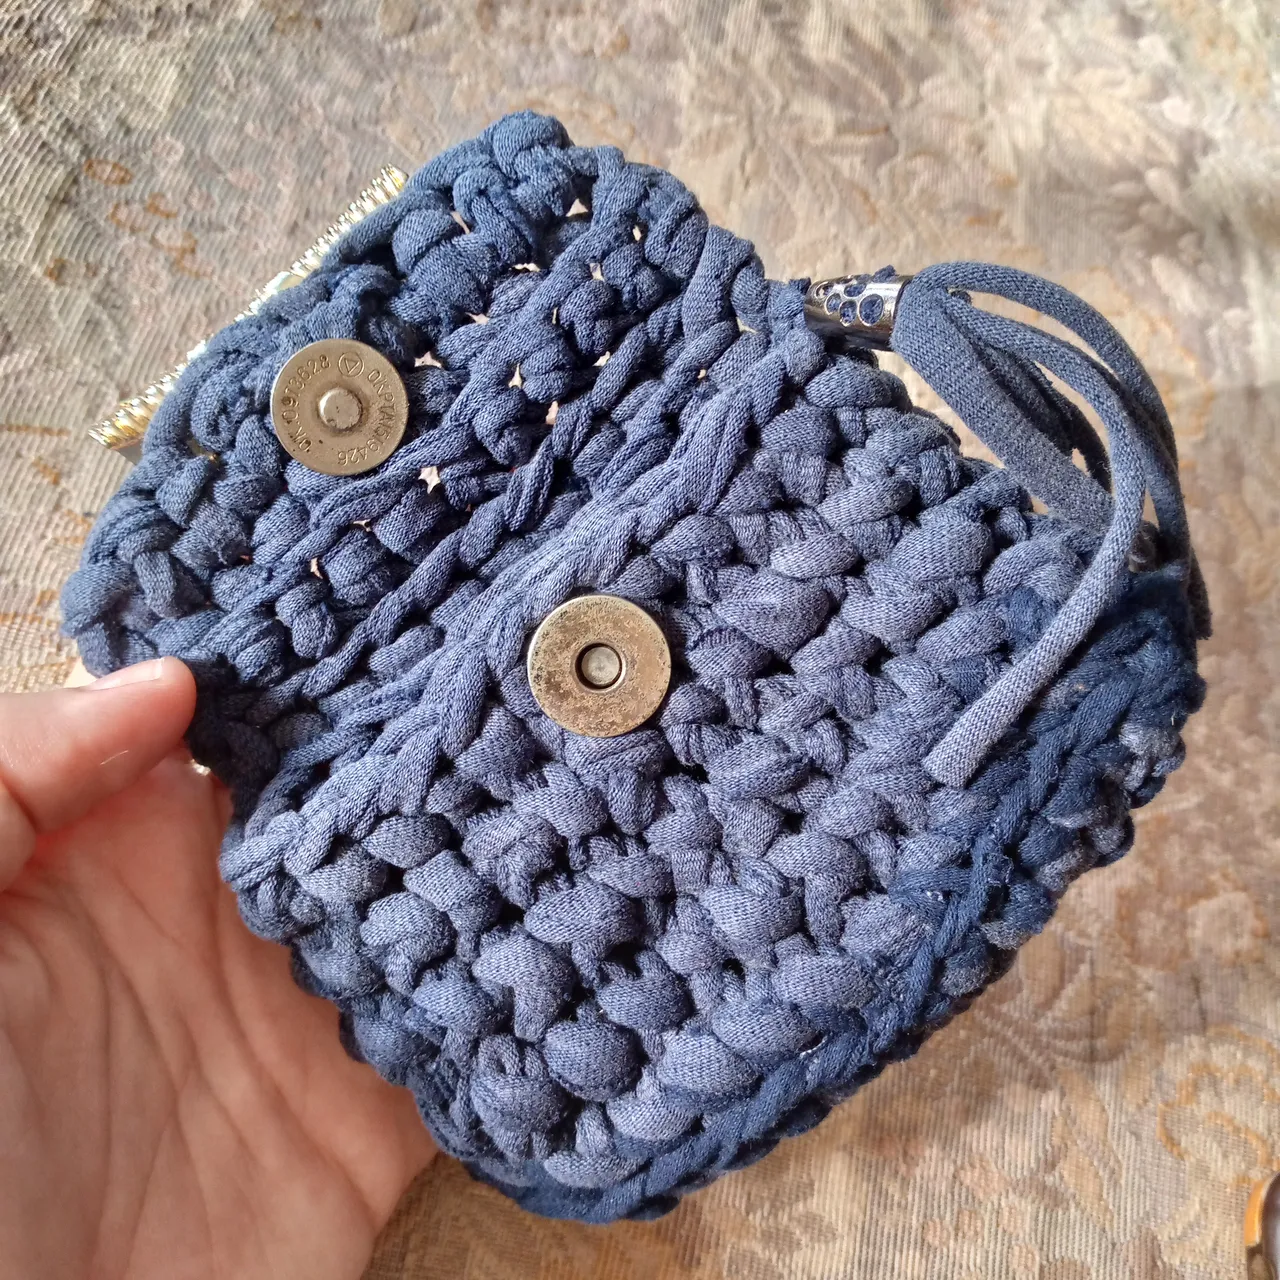
I have finished my bag by making a nice tassel with some strips of the same thread that I used to knit. I cut several long strips that I joined together and with one I held them all together and with a decorative cord lock I decorated it and it is something that I felt seemed pretty how it turned out. We are going to be sewing this one on one side of the bag and we are giving it two knots for security so that it does not come loose. I also finished placing the clasps, measuring them so that they will be located at the same distance and one will not be higher than the other. For this I used a sewing chalk and marked where I was going to place them both, that's how we finished it.
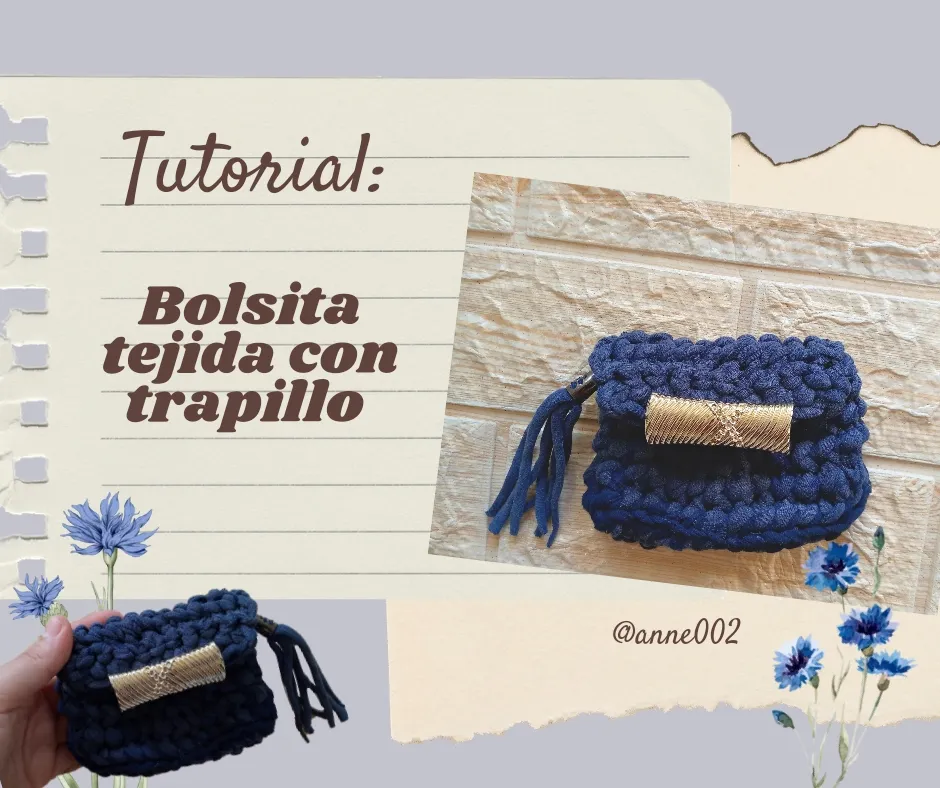
Resultado:// Result:

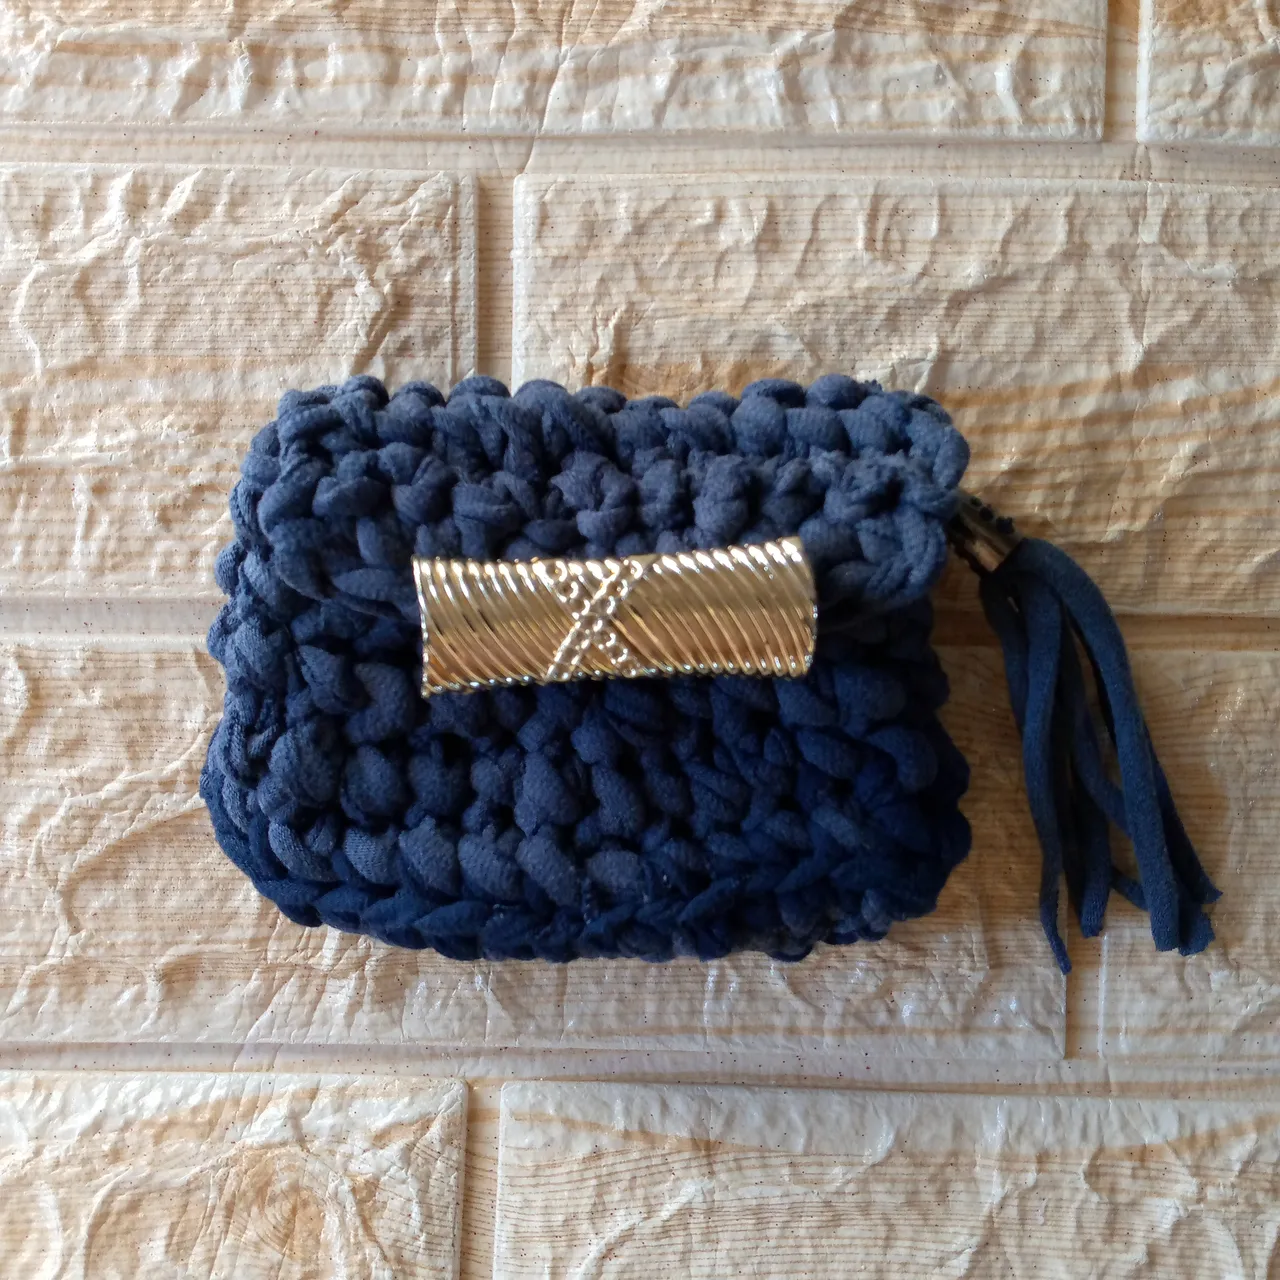
I hope you liked this idea for beginners, I don't know how to knit much or know more knitting stitches but for my first time knitting with these materials, it turned out pretty. If you thought it was great, don't hesitate to share and leave your nice comments, I appreciate them. Greetings friends, we'll read each other on another blog, happy day 💕✨.
Creating things with love 🌷❤️
🦋✨ All the images in this publication are my author ,📱taken with my TecnoSpark8C cell phone |📸Photos edited in PicsArt and Canva. Text translated in Google Translate.
Follow me for more content 📌