

Hello everyone at NeedleworkMonday! It's a real pleasure to be here with you at the start of this new week full of creativity and enthusiasm. Today I want to share with you the garment I've been working on this week: a unisex shirt—and it's not just any shirt! I've been practicing a new sewing technique that allows me to go beyond the simple and explore different and innovative designs. This technique has not only challenged me but has also allowed me to experiment with textures and patterns I wouldn't normally consider. I'm excited to show you how this new stitch can transform a classic garment into something truly unique and modern.
The shirt I'm making will have a sporty design, as it will be a special gift for my gym instructor. It's ideal for him, given his active and dynamic style! I want to make sure the garment is not only functional but also stylish and comfortable for his workouts. I've chosen a red microdurano fabric, which is perfect for this type of garment. This material is known for its softness and moisture-wicking properties, making it ideal for physical activities. Plus, the red color adds a vibrant and energetic touch, perfect for a gym environment. I'm excited not only about the design but also how the fabric choice can influence the comfort and performance of the garment. Microdurano drapes excellently and contours well to the body, making it an ideal choice for a unisex shirt. Additionally, I'll take this opportunity to implement a stitching technique that, at first glance, will appear to be inside out, but it actually isn't. This innovative technique is a way to challenge traditional sewing norms and add a fresh touch to the garment. I'm very excited about the idea that this sewing is not just an aesthetic detail, but also a conversation about how we can reinterpret everyday garments.
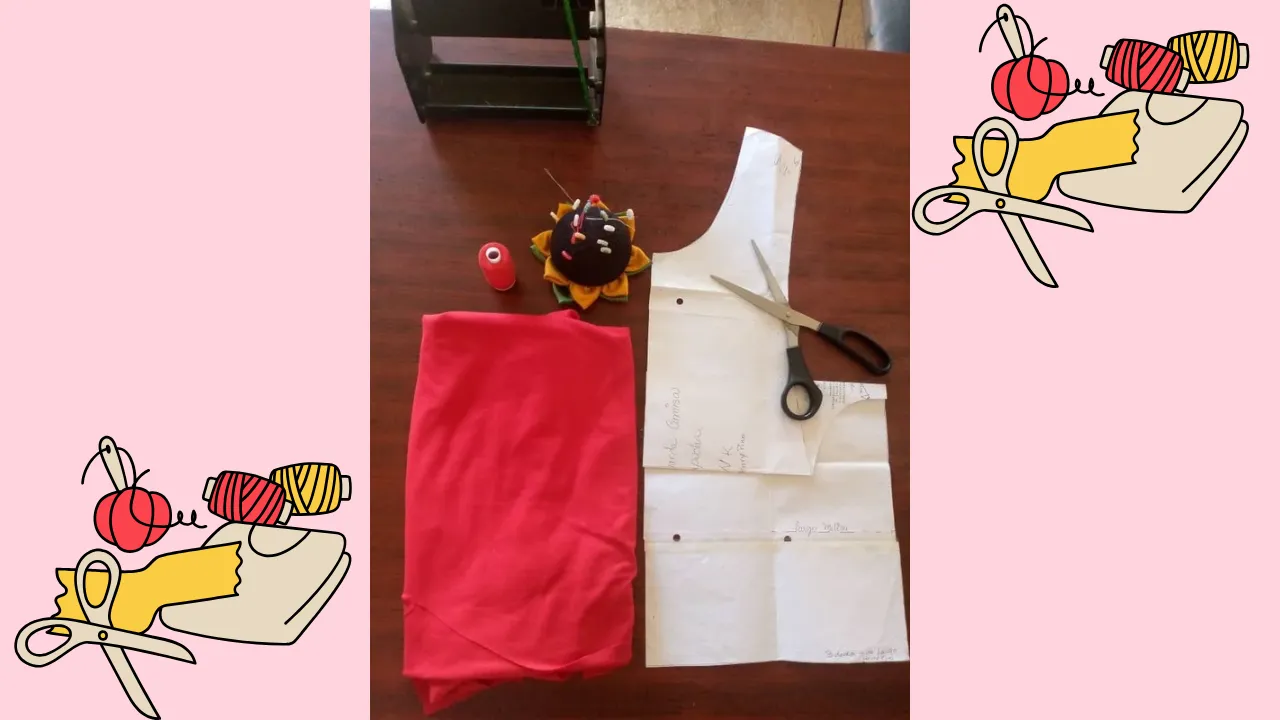
(Materiales:)||(Materials:)
- Tela microdurasno de color rojo
- Tijeras
- Hilo de color rojo
- Metro
- Un patrón de camisa talla M de caballero
- Alfileres
- Red microdurable fabric
- Scissors
- Red thread
- Tape measure
- A men's shirt pattern in size M
- Pins
(Procedimiento:)||(Procedure:)
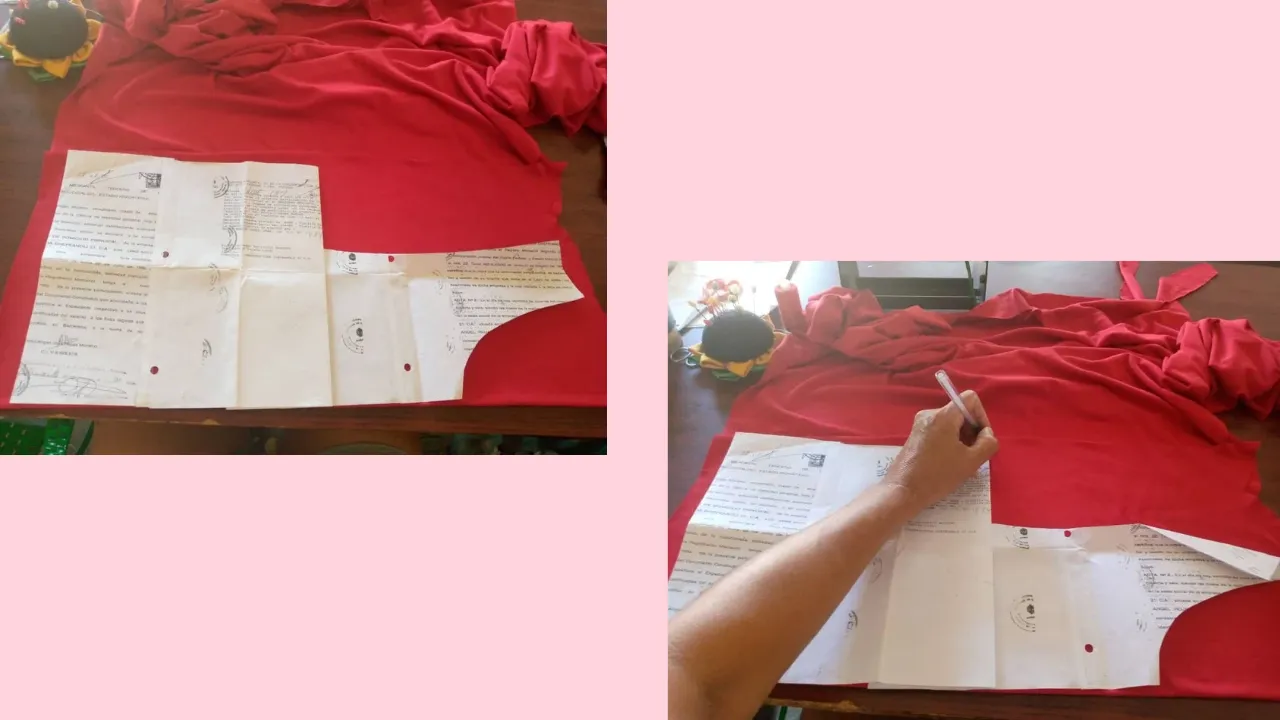
Paso nro 1
Paso nro 1
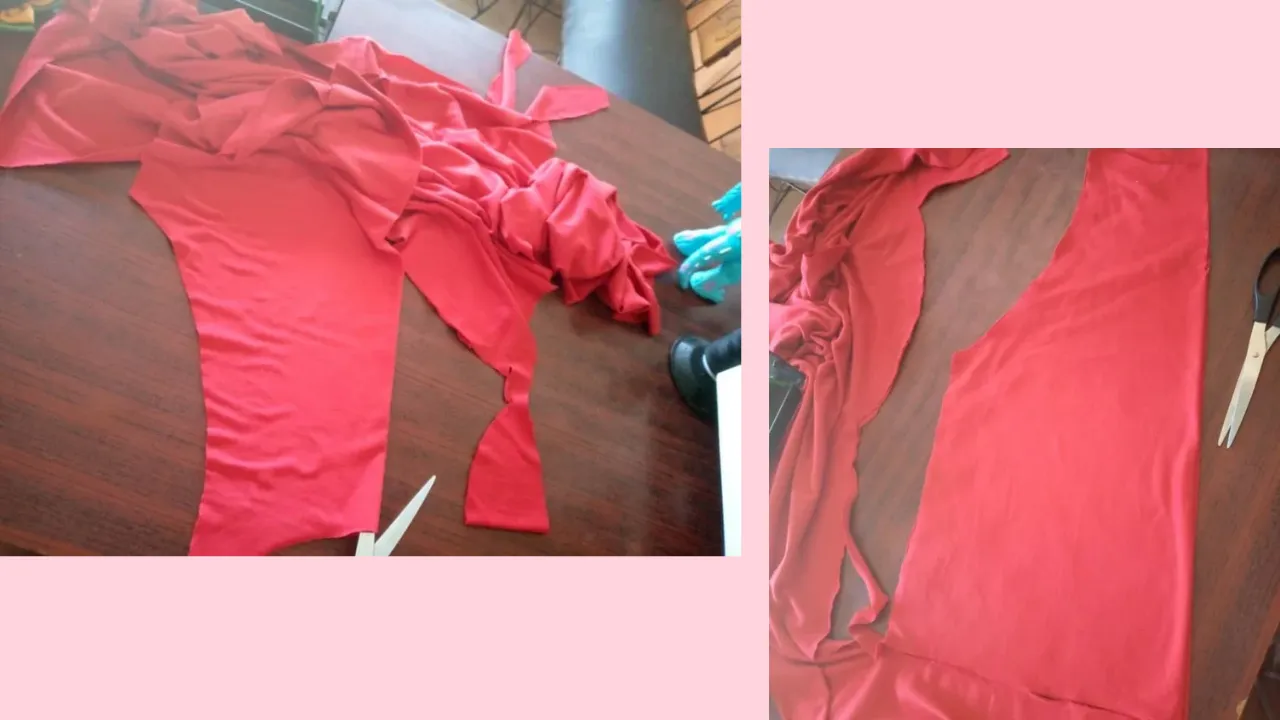
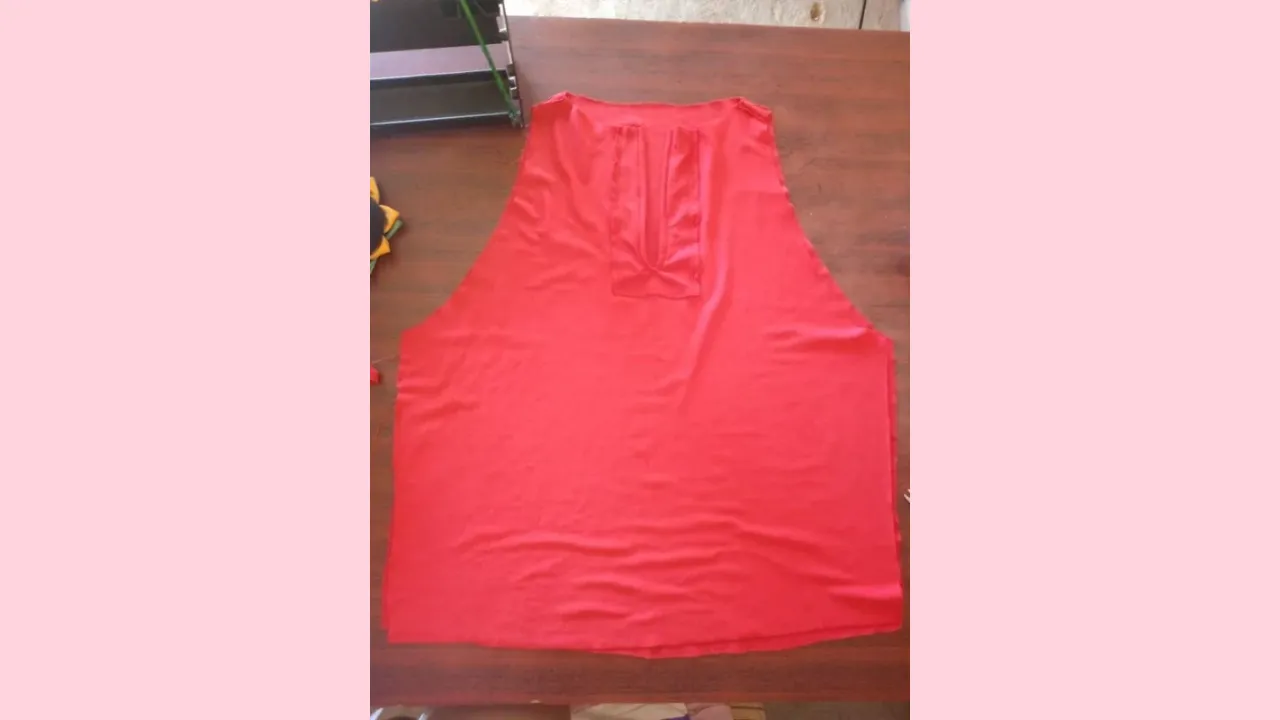
I used the pattern not to make it identical, but as a guide and to ensure the sizing was correct. It's important to remember to always fold the fabric in half, making sure to do so toward the side that stretches the most. This ensures the garment has the necessary flexibility and comfort. Before starting to cut, I did some tests with scraps of microdurano fabric to see how the material would behave and if the pattern would fit correctly. This is essential, as sometimes, even if a pattern looks good on paper, it may not work the same on fabric. Once I was satisfied with the test, I proceeded to mark and carefully cut the fabric, making sure all the pieces were aligned correctly. This step is crucial to avoid mistakes that could complicate assembly later.
Paso nro 2
Paso nro 2
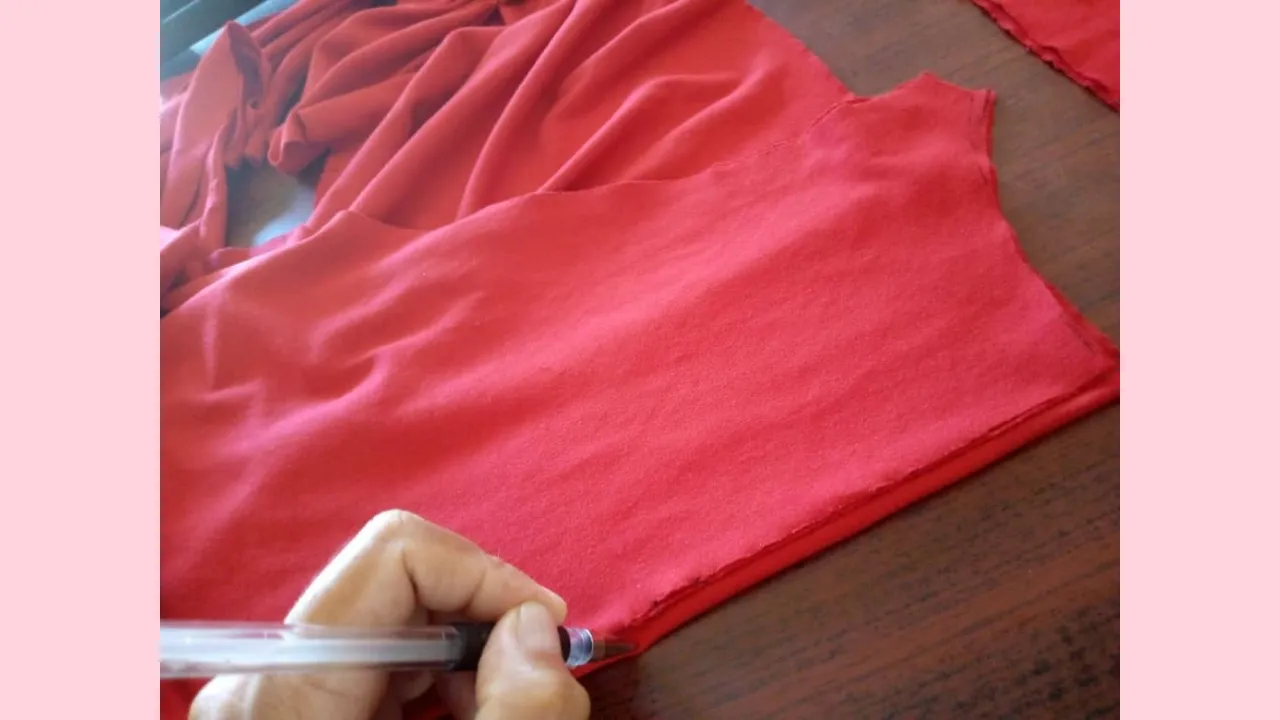
I made a slit in the front. I cut the front piece, and I'll add a lapel to it so it's double-breasted. This lapel not only adds an interesting visual element but also reinforces the structure of the garment. I also cut a collar strip, which will give the shirt a more polished and streamlined finish. The collar strip is an often overlooked detail, but it can make a big difference to the overall look of the garment. I made sure the strip was the right length and fit the design perfectly.
Paso nro 3
Paso nro 3
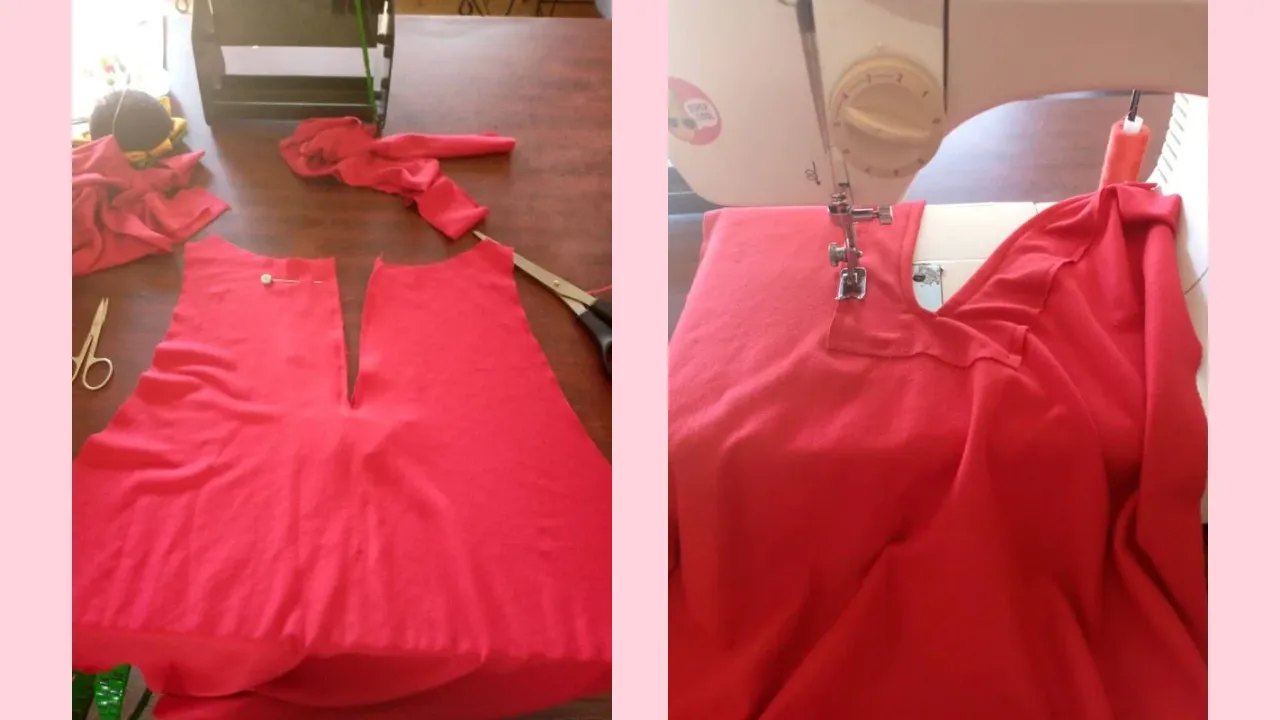
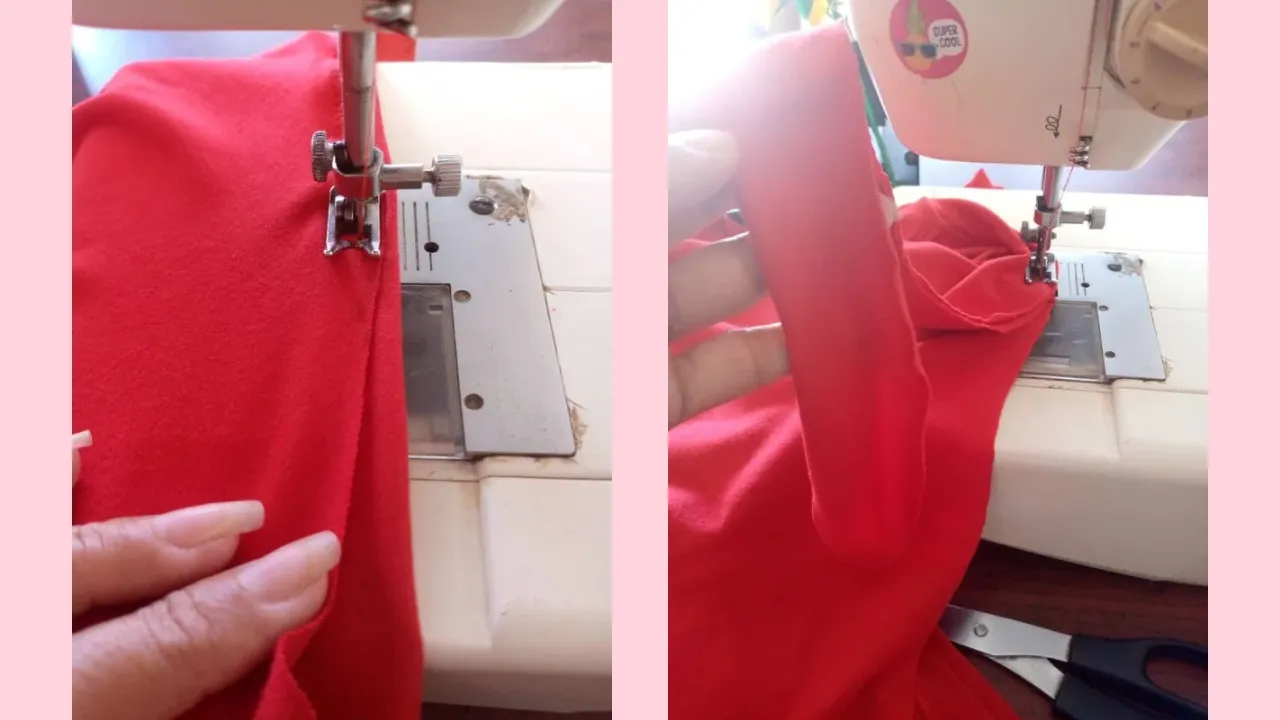
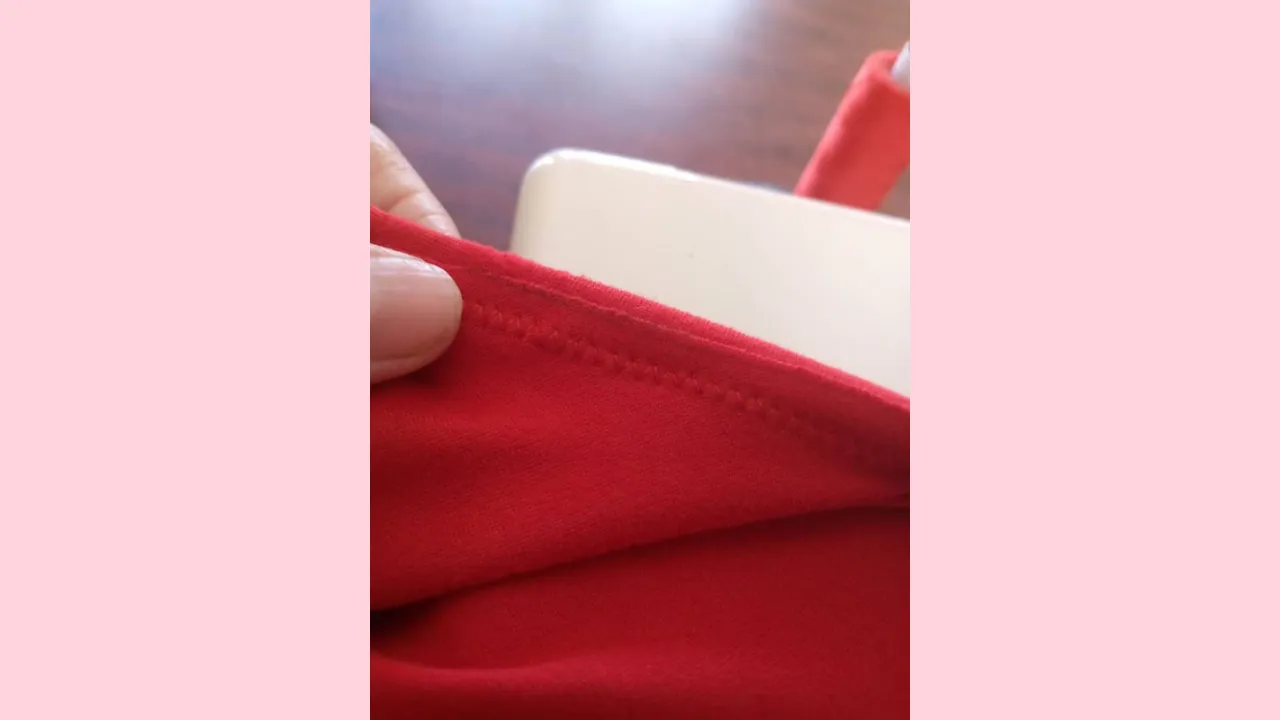
In this step, I joined the front to the back and added a decorative stitch to the armholes. This detail not only beautifies the garment but also reinforces the seams, giving it a more professional finish. The decorative stitching adds a personal touch that highlights the effort I put into the project. And this is how the armhole turned out with the bias binding. I like how it looks; it's pretty, but different. This touch gives the shirt a unique character, highlighting the creativity in the design. Sometimes, it's the small details that make all the difference in a garment.
Paso nro 4
Paso nro 4
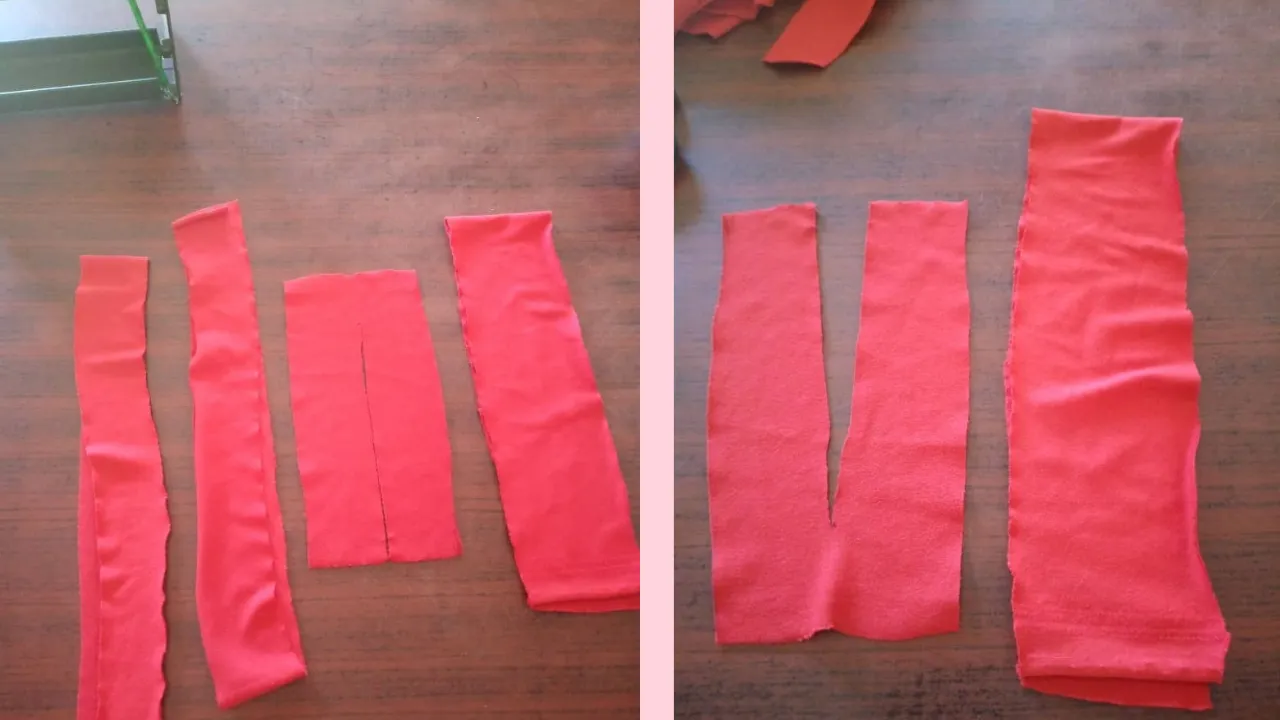
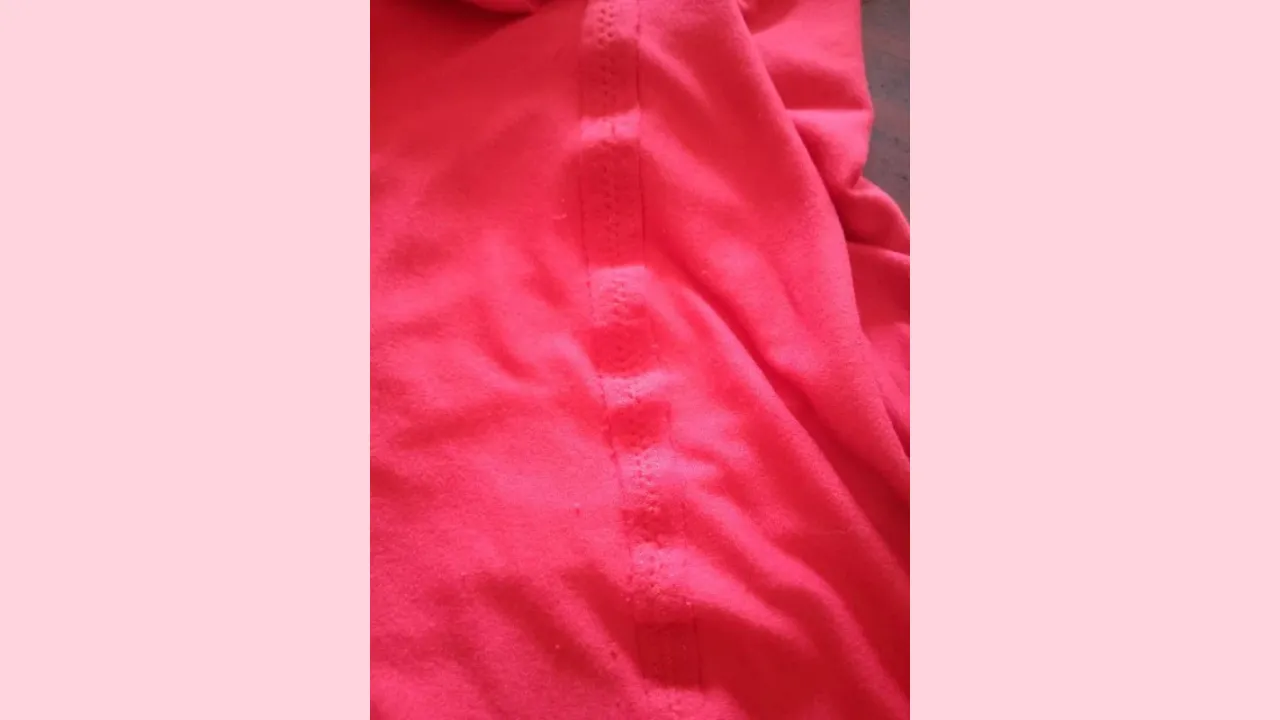
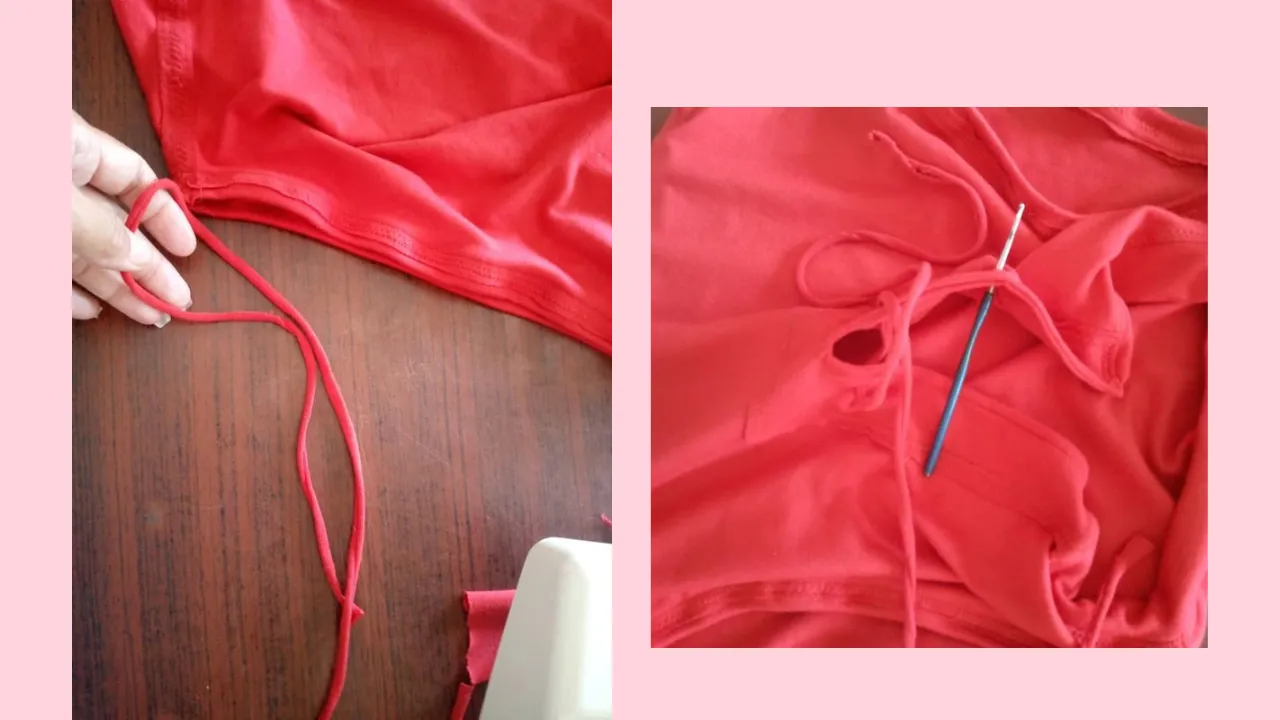
Finally, I cut a strip and stretched it to form the front cord and create the design. This cord is not only functional but also serves as a decorative element that enhances the shirt's style. I decided the cord would be an attractive contrast to the red color of the garment, adding a modern touch. Using a crochet hook, I created the small holes to insert the cord. This step requires patience and precision, as the holes must be well-spaced for the cord to be inserted easily.
(Resultado final:)||(Bottom line:)
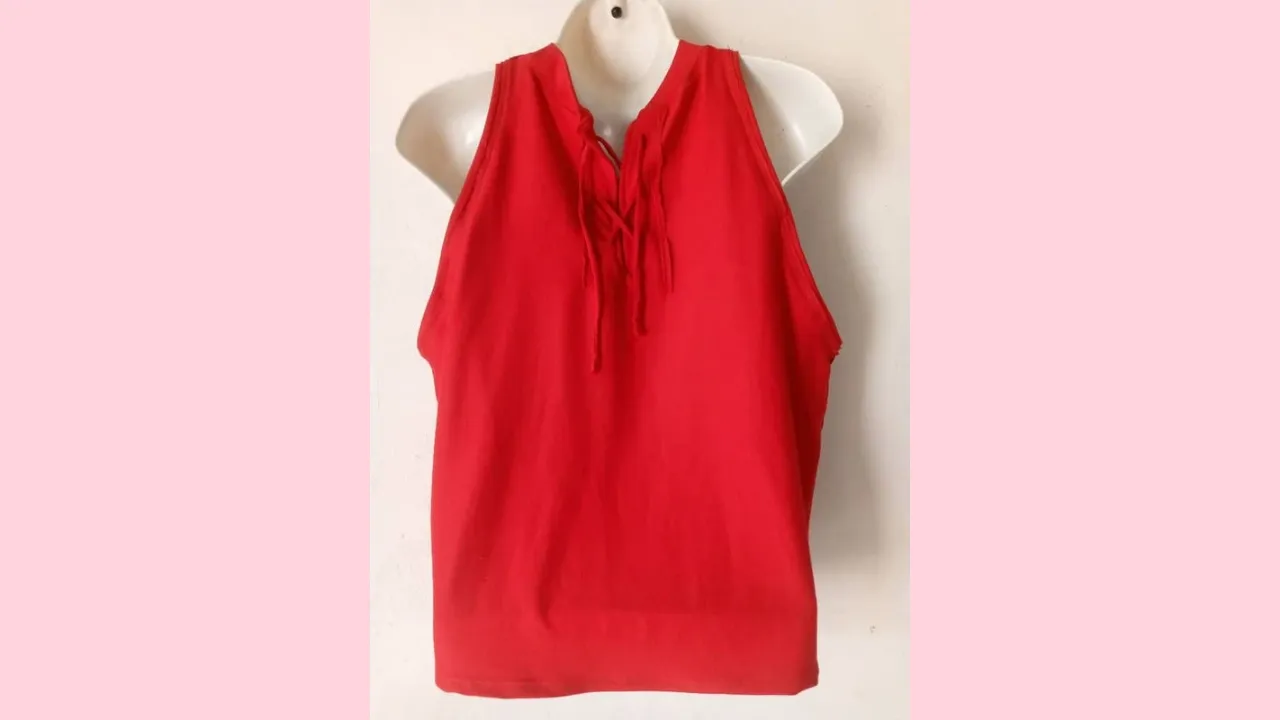
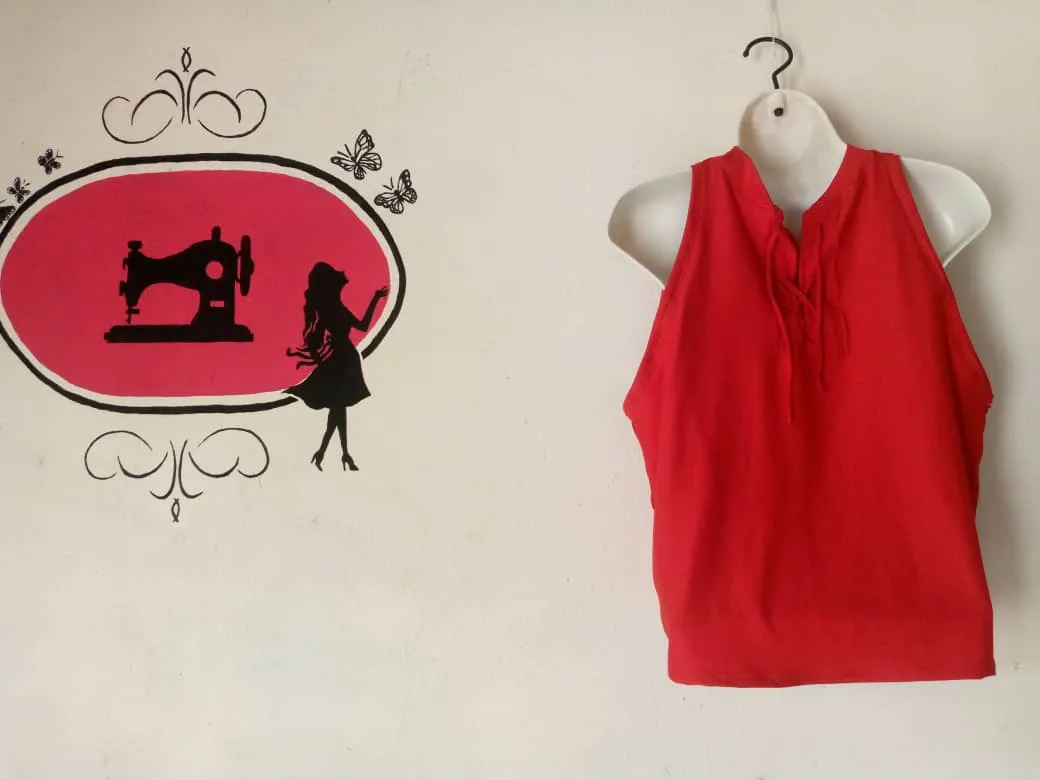
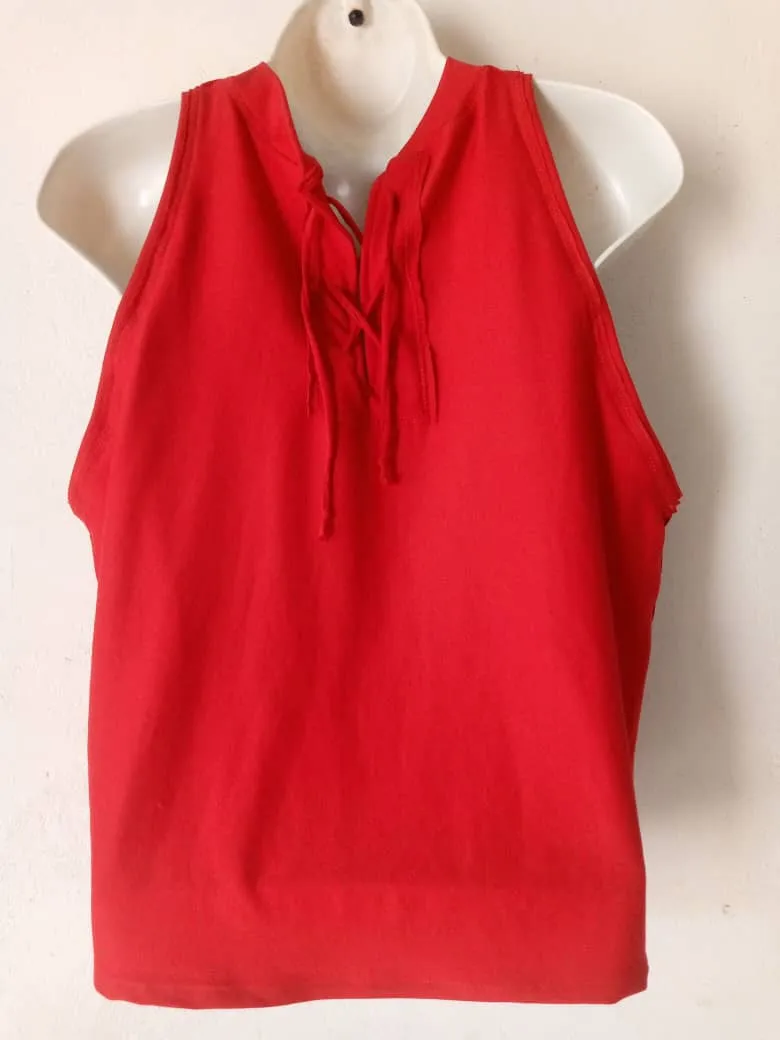
And so the unisex shirt is. I'm very satisfied with the result, as every detail reflects the effort and creativity I put into this project. The combination of the soft red microdurano, the decorative details, and the innovative sewing technique have resulted in a garment that is not only attractive but also practical. I hope this process has inspired you to explore new techniques and experiment with your own designs. Ready to wear it! I'm excited to see how it will be received and, most of all, I hope my instructor loves it.
The photos presented in this blog are my responsibility. The images have been edited using Canva. The photographs were taken with my Infinix hot 10 cell phone. The content has been translated with Google translator.