Hello everyone

Happy Monday to you all on this beautiful day, it's the beginning of a lovely week and I also wish you a happy new month as this is my first post in the community for the month, it's @needleworkmonday and I hope you are all prepare to show case your creativity here as usual. It is good to always put a smile on people's faces no matter how small and I have been using my skills and creativity to make people happy both families, friends and people around me, far or near this as always makes me happy too. Today I will be sharing the making of this simple butterfly scrunchie hair bow I made for my little niece.
My niece knows too well that she will definitely get whatever she asked as far as it's what I can do which has to do with fabrics, she's always fascinated with hair accessories for her hair and I'm always glad to make them for her whenever she asked for it. I went visiting and she reminded me that it's been awhile I made her something for her hair, then I promised to sent something to her, immediately she brought a picture to show me that she would like a butterfly scrunchie which was in the picture, I had to make it for her to make her happy, she's always proud to have me make her outfit and other accessories for her.
Below is the process of making the butterfly scrunchie hair bow
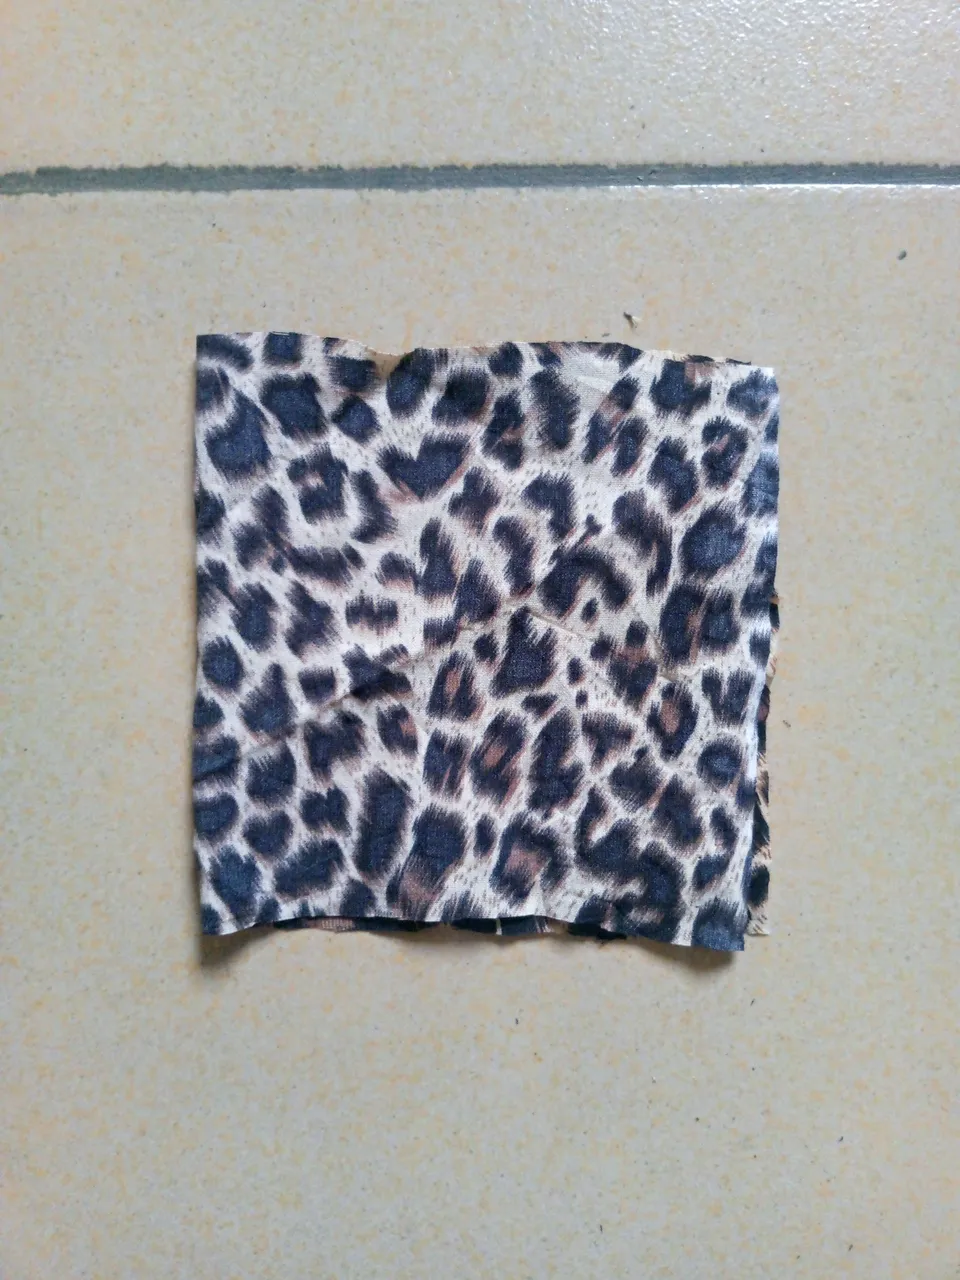
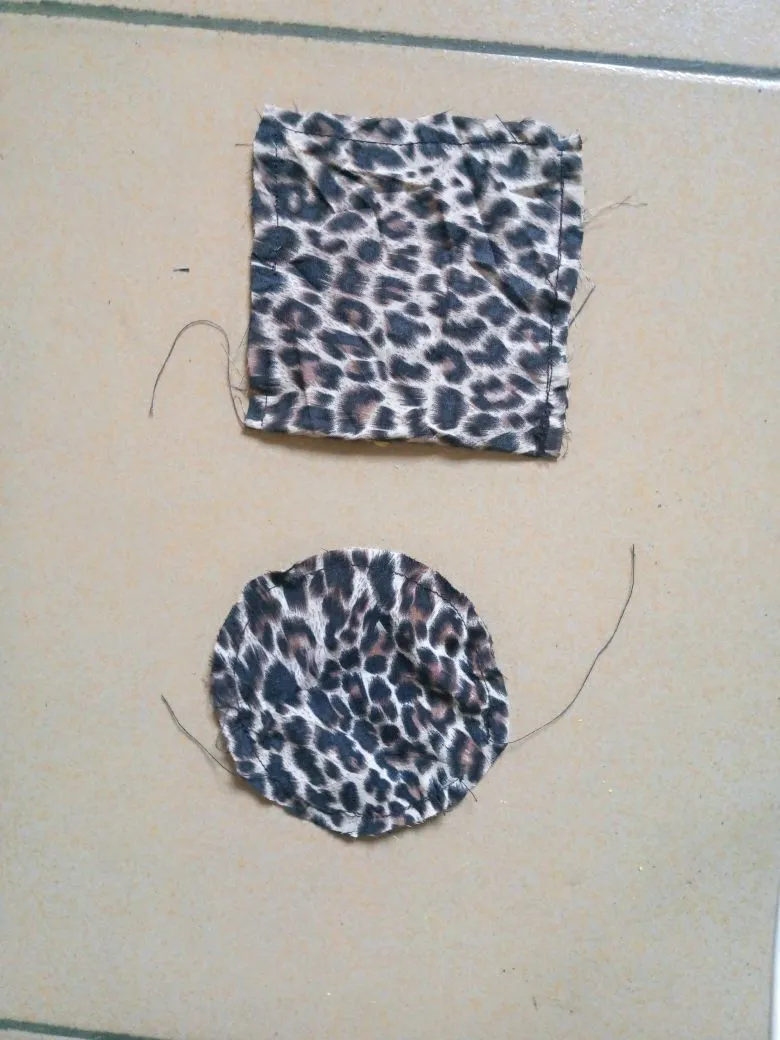
I had a piece of left over fabric from which I cut out 5" square shape in 4 places with 2 pieces placed on the other.
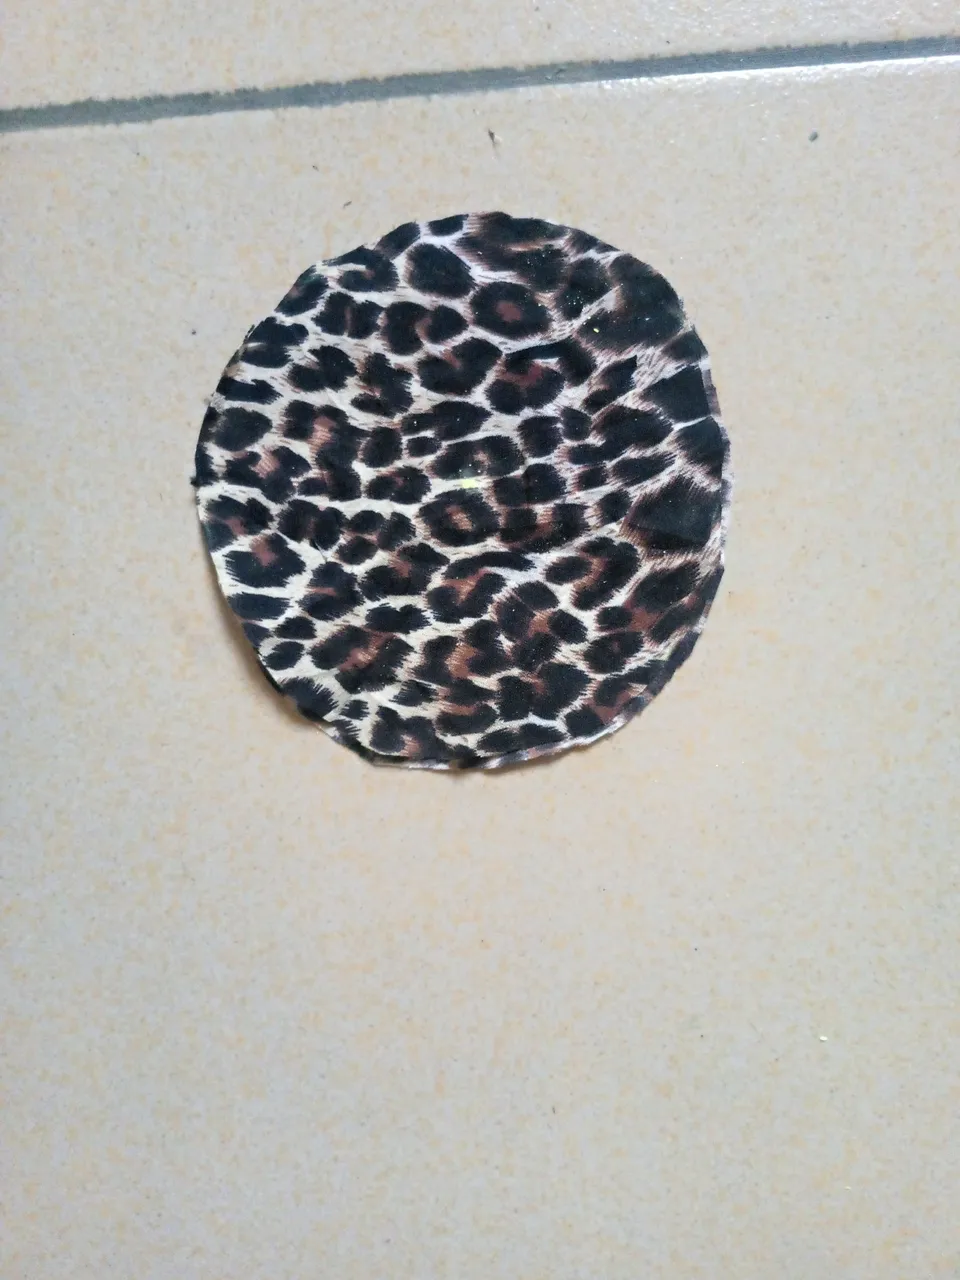
On the other, it was folded as I cut out a circle from it.
The two shapes were taken to the sewing machine to be sewn round on the wrong side leaving an opening where it can be turned inside out
It was turned inside out through the opening and top stitched as well.
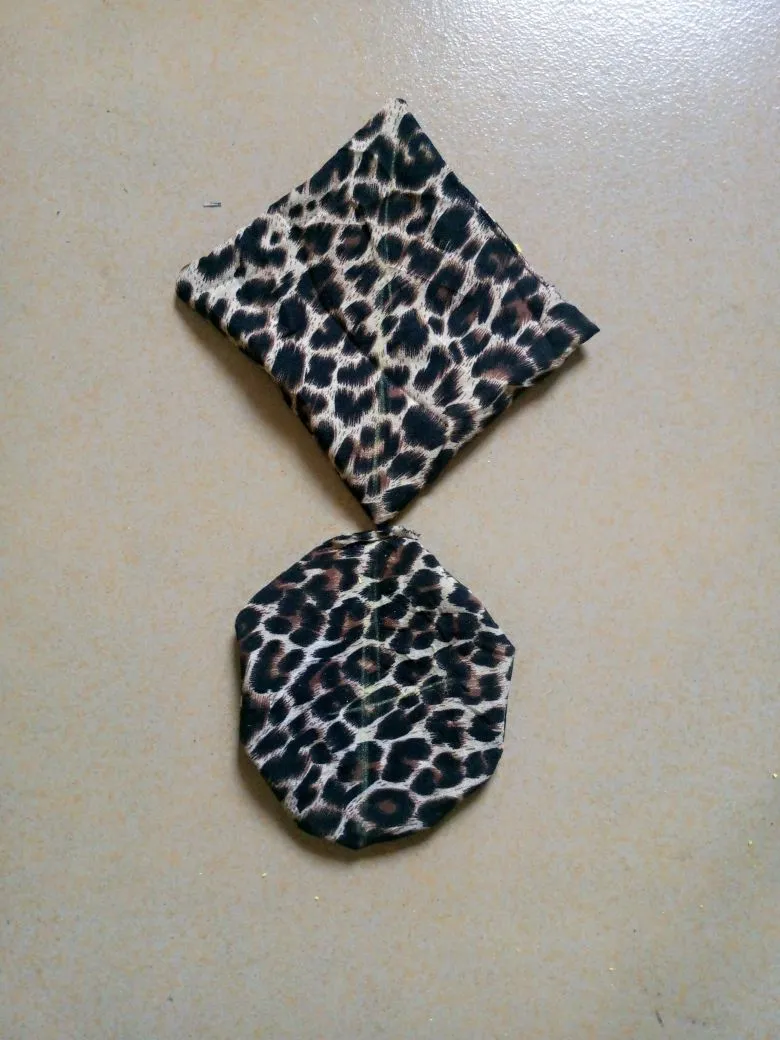
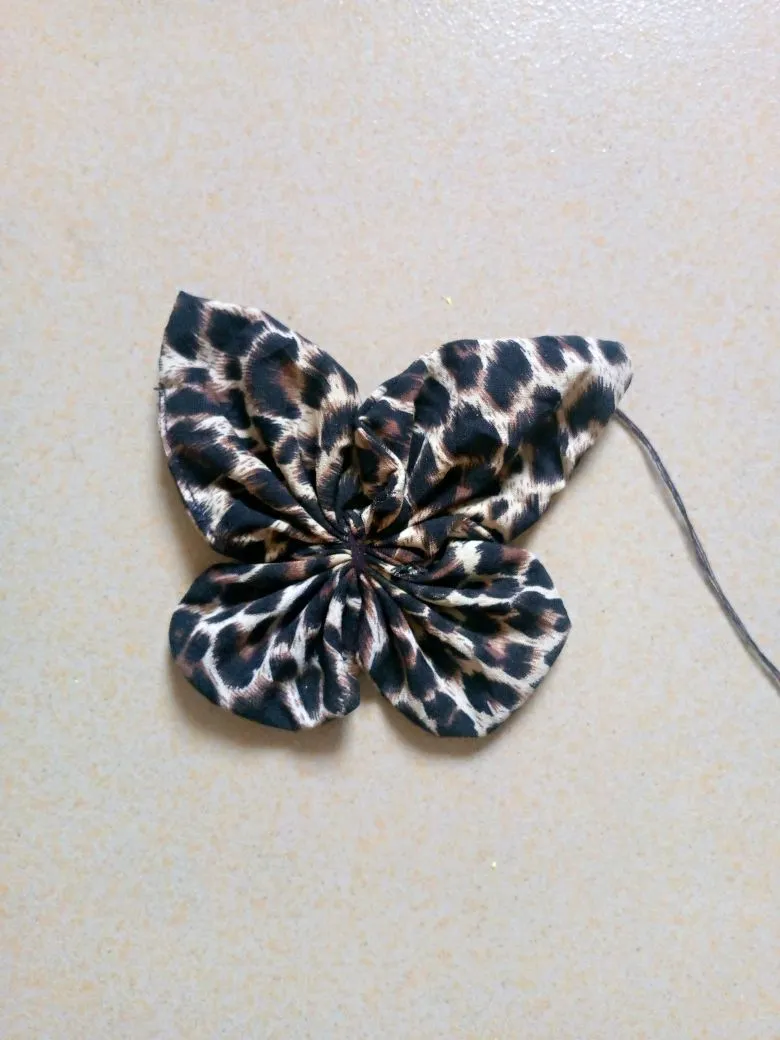
Both were folded to locate the middle as seen above and it was marked, I ran a long stitch through the middle of the circle shape before the square with a hand needle and thread.
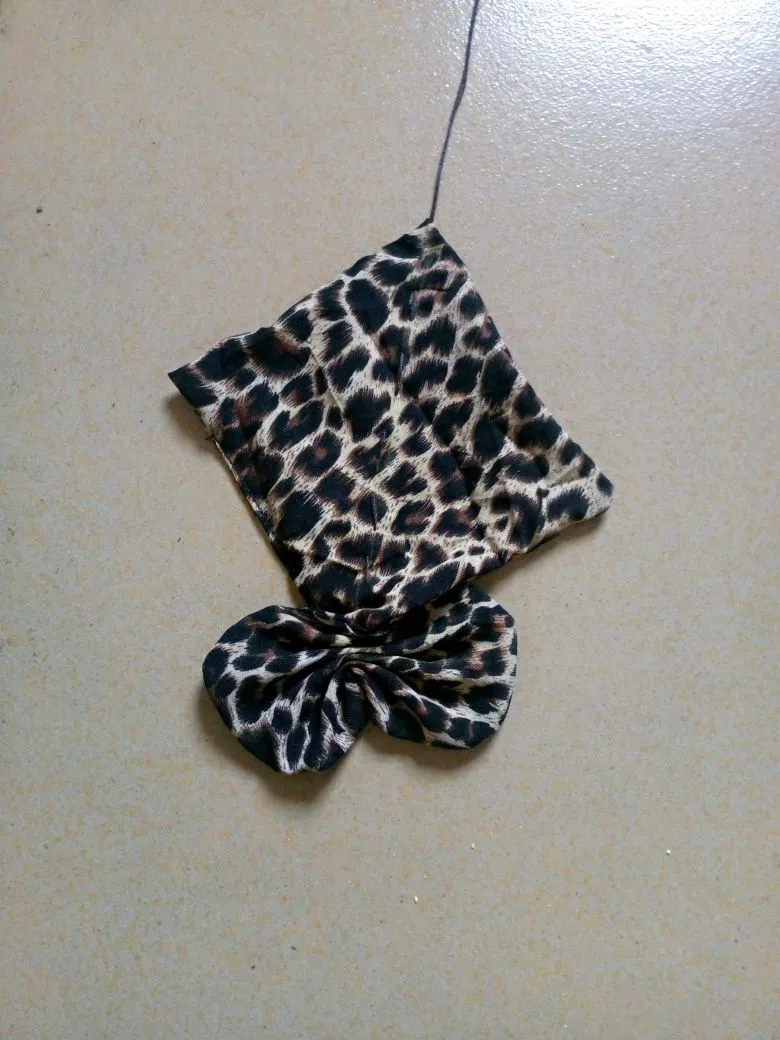
It was gathered together to have this, while I used the thread to tie it together and it was set aside.
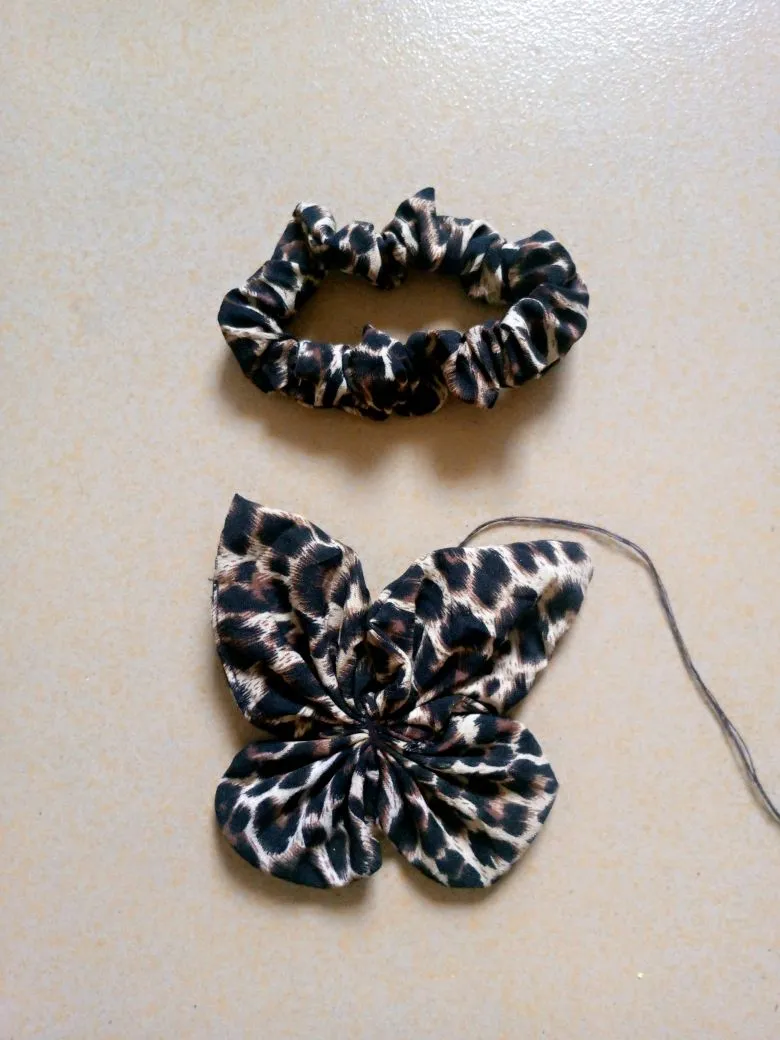
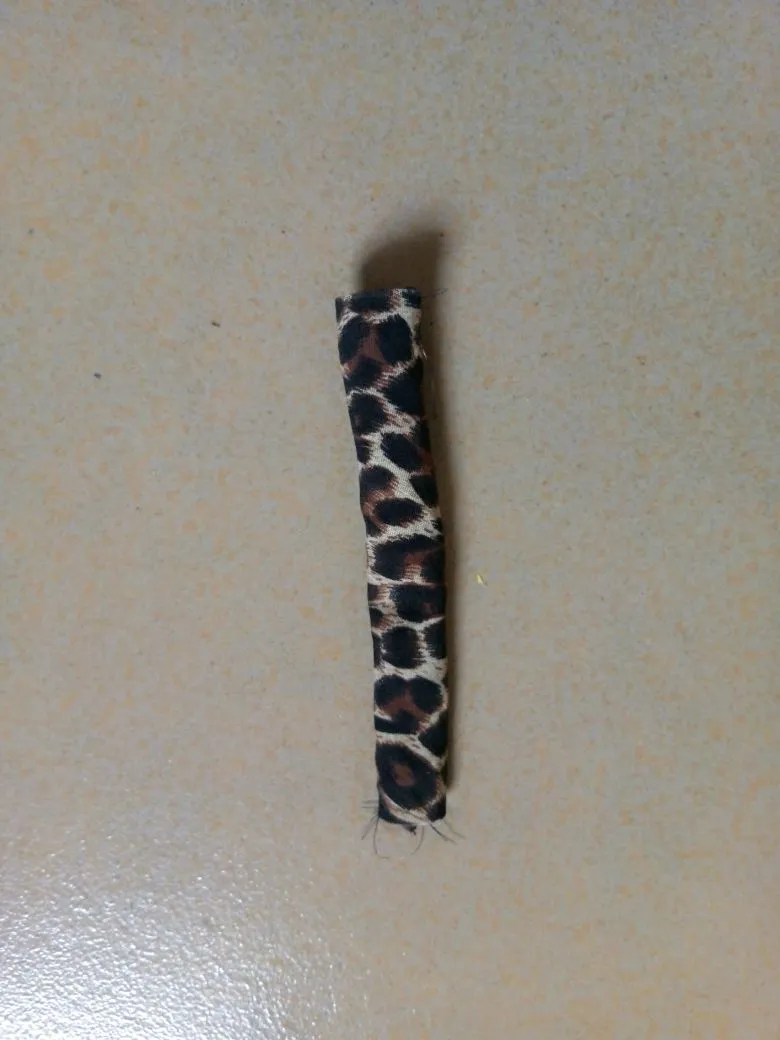
For the elastic casing, I cut out 2 x 20" from the remaining fabric and it was sewn and turned inside out.

I cut out an elastic band of 10" and inserted it in the casing, it was sewn together at both ends with a hand needle and thread.
A small piece was cut out and sew to hold the elastic casing to the butterfly shape together.
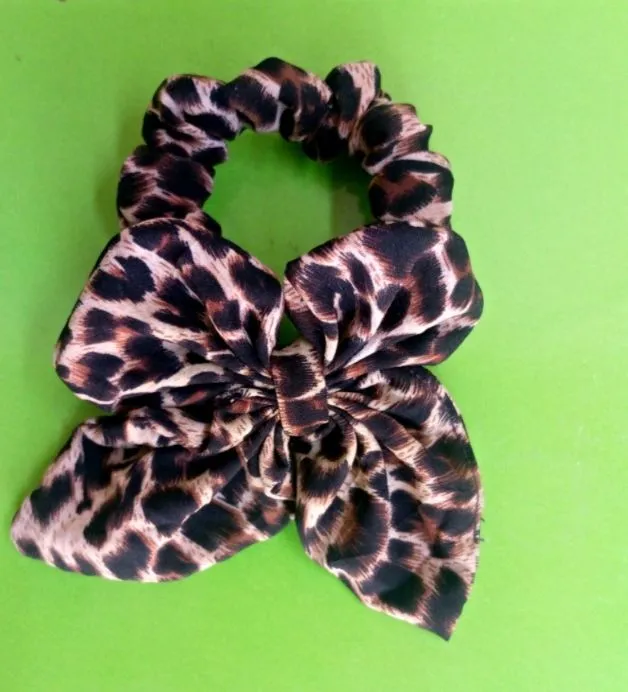
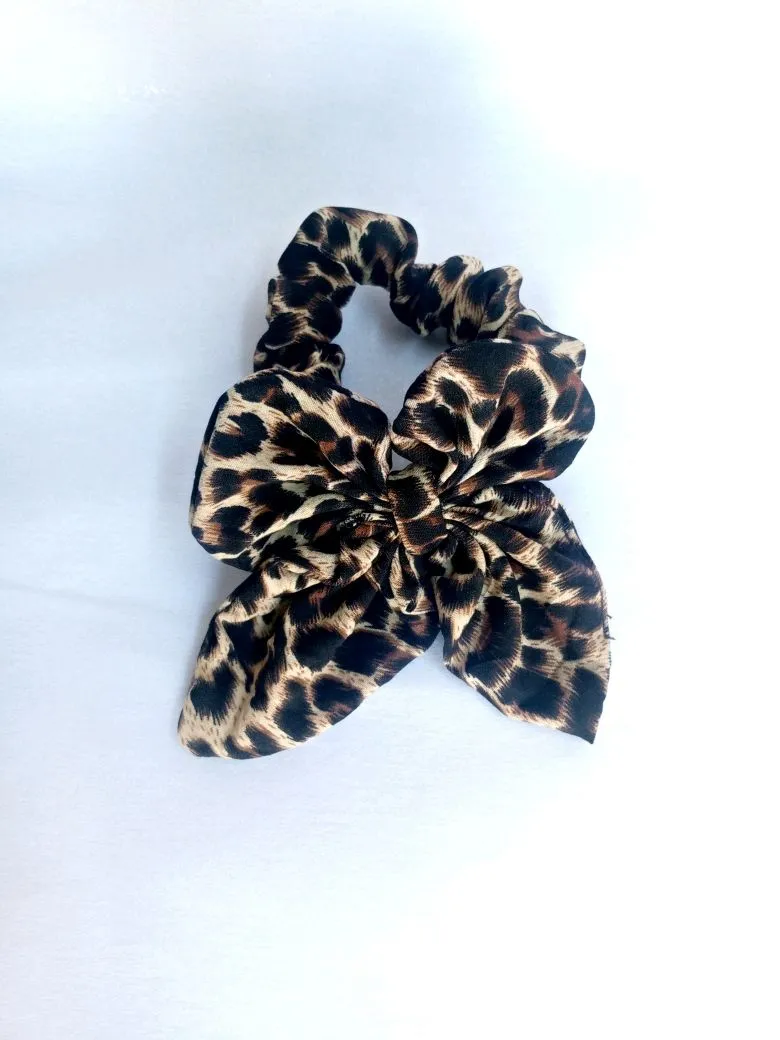
Finally, it was sewn together with a hand needle and thread and this is the beautiful outcome.
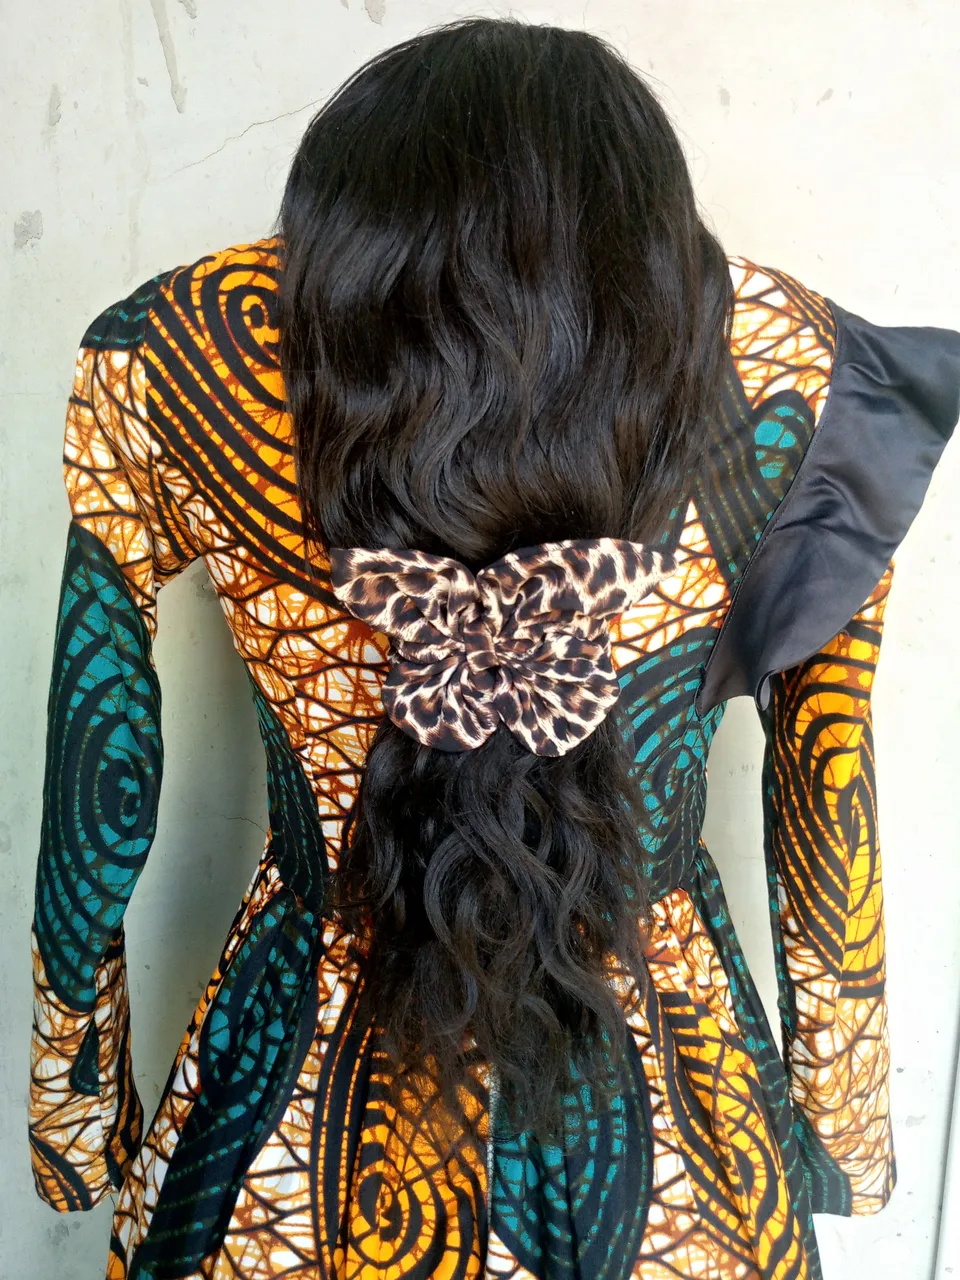
This is the beautiful outcome on my wig and mannequin just to see how it will look like on my niece.