Greetings, fellow craft lovers! Once again, welcome to my workshop @bricolajedc. This time, I'll show you how to make desk chair covers out of fleece fabric, step by step. Join me and I'll show you how it's done.
Materials:
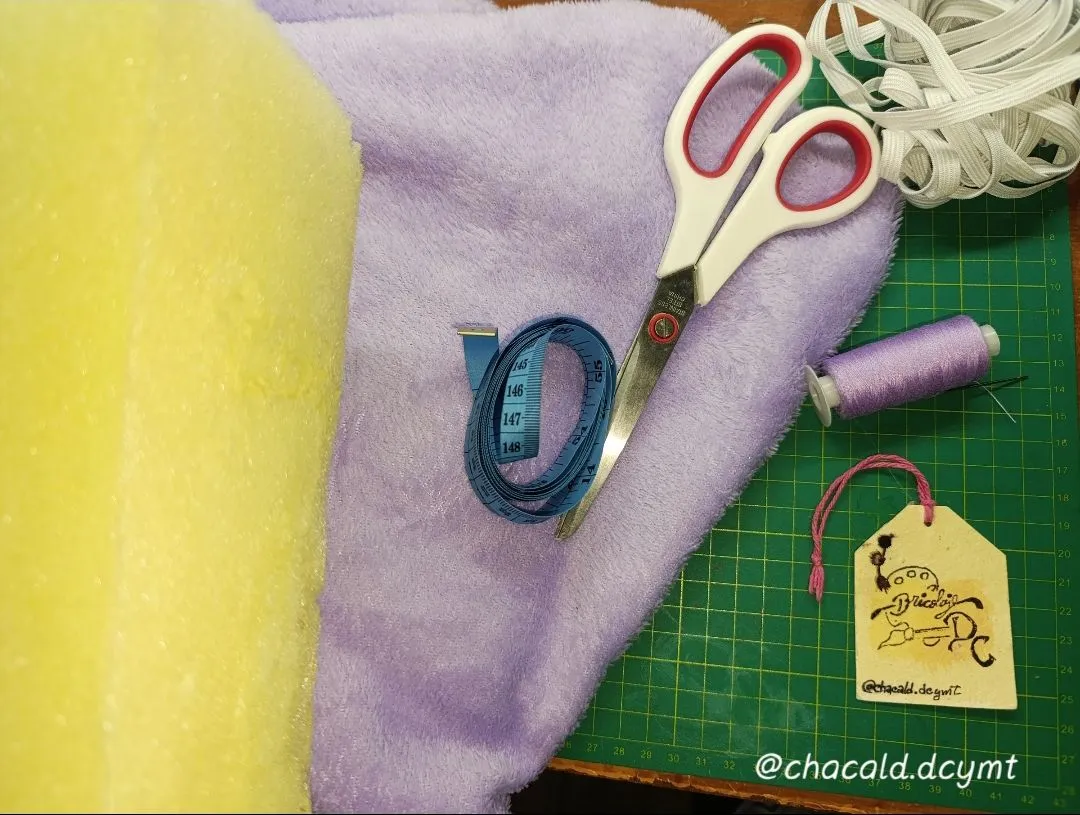
For this project, I used 1 meter of fleece fabric, 5-millimeter foam, a medium needle, 2-centimeter elastic, thread, adhesive tape, plastic paper, thread in the same color as the fabric, a safety pin, scissors, and a set square.
¡Saludos amigos amantes de las artes manuales! Una vez más les doy la bienvenida a mi taller @bricolajedc, en esta oportunidad les mostraré cómo realizar, paso a paso, los forros para silla de escritorio en tela Franela Fleece. Acompáñenme y les muestro el proceso de elaboración.
Materiales:
Para este proyecto utilicé 1 metro de tela Franela Fleece. Espuma de 5 milímetros, Aguja mediana, elástico de 2 centímetros, hilo pabilo, cinta adhesiva, papel plástico, hilo del mismo color de la tela, gancho imperdible, tijera y cartabón.
The Chair
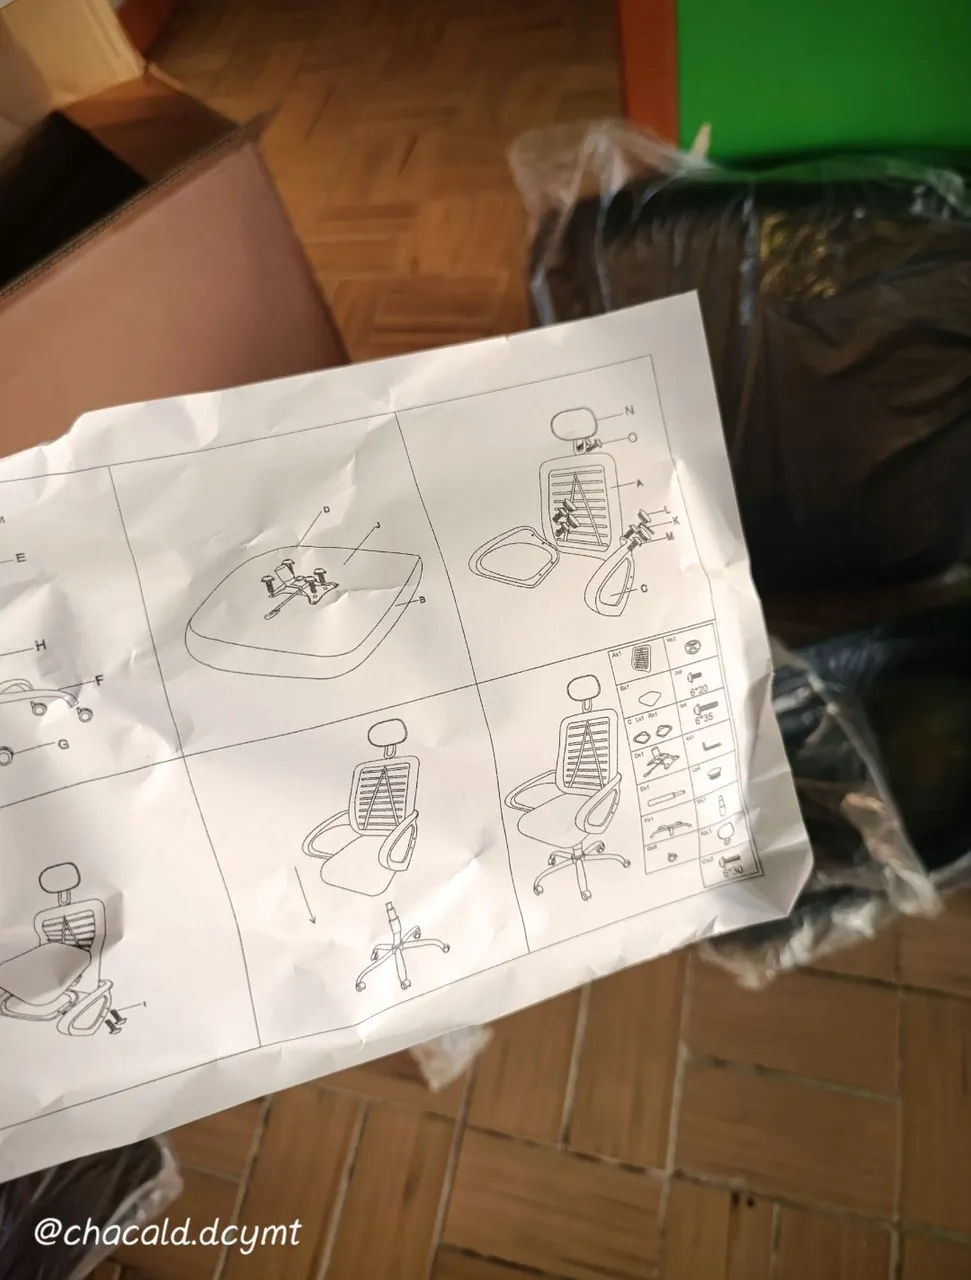
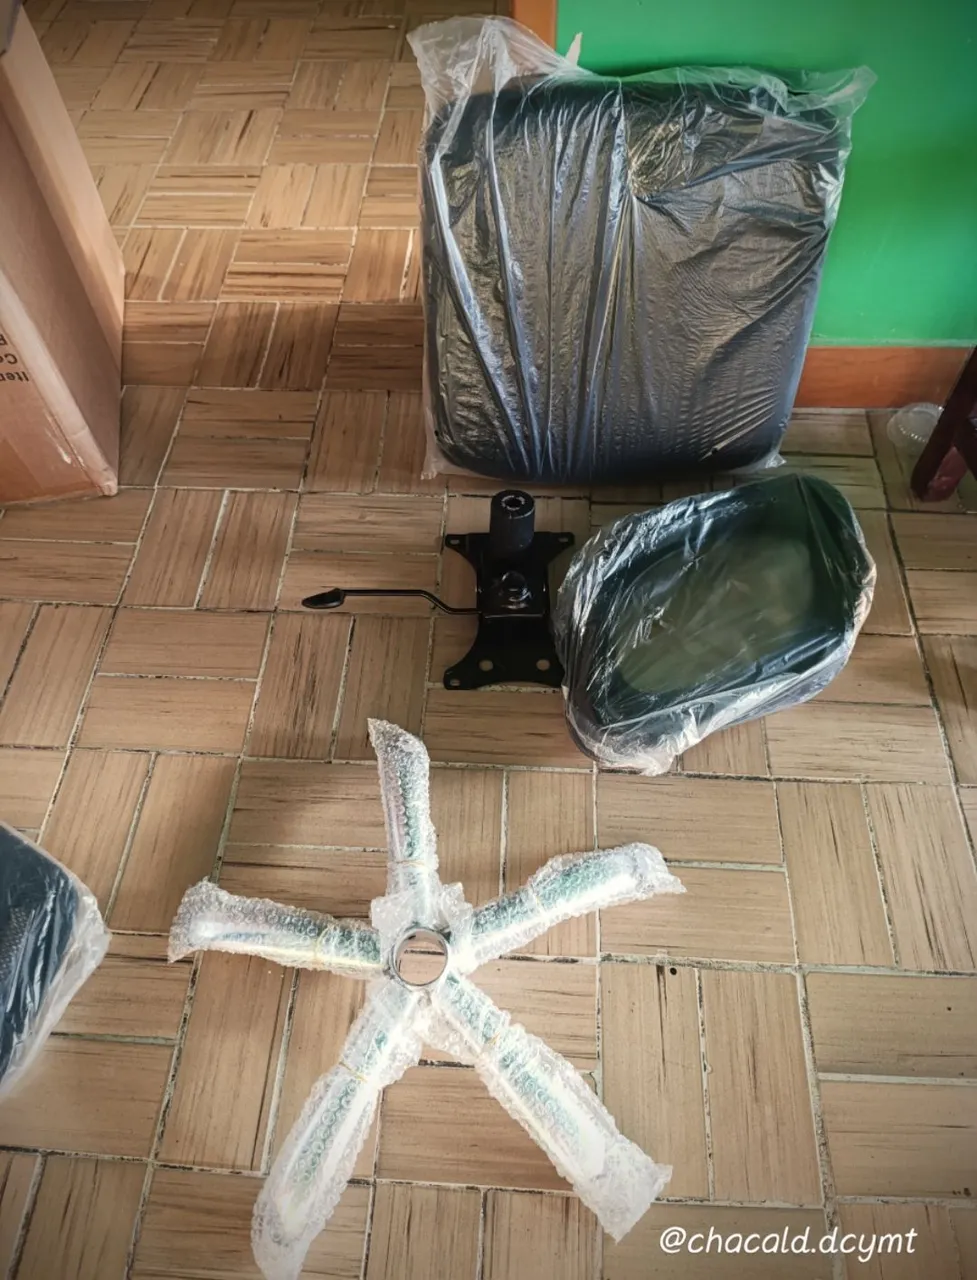
I purchased this desk chair for my comfort while working, as I spend a lot of time in the workshop and on the computer. I really needed it, and it was a great relief to find it on sale for $60 on Mercadolibre.
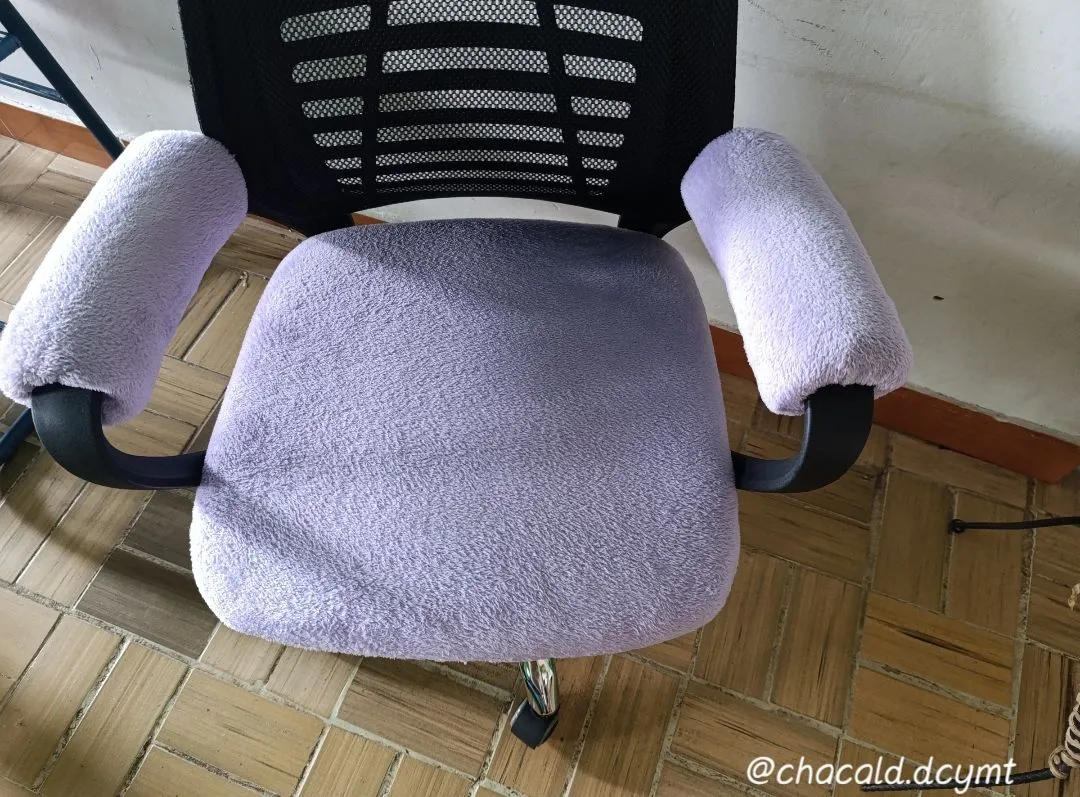
When my chair arrived, my husband and I assembled it, but to my dismay, the mesh it comes upholstered with is rough, and I'm usually in the workshop wearing shorts or a dress, which makes the mesh rub against my skin and is very uncomfortable.
I looked online for some desk chair covers and was surprised to find that they cost $30. That's half the price of the chair. I decided to buy the fabric I liked and make the covers myself.
I chose fleece because it's soft, easy to work with, and only $5 per meter, and it came in purple, which is one of my favorite colors. One meter was enough.
La Silla
Compré esta silla de escritorio para mi comodidad a la hora de trabajar, ya que paso mucho tiempo en el taller y en la computadora. Realmente lo necesitaba y fue un gran alivio conseguirla en una oferta de 60$ por Mercadolibre.
Al llegar el envío de mi silla, con ayuda de mi esposo la armamos pero para mi disgusto la malla con que viene tapizada es aspera y normalmente estoy en el taller con pantalones cortos o vestido, lo que hace que el roce de la piel con esta malla sea muy incómodo.
Busqué en internet algunos forros para silla de escritorio y para mi sorpresa tenían un costo de 30$. Eso es la mitad de la silla. Decidí ir a comprar la tela a mi gusto para hacer yo misma los forros.
Seleccioné la Franela Fleece por la suavidad, lo fácil que es de manejar y por el precio de 5$ el metro y estaba en color violeta, que es uno de mis favoritos. Con 1 metro fue suficiente.
 |  |
|---|
Process:
Once the chair was assembled, I wanted to add padding to the armrests for extra comfort.
I took the foam and covered each of the armrests. Then I wrapped the wick around it, pressing down firmly so that it would stay in place.
Proceso de elaboración:
Una vez armada la silla, quise poner un acolchado en los posa brazos, así tendría más comodidad.
Tomé la espuma y cubrí cada uno de los posa brazos. Luego enrrollé el hilo pabilo apretando fuerte para que quedara firme.
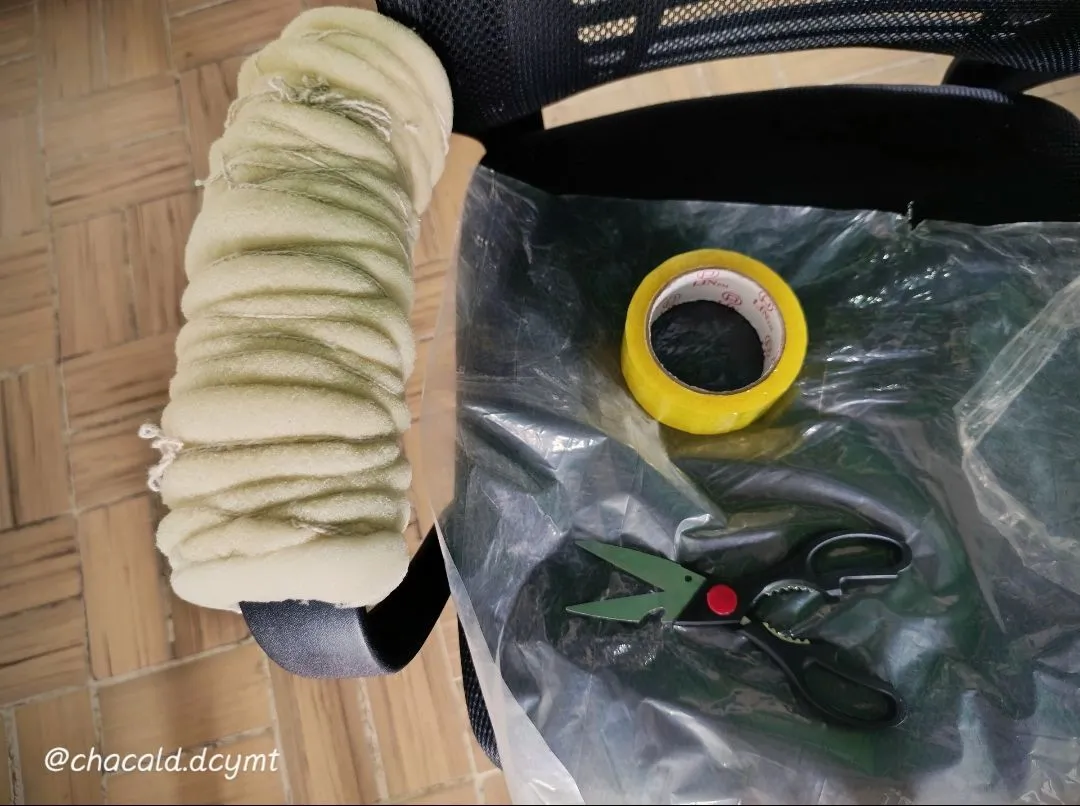
I asked my husband for help covering the foam with plastic wrap and then pressing it down firmly with tape. This keeps the foam secure and in place.
Le pedí ayuda a mi esposo para cubrir con papel plástico la espuma y luego apretar fuertemente con la cinta adhesiva. Así se mantiene la espuma firme y en su lugar.

Using the square, I measured each piece to make the linings. There are five pieces.
Con el cartabón tomé las medidas de cada pieza para hacer los forros. Son 5 piezas.
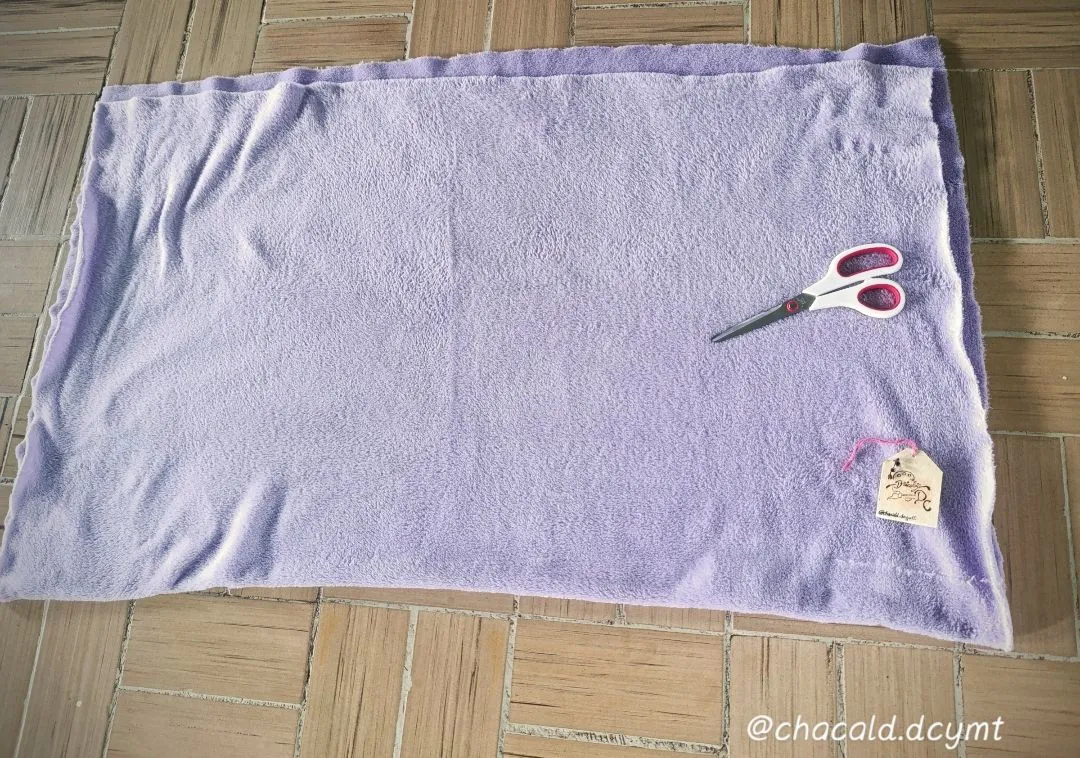
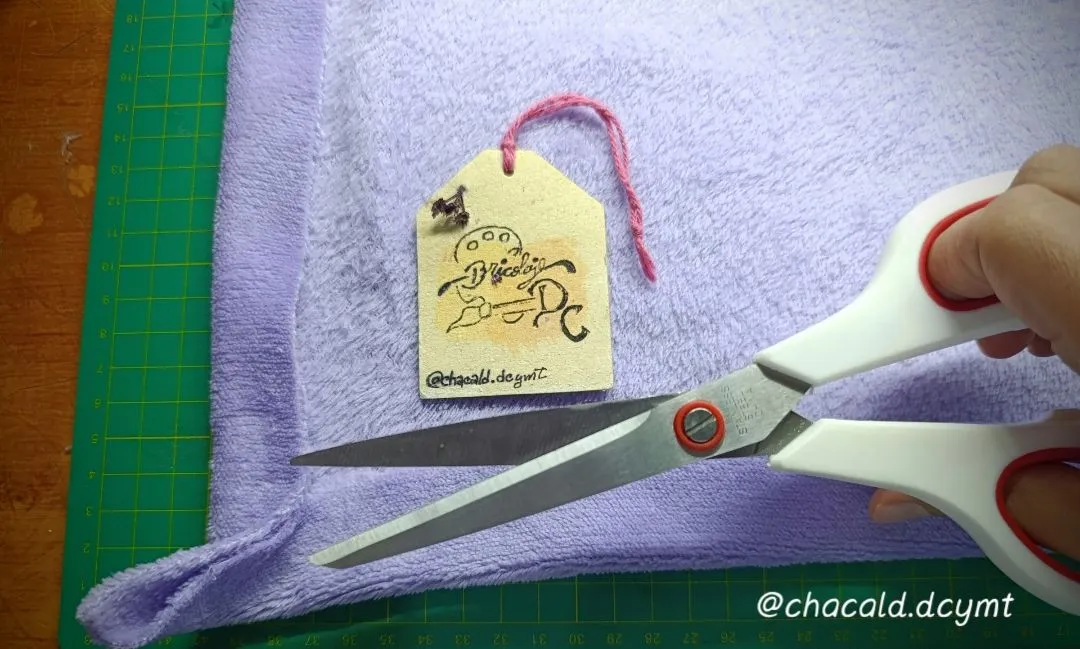
I started cutting the fabric, leaving 2 centimeters on each side to make a border and insert the elastic.
Comencé a cortar la tela dejando 2 centímetros por cada lado para hacer un borde y poder introducir el elástico.
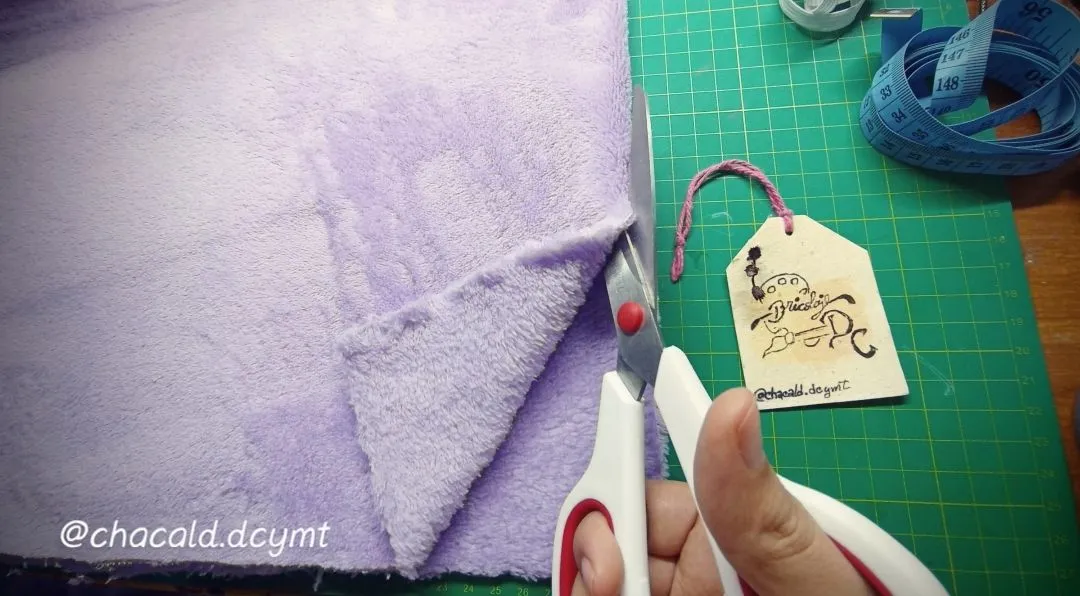
Leaving a triangle at each corner, I trimmed off the excess and sewed a seam to make the edge square.
Dejando un triángulo en cada esquina, recorté el excedente y pasé una costura para hacer el borde cuadrado.
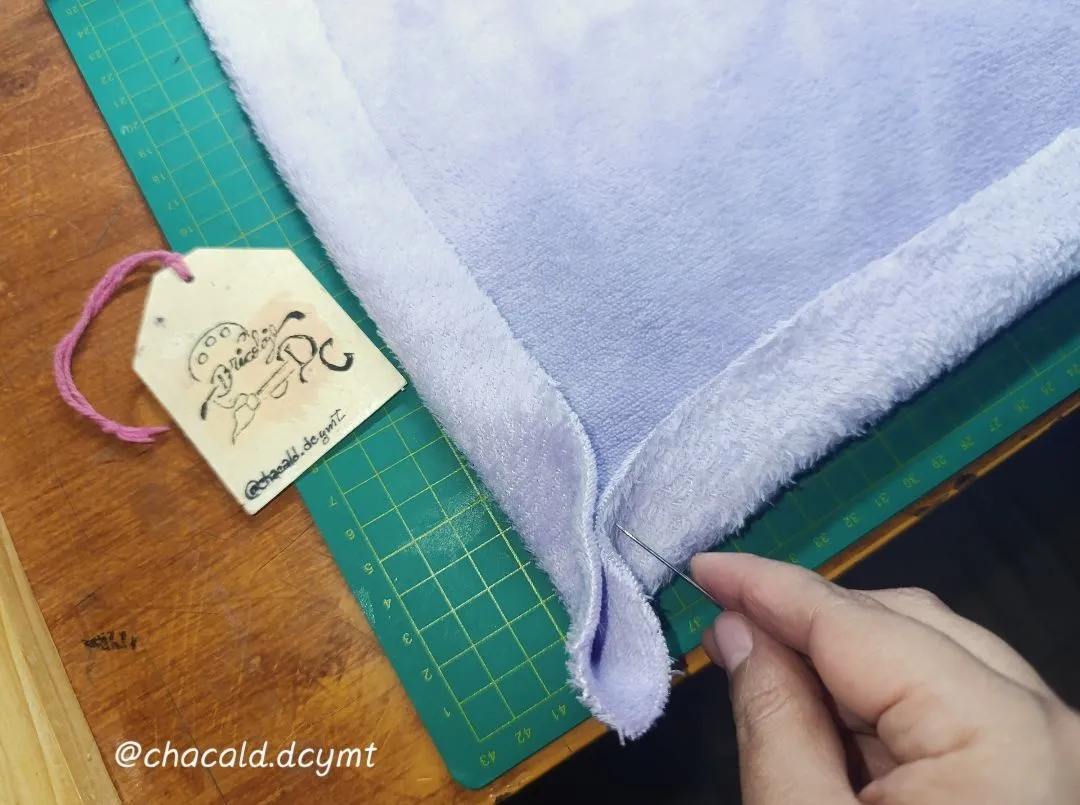
After sewing, I used a safety pin to thread the elastic through the edge.
Luego de pasar la costura, con ayuda de un gancho imperdible pasé el elástico por dentro del borde.
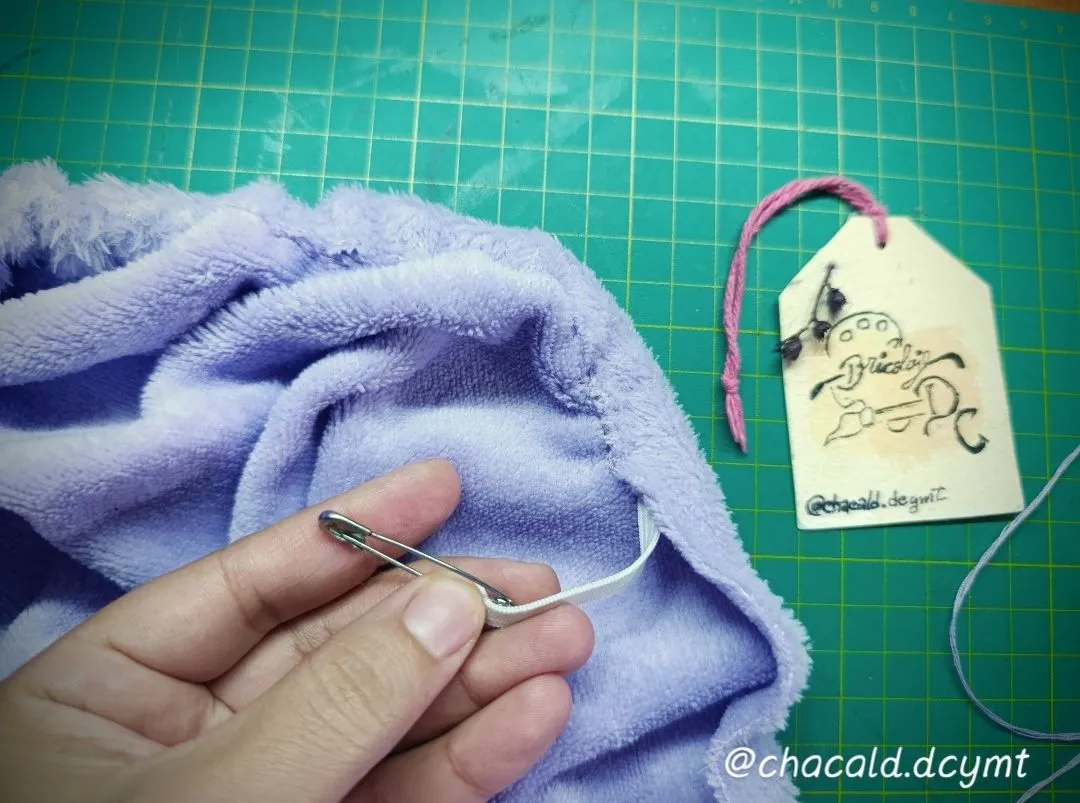
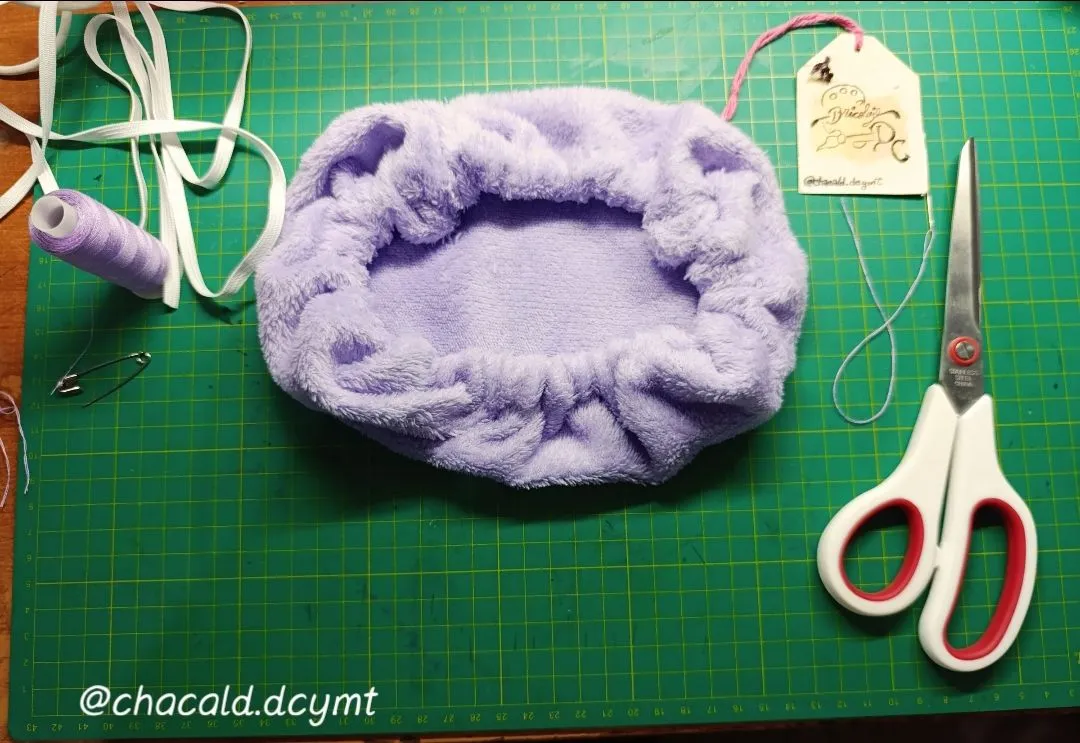
And that's how I made each of the seat covers:
Y así realicé cada uno de los forros del asiento:
 |  |
|---|
The lining of the head pad:
El forro de la almohadilla de la cabeza:
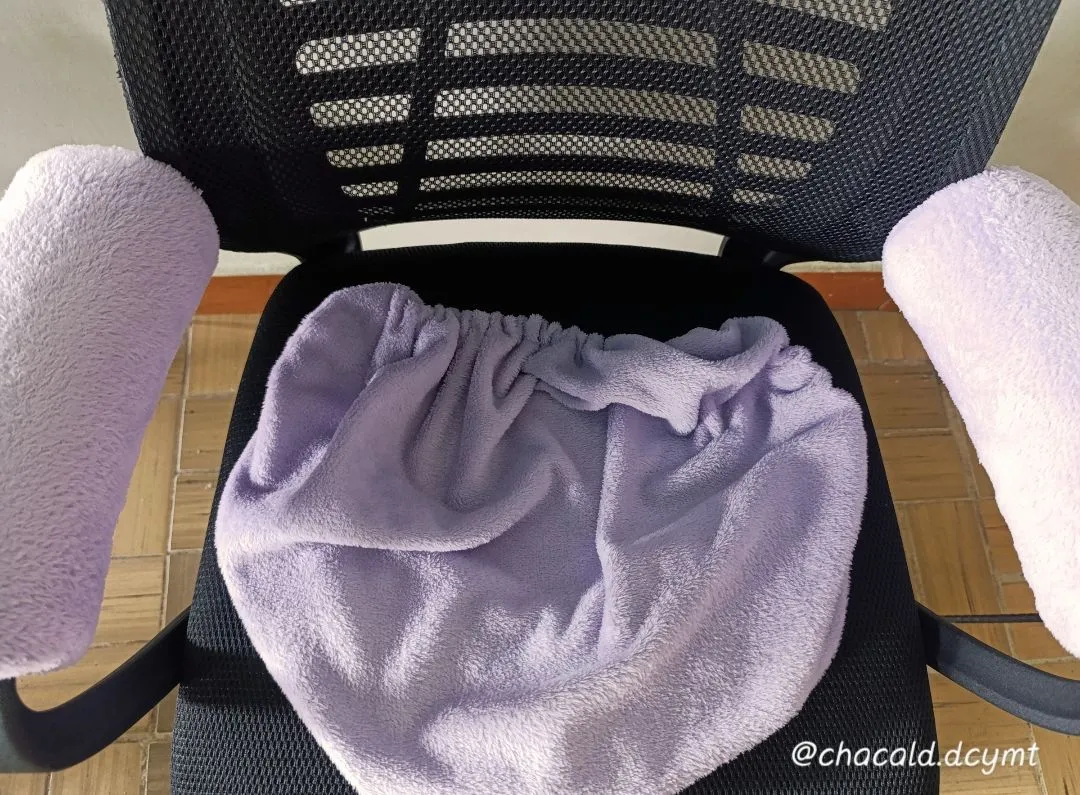
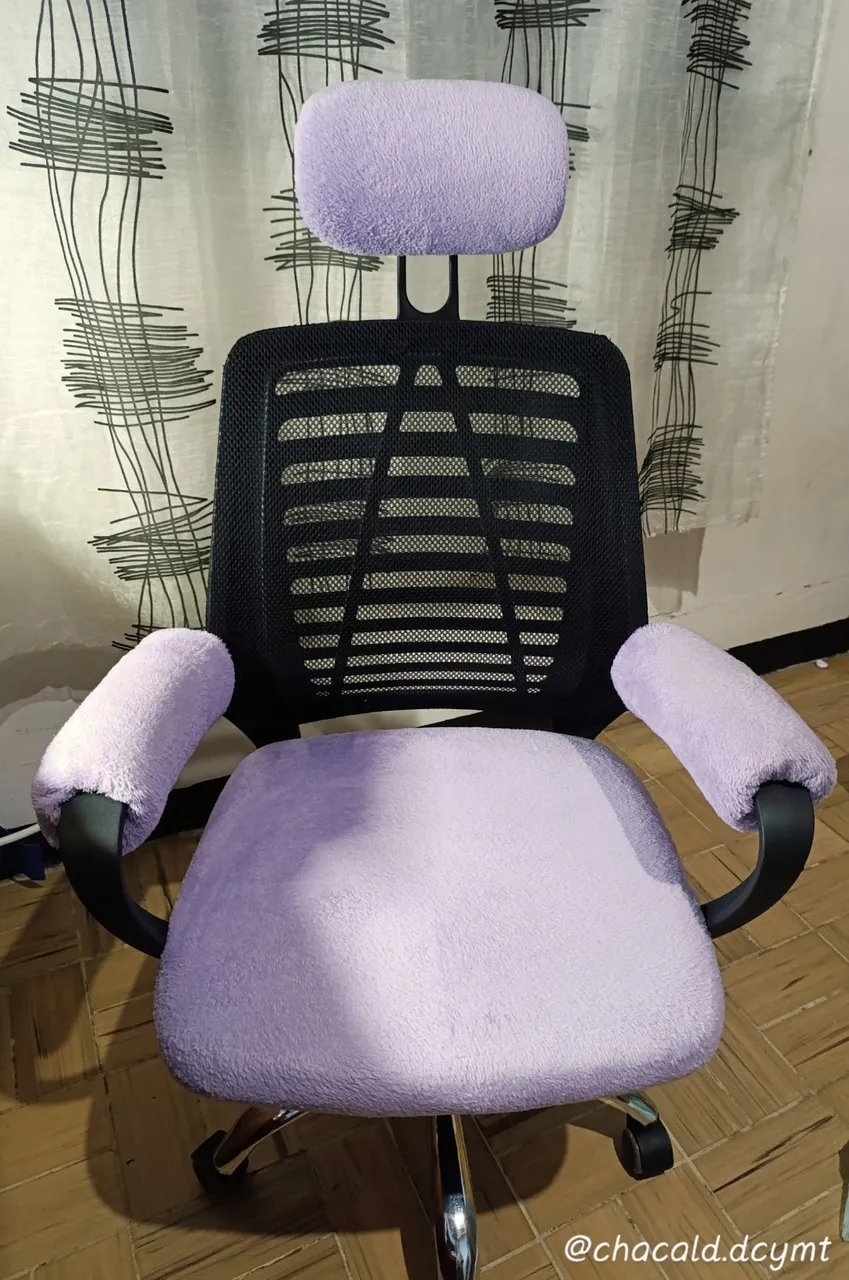
And little by little, I placed each of the covers on the chair.
Y poco a poco fui colocando cada uno de los forros a la silla.
 |  |
|---|
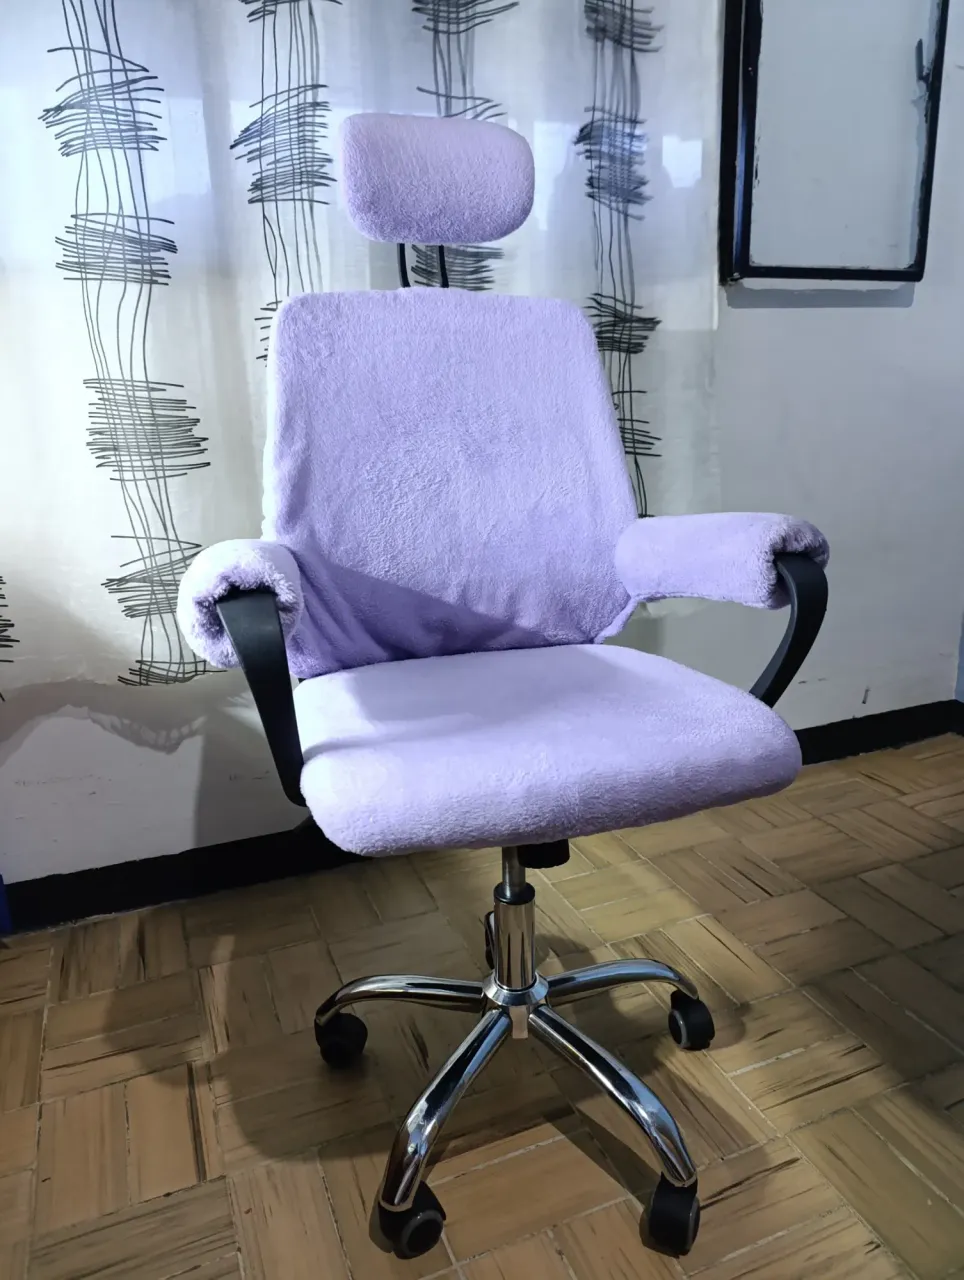
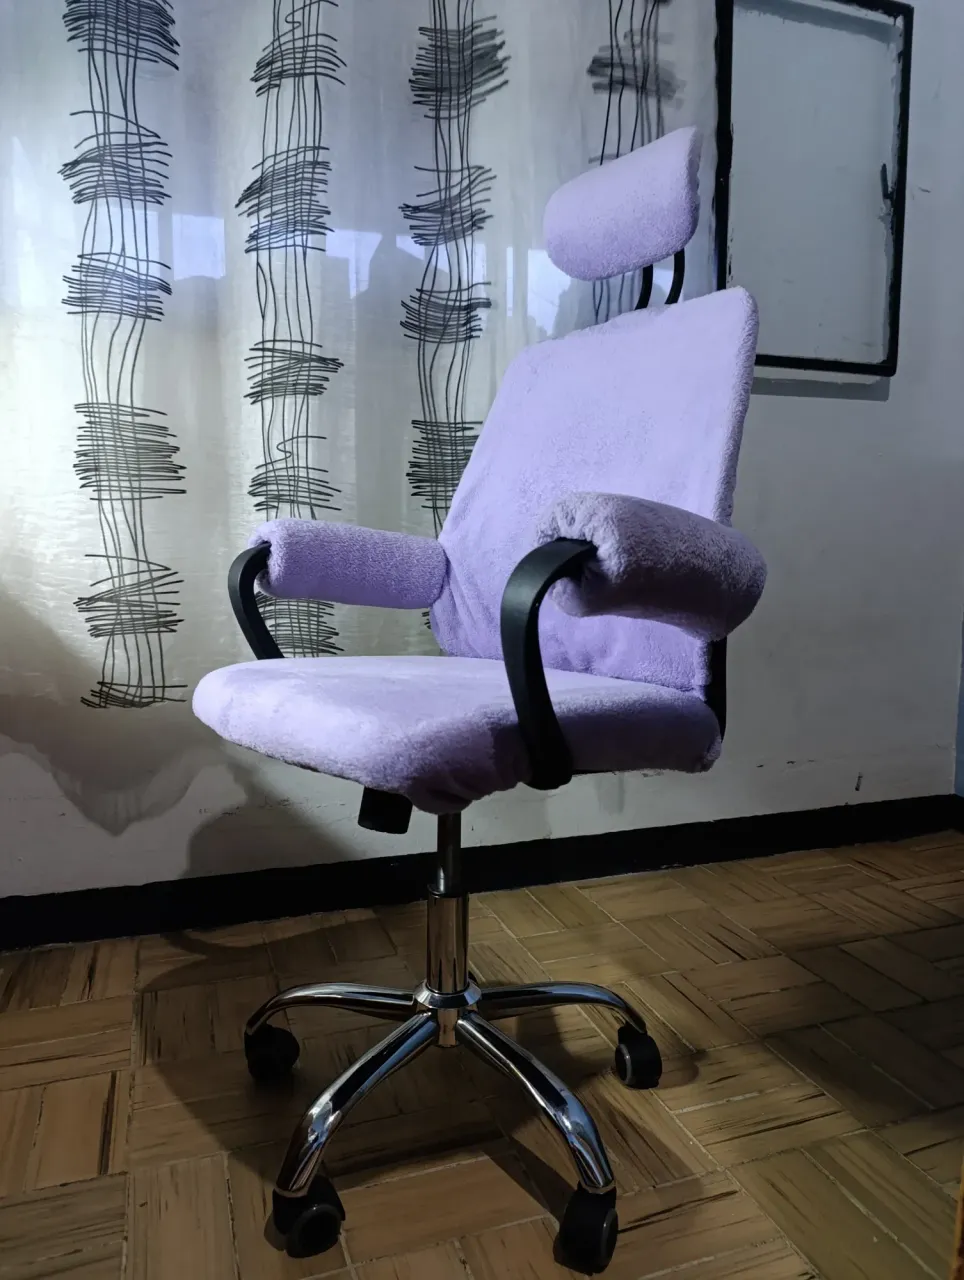
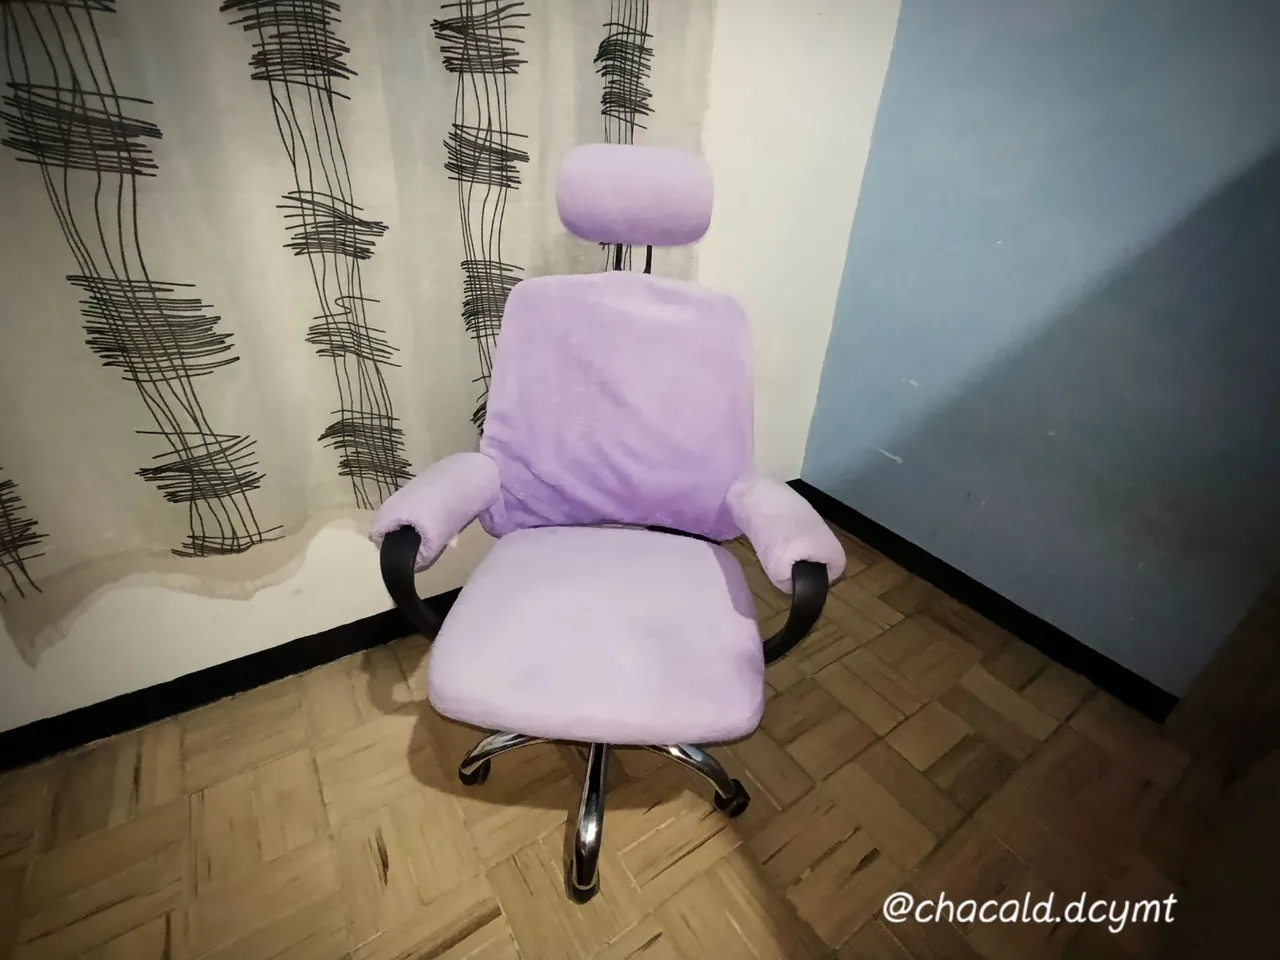
And that's how it turned out. I thought it was a simple, inexpensive, and very productive project, since I will be very comfortable and happy using my chair.
I hope my work inspires others to make a simple desk chair more comfortable and personalized. See you next time. Bye!
Y así fue como quedó. Me pareció un proyecto sencillo, económico y muy productivo ya que estaré.muy cómoda y feliz al utilizar mi silla.
Espero que mi trabajo sea de inspiración para hacer que una silla simple de escritorio sea más cómoda y personalizada. Nos vemos en una próxima oportunidad. Chao!


Original content by the author.
Resources: App: Canva / Giphy / Inshot
📷 Redmi 13 note pro Smartphone
Translated with Deepl.com
✿ All Rights Reserved || © @chacald.dcymt 2025✿
💌 Discord: chacald.dcymt#3549
X: @chacald1
Reddit: chacald
Follow us on Instagram
_
Contenido original del autor.
Recursos: App: Canva / Giphy / Inshot
📷 Redmi 13 note pro Smartphone
Traducido con Deepl.com
✿ Todos los Derechos Reservados || © @chacald.dcymt 2025✿
💌 Discord: chacald.dcymt#3549
X: @chacald1
Reddit: chacald

Tienda virtual @bricolajedc
Síguenos en Instagram