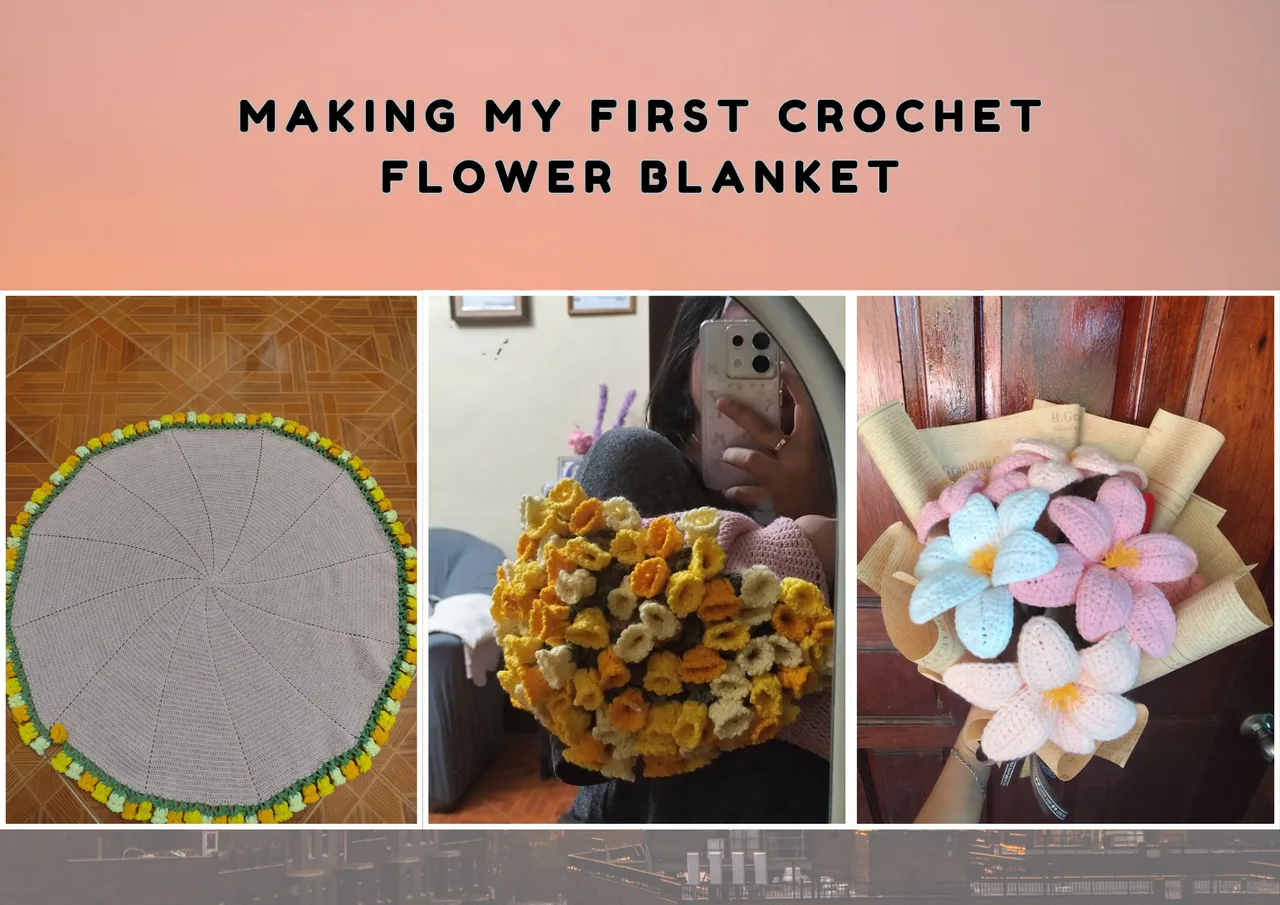
Sunshine and smiles, hivers! I'm back again for another blog for this week. In today's blog, I am going to share with you all how I made a beautiful crochet blanket flower that is trendy today. Let's get started!
I recently discovered that a crochet blanket with a crochet flower is very trendy these days. As a crocheter, I wanted to make my own flower bouquet blanket since the design is very beautiful, and this may be a challenge for myself. I am on hiatus from crocheting because recently I've been working hard making crochet stuff for Valentine's Day and some made-to-order items that are mostly big bouquets and stuffed animals. For testing my patience and also improving my skills, I choose this blanket as my first welcome project in being back on track in the crochet world.
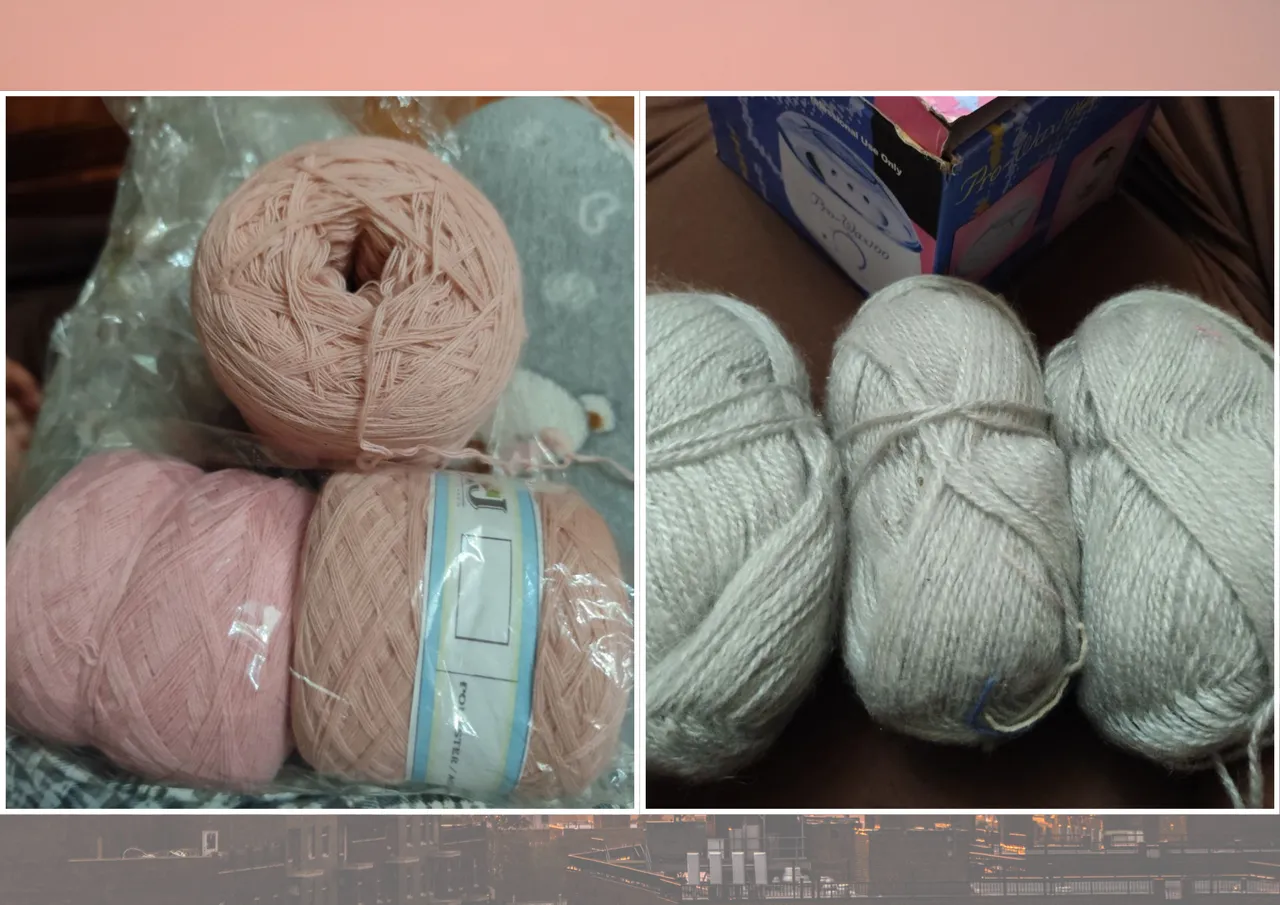
First, I started to find and think about what color I wanted my blanket to be. I choose those yarns that I have plenty of stock of so I can get rid of them. The first choice is this gray cotton yarn that I bought at the Korean surplus. These yarns I just bought at 5 pesos each; that's very cheap and at the same time very precious and a gem as a crocheter. Yarns are very expensive these days, and it's been a small happiness that I bought a very cheap yarn that has good quality in plenty. What a good catch! The second option is this rose pink yarn that I bought online. These yarns have been in stock a long time, and I wanted to use this so I can get rid of them. Lastly, I choose this rose pink as my blanket because the texture of the gray one is not my type for a blanket; it's very cottony, plus the fibers are very everywhere. The rose pink Indophil yarn is suited for a blanket because it's not heavy if it gets wet, and also, it is suited to my skin. I decided to use 3 skeins of cake yarn for this project, and the one skein of cake yarn is not the same shade as my rose pink yarn.
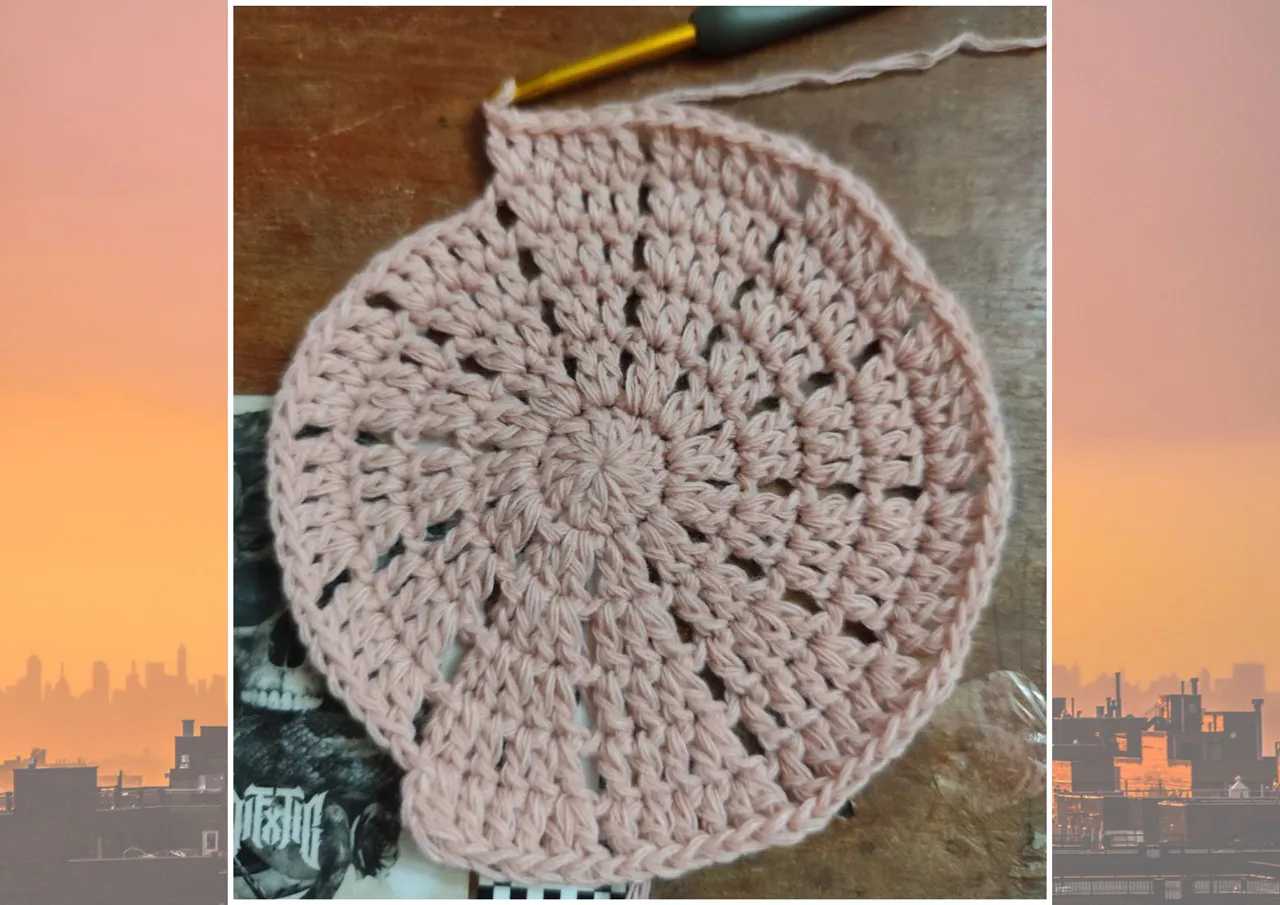
In making the blanket, I started to make a magic circle. You can watch on YouTube how to make a magic circle for the first step. In the second step, I increase the double crochet and then chain 1. I continue it until it gets to the finish line. For the third row, I just double crochet each loop, and when I get to the last loop before chain 1, I increase double crochet and chain 1. As you can see in the picture, this is what it looks like at the first stage in making the blanket. It's very cutesy and quite fun because you'll be excited about what's going to be the outcome of your project.
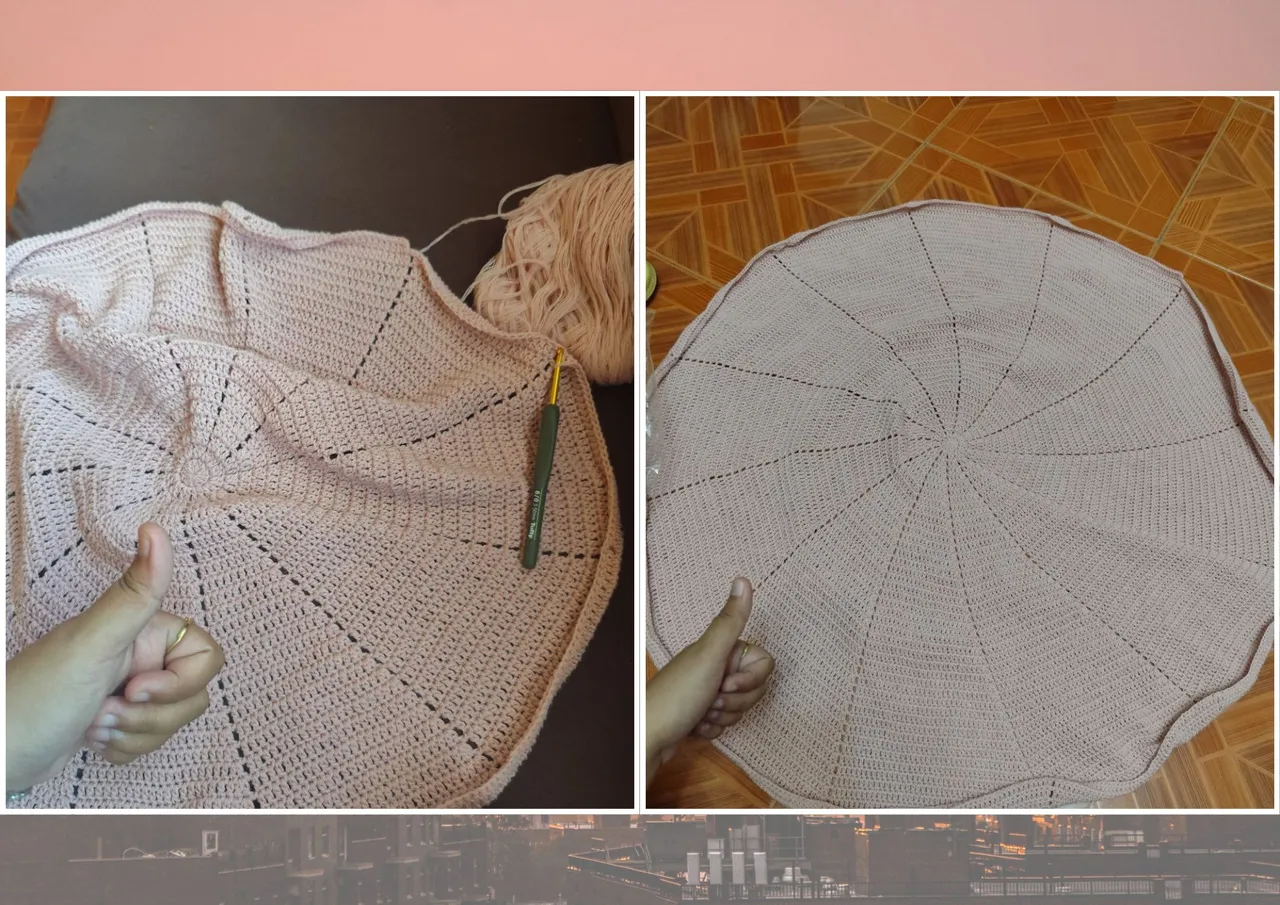
At this time, this is my day 2 of making the I was on my halfway for the exact length that I wanted. I just finished 1 skein of cake yarn, and I am halfway through finishing a 2 skein of cake yarn. I always look to see if I was satisfied with the length and decided to continue adding rows because I wanted to be big and cover my entire body with this blanket. I stop making the blanket since my hands are very swollen and hurting because I didn't take a break on my day 1 of making this blanket because of being excited. I make a shawarma for a snack since I am hungry, and I have been craving this all week.
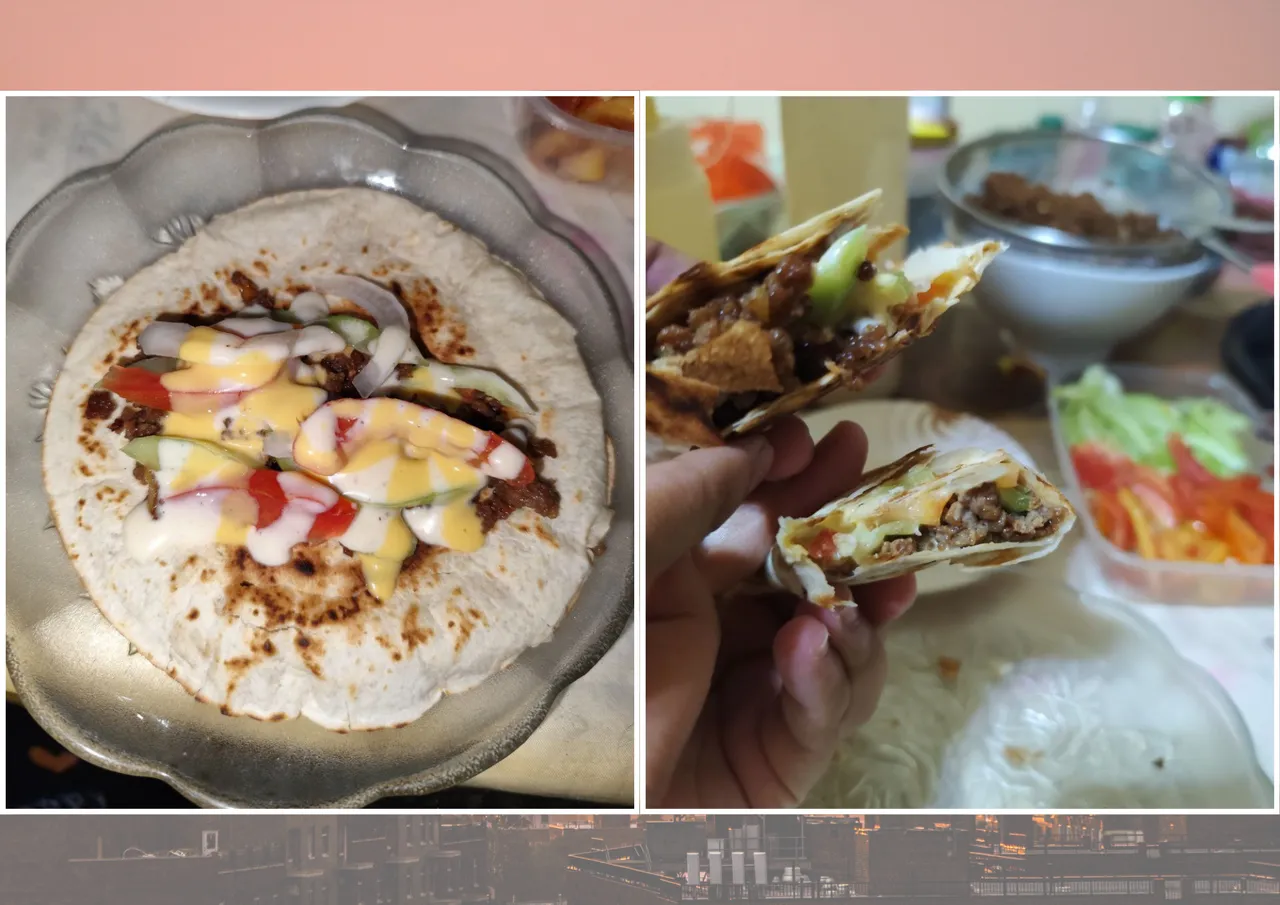
I made all the sauces from scratch and also the stuff that I wanted to put on my shawarma. The pita bread was overcooked; that's why it was crisp and cannot be rolled. Some say that I cannot wash my hands if my hands are tired and exhausted because it will make my hands shaky, but I just wash my hands, and maybe the effects of this will come when I get old enough.

I pause on making the blanket again because my mother wanted me to make a big bouquet for her best friend because her best friend will have a farewell party. As you can see in the picture, I made a big bouquet in just a snap. I find some stock flowers that have not been sold on Valentine's and use them for this bouquet. It looks perfect and very lovely, as those colors are suited to the wrapper that I use. My mother loves how it turns the bouquet perfectly, and after making the bouquet, I continue making the blanket.
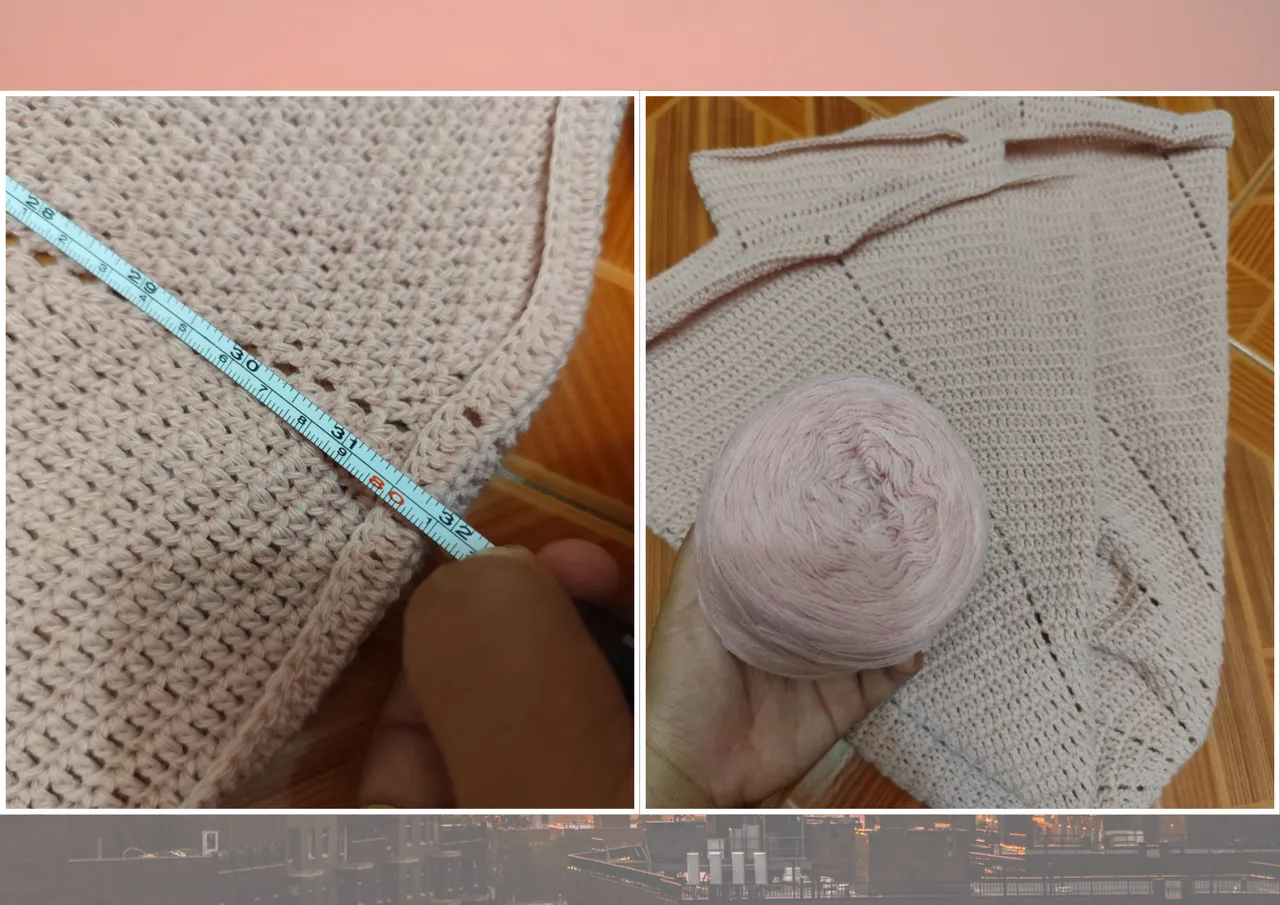
On my day 3, I finally made the perfect length that I wanted to have. As you can see, I measured the length, and I got a 32-inch blanket. I still have 1 skein of yarn to be used for this, but this yarn is not the same shade that I used for this blanket. I was still thinking if I could add this on the blanket or not. At the end, I didn't add it, instead, I locked it up and decided to add the leaves and flowers.

Wibbles is very happy sitting on the blanket that I made. She keeps going to the center and grooming herself.

On the last day of making the crochet flower blanket, I decided to finish it in one day because on the next day, I will be very busy making our ergonomics. Maybe I will make a blog, making our miniature for our ergonomics. Stay tuned!
As you can see in the picture, this is how my blanket turned out. Very cute and very beautiful. I really love how it ends the color matching I made. The shades of flowers are perfectly perfect for the blanket. At first, I was worried that the shades of yarns that I chose would not be a perfect fit for the blanket because, as far as I know, the shades of yellow are perfect for white colors. That's why I was happy that it turned out perfect when it was done. The problem that I encountered making this bouquet is there's one loop that I missed, and I was on my way to finishing up. I decided to cut the error one and do the frogging instead of redoing it.
And that's the end of my blog, hivers! This crochet project is truly worth making. I really love how it turns out pretty and very beautiful. I was thinking if I could sell this or keep it as a remembrance for my first blanket that I made. If some of you want to make a blanket, you can tap me, and I am willing to guide you. You can share it in the comment section if you made one, and I am very delighted to see it.
Thank you for reading my blog, and see you in my next blog post! Ciao!