This is another exciting project dear Sewing Friends in #needleworkmonday! Another big step into tailoring and reconstructing clothing that I am buying cheaply from the market, and then adapting for my own needs.
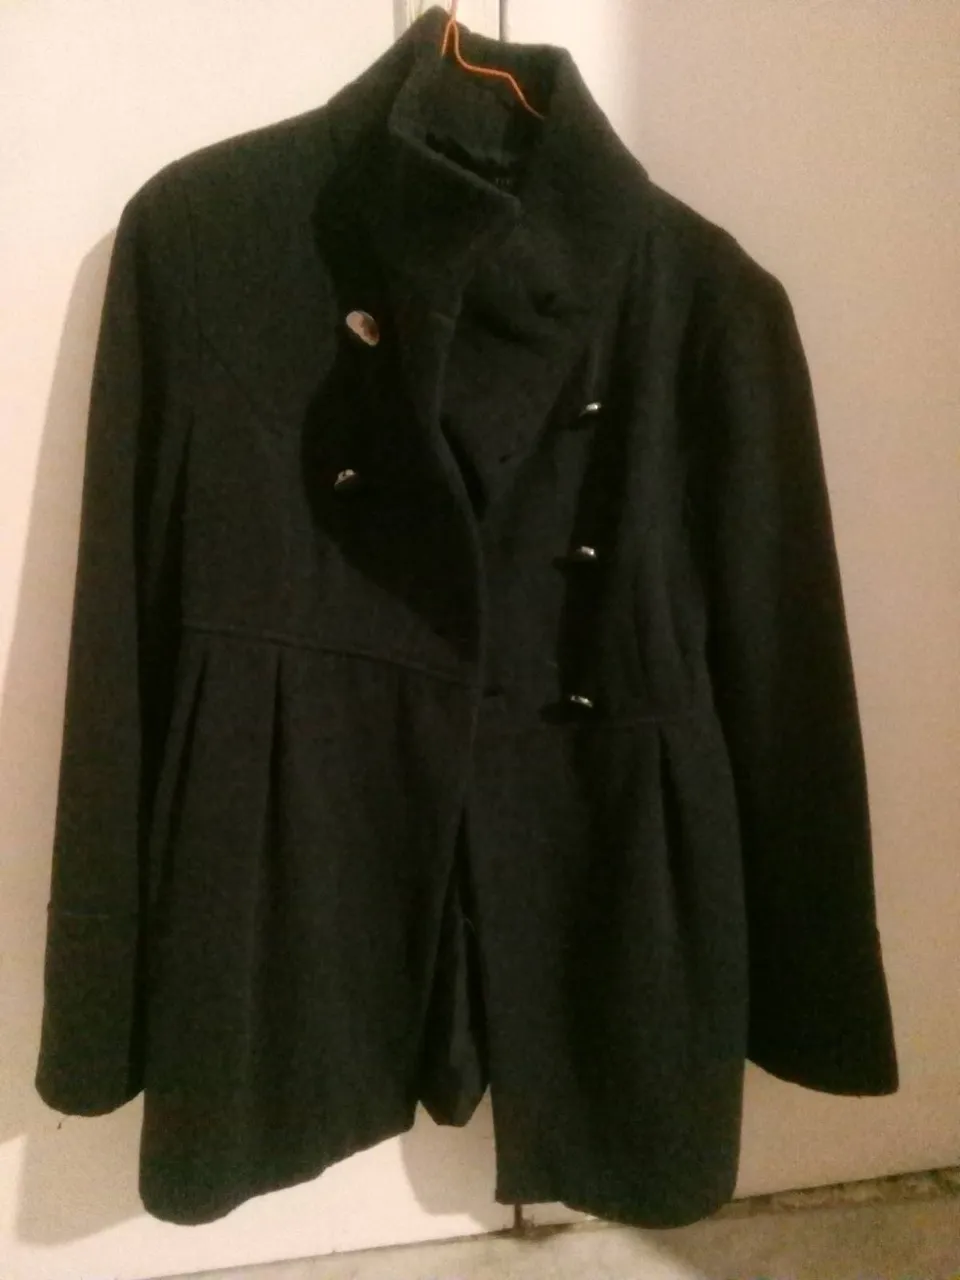
It was an okay size - so long as I didn't try to wear it with anything underneath - but this was insufficient in a winter coat: I needed it to function as a layering piece with more wool underneath, and so had to make it somehow much bigger! This took some thinking....
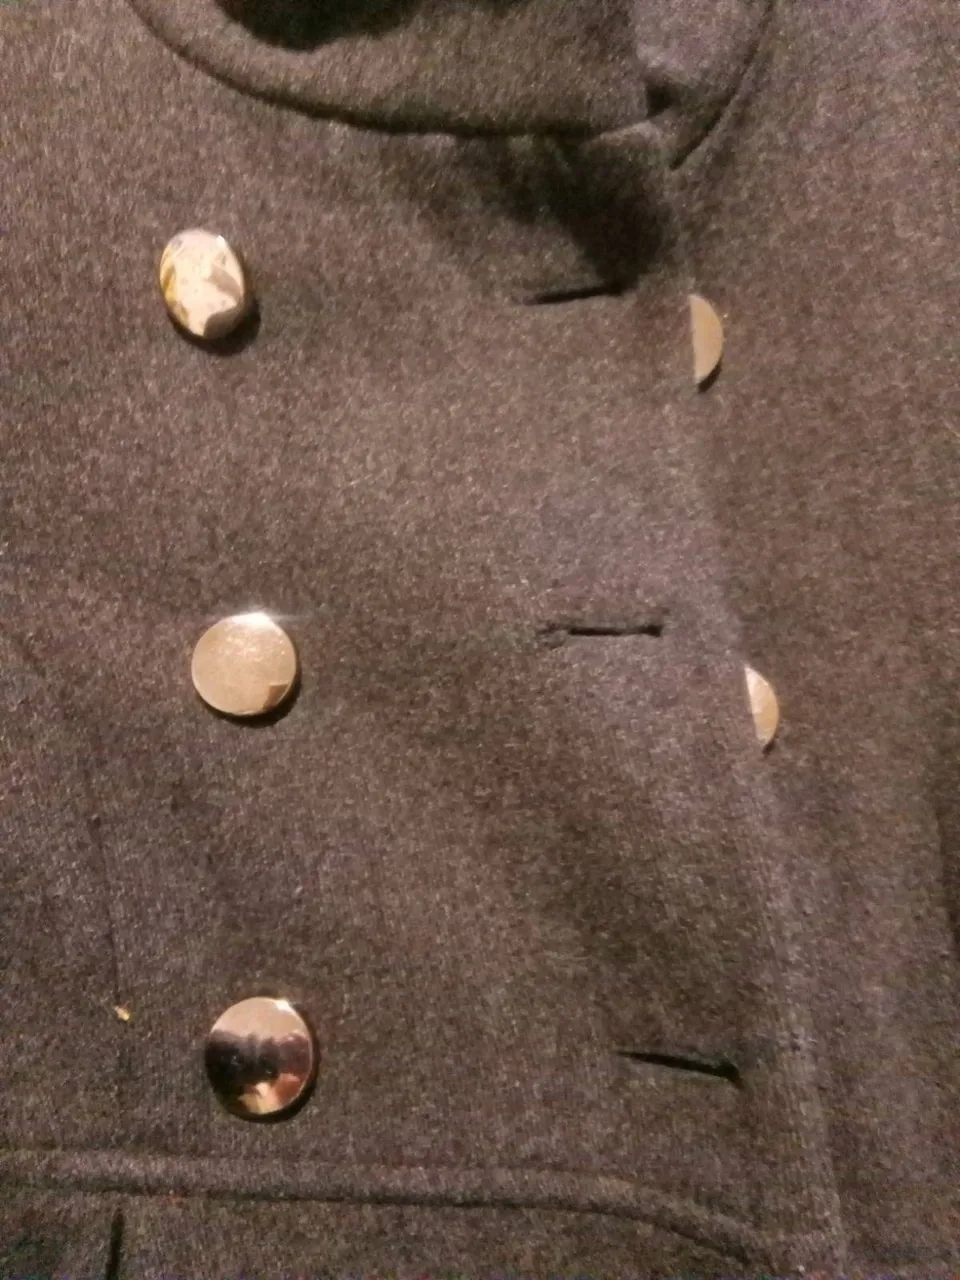
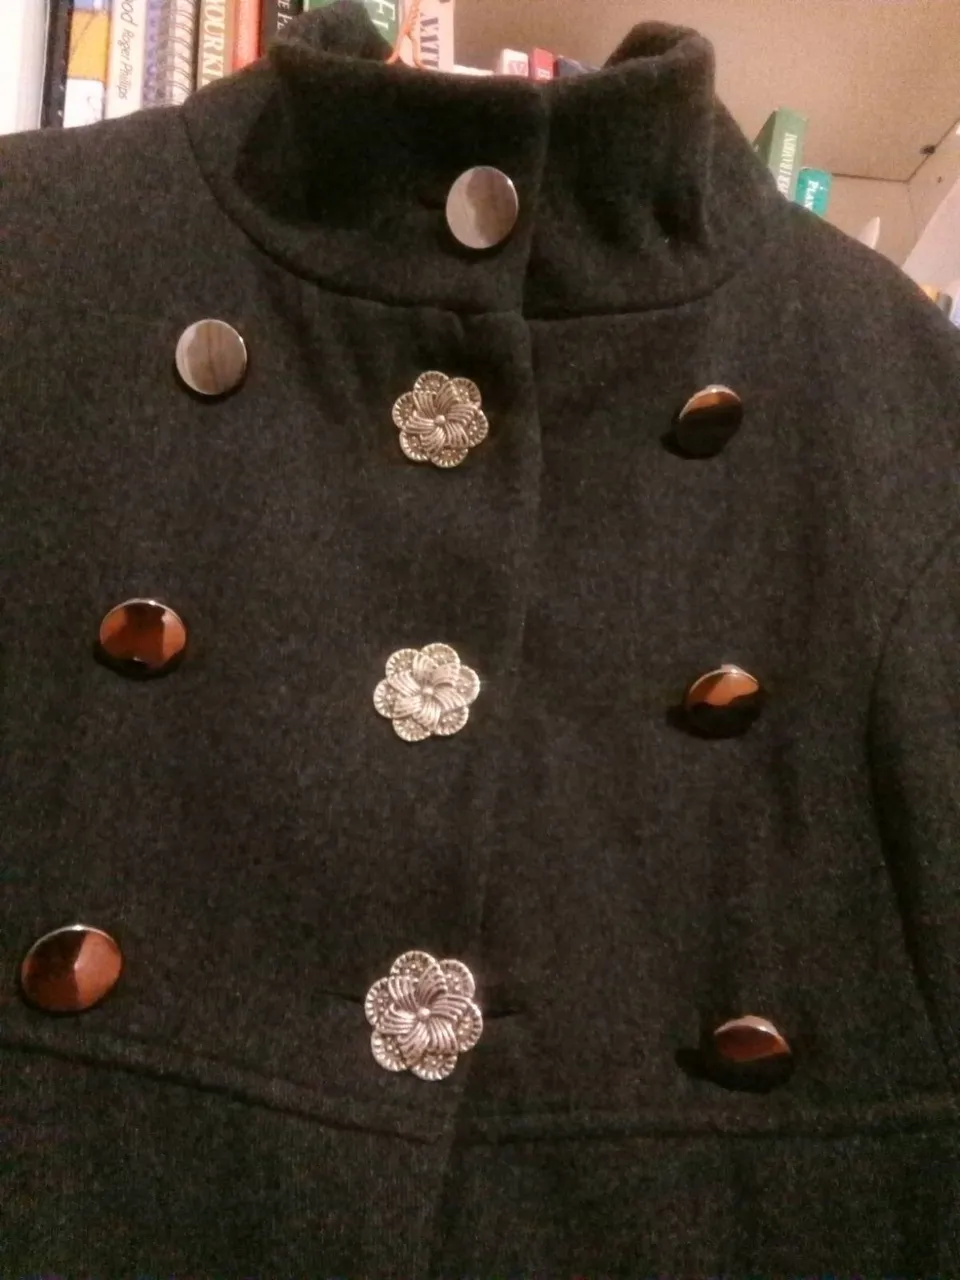
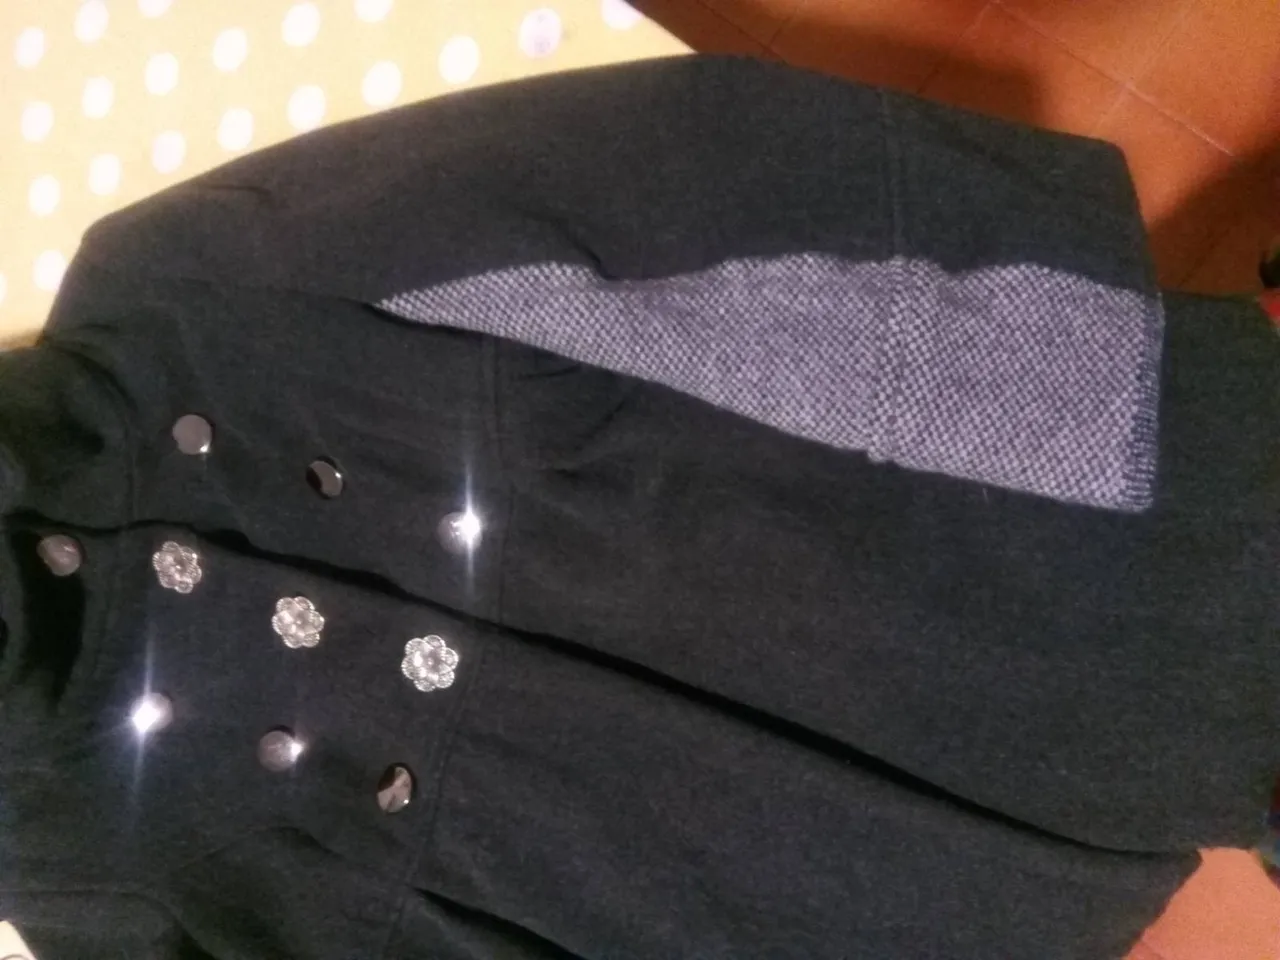
I began my enlargement of this coat by first taking the double breast buttons, and pulling them apart so that they became 3 rather than 2 vertical rows of buttons: there was at least one button missing, but the shuffling around of the original buttons and then the adding of these three big ornate vintage buttons which belonged to my gran:
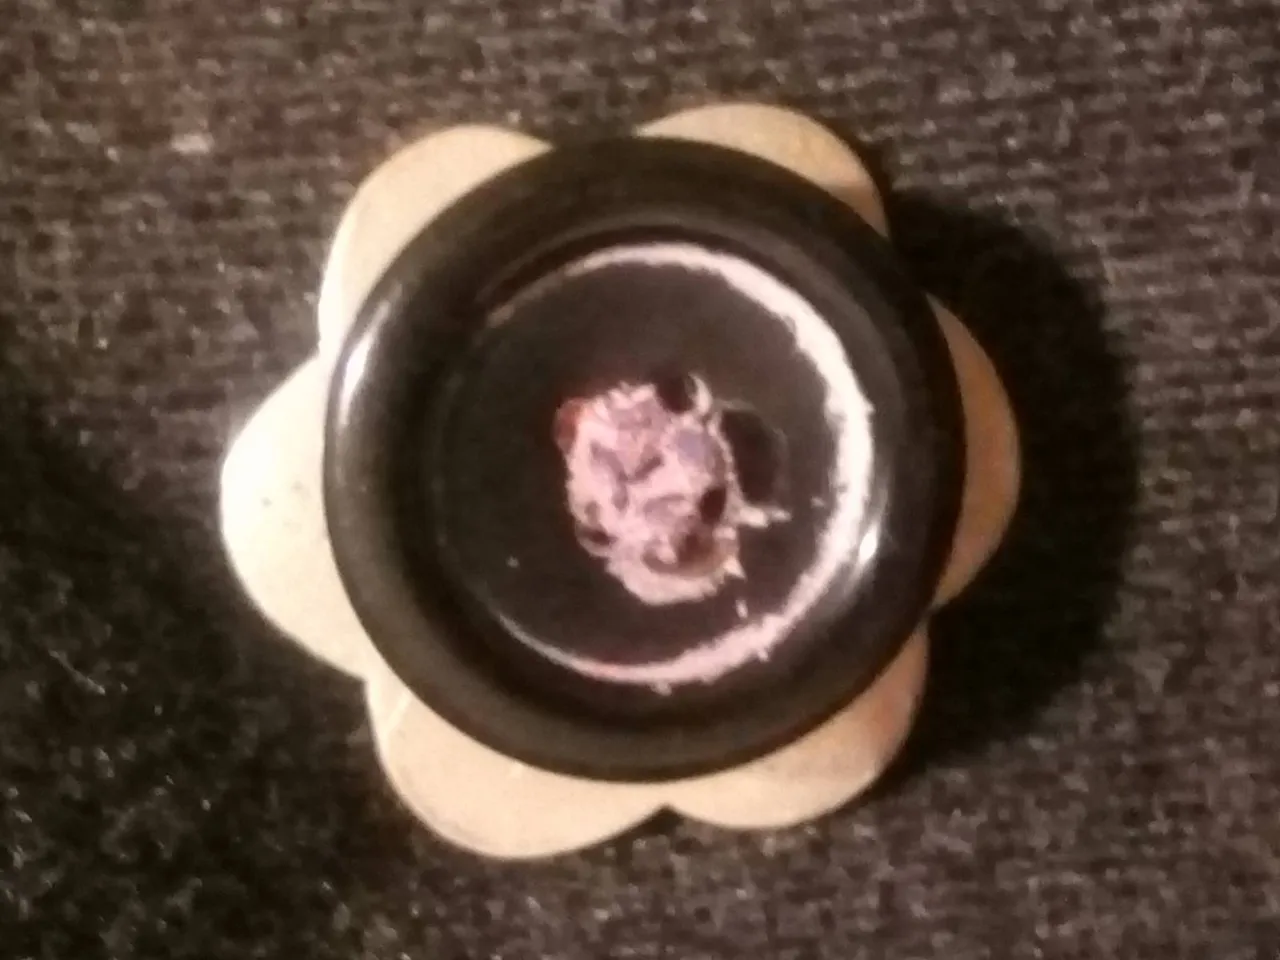
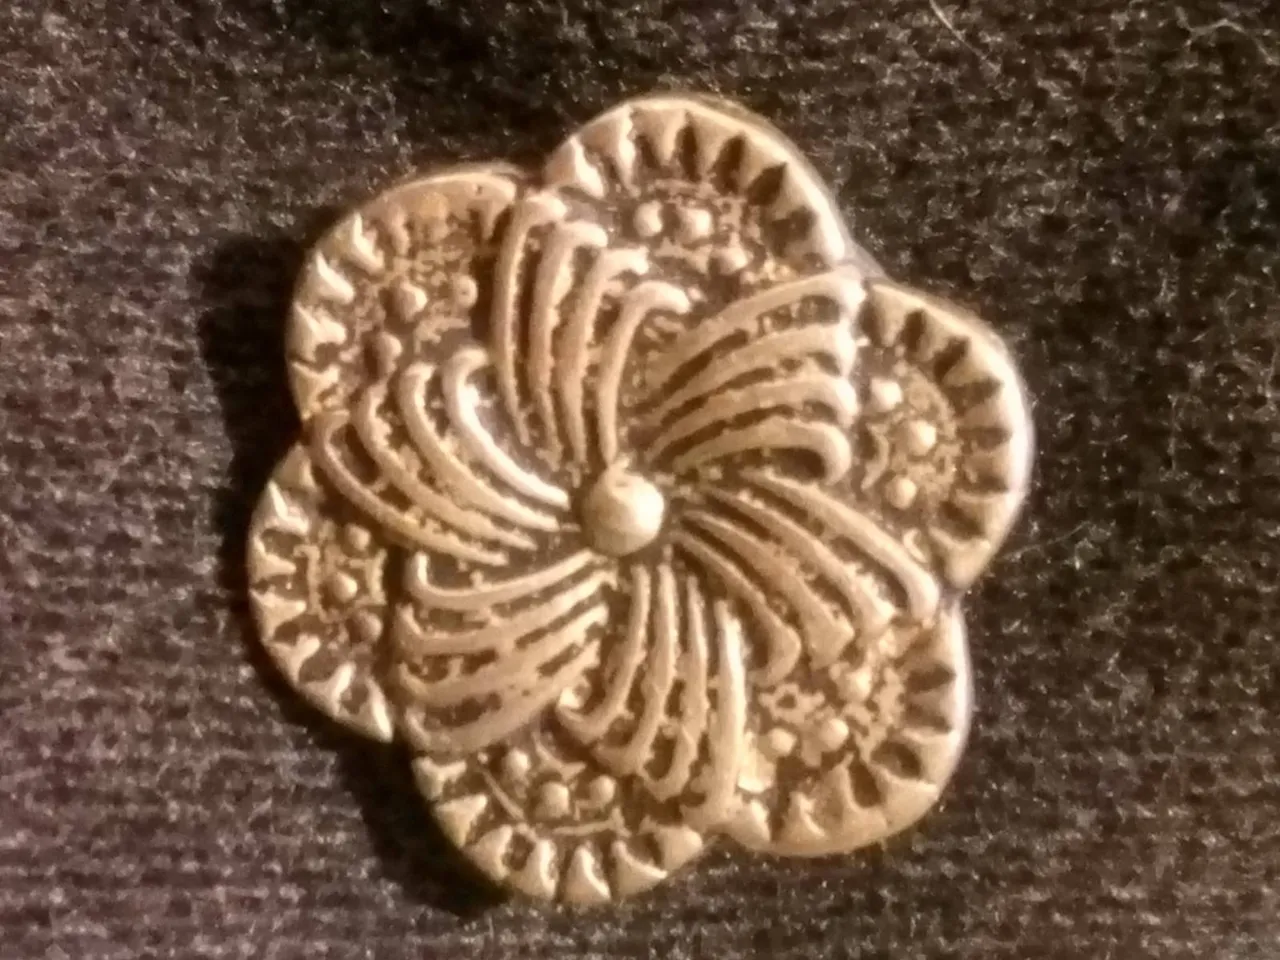
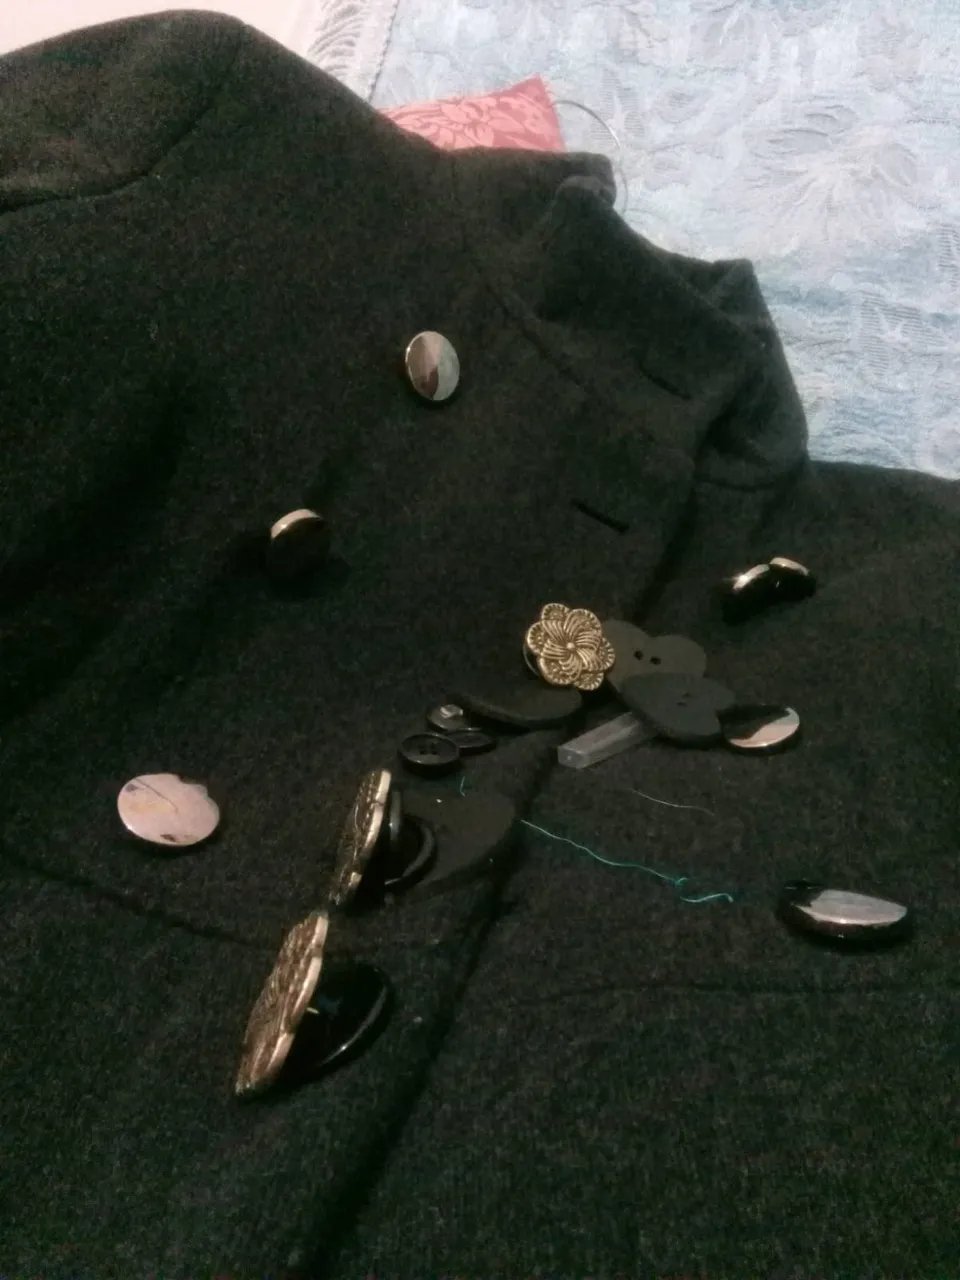
All this brought the new buttons perfectly into alignment with the buttonholes - the 3 big ornate buttons are actually attached not directly to the underneath breast, but to another button, which lines up the two buttonholes directly in the third vertical row, if you follow me! All the original buttons needed to be sewn in more firmly, as they drooped from their overuse over the years, as buttons often do.
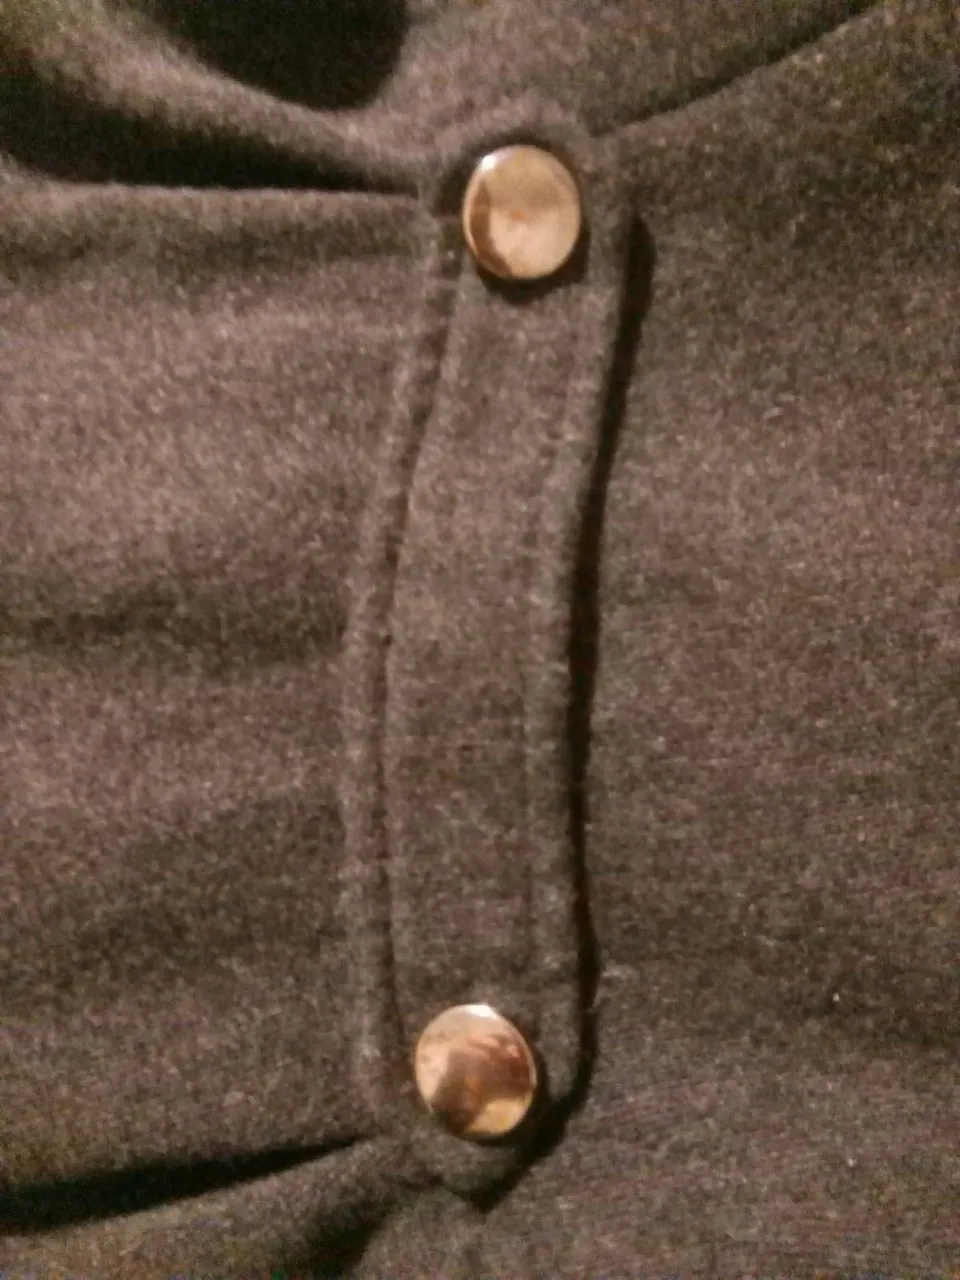
I then did a small repair work on the back sort of reinforcement thingy - the small strip of wool material which was buttoned to give a kind of partial-belt effect: it was sagging a little originally, and I unpicked the buttons and repositioned them wider apart. This made the waist of the jacket sit better.

It was still too tight in the shoulders and arms though: I could only wear it with a thin sleeveless vest on, and this was no good! I immediately, rather than overthinking it and rather than putting it down and risking losing momentum, I dove straight into unpicking the arms and side seams, and looking for the right fabric to create a widening stripe with - like I did with those plaid trousers I widened a few weeks ago.

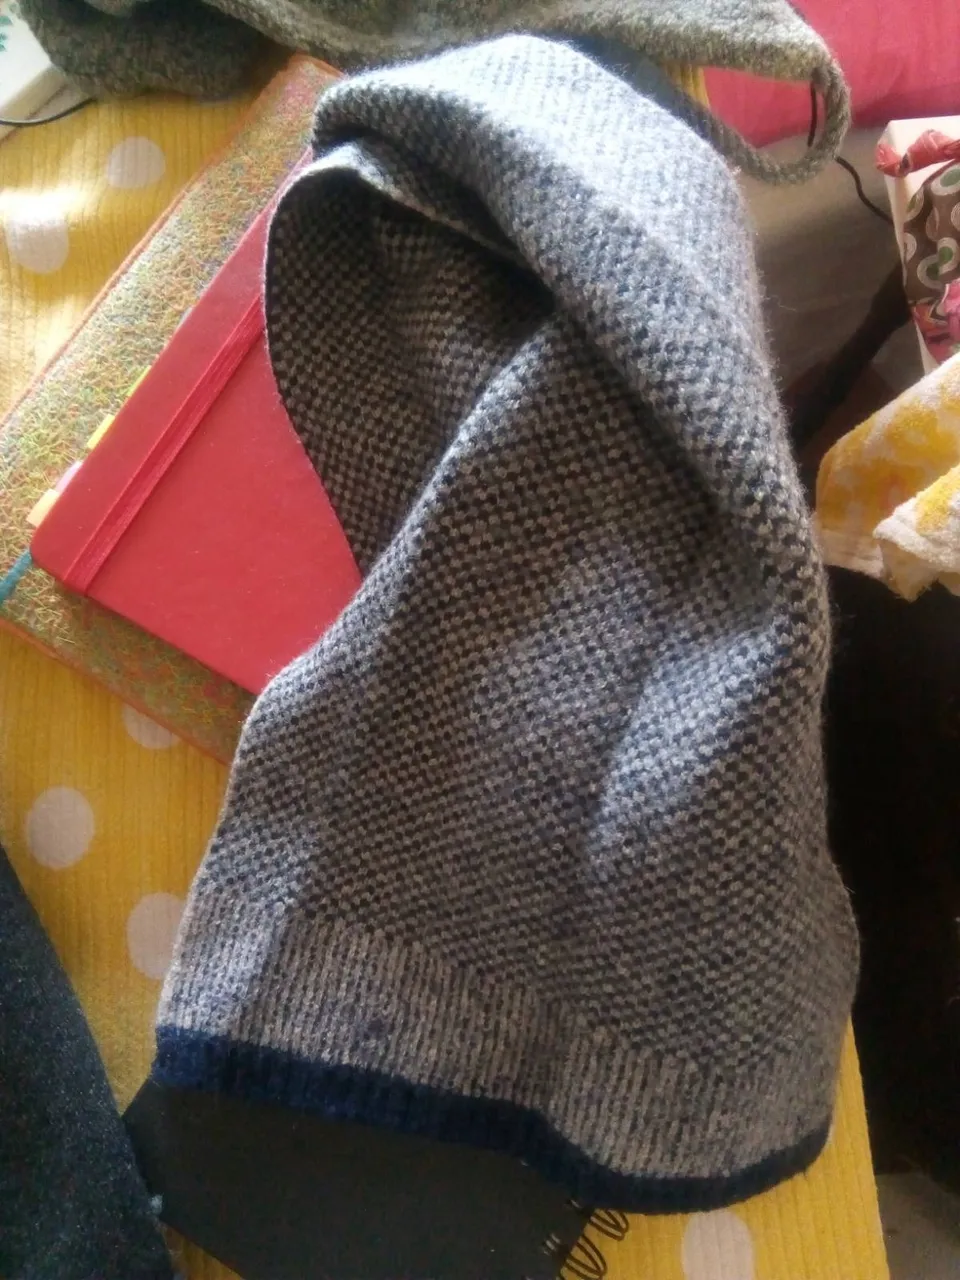
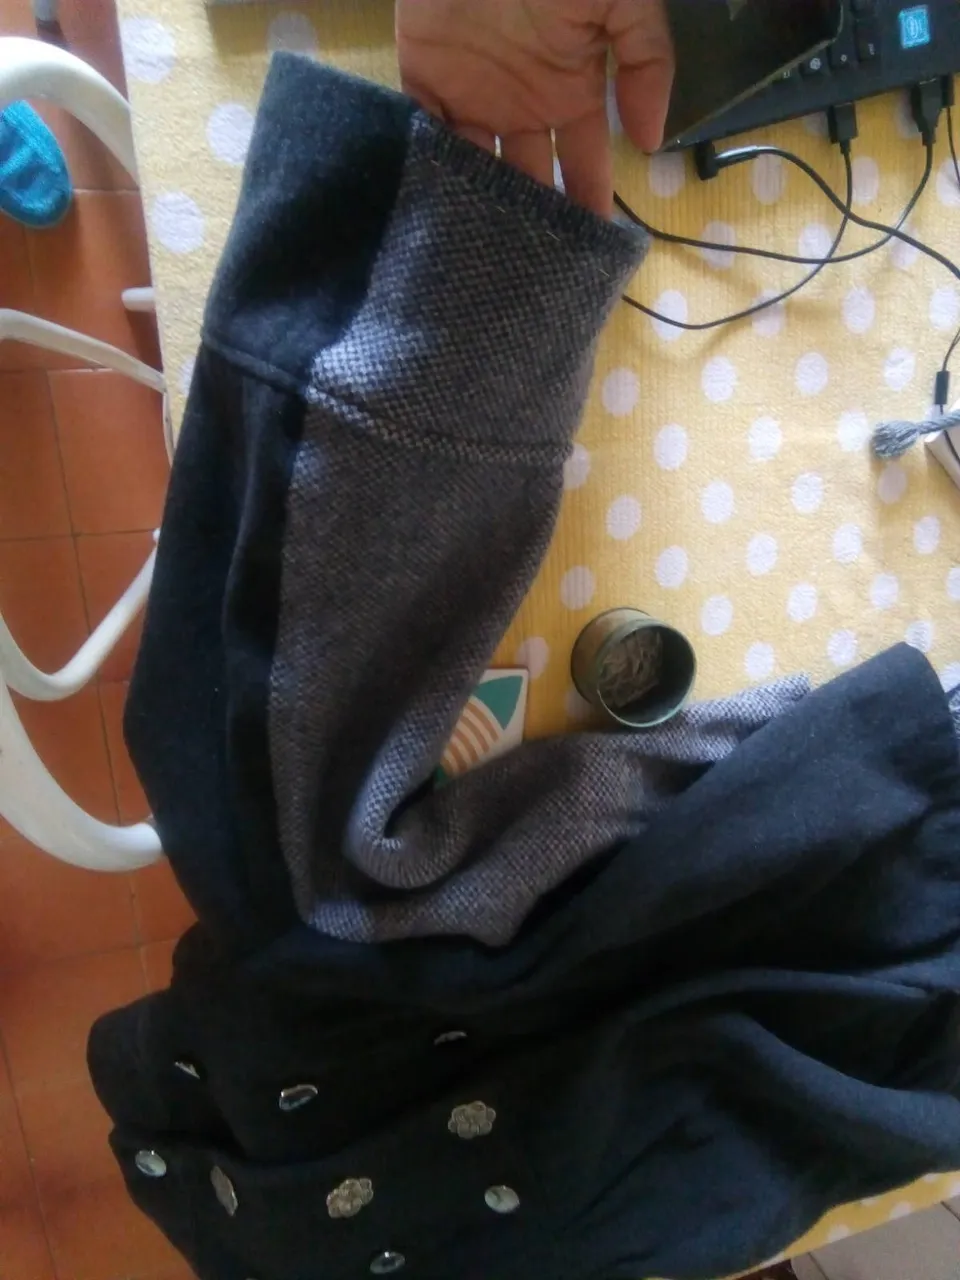
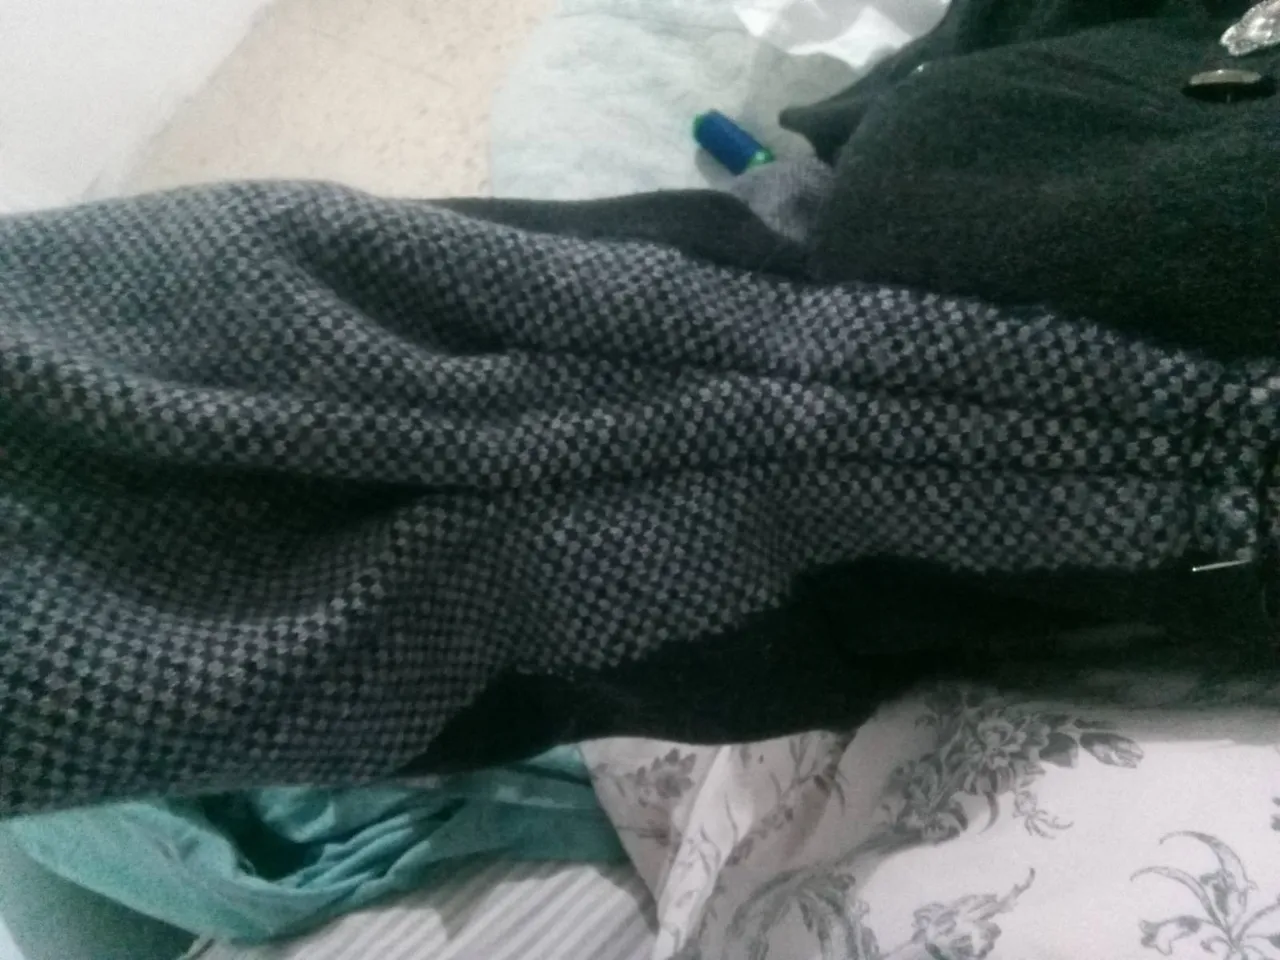
The material I settled with was this felted scarf - it was the perfect weight, and I loved the contrasting effect. Again, I didn't measure much, bar laying the scarf in half and checking it would be sufficient to run fully along and arm and then at least down into the chest area, which both needed a good bit more width in them.
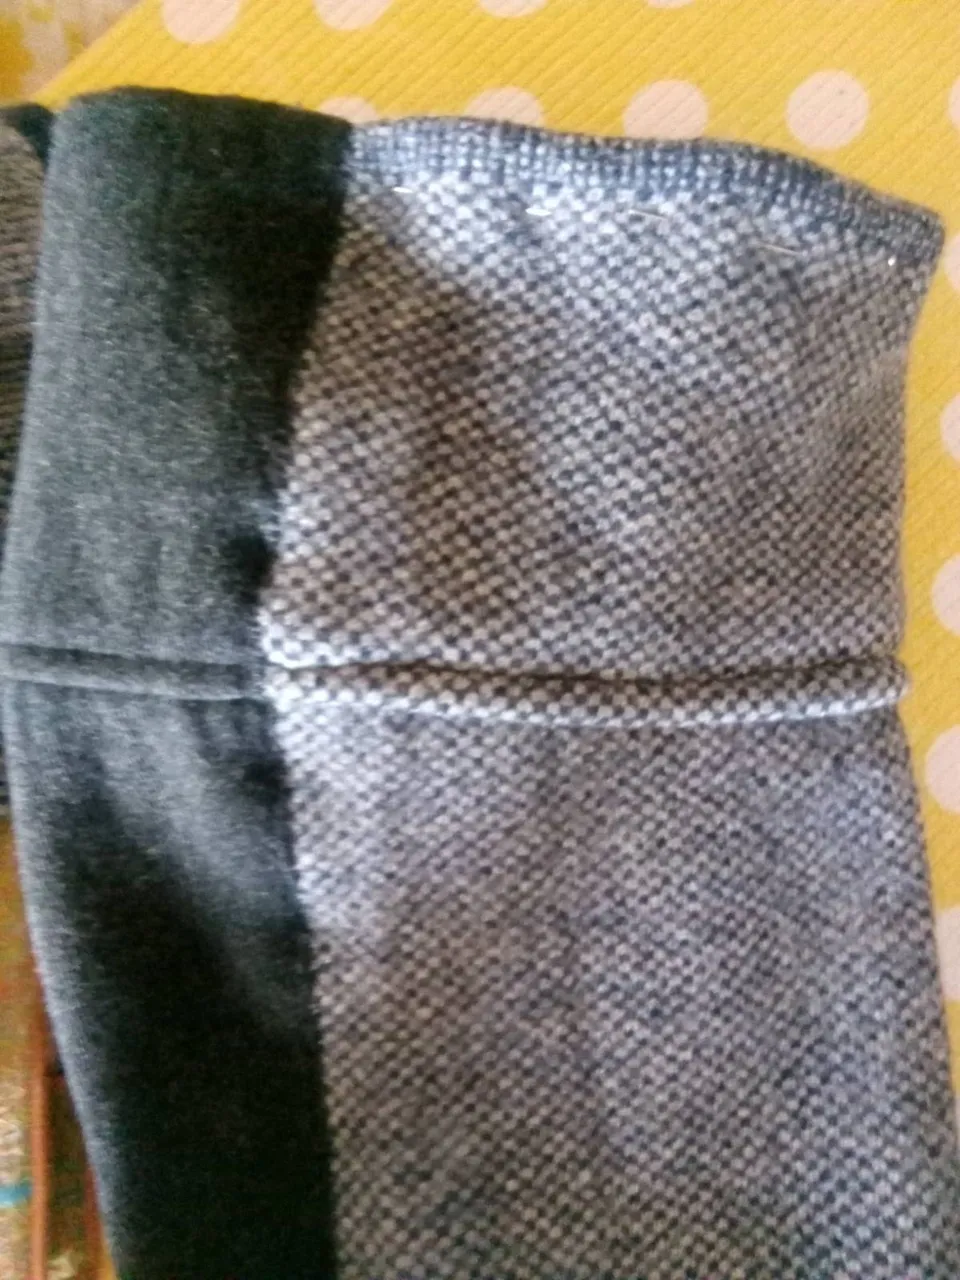

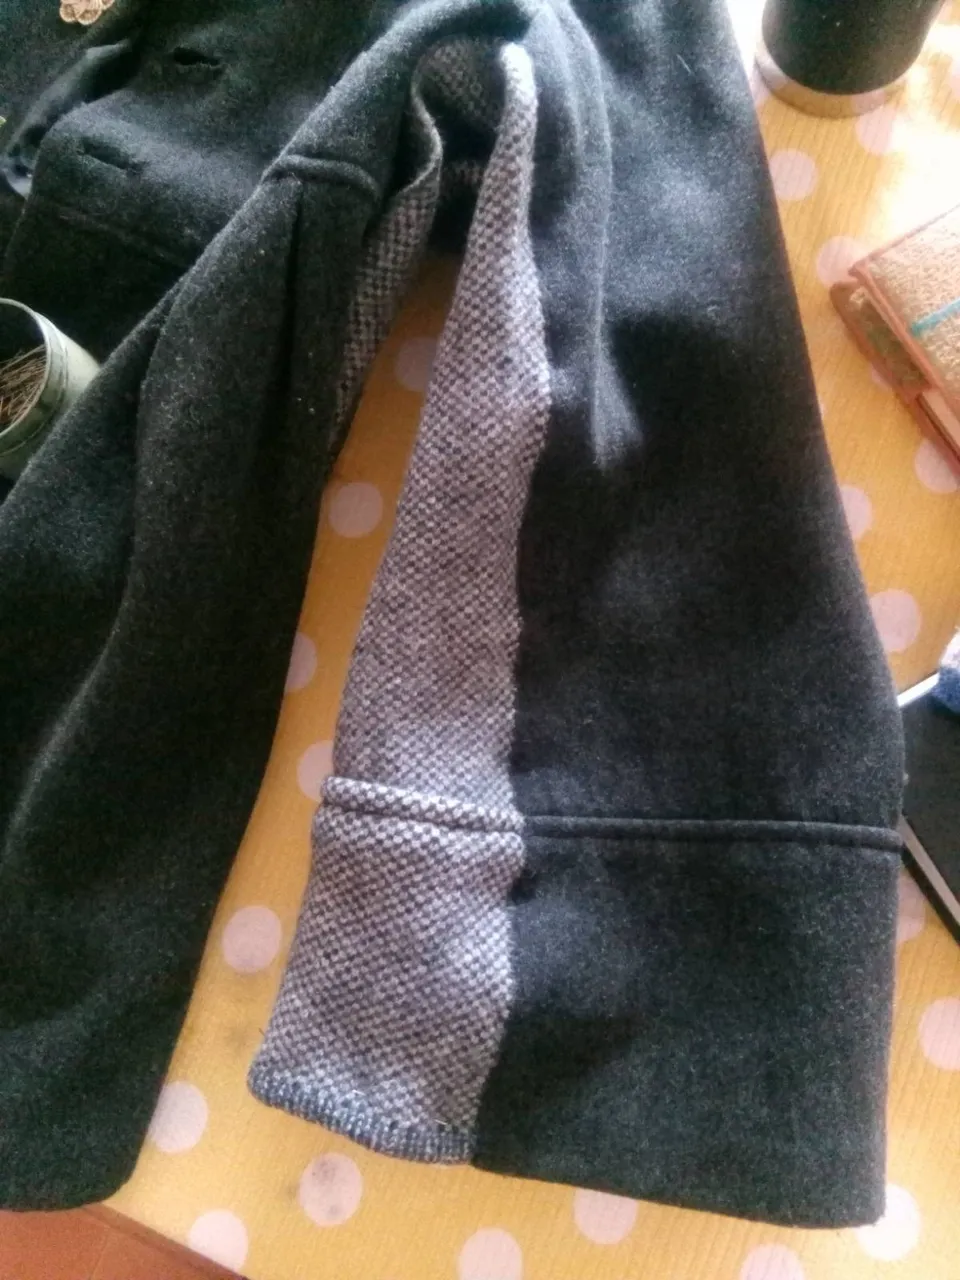
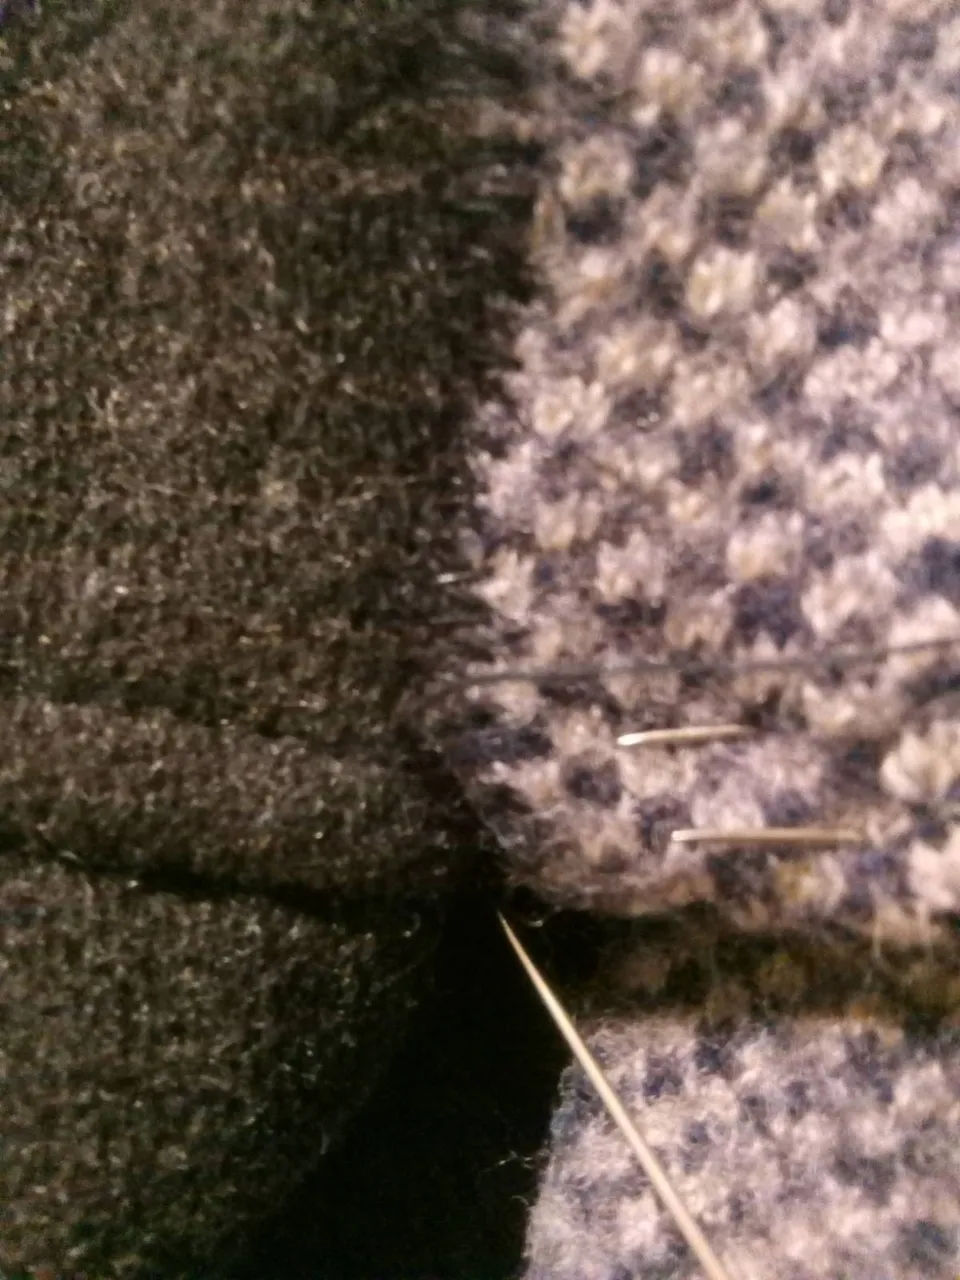
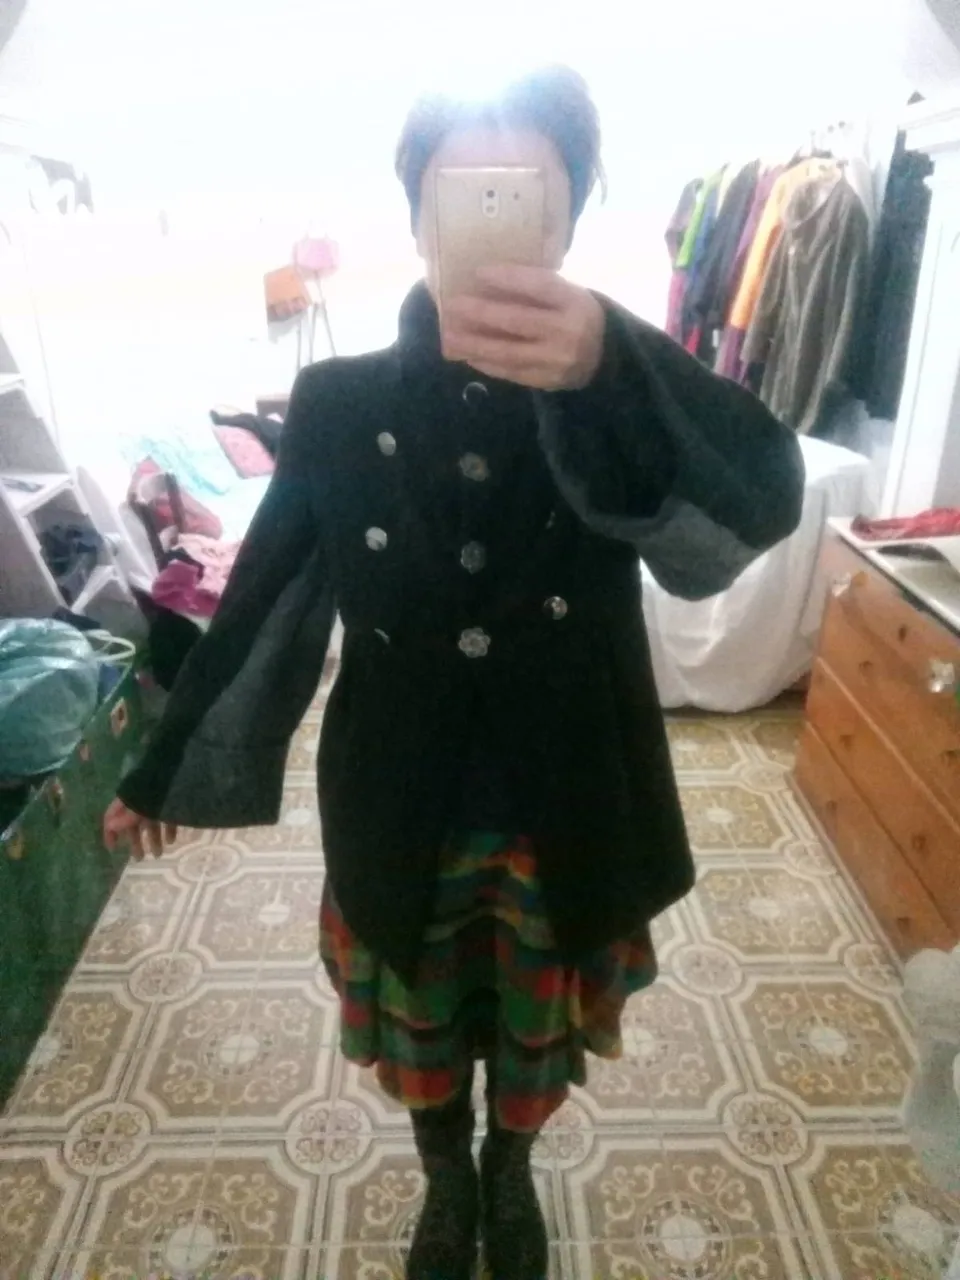
I allowed the new sleeve to take form by sewing its full width into the old sleeve: it created this wonderful Japanese-style wide sleeve, which I ADORE in contrast to how the main jacket is a bit fitted and uniform-like. This was a lot of fun to work with intuitively! I love how something works magically and happiy finds its way to the right form and size!! It can be a big surprise when it really works, and I think - like in my painting - cripes: how did I make that!!? It is a joy to play with new material, and find the right weight of thread for it, and to see how it sits when we pull the thread tighter or less tight... It was really lovely using a silky heavy dark-grey thread which is also vintage and had been sitting around in my sewing collection for decades :-D
Just to note; I began at the cuffs of the arms, and then worked/ sewed back upwards to the oxters and down the sides of the bust: this is because the cuffs will be the most visible part of the sleeve, and I wanted to make sure they really worked well, before progressing.
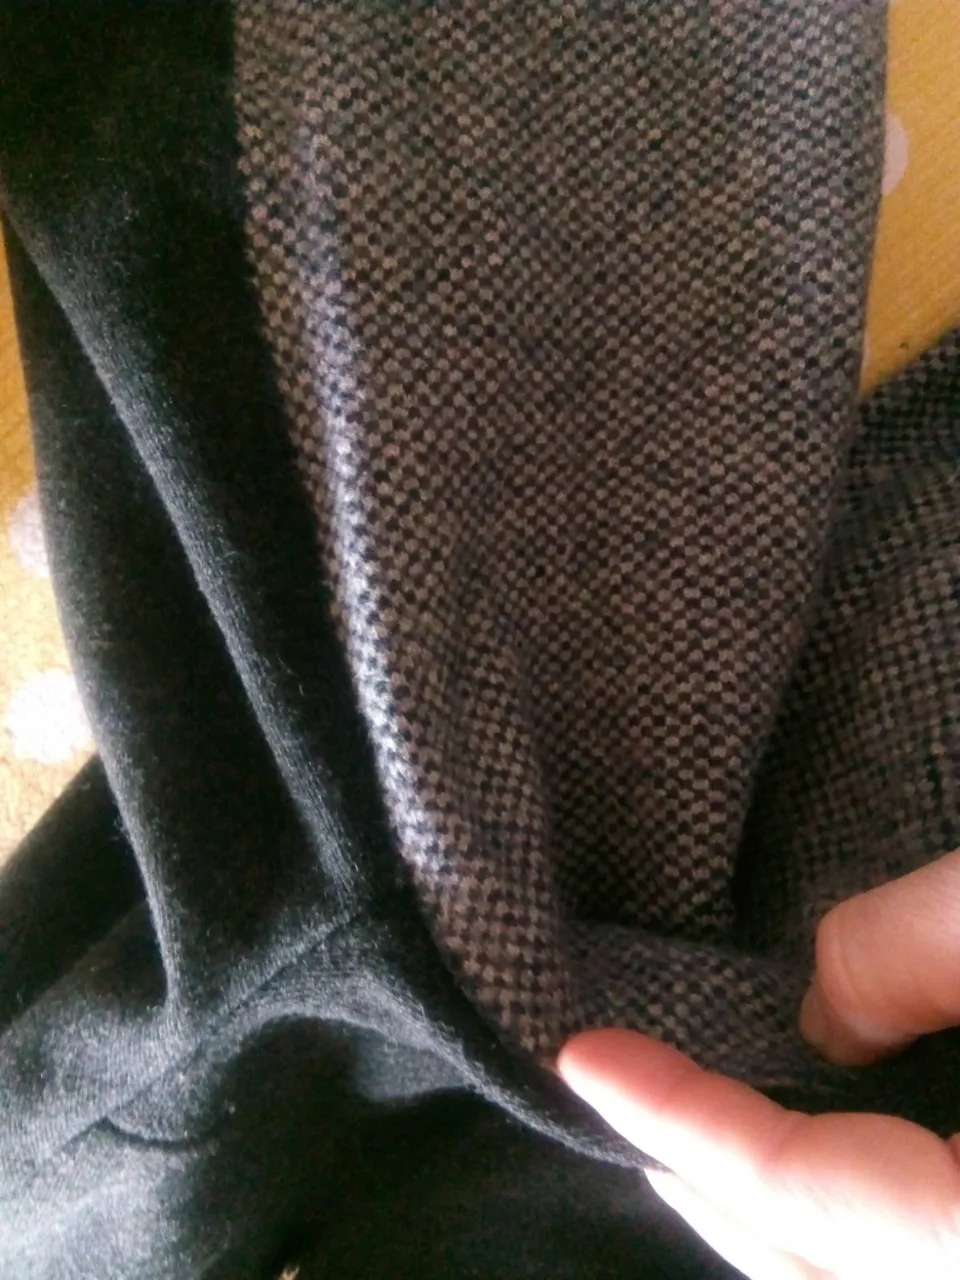
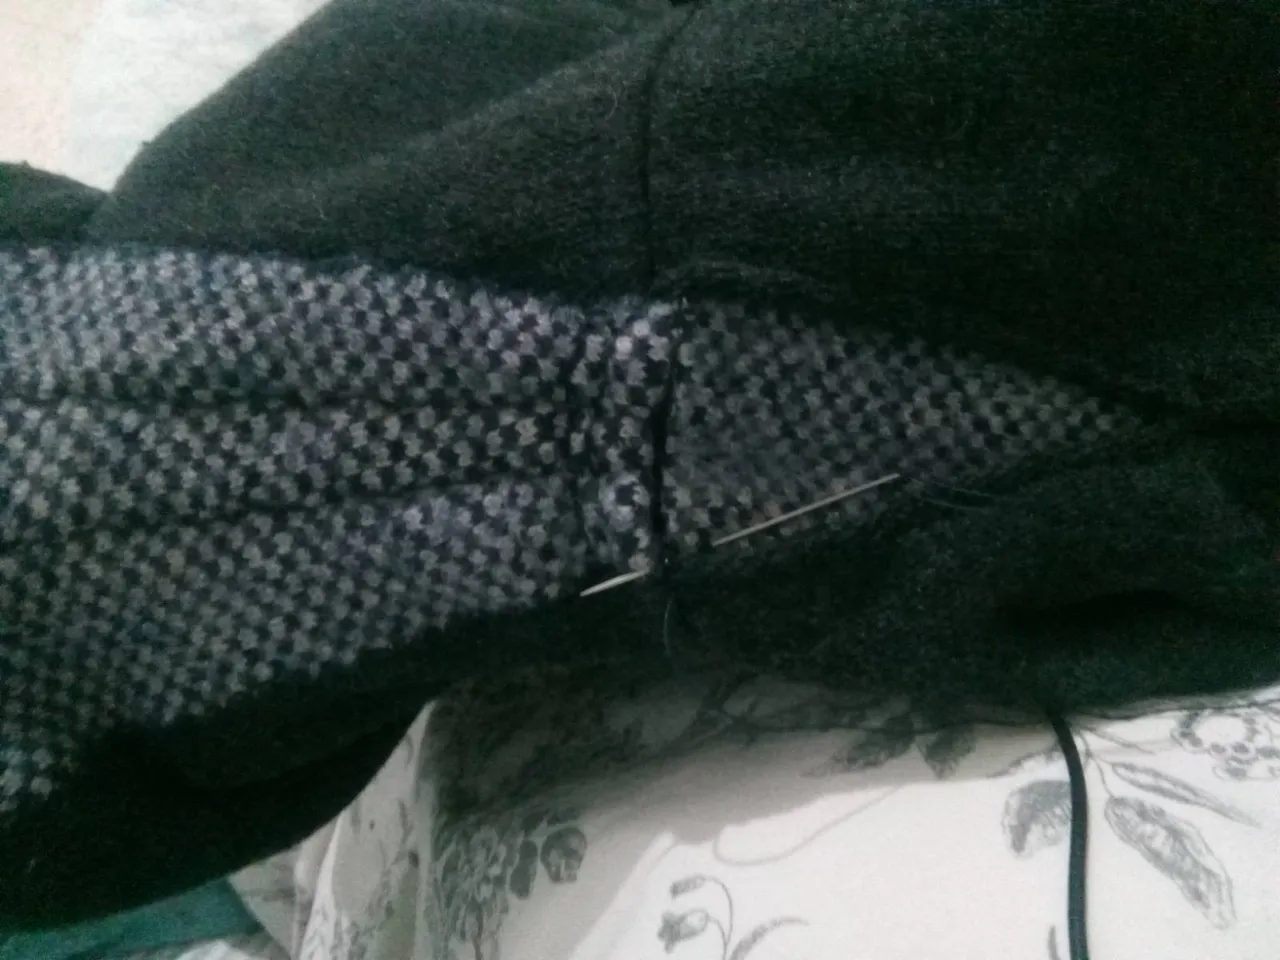
The finishing of this sleeve was hard work, but deeply satisfying! It took quite a bit of pulling and tweaking to get the width of the scarf near the oxter to sit in a way that would not bunch under the arm, and not create a jutting-out upper bodice. This was exciting, finding the way the wool scarf would sit if I pulled it into wrinkles and just let it naturally form how it best wanted to - then sewing it in place - then cutting out any excess material which was behind the stitching. It formed nicely!
There was a short space, a triangle shape, below where I 'finished' the scarf and cut it - where a seam ran around the bodice around the bust; I lined up the finishing and thought about it for a while, before settling on finishing the final triangle with the same fabric, in the end. To me, this sits - if not perfectly - at least neatly and balanced, in respect to the shape of the whole coat.
I was too enthusiastic about heading out immediately, before ironing the seams and cuffs, etc! It felt SUCH a good fit apart from I realised once I was walking about in it, that the pockets were of course too far back now for comfort, because I had opened the front of the coat and changed the proportions... So my final step - before ironing - was to add new pockets. I sewed the old pockets up quickly, and then spent a while figuring out the best material I could either add a new pocket externally, or how I could line a new pocket internally. It made more sense to add an internal one, and to use a scrap from the scarf to make an edging on it - but I had to create the new pocket outside of the side-seam of the body - where I'd sewn up the old pockets.
The material I settled on was some black linen from a 'nice enough, but not my favourite' trousers: it is lovely to make pockets in a more natural fabric, because our hands have to sit next to that material, and the average pocket is in flipping synthetic horribleness! I love that I can make my own pockets: big, silky or cottony or lineny, and beautifully edged. It can be nerve-racking to cut a big slicing hole in the raw material of a beautiful coat - but this is how a pocket is made so, hey ho and here we go...
--- I had a break in my project here, before making the pocket: a close friend died suddenly and there has been a big process around that... lots to clear and big things left by him that need to be taken care of... ---
I am really happy with this new-look coat: it is another perfect garment that I can throw on easily and step out feeling comfy, warm, smart and funky. It feels better and better to wear clothing that I am making and remaking myself... (especially as I want more sacred and special clothing whilst gestating!) really satisfying and freeing, empowering and express-full!
I cannot recommend enough, learning by doing. It is SOOOOO EASY to think 'but I don't know how to.........' and then to never figure it out: it's like learning a language: the best way is full immersion and learning it because you have to! In sewing too, the best way for me, is the jumping in the deep end - even if it is pretty challenging initially, I quickly find my rhythm, and my capacity to create gains mastery... It is amazing and awe-some how we can learn new skills and then have the capacity to make literally anything!!

ALL GOOD THINGS DEAR FRIENDS with your sewing and your life, on this blessed day!